
Introduction
The previous article about Ubuntu based file serving hit like a bomb. The main focus of that article was to spark interest and get the server up and running in no time, showing what the possibilities were. Today's article starts where the previous one has left off. So if you didn't read the last one, I suggest you start reading there. This one goes a bit more in depth and helps with a couple of requests made in our forums, like Webmin, SFTP and making the server reachable from the Internet.Installing Webmin
Leading the line of requested features was Webmin. Webmin is a web-based administrative interface to the server. Through that interface you can alter almost everything on the server, going from setting the correct time to adding Samba shares or users. Because this application is so powerful, it's also very dangerous. The Webmin interface is a great way for evil people to gain control over your server, because once they get an entry point into Webmin, your server will be under their control. So a healthy level of care is needed, so you don't open up your server for all the nasty ones around.Nonetheless, it is a great package that makes the life of a newly found admin a lot easier. If you want to give it a hands-on try before actually installing it on your own, the Webmin developers offer a demo application that gives you a feel of what Webmin has to offer.
Before you can actually start using Webmin on our server, it must be installed, of course. Well, the Webmin package isn't included in the universe repositories offered by Ubuntu. But don't fear, just a couple of steps are needed to add Webmin to the repository. You should know the drill by now and be able to fire up Synaptic with your eyes shut. In case you are a bit rusty by now, “Applications” -> “System” is a good place to start your search.
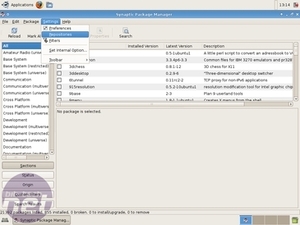
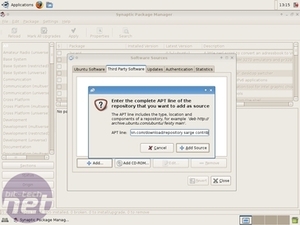
In Synaptic, we add the Webmin repository under “Settings” -> “Repositories” and then the “Third Party Software” tab. Click “Add“ and fill the following into the box:
deb http://download.webmin.com/download/repository sarge contrib
Then click “Add source” and finally “Close”.
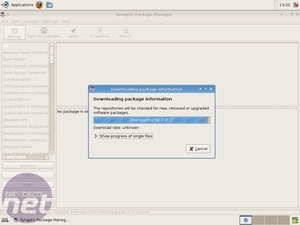
If you exit the box, you'll be notified that the repositories have changed. Don't worry about it since it's a good thing now. Since repositories are just a list of packages, we will need to reload the list to incorporate the new addition. So just click “Reload” in the Synaptic main window to refresh our list. You'll notice Synaptic downloading and updating the list.
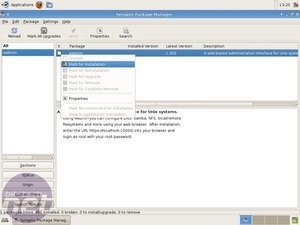
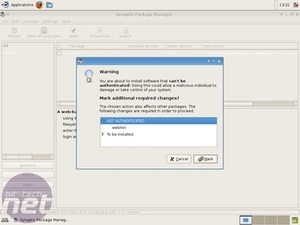
Now, as we did in the other guide, search for “webmin”. You'll now get the package we wanted - mark it for installation as usual. Since we are working on our server at the moment, why not update it at the same time? Just click on the “Mark all updates" button and then click “Apply". Synaptic knows the Webmin package isn't in the Ubuntu proven repository, and it will give you a warning about that. Don't worry, the Webmin developers are trustworthy so just click “Mark”.
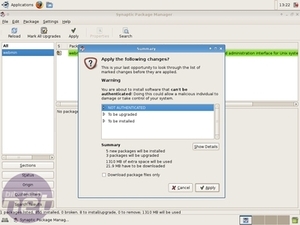
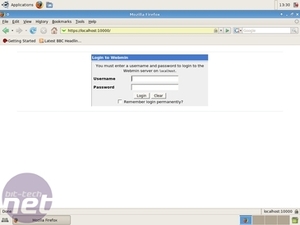
Now, a final summary is given as for what will be installed or upgraded. Click “Apply” and Synaptic will do it's magic. Soon Webmin will be installed on your server and you get a free update too. If Synaptic has finished its job, fire up Firefox on the server, by clicking the Firefox icon. Head over to “https://localhost:10000”. Webmin uses Secure HTTP and a non standard port to run on, by default.

MSI MPG Velox 100R Chassis Review
October 14 2021 | 15:04




Want to comment? Please log in.