Taking a bit of a sidestep from the usual modding subjects, it's good to remember that there's no reason to stick solely to modding your main rig. Your peripherals are a major factor in your PC experience, so why should they be exempt from a bit of rummaging under the hood, eh?
Now, for the record, I've never actually modded a keyboard before. I've meant to many times, but I either switch boards or something breaks before I commit. Turns out this one's an interesting model to pop my Cherry (heh) with. Tesoro got in touch with the view to doing a mod featuring its new Gram XS RGB low-profile mechanical keyboard. The thing is, it's a bit funny, so it presented some interesting challenges.
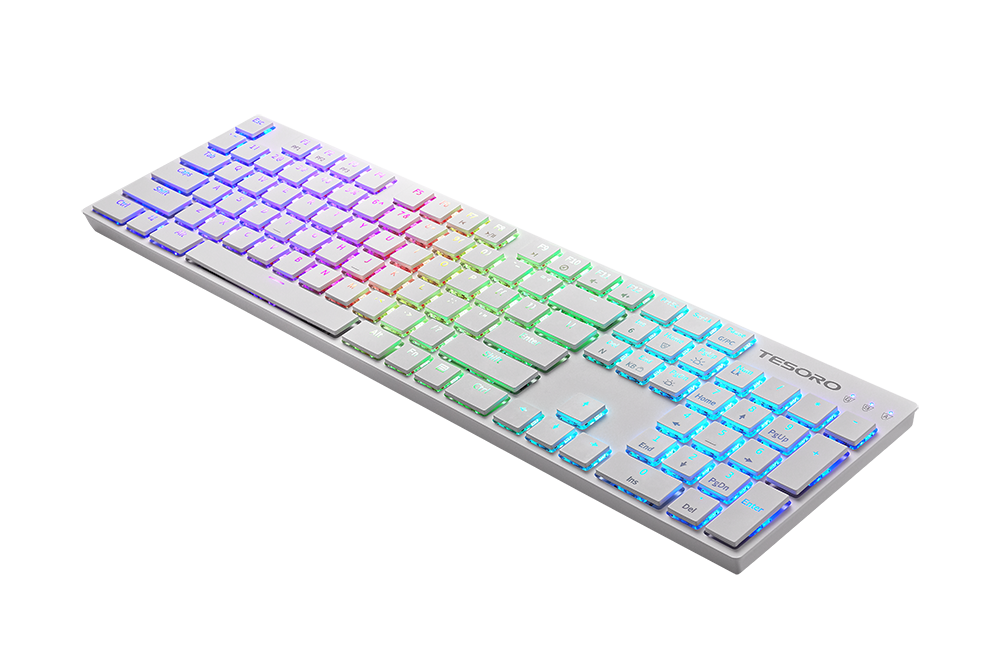
For a start, this board uses low-profile mechanical switches (Ultra-Slim Mechanical Switch is their actual name) with chiclet-style keycaps, so right away, things like switching out the keycaps aren't quite so simple. Being a low-profile board, it made sense that the mod would try to preserve that too; no point bulking up the thing and losing its USP. Since it's 2018, this board is of course packing a lot of RGB too, so any chosen mods would be best sticking with that mantra.
Planning!
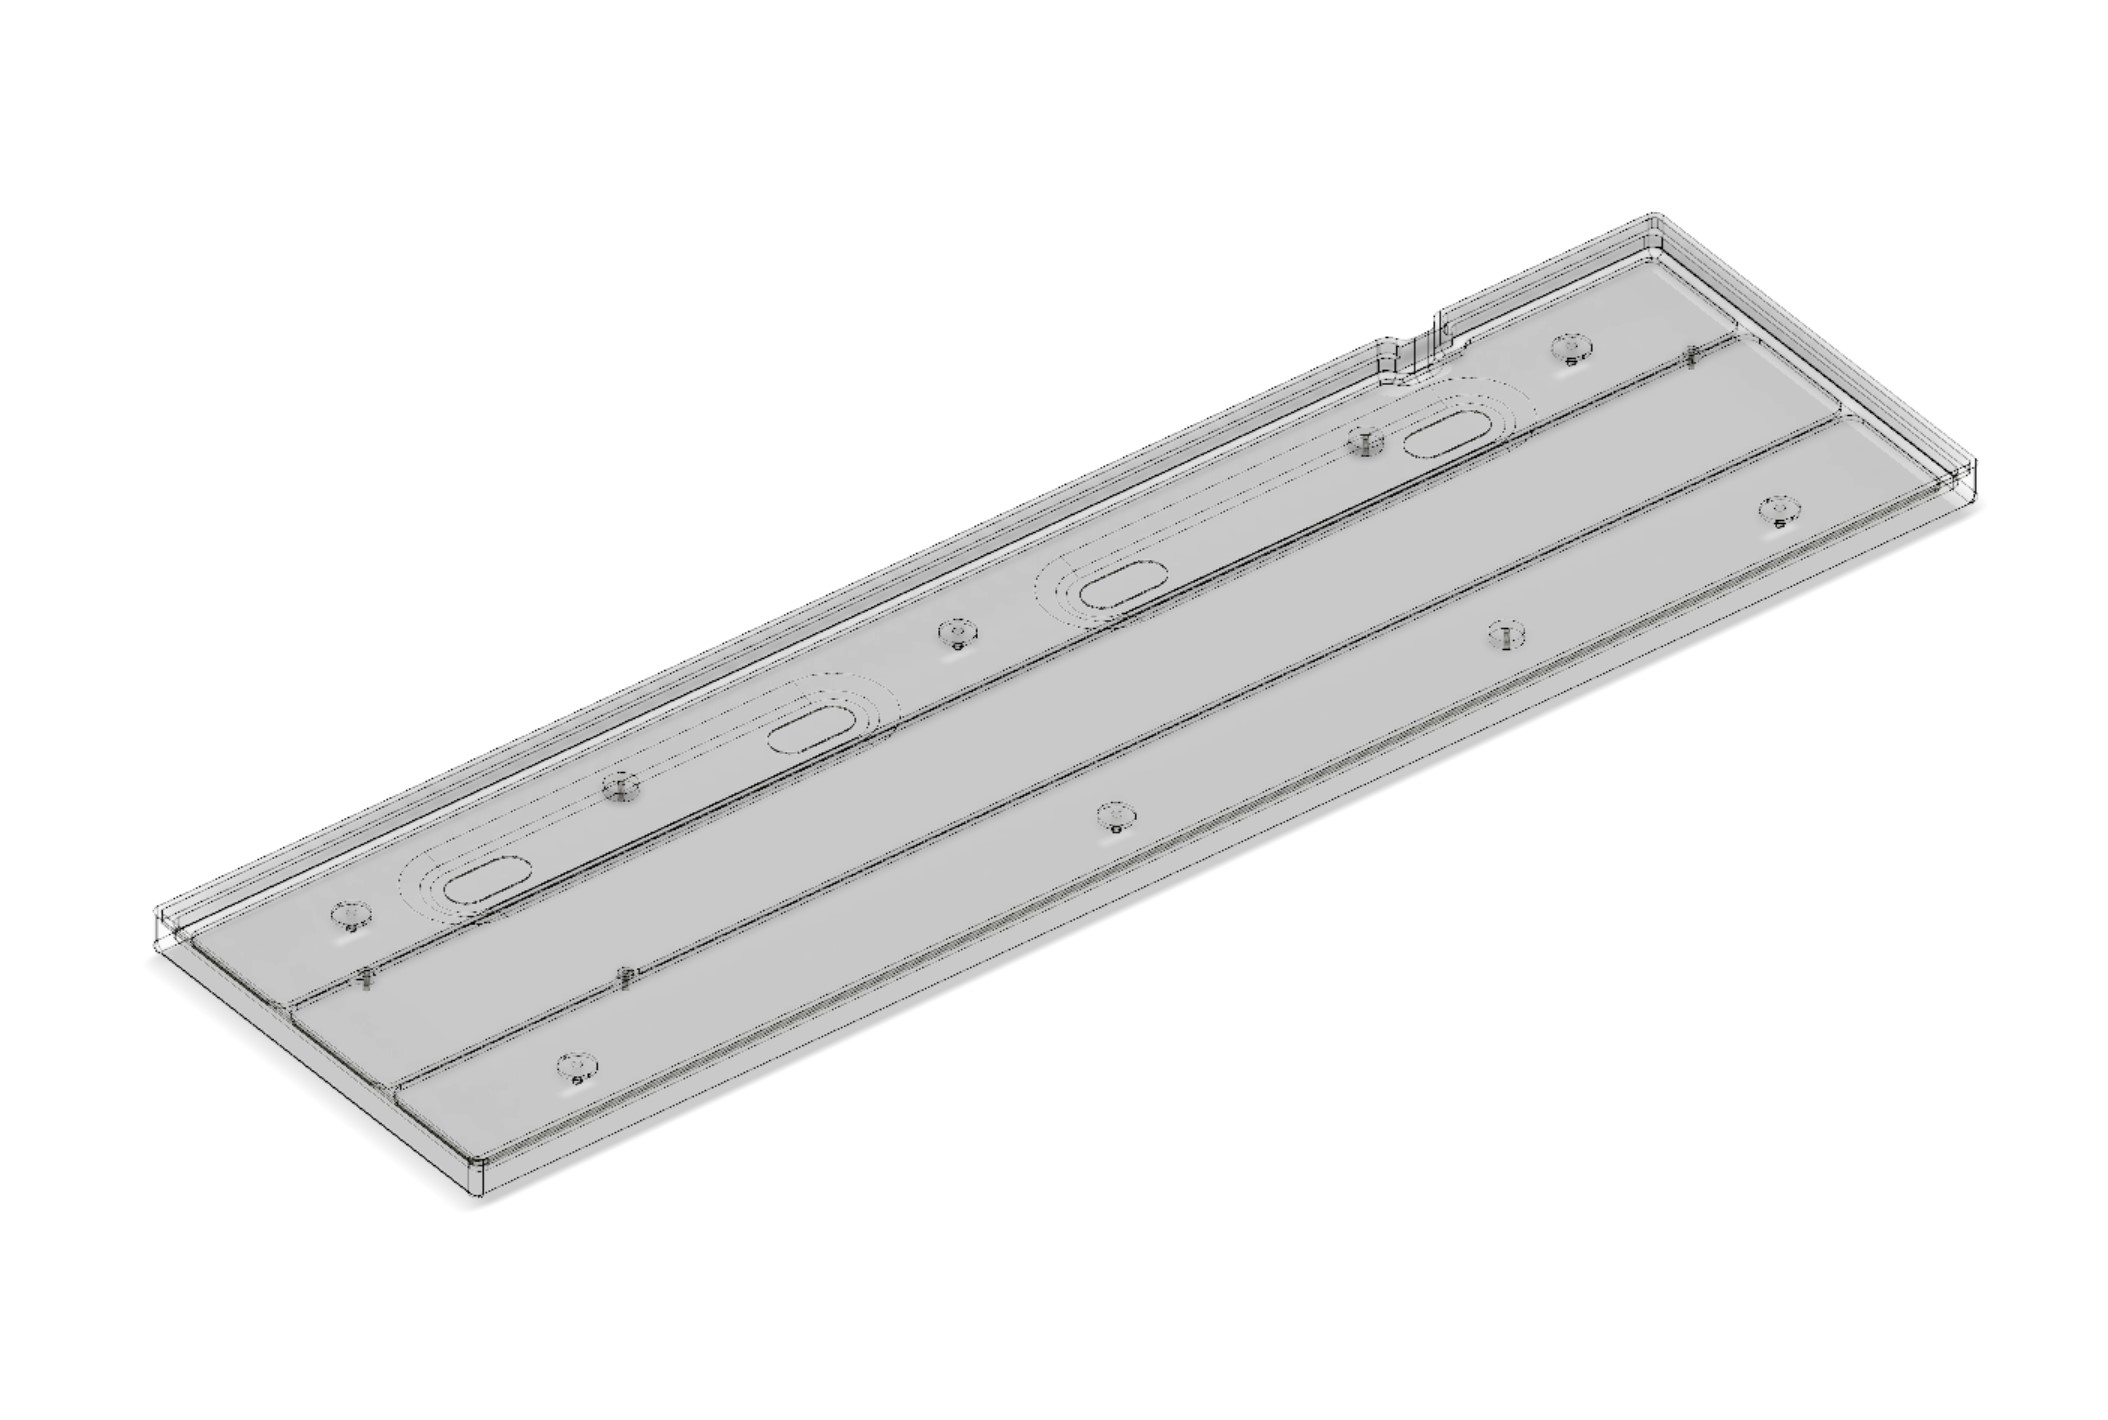
By now you're probably quite accustomed to this segment where we jump into Fusion 360 to have a poke around. We were fortunately supplied with some production CAD files, meaning there was quite a lot to look at. I was considering machining a new housing from scratch for this board, so being able to double check measurements and clearances was pretty handy. That said, sometimes there's just no substitute for ripping the thing open and seeing the guts for yourself.

Peeking inside, it's clear that most of the structure of the keyboard actually comes from the top plate, the base simply being an injection-moulded plastic housing. This was quite interesting, as it meant that the PCB and other bits were all a bit limp and flimsy without it. What I also saw though, was that the LEDs pass through the PCB and so are visible from the underside.


The plan was thus to machine a housing from a slab of clear acrylic, which would not only strengthen the board but diffuse the lights inside so that you can bask in that arrgeebargee experience, tastefully of course. By working the stock mounting points into the acrylic, the other components should be able to slot in without trouble, too.
The housing is about 12mm in depth, so it made sense to go with 15mm acrylic which can then be reduced to that thickness. It's a good idea to work downwards rather than go with 12mm acrylic off the bat, as the material tolerances for cast acrylic fall off a cliff the thicker you go. In fact, for my 15mm piece there were some points that were under 14mm in thickness! I probably would have returned a piece like that normally, but time was ticking.


I was originally going to machine some protruding feet on the underside of the board, but the more I looked at it, the less confident I became that the piece would be able to remain flat on the bed after the internal machining, so I shelved that for another day. With the model done it was time to toolpath up and export to the machine for cutting.


MSI MPG Velox 100R Chassis Review
October 14 2021 | 15:04

Want to comment? Please log in.