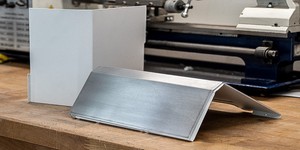
While building Alex 'MarzBar' Brooks PC, I am forever aware that the case is predominantly glass, and there isn't a great deal of modding I can do with it. Sure, I could cut a load of vinyl and stick it on, but I don't really like to do that; I want something a little more hard-wearing. Quite recently I saw forum member rchiileea use some etching paste and I thought it was a great idea. I once used glass etching at high school and remembered that it was pretty simple, cheap, and easy. I figured that I would try it again nearly 15 years later and see if I could do it again! As this was the first time I had done any etching for a long time, I thought I would test it out on a spare glass panel I had from a damaged In Win 909. (RIP 909 build, I will forever love you. Courier, I will forever hate you).
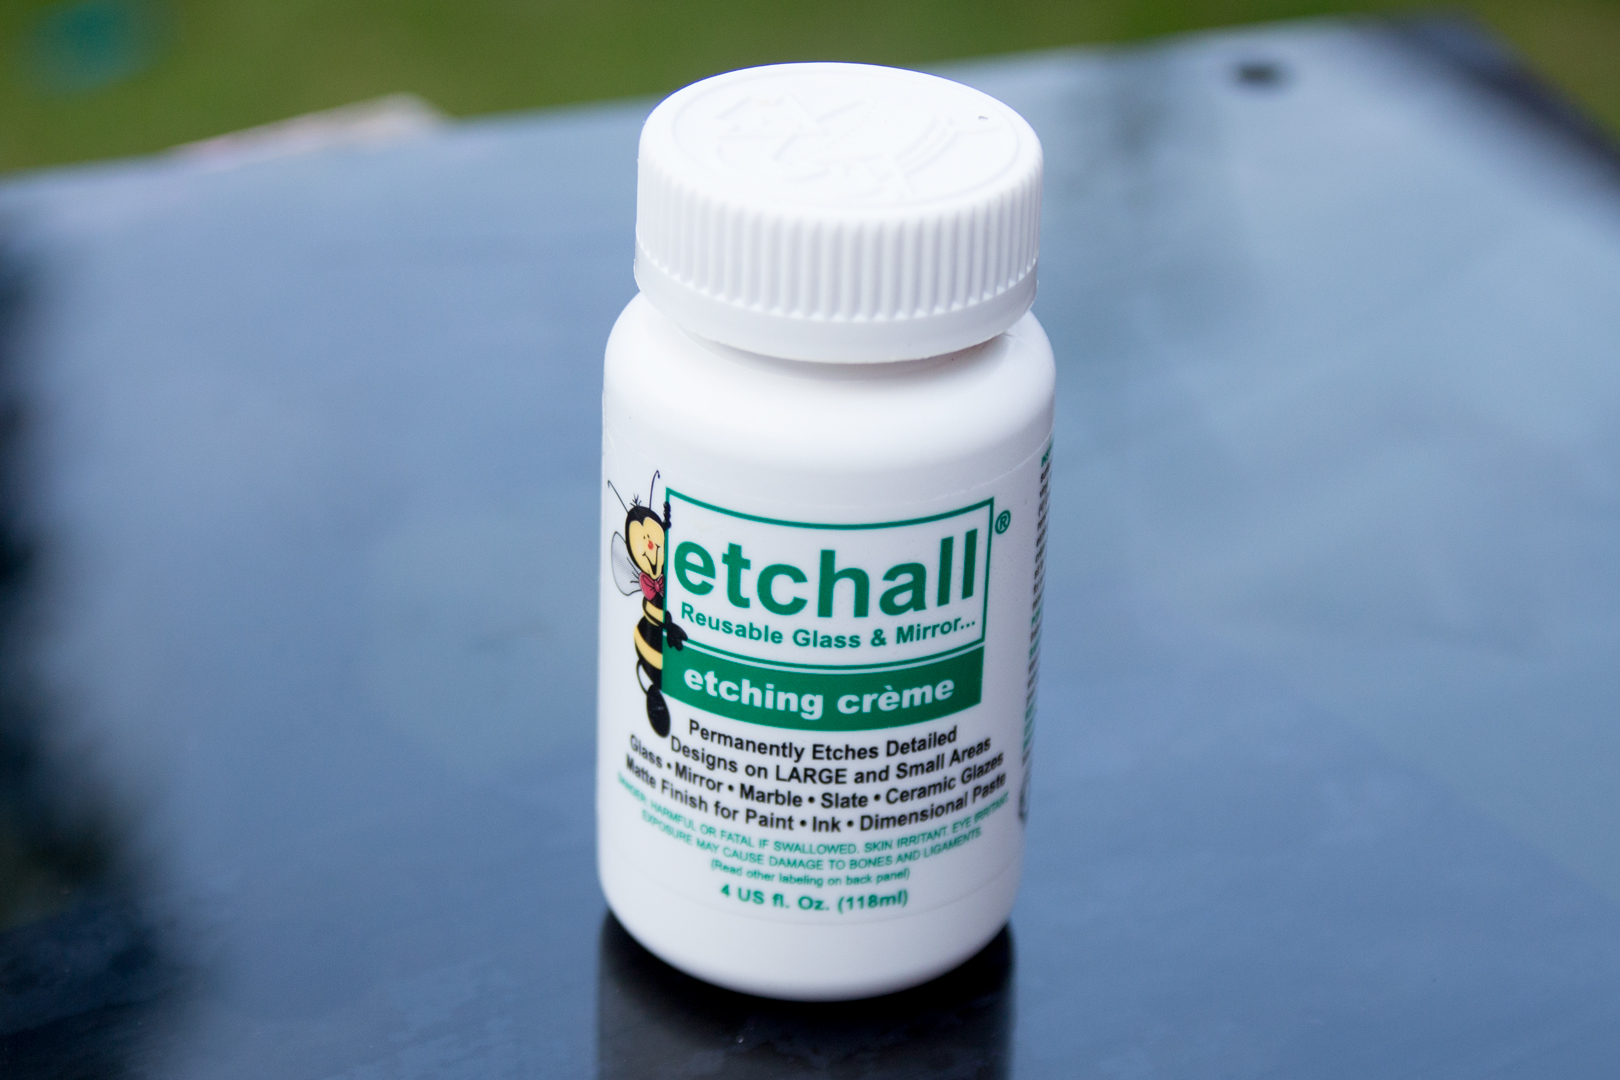
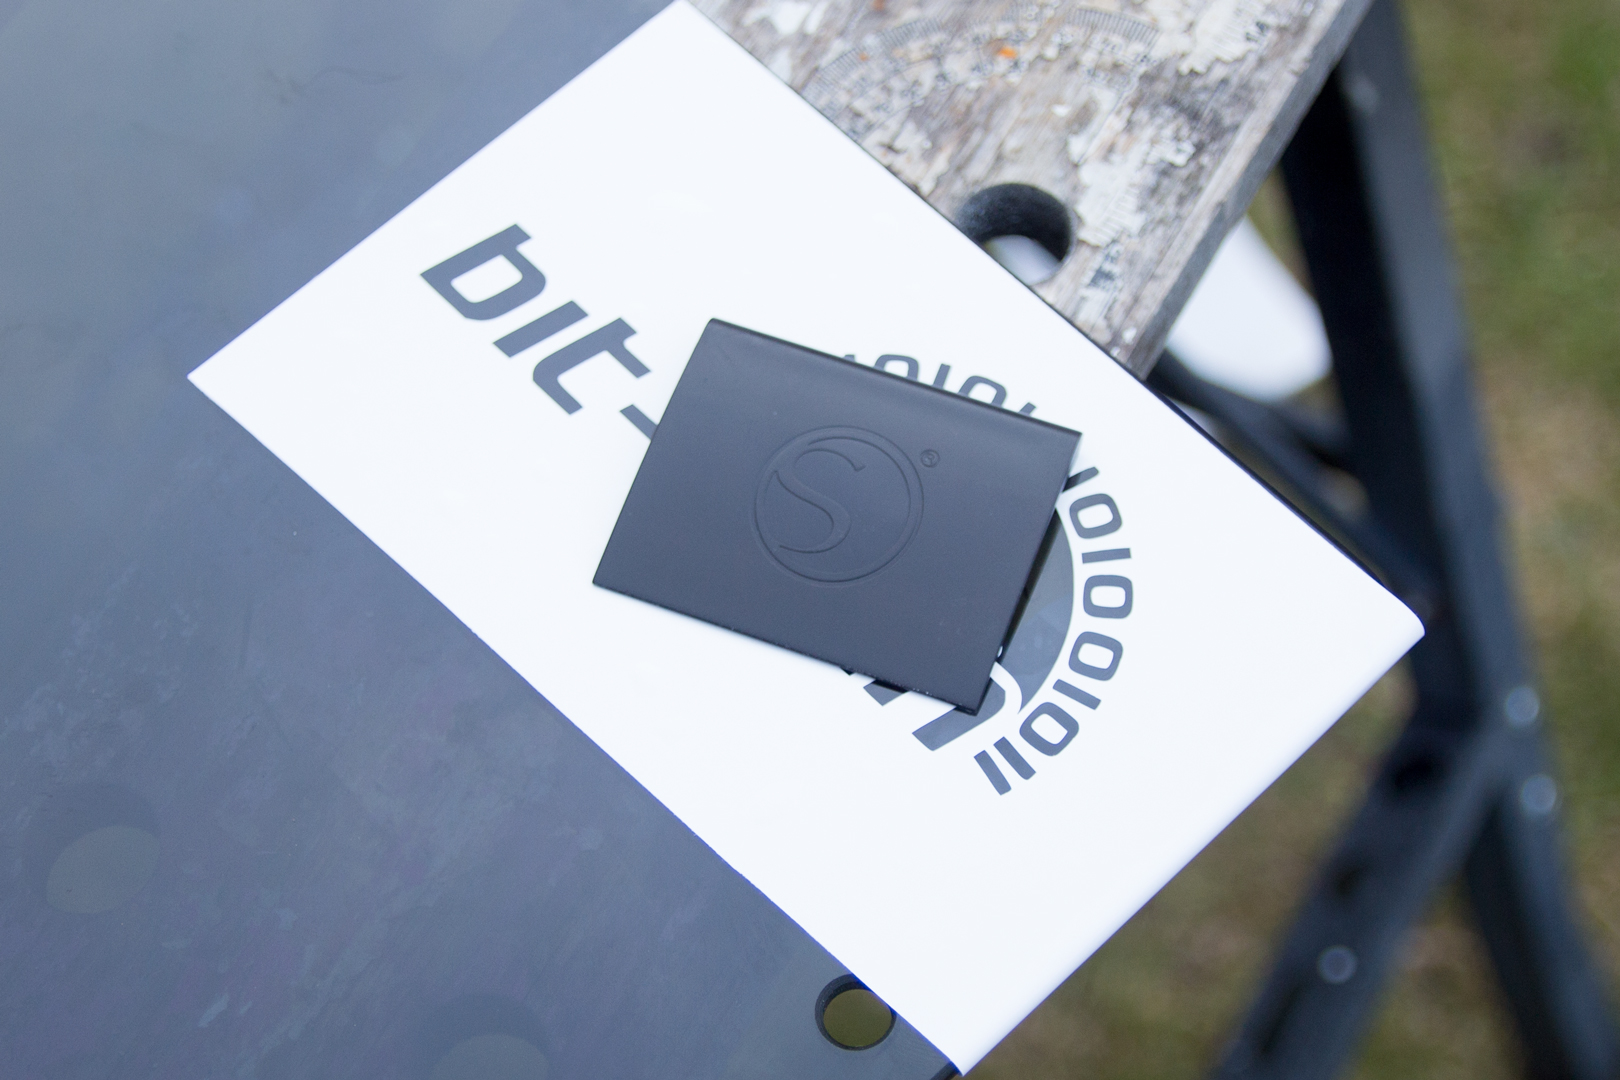
Now, for this mod, you will need a few little bits, but you will either have it around your house, or you will be able to get it when you order the glass etching cream. Basically, you will need the cream, a stencil (I suggest using vinyl), a spreading tool (I used my library card), and plenty of warm, soapy water with some cloth or tissues. For the actual etching cream, I went with Etchall, as it looked like it was a nice consistency, while some other etching creams looked a little bit runnier, and some seemed far thicker like they wouldn't spread as easily. The alternative I was looking at was Armour Etch, which seemed to have similar reviews.
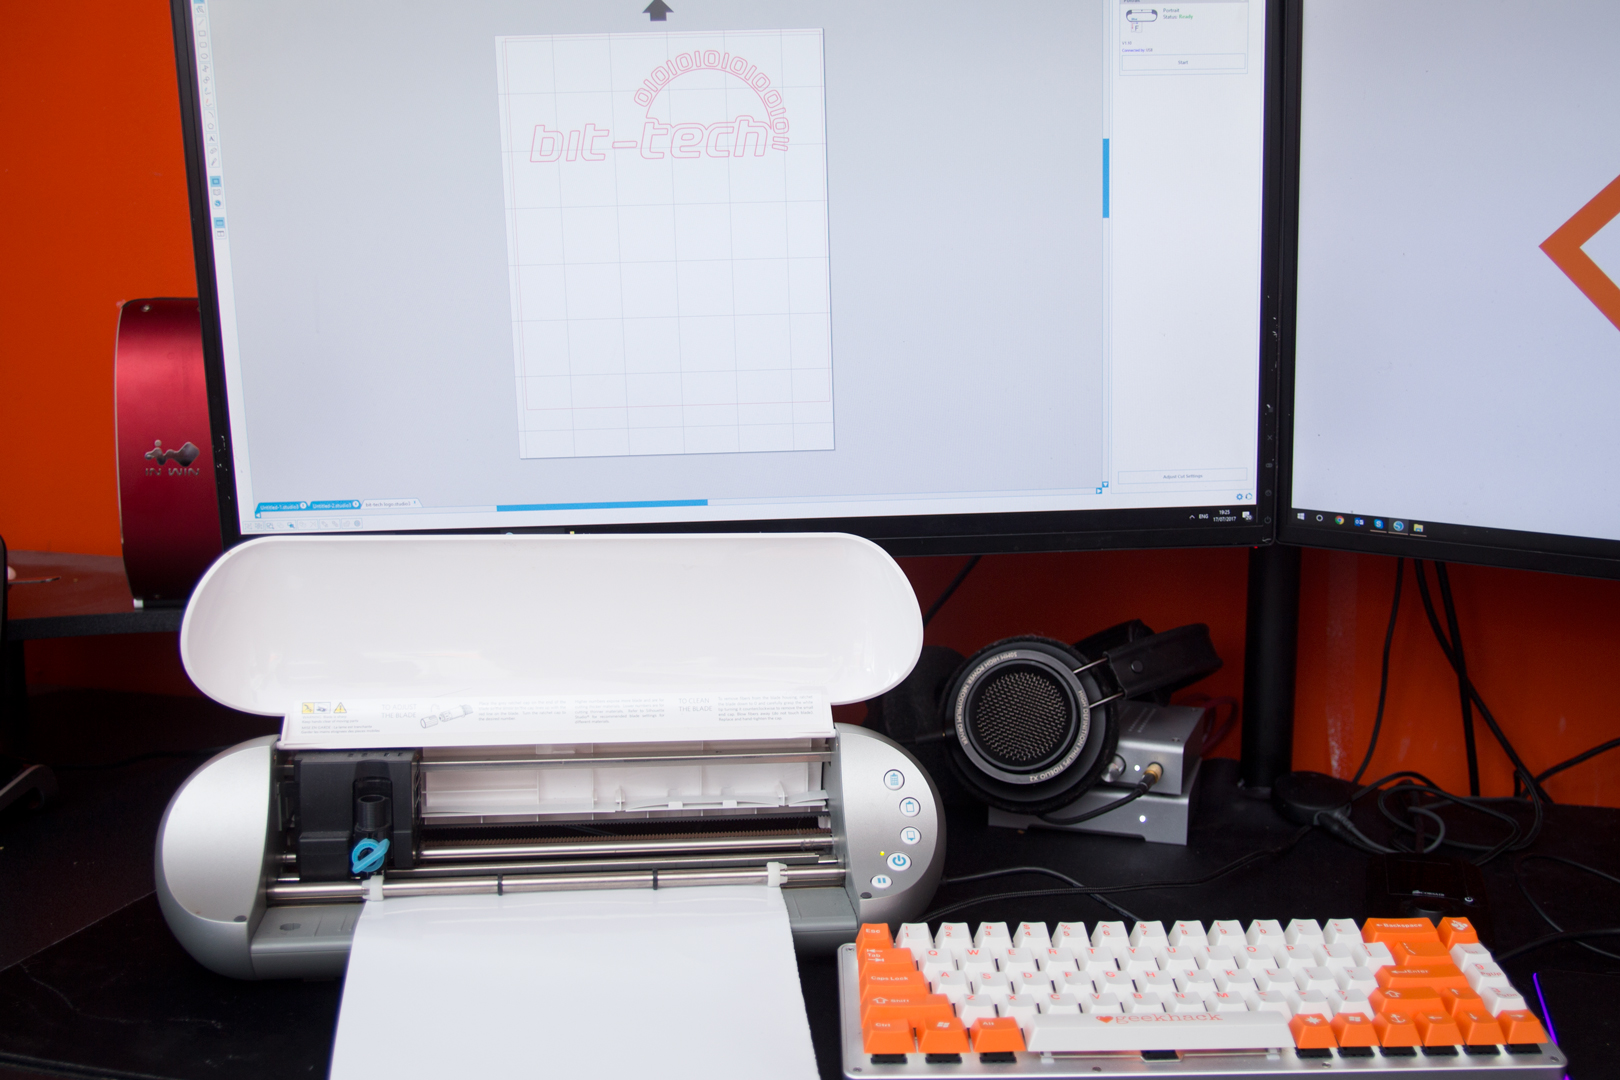
My first job was to make some stencils. As I was testing how well this would work, I wanted a stencil that had some smaller details as well as some larger areas to make sure that everything worked okay. Our bit-tech logo is as good as any for this and should look awesome. If you don't have a vinyl plotter, don't worry. You can order pre-cut vinyl from quite a few places, and if you would prefer to make your own, a craft knife can be just as good. The plotter just saves a lot of time for me.
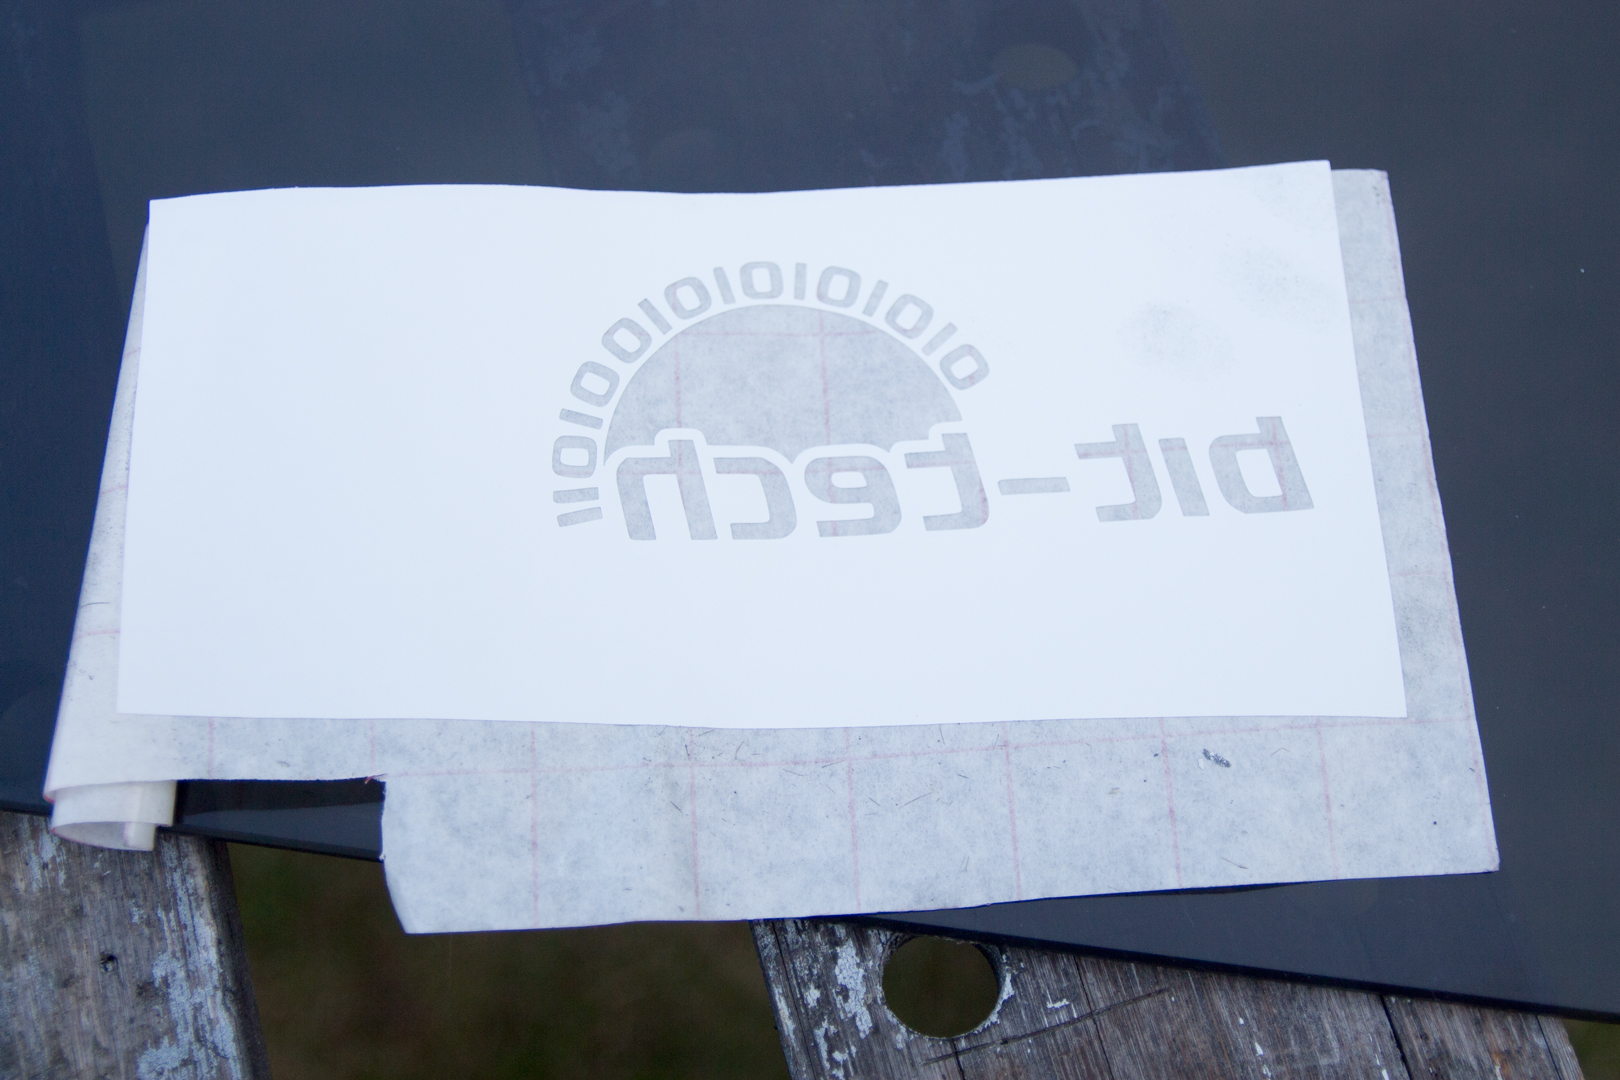
Once you have cut what you need out, you need to put it on some transfer paper. Ideally, I should have put the logo in the centre of the A4 sheet so that there was more vinyl around the logo to ensure that there was more room for the paste to spread without being worried it was going to go onto the glass. We live and learn, though!
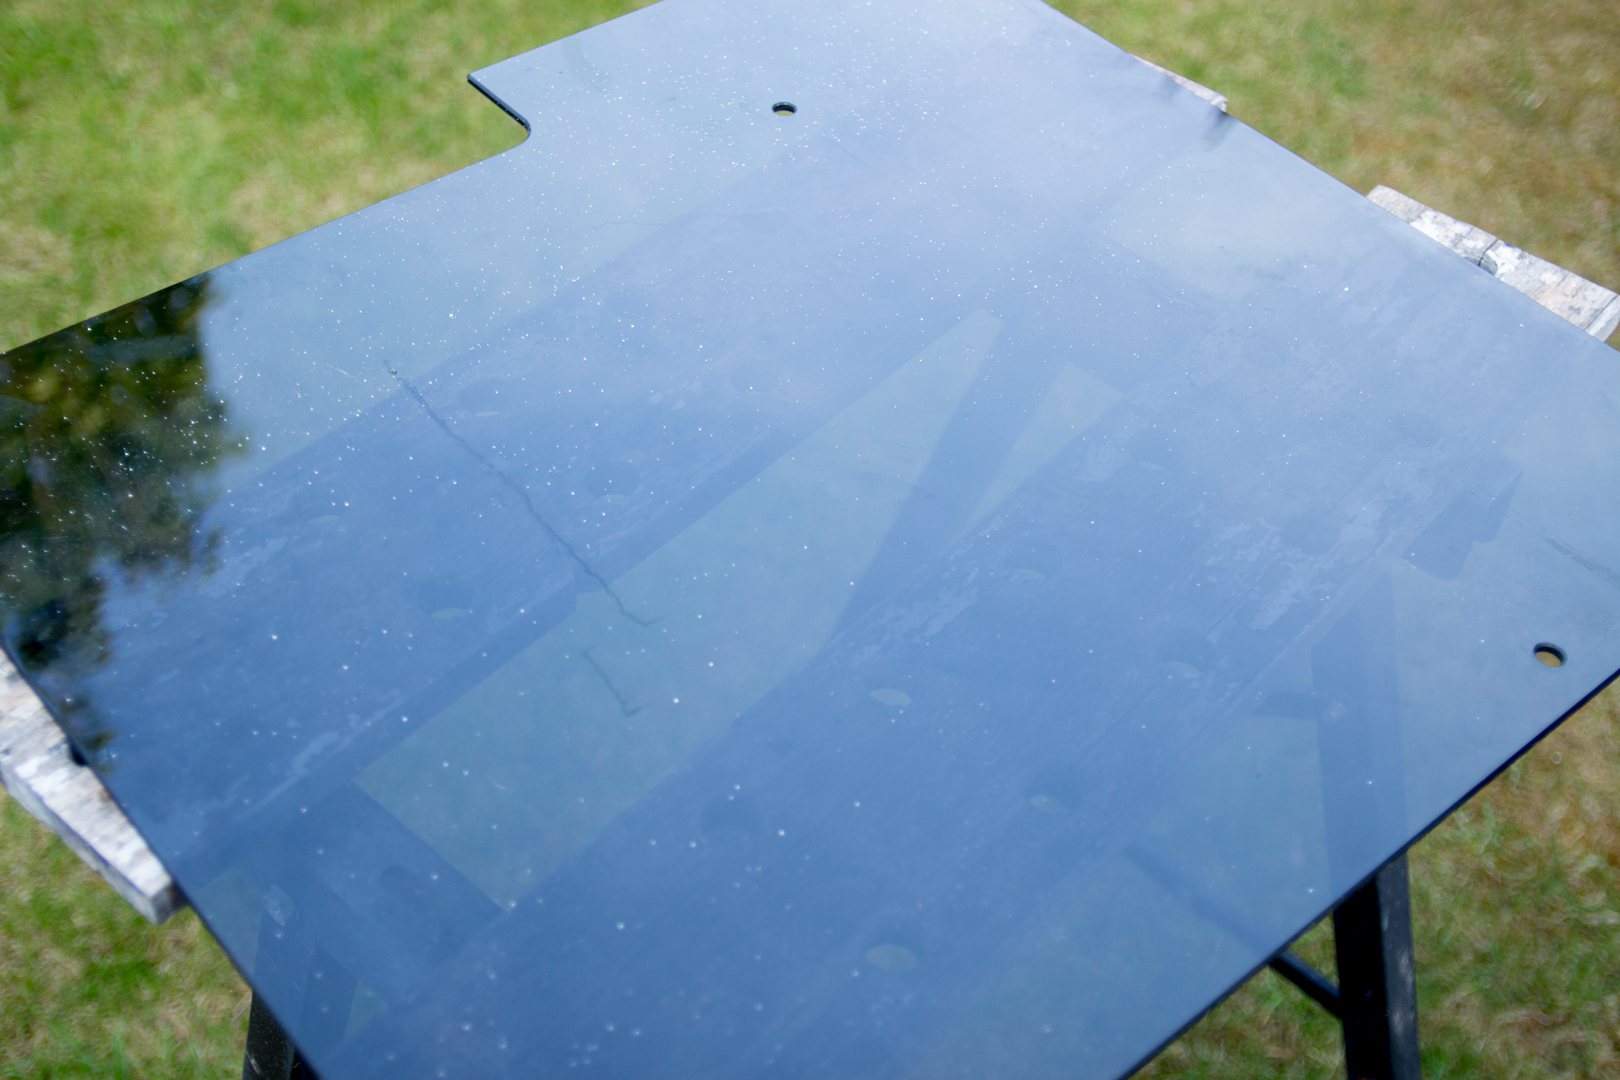

The glass I was using has been sat in my shed for a good 12 months. It is dusty, has speckles of paint on it, and is generally rather nasty. As always, prep is really important, so the first job with the glass is cleaning it up. I just used warm water and washing up liquid. It cleaned up a charm.
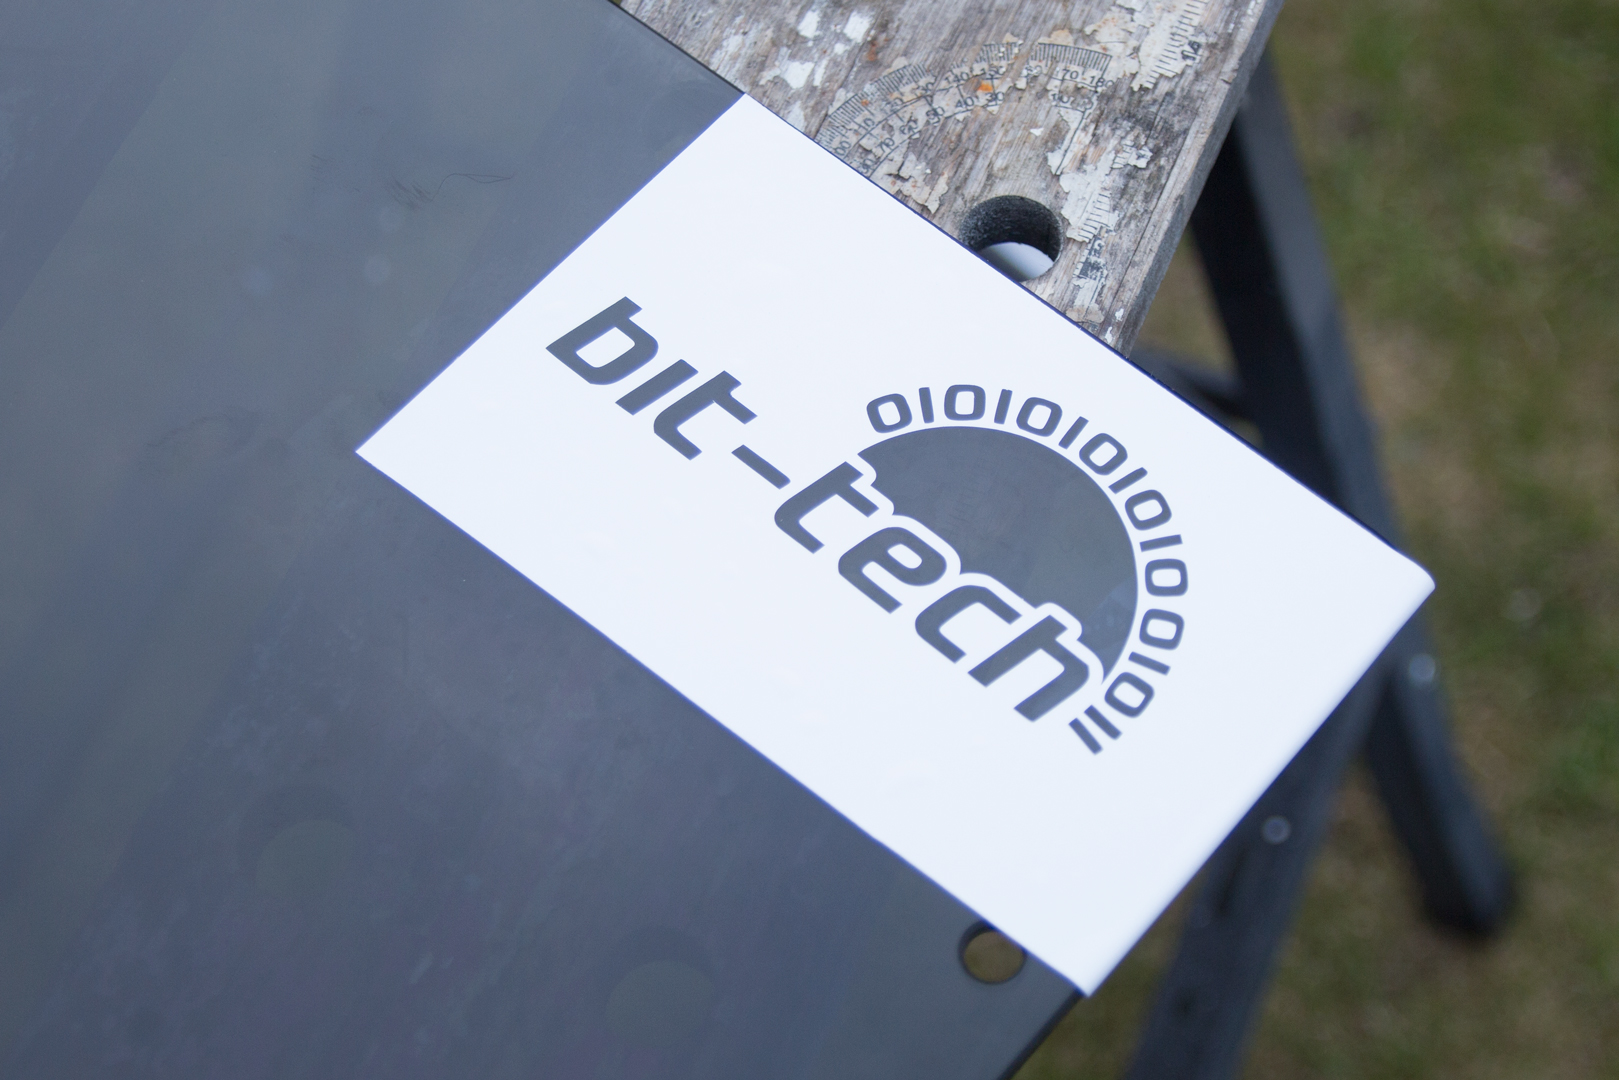
Then, once the glass had dried I lined up the logo so that it was straight and stuck the vinyl down.
I figured it would be really important that the vinyl stuck properly, as the cream will work its way into any little gap there is. I used a little vinyl tool that came with my plotter to rub it all over (oooh-er).
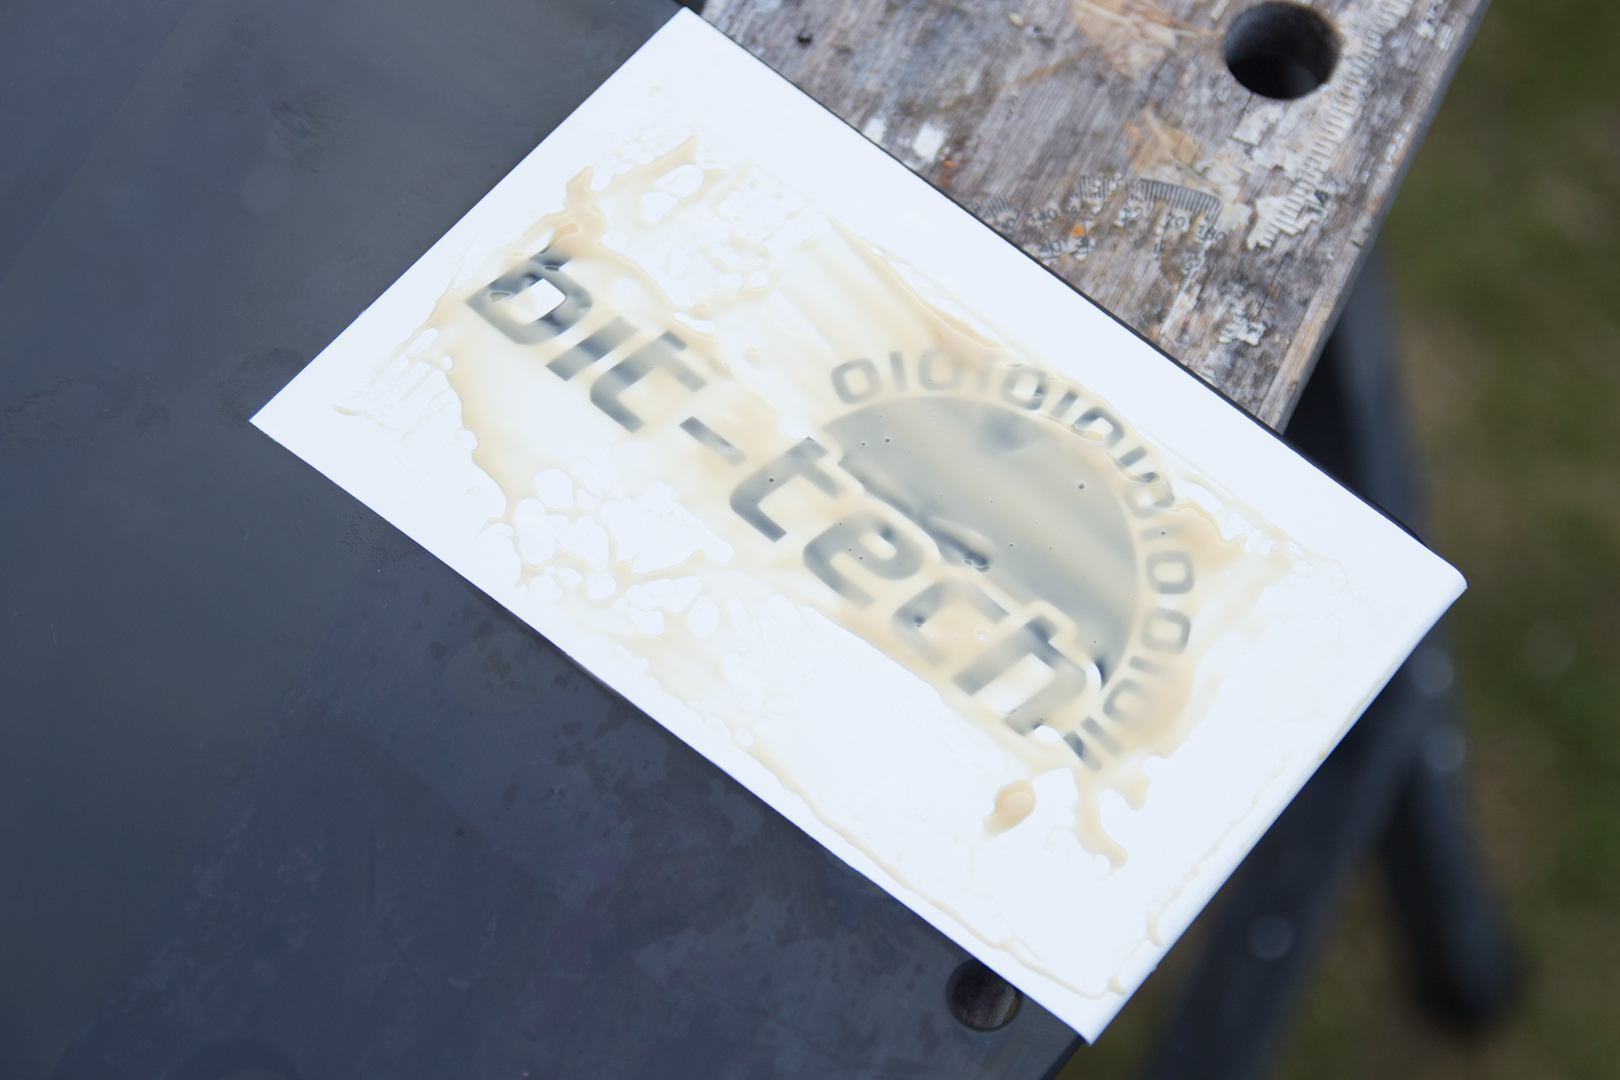
the instructions on the cream tell you to apply liberally, so, I did. I was really concerned about making sure that it was even across the whole stencil, though; I wanted a nice even etch with no patches. The cream can be reused, so there really is no point in being frugal with it.
After 15 minutes, scoop the cream back up and put it back into the bottle. Then, remove the stencil and give it a good clean. Do this straight away, as when you peel the stencil off, some of the cream does run onto the glass around the edges of the design. I just used some water and washing up liquid, and it worked fine. I was initially really disappointed in the result. It just didn't look great with the water on the glass, but as it started to dry, it started to look better.

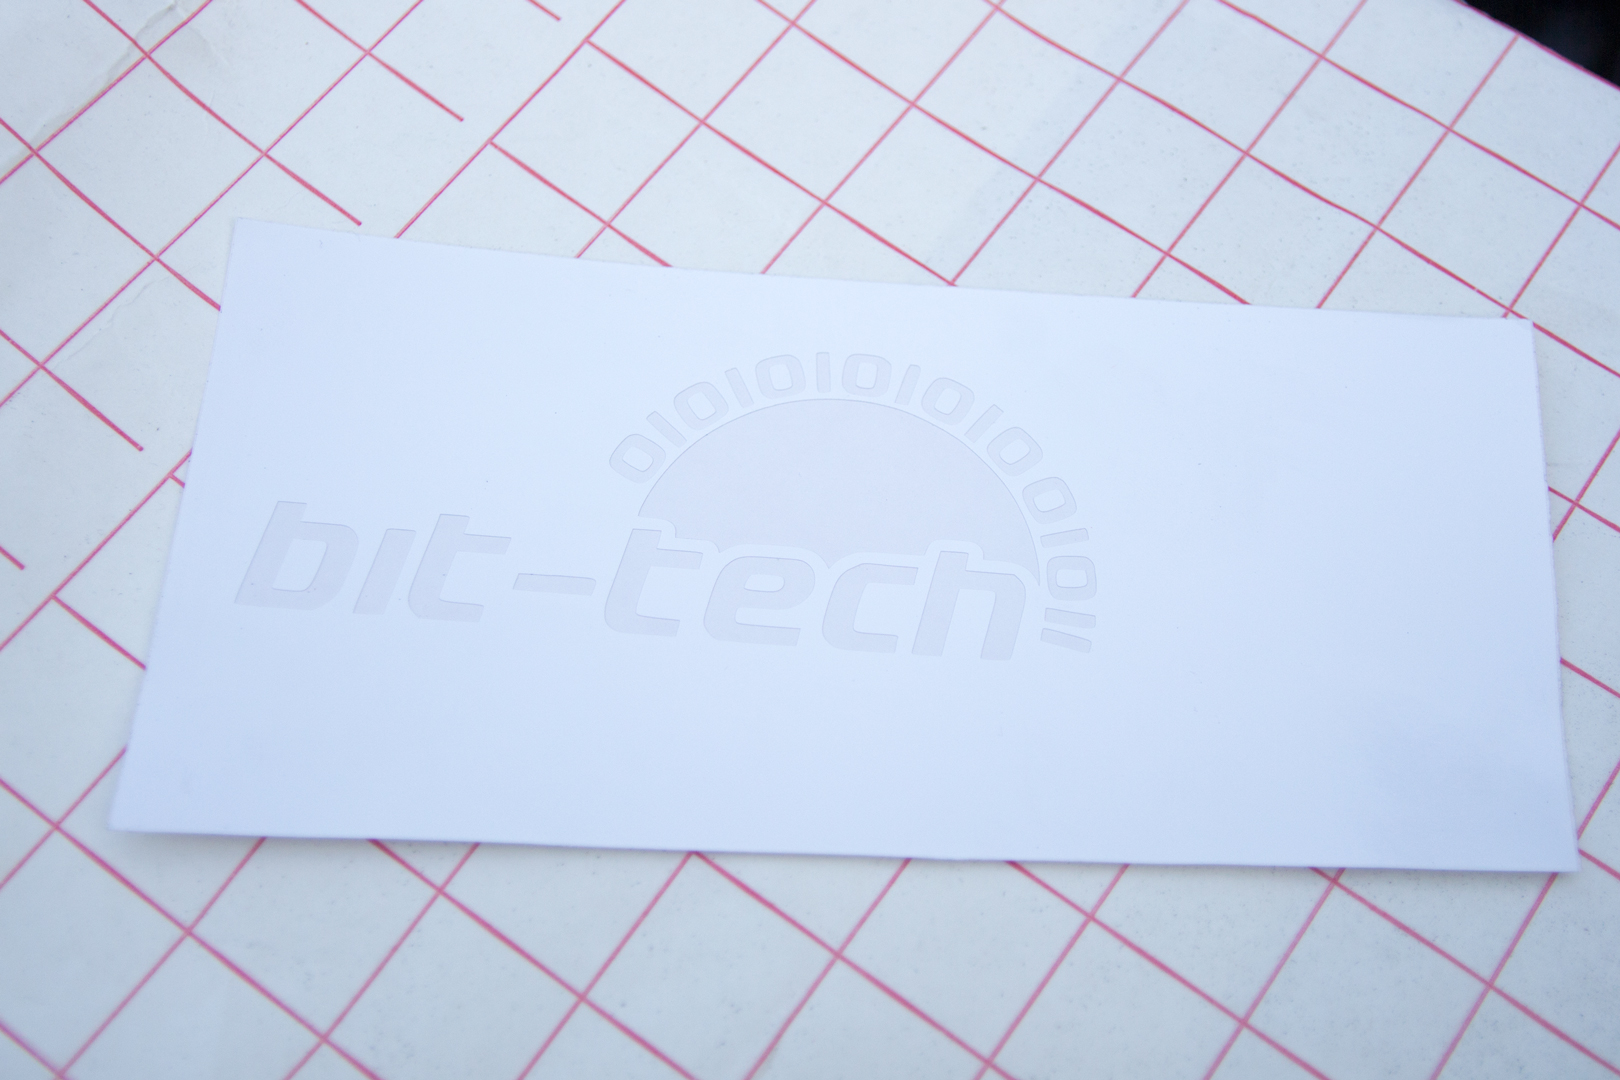
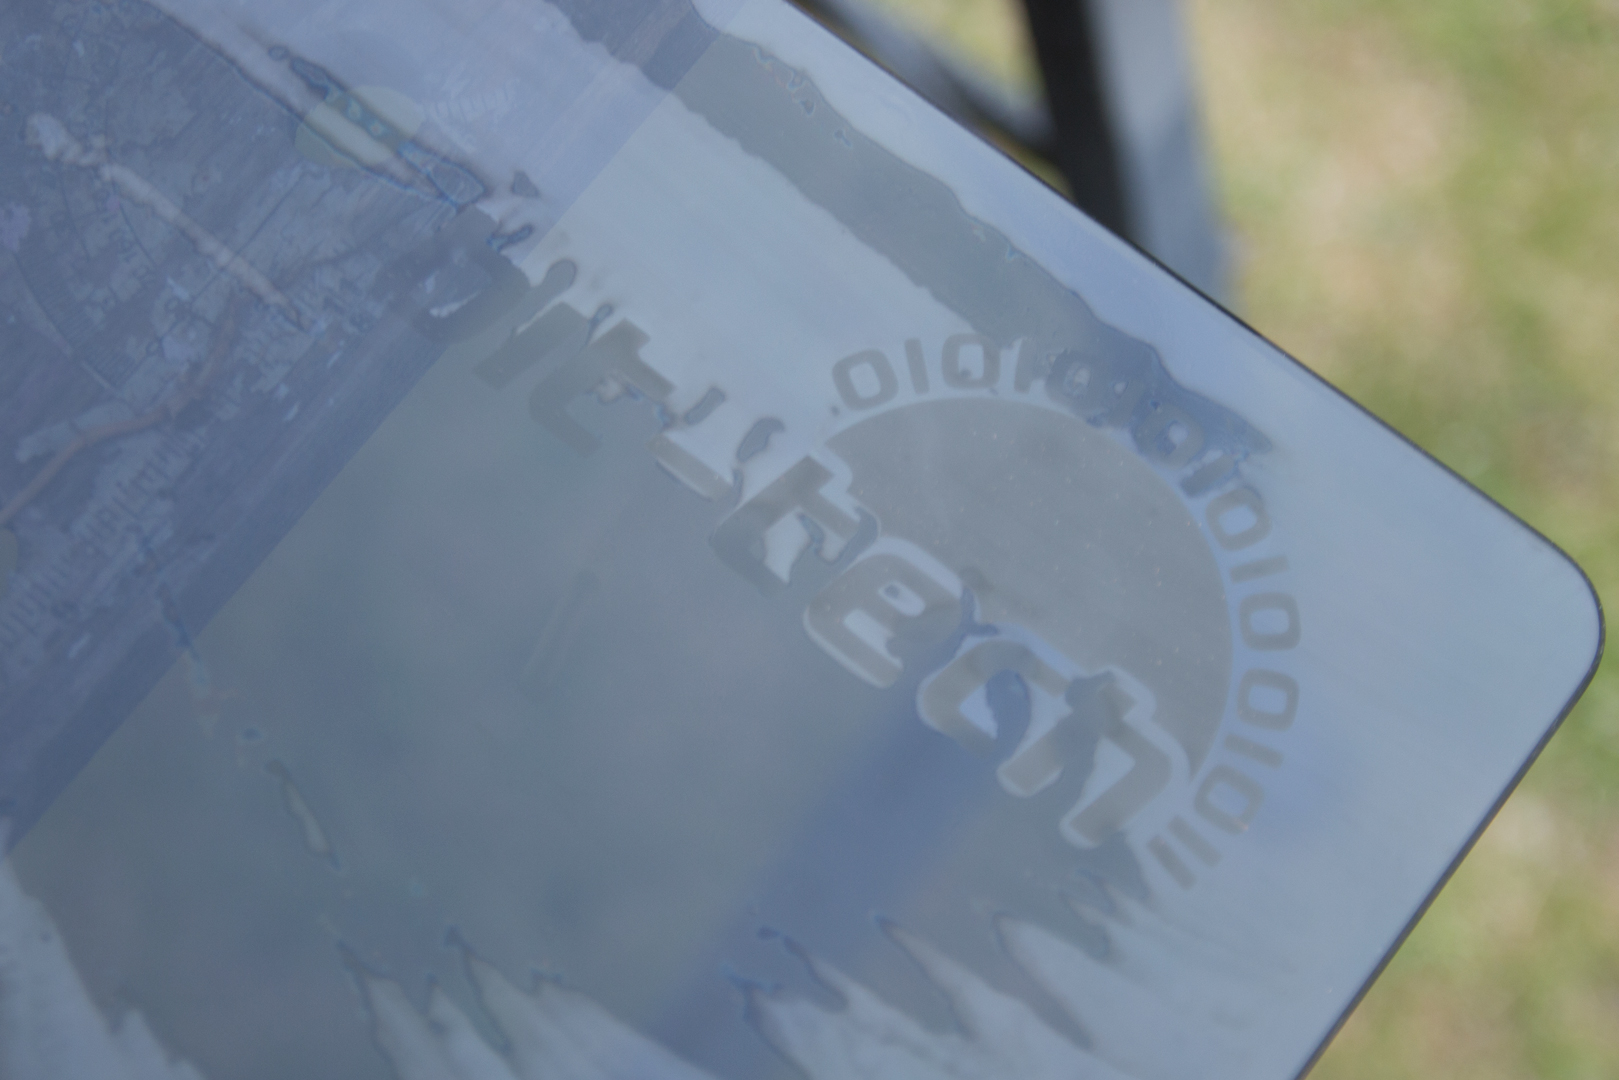
Once it dried completely, it looked amazing. I was really happy with how it looked.

The edges are really sharp, and the detail is all there, so much so, it actually shows the imperfections with the stencil! I didn't think the edges would be so crisp!
So, that is it! An awesome way to spruce up a tempered glass case. As tempered glass seems to be all the rage at the moment, it could really make your case stand out from the crowd. You are limited only by what designs you can think up. I know I will be using this method again, even after I finish the 'Alex MarzBar Brooks' build that I had this idea for.
If you use this method, show us your work! If you have any questions about this mod, ask away! I am here to try to help you guys, and the other forum members are fountains of knowledge too!
RELATED ARTICLES


MSI MPG Velox 100R Chassis Review
October 14 2021 | 15:04


Want to comment? Please log in.