It is time for another little Mini Mod! These are just little mods that spring to mind whilst working on builds. This one will help with our Alex 'MarzBar' Brooks build where we are really going to be concentrating on the cables.
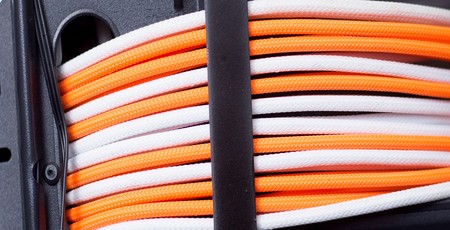
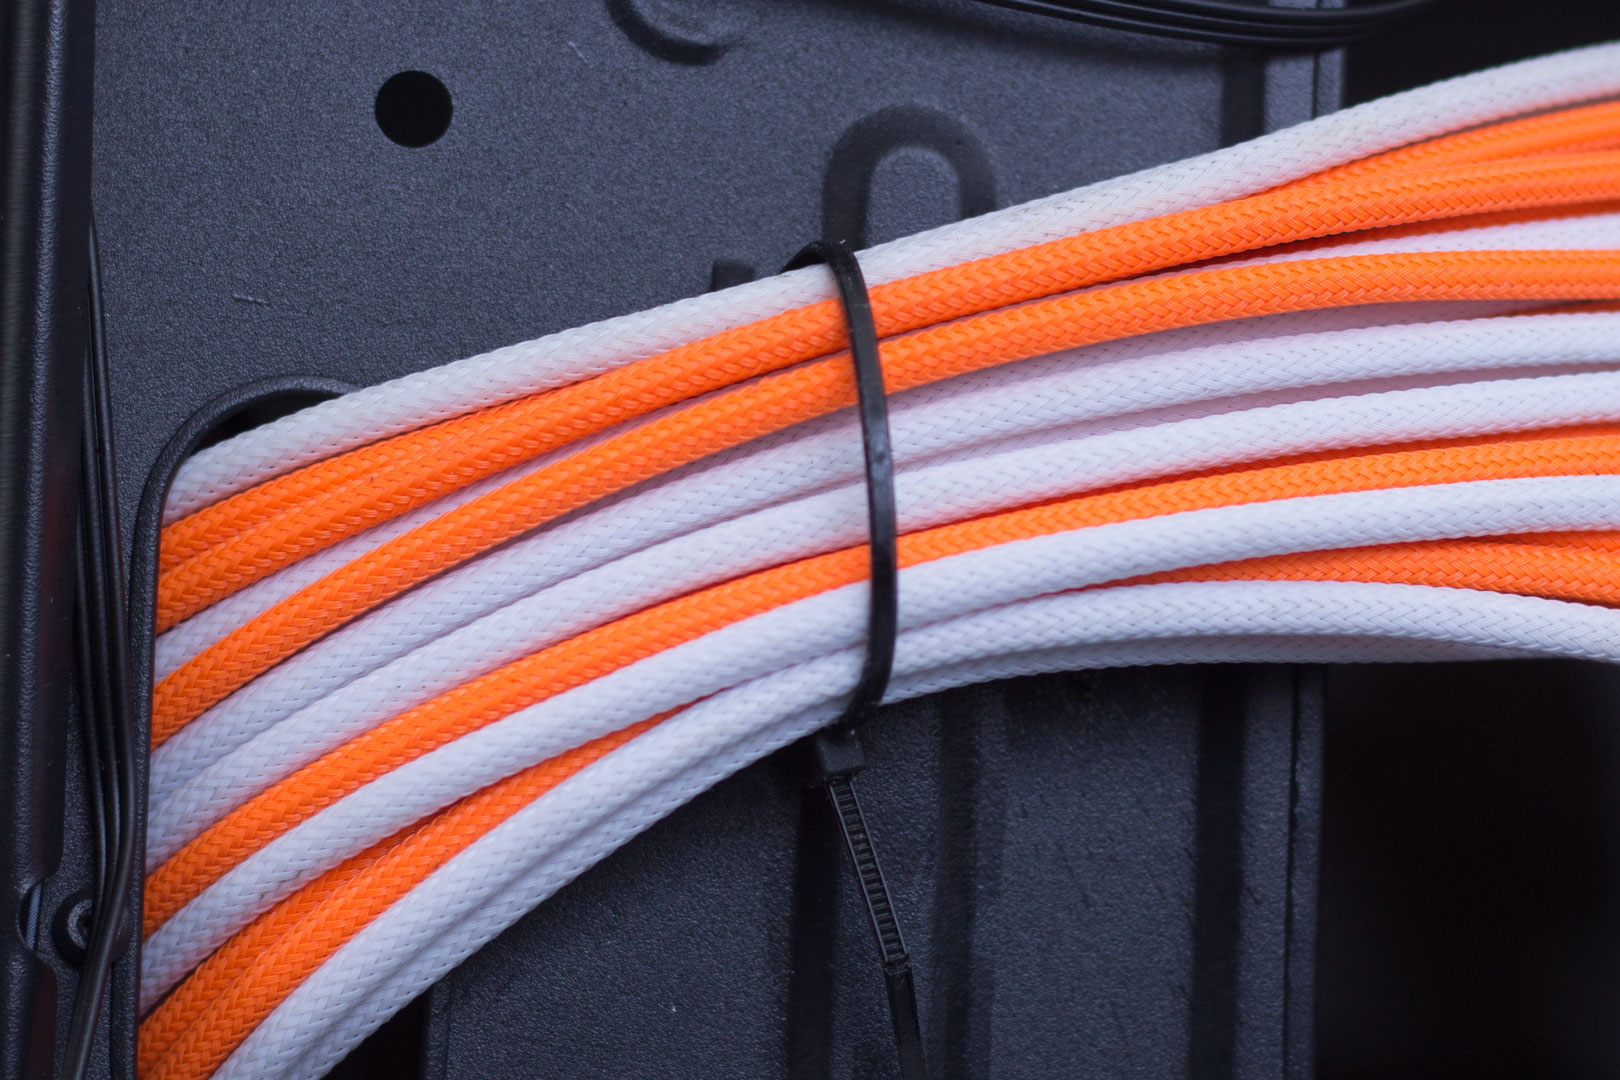
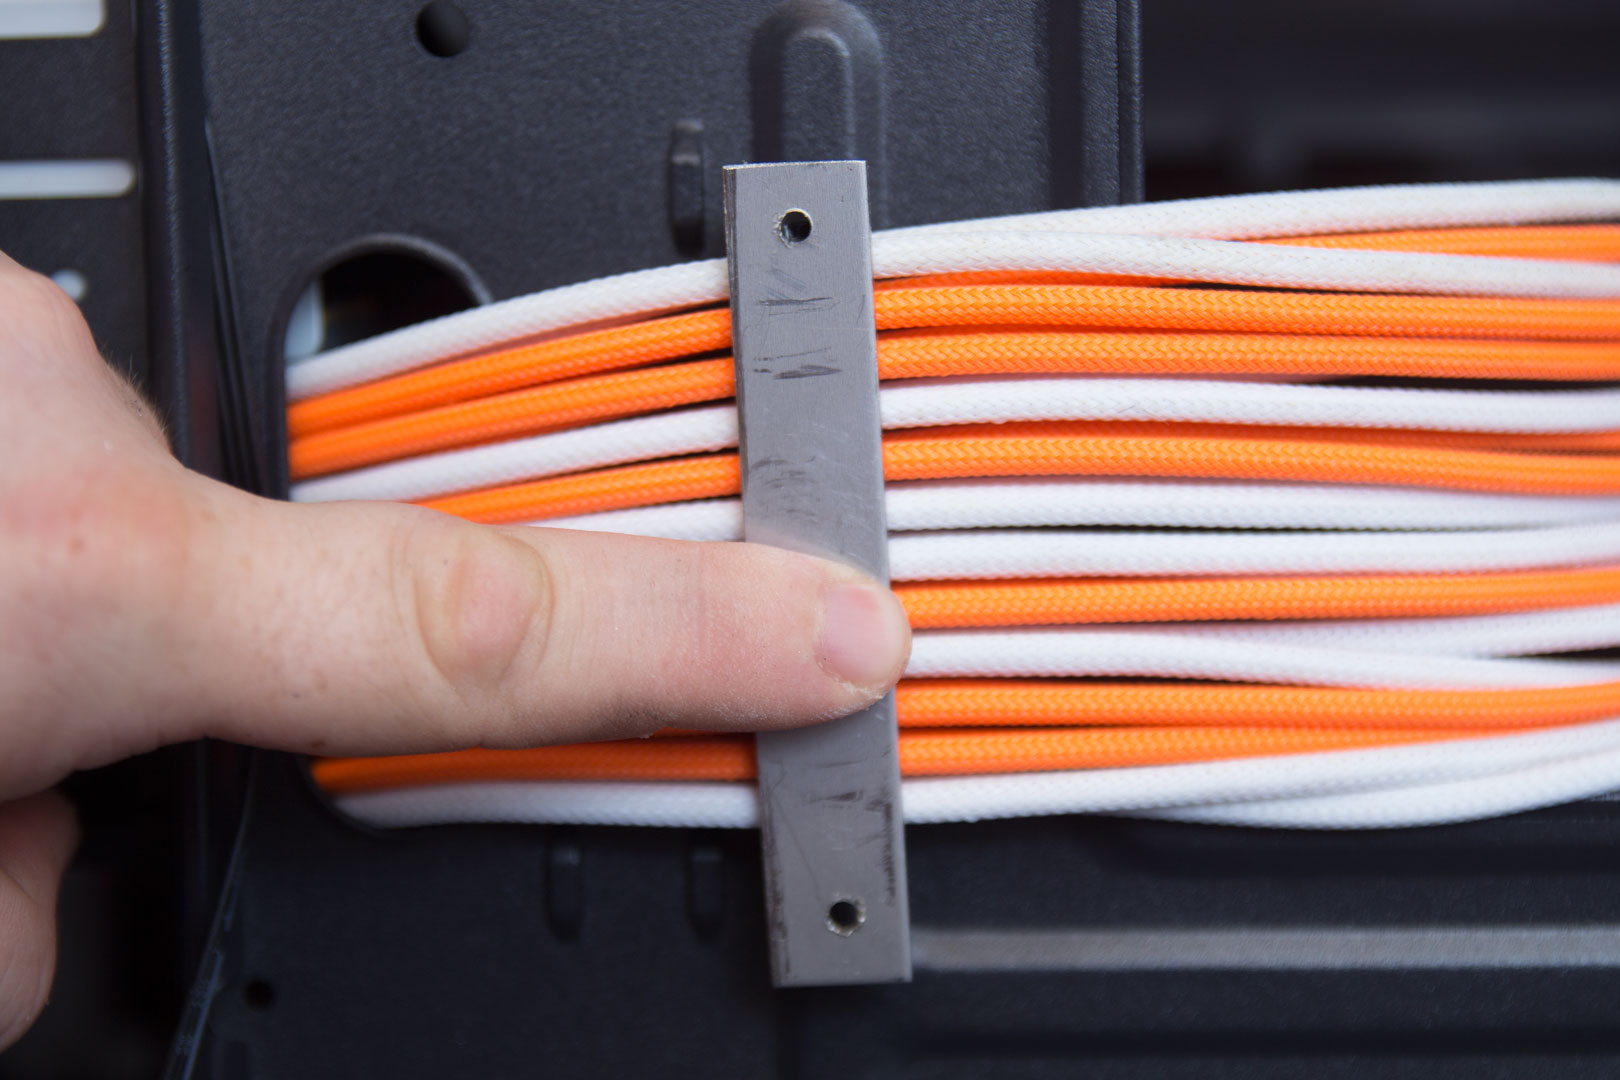
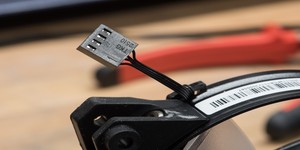
For this example, I just used a spare cable that I had lying around, as I don't want to spoil the way the MarzBar build looks just yet. The idea is still the same, though, and the technique is too. The reason I'm doing this is that using regular cable ties scrunches up the cables (see below) and creates a horrible effect. I don't want this at all; I want them to be flat and straight.
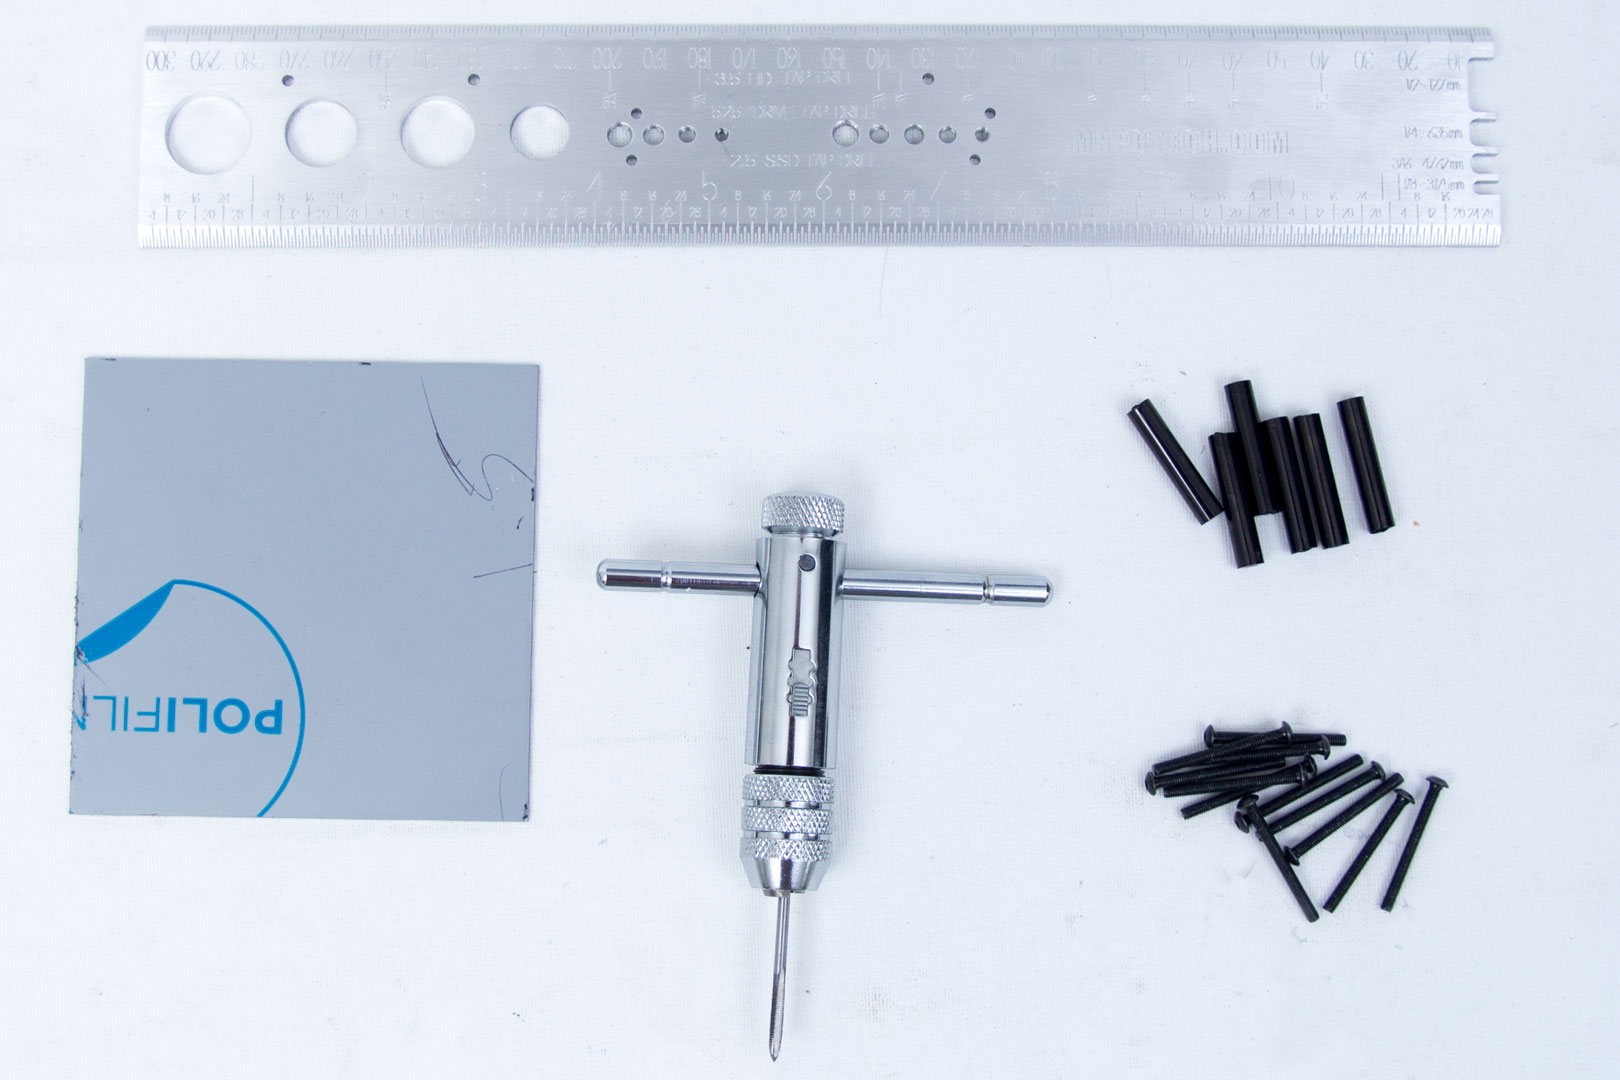
For the mod, you won't need much at all, just a bit of scrap material. In this case, it's some scrap aluminium, but you could use acrylic or steel if you like, anything really. You will also need some screws and some spacers. You can choose whether to use a nut or just tap the threads directly where you want them on the computer case. I chose to tap the thread, so I needed an M3 tap too. You will also need a saw and a drill.
This whole mod cost me around £1.20, and that was for a bag of around 50 30mm spacers. The rest of the materials are scrap bits, and the tools are ones which most of us have already. The tap that we're using this time is very cheap too, It's less than £15, but it does the job with thin metals that are used in computer cases, so don't be afraid to look at cheaper tools. You do get what you pay for, though.
The first step is to measure and mark out how wide you want your brackets. I went for 15mm, as this is just a nice little example to show what I'm doing. You could go as wide or thin as you want; it doesn't really make any difference. A wider bracket would mean being able to personalise the clamp, which I will be doing for the MarzBar build, although I am still working out exactly what design to use there.
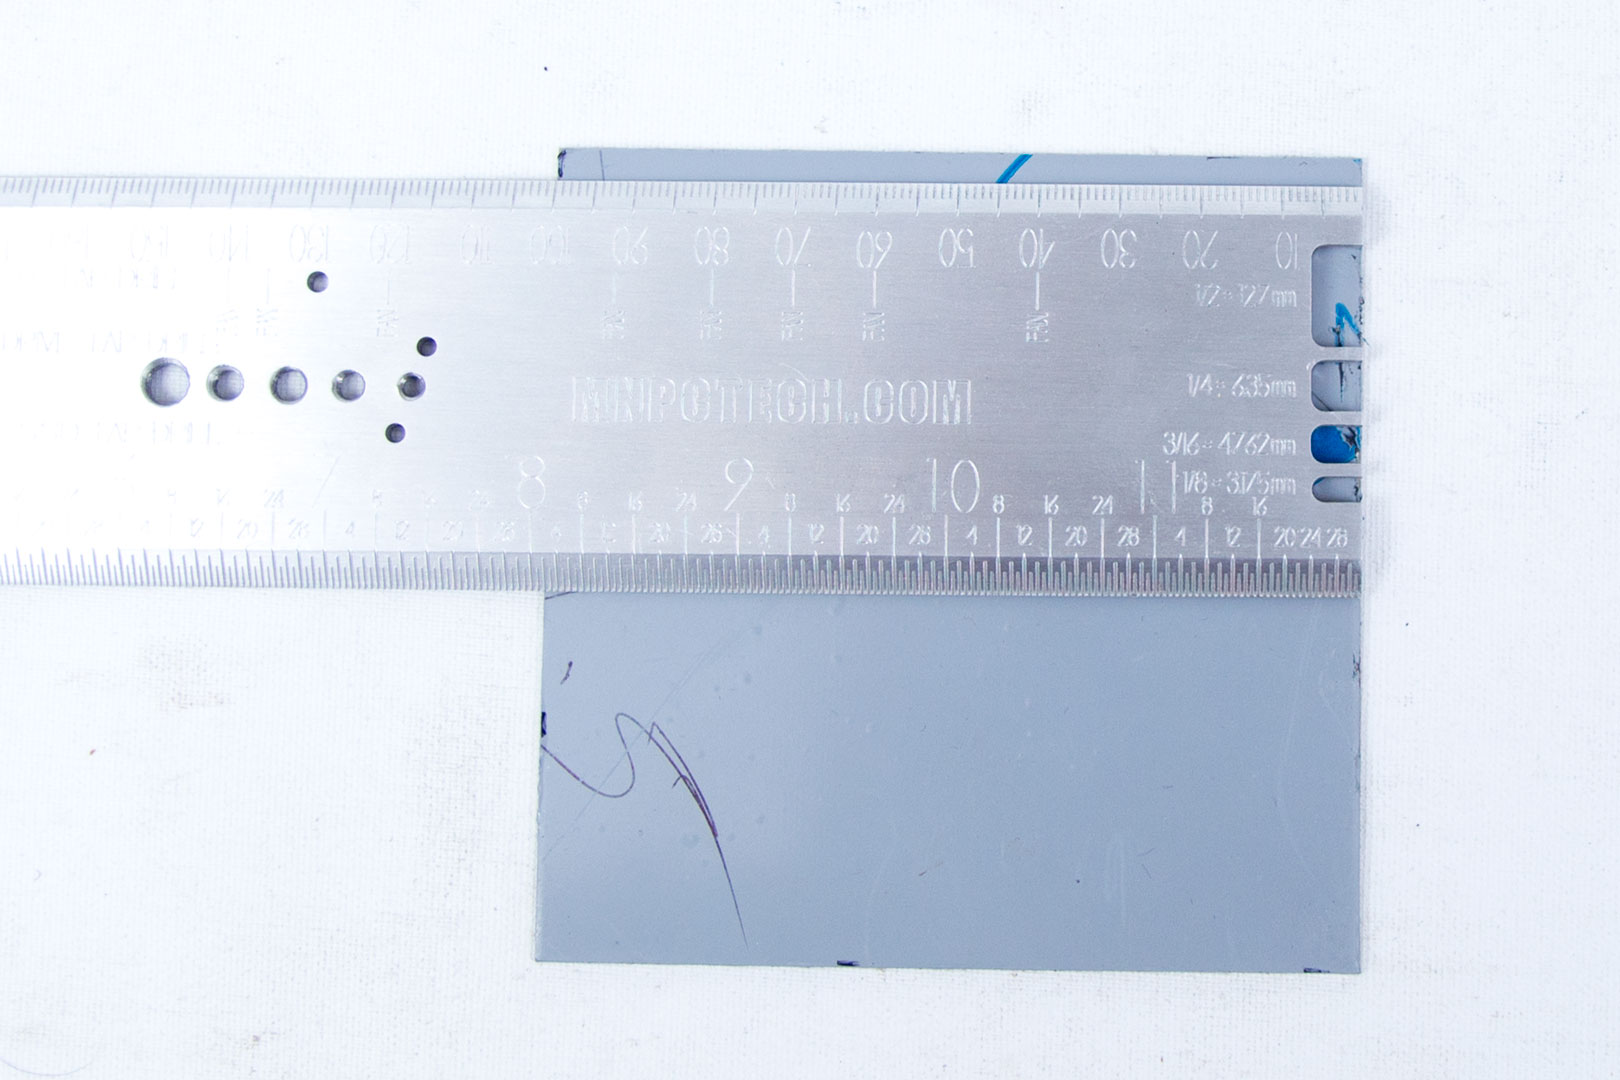
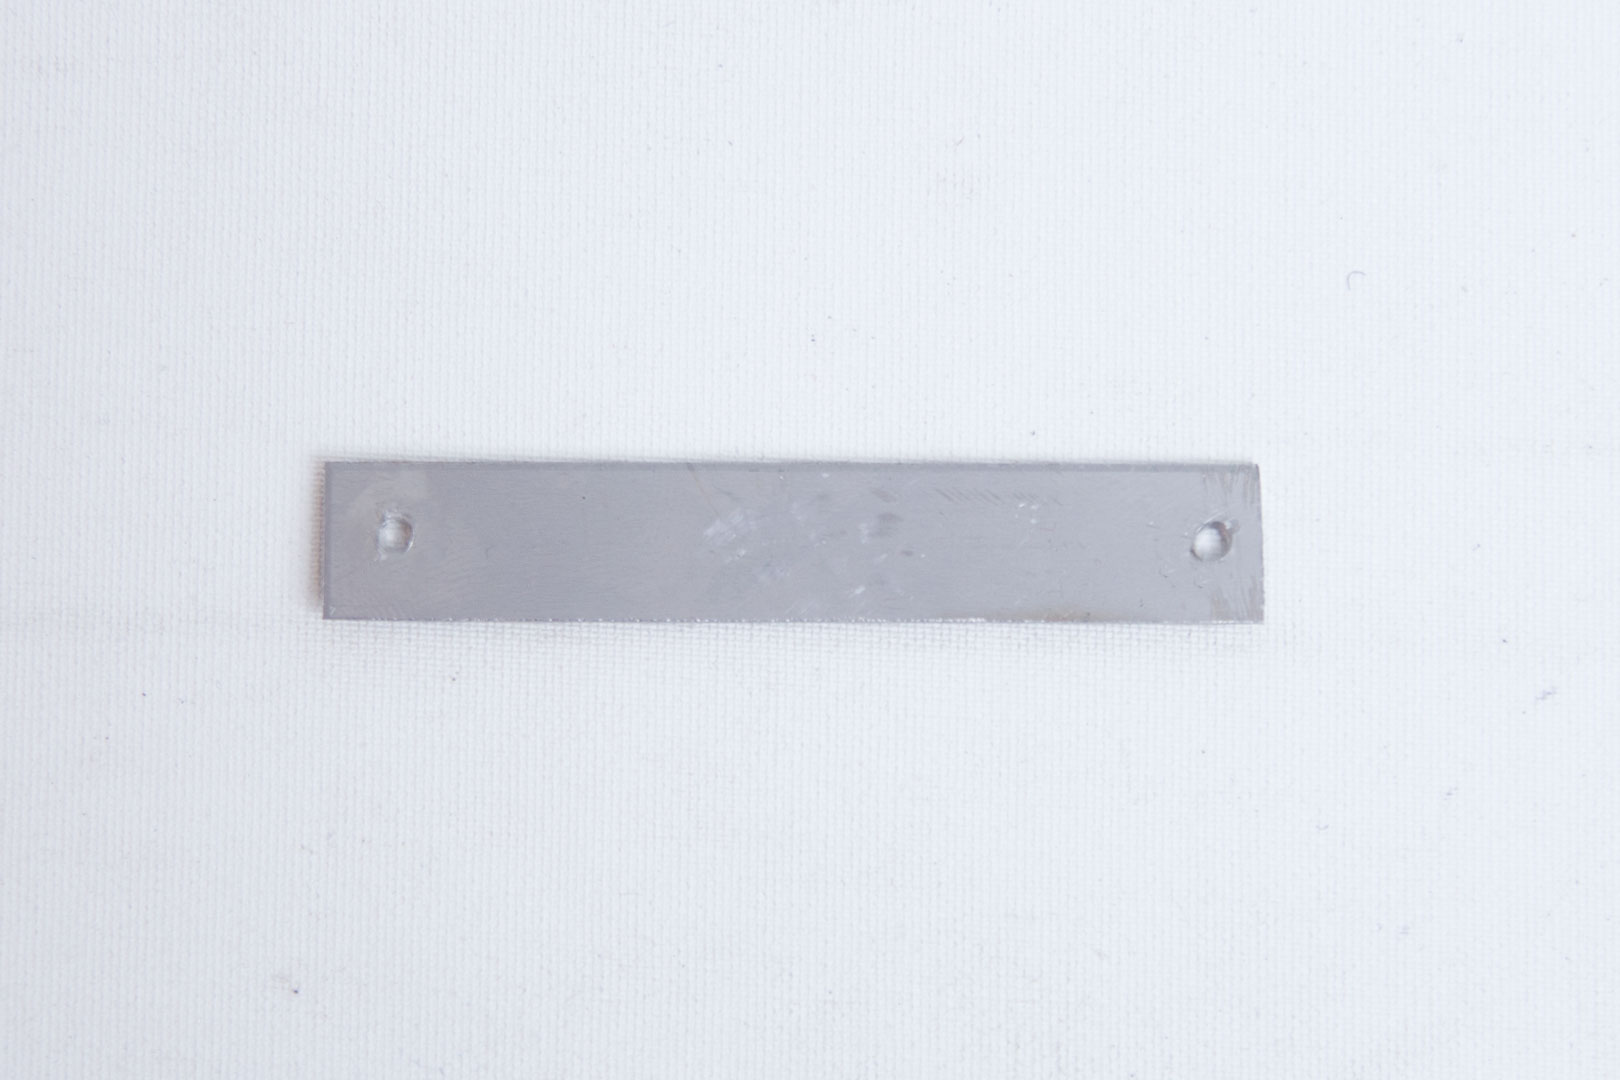
Once you've measured everything twice (measure twice, cut once!), it's time to cut it. As per usual, it was raining whilst doing this, so I was limited as to what tools I could use. All my power tools had to stay in the shed, so I was left with a junior hacksaw and a file. It worked just as well as the other I am making, although it doesn't look quite as neat. Once it's cut, drill two holes in: one at either end.
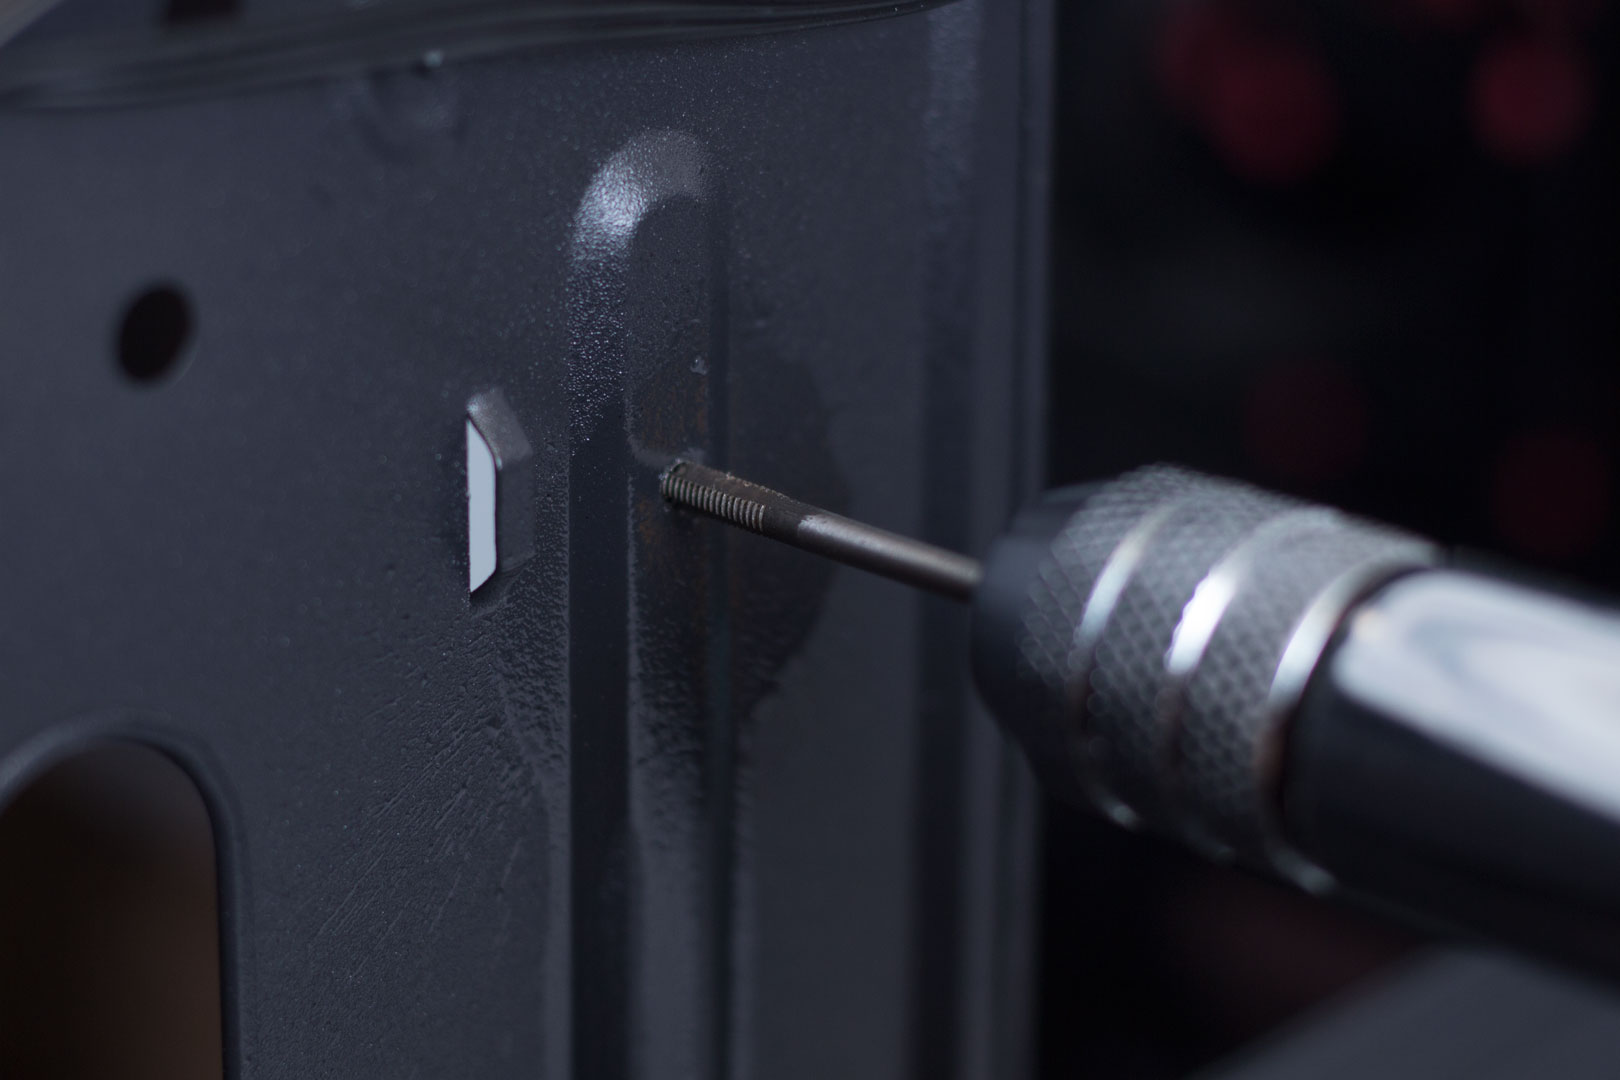
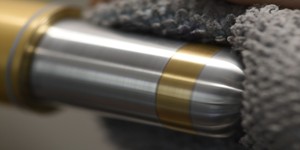
The next job is to drill the holes in the case. Make sure you have nothing behind where you are going to drill! I simply held the bracket in place then marked where I wanted the holes.
After using a 2.5mm drill bit, I used the M3 tap to make a thread. Always use cutting oil when tapping a thread, and put it on the tap as well as the hole you have drilled. If you don't have cutting oil, something like WD-40 will do it if needs be. Also, when using a tap, if you start to get any resistance, back the tap off and then start again. This will remove the shavings from the tap and allow you to continue. If you don't do this, you could damage the tap or ruin the thread you're trying to create.
RELATED ARTICLES


MSI MPG Velox 100R Chassis Review
October 14 2021 | 15:04


Want to comment? Please log in.