At the moment, I'm working on AMOS V2 - A Corsair and MSI build for Alex 'MarzBar' Brooks, and as it progresses, we wanted to show some quick 'mini mods' as we did them. Over time, this approach will allow us to build up a series of guides that tie into larger projects.
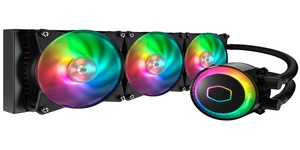
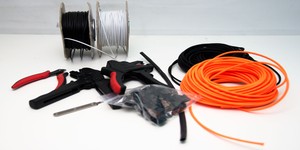
Now, It isn't often that I get to use an AIO whilst modding, as usually I use custom cooling, but there are still a few mods we can do. I'll be working with the Corsair Hydro Series H115i, but this mod will work with other Corsair AIO coolers in the range. You won't need many supplies for this mod: some fine sandpaper, a bit of vinyl, and some spray paint. You'll also need either a craft knife or a vinyl plotter.
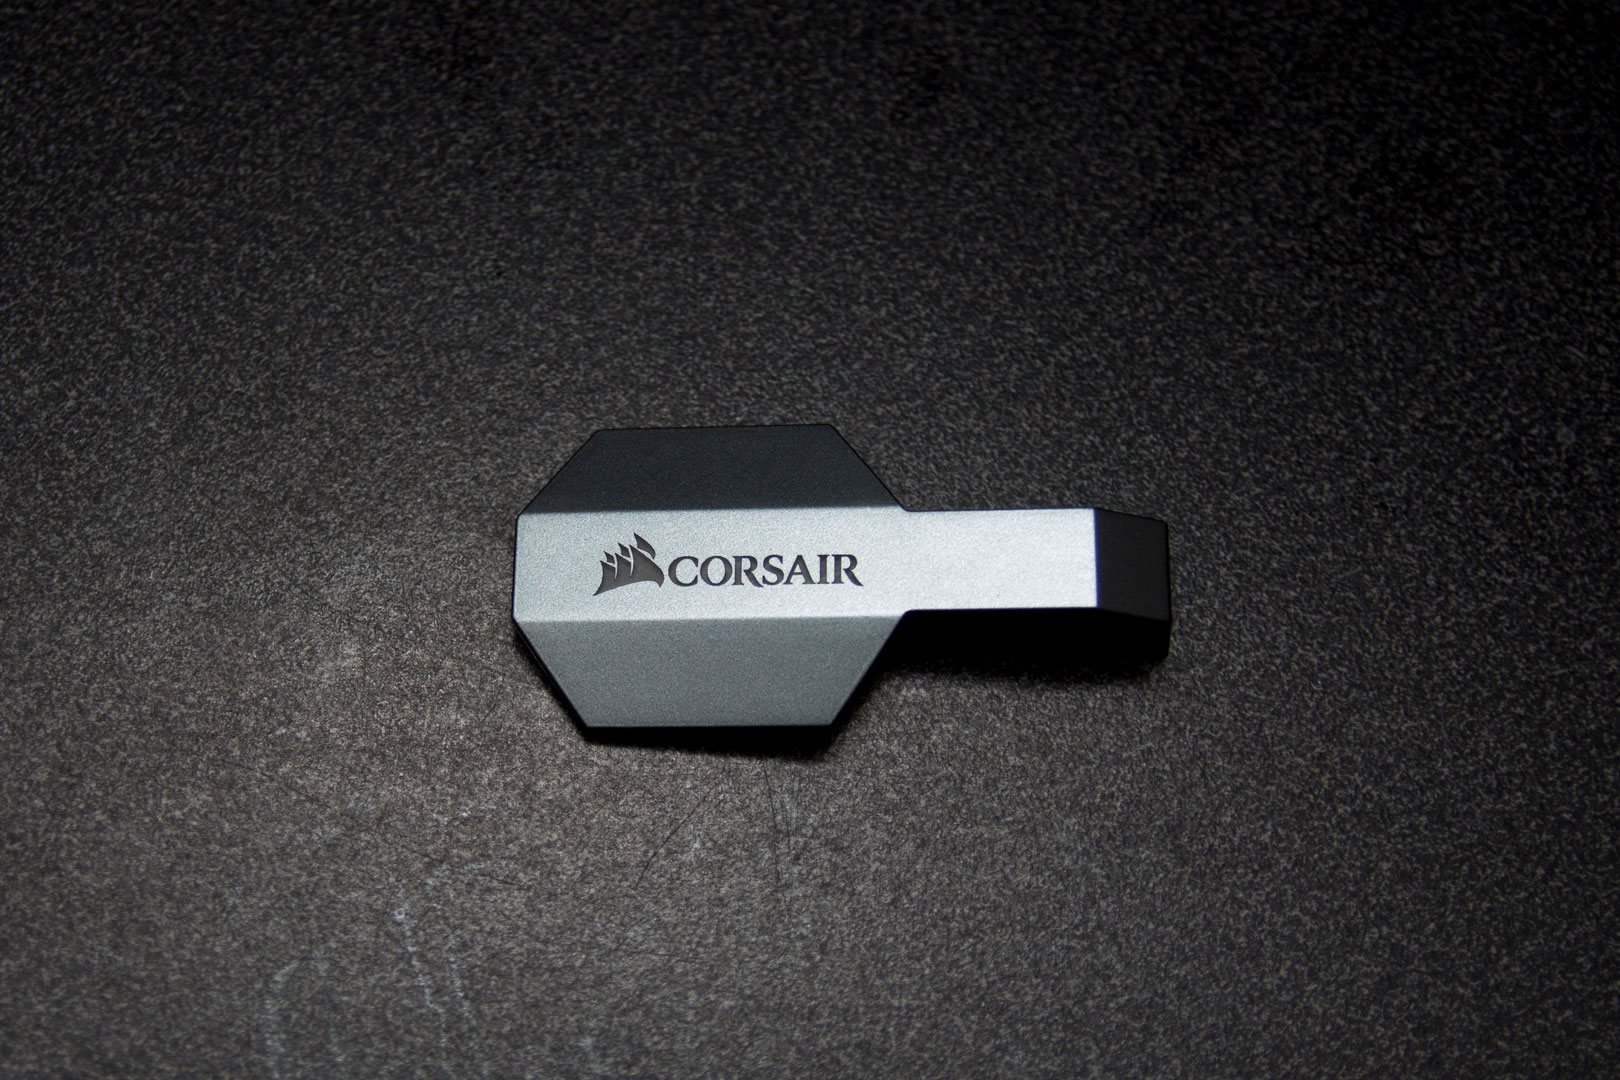
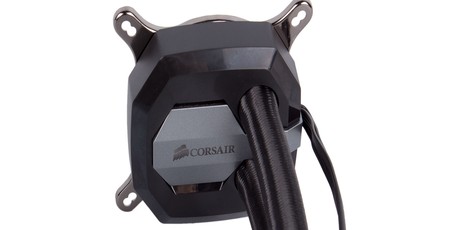
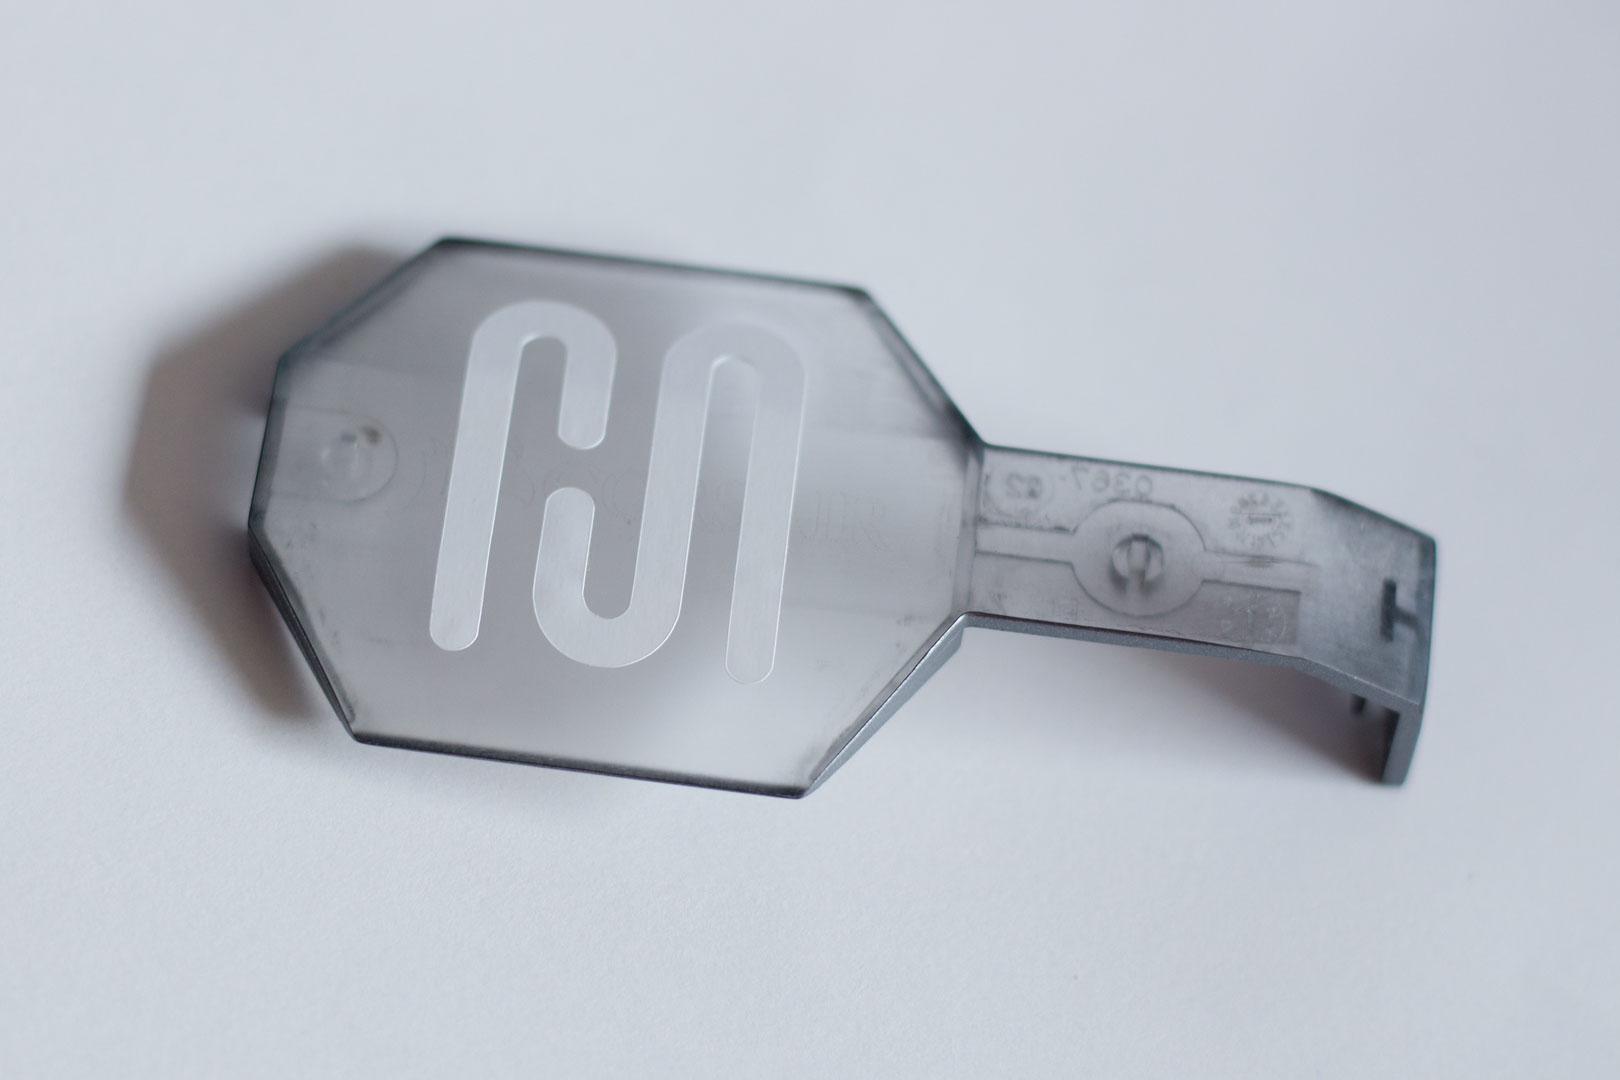
This is what we will be modding. Usually, the Corsair logo glows a nice bright white, and we want to utilise this to create something a little more personalised. This little bit of trim can be removed very easily: Simply pull it off; you don't need any tools.
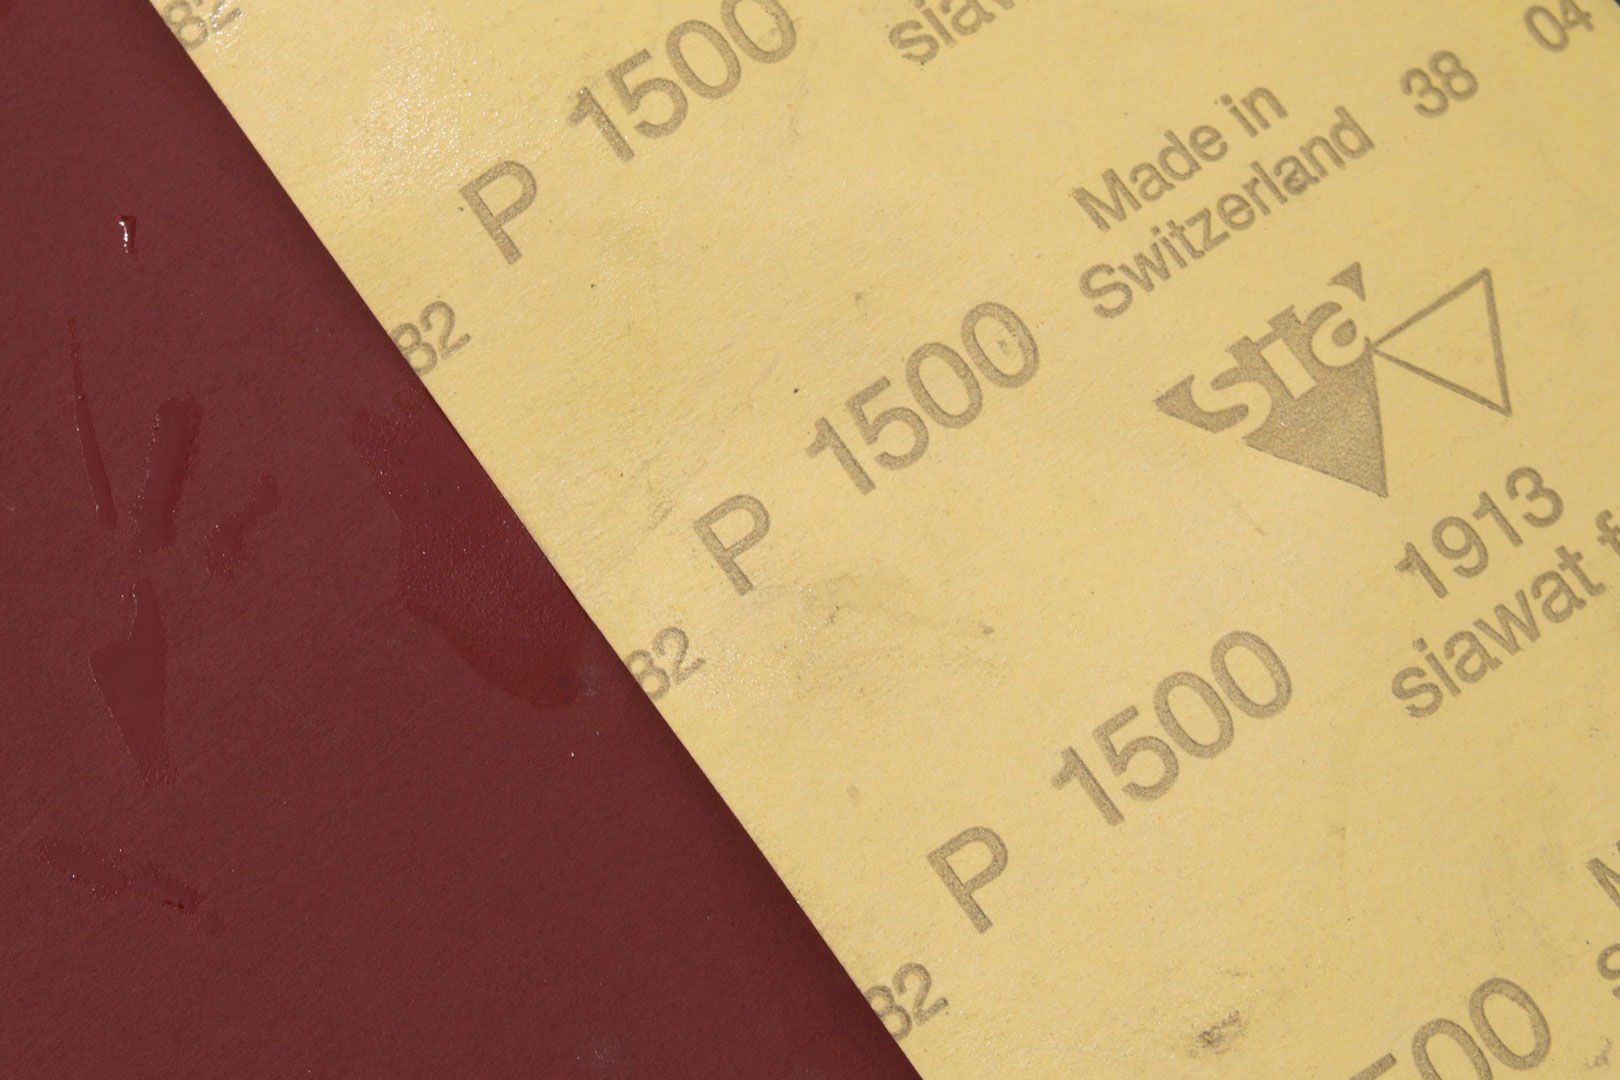
You will need some fine sand paper; anything above 1500 will work, and the finer the better. I wouldn't go lower than 1500 grit, as it will mark the plastic when you are sanding. This is just very cheap wet and dry sandpaper, so you don't need to spend a fortune. If you use some water with a drop of washing up liquid in, it will help the sanding process, as it will remove the fine dust as well as reducing the friction.
After a few minutes, you can see just how the sanding is working. I find it easier to put the sandpaper on a flat surface and slide the actual plastic cover rather than holding the sand paper. This just makes everything easier to hold.
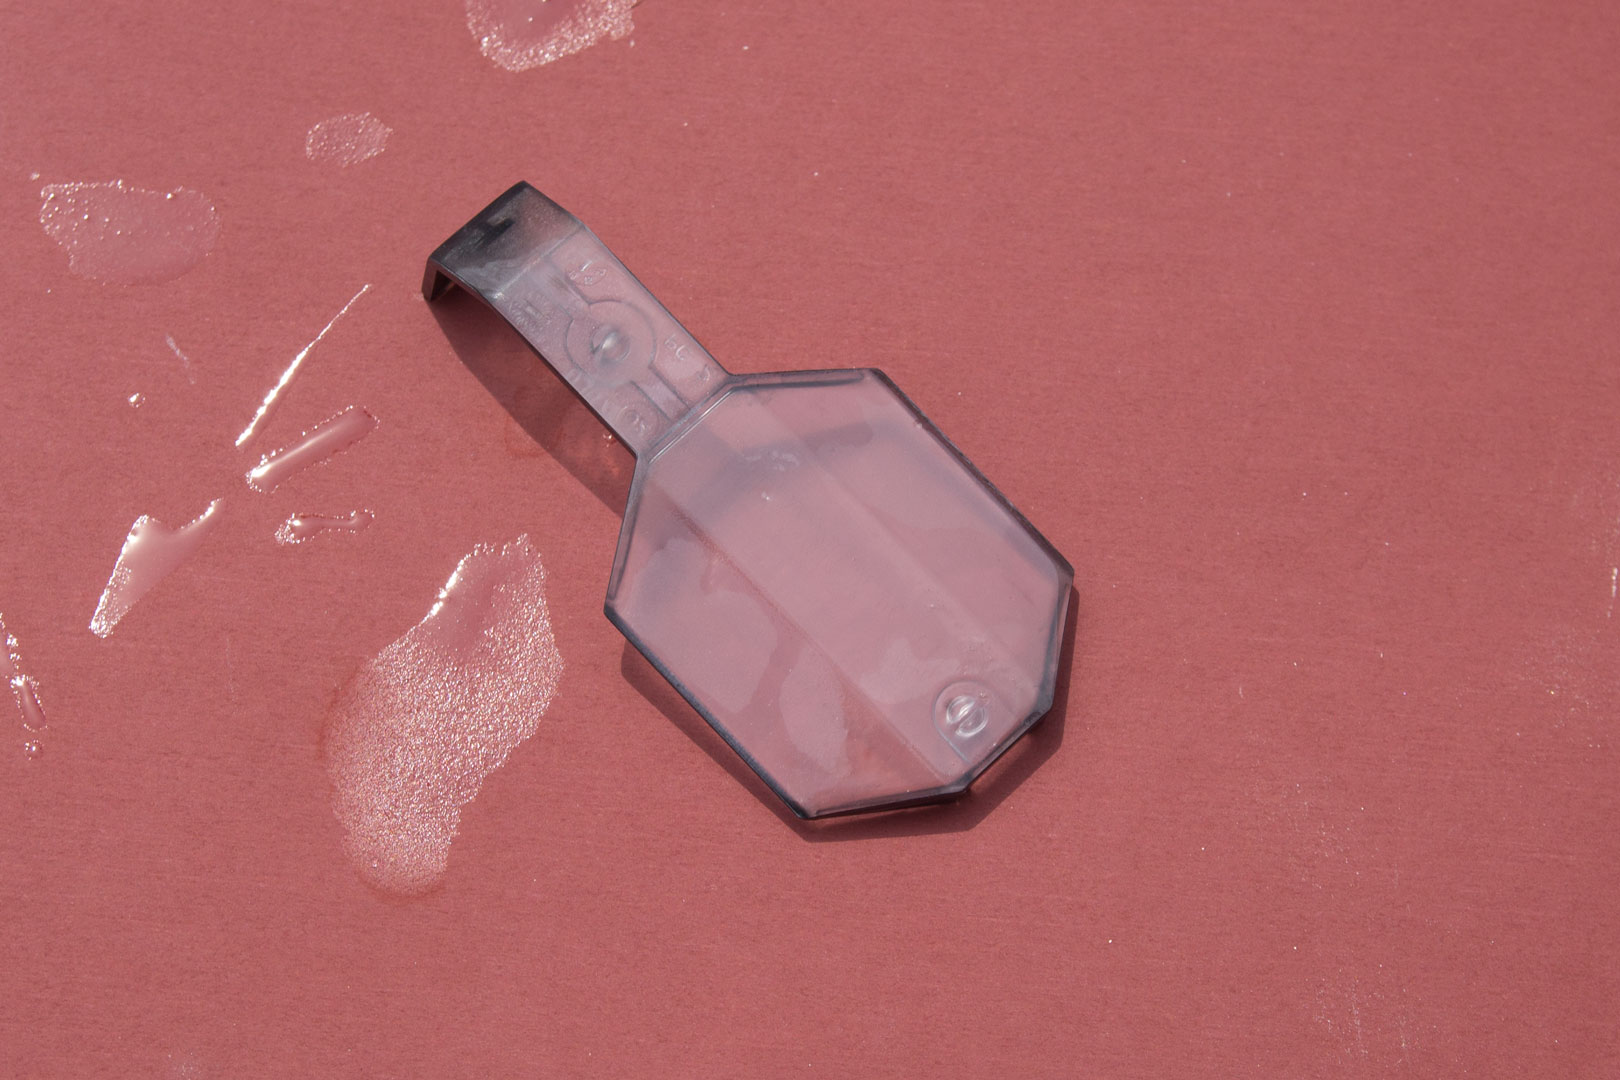
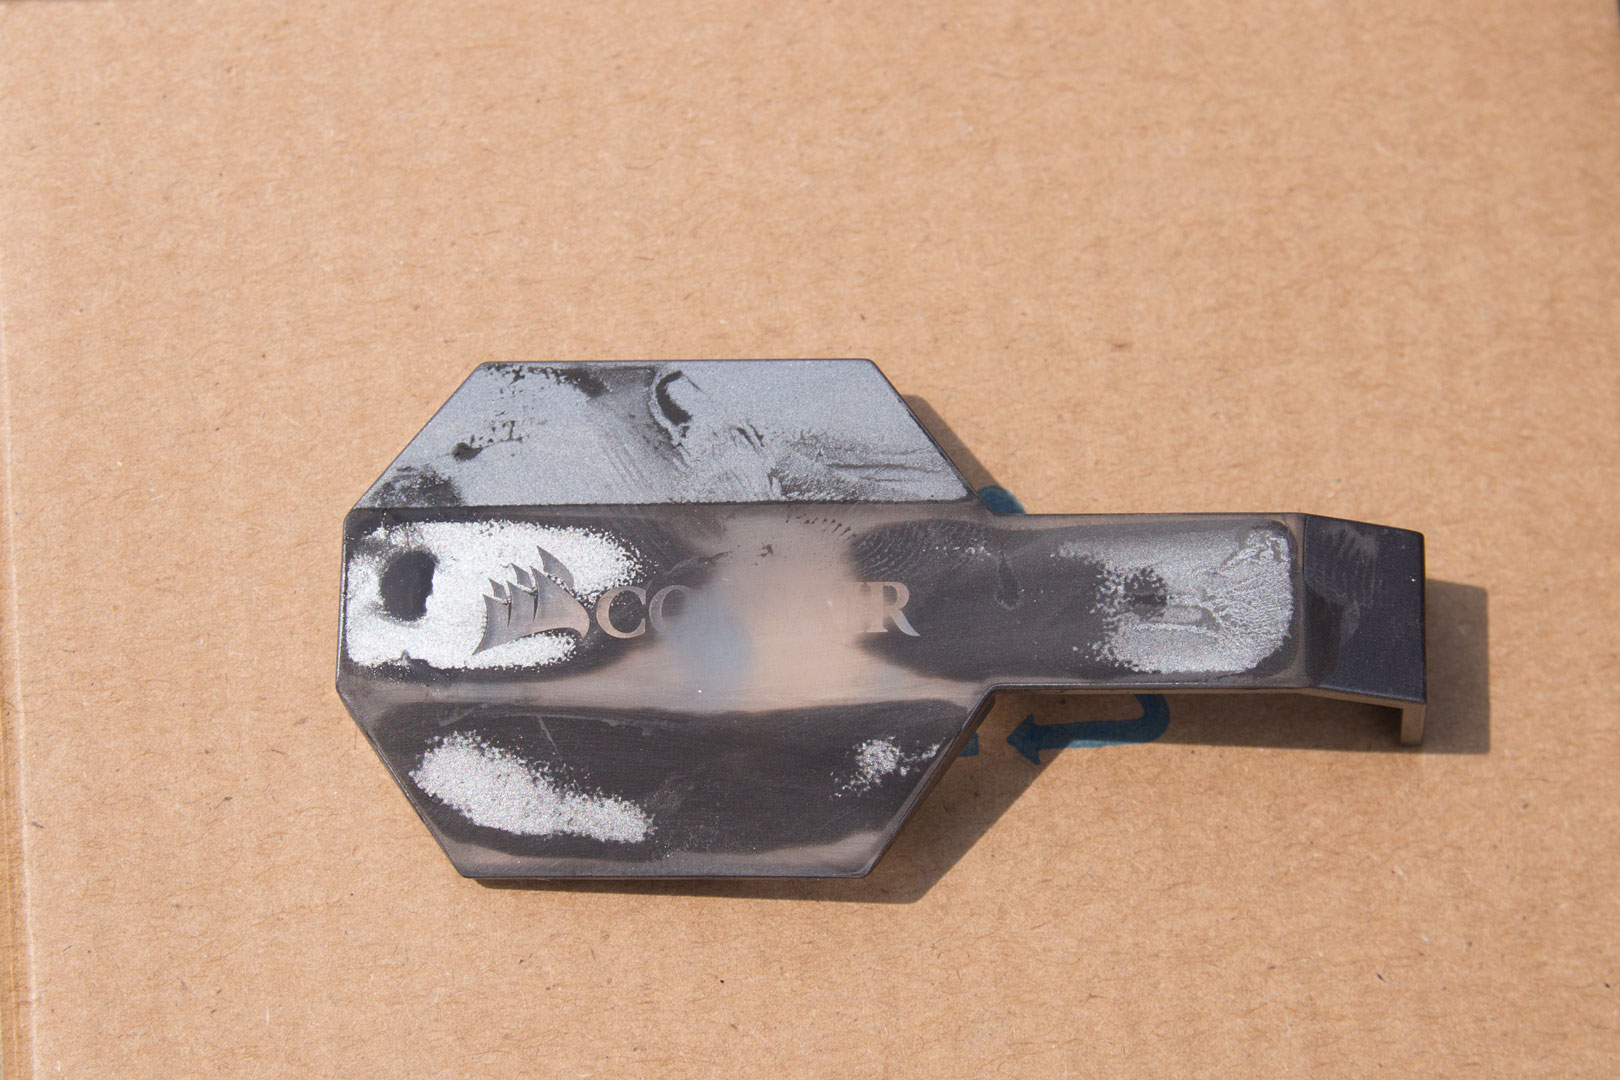
It doesn't take long to get to this point. The plastic is now really clear, and you now have a blank canvas to work with.Don't worry too much about the edges of the trim, as we will be respraying this part soon, so it doesn't matter that there is some paint remaining.
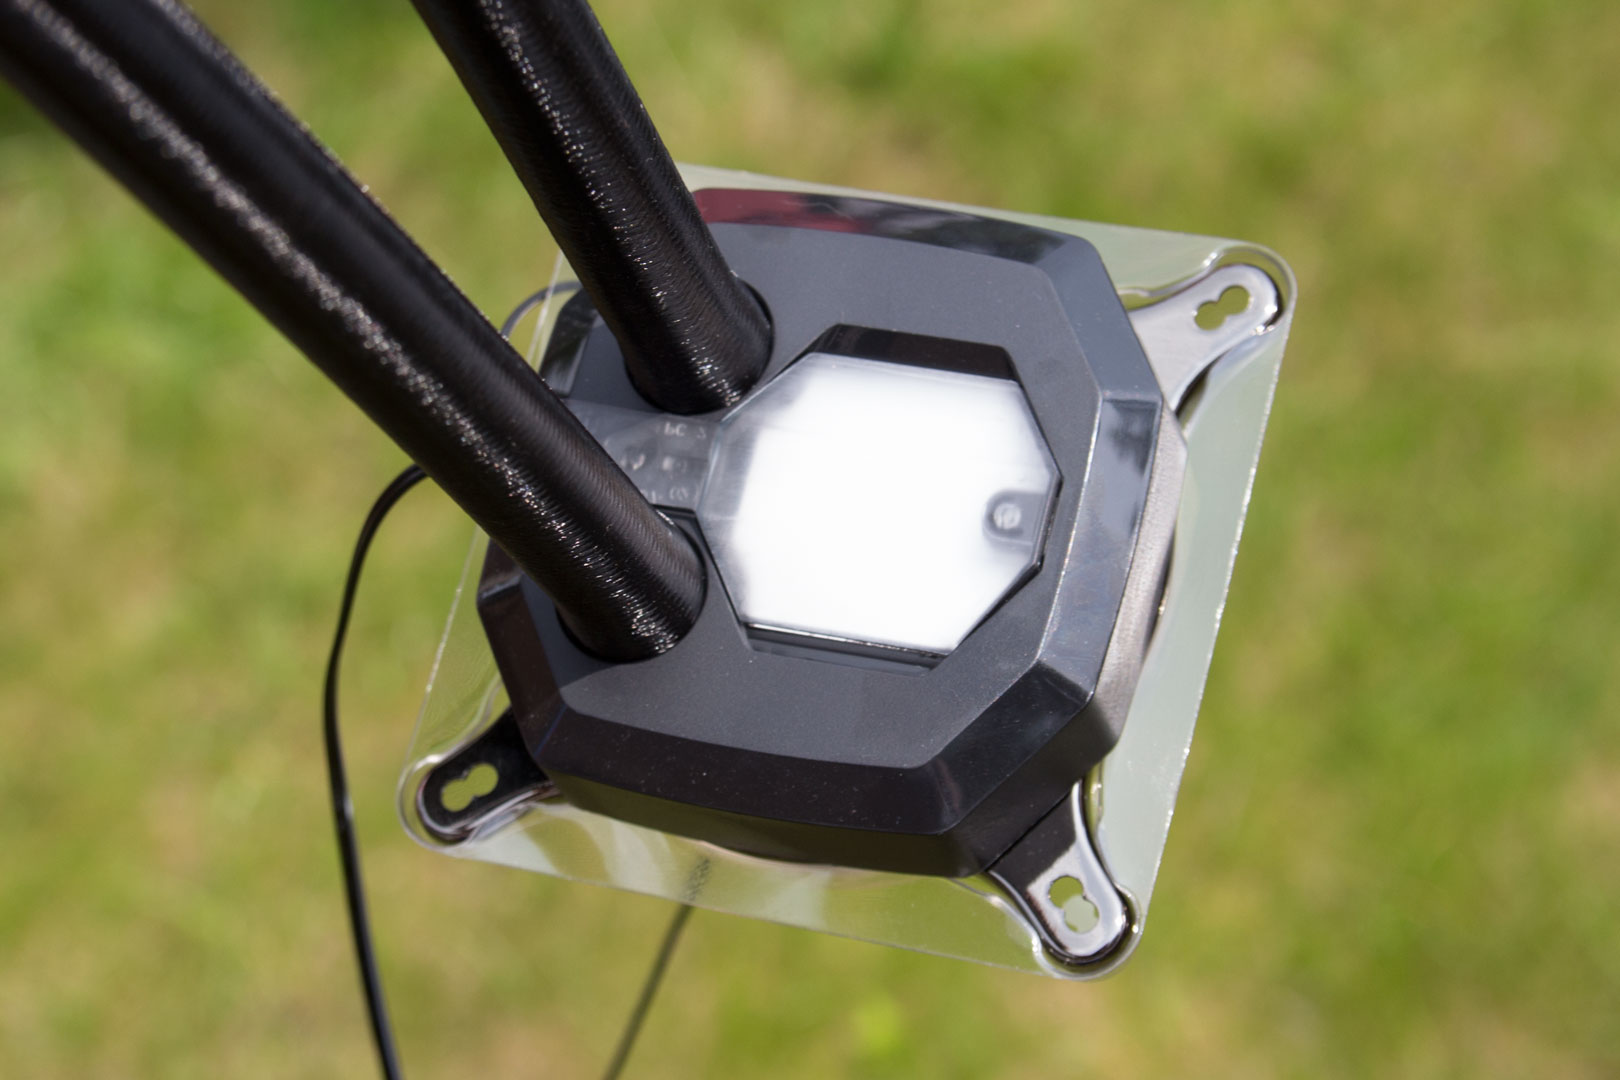
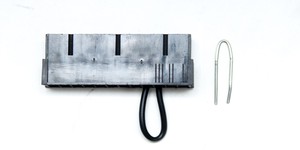
Next, I put the trim back onto the pump just to make sure that I can see where the LED will shine. The white behind the trim will glow whereas the black locator tag and the thinner part on the left will stay darker. You still have a lot of space to work with, though, especially for a logo.
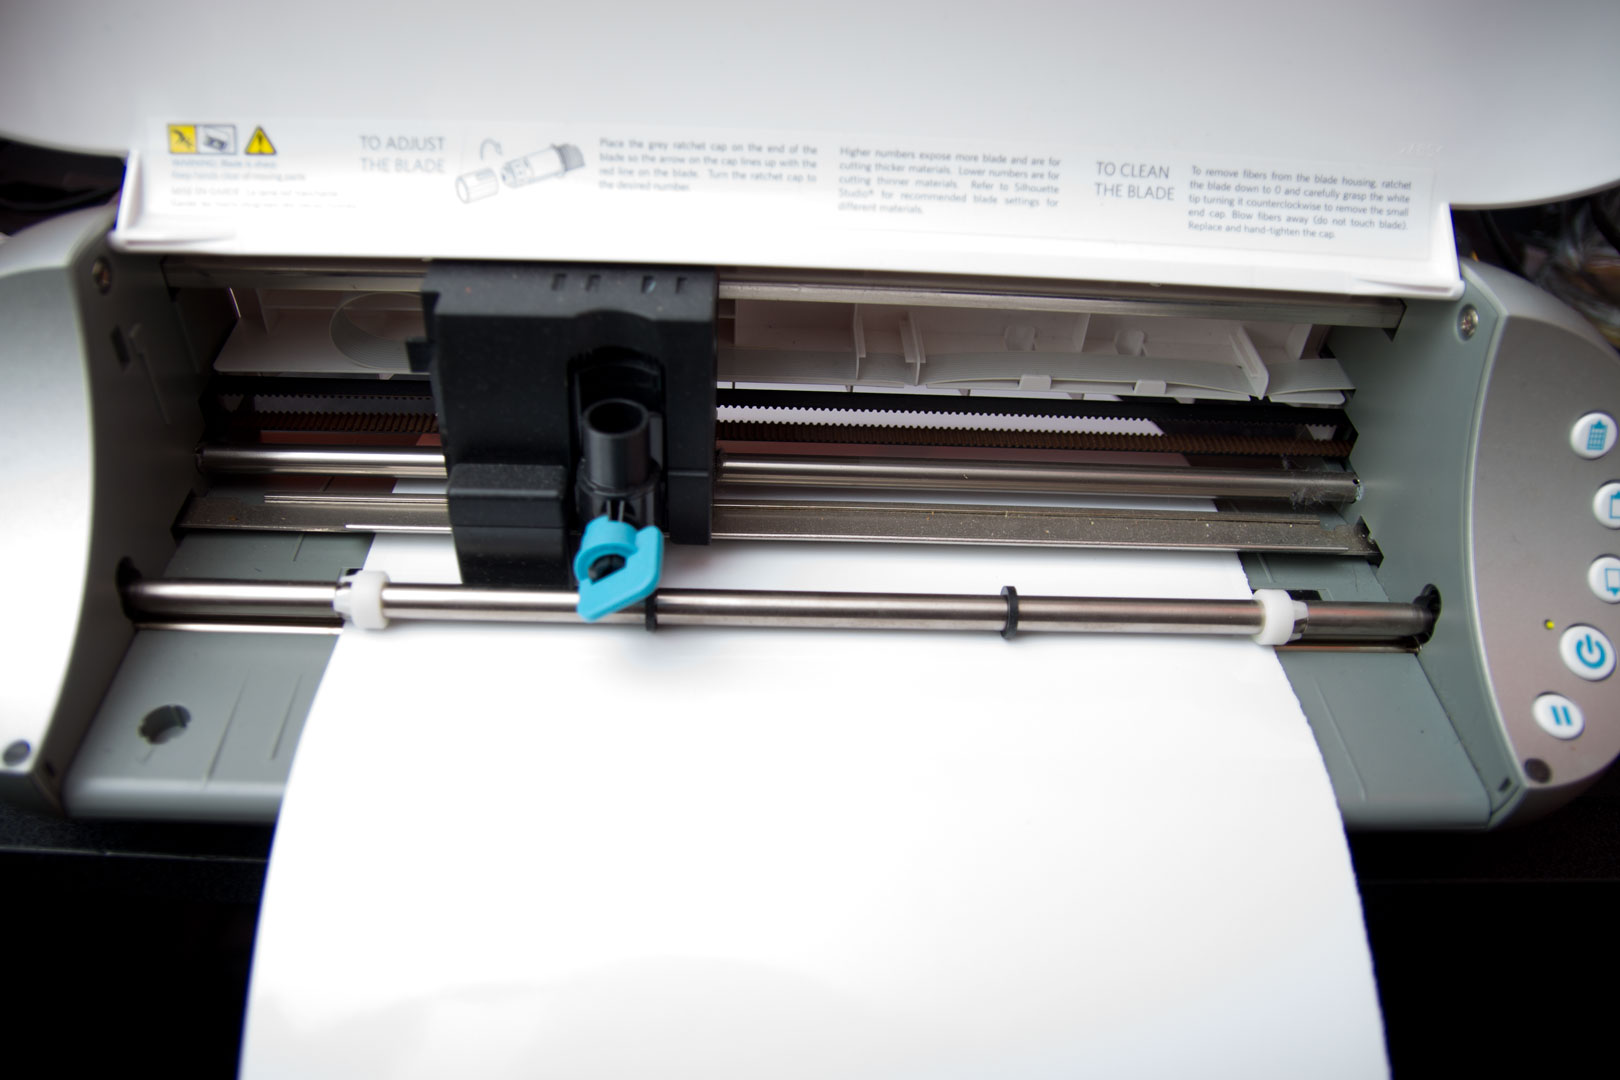
I will be using my trusty vinyl plotter to cut the logo after creating it on my computer. The software for the plotter is quite easy to use, so it just makes things a little bit quicker and cuts at a high quality. If you don't have a plotter, you can cut the vinyl with a craft knife. I never used to have a plotter, so I would use a knife instead, I used to print the logo onto some paper, attach it to the vinyl using masking tape, then cut it out using a sharp craft knife or scalpel. Admittedly, this did lead to mixed results, but after a few attempts and some time, it would be fine.
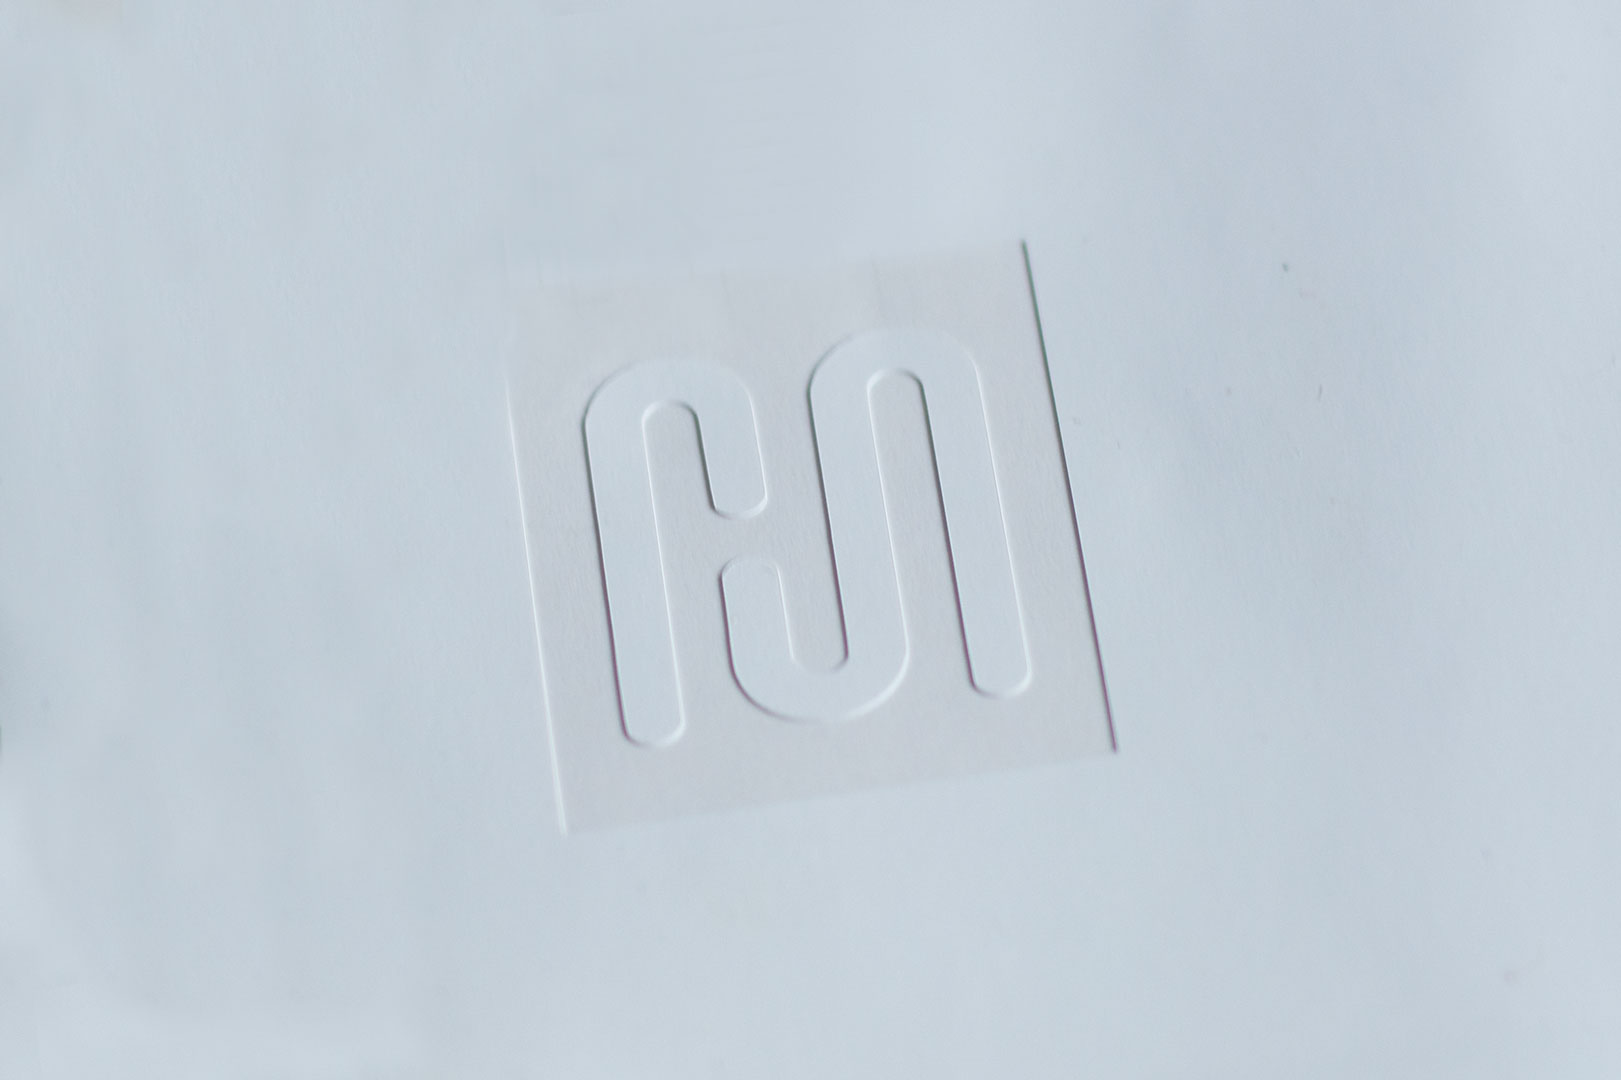
This is the logo I will be using - one of two logos that MarzBar uses. This is the simplest one he has and should look great. Try and keep the logos simple, as they work a lot better. If you have too much detail or really thin lines, the light is so bright that it makes it hard to define the logo.
Transfer the logo to the trim and ensure it is as central as possible. Once it's central, use something like a credit card or similar to ensure there are no bubbles or parts of the vinyl that haven't stuck properly
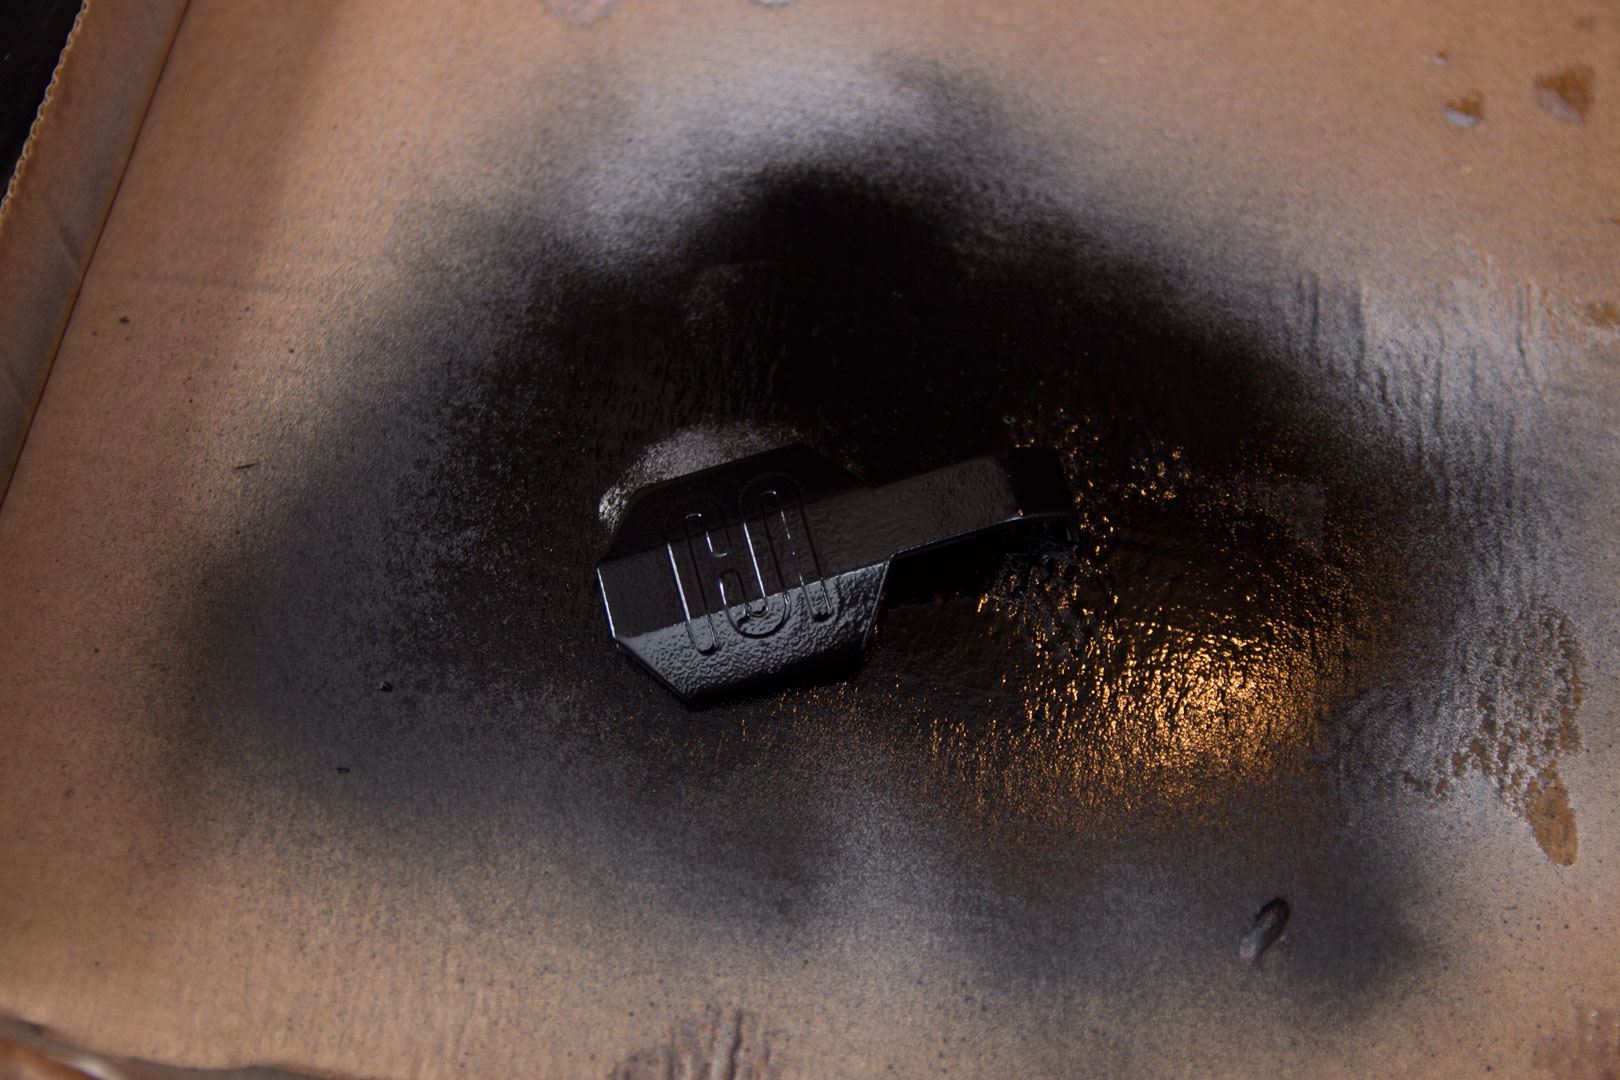 Blast it with some primer and then a colour of your choice. We wanted to be stealthy so chose black. The paint job was quite rough on this, as it was raining and very windy outside. Have no fear, though; it can be salvaged! Wait until it is completely dry and then use the fine-grit sandpaper we used earlier to get rid of the horrible finish. Once you have done this, you can give it another fine coat of paint to ensure it looks better.
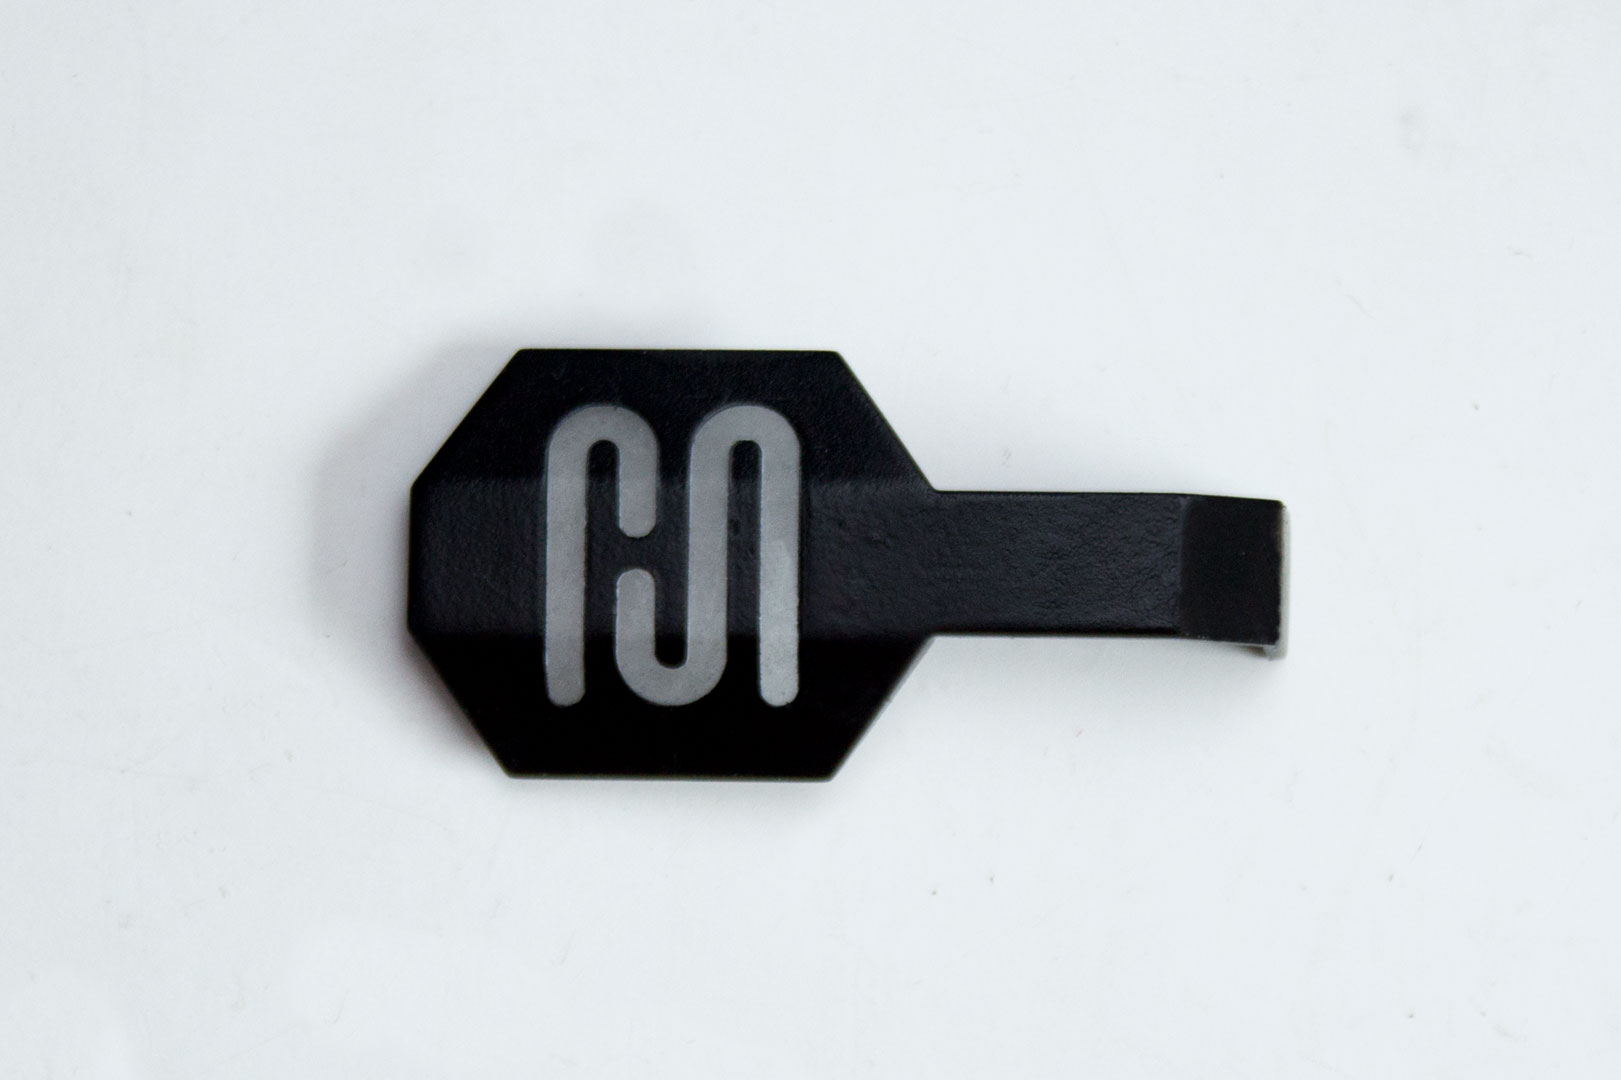
Now, remove the vinyl, and you should be left with something like this. Under a 50mm lens, this still looks rather rough, but to the naked eye, it looks fine. This still isn't finished, as now the vinyl has been removed you can spray it with some clear coat to give it a harder, stronger finish. I have held back the finished photos for now until part two of Alex 'MarzBar' Brooks' build is finished, but it looks great.
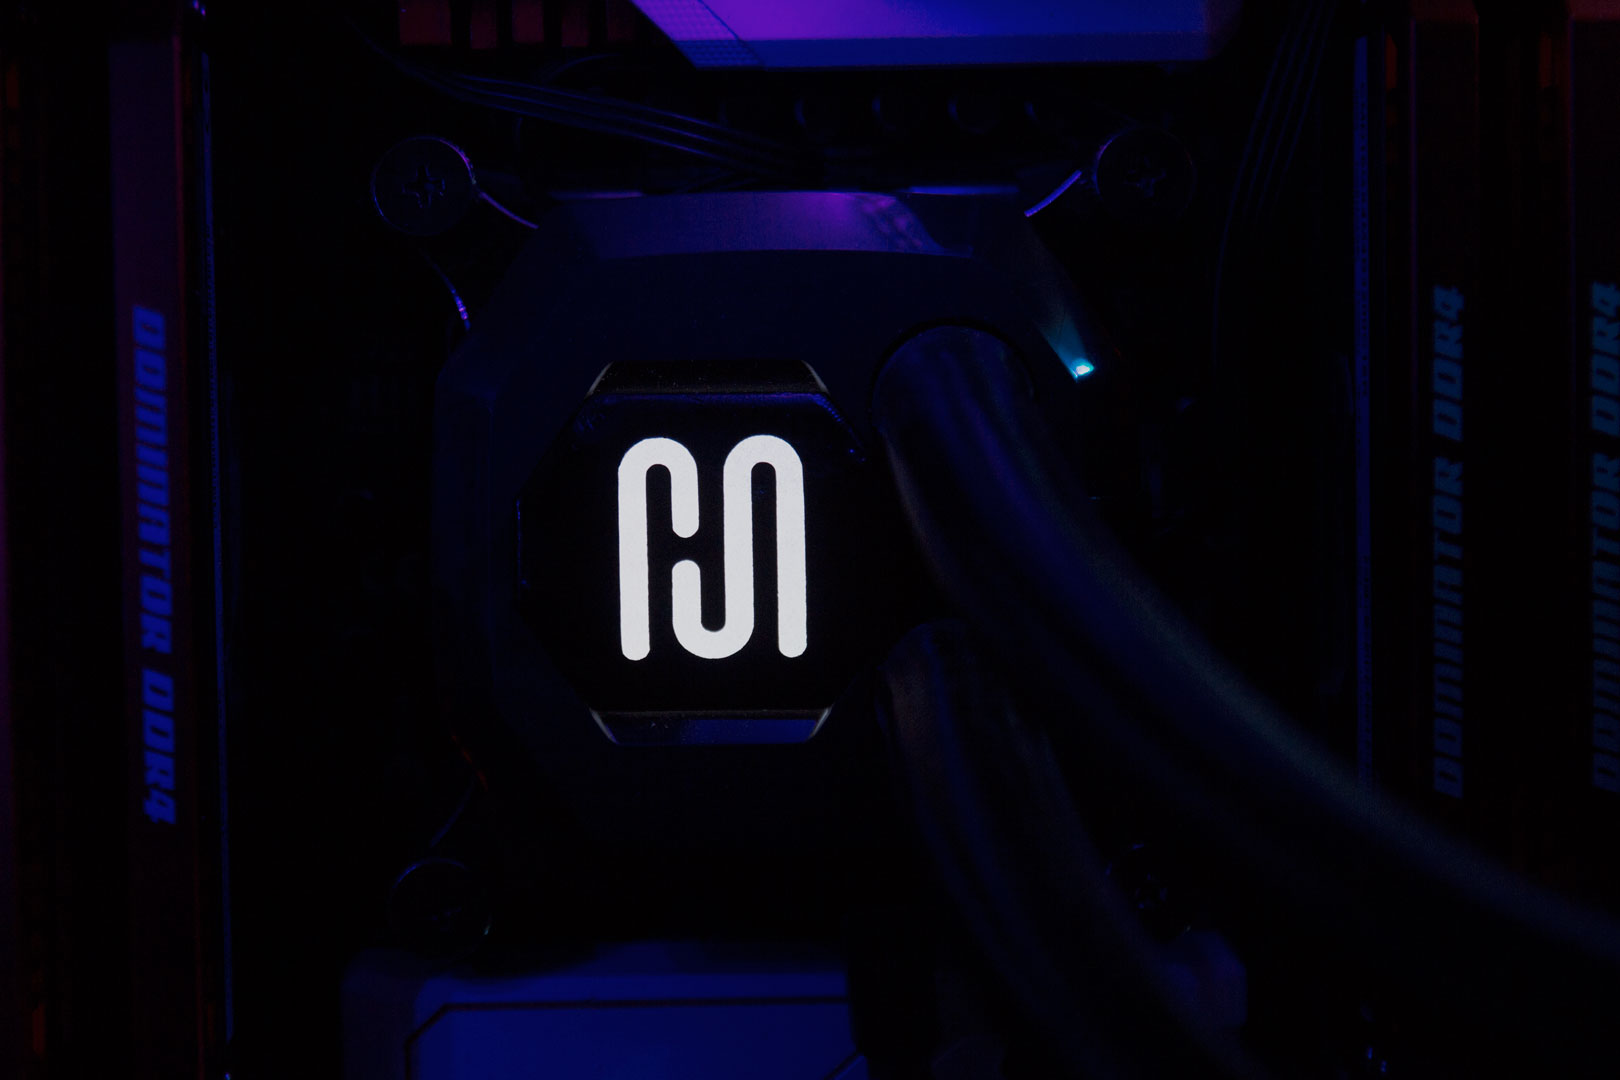
This is the end result - how awesome does that look? You could put a logo, a picture, or even your name here, so you really can customise it however you like. I am certainly thinking about doing some bit-tech logo ones for the office and my davido_labido logo for my LAN rig if I can find another cooler!
So, that is it: a nice and easy mod for you to try. If you do create one, let us know and show us!
RELATED ARTICLES


MSI MPG Velox 100R Chassis Review
October 14 2021 | 15:04


Want to comment? Please log in.