Heatsink testing – Our new methods
Heatsinks are unquestionably one of the most difficult things for us to benchmark here at bit-tech. There are just so many differentials that can compromise the reliability of results that building a solid conclusion from testing is notoriously difficult, as we lack the sophisticated (and wallet meltingly expensive) resources to conduct fully scientific, climate controlled tests.With this in mind, we’ve decided to establish a set and agreed bit-tech testing standard for the thermal performance CPU heatsinks, with as many variables as possible removed. This way, we’ll be able to subjectively compare hardware in like for like settings, and start to build a definitive chart of heatsink thermal performance.
The basis of our standard will be our control test setup, which those of you who have read any of our recent case reviews will already be familiar with:
CPU: Lapped Intel Pentium XE 955 (dual-core, 3.46GHz)
Graphics Card: Sapphire Radeon HD 3850 Ultimate passive cooled
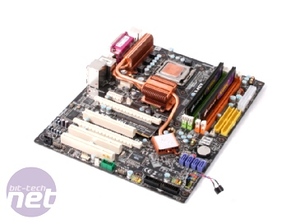
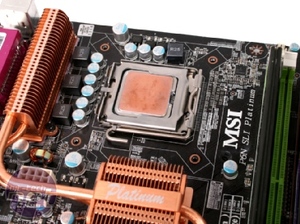
Motherboard: MSI P6N SLI Platinum
RAM: 2x 512MB Corsair XMS2-667
Hard Drive: 1x 250GB Western Digital WD2500 7,200RPM
Heatsink: Asus Silent Square Pro
Power Supply: Xilence XP700 700W PSU
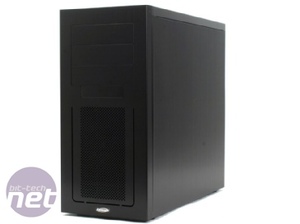
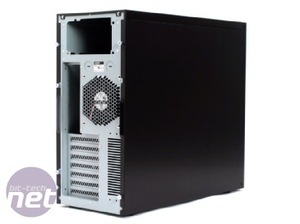
Case: Lancool Metal Boned K7
While this setup might not be bleeding edge, It’s has been specifically chosen to generate the maximum thermal output, whilst not compromising on sound levels to allow us to gauge the noise performance of CPU heatsinks (and cases). We want to test with absolute worst case scenario hardware, and feel that any heatsink able to cope well with this setup will be more than up to the task with any modern hardware, especially as we see continually advancing fabrication processes result in cooler and cooler chips.
The CPU is a 130W TDP, dual-core monster, running at 3.46 GHz, and the graphics card is a 100 percent passively cooled Radeon HD 3850. The graphics core runs at 670MHz, while the memory hums along at 830MHz (1660MHz effective). These two components combined are sure to heat things up nicely when under load!
The choice of case for our testing rig had previously been a sticking point, as we wanted to specifically avoid a case from a manufacturer that also produced heatsinks, for fears that coolers could be engineered to perform better in their own brand cases. This alone could call into question the accuracy or reliability of our results.
This is why we have chosen the Lancool K7 - a case designed and manufactured by Lian Li, a company with no history whatsoever in making CPU coolers. The K7 was also chosen to due to its solid cooling performance and removable motherboard tray – frankly a necessity when you’re reviewing multiple heatsinks and value your sanity.
Another reason we chose the K7 was because its standard cooling layout. While many modern cases have options for side, roof and even floor intakes, not always to the best effect, we wanted to use a standard front to back ventilation case, to ensure any coolers tested perform as we say in any reasonably well ventilated case, not just those lucky enough to have 200mm side intakes.
The K7 also works well with our selected hardware, avoiding inaccuracies posed by negative/positive pressure by using two 120mm case intakes and one 120mm exhaust, along with one 135mm exhaust on the power supply to balance airflow.
We’ll be cleaning the CPU thoroughly before fitting every new heatsink, using ArctiClean One and Two Thermal Material Remover and Thermal Surface Purifier, and then applying a thin evenly spread layer of Arctic Silver’s Lumiere Thermal Testing Compound. This is very similar to Ceramique, but has faster curing times to make it better-suited to reliably testing heatsinks.

MSI MPG Velox 100R Chassis Review
October 14 2021 | 15:04


Want to comment? Please log in.