Interior
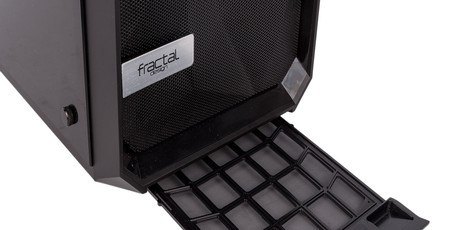
The tempered glass side panel is quickly released via four thumbscrews, while two captive thumbscrews hold the steel panel in place. This latter one also has a front hinged design, making it much easier to remove and reattach than panels with notches and rails. However, one slight issue is that the front panel does not come cleanly thanks to the I/O cables pulling on it, but there's enough give for you to access and clean the foam filter.


Inside is a classic dual-chamber tower design segregated by a full-length, ventilated steel shroud that keeps the main cavity open and spacious while hiding all drives and the majority of PSU cables either behind the motherboard tray or in the lower section. Fractal isn't reinventing the wheel here, but it's a clean, effective, and modern design nonetheless.
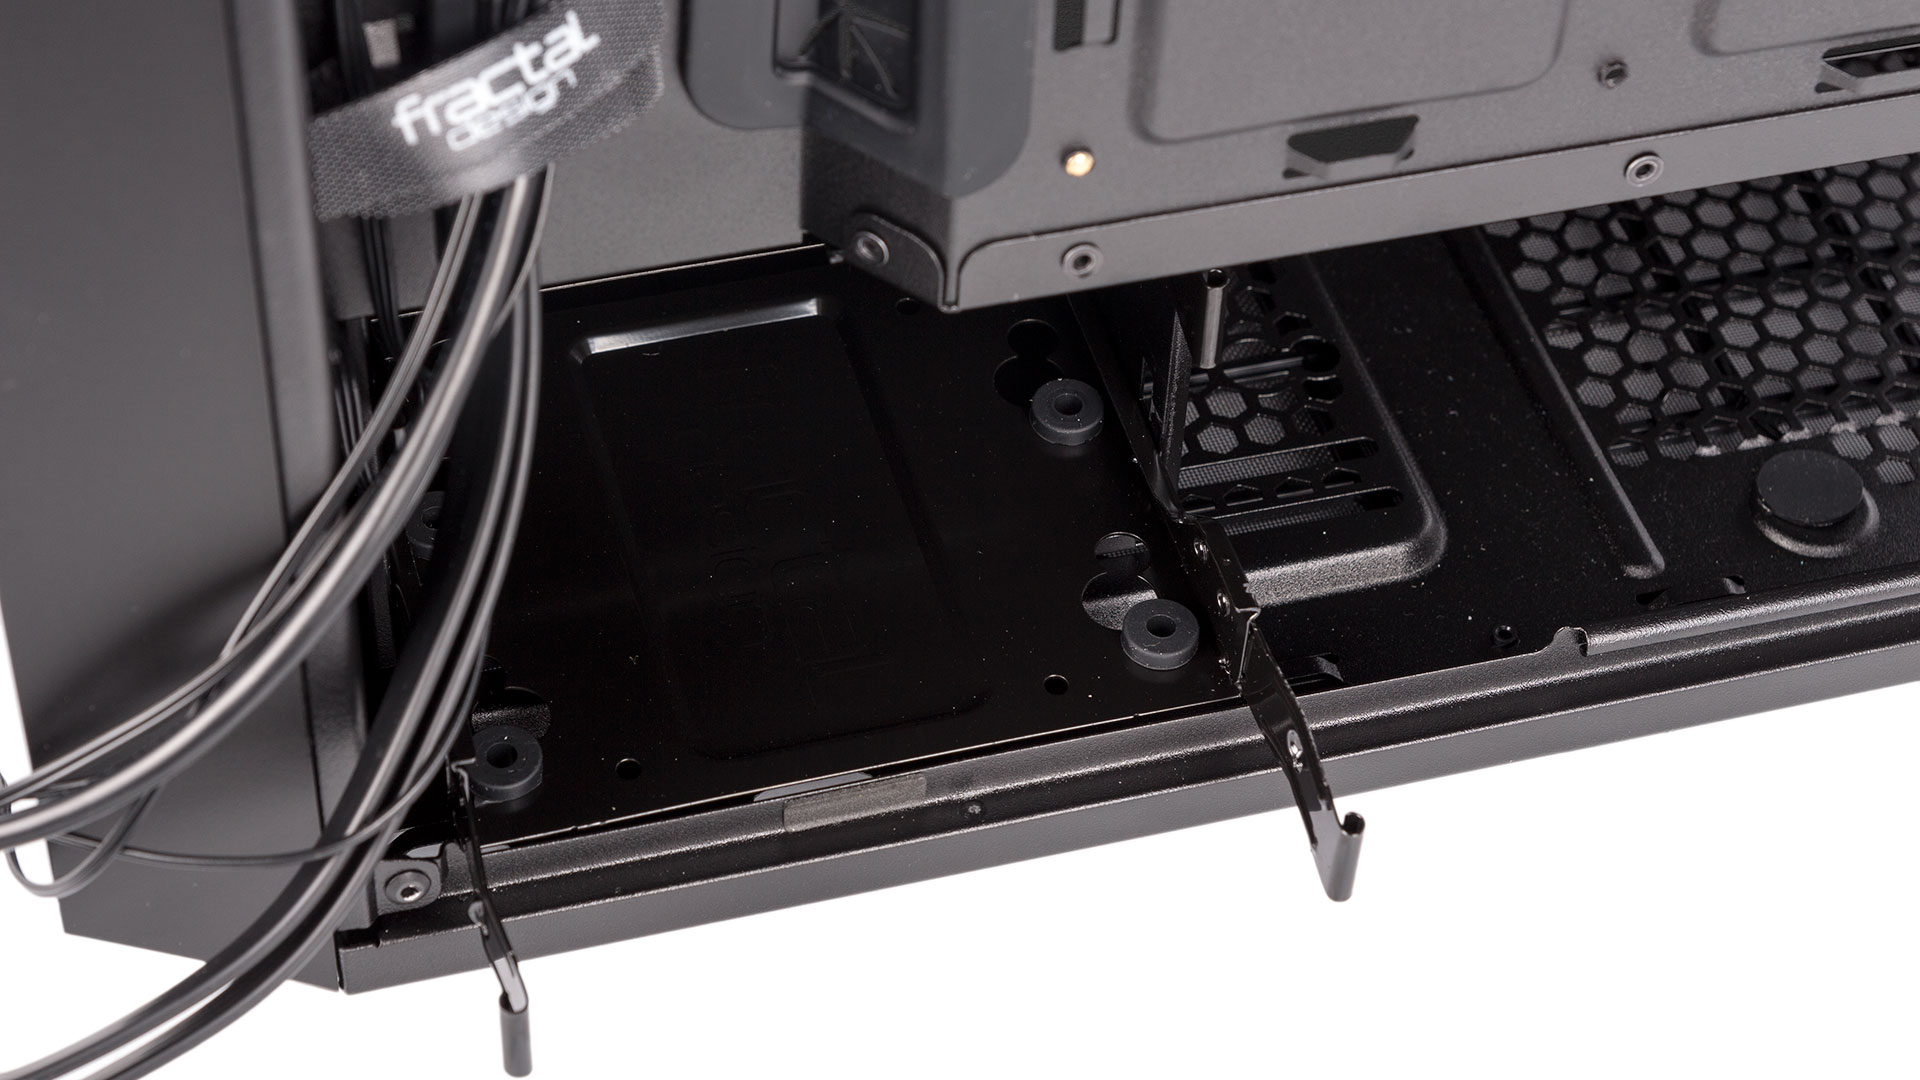

Two 3.5” or 2.5” drives can be installed in the front-mounted cage in the lower section. Pleasingly, this uses metal rather than plastic trays, and the mounting holes for larger drives are also rubberised. We're also happy to report that you can move it further into the case or remove it completely to make way for a third front fan or a long radiator, with the front section of the mid-plate also removable in order to facilitate this. Alternatively, with the drive cage removed, a single 3.5” drive can be installed directly to the floor of the case, or you can just install a 120mm fan there for extra airflow.

Furthermore, a trio of 2.5” drives can be fixed to the single metal tray that spans the width of the CPU cooler cutout behind the motherboard tray and which is held in place with a single thumbscrew, making it very easy to use.
Installing other hardware is also fairly easy. You do need to use a bracket to slot the PSU in from the rear, but this is easily done. The PSU then rests on rubber pads to help dampen vibrations, although there's none against the back of the case or bracket. Thumbscrews are used on the expansion slot brackets, but motherboard standoffs do not come pre-installed other than the middle one that helps hold your board in place as you position it vertically.


The majority of your cables will be routed through the main channel at the front, and the heavy indentation and three Velcro cable ties make it a doddle to use even for the thickest of PSU cables. Large holes covered with grommets are positioned to the side of and above the motherboard, while smaller, grommet-free ones are cut into the PSU shroud just underneath it so you can thread front panel cables and the like through. There are plenty of anchors and extra zip ties given as well – cable routing is definitely an area that has been well attended to.

For a relatively compact mid-tower, the Meshify C has a decent amount of water-cooling support. The roof mounts will permit 240mm radiators provided your motherboard components (most notably memory) do not exceed 40mm in height. You can also fit 280mm or 360mm models in the front, although you'll probably need to move the HDD cage and mid-plate and they can't be more than 144mm wide. Even so, that guarantees support for virtually all all-in-one liquid-coolers on the market, and using that lower area where the HDD cage is mounted for a pump/reservoir, you could probably get a basic custom loop inside without much hassle as well.
RELATED ARTICLES


MSI MPG Velox 100R Chassis Review
October 14 2021 | 15:04


Want to comment? Please log in.