Interior
While we're happy with the side panels' weight and sturdiness, which is helped by a generous application of noise filtering bitumen, the attachment mechanism needs work. The notches and rails system proved to be very stiff and particularly unfriendly when it came to reattaching the panels.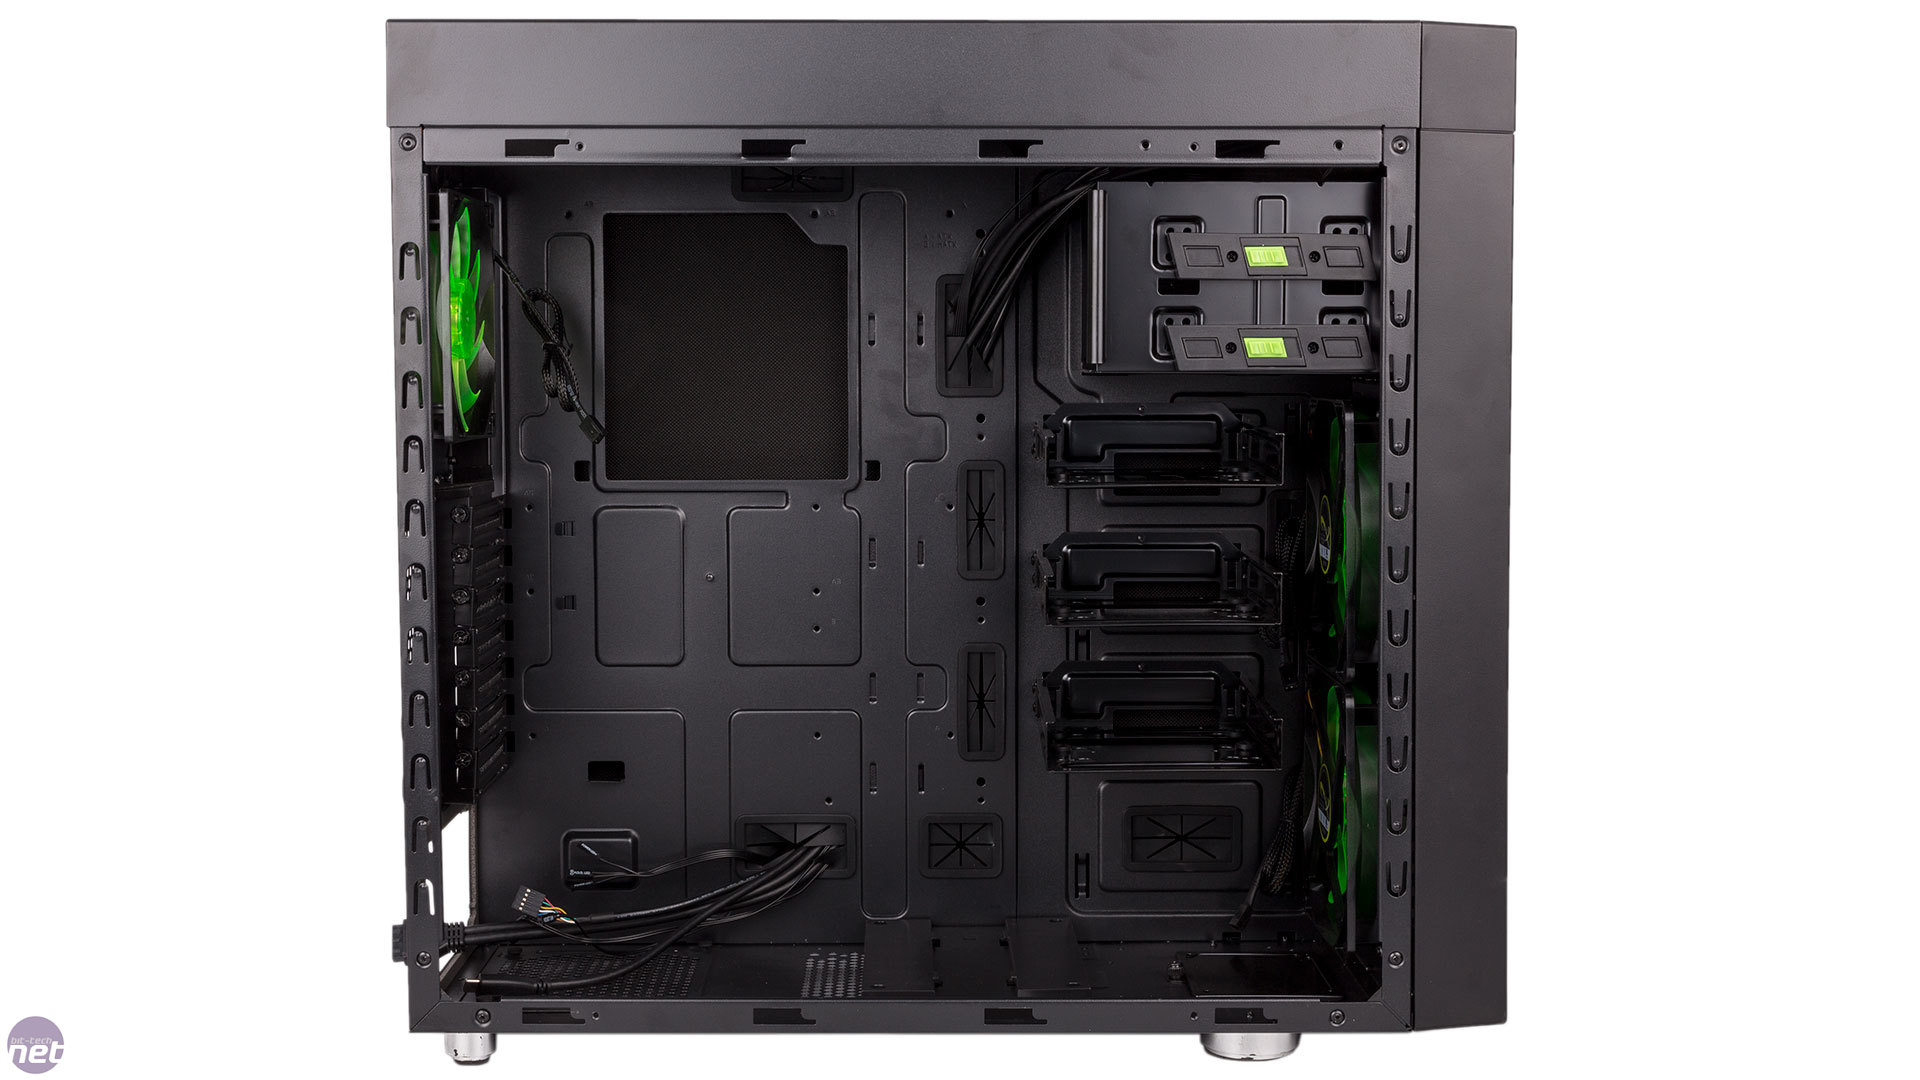
Click to enlarge
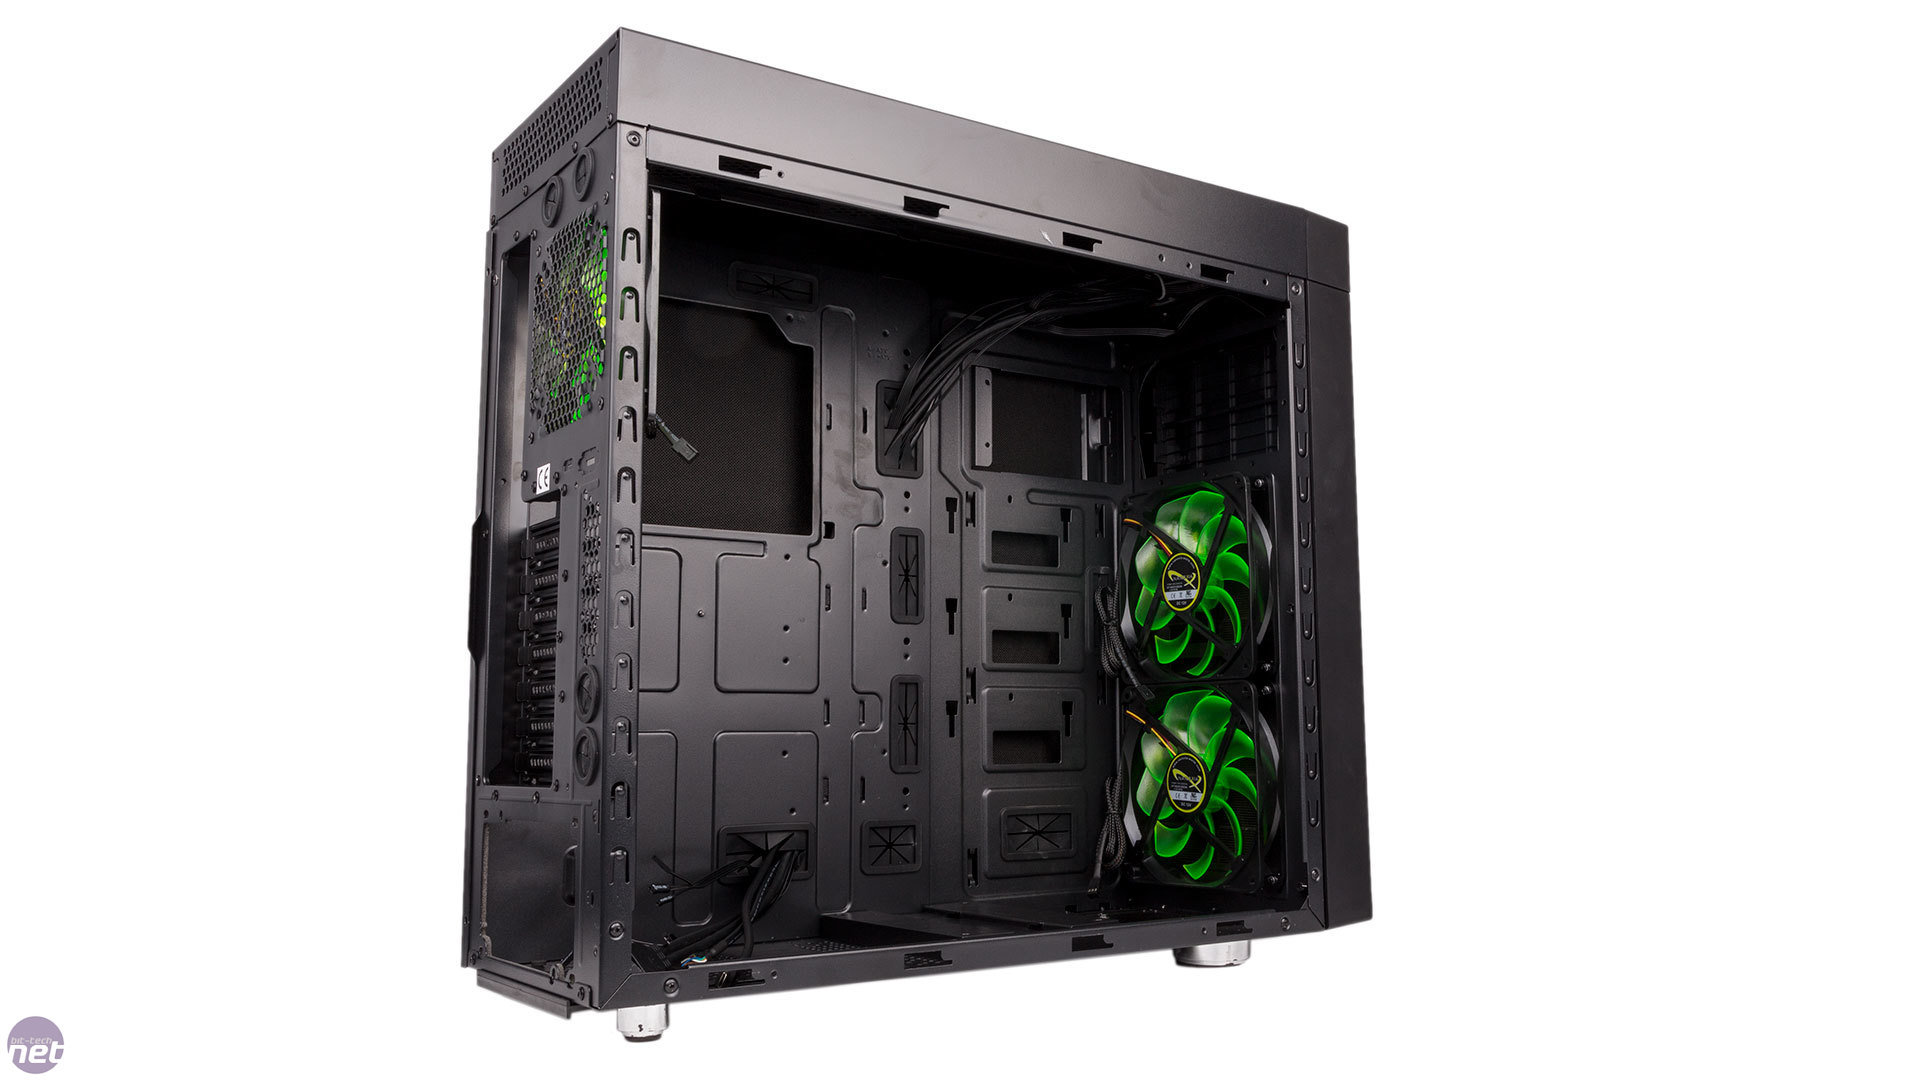
Once inside, the tower layout will be familiar to anyone who's looked inside a PC in the last 10 years. Nanoxia sticks with the all-black colour scheme, and there's no PSU cover, but this isn't a massive deal since there's no window to worry about. A nice touch is that the PSU is properly isolated from the chassis with foam underneath it and also lining the part where it meets the rear panel. You'll have to install your own motherboard mounts, but generally the hardware installation process goes without a hitch.
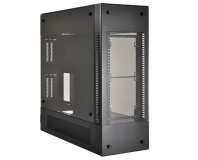
Optical drives are installed using tool-free clips on both sides. The cage can be completely removed, thankfully, although it does involve removing nine screws.
Click to enlarge
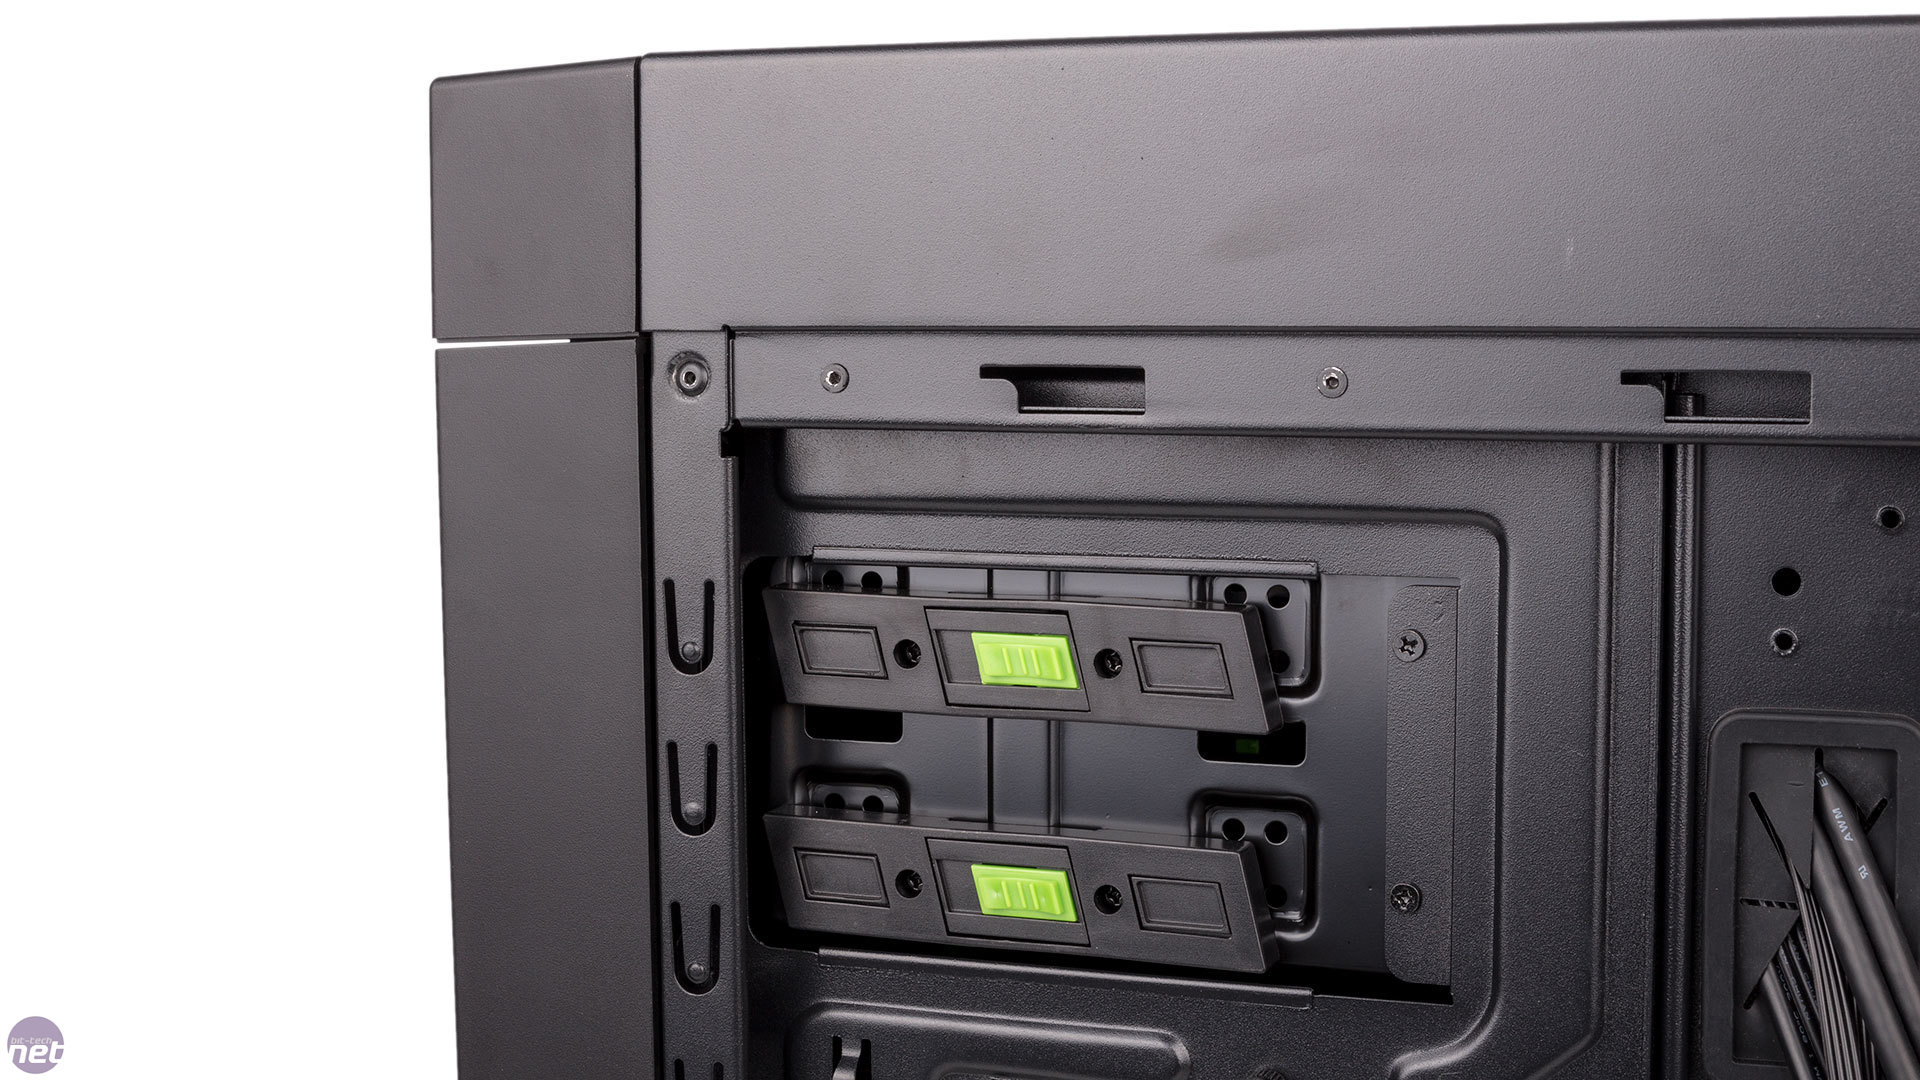
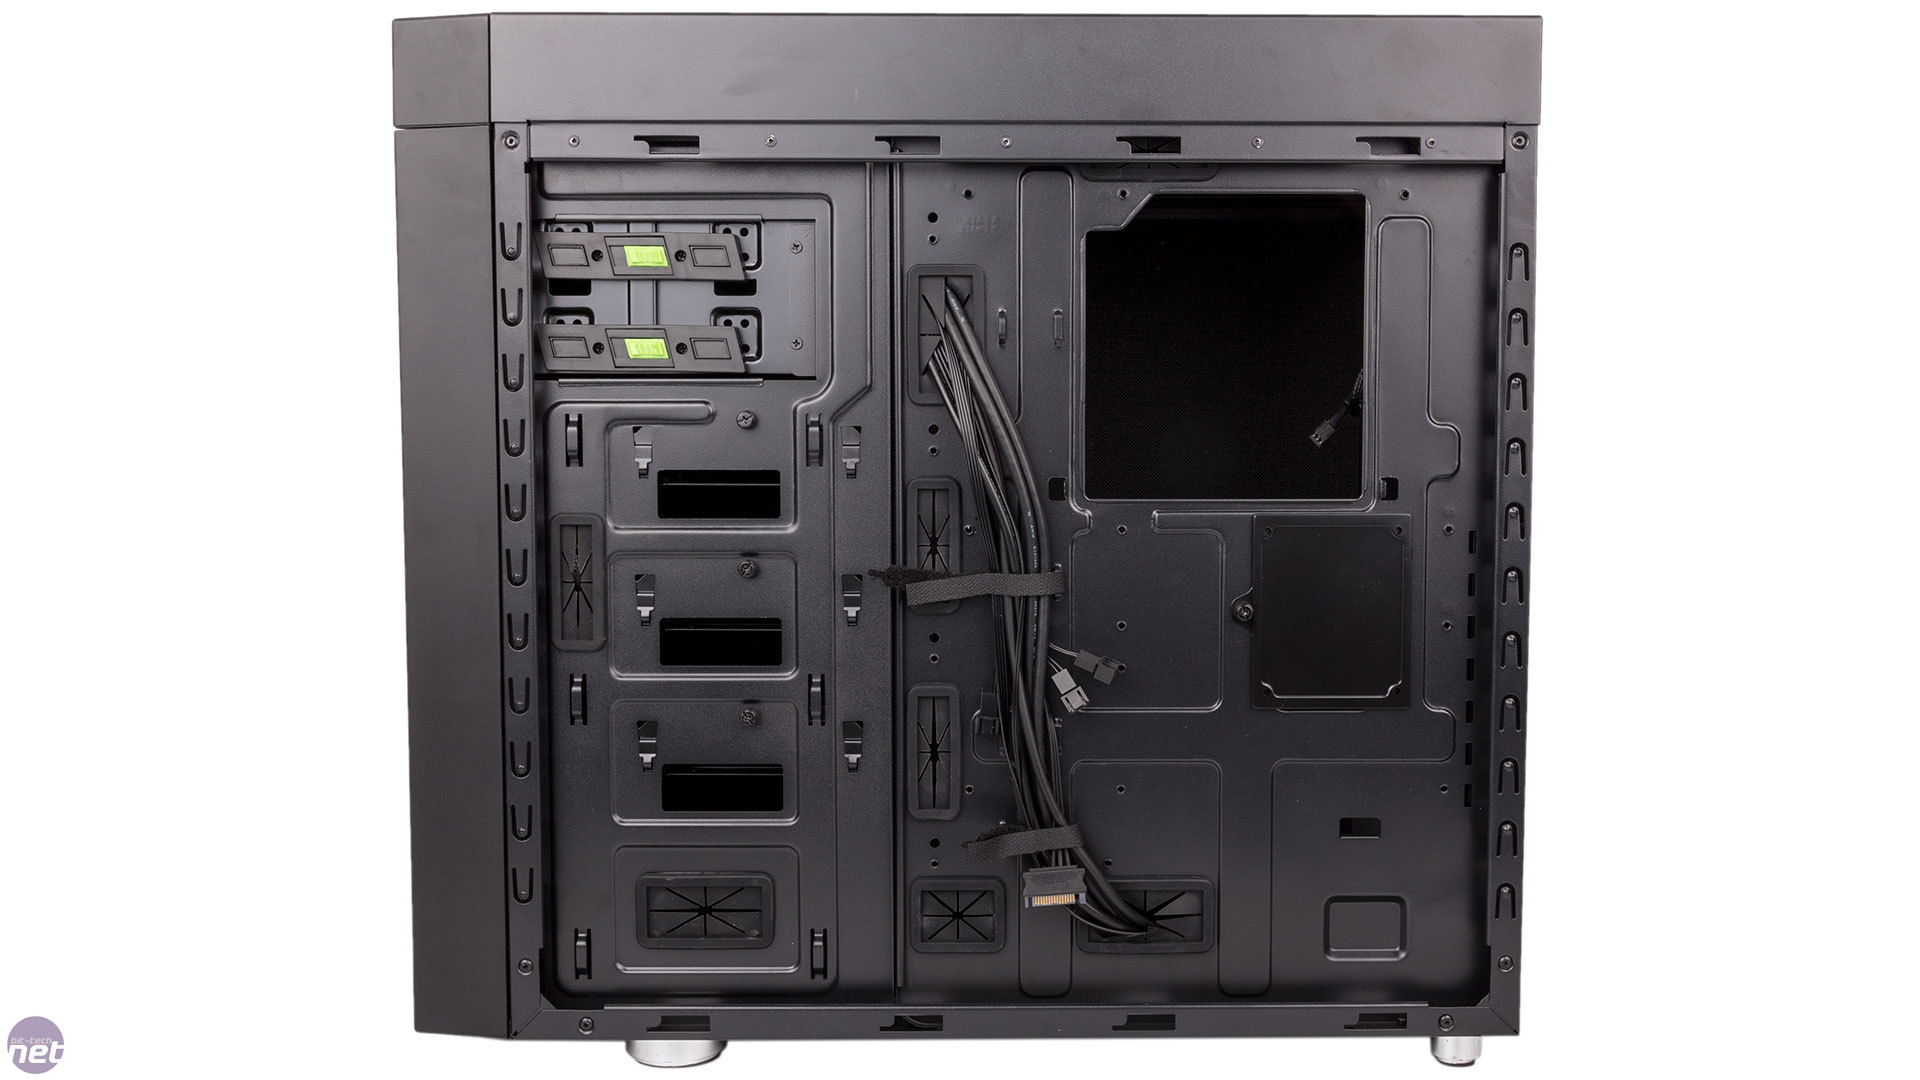
Below the ODD cage is a trio of metal drive trays that “float” by being hooked onto the fully extended motherboard tray and are secured with a single thumbscrew each. Supporting both 3.5in and 2.5in drives, each tray is isolated from the case with rubber padding, and rubber grommets will help to further reduce vibrations from 3.5in drives. That said, despite the thumbscrew, the trays still don't feel feel secure, and you can wiggle them up and down quite a lot. It's not explicitly advertised, but it also seems like you'd be able to install a 3.5in drive on the upper side and a 2.5in one on the underside at the same time, although the former would block access to the screws of the latter.
Click to enlarge
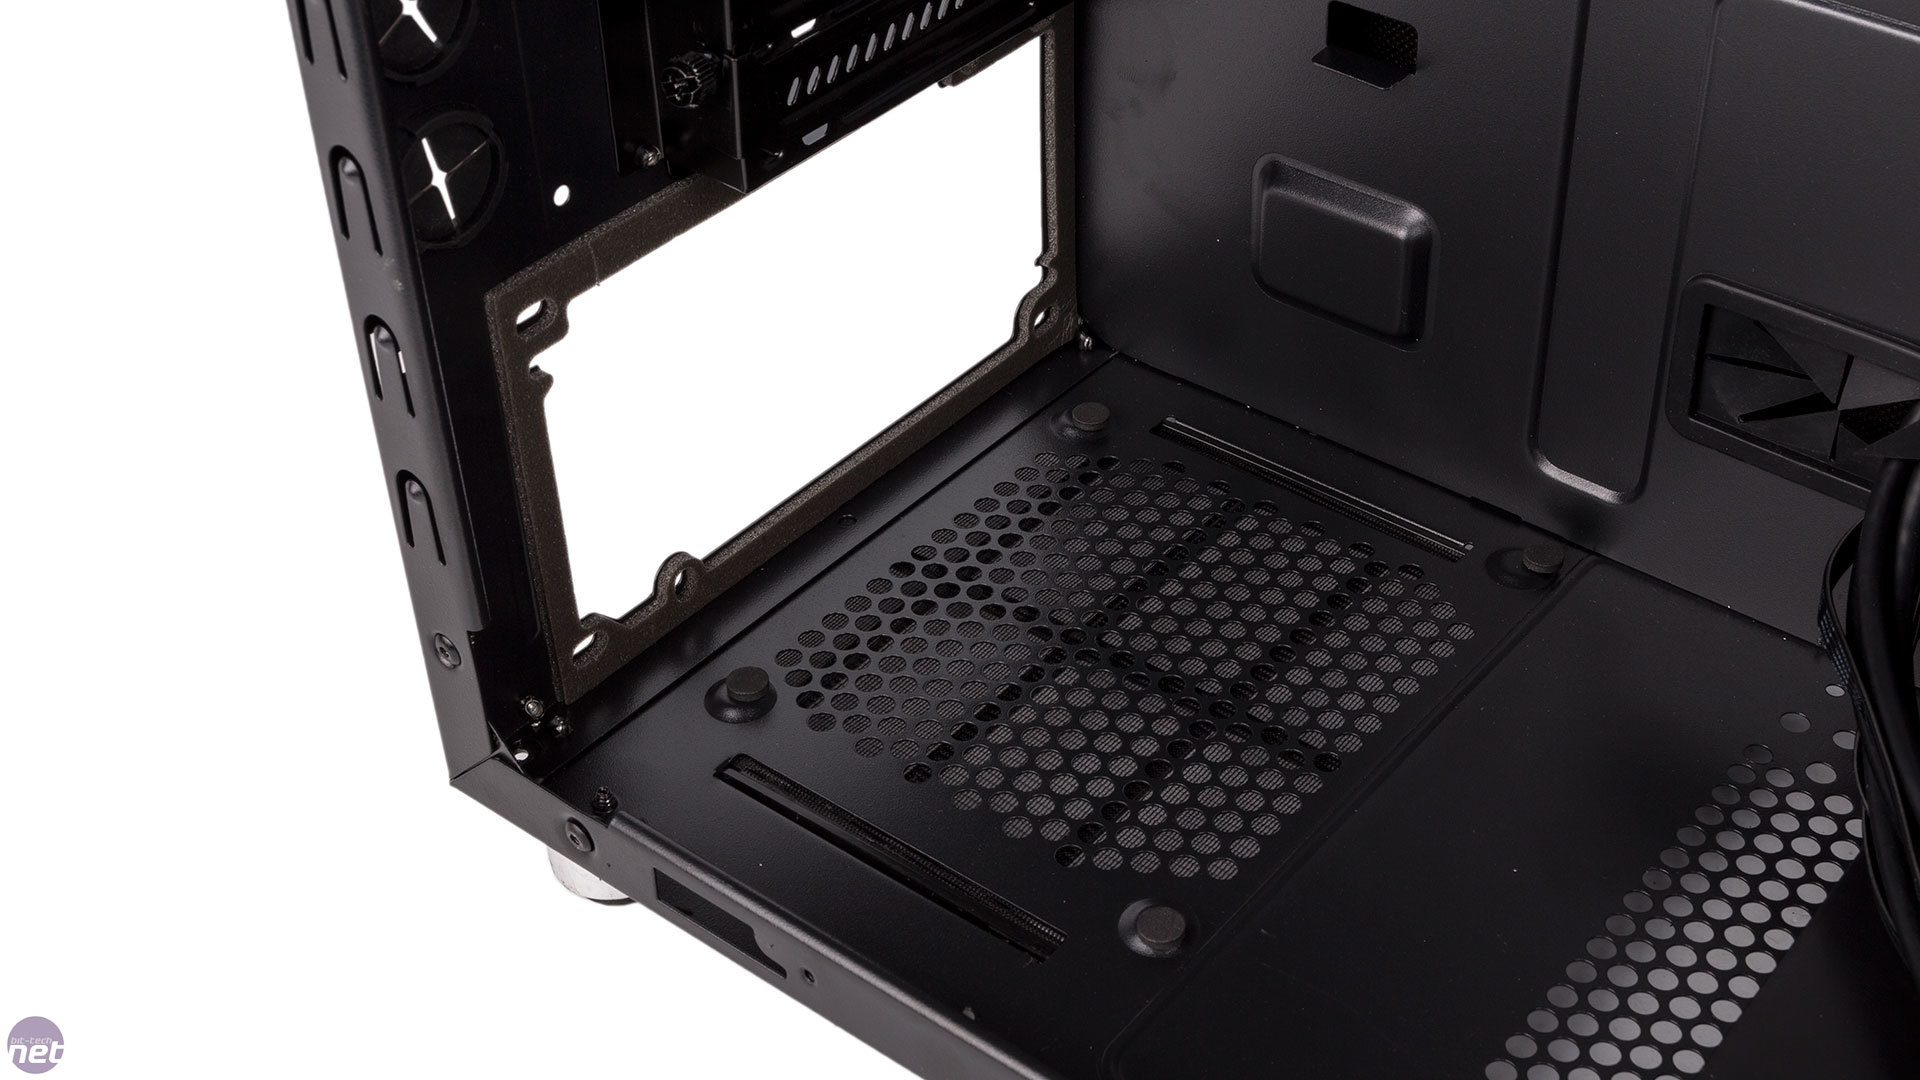
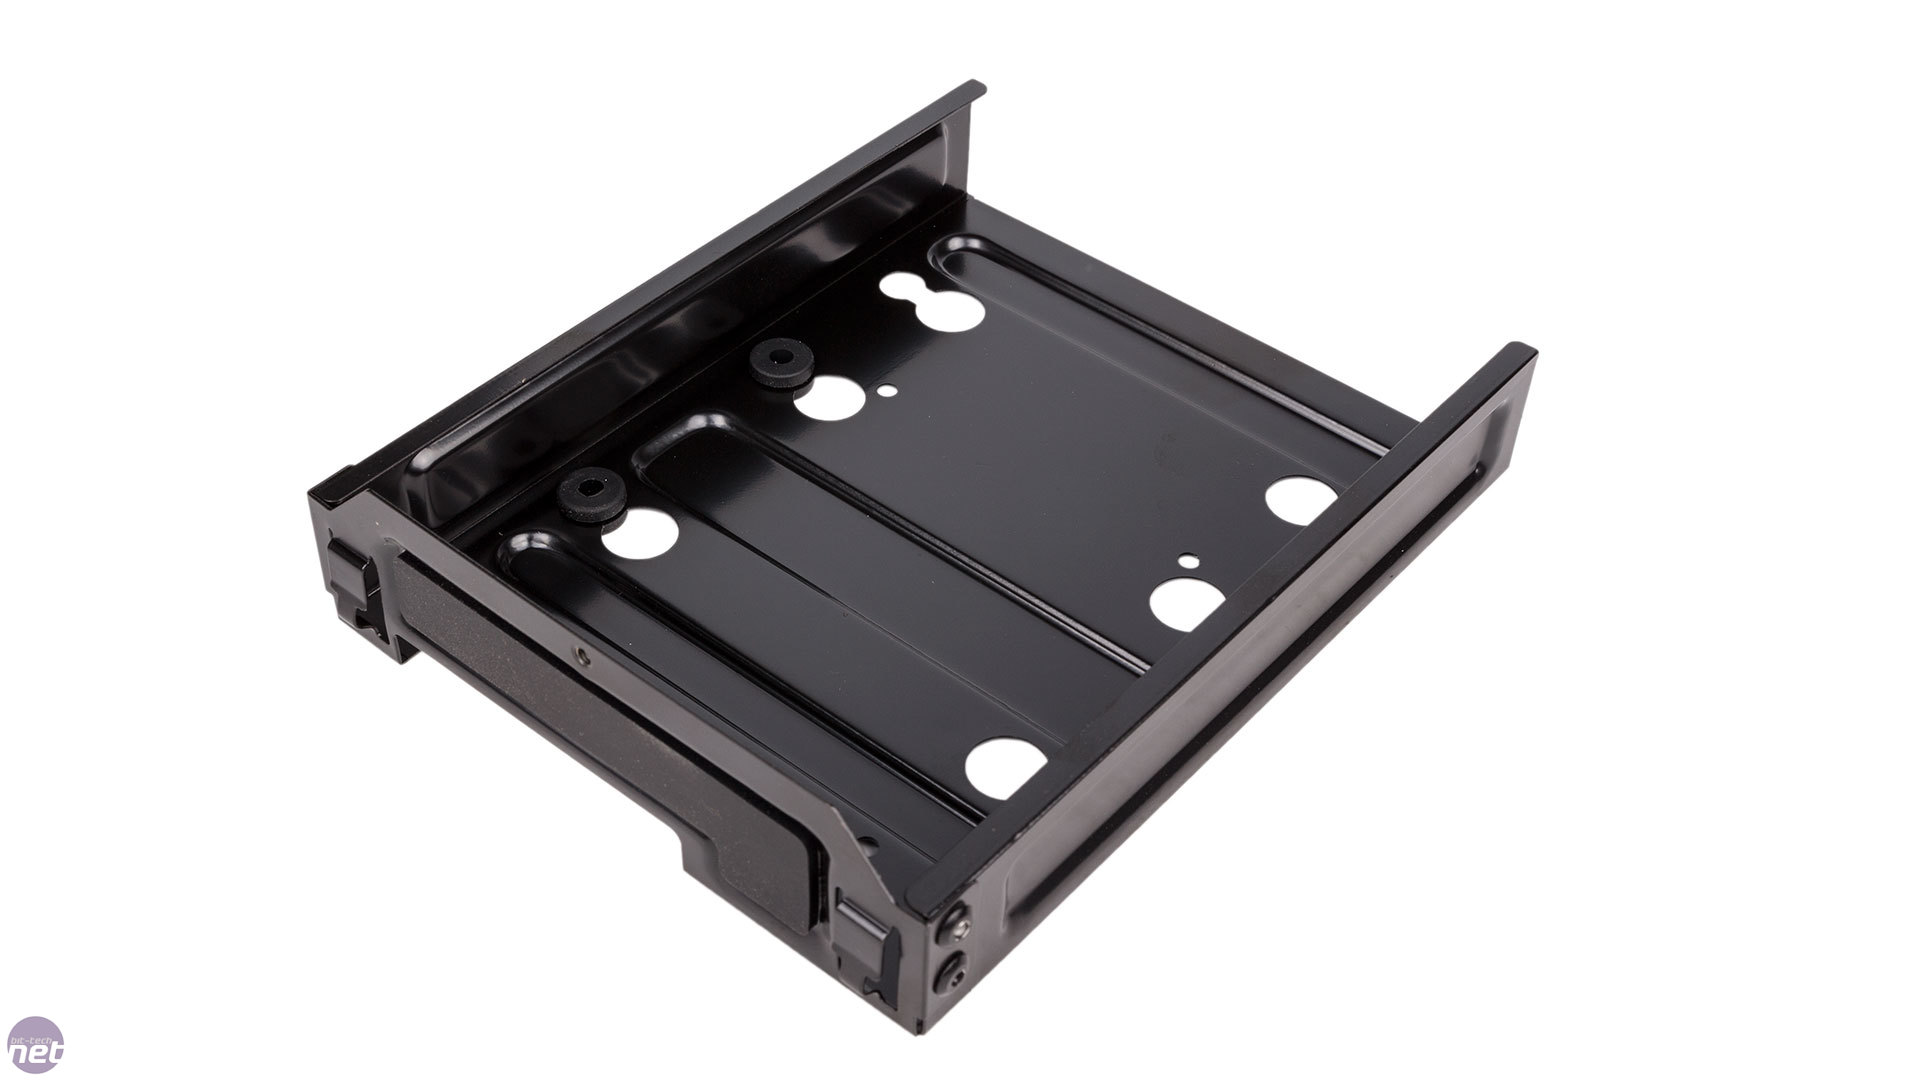
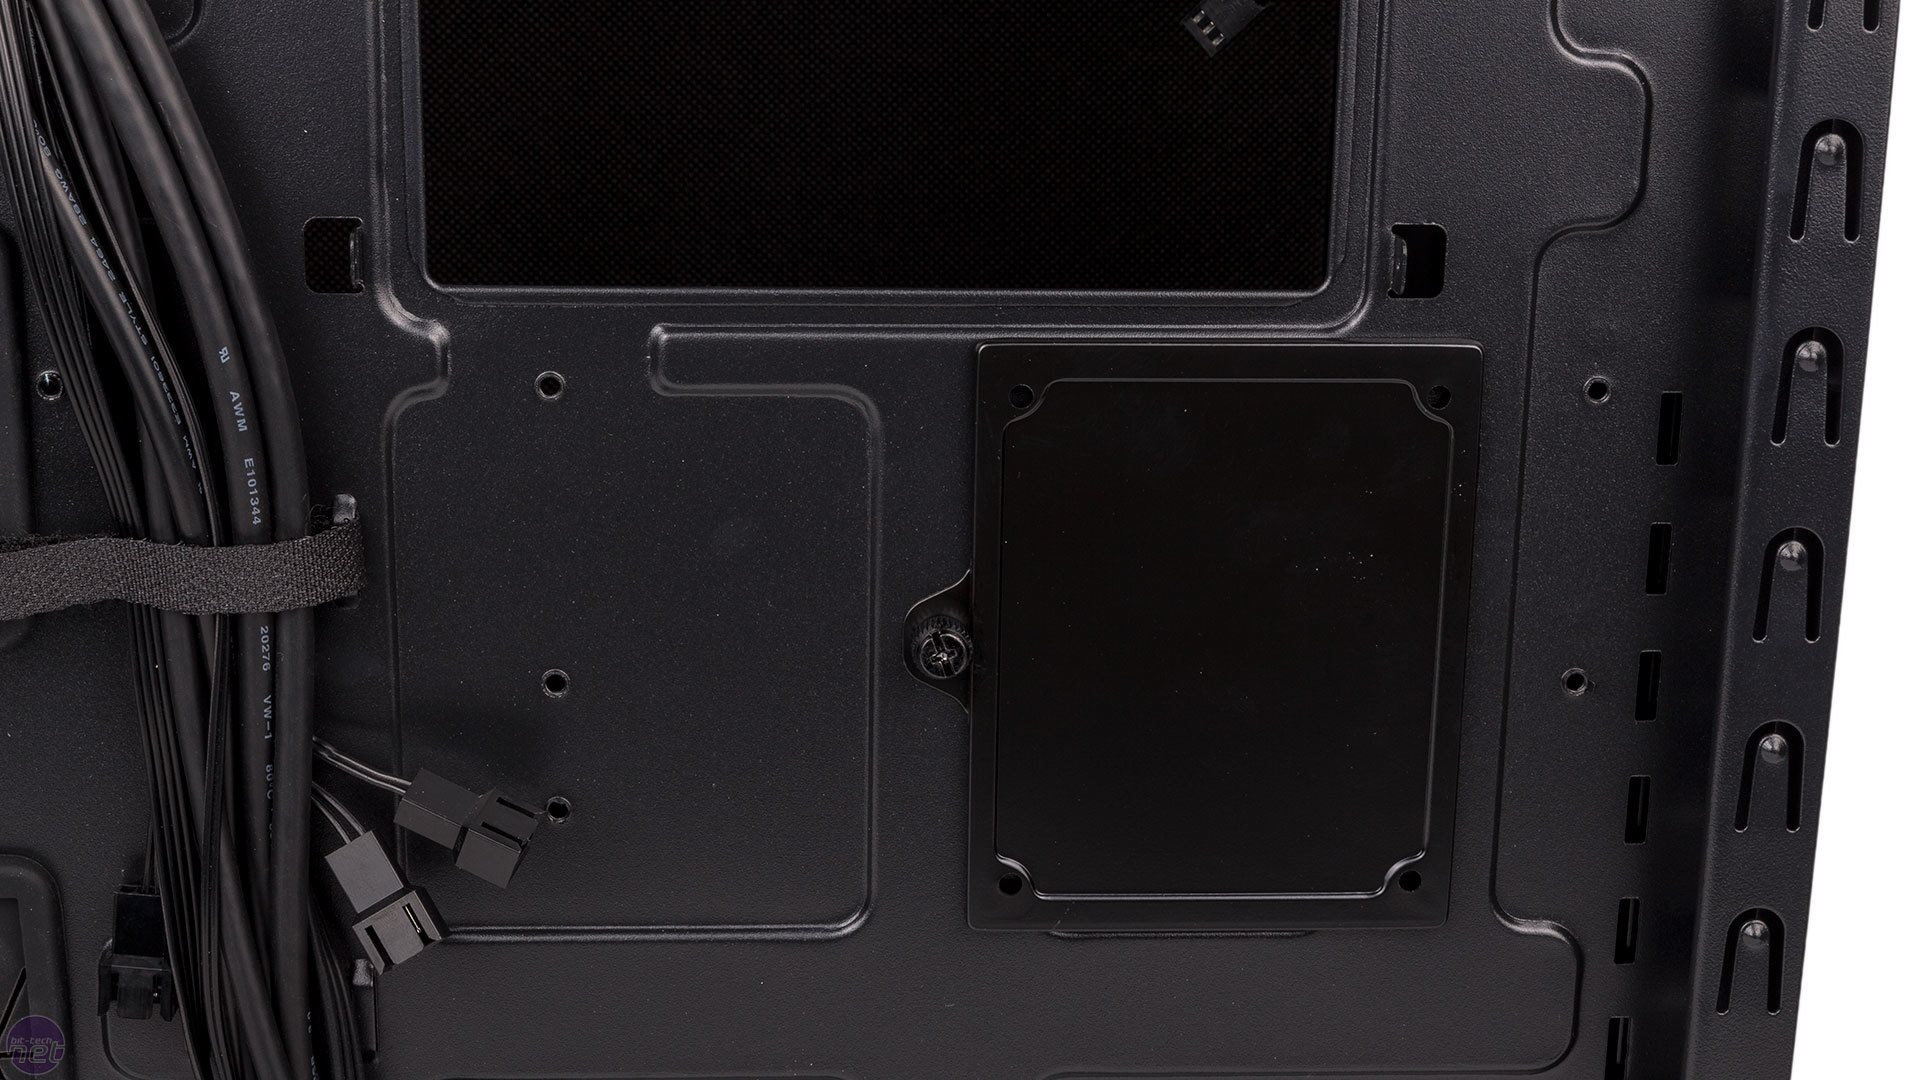
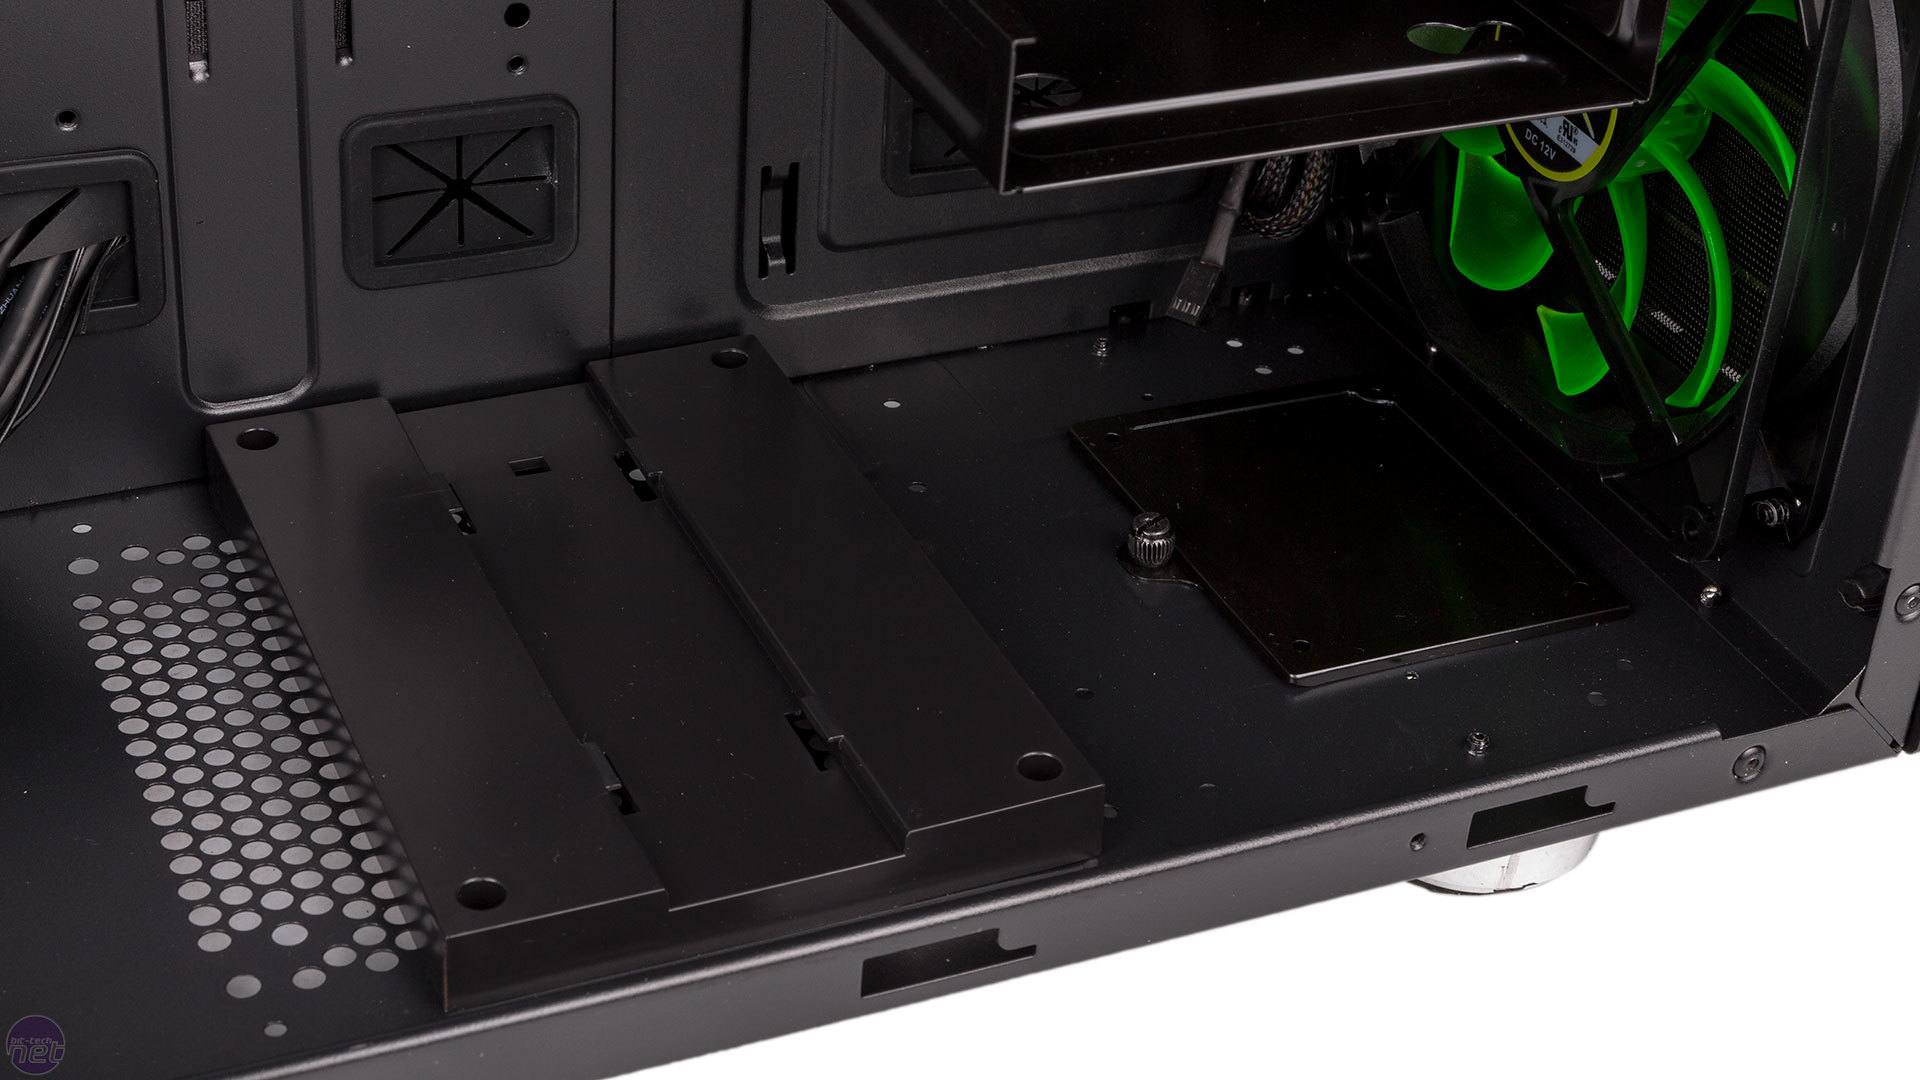
Additional SSDs can be installed in two places via metal trays, again held in place with thumbscrews. The first is found on the chassis floor at the front, and the second is located behind the motherboard tray. A neat feature of the CoolForce 1 is the pair of drive cables supplied with it. These take the necessary SATA power and data connectors and turn them into a single connector, one of which is flat and the other of which is right-angled, so you can use them with the floating trays or dedicated SSD ones as appropriate.
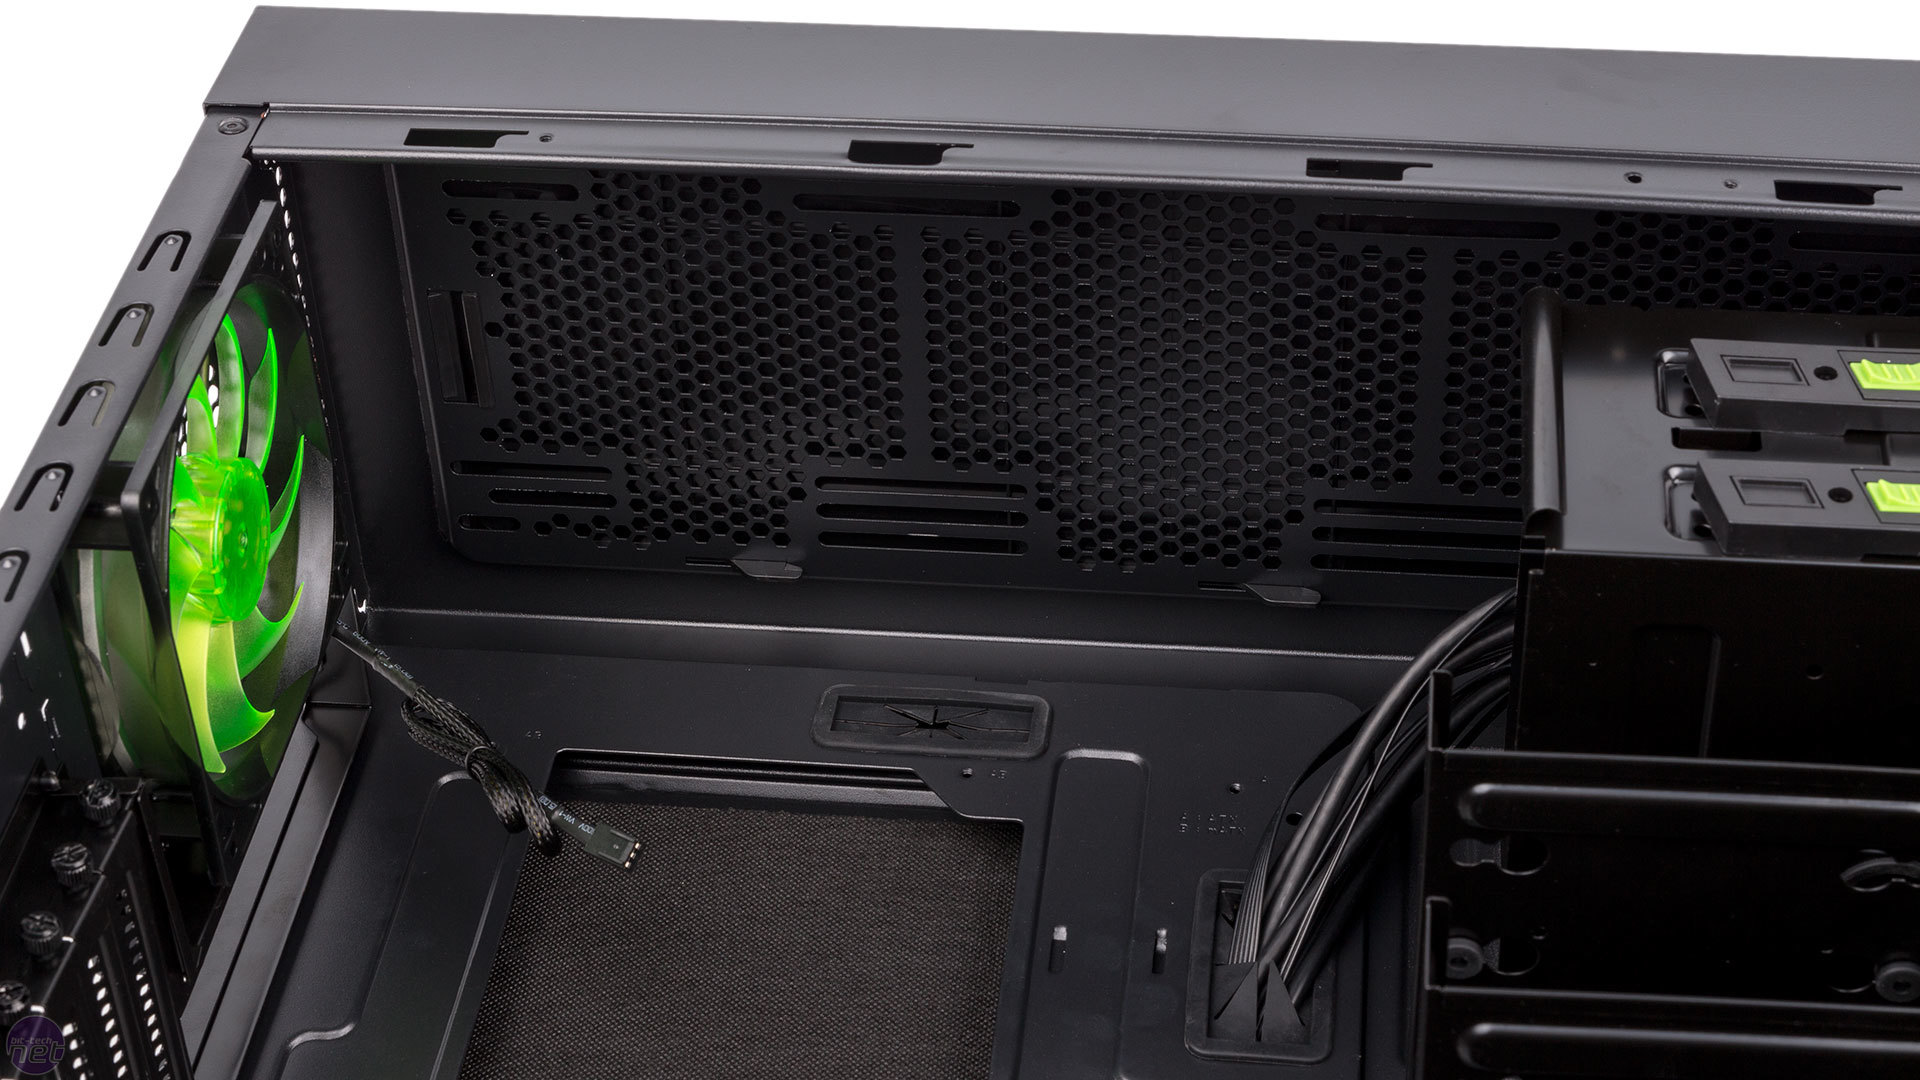
You might also have noticed the set of rails screwed to the case floor. This can be used with Nanoxia's separately available HDD cages. This isn't a bad idea, as anyone using water-cooling hardware up front may find themselves with no place to mount 3.5in drives. You can also remove the rails and install a fan here instead, although as we mentioned earlier there's no dust filter for this mount.
Click to enlarge
Cable routing is another mixed bag area for this case. On the plus side, there's a decent number of routing holes, rubber grommets are used on most of them, and a pair of Velcro cable ties is always nice to see. However, there are negatives too. The routing holes are really rather small, for example, and we had difficulty getting the 24-pin and 8-pin motherboard connectors through the appropriate holes (an extension cable is supplied for the latter, by the way, although most users shouldn't need it). The USB 3.1 pass-through cable is somewhat on the short side given that it needs to reach the rear I/O panel, and the fans are not pre-connected to the fan controller headers.
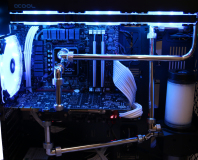
Click to enlarge
For liquid-cooling, there's support for 240mm and 280mm radiators in the front; the latter will most likely need the ODD cage removed, and both sizes will force you to remove the trio of HDD trays unless you switch to slimline fans and use the skinniest radiator you can find. Meanwhile, 360mm and 280mm models are installable in the roof, and you have about 65mm of clearance in total before you'll hit the top of the motherboard. It's possible you can do even thicker setups than this with 120mm-based radiators, but it will depend on the exact hardware you have.


MSI MPG Velox 100R Chassis Review
October 14 2021 | 15:04


Want to comment? Please log in.