
Intel NUC Case Competition Voting
 It's nearly four months since we launched our Intel NUC Case Competition and a couple of months since our lucky modders began their projects. Sadly, one had to drop out but we've still got four fantastic projects to show you today courtesy of four of the best modders in our community.
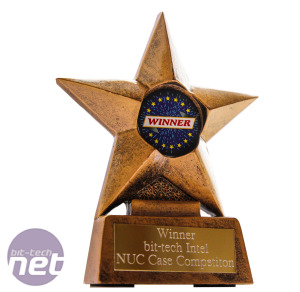
While these four have already been picked from dozens of entries and have got their rewards, by getting to keep their awesome Intel NUC motherboards and accessories, we'd still like you to vote for an outright winner. The person with the most votes will win their very own winner's trophy and the kudos of making the best case as voted for by the best modding site in the world (we're modest too).
We'd also like to thank Intel UK for sponsoring the competition and providing some excellent hardware for our modders to work with.
And thanks also goes to our four modders who have turned around some truly amazing projects this summer - well done guys. So without further ado, here are the four complete NUC cases in alphabetical order and you can vote for your favourite in the forum.
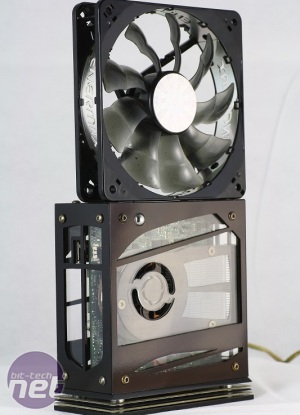
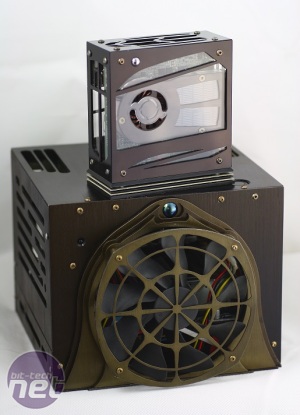
Intranuc by Wayne Wilkinson (Waynio)
Project Log: Here
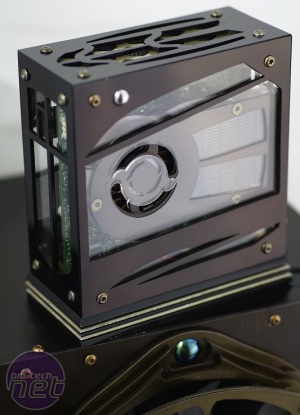
A word from Wayne... The NUC is at the core of the actual case structure with hex spacers going through the mount holes into cube spacers, which all the panels mount to with 32 main mount points. The external bevelled and mitre edges were tricky to get right for an almost seamless look on the corners and would have driven me mad trying to get them any better.
The cut-outs I just made up as I designed, and I went with whatever looked good to me. The base uses multiple bevelled layers spaced by washers with a hiding spot for the on-board battery. Above that is a standard mesh panel and a hex panel for more detail to be seen up close. Meanwhile the top has two hex patterned panels with a standard mesh.
Click to enlarge
To create the power switch extender - for reaching the internal switch - I glued a section of acrylic tube to the internal acrylic panel with two tiny acrylic discs, a spring, a screw and a ball bearing. These rest behind the internally countersunk side panel, which lets the ball pop out only needing a little press and is forced out with a touch of resistance.
The custom heat sink has the same dimensions as the stock one, only a bit thicker, uses more copper for faster heat transfer and has many more fins. These are far thinner and taller for extra cooling capacity, while using the same fan from the stock cooler, keeps it 15°C cooler than stock.
Click to enlarge
The finish is metal lacquer sprayed on and then dyed for an hour in a custom dark brown dye mix. The lighter one is a 15 minute dunk of the same colour. I call the method lacqodising - it's a beta stage finish and the only thing I’m not one totally happy with because I know it can be better. The mitre edges needed a thicker coat, which resulted in a gloss look.
Overall, though, I’m happy with the completed project and the NUC is a very capable HTPC. The main thing that would make it better is USB 3.0 ports, which they already added on newer versions so thank you bit-tech, Intel and everyone involved for giving me a good excuse for another project - it's appreciated and I enjoyed making such a small case too.
Click to enlarge
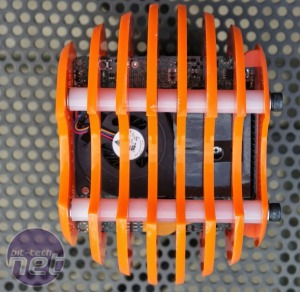
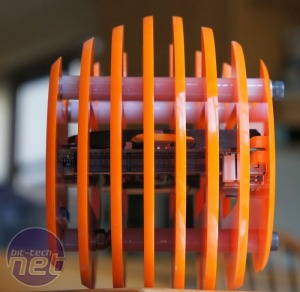
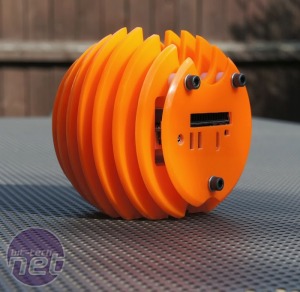
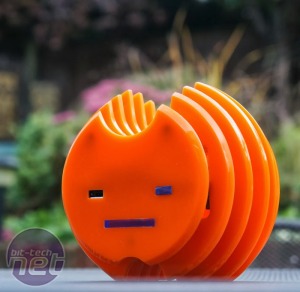
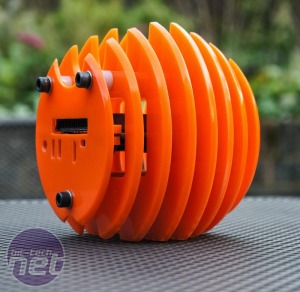
The Face Case by Luke Tedman (spO_oks)
Project Log: Here
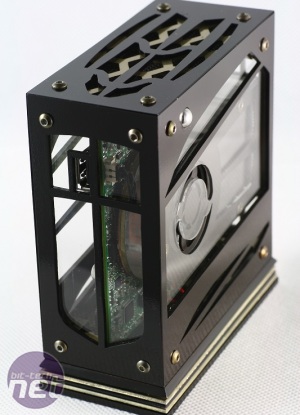
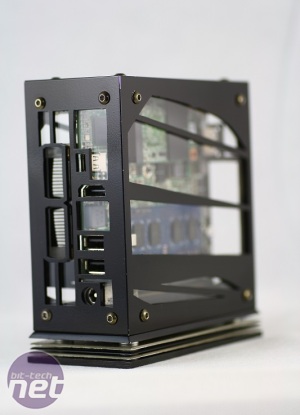
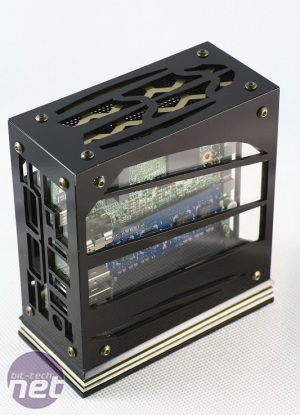
A word from Luke... I started this project about 10 weeks ago, and was expecting to be done within about two, this was not the case though as I continued fiddling with it up till the deadline.
Although the end result is a pretty tiny case this is one of the most complex projects I've worked on as I don't normally have to worry about things being quite so precise! Buying a scroll saw towards the beginning saved my bacon a little bit; I don't think I would have managed without it.
If I did a project like this again, I would definitely take more time making sure my measurements were 100% correct before getting to the cutting step as that cost me a lot of time and enthusiasm.
The end result is something I'm very pleased with and the second one that I plan on making shortly should be even better!
Click to enlarge
Click to enlarge
Click to enlarge
Head over to page two to see the rest of the projects and make sure to vote for your favourites in the forum.

MSI MPG Velox 100R Chassis Review
October 14 2021 | 15:04




Want to comment? Please log in.