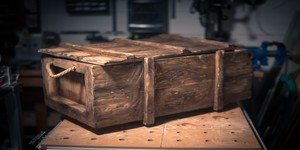
Building a Water-Cooled Battlefield V PC into an Ammo Crate!
March 4, 2019 | 14:00
Companies: #asus #bitspower #corsair #nvidia
Planning out the loop
If you're at all familiar with how I tend to plan out my loops, you may have seen that I like to model everything out in advance to the maximum detail that I can. This is by no means necessary, but it does help a lot when trying to figure out which parts will be needed or whether things are likely to work out in the way you'd hope. Not for this build, however. The reason for that is the same one as why I didn't model all the structural pieces: There's just a little too much flexibility with things in this build since so much is being done on the fly. As such, it made sense to just go with the traditional route of guesstimating everything and hoping for the best.
The parts were all chosen before the case had been constructed or even fully planned (hence why they're mysteriously present in the previous paragraphs...), but the plan for what to do with them had not been determined. We went with the following setup for this build:
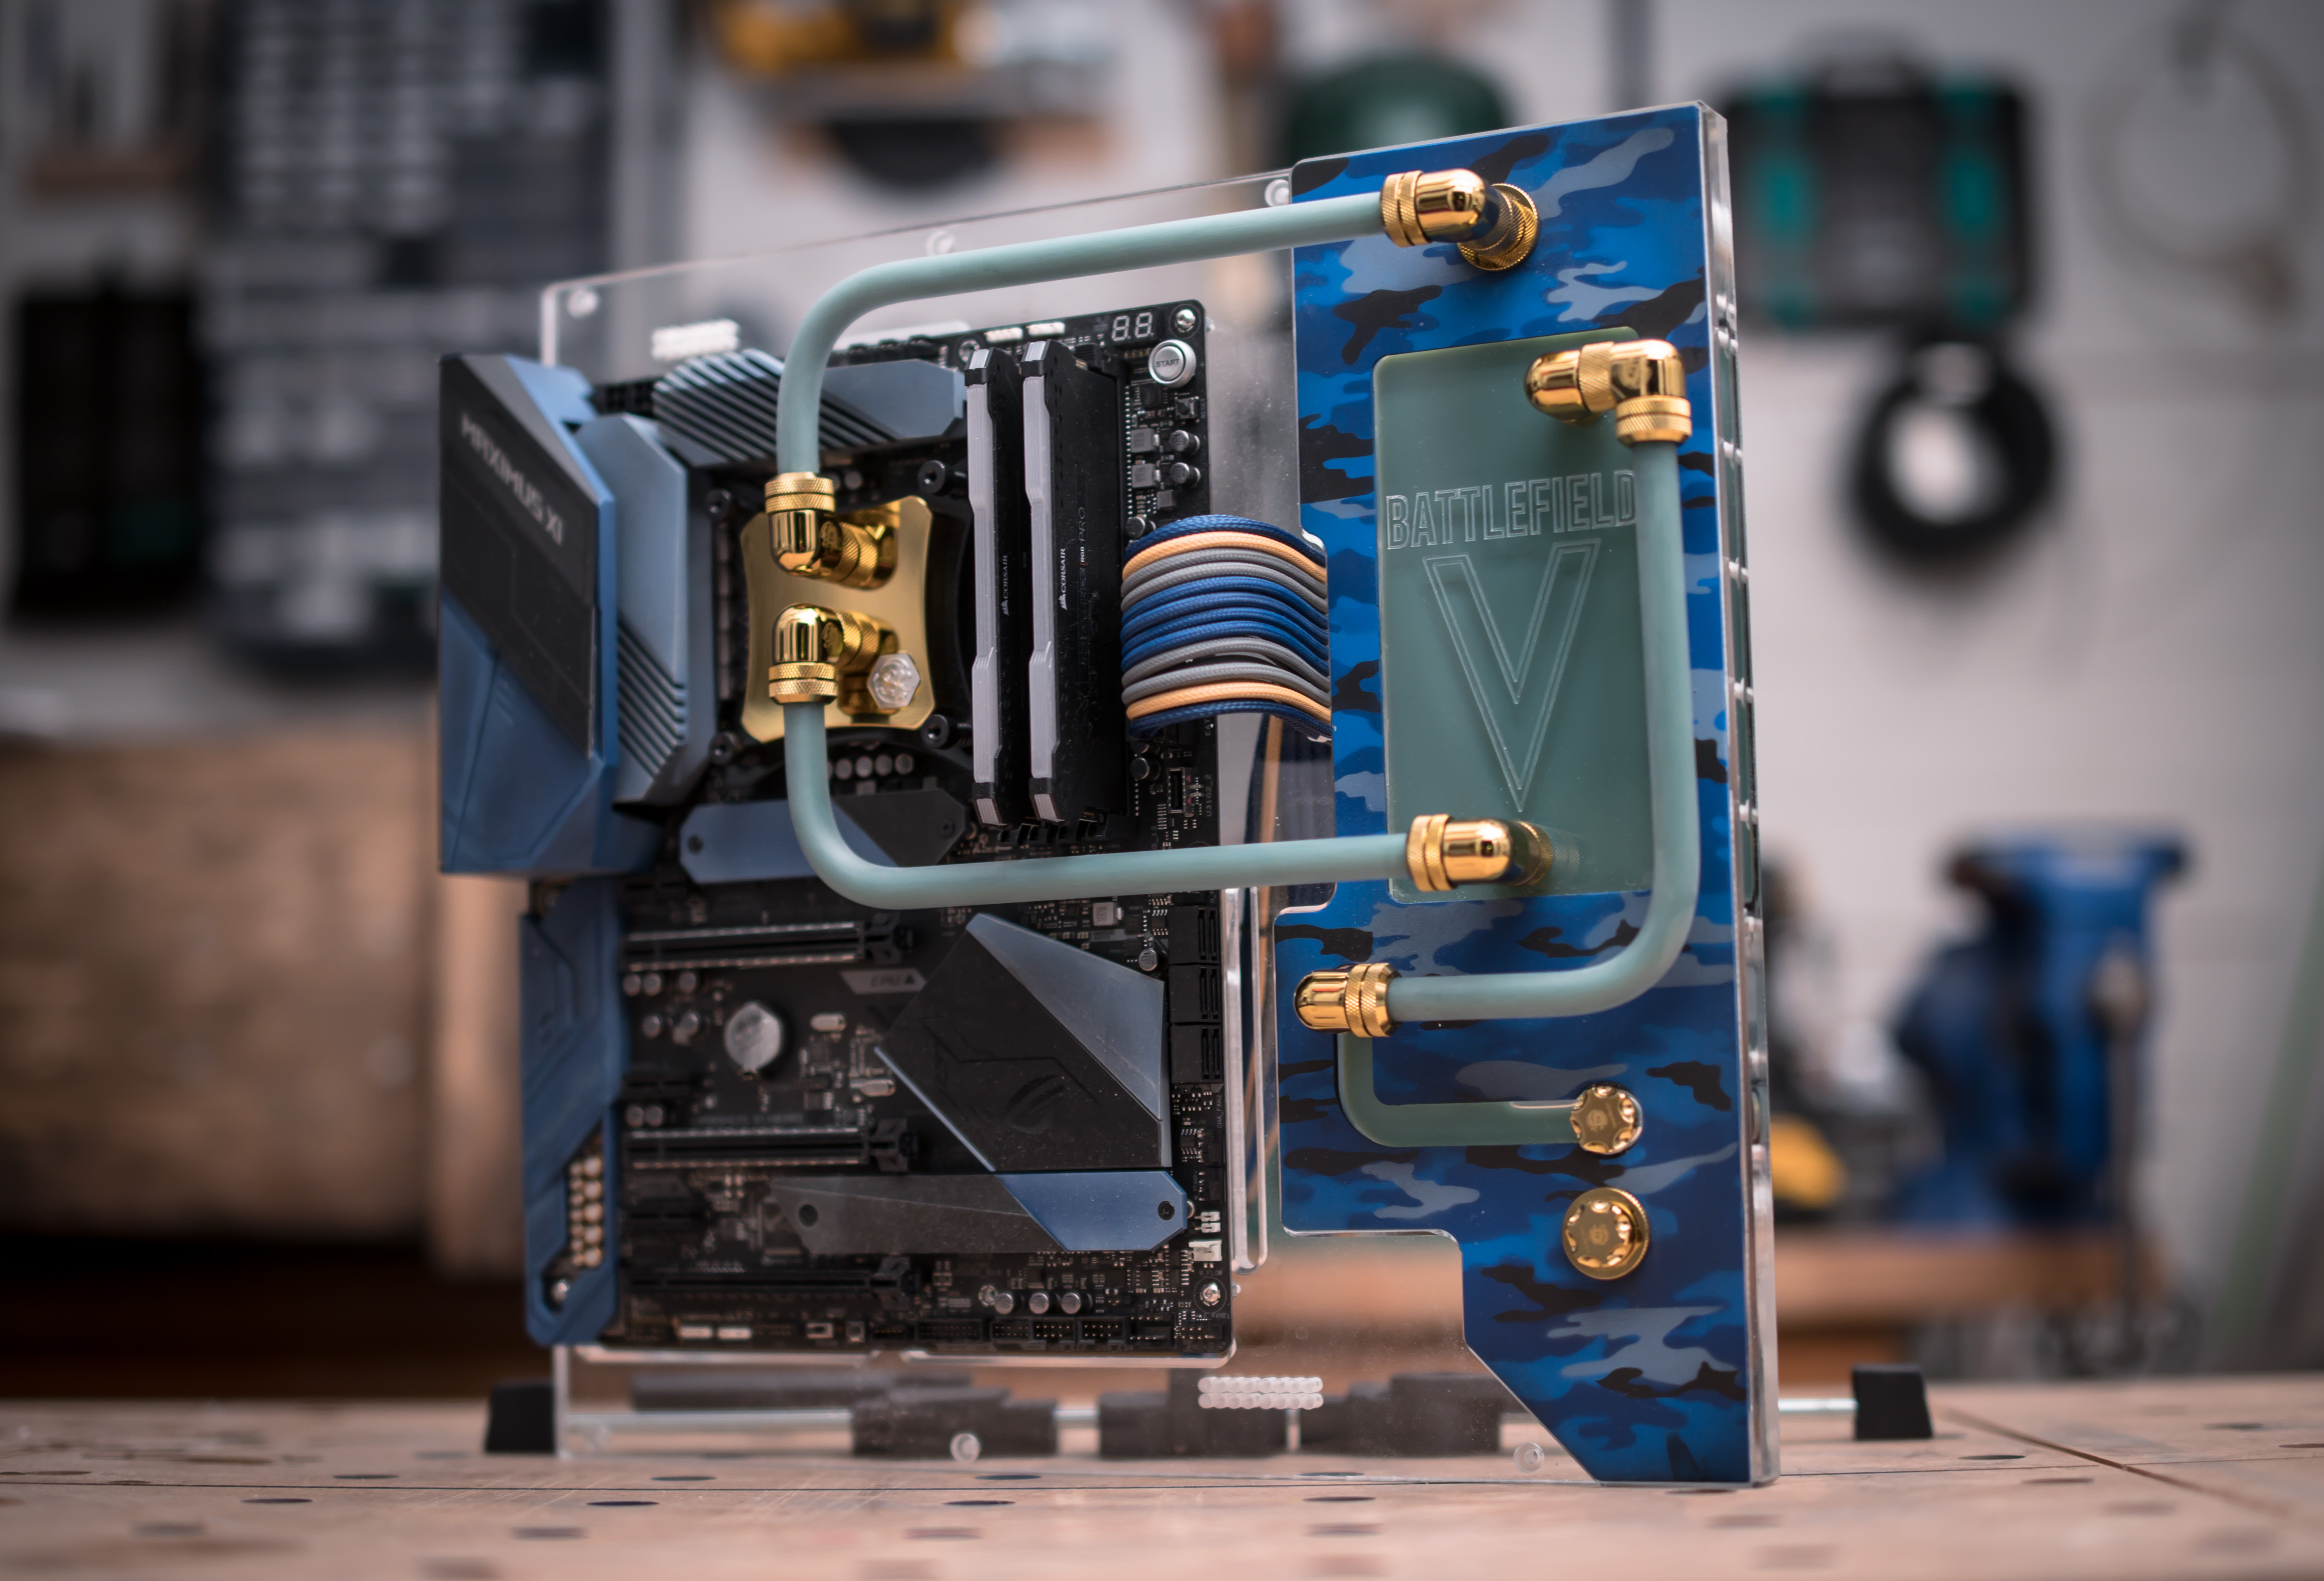
- CPU block - Bitspower Summit EF-X Golden
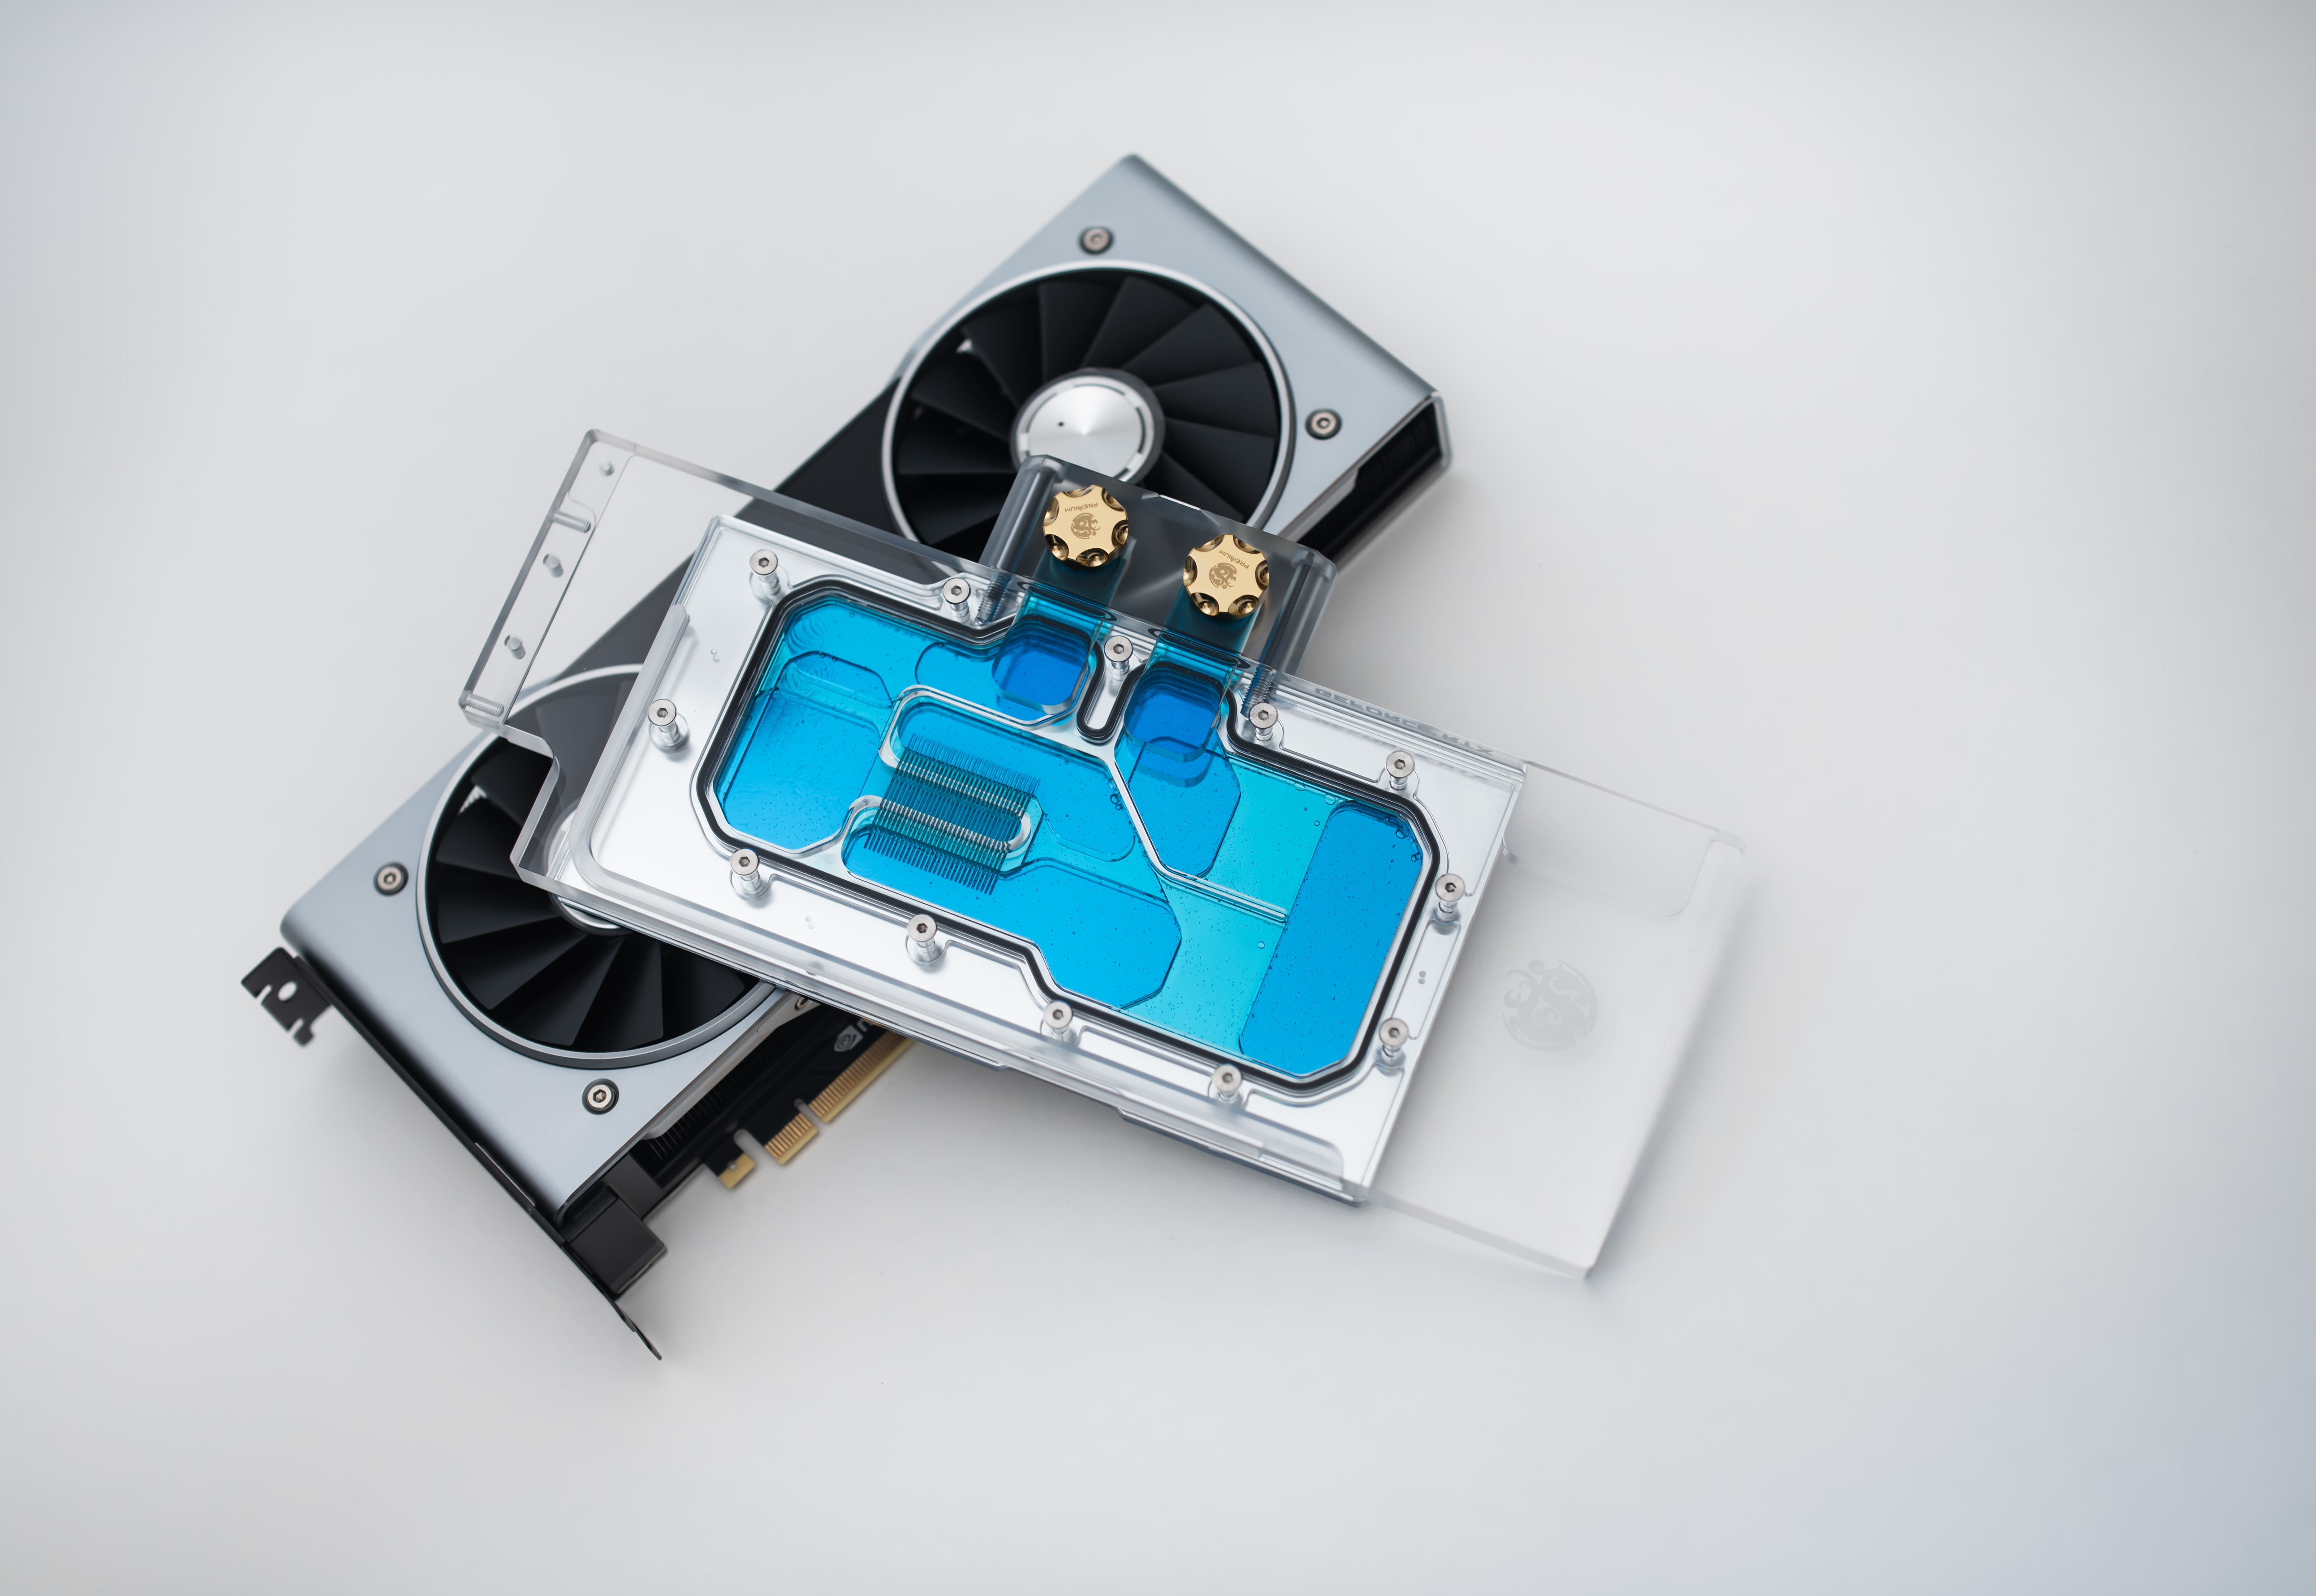
- GPU Block - Bitspower Lotan for RTX 20 Series
- Radiators - 2x Bitspower Leviathan SF280
- Fans - 4x Be Quiet! Silent Wings 3 140mm 1600RPM
- Reservoir - Bitspower Water Tank Z-Multi 150 V2 (Limited Brass Edition)
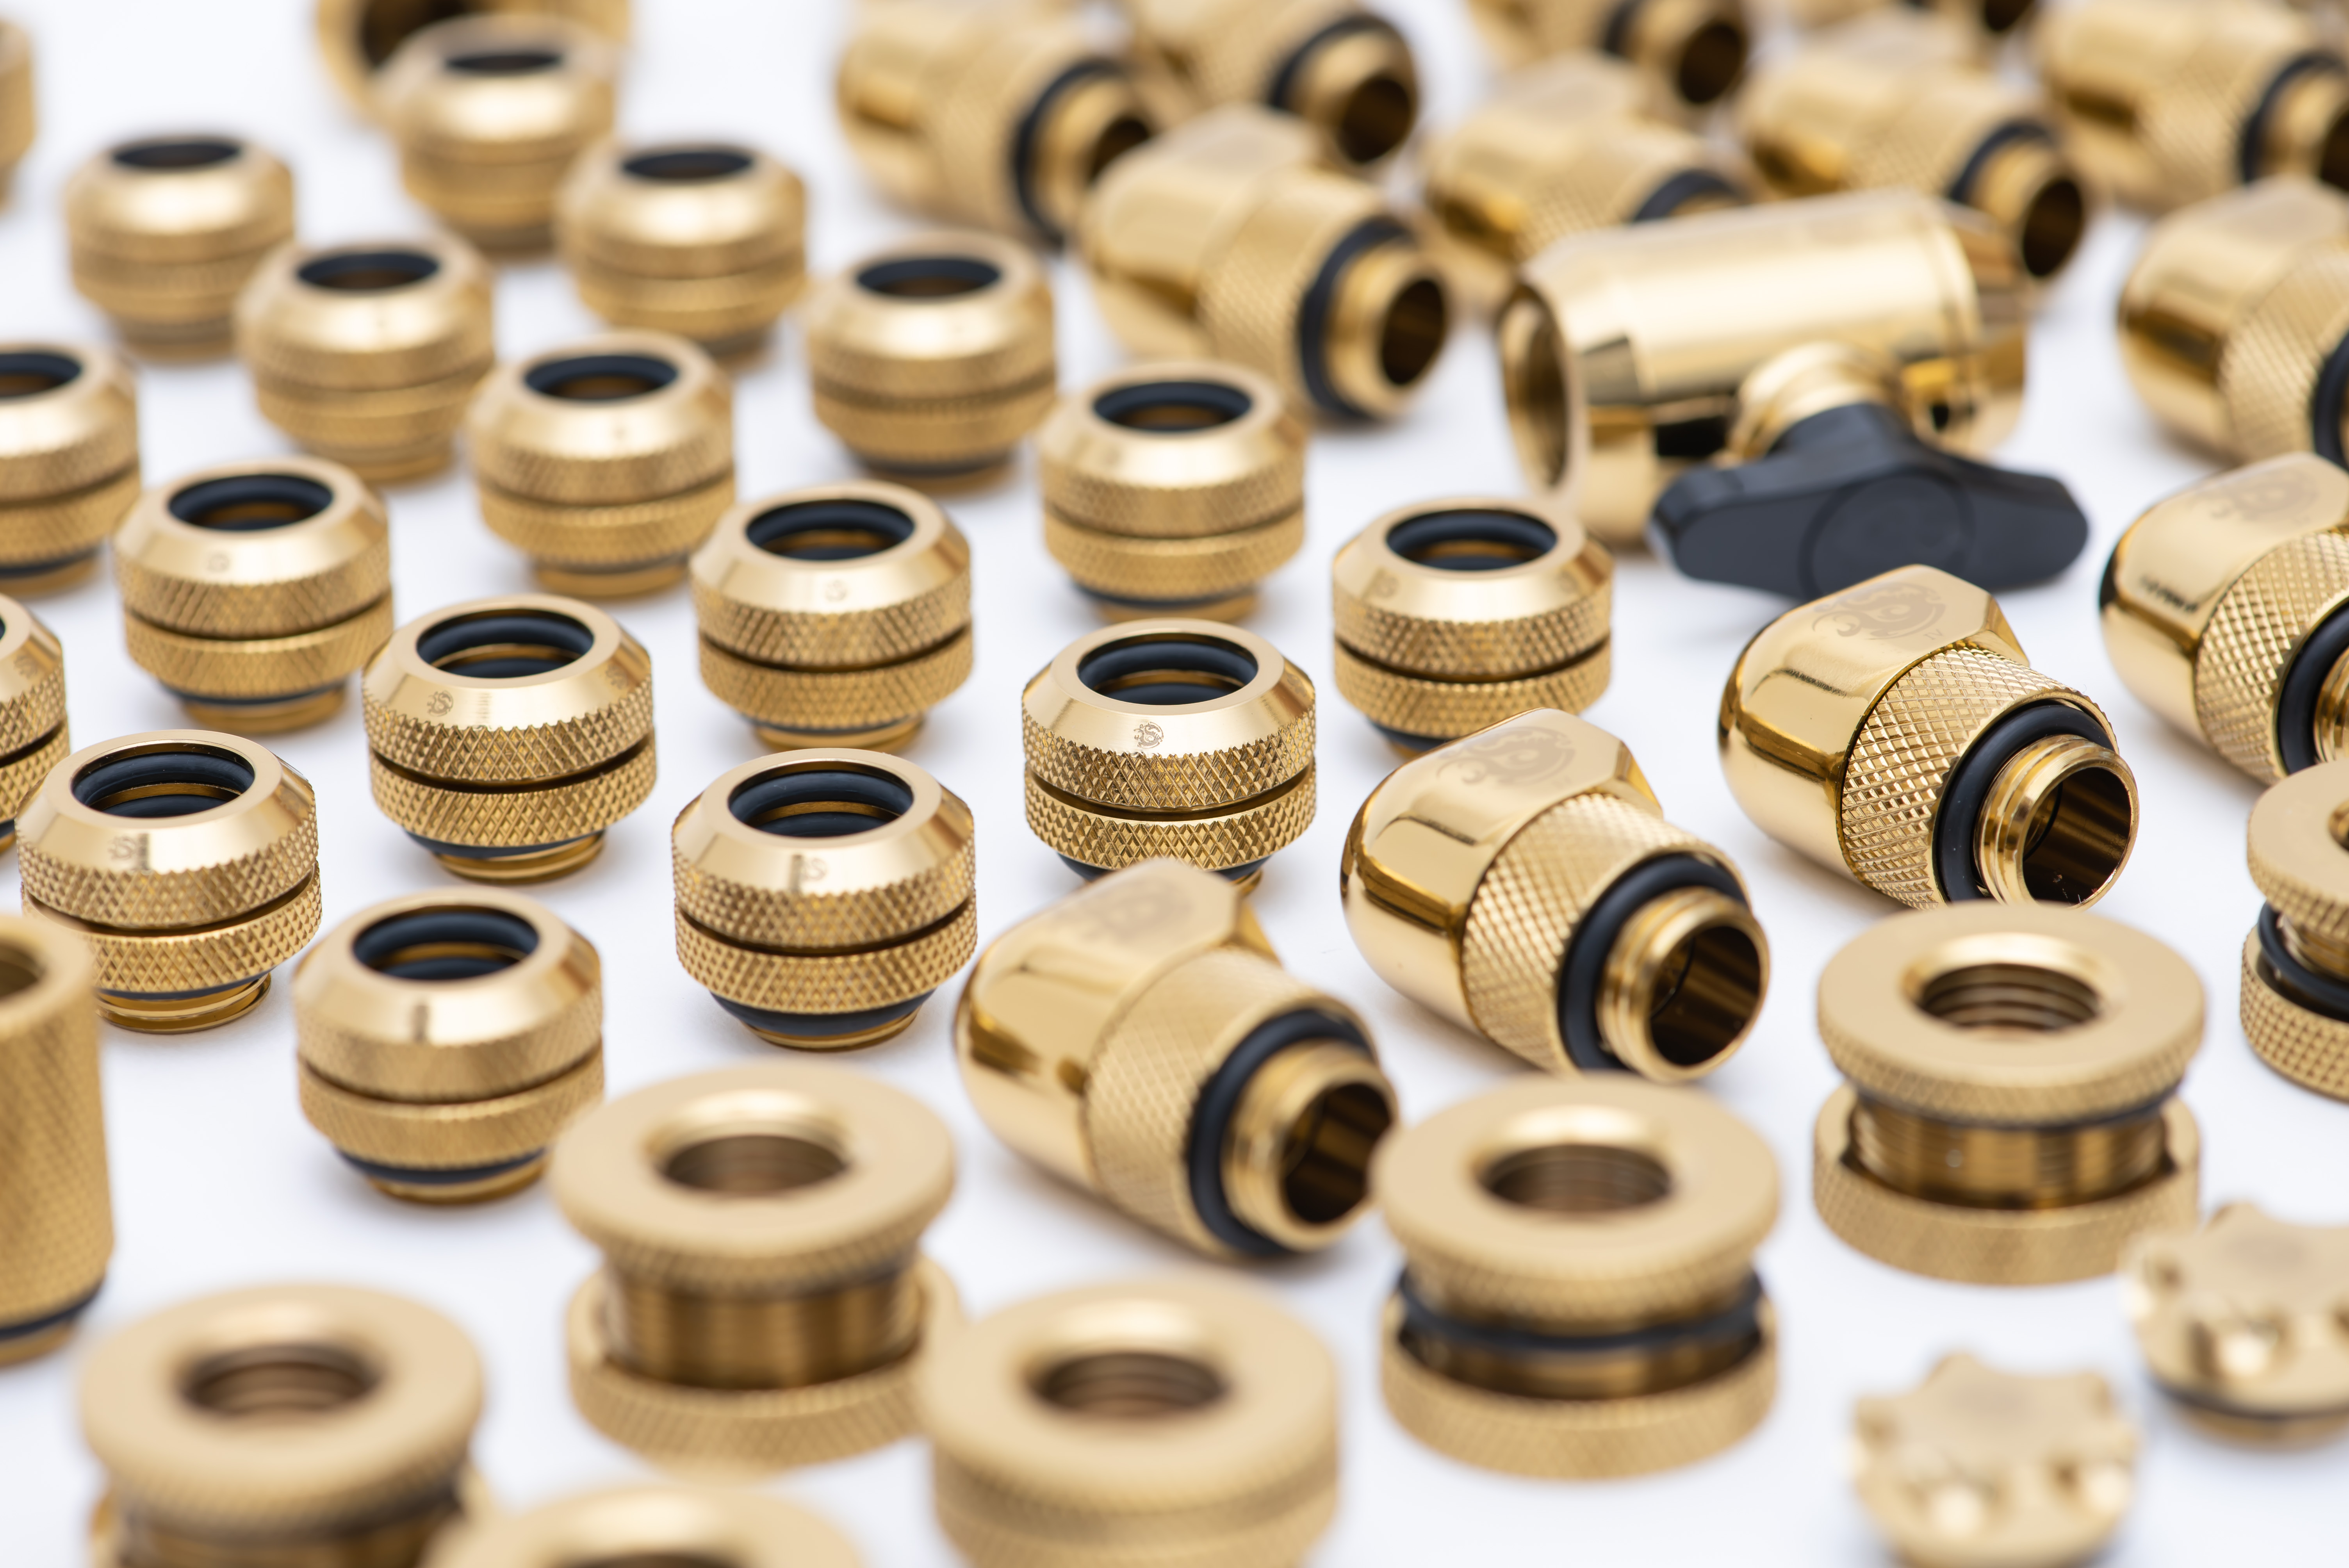
- Fittings - Bitspower 12mm Enhance Multi-Link True Brass + Angled adapters and other accessories
- Pump - Bitspower D5 Vario with Pump Top Mod Kit
- Coolant - Mayhem's Pastel Dark Grey
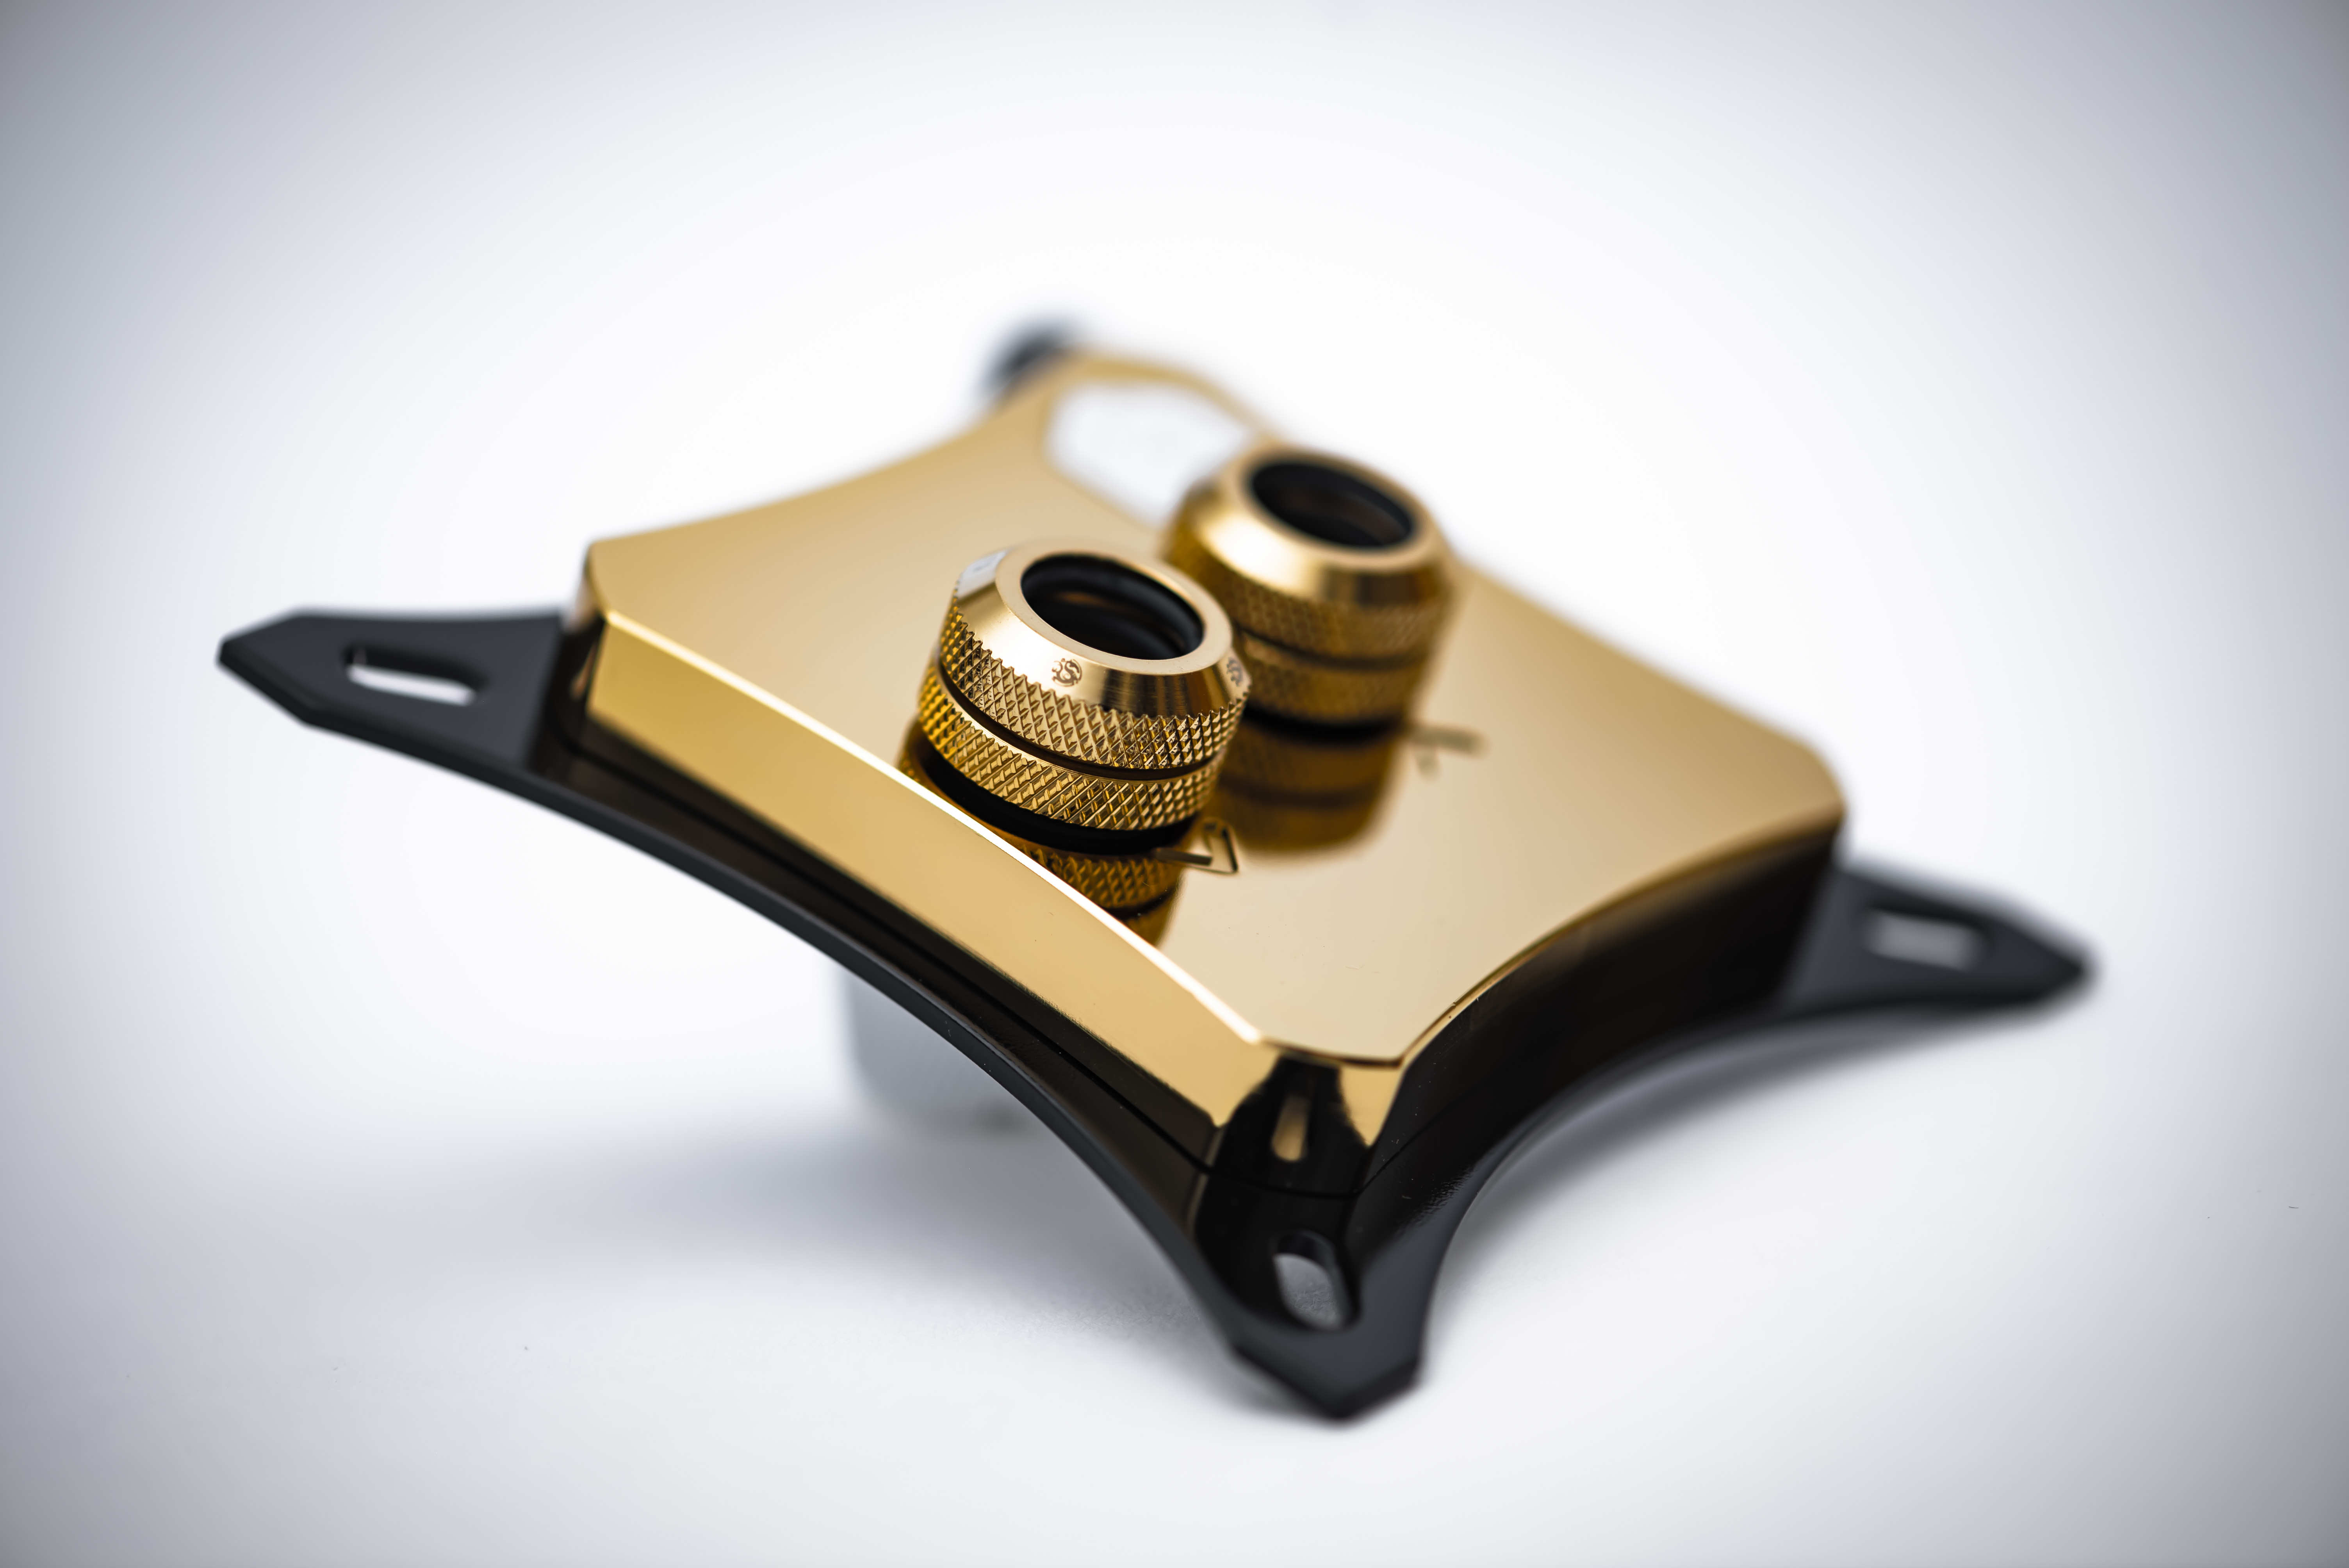
As you will have noticed in the previous paragraphs, gold was the flavour of the moment here. The deep colour from the polished brass just fits the military theme to a tee if you ask me, reminiscent of dress uniforms and medals, plus the fit and finish on these parts was really exceptional.
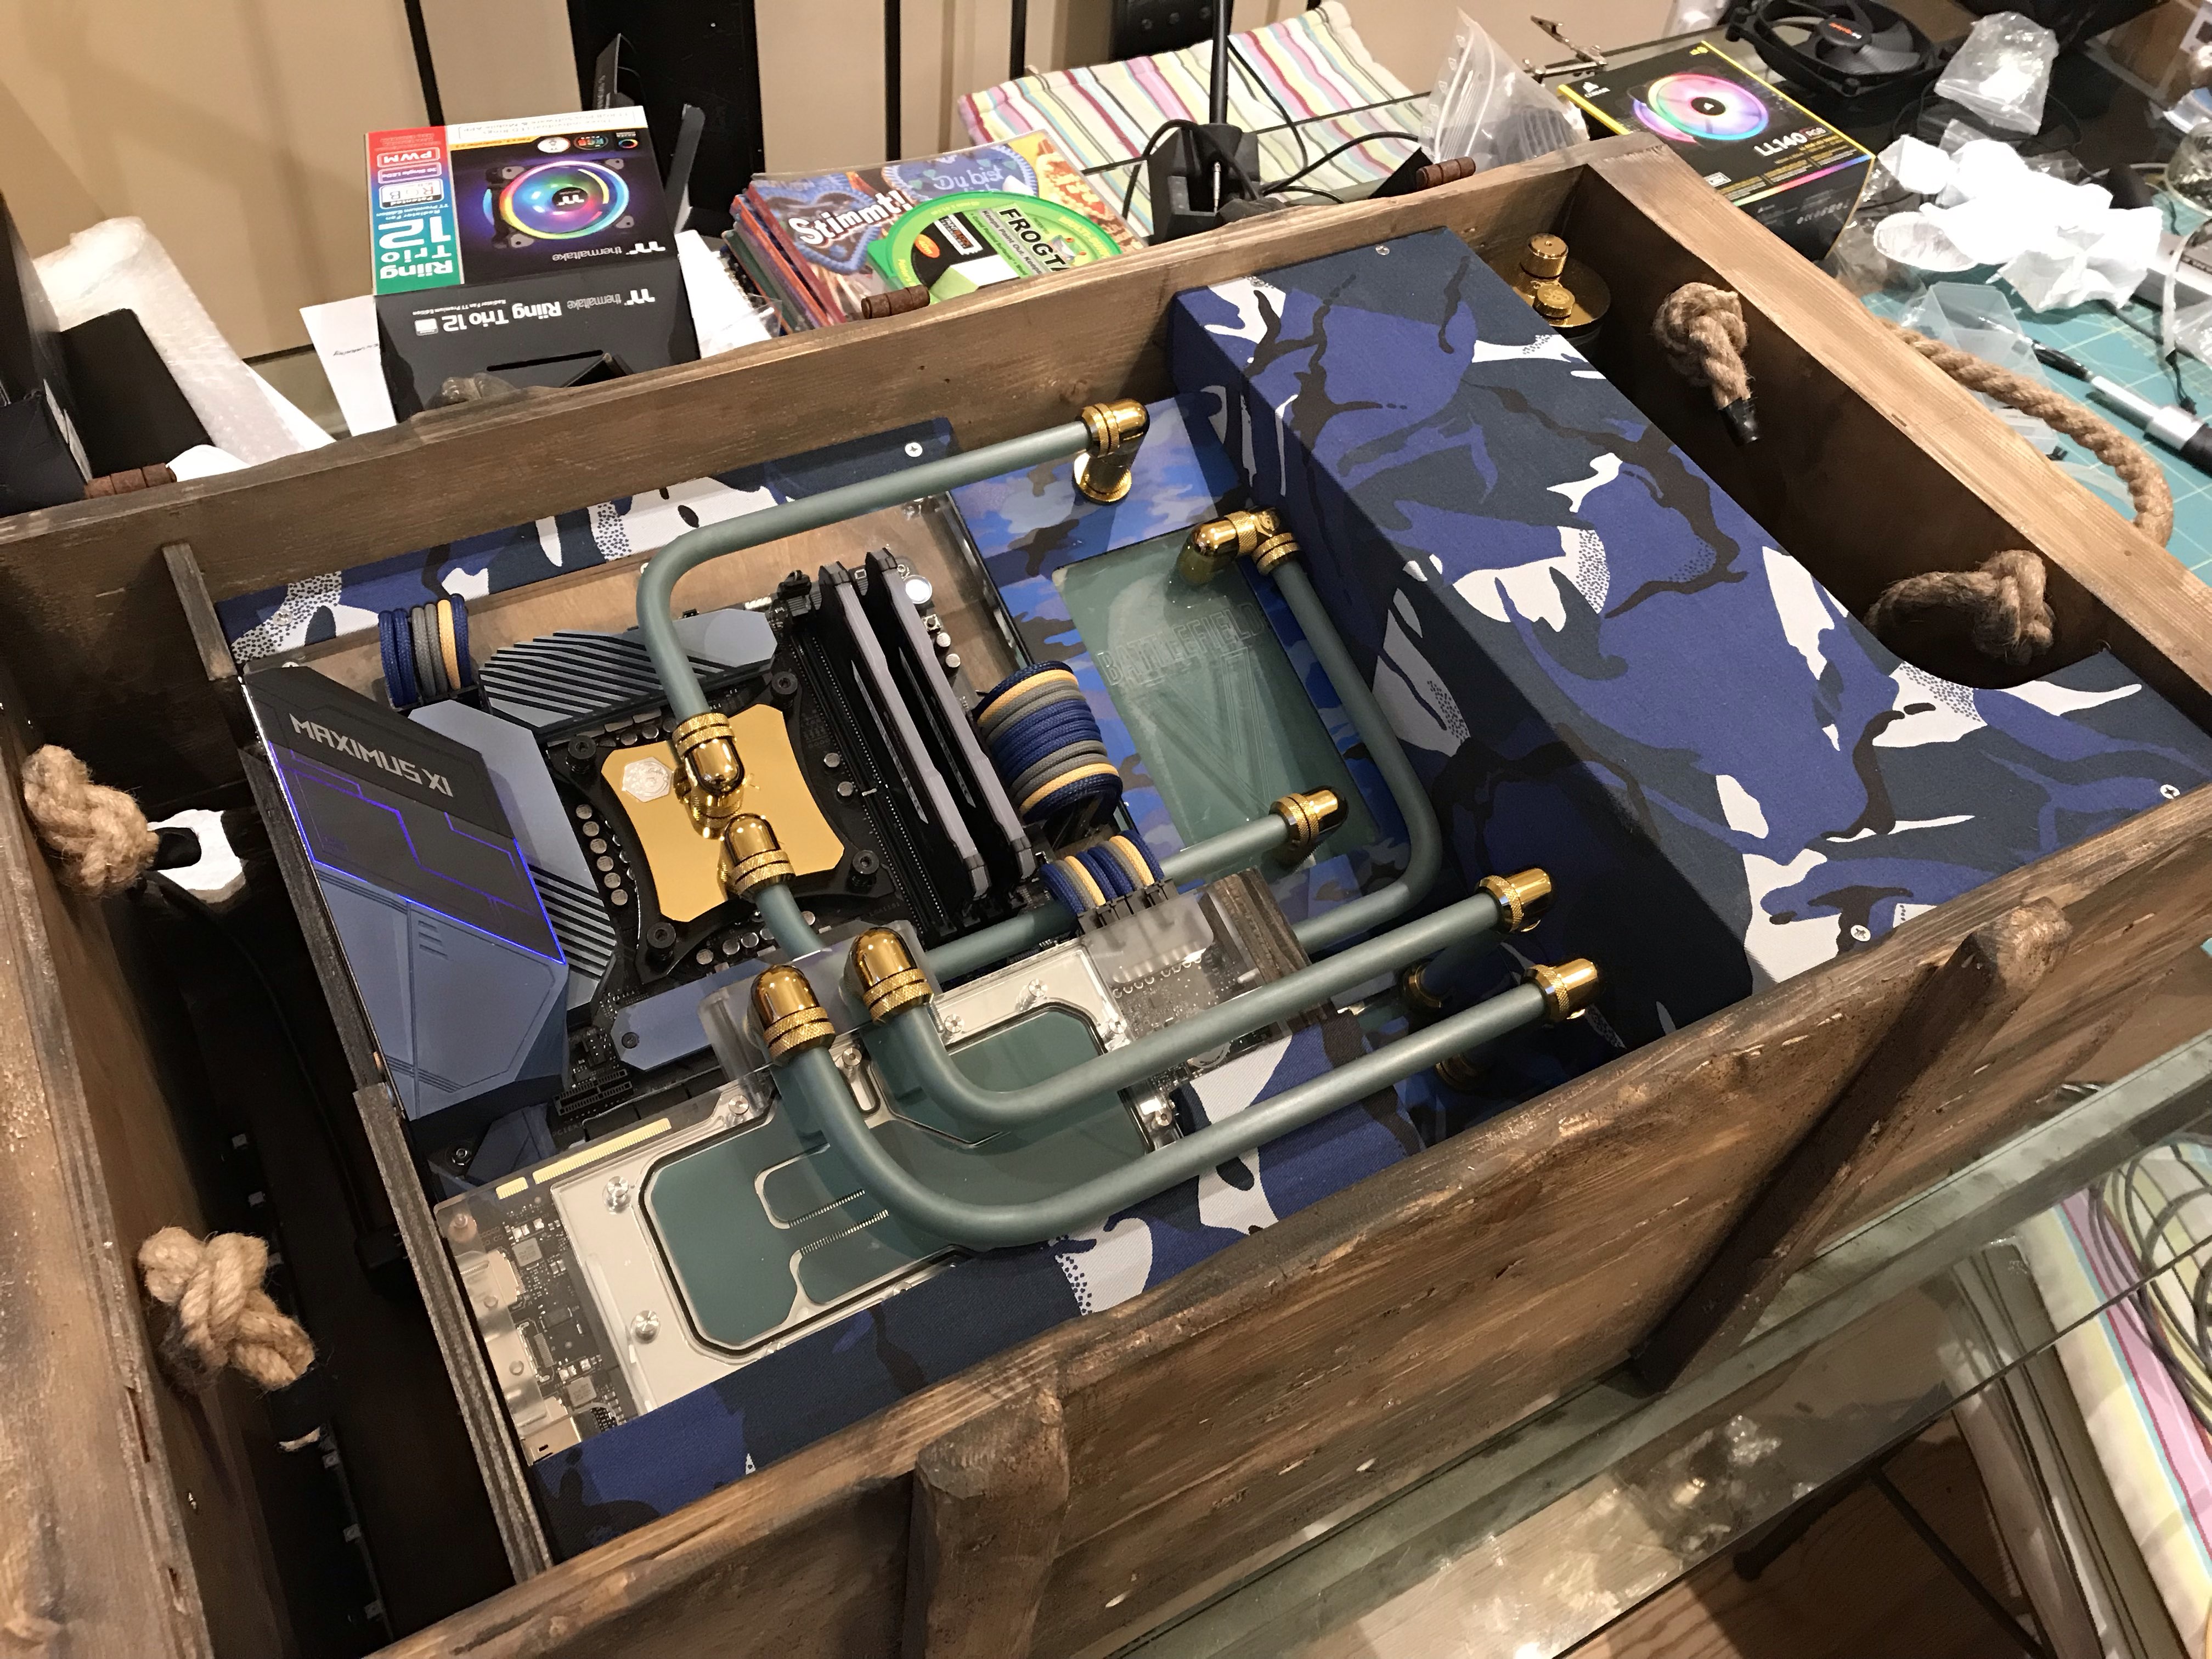
In terms of getting a plan going, a large part of it was figuring out where to put the radiators. After all, we're dealing with a box here, so there needs to be at least some airflow. Initially I had wanted to place the radiators on the back side, but this quickly became challenging, as it would have meant removing a lot of material. So instead I opted to place them on the floor in a square, making use of how the support struts outside of the case provide clearance for airflow. The other key advantage is that the base is made from 19mm ply so is pretty flat, strong, and uniform, perfect for cutting holes out of without risk of compromising any structure. Having the radiators centrally mounted on the floor also provided plenty of room for the pump and reservoir, plus options for decent tubing routing.
Get the cables in
Before commencing any structural work for the loop, it seemed like a good idea to sort out the remaining cables that pass through the motherboard tray. You'll have noticed that there were already a few in there during the painting stage; the order of operations on this mod really went out of the window! To keep things accessible, I made sets of extensions rather than direct-to-PSU cables, and this allowed the cables to pass through the plate but still be accessible later on. I was worried that later when the mod was populated with hardware that it would become impossible to access the PSU since it sits below the motherboard. It turned out that this fear was a little unfounded, as there was much more room than I expected, but it still made things easier, and in theory another PSU could be used in the future without much fuss, should the need arise.
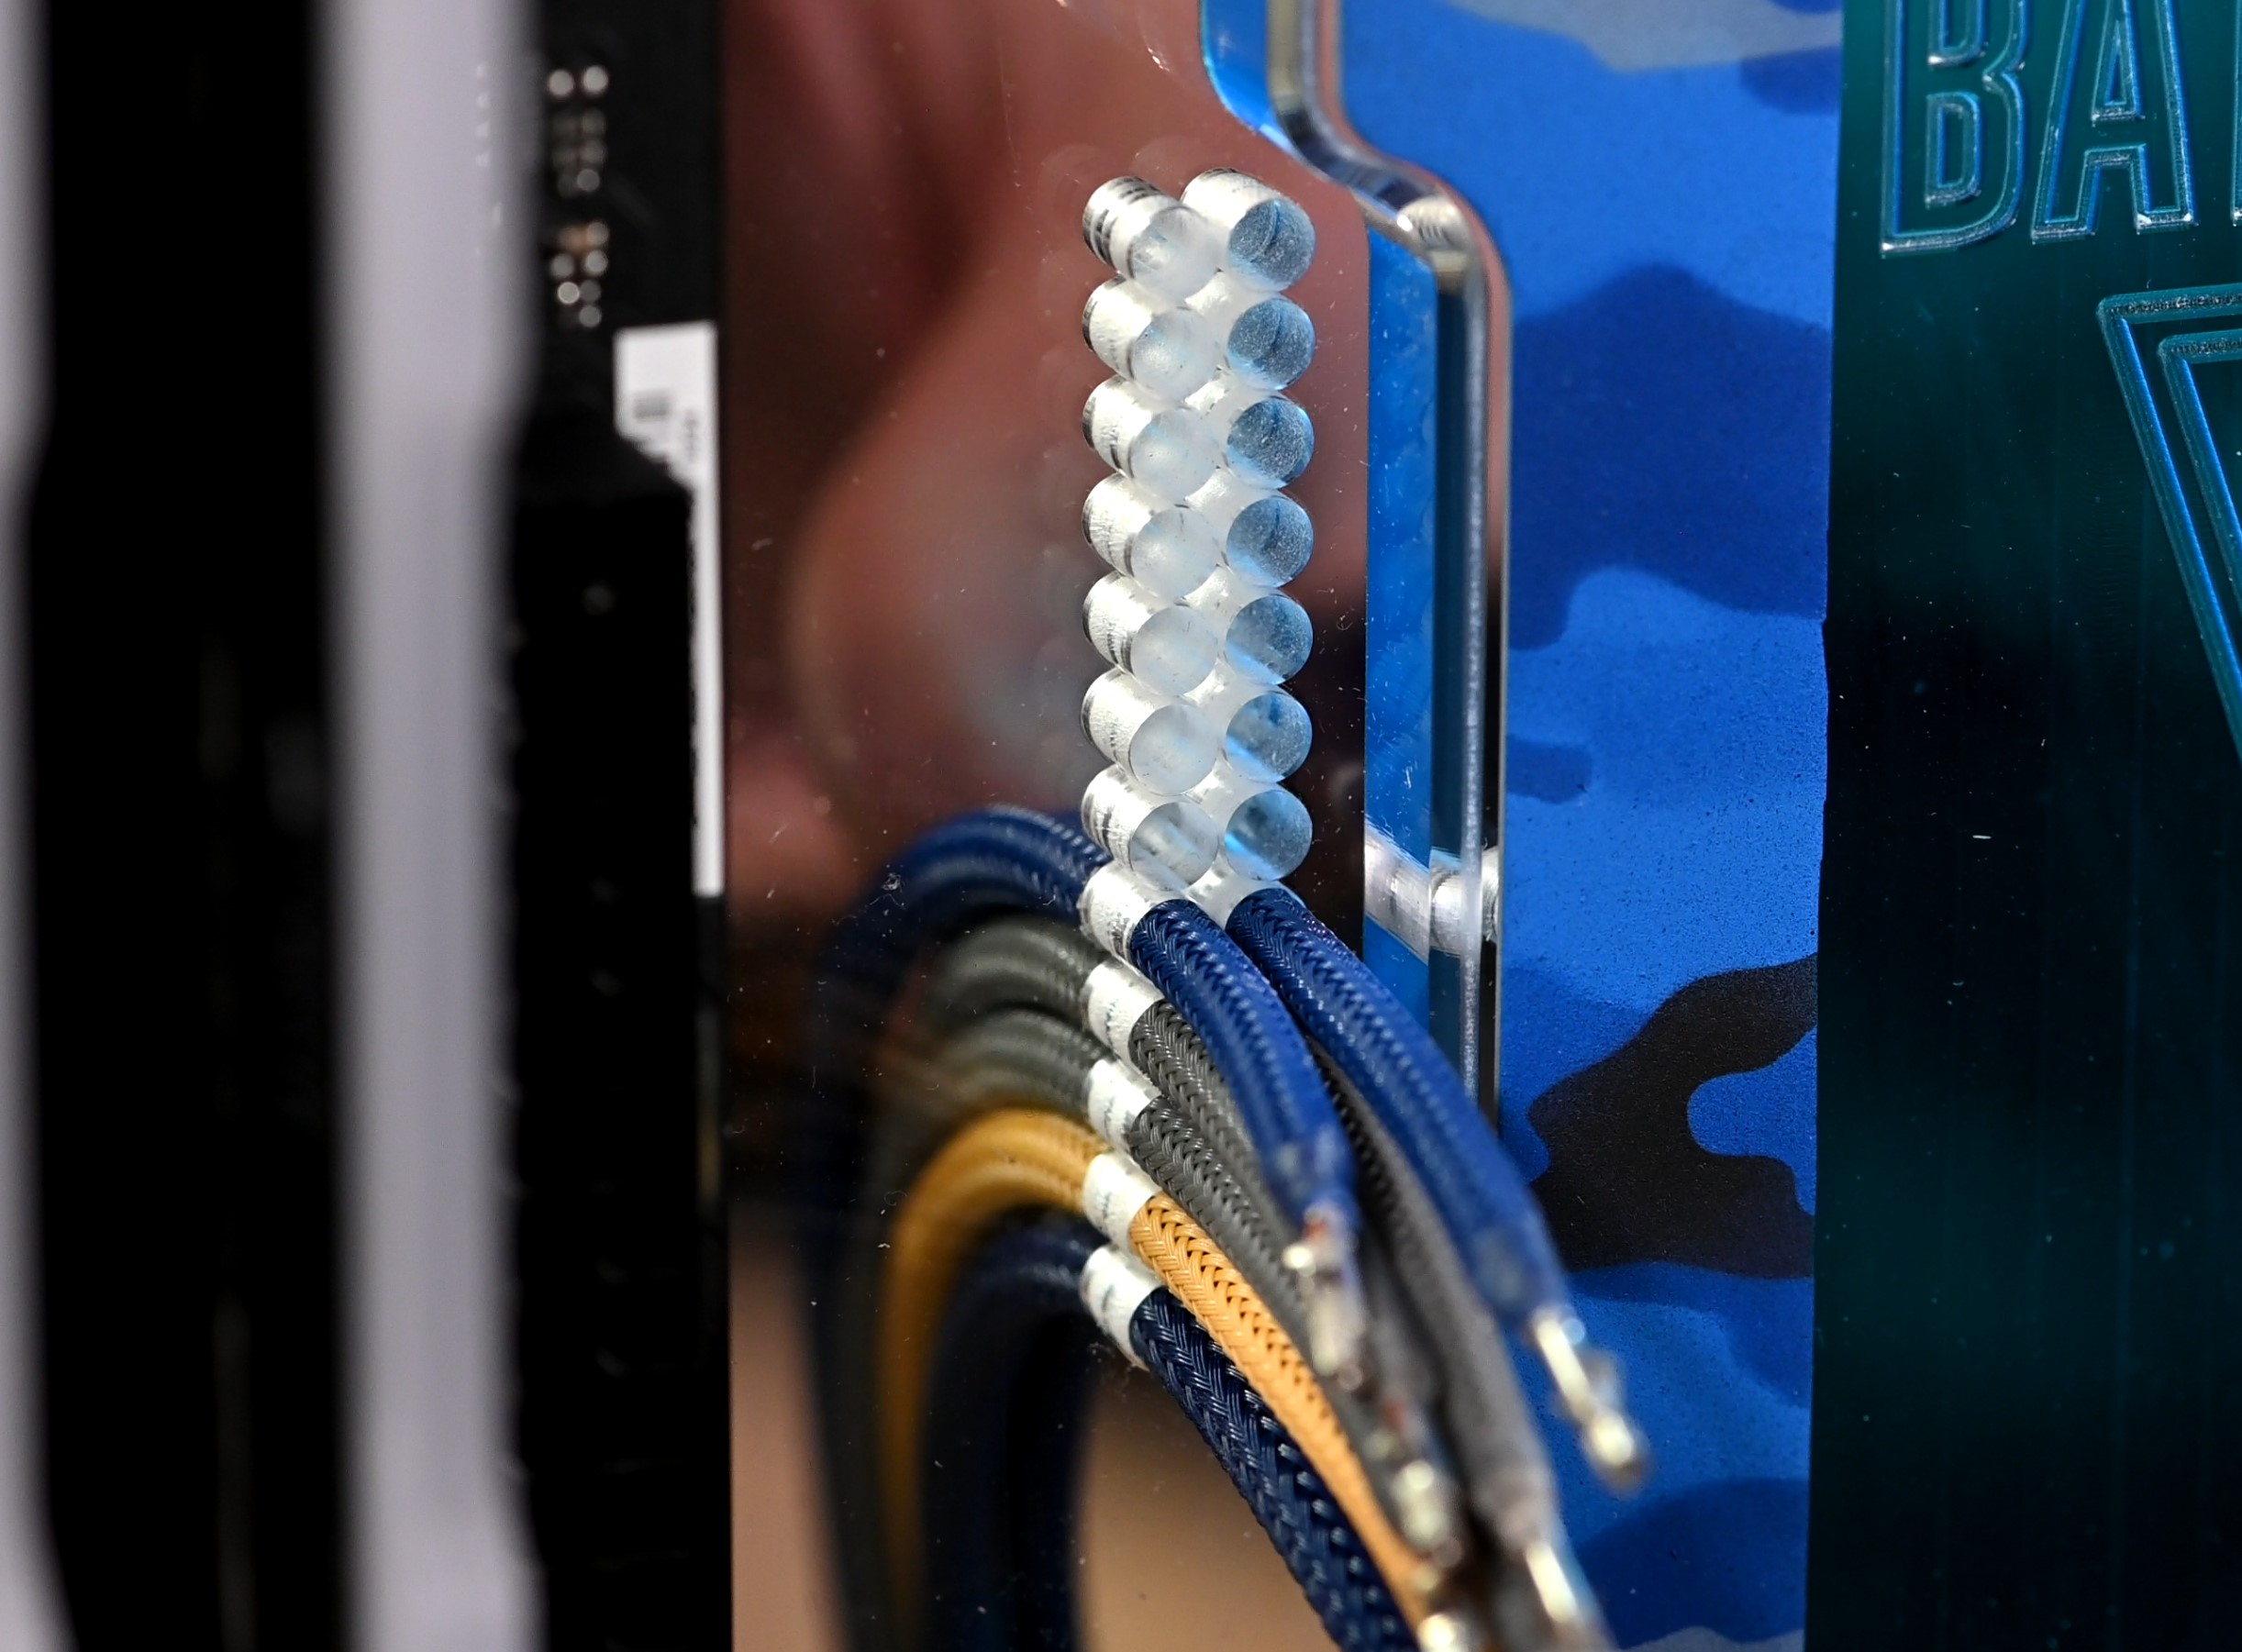
As per the usual affair, the extensions and cables were made from scratch, using 16AWG wire and MDPC-X XTR sleeving. The cable pass-through holes in the motherboard tray are 4mm wide and have a spacing of 4.3mm to be as close to the 4.2mm spacing found on the connectors as possible (that extra 0.1mm I found can make an appreciable difference to the ease of machining)
Plumbing the loop
With the cables largely out of the equation the last main step was to get the loop going, which meant fixing the radiators into the case along with the reservoir and pump, then tubing the whole thing up. To aid with mounting the radiators I made a mounting bracket from some 9mm ply, and that bracket then mounted to the base above the fan cutout, resting on a pair of spacers. Planning how the distro plate would connect to the pump and radiators was an interesting exercise since 20° is an unusual figure, so angled adapters were out of the question. To alleviate this problem, rather than feeding the tubes out directly from the bulkhead fittings to the next components, I used a pair of 90° rotary adapters, which allowed the tube to be oriented so that the angle of the plate didn't matter.
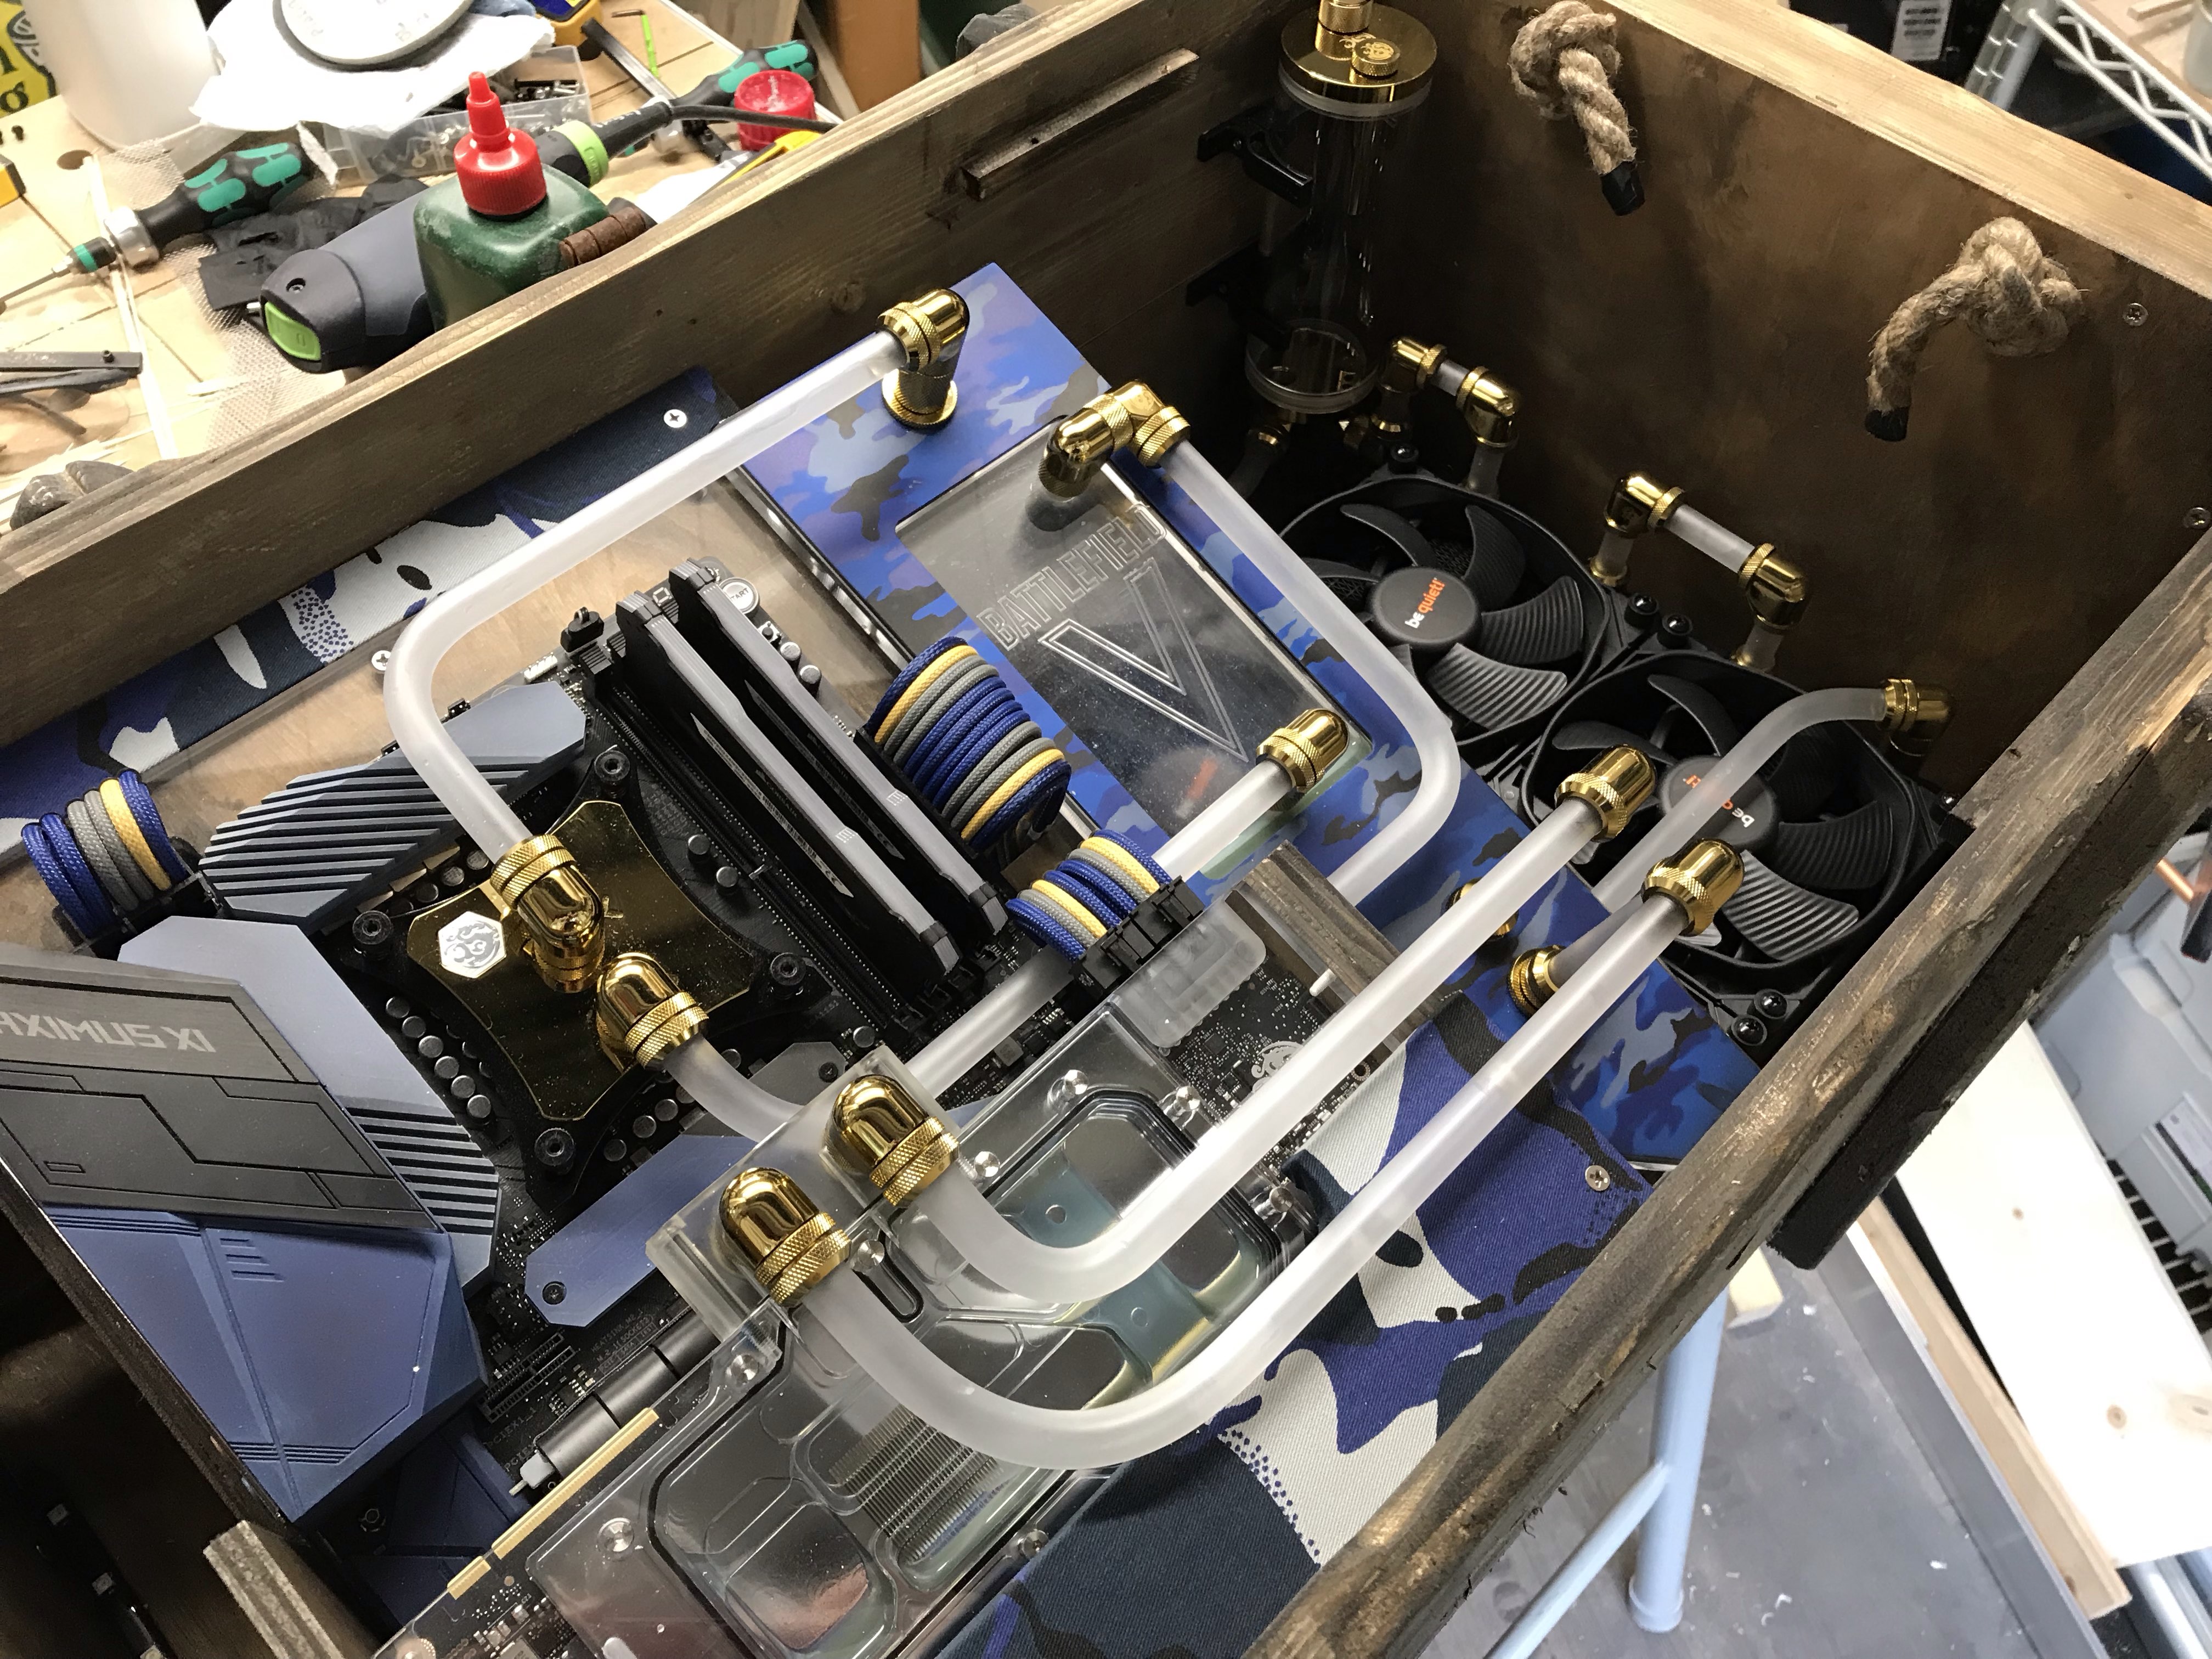
The GPU sits above the motherboard, connected with a flexible riser cable and held in place by a wooden bracket that screws directly into the GPU water block itself. That bracket ensures that the card is held very firmly in place and parallel to the motherboard, making connecting up the tubes a breeze. Speaking of tubes, it was time to work in the final community voting option: whether to use clear or frosted satin tubing. Frosted won by a landslide, so I set to turning the clear acrylic tubes to satin, following the technique outlined in our handy guide on the topic.
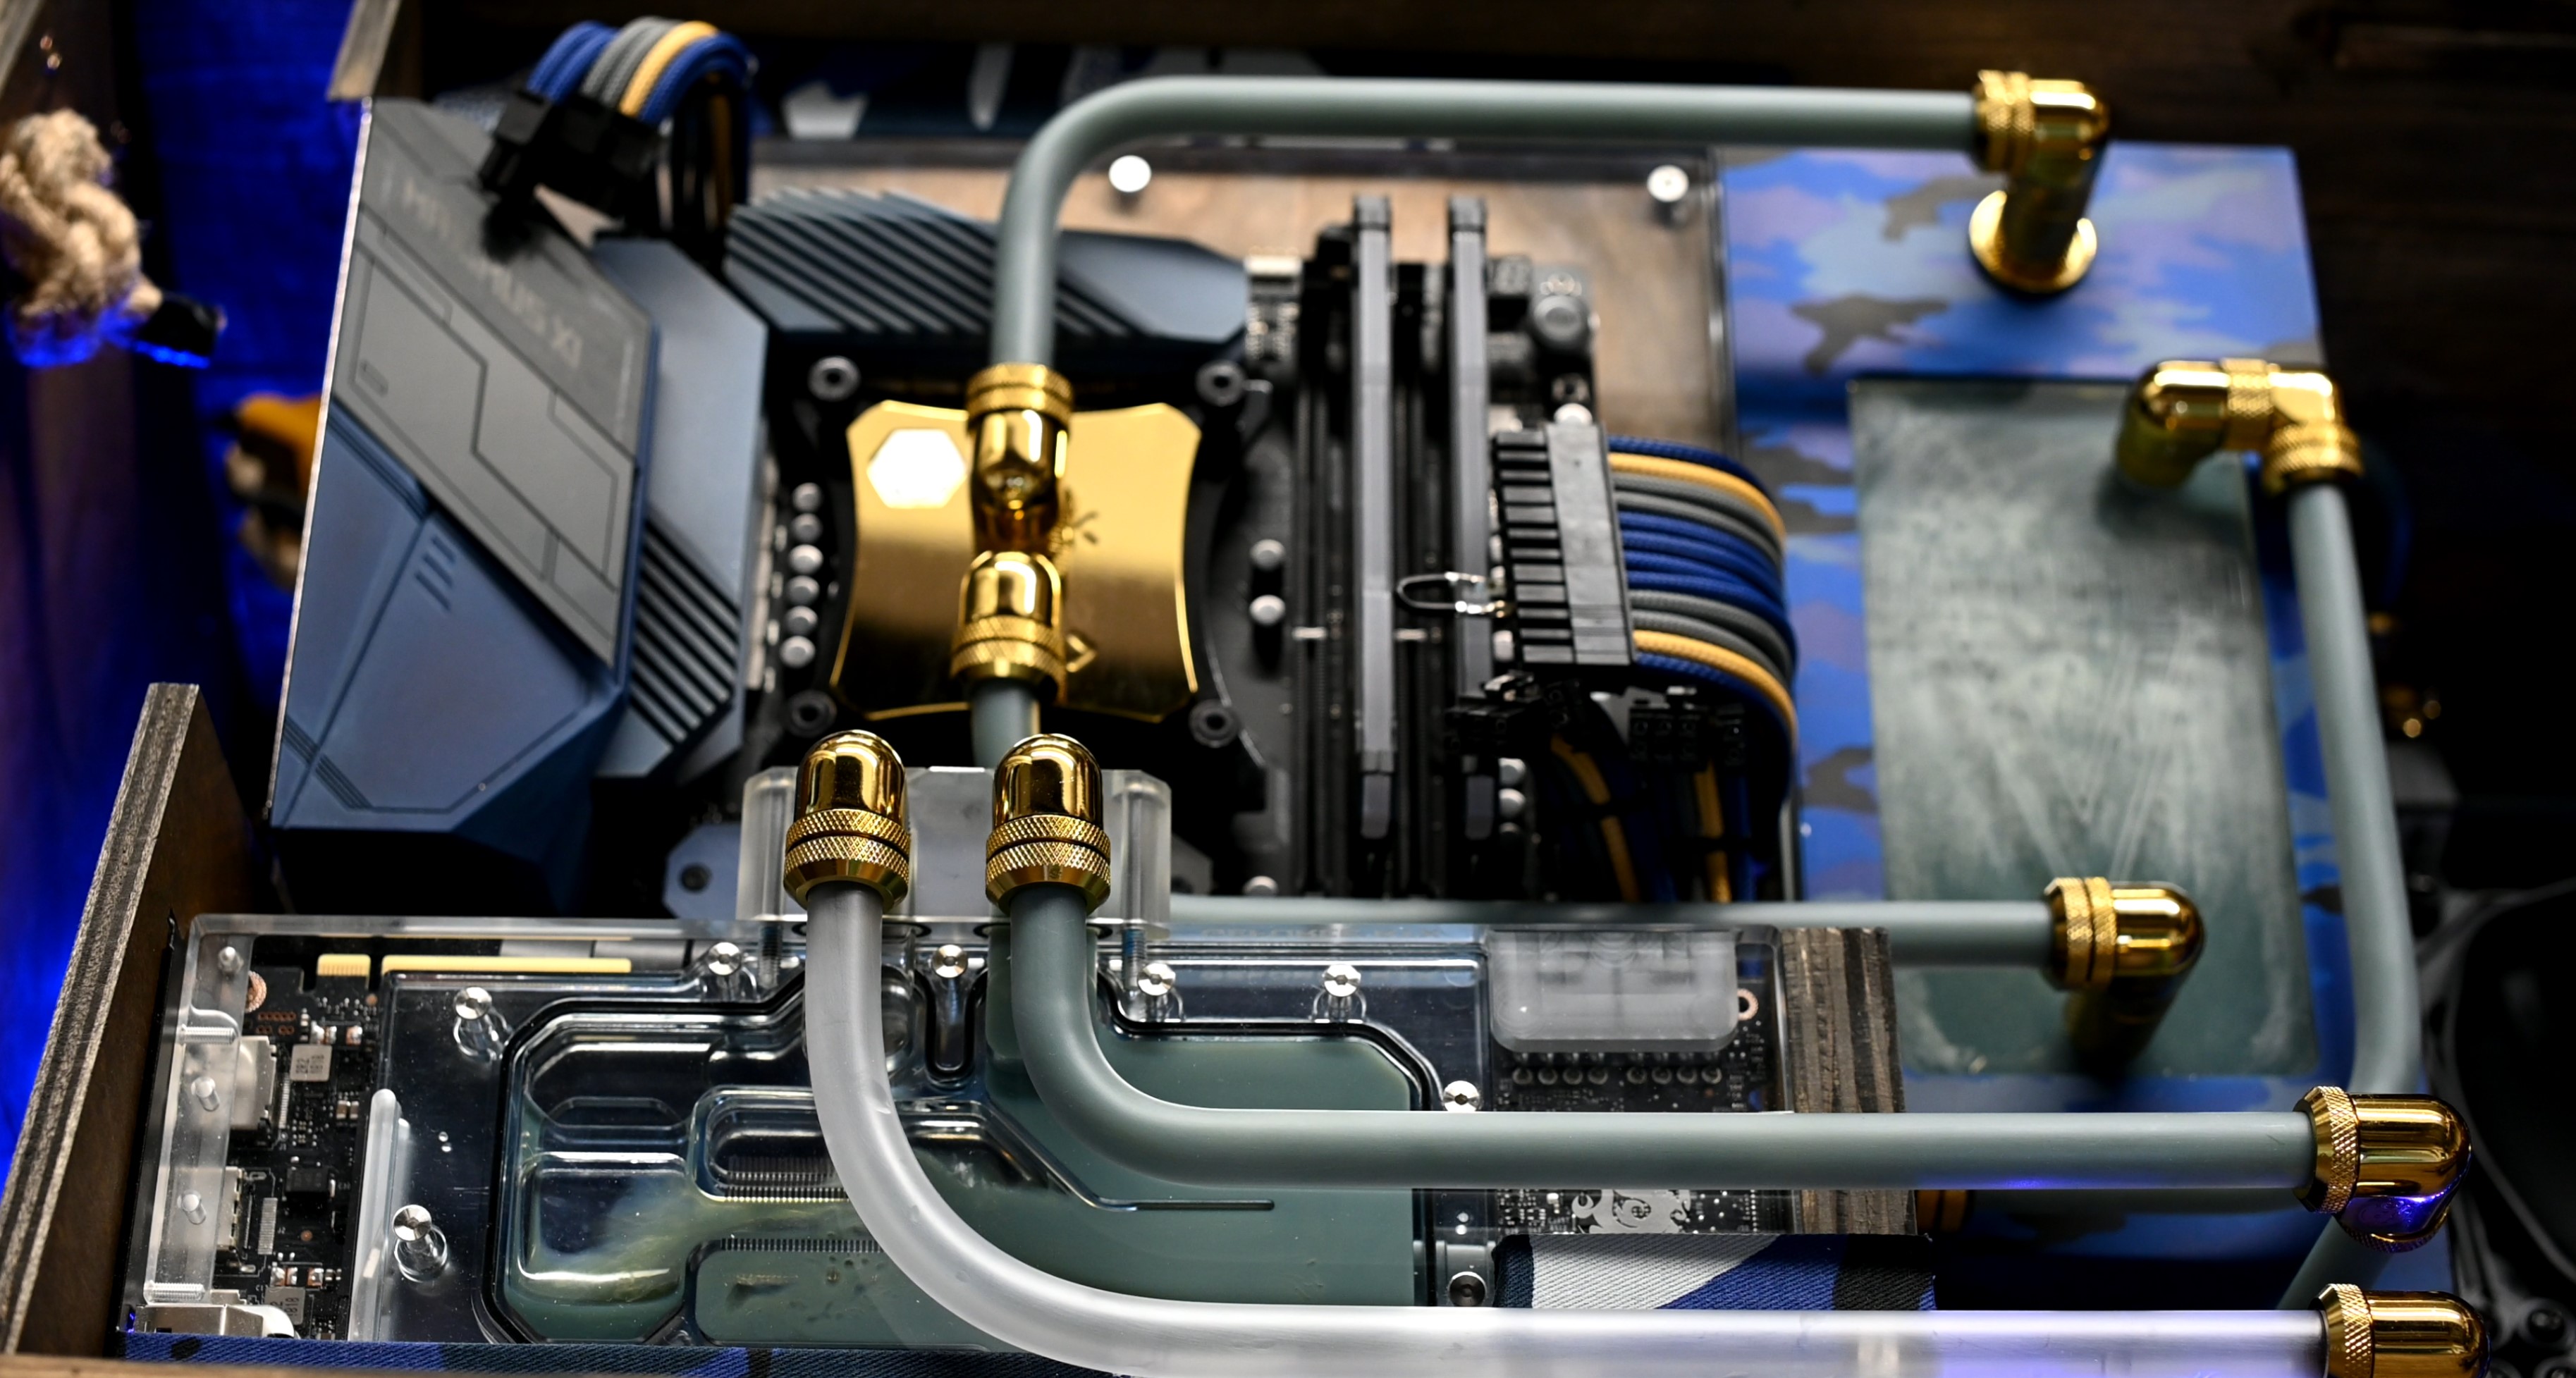
Finally all that was left was to fill, leak test, and bleed the loop. Mick at Mayhems kindly provided us with a special mix of Dark Grey Pastel coolant for the rig, and when set to a slightly teal hue it really complements the blues and greys found in the camouflage and on the motherboard. Lighting was a simple affair; we used a Corsair RGB LED Lighting Pro Expansion Kit, largely because it could be controlled from within the iCUE software alongside the Corsair Vengeance RGB Pro memory. The lights were set to a deep golden yellow, both to match the water-cooling components, but also to provide that warm, almost magical quality when you open the case (think Marsellus Wallace's soul).
Et voilà (proper pr0n shots are in the video).


MSI MPG Velox 100R Chassis Review
October 14 2021 | 15:04

Want to comment? Please log in.