Building Wheelson from Call of Duty Modern Warfare
February 6, 2020 | 16:30
Companies: #activison #amd #asus #corsair #nvidia
Big game launches can be a very exciting time for casemodders, as you'll often see builds either being commissioned for events and marketing campaigns, or simply fans looking to inject part of a franchise into their builds. Games have always been a very popular theme for builds; one need only look through the forums going all the way back for proof of this. They often feature strong art directions and unique designs that can be incorporated into a mod, ranging from subtle colour and decal matching all the way through to full-on dioramas and scale models. For the release of Call of Duty: Modern Warfare, Nvidia got in contact looking for the latter.
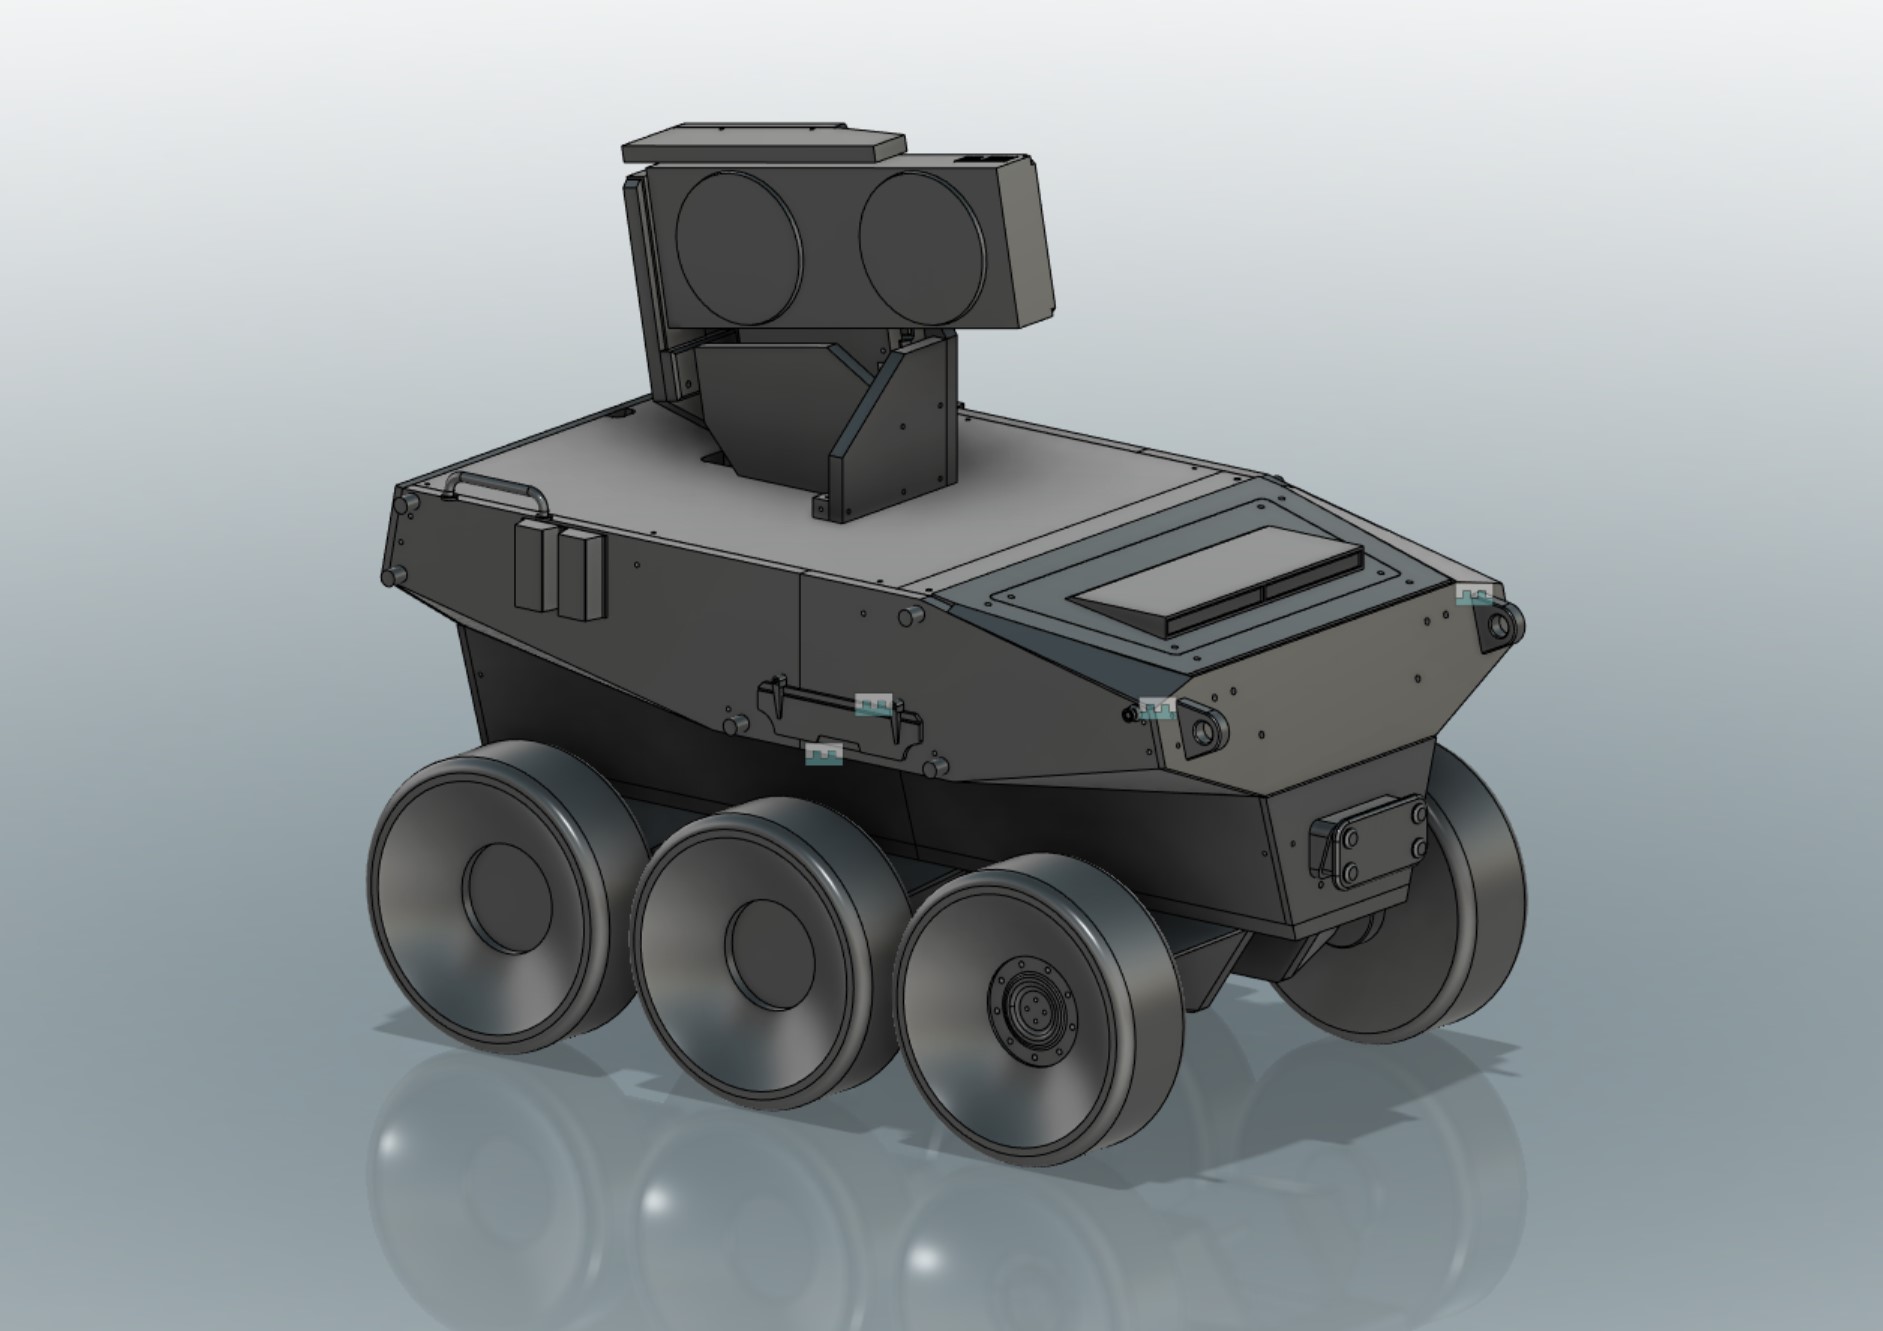
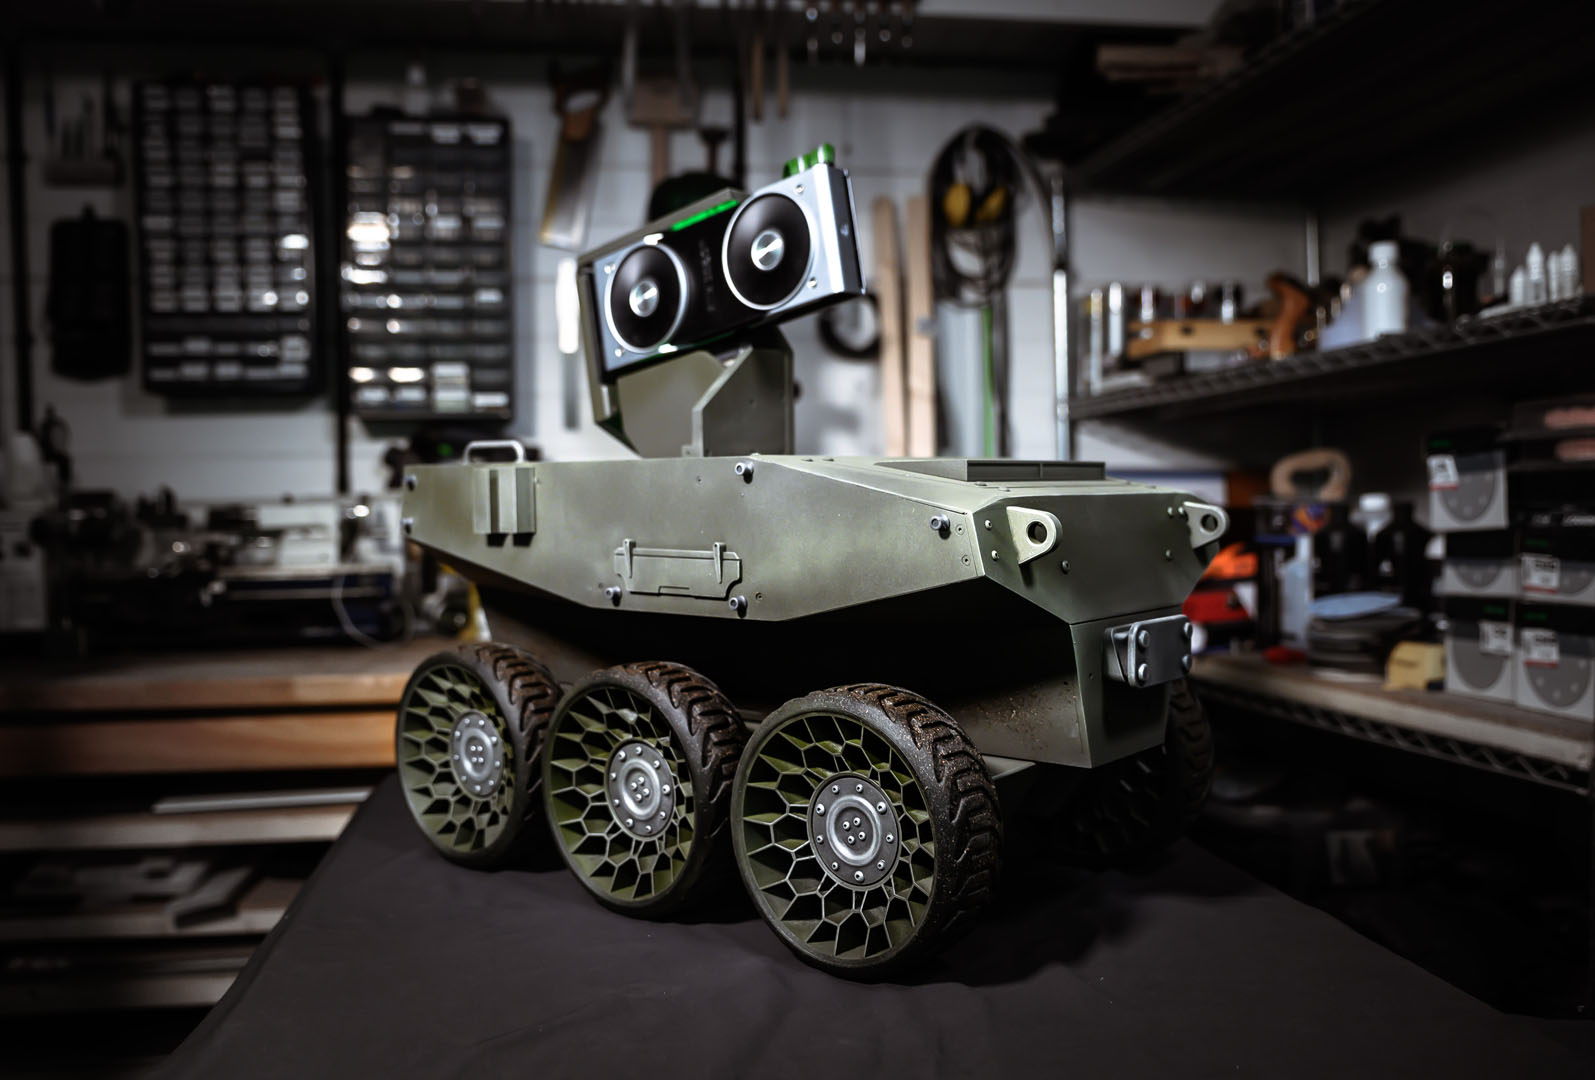
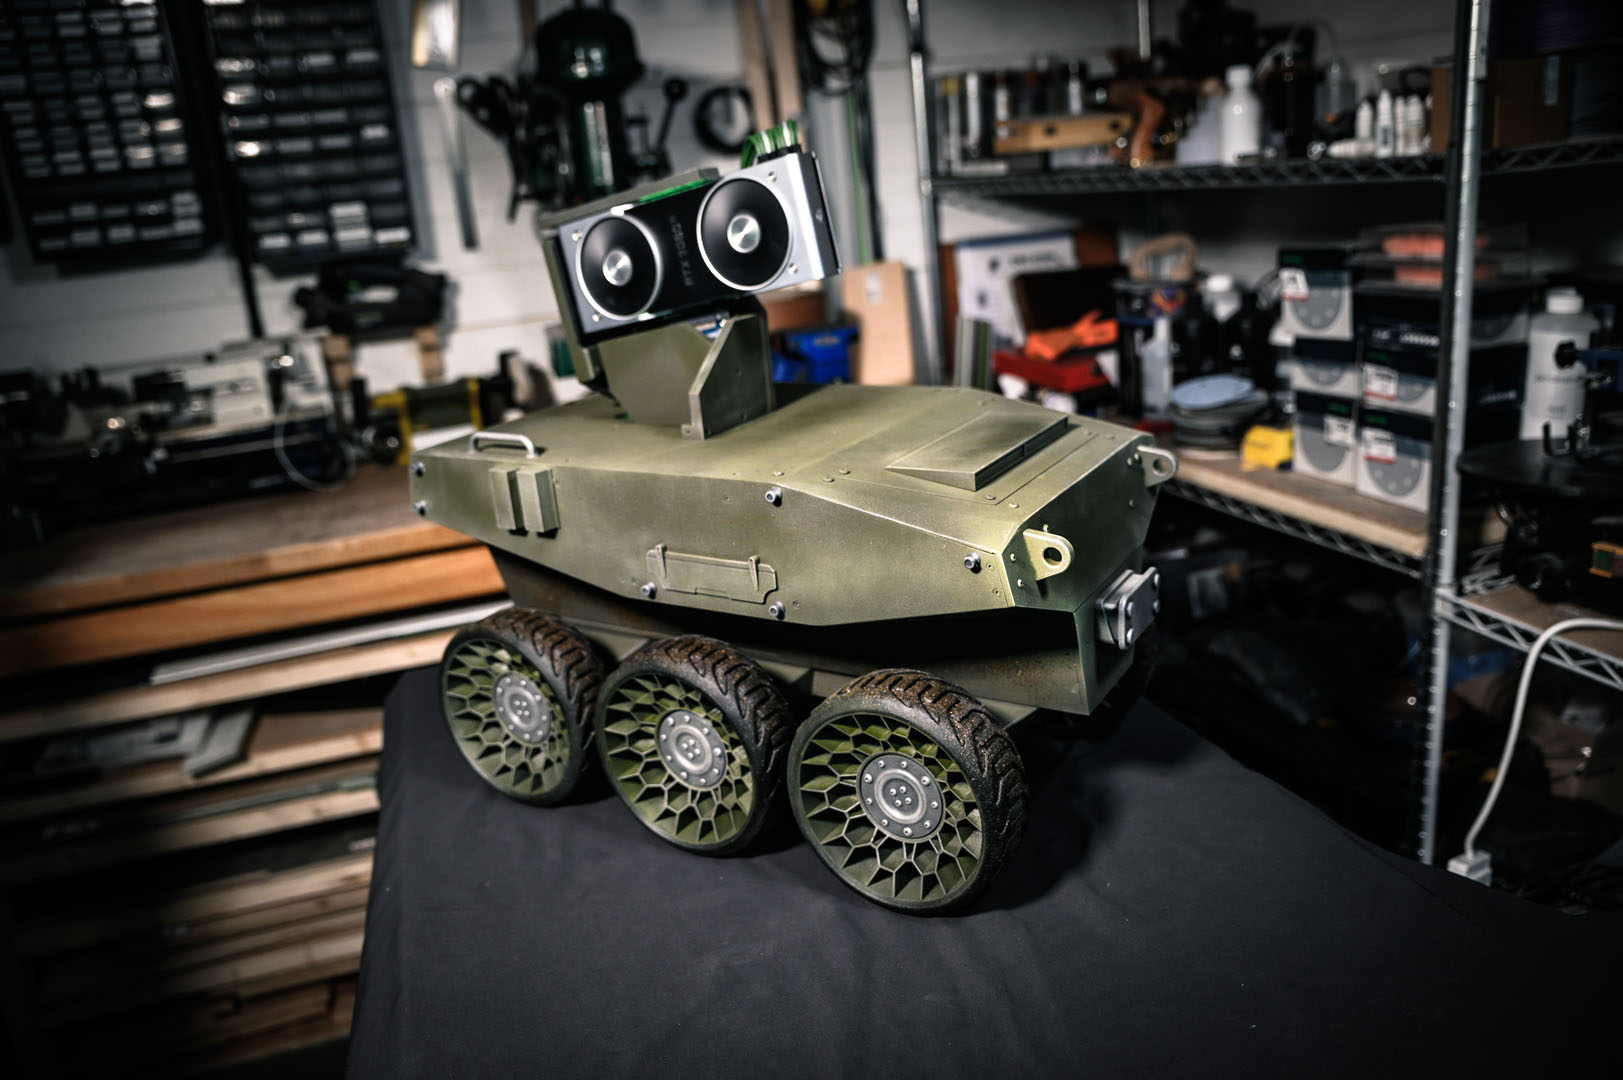
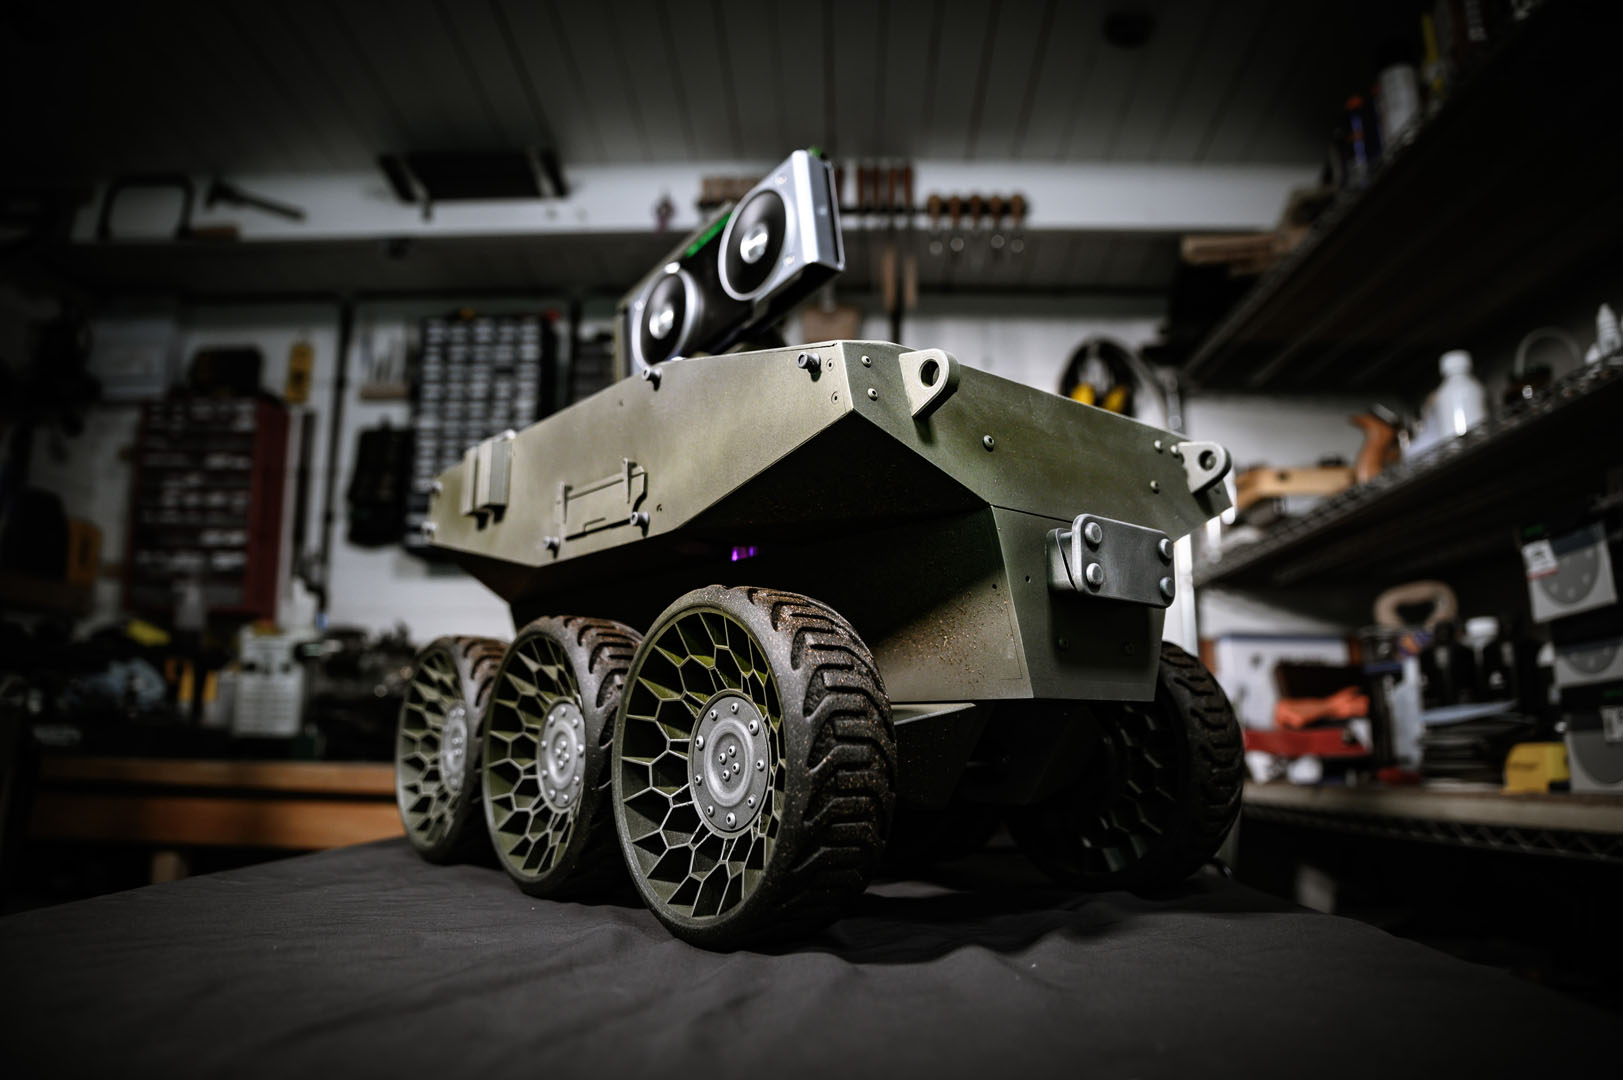
If you've played Modern Warfare, you'll know about the various kill-streak bonuses that you can earn, one of which is the mighty Wheelson, a six-wheeled, armoured fella with a menacing gun turret on the roof. Rather than wanting a regular PC, Nvidia requested if it would be possible to build a fully-functional PC inside a chassis resembling Wheelson. The PC was destined to be shown and used at the Modern Warfare launch party in London. Additionally, Nvidia requested that the guns be removed and replaced with a top-mounted GeForce RTX 2080 Ti. Well, it was certainly something different, and quite the challenge indeed, especially given the tight timing and rigid deadline (after all, the party couldn't be moved).
The first step for this epic undertaking was to get a proper scale model of Wheelson that was as faithful to the game model as possible. Thankfully, Mash at the office saw to this starting point by crafting a fantastic model in C4D whilst I was polishing off the Bloodlines 2 rig. The 3D model was then chucked my way so that I could begin making the structural version in Fusion 360, which was no mean feat either. The tricky thing with 3D models is that different formats are used for different purposes. If you're used to working with Fusion, Solidworks, Inventor, and so on, you'll know that these are solid models designed with a parametric workflow in mind. Cinema 4D, however, is on the other end of the spectrum with the likes of Maya, Blender and Rhino to an extent, being primarily mesh-based direct modeling. Whilst 3D printing is very mesh-friendly (since you export to a mesh format for the slicing software), CNC toolpathing generally isn't and trying to construct accurate real-world-friendly models from an existing mesh file can be really quite challenging.
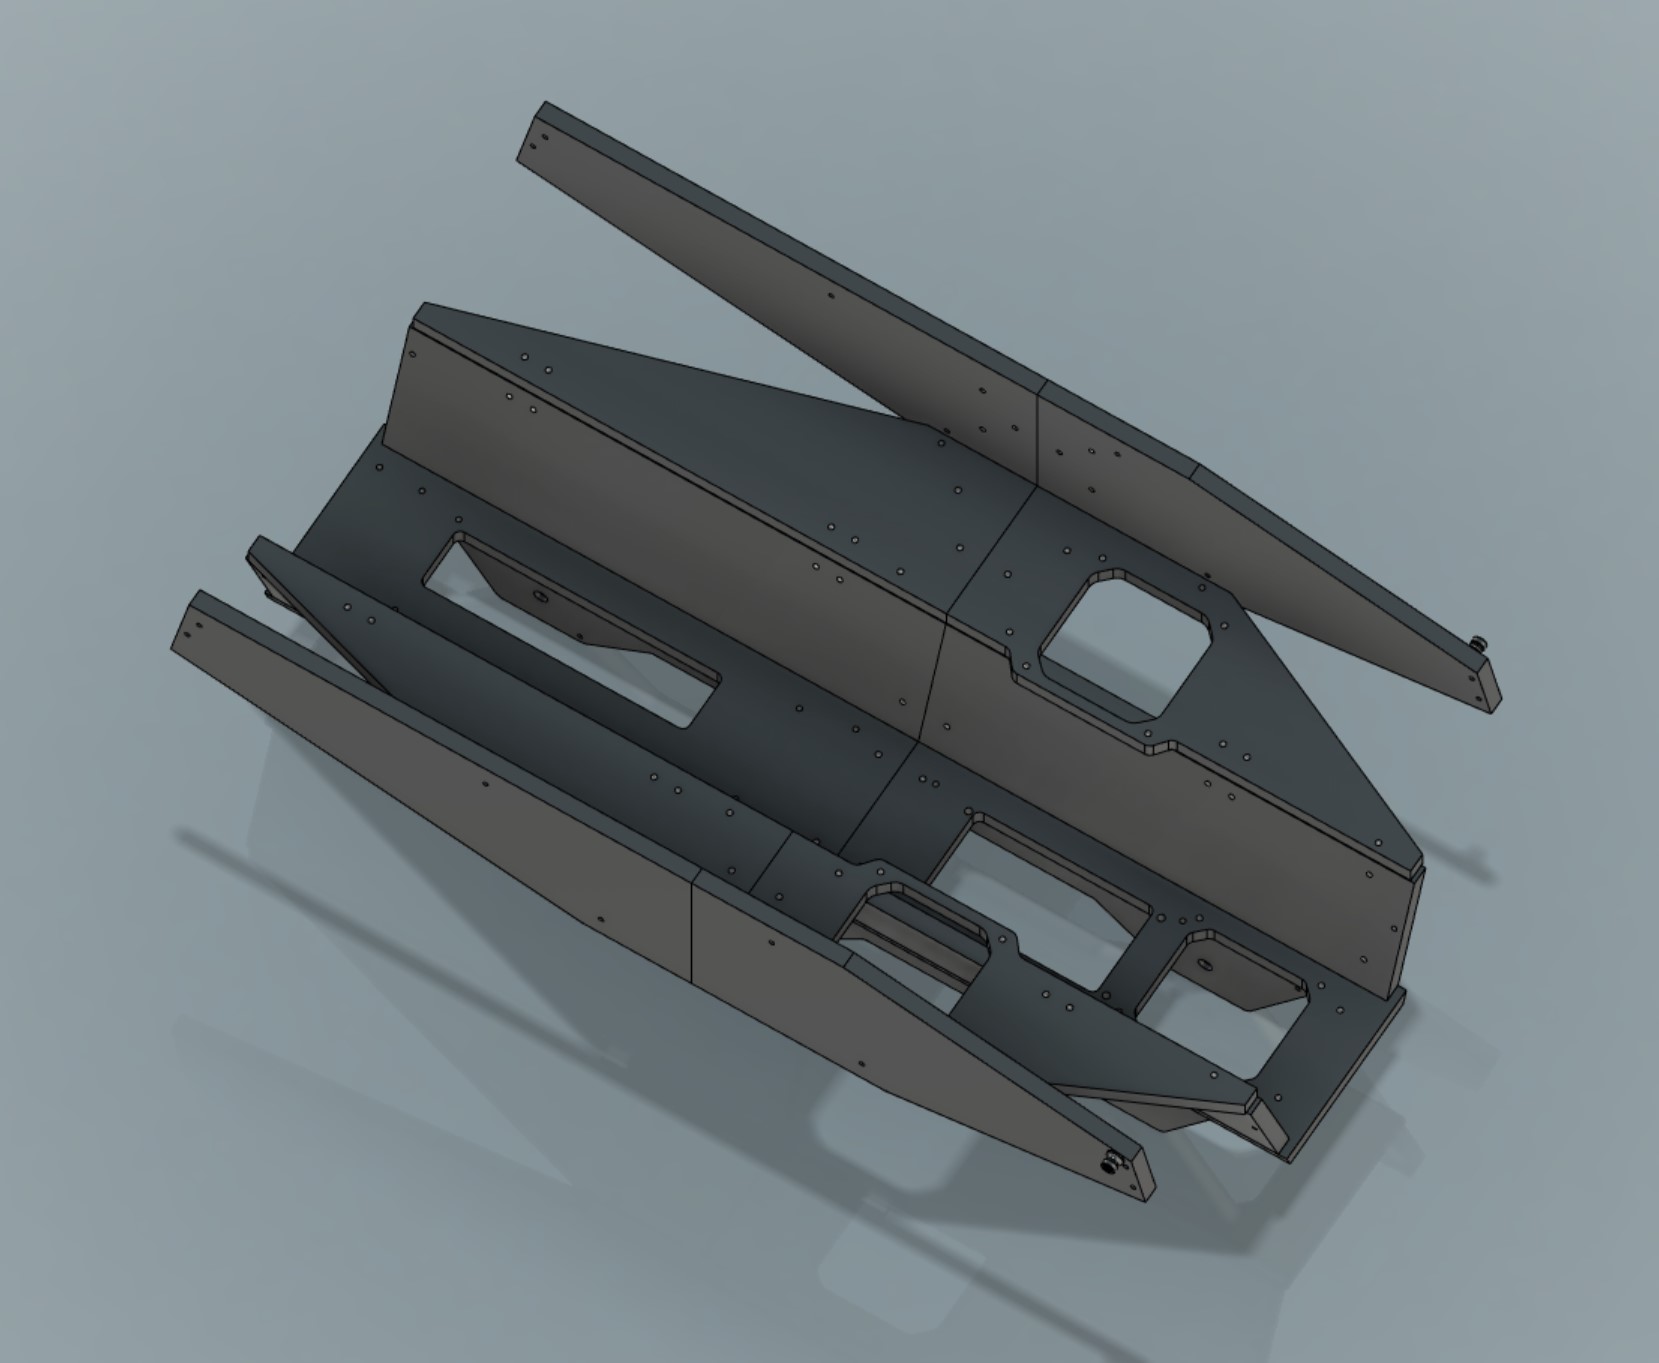
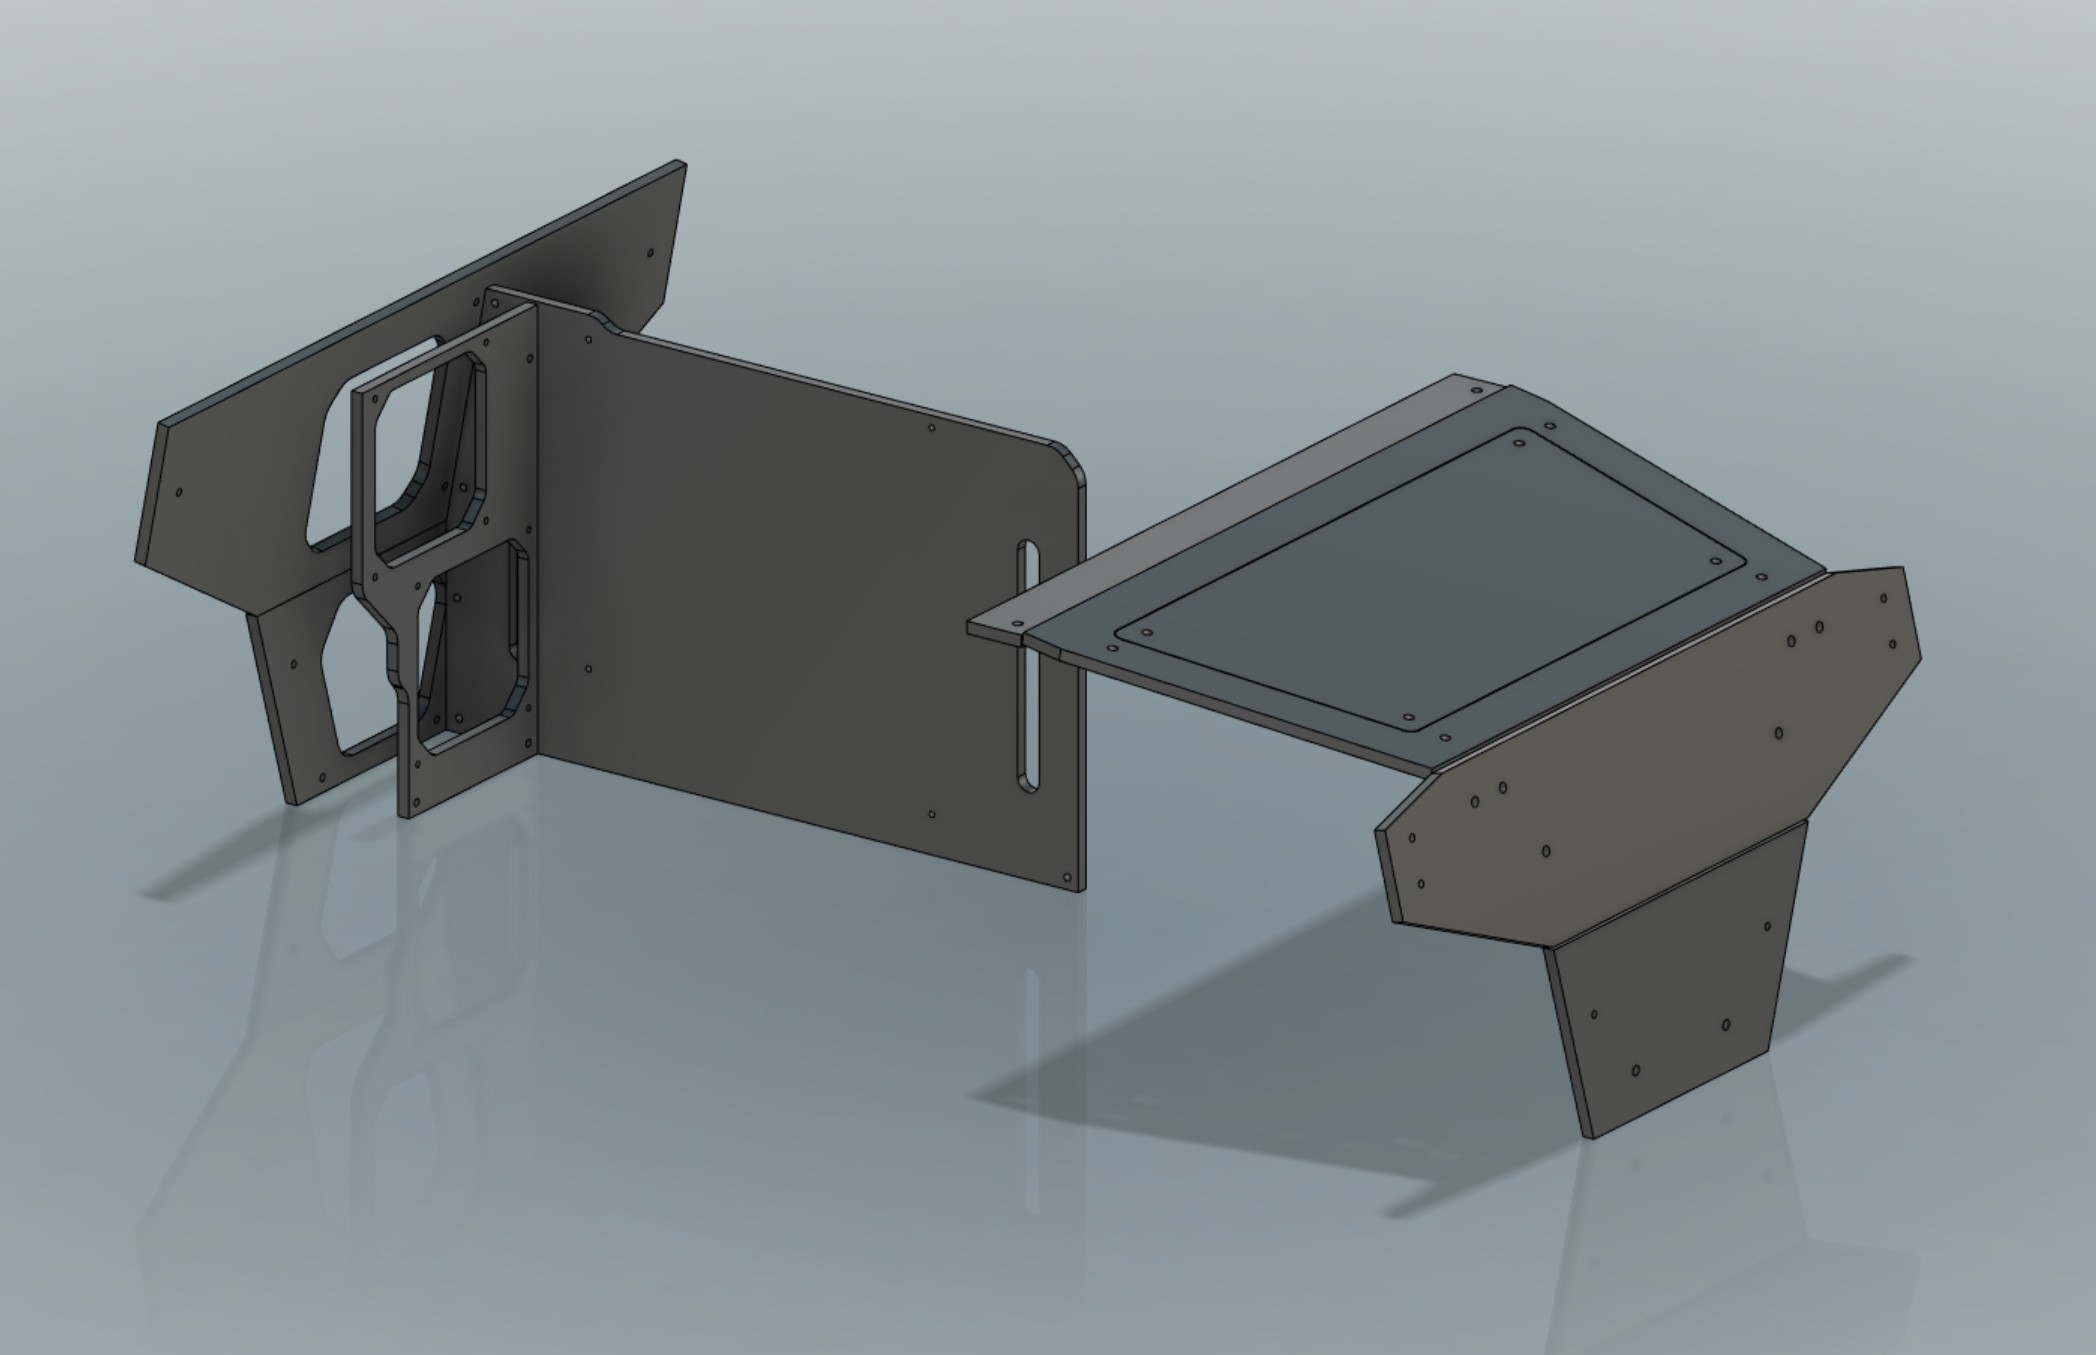
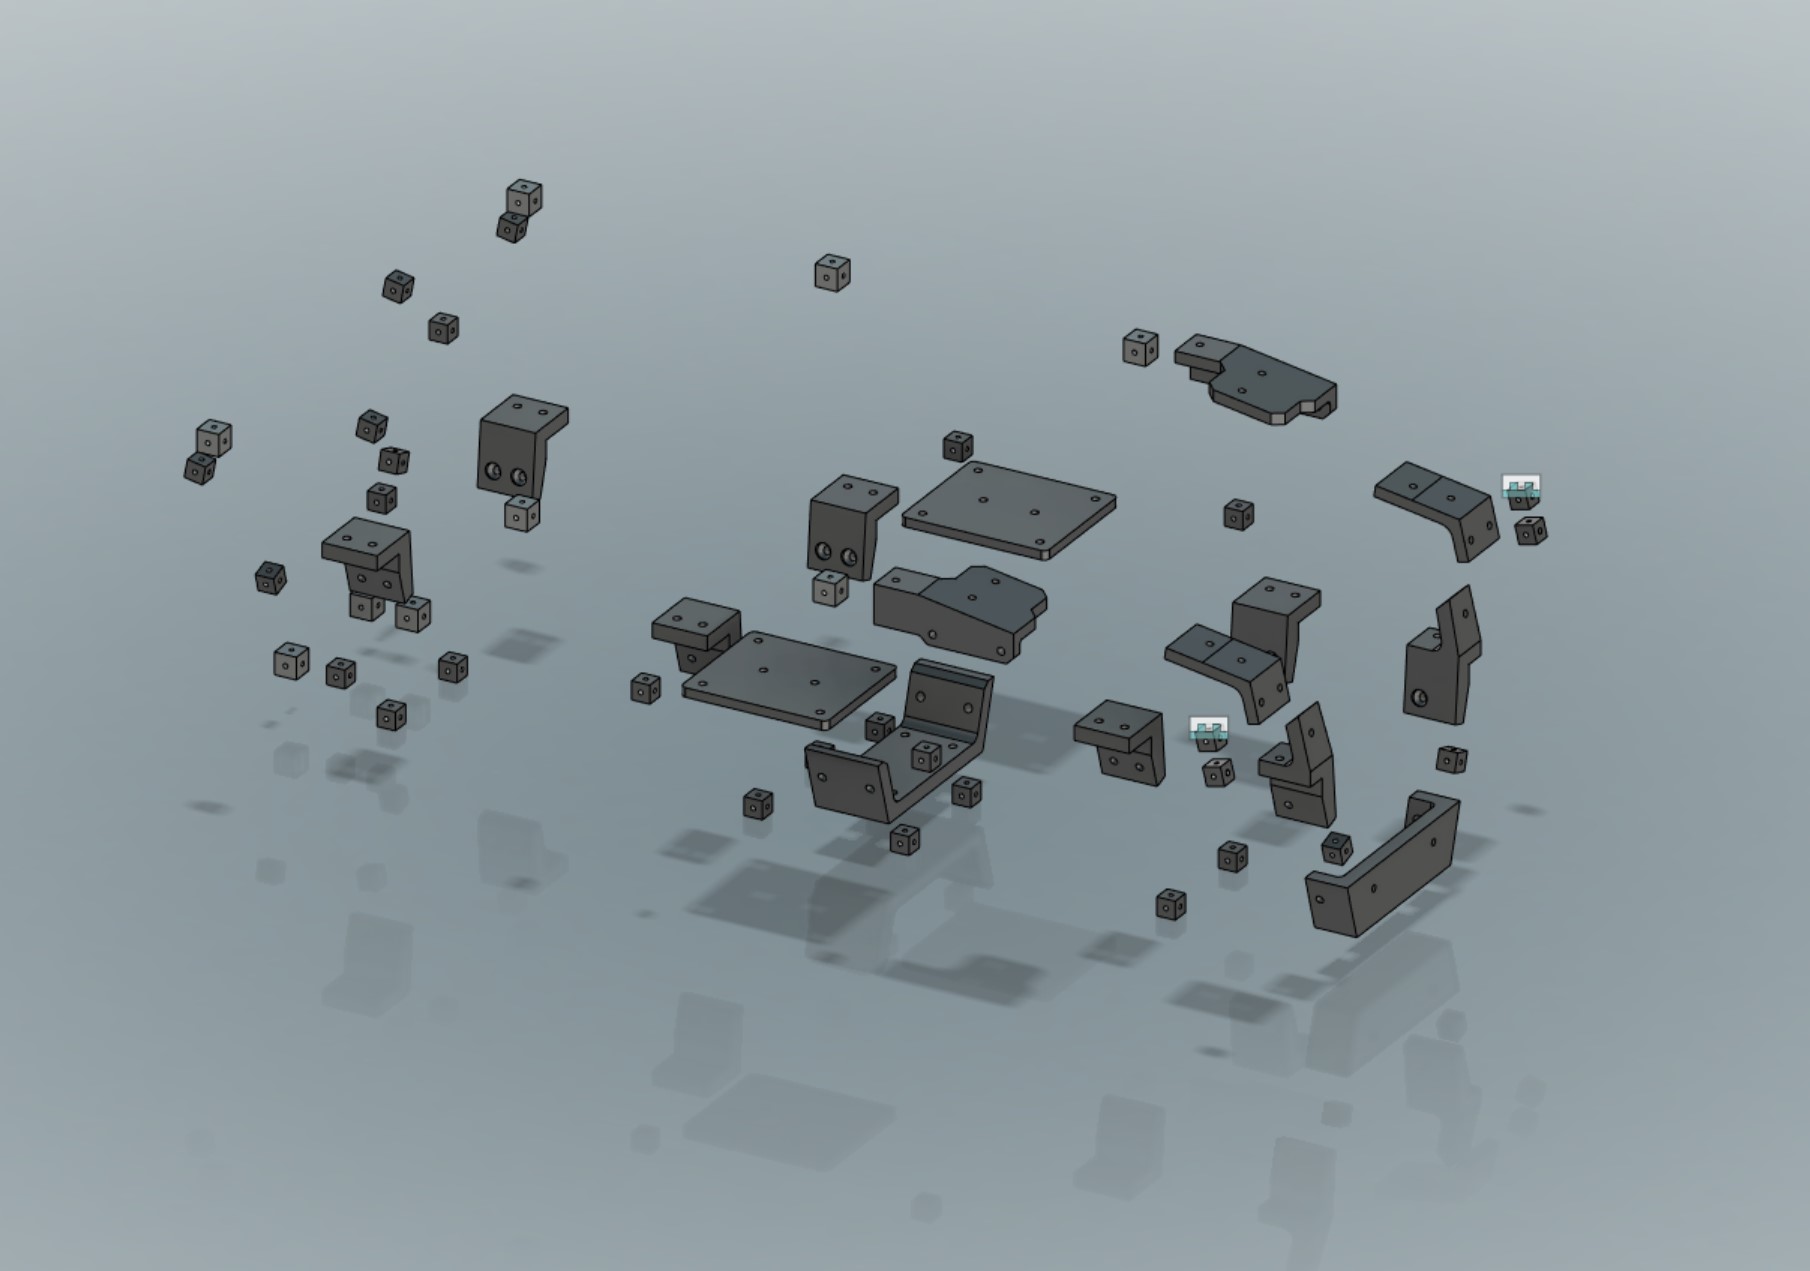
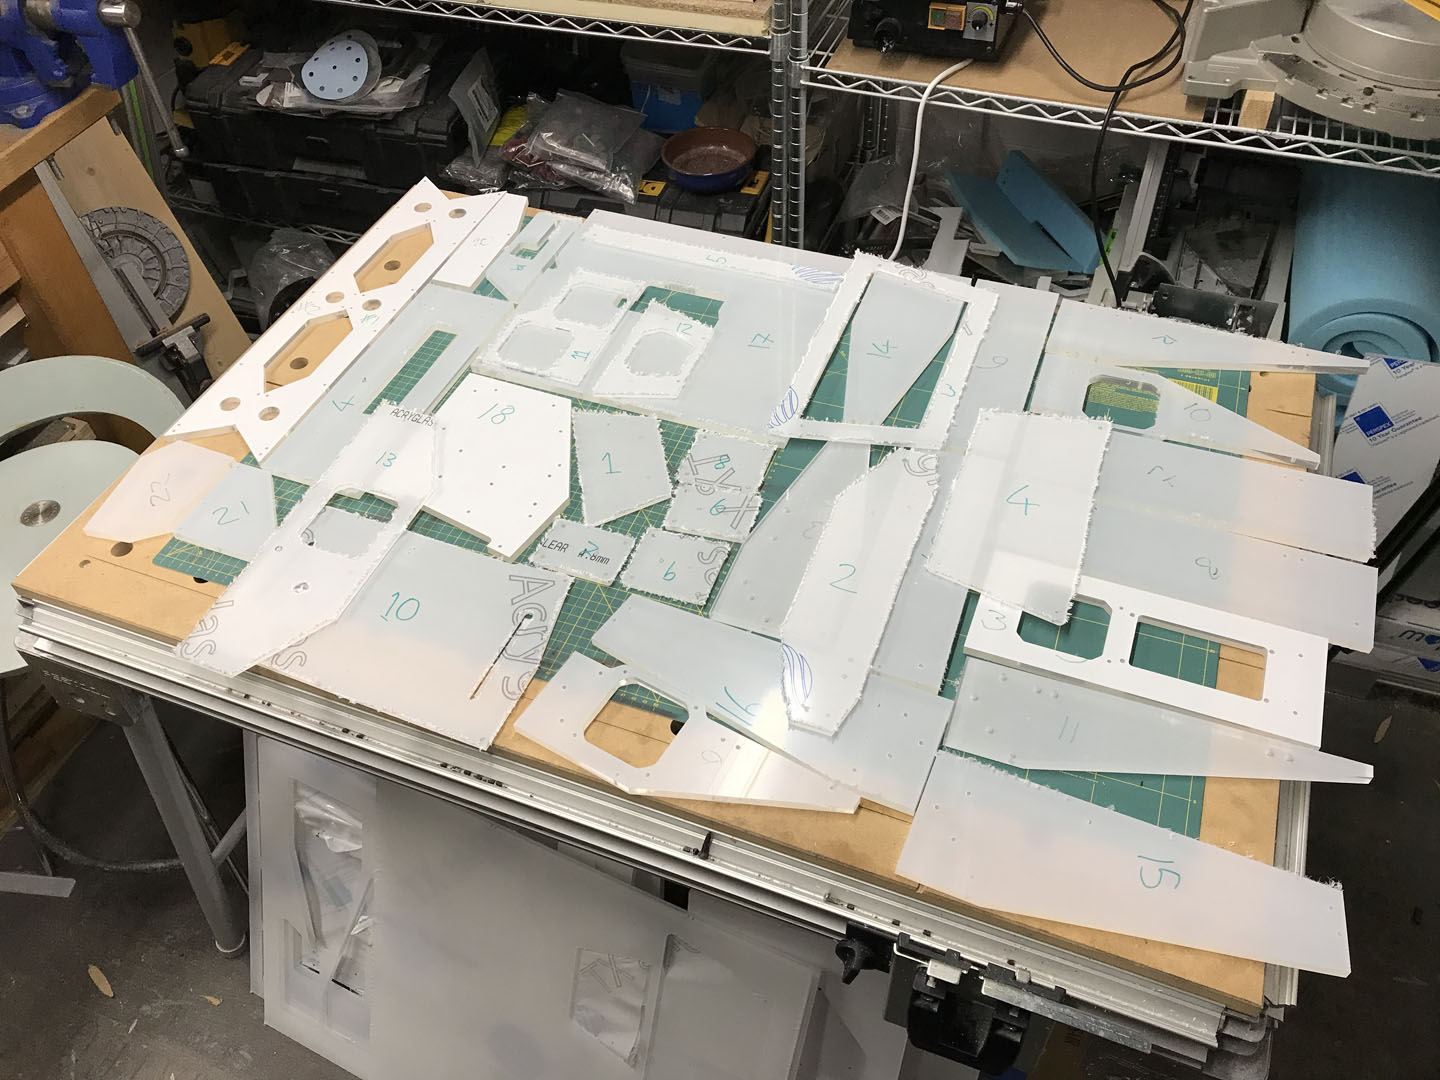
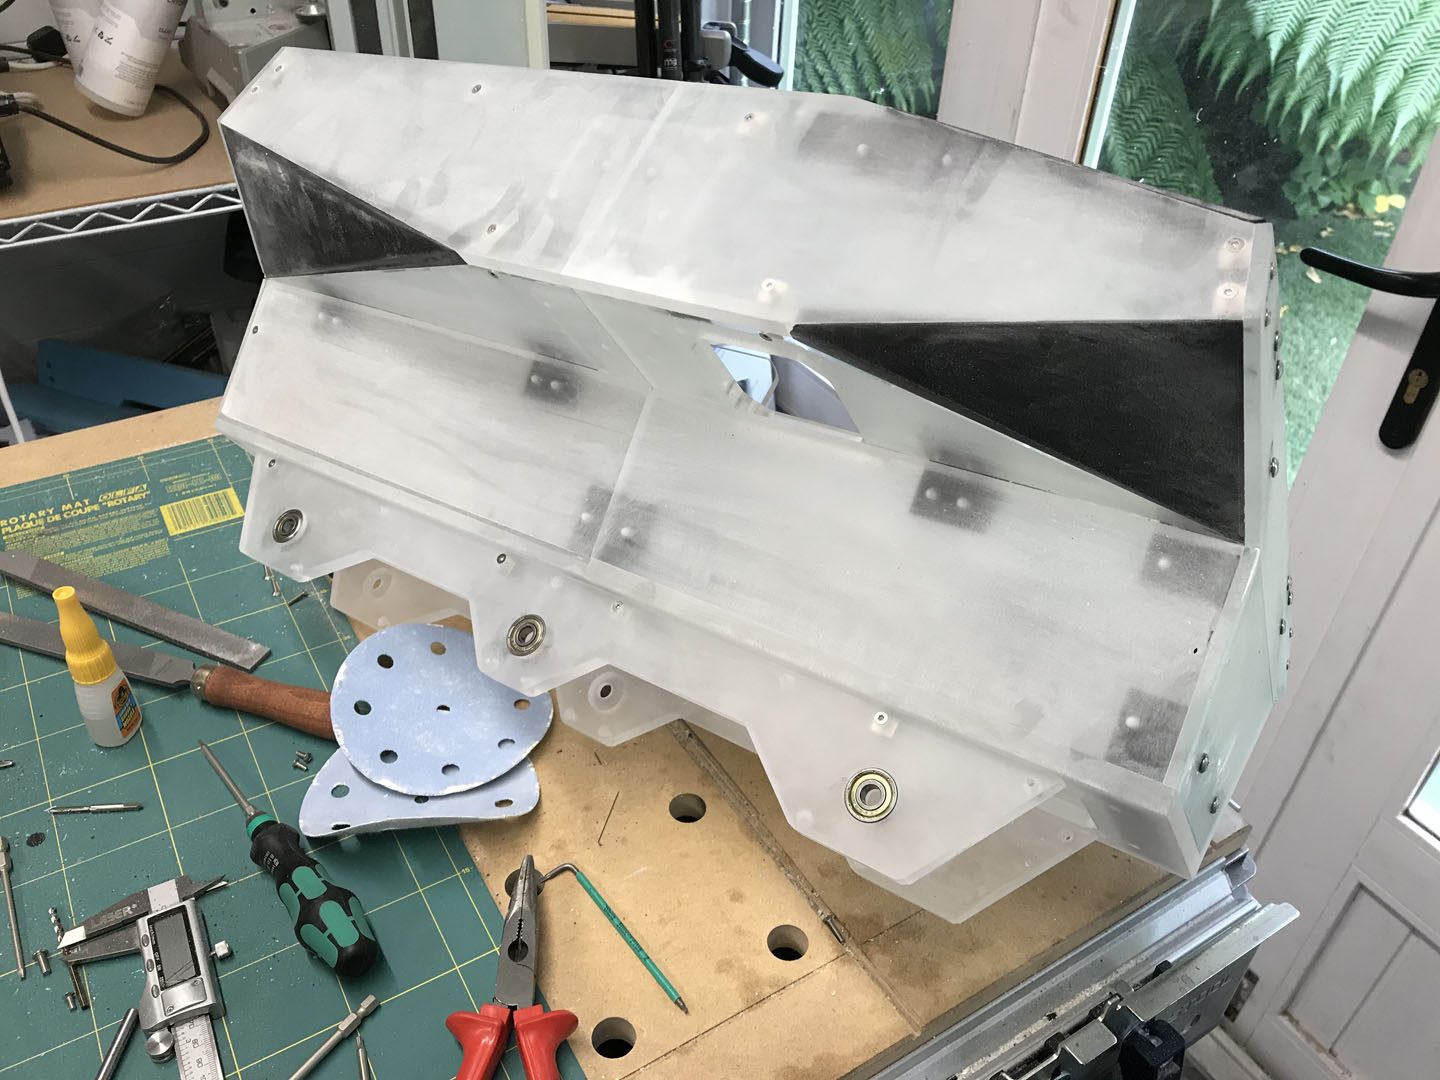
Rather than try to work with the existing mesh, I used it as a reference point for all major measurements in order to get the scaling correct, then remade the entire structure in Fusion. This was very important as trying to add all the mounting points and hardware allowances would just have been a nightmare. For the structure, I decided to roll with a 10mm acrylic framework, with the angled pieces being 3D-printed PLA and PETG, internal 3D-printed braces and 10mm+12mm threaded cubes. Thanks to the tight timing, I also was unable to order in new material and risk losing valuable machining time. As such, I worked the design to fit into the stock panels I had in the workshop. As it turns out, even with an ITX system, Wheelson was going to be massive, purely thanks to the inopportune shape. In fact, the main pieces were over 600mm long, a royal pain considering the largest acrylic panels I had were 500x500mm. That meant splitting every long panel in half and using brackets to hold them together.
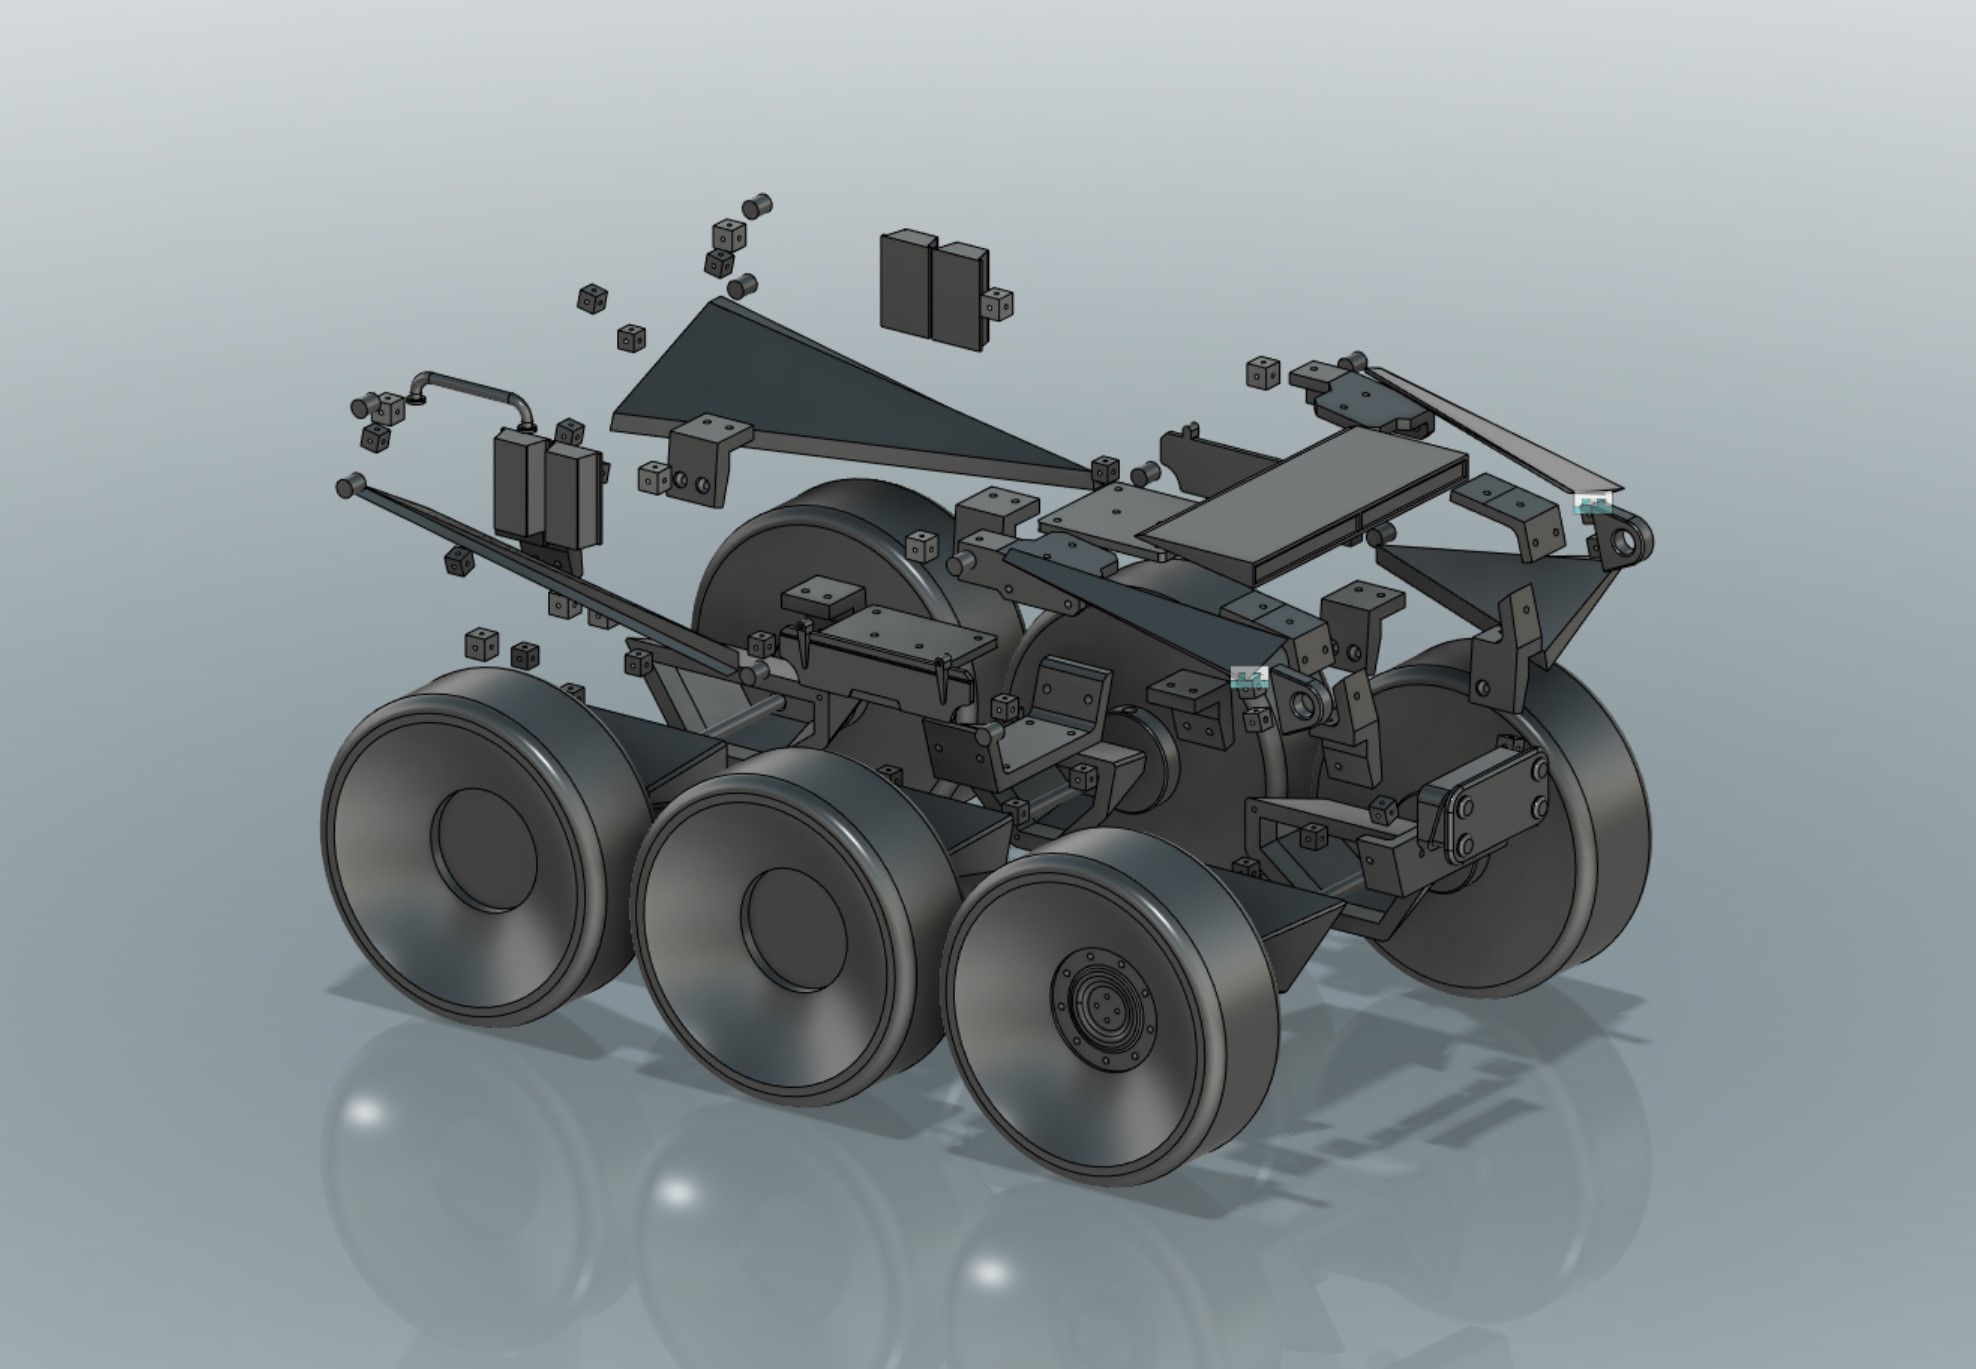
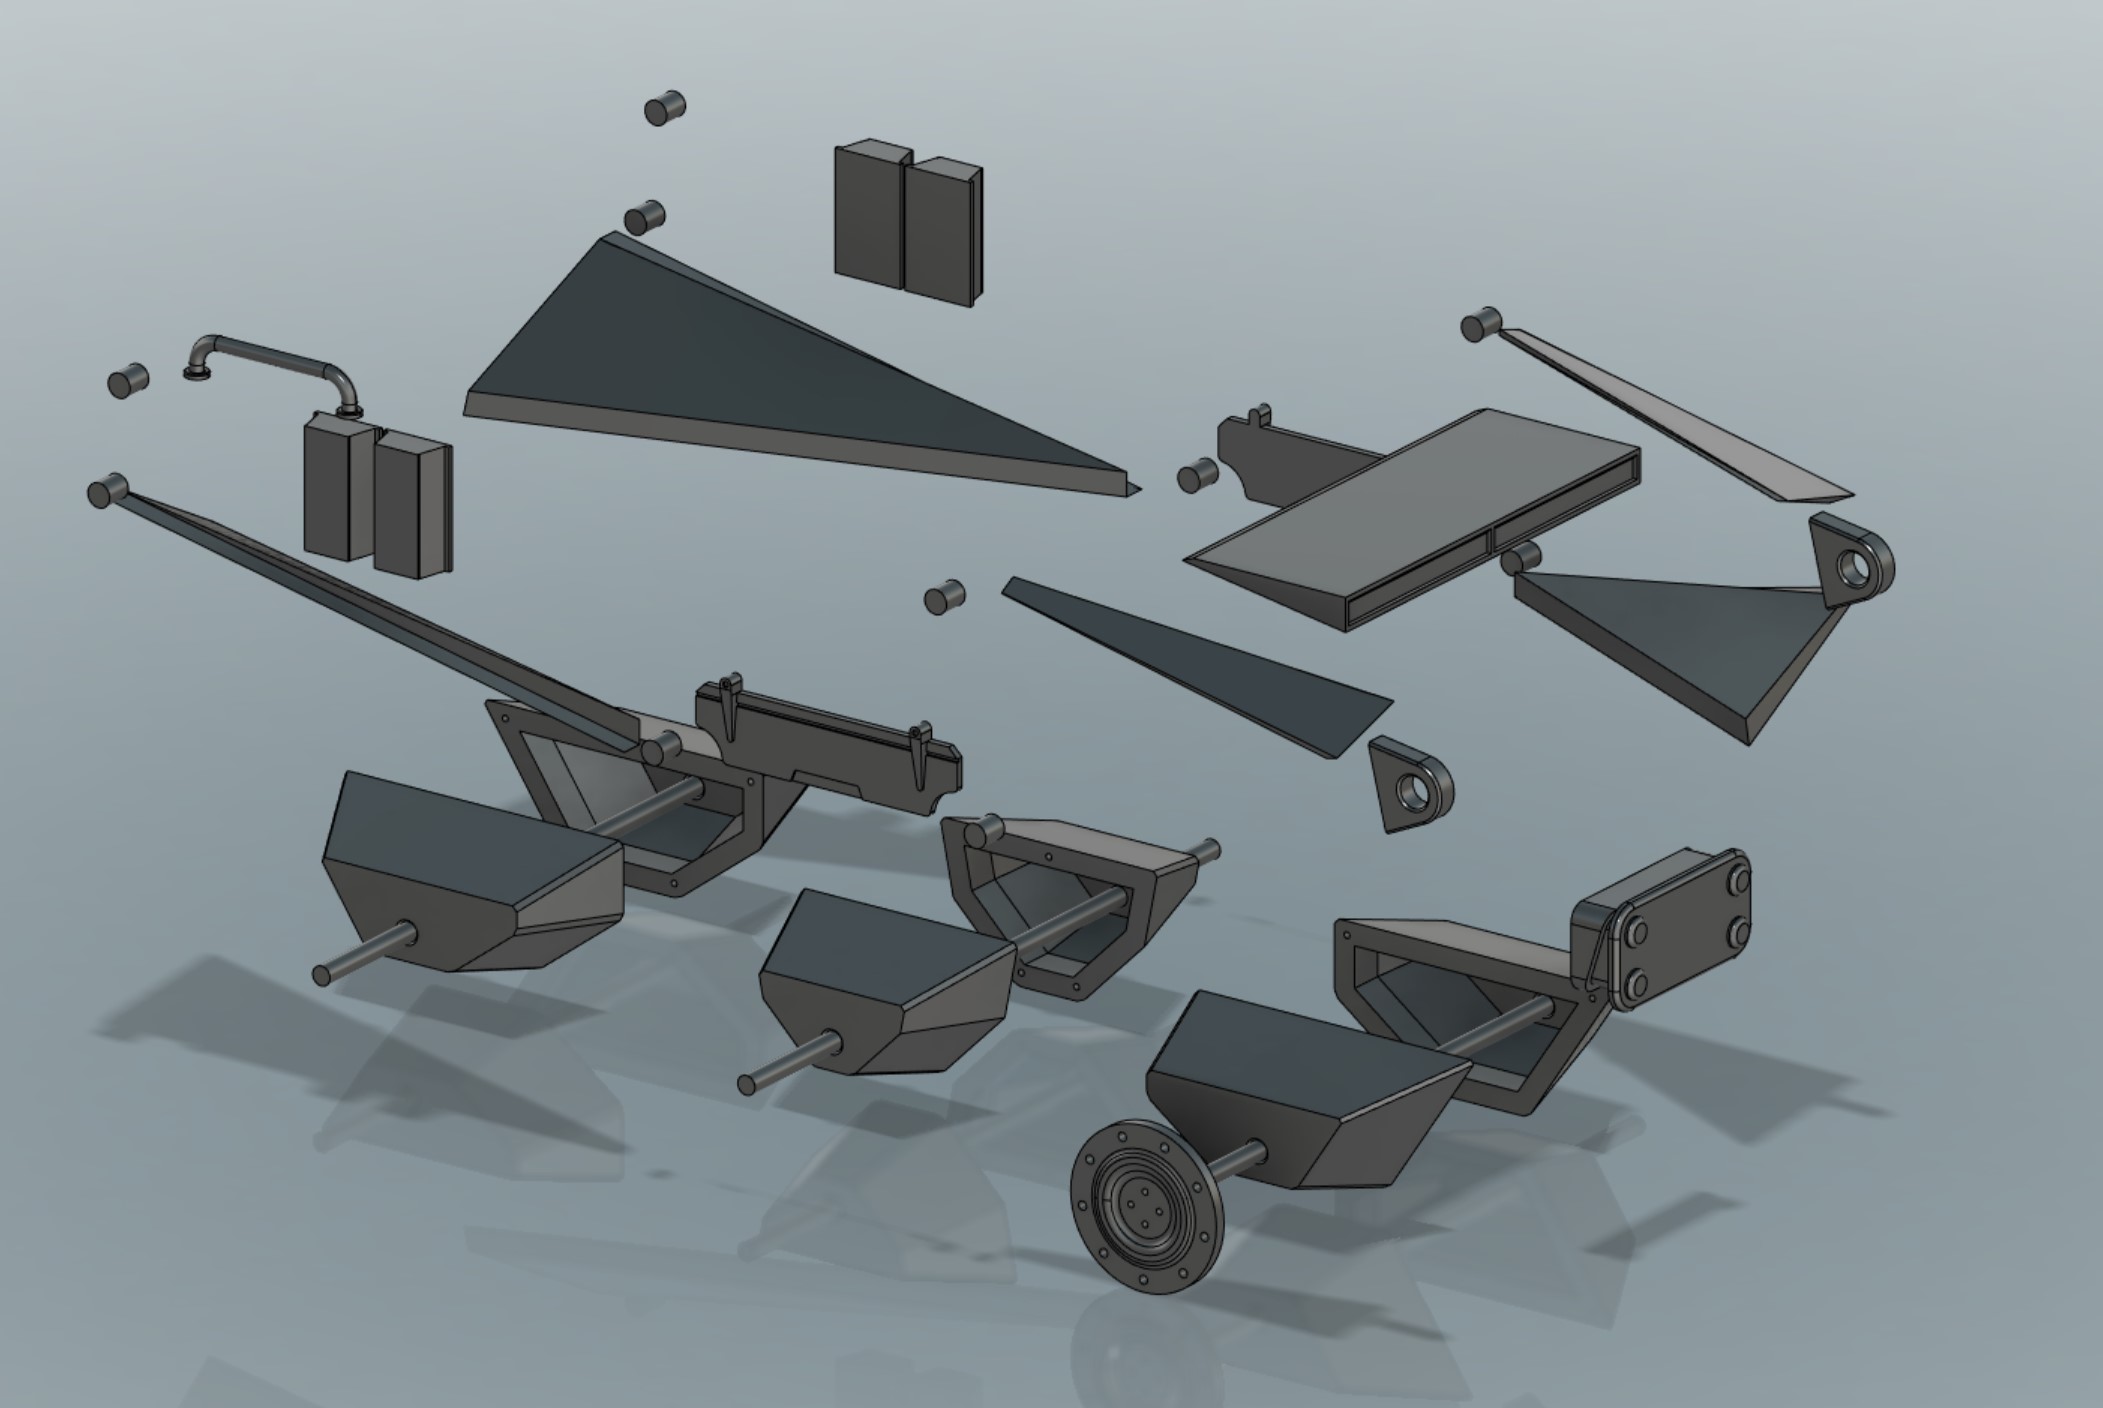
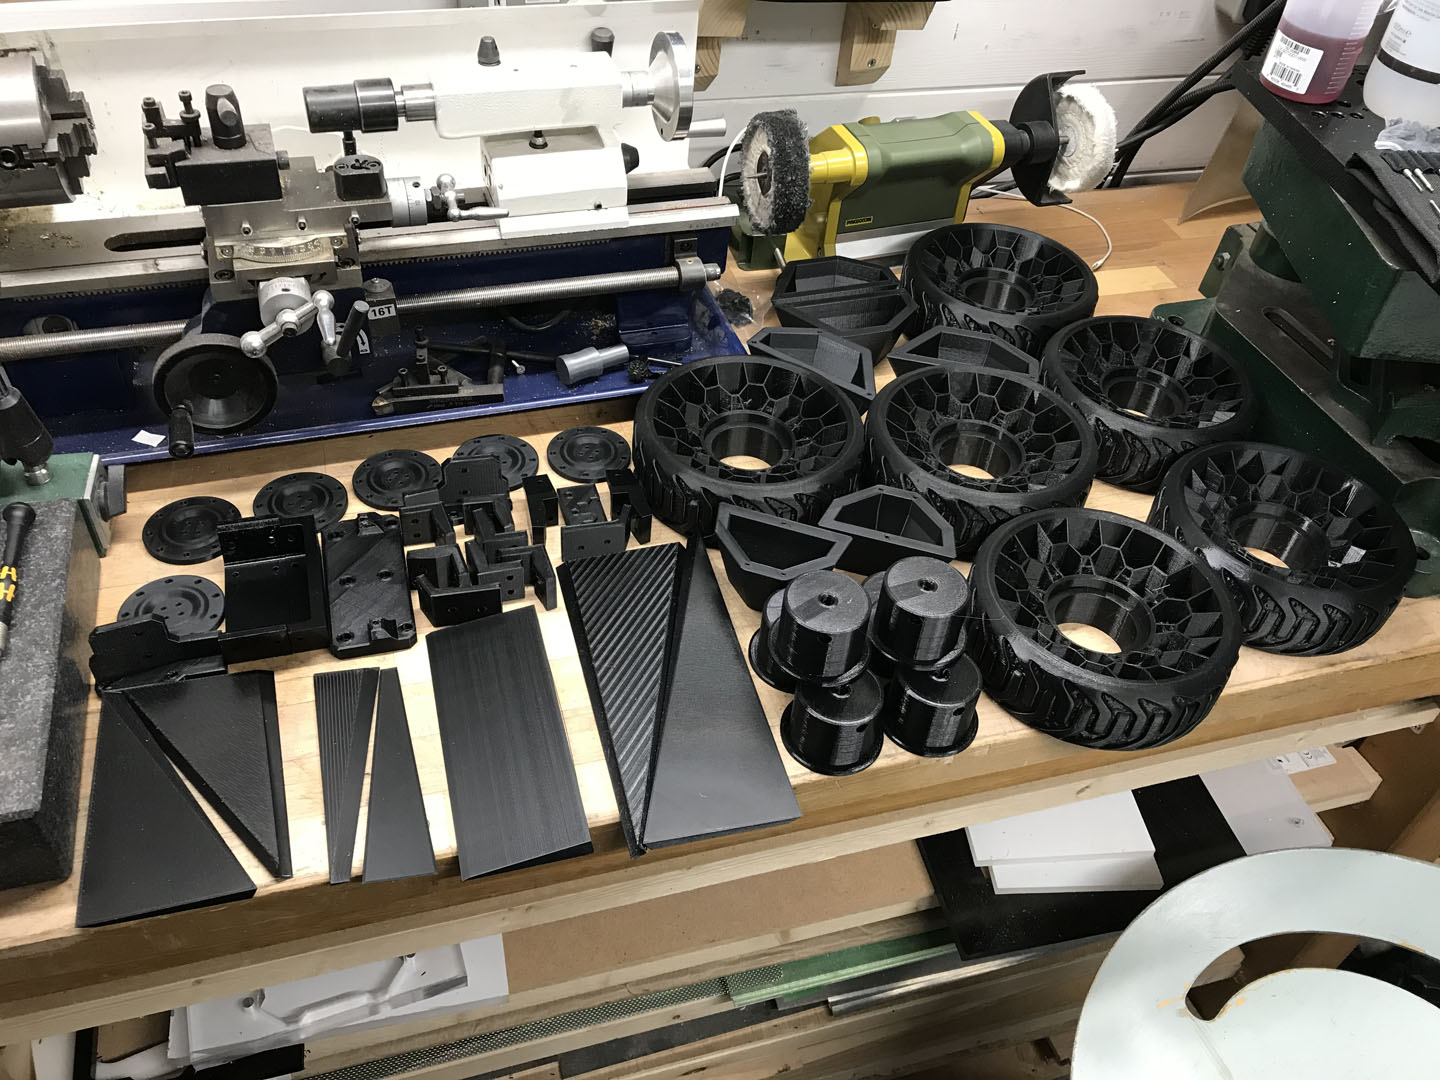
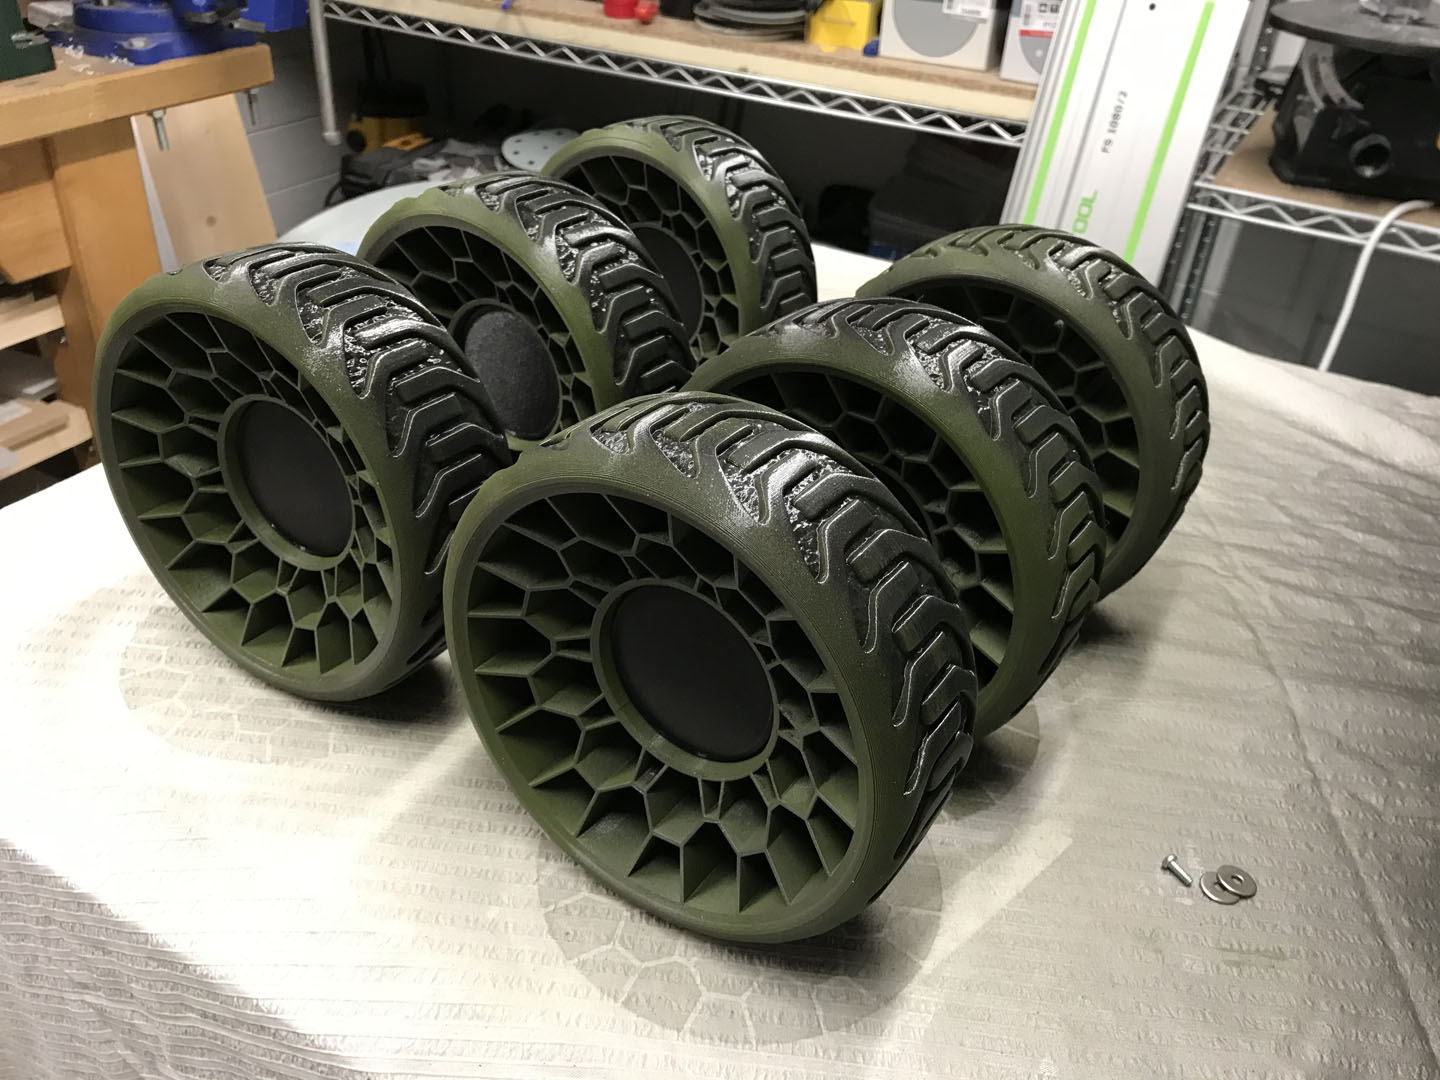
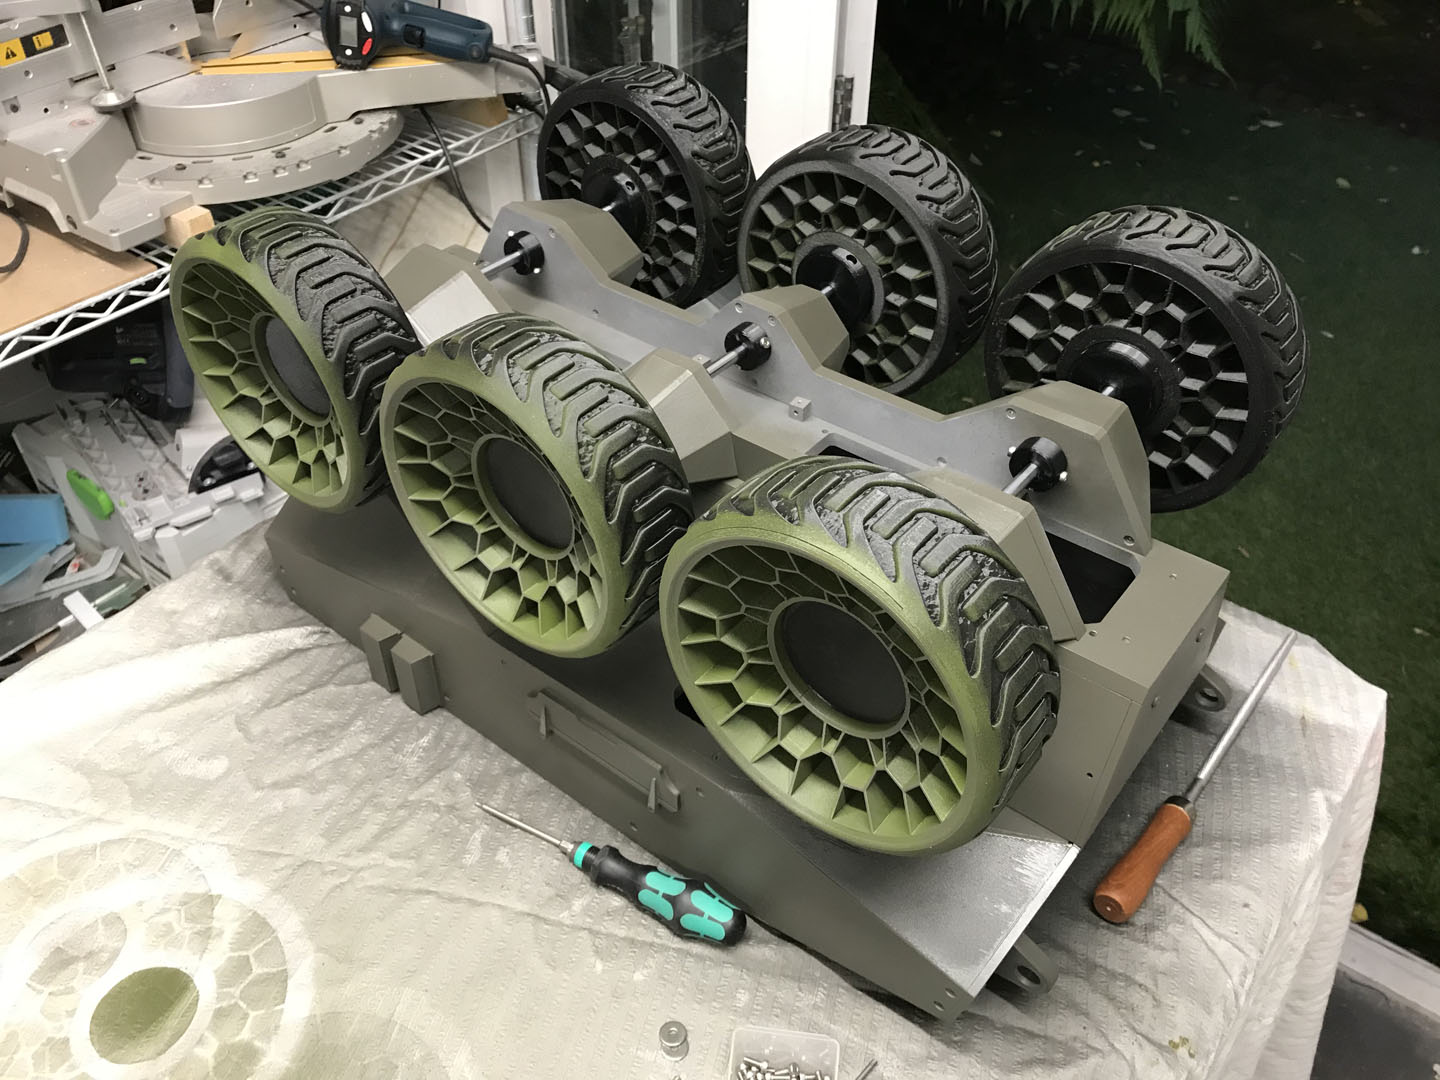
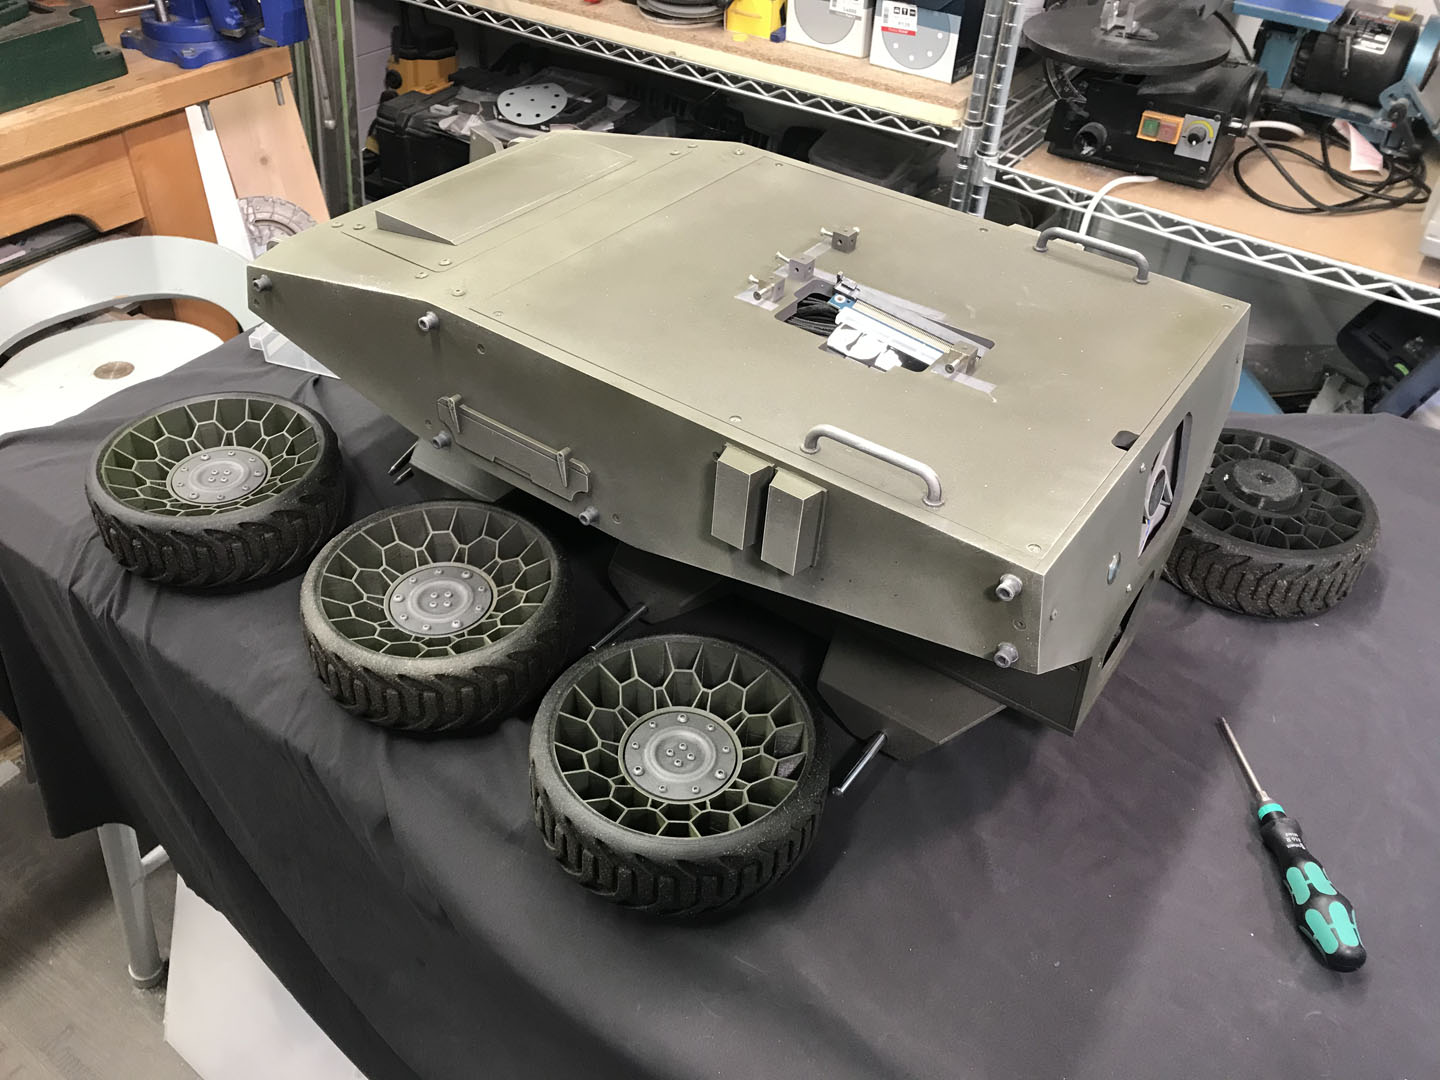
Whilst drawing up the main structure, I started work on making the wheels. I first edited Mash's model so that I could print the wheel hubs separately to the rims, and this meant that I could use PLA for the main structure (for ease of printing and painting) and then use PETG for the structural parts (for greater strength). I wanted the wheels to be easy to remove for transport, I also wanted them to be able to roll, which seemed more fun than being fixed in place. That meant also modelling a simple axle assembly using an 8mm steel rod and 608ZZ bearings. Even with two printers going simultaneously, this was a slow process, as each wheel was a 30-hour print... and there were six of them. Thank goodness there was only one failure and that it was easy to recover from (one machine reset its home position mid-print).
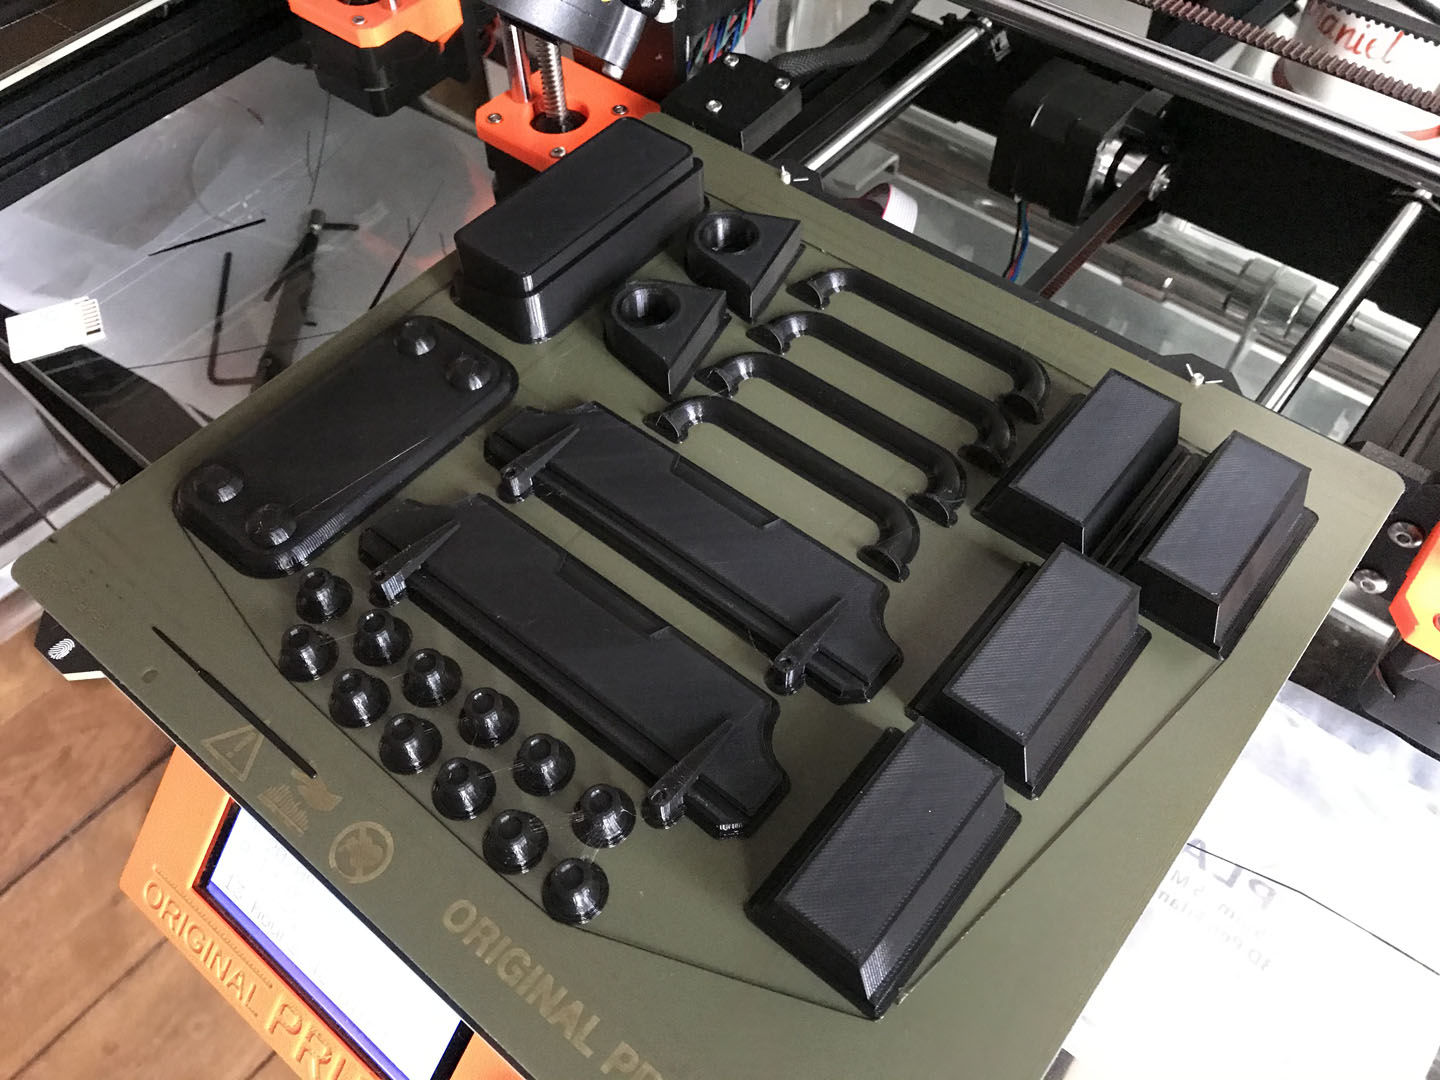
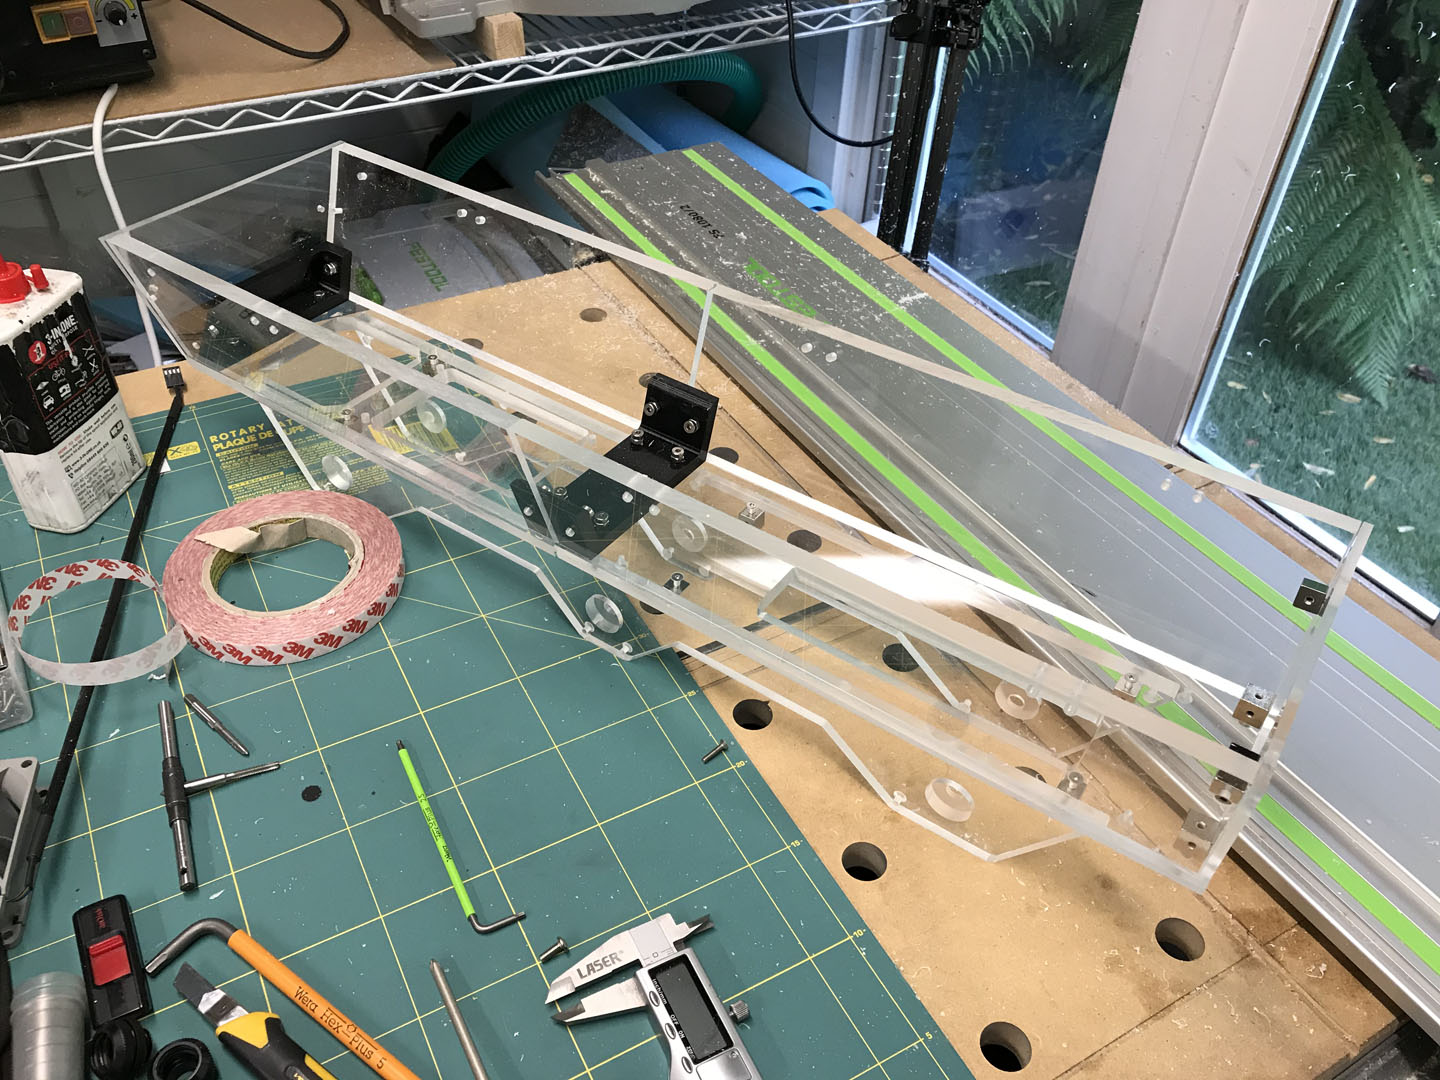
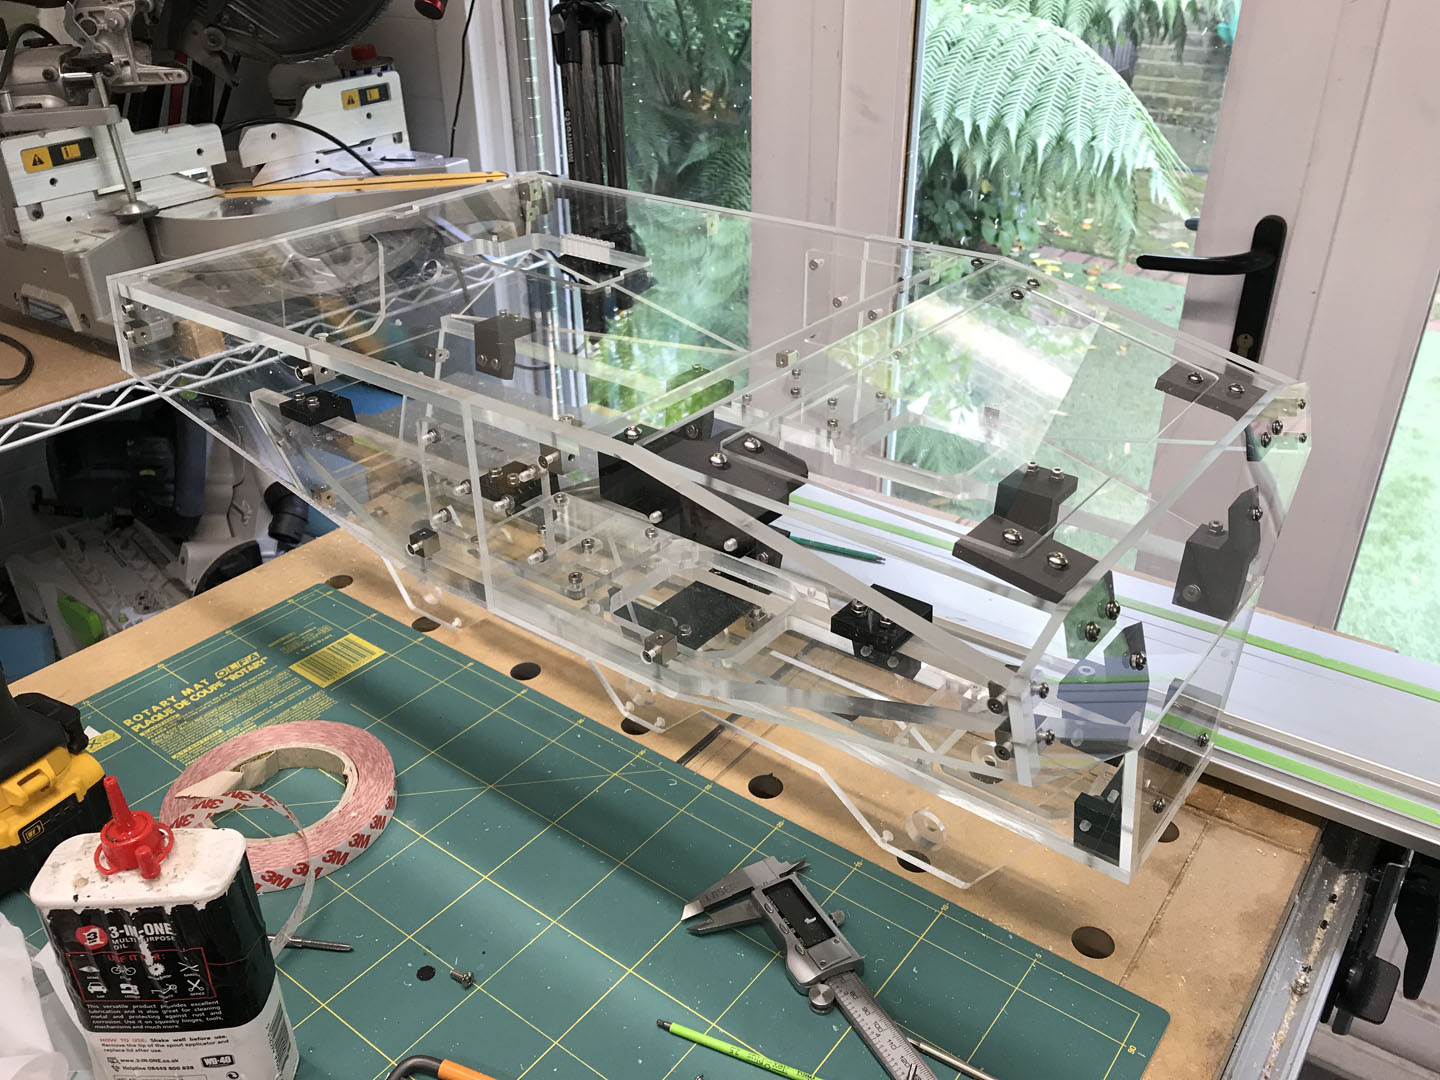
With the acrylic superstructure modelled, I toolpathed it up and exported to the router. Despite the rush, everything largely cut out fine bar one snafu where I discovered that I had been sent extruded 5mm acrylic and not cast. This would have been a massive deal had it been the 10mm material, but thankfully the 5mm wasn't used as much and didn't have as many small cuts and holes, either. One handy thing about the design was that it was done with quick assembly in mind. All the panels essentially just screw together into either brass cubes or through brackets from the inside. The brackets and details were printed whilst the machining was being handled. It was often a case of cutting some parts, then rushing upstairs to clean and commence the next prints or replace filaments, etc.
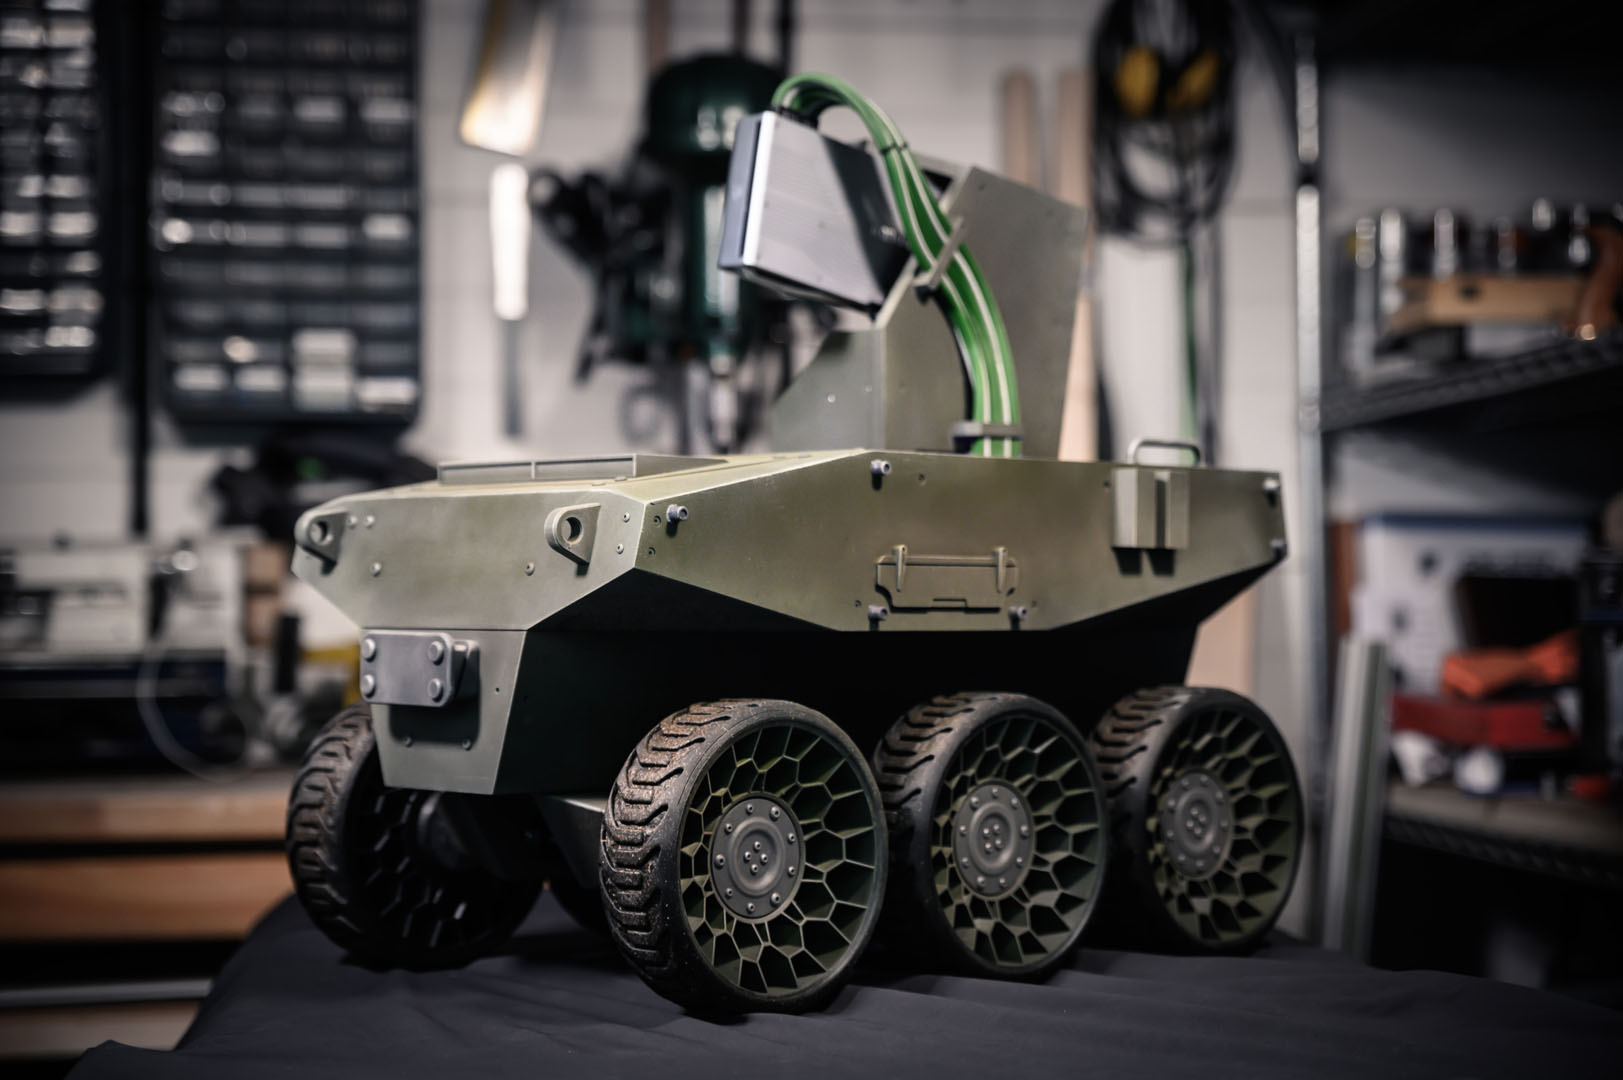
Once the frame was all together, I set to work sanding down the outside of the body. Since the whole thing would be painted, it was important to smooth and fill things as well as I could with the time at hand. Not only would the sanding smooth out joins between panels, it would allow the primer to adhere suitably to the surface, which would be important for the acrylic painting afterwards. As usual, it was primed grey with Halfords bodywork primer, gaps were filled using Isopon filler. The case was then spray-painted using Montana Gold Khaki and Nato greens, with details applied by hand with a brush.
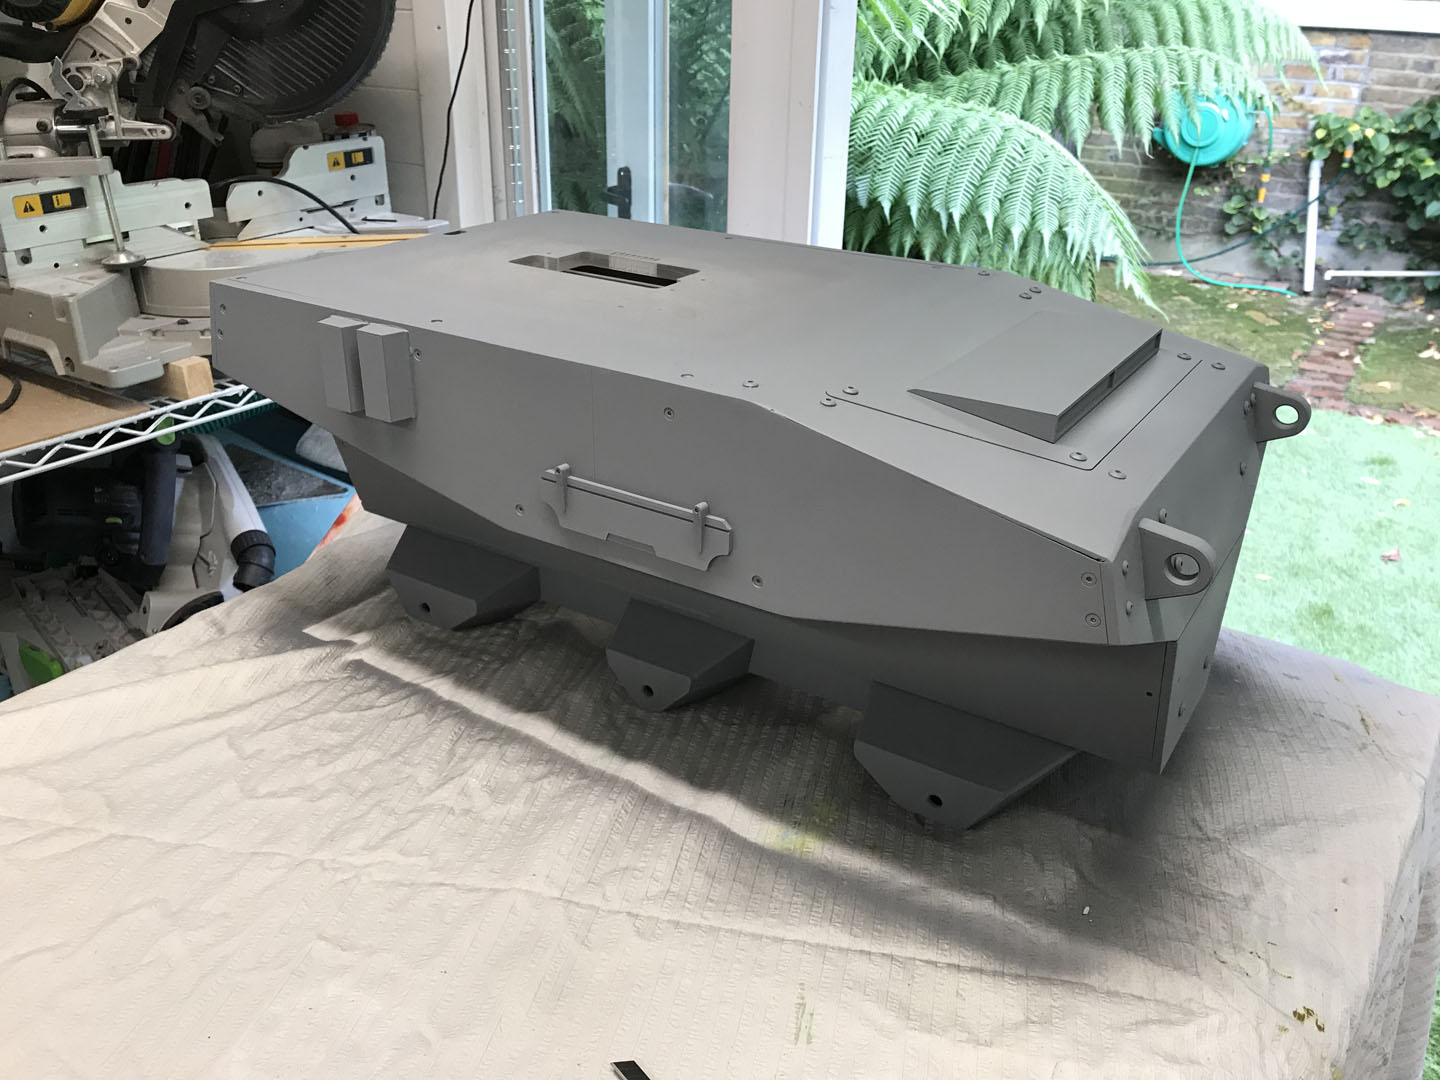
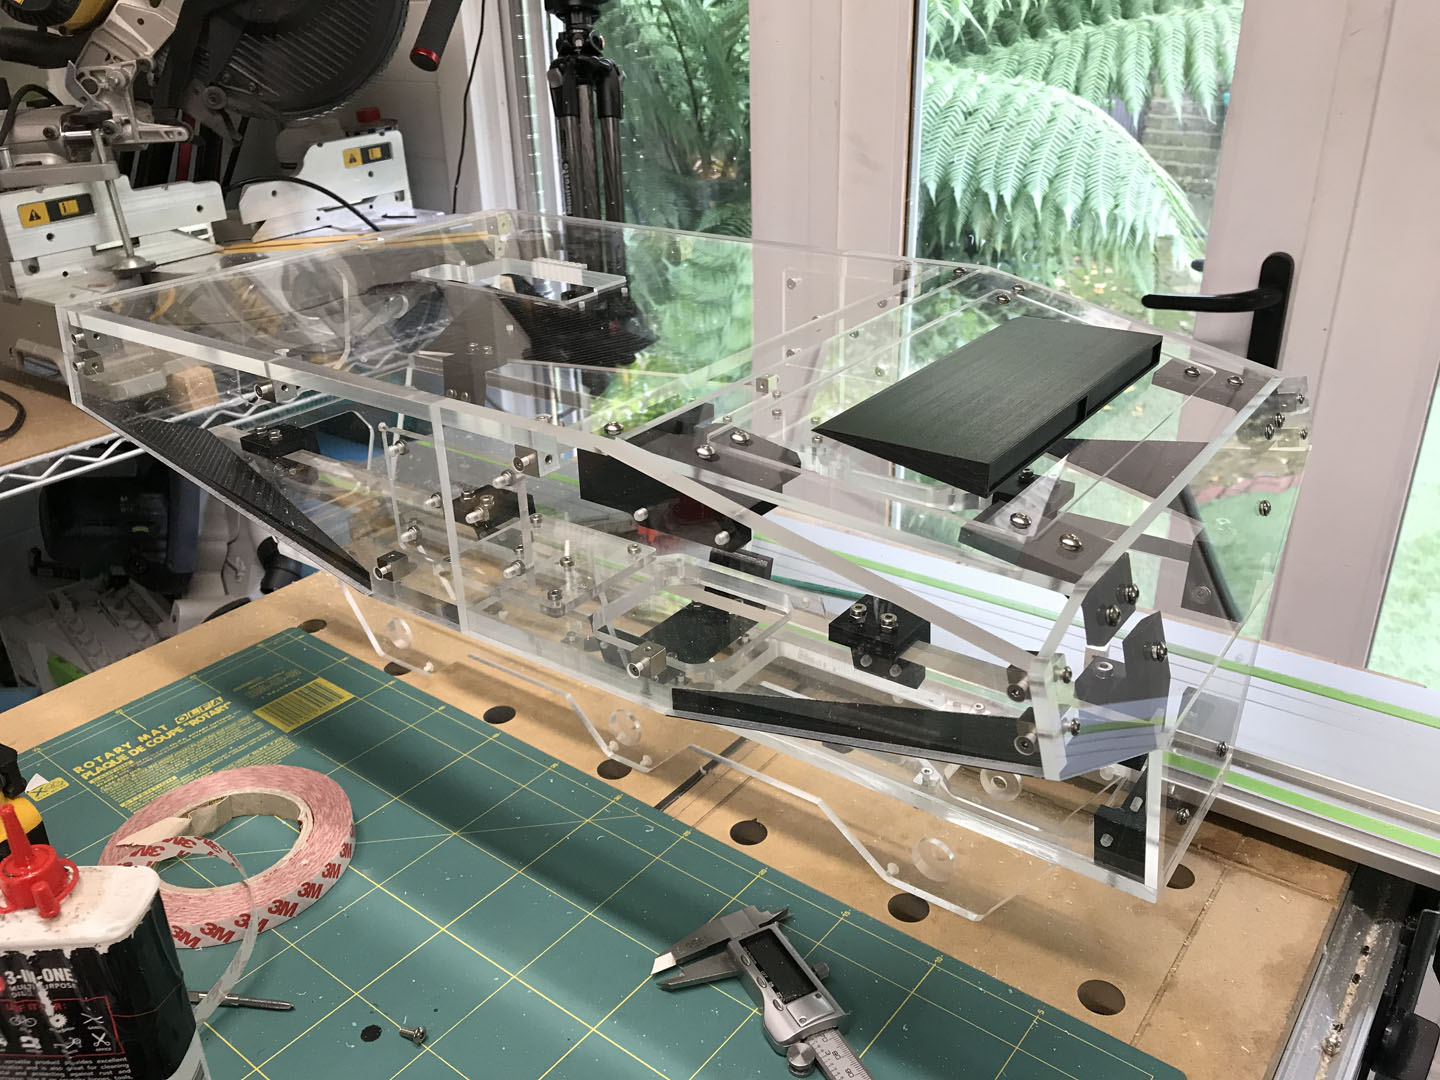
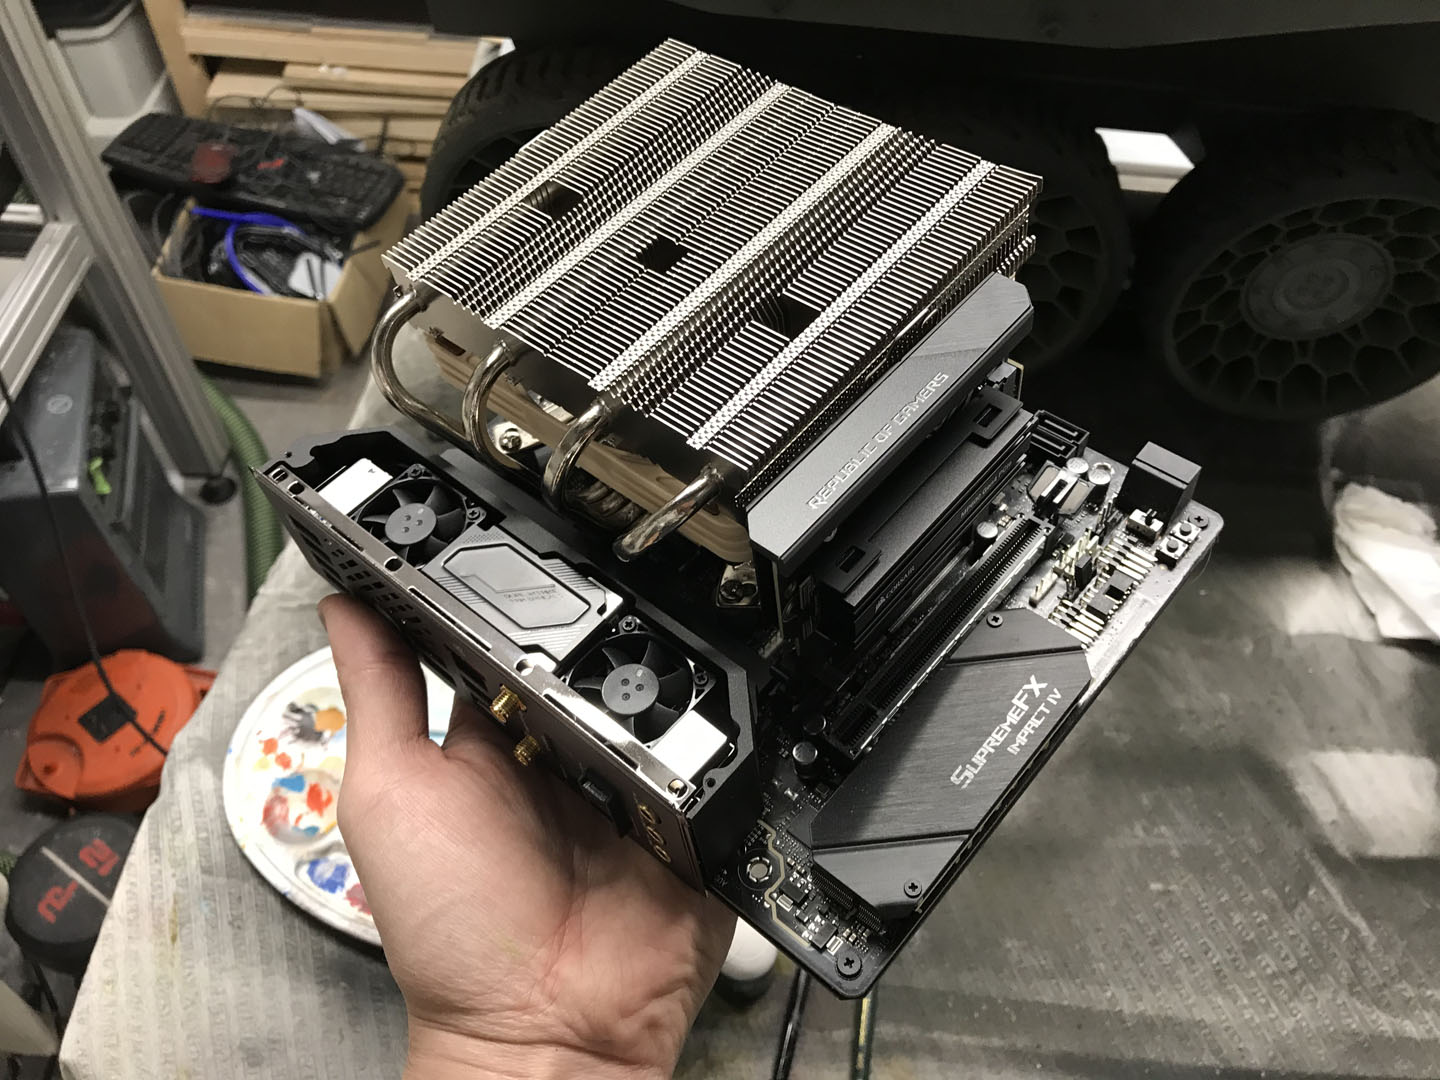
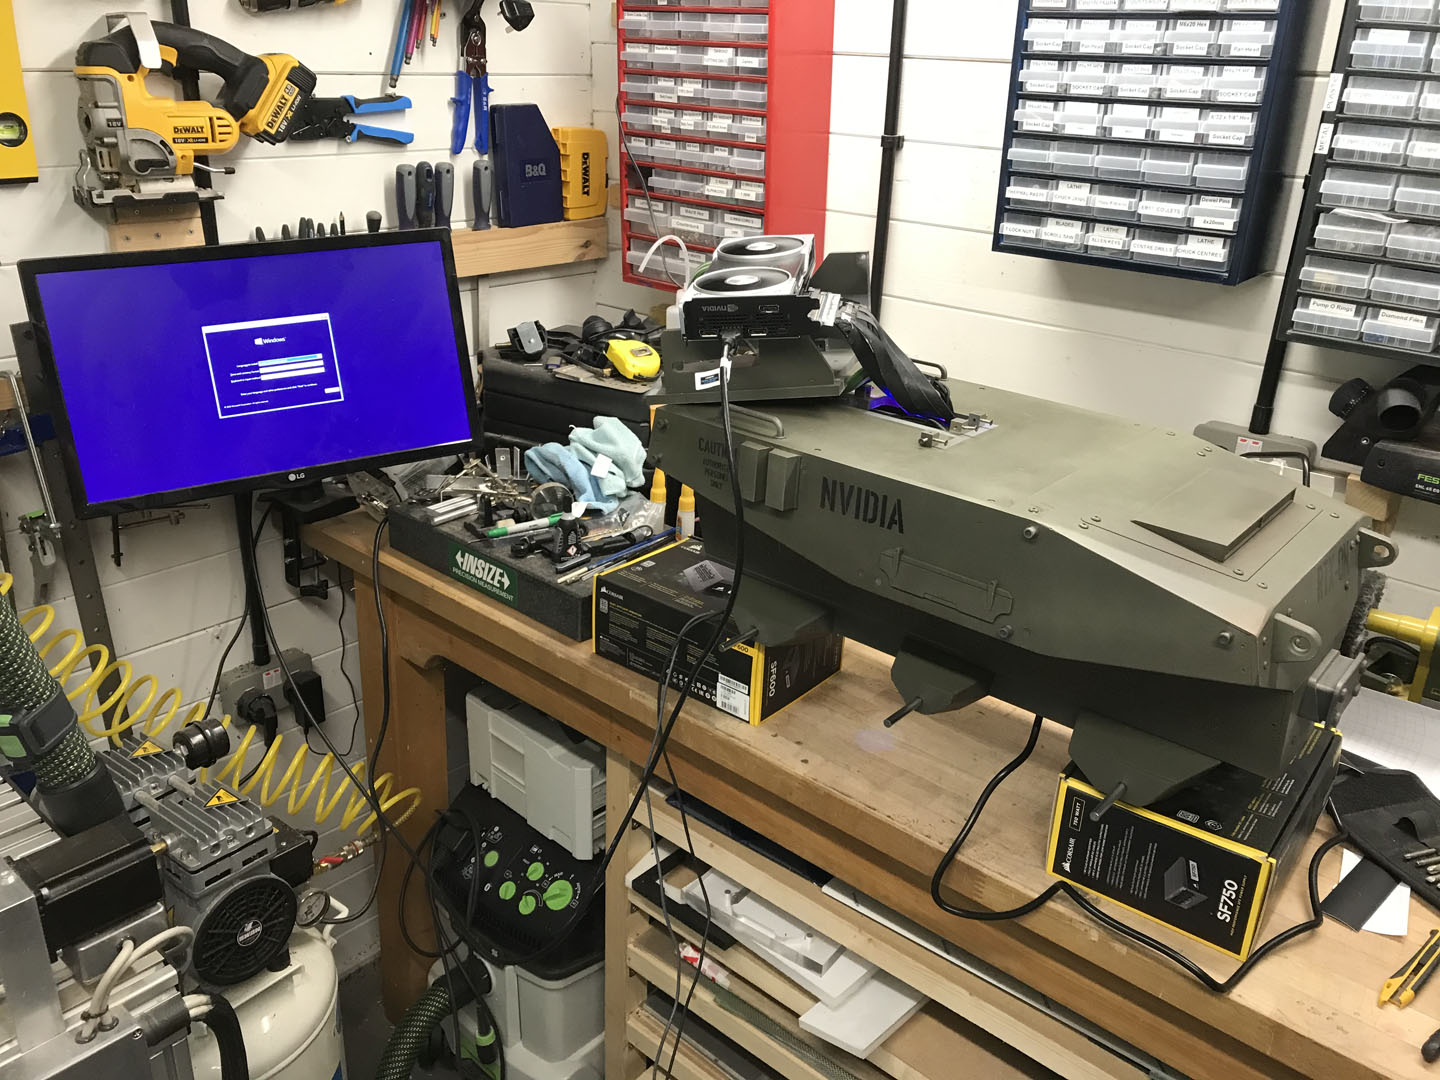
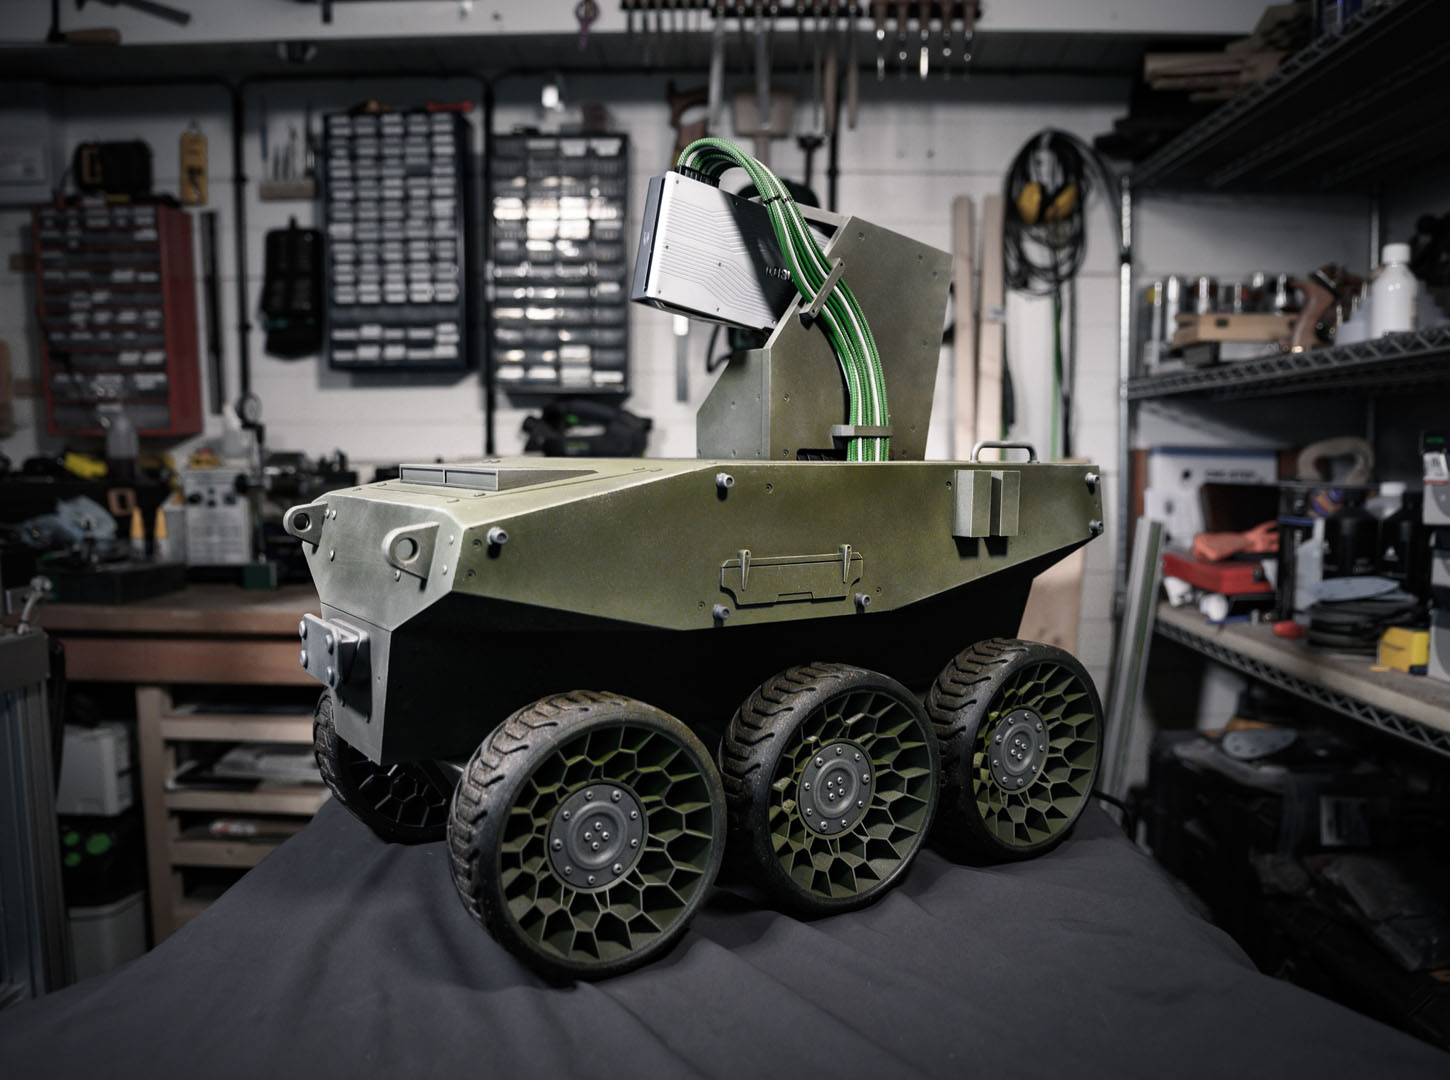
The hardware was then installed into place and the wiring added. This build was simpler than usual on that front since the only visible cables were a pair of 8-pin PCIe ones that fed the top GPU its juice. A Corsair SF600 PSU was chosen in order to minimise the space required, a handy move although, astonishingly, the 24-pin cable was almost too short to fit! Everything fired up smoothly, the low profile Noctua heatsink doing an admirable job of keeping the Ryzen CPU in check. I had been worried about excessive heat build-up in this rig, since there were so many 3D-printed elements, and it would have been awful if the heat caused them to warp. To mitigate this, I packed the sides full of vents and added a total of five additional Noctua Redux 80mm and 92mm fans. Three vents would be drawing in fresh air from underneath and two at the back, directly behind the heatsink, would exhaust it. The case is simple inside, basically a hollow box, so airflow should have been pretty decent.
The final step was to pack Wheelson up into his military-green Pelicase, then pop off to Hoxton. Whilst I didn't stay for the event itself (43 hours up on the trot, I needed sleep instead, haha) it looked quite the occasion with plush leather sofas, Call of Duty memorabilia and a hefty entertainment list, to name a few things.


MSI MPG Velox 100R Chassis Review
October 14 2021 | 15:04

Want to comment? Please log in.