LDLC Modding Trophy 2018 - Let's Build it!
January 23, 2019 | 19:00
Companies: #be-quiet #ekwb #epic-games #ldlc #thermaltake
Breaking the Case Down
It's all well and good having the designs planned, but actually making the parts is a whole other kettle of fish. Before beginning fabrication, it seemed like a good idea to break the case down and get some actual hands on time with it. It's a good idea at this point to double check any measurements and features, as sometimes 3D models can be out of date or measurements slightly off: 'Measure twice, cut once' is very much true no matter how you plan.
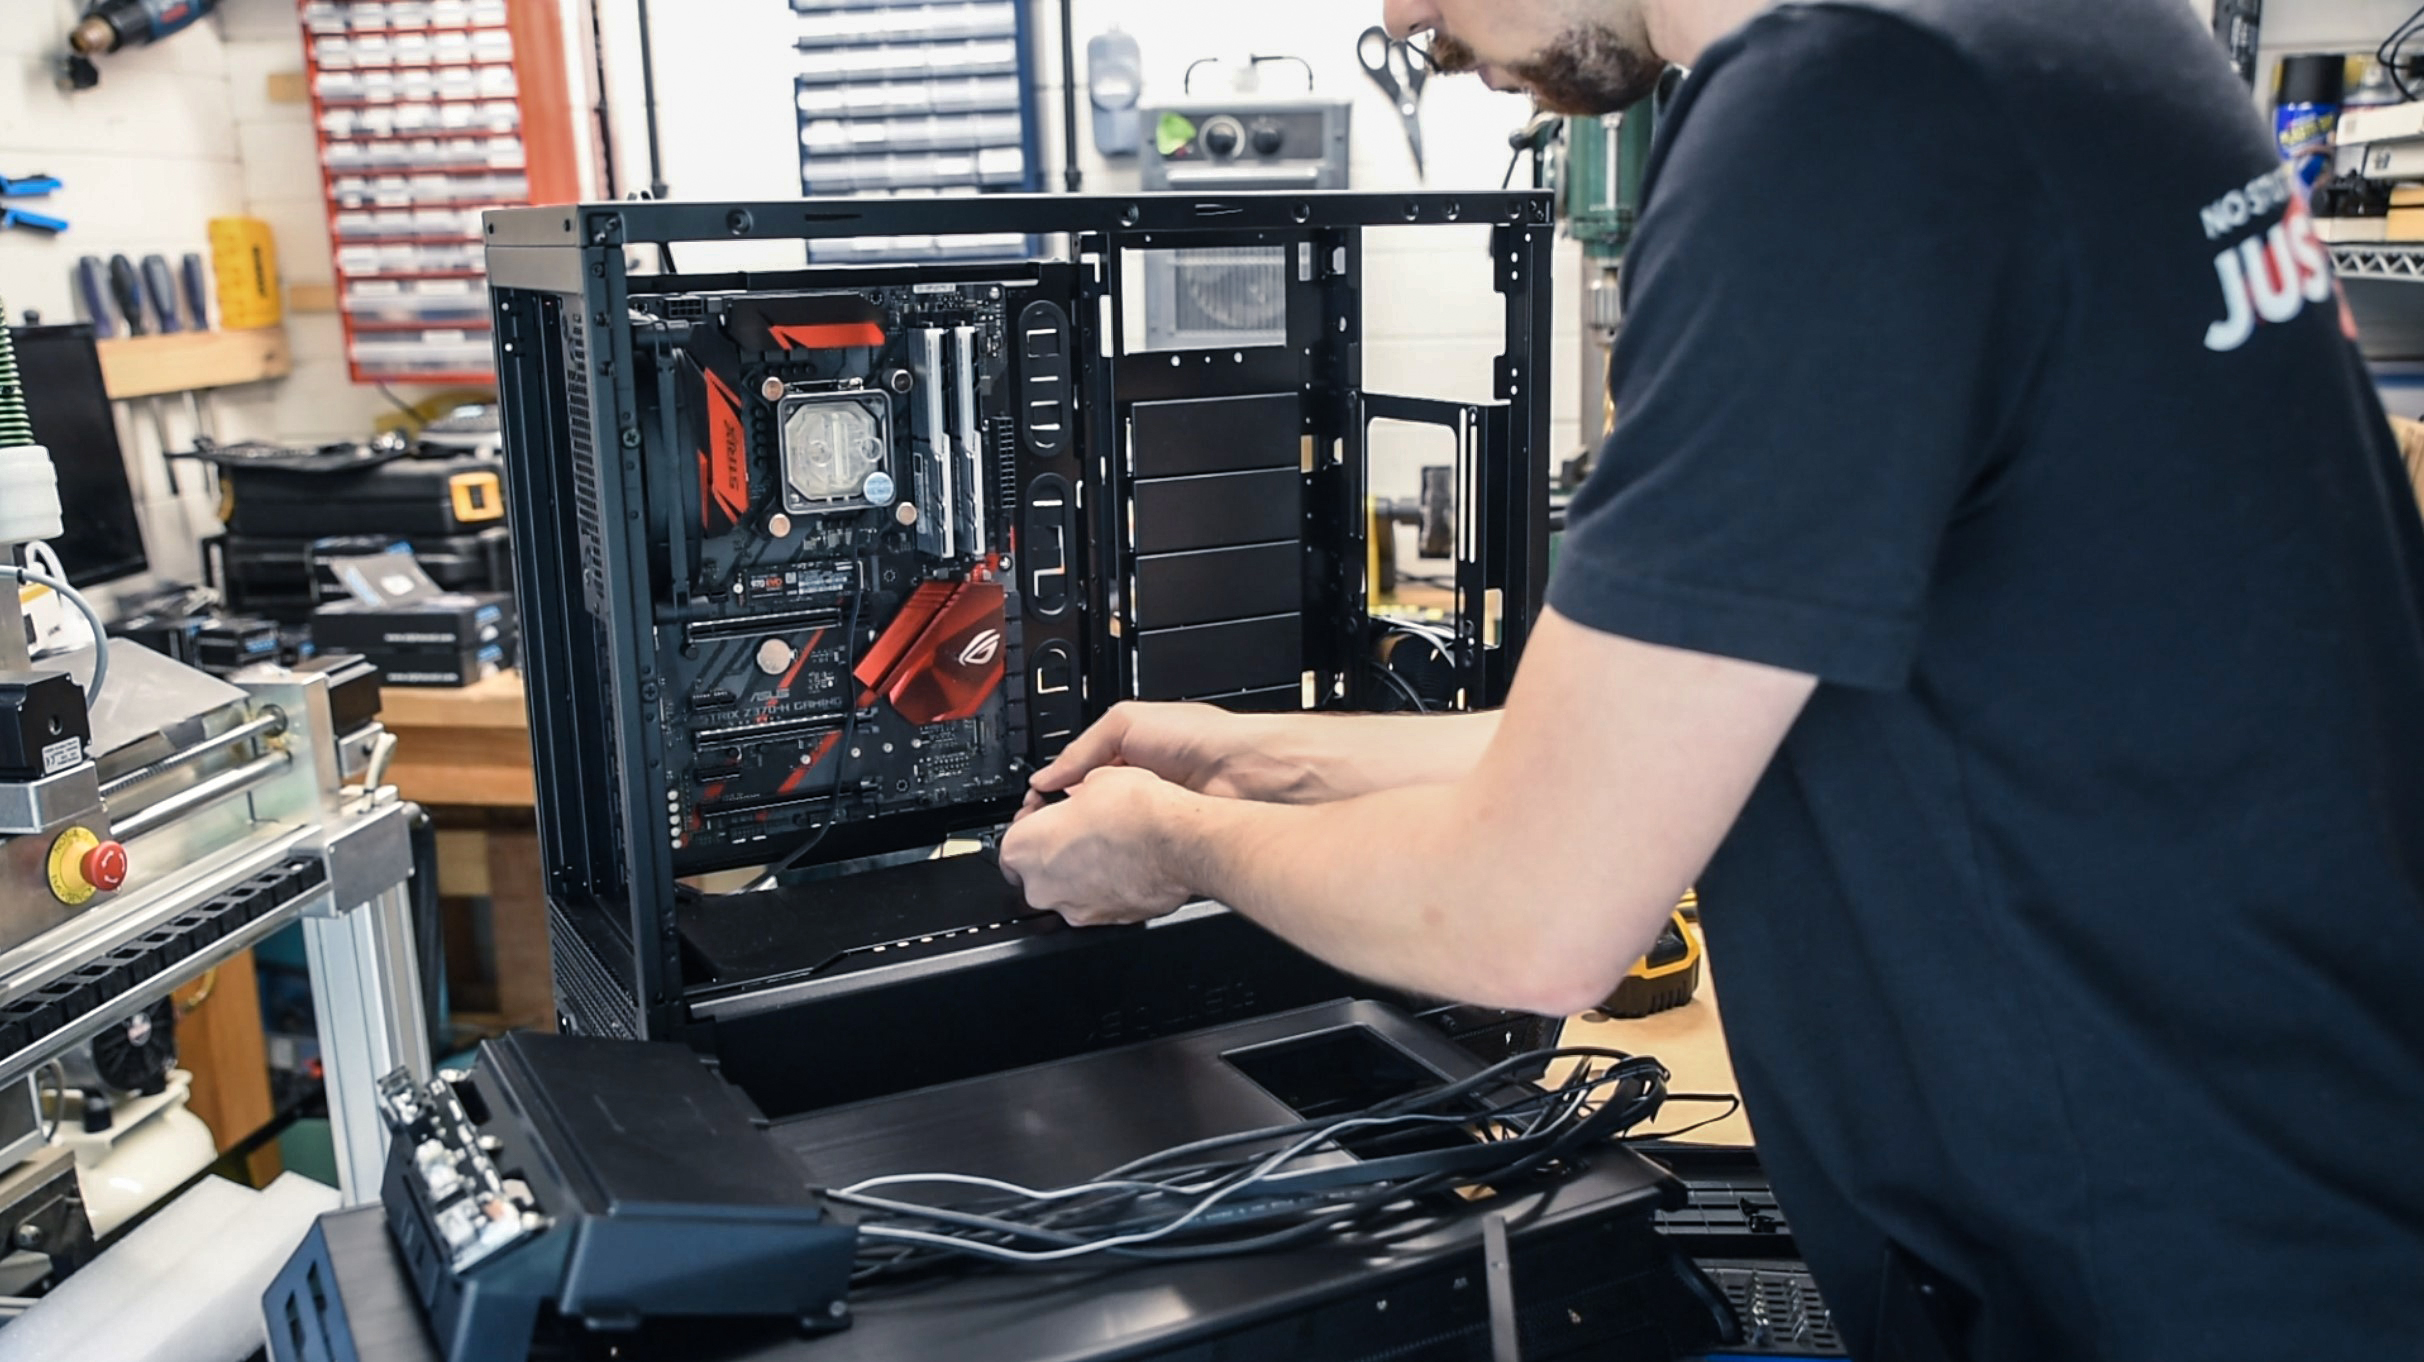
As I mentioned earlier, the Dark Base Pro 900 is quite simple to disassemble, if perhaps a bit fiddly since there are so many removable sections. If doing this yourself, make sure to keep the screws organised, as there are a lot of them and they all differ... I was a bit careless since I would be replacing most of them anyway, but it's worth the time being thorough if you plan on putting the case back together again.
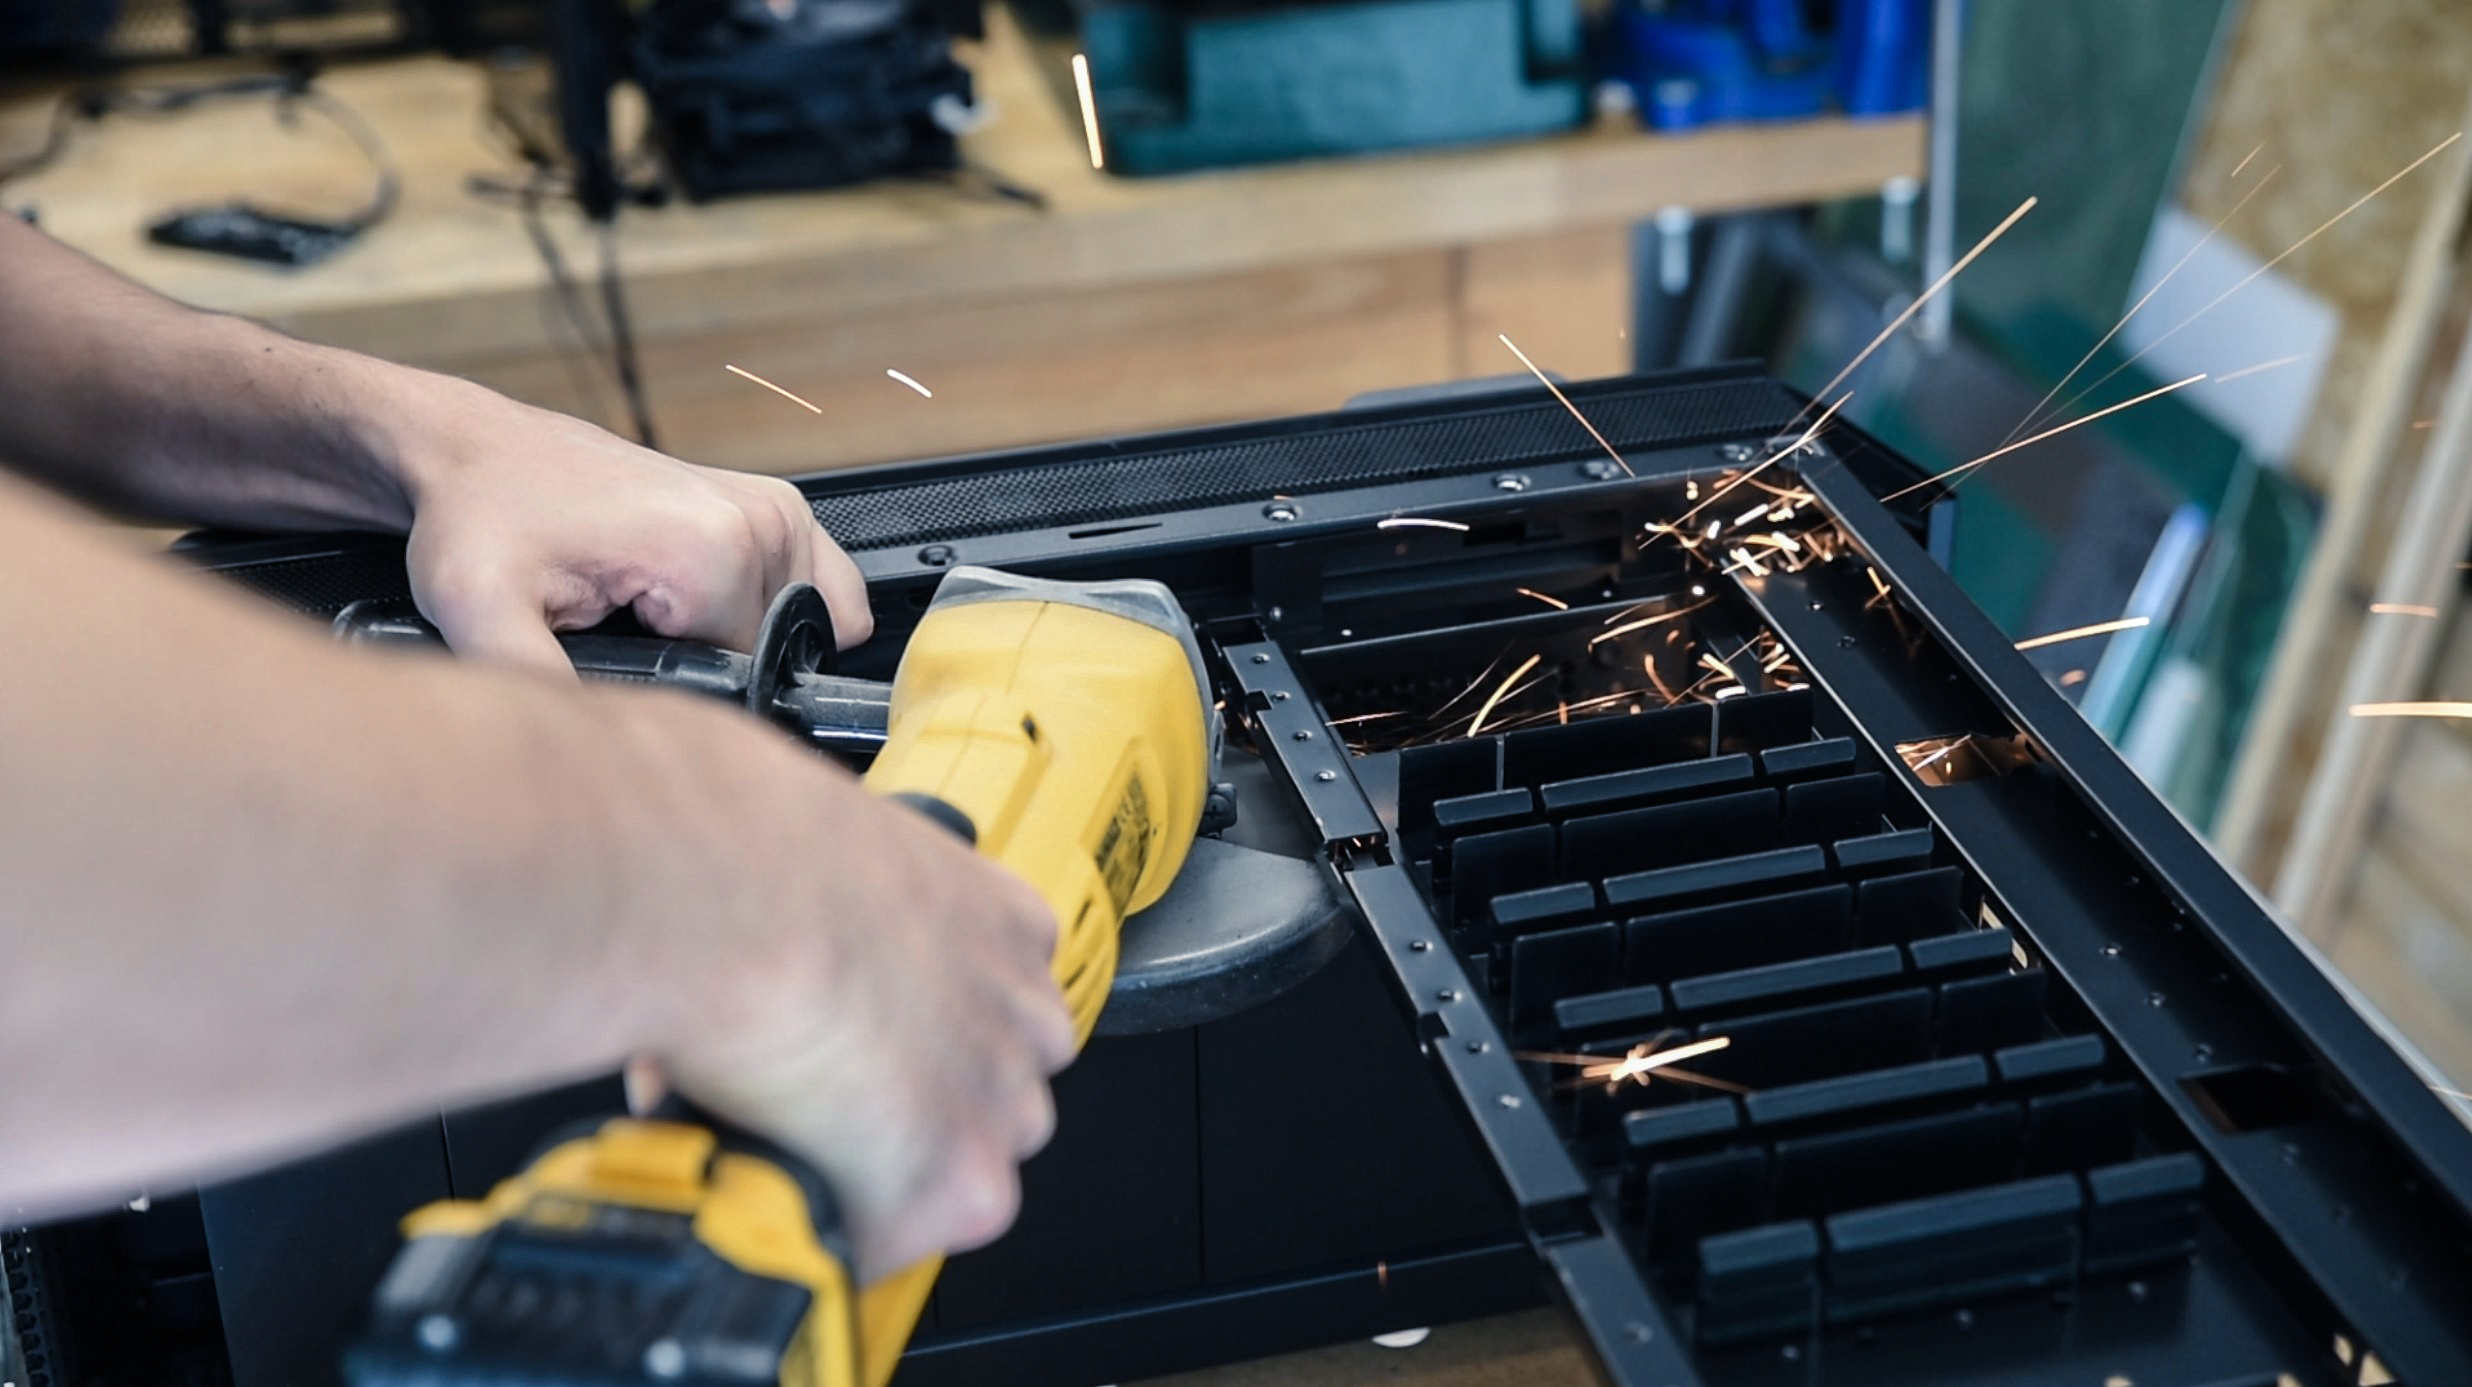
I made one blooper, which was using a substandard screwdriver. A few of the inside screws were tightened really quite firmly; I couldn't find the good driver handle so ended up using an iFixit set as it was the only one to hand with the right size heads. Well, sure enough I managed to strip a couple of screws by being clumsy, meaning I had to drill through one and cut another piece off with an angle grinder. Get yourselves a good screwdriver set, folks; it'll last forever and you won't regret it.
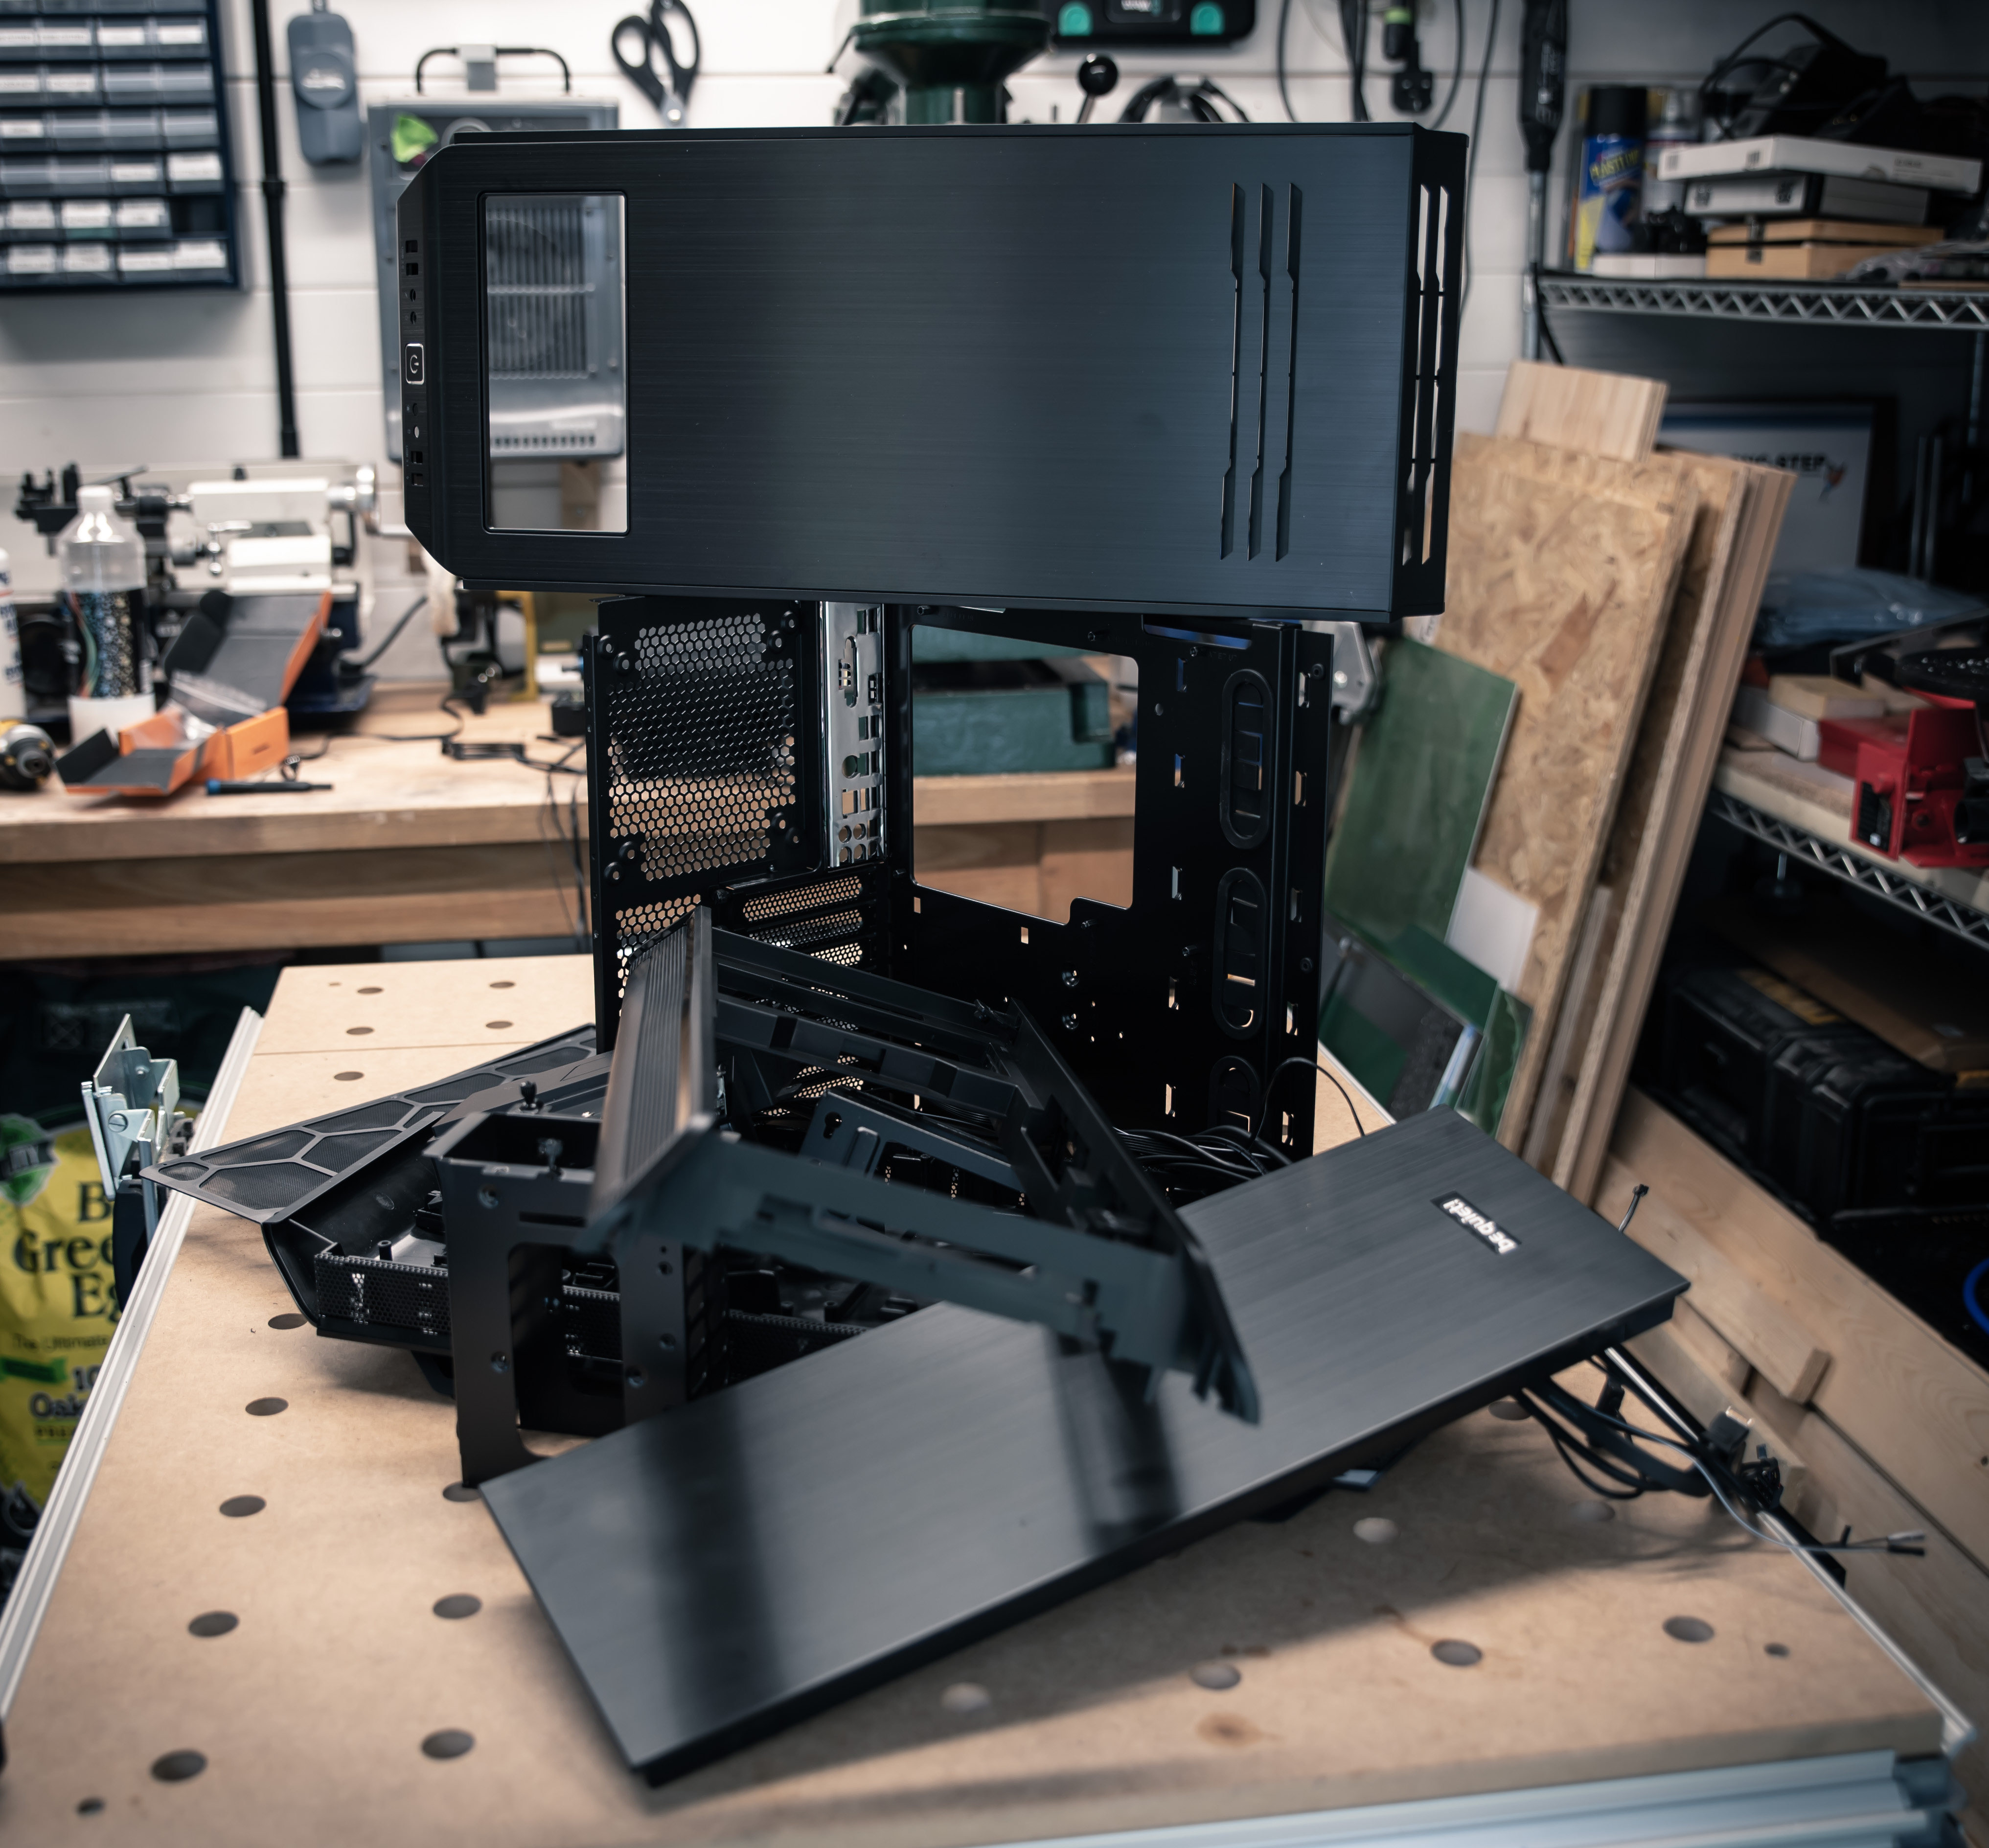
As you can see the case strips down rather nicely - time to get a move on with the fabrication.
Fabulous Fabrication
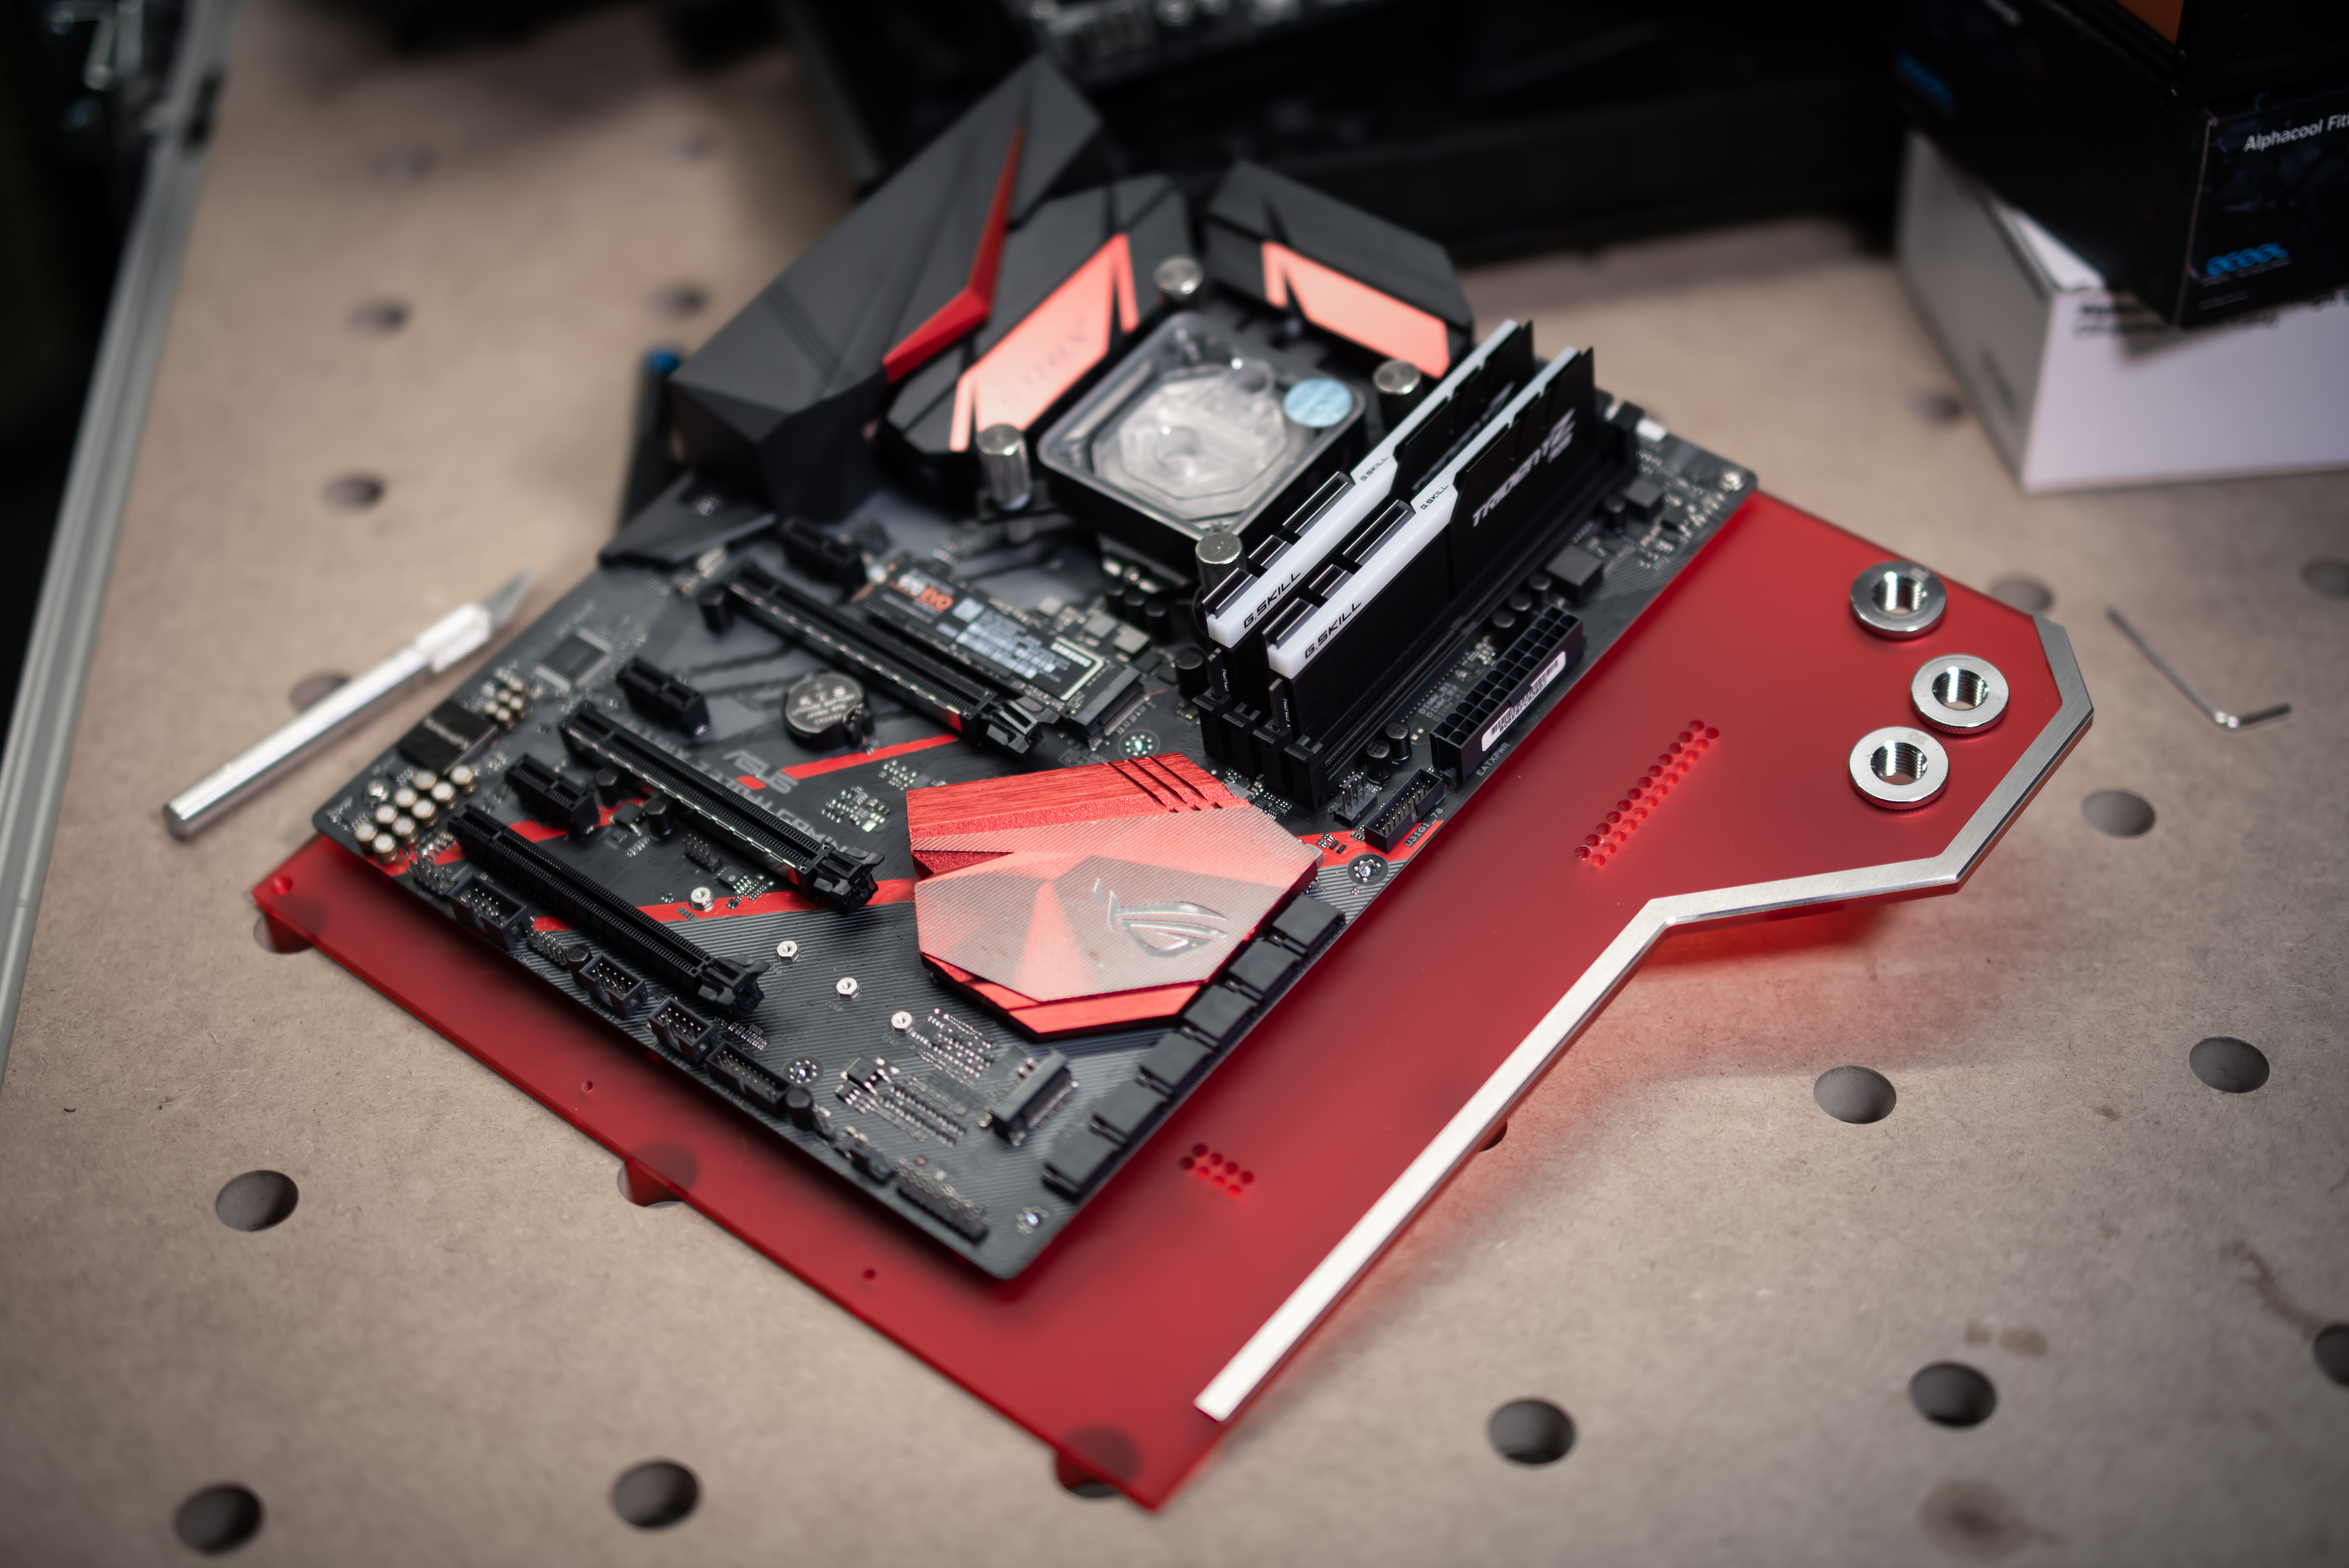
The two big structural parts of this mod are the motherboard tray and rear panels. I chose to reuse the PSU shroud, as it's solid, covers the whole base, and has mounting holes built into it. Making a new rear panel also meant I could move the tray forwards a little, giving more room in the back for cable management, the pass-through fittings, and tubing, since those run behind the tray.
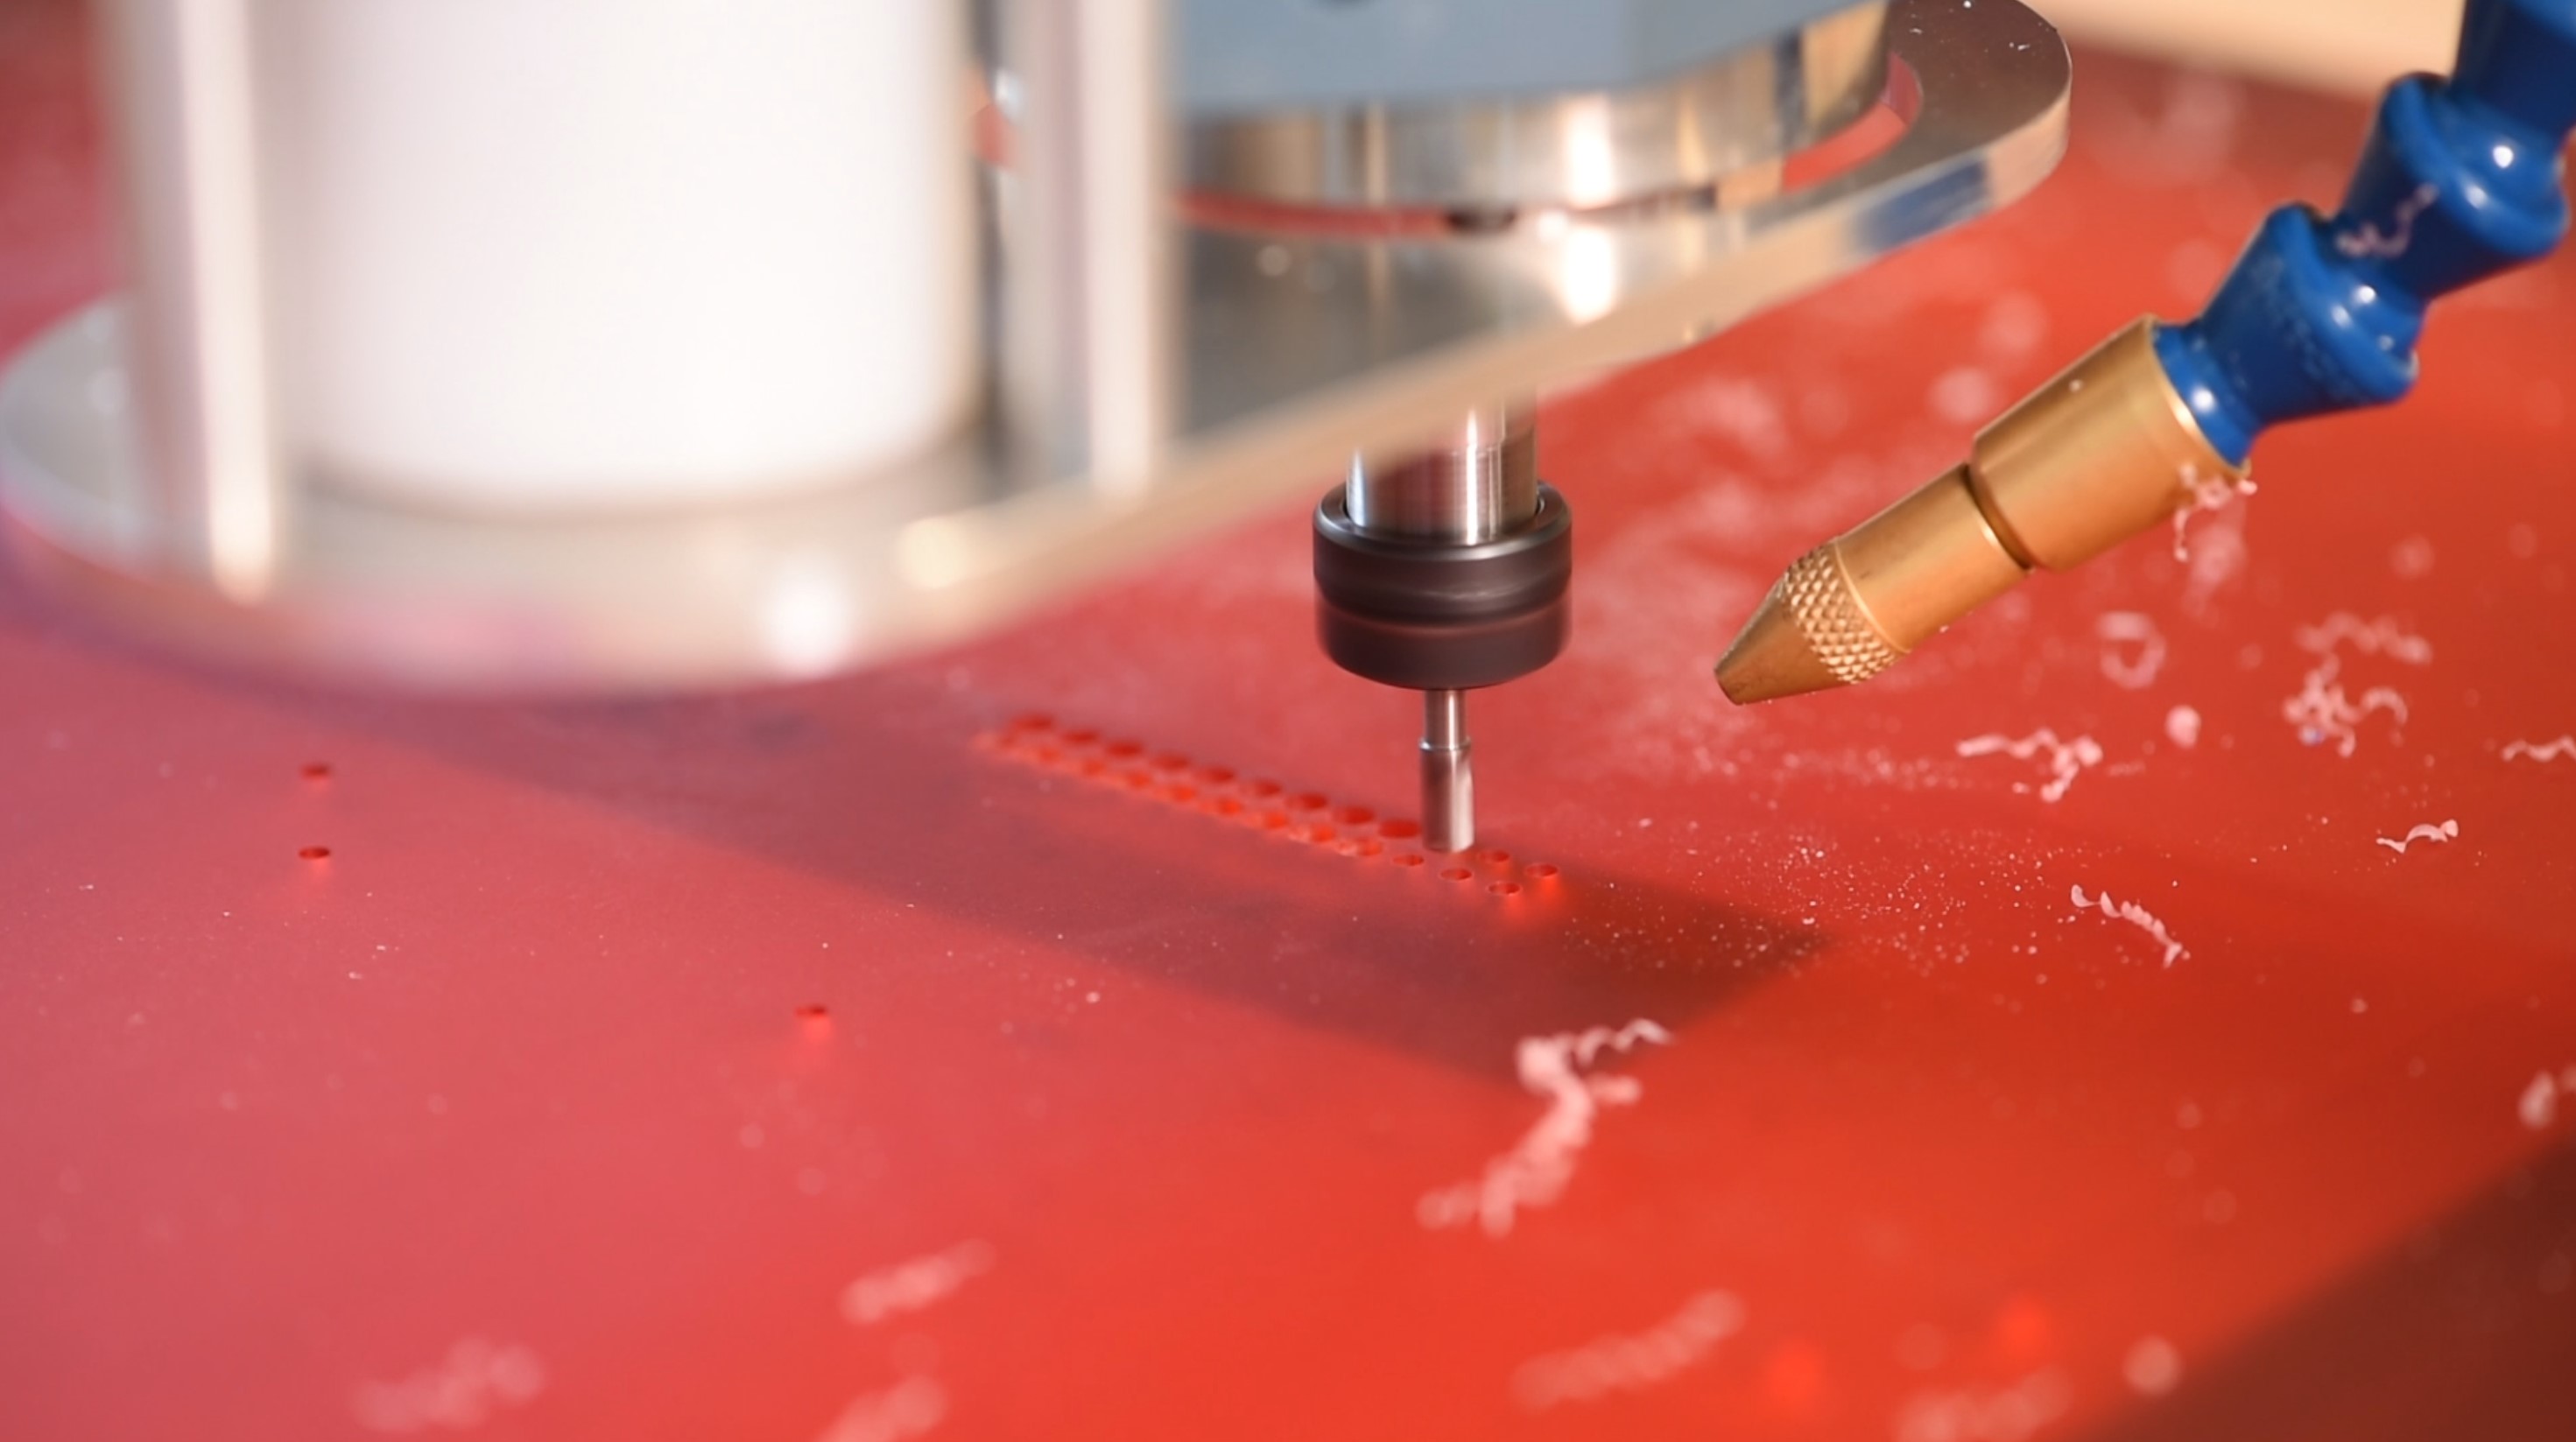
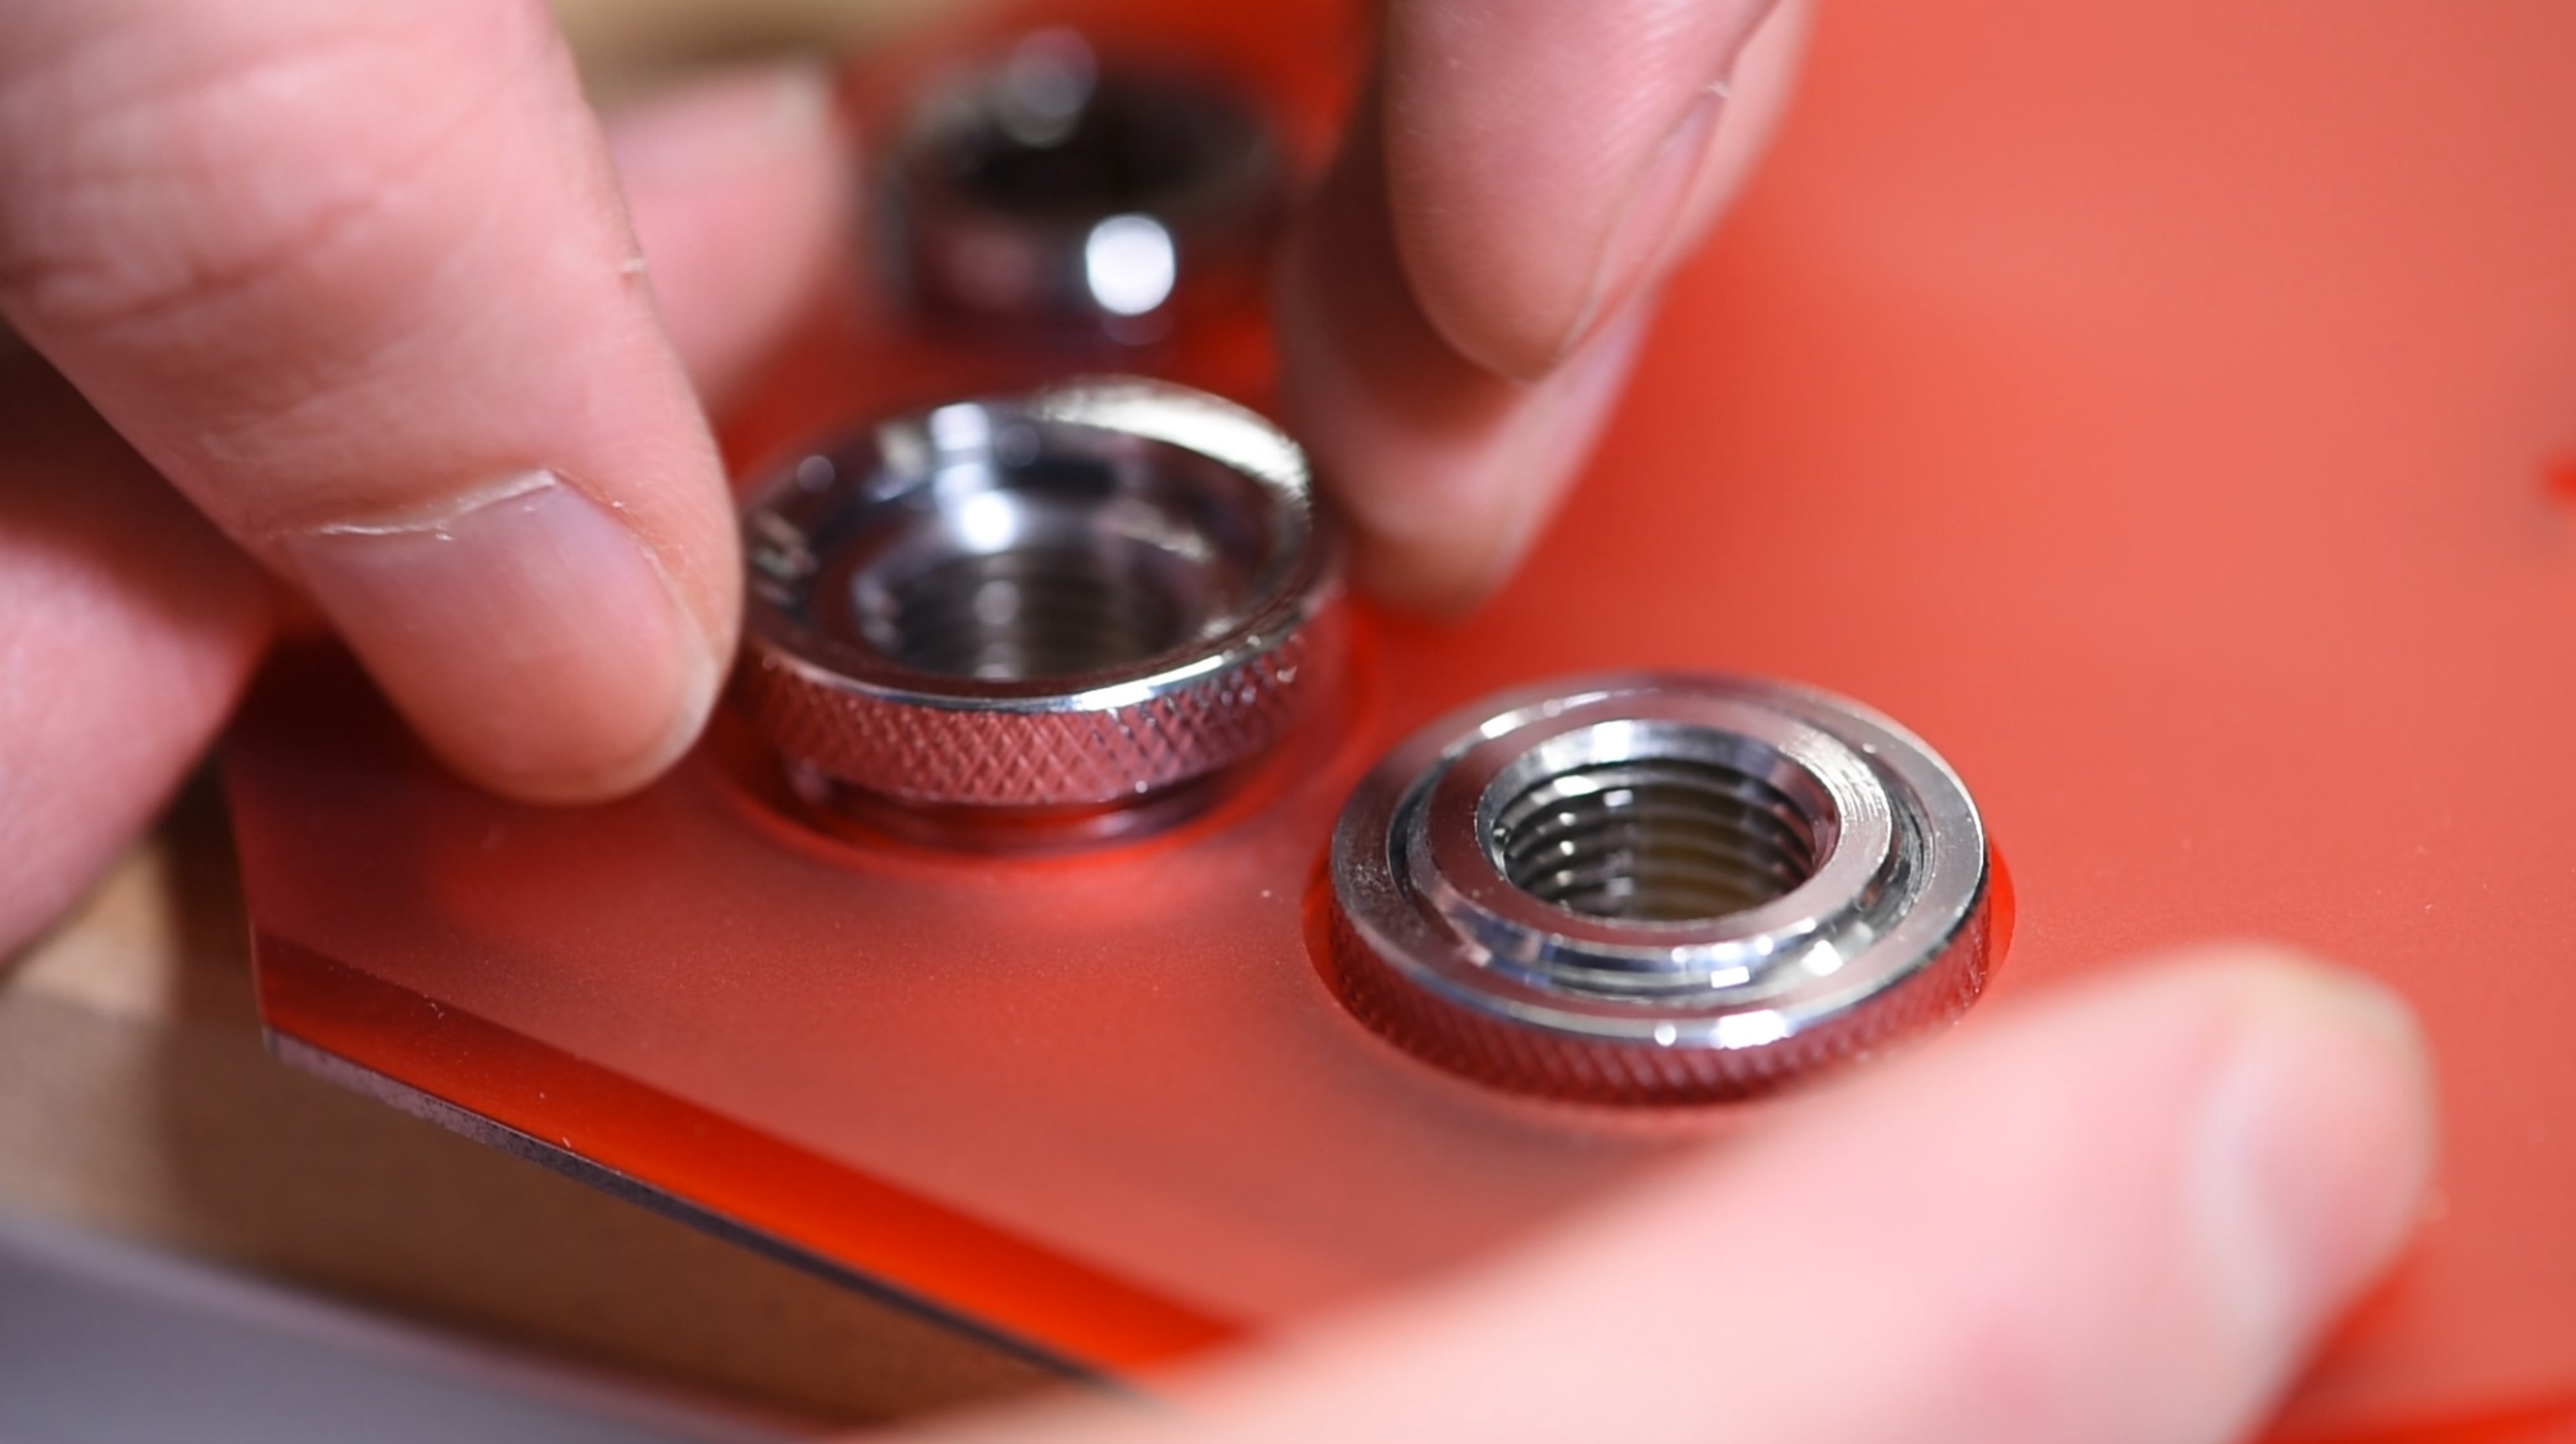
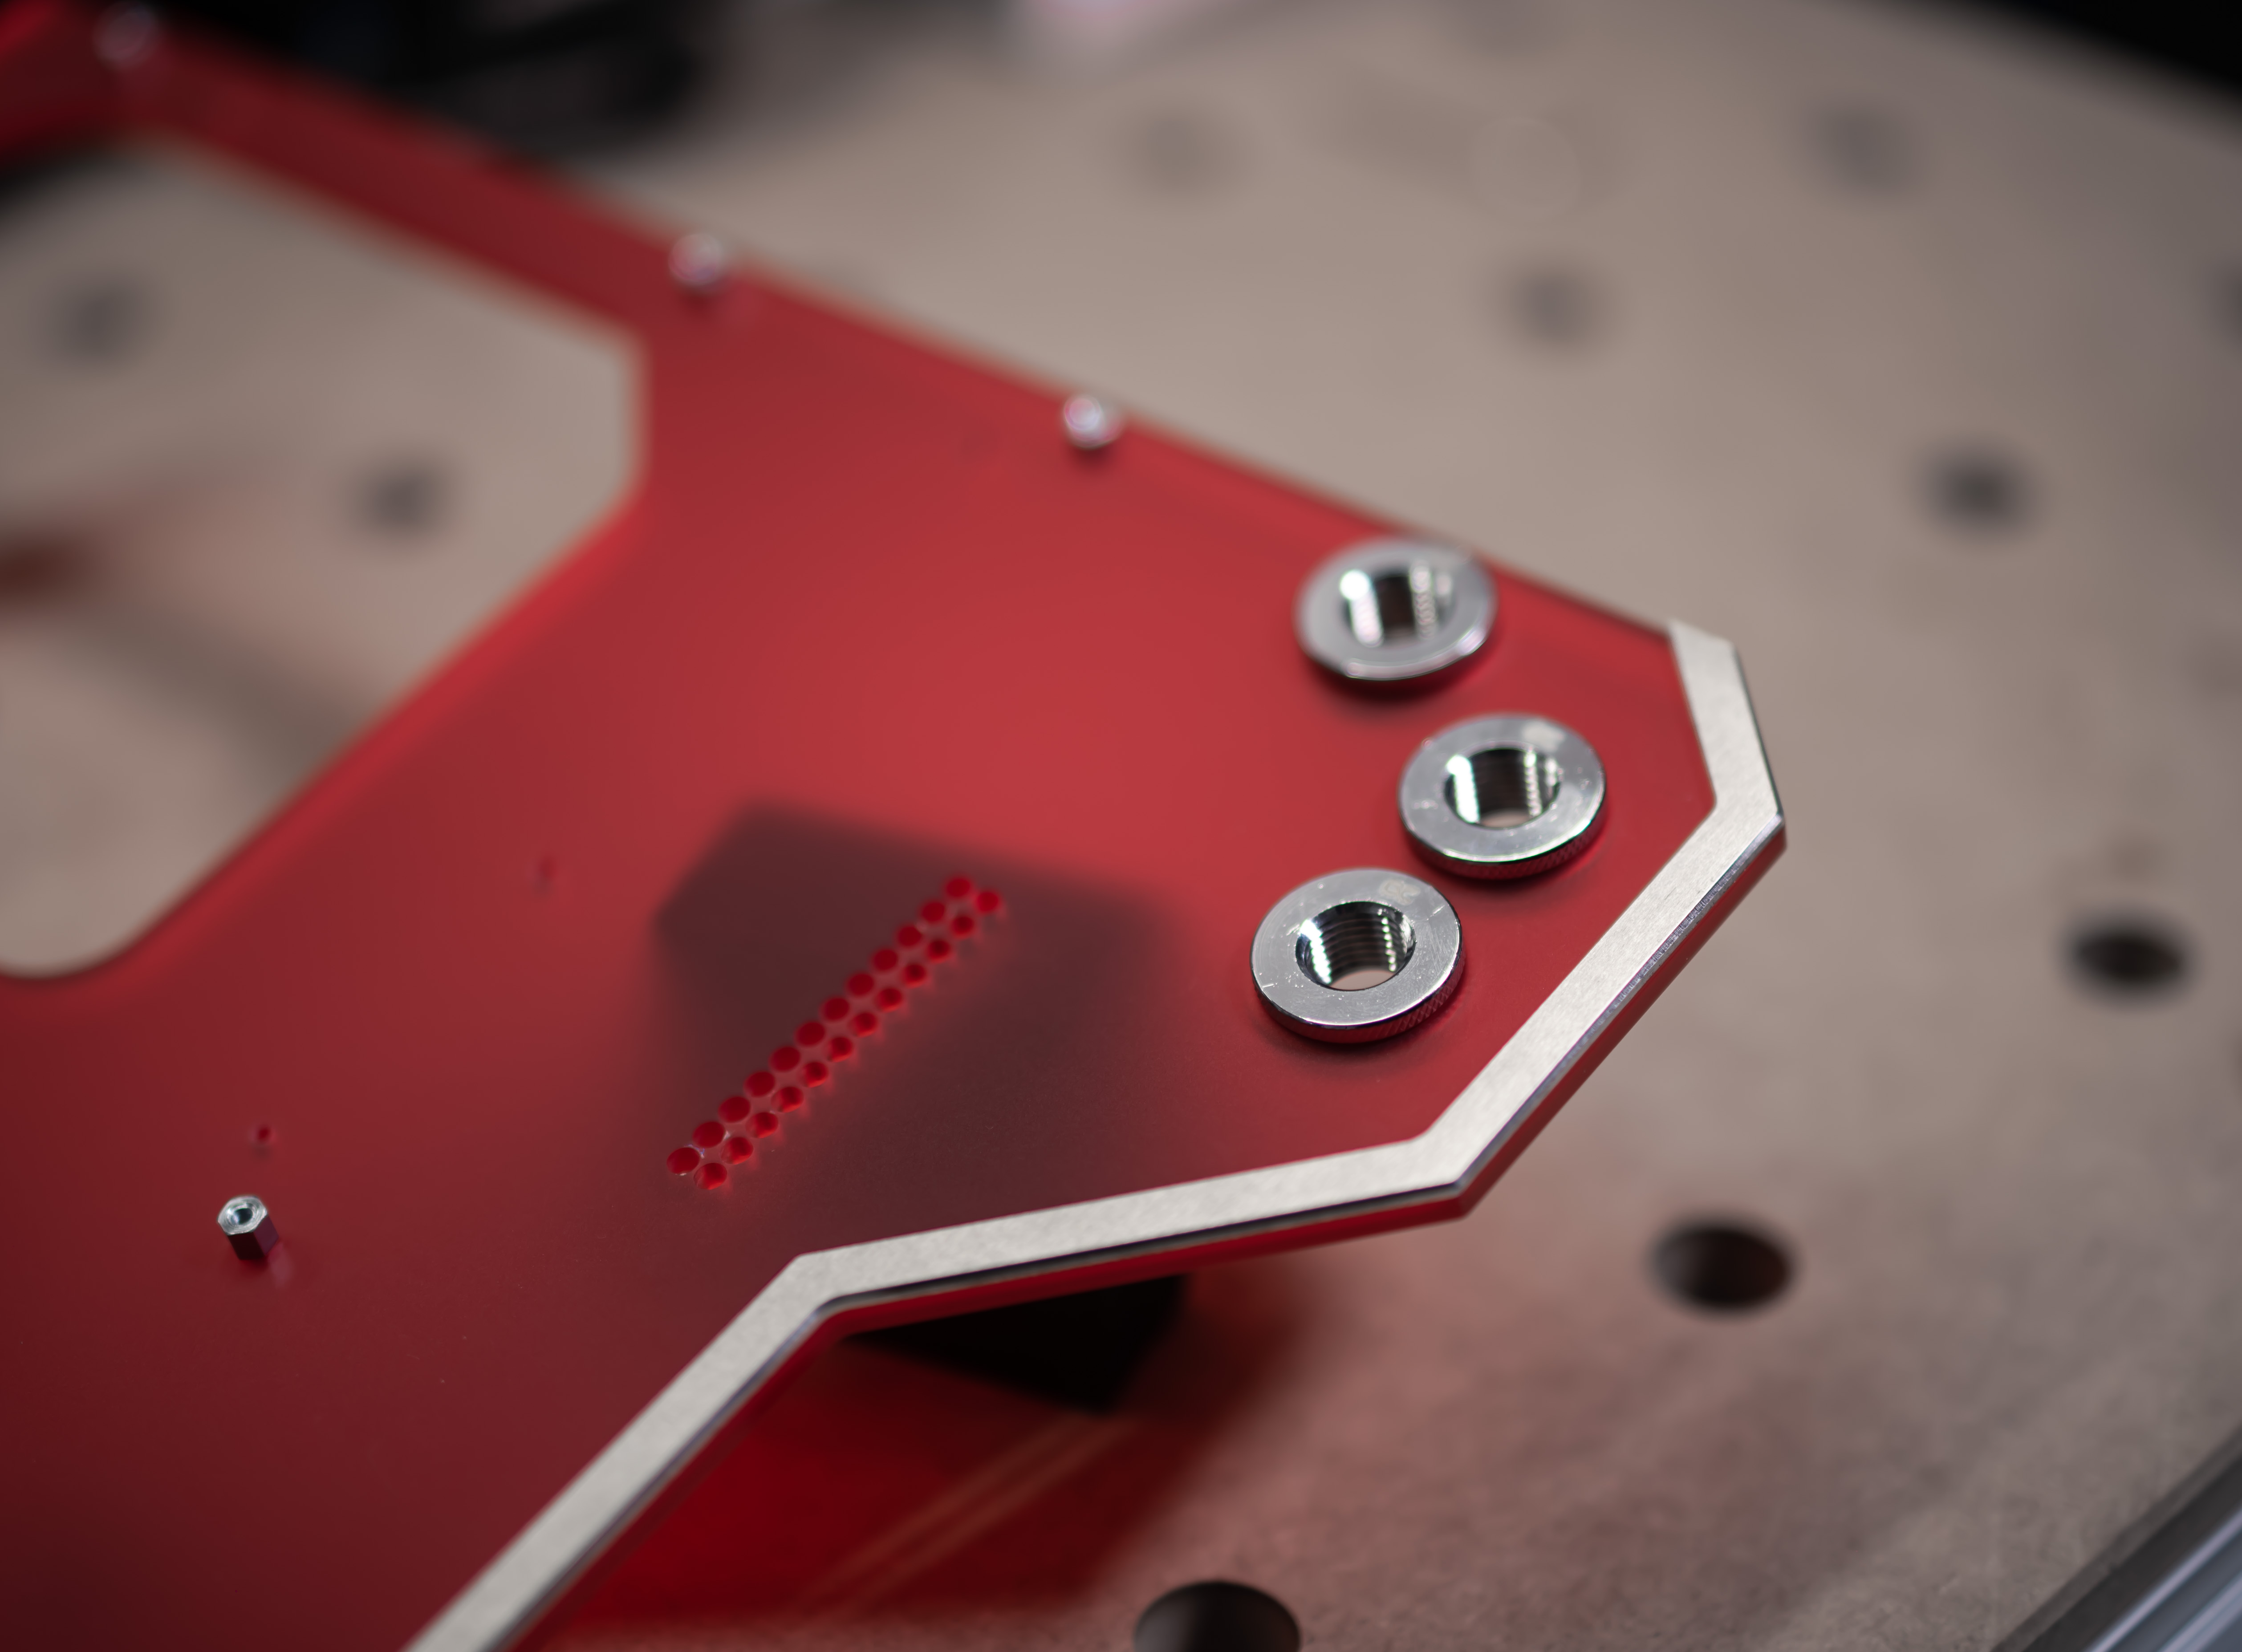
The motherboard tray itself was made from frosted red cast acrylic, which is the same stuff that you'll find in Parvum's translucent red cases - it's wonderful to work with. It's a simple piece to cut, mostly just a lot of holes and an outline. The top right corner features holes for three pass-through fittings, which proved to be rather interesting. This acrylic is 5mm thick, but the fittings were quite low profile, and when used with material that thick they actually prevent the fittings you attach to them from forming a water-tight seal. To mitigate this, I machined down the surrounding plastic, effectively reducing the thickness to 3mm. This meant that the screw collar could be tightened further, providing the necessary clearance. Additionally I machined an aluminium trim for the piece, just to match the other parts of the build.
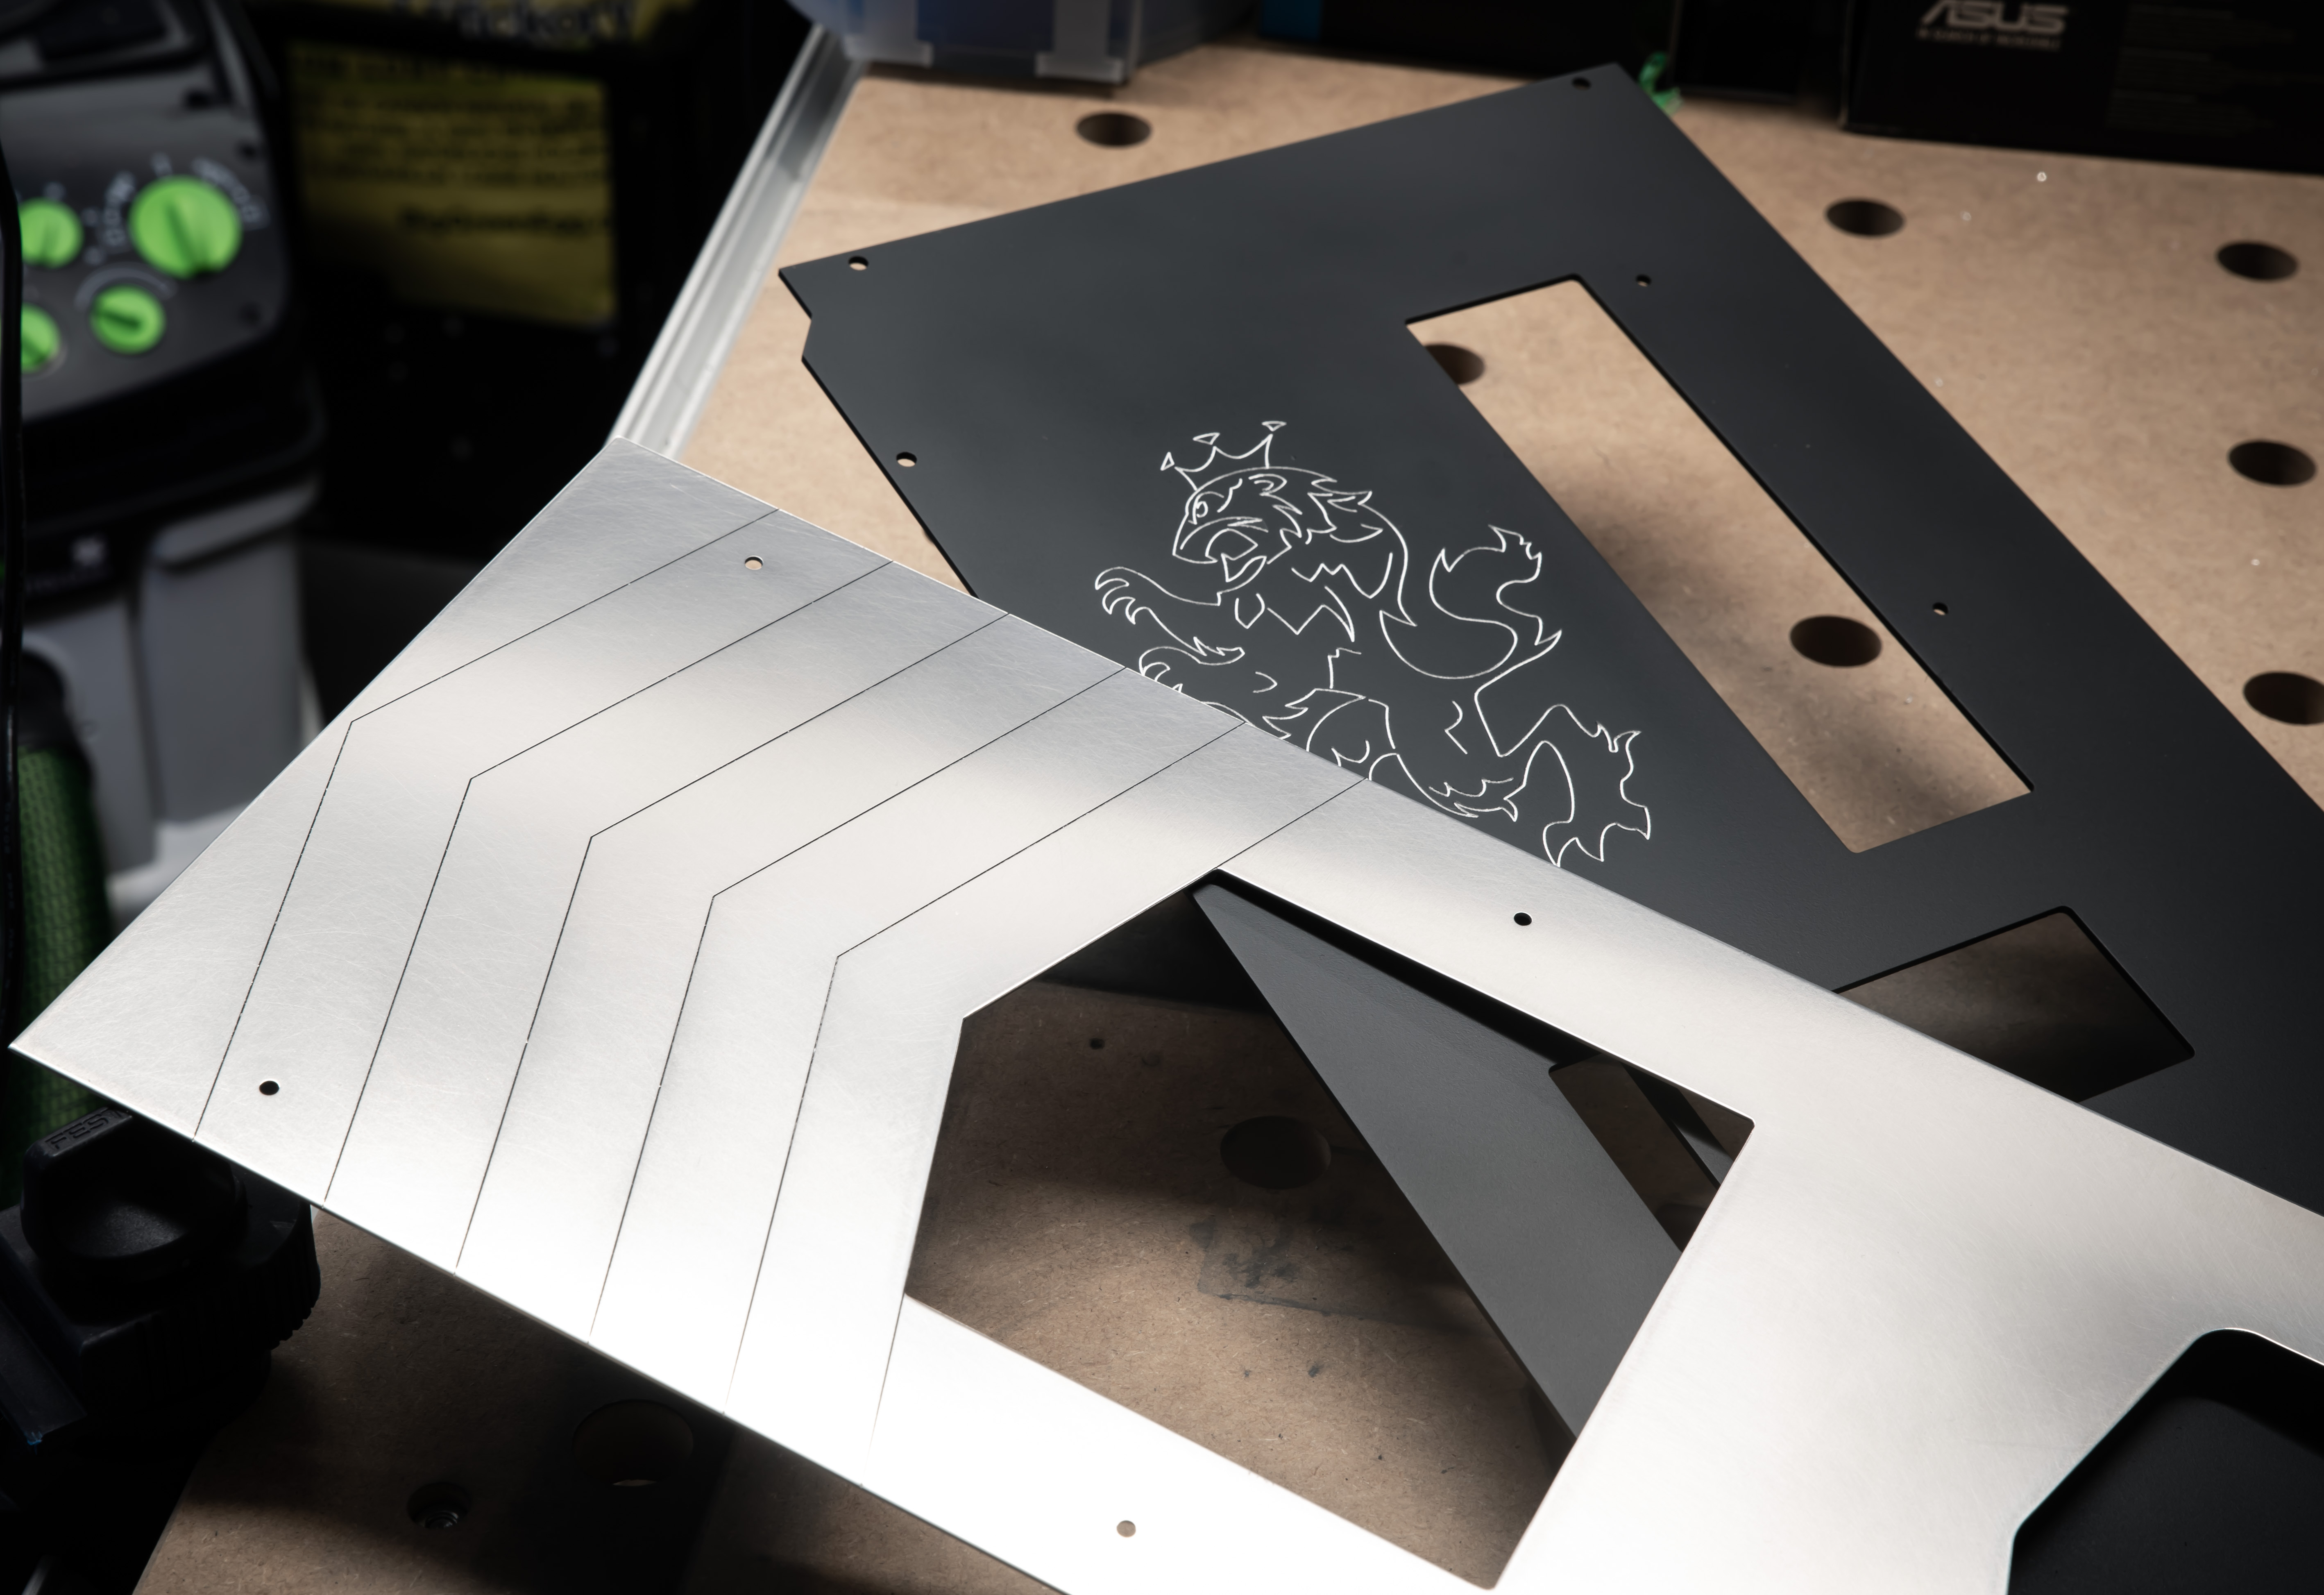
The rear panel was a fairly straightforward piece too: It's 2mm 6082 T6 aluminium, easy to machine, and nice and strong. After cutting, I sanded it down, primed with two coats of automotive primer, then painted with matte black spray paint. Nothing fancy here, just regular rattle cans and several thin coats with light sanding for the last coat to give a smooth finish.
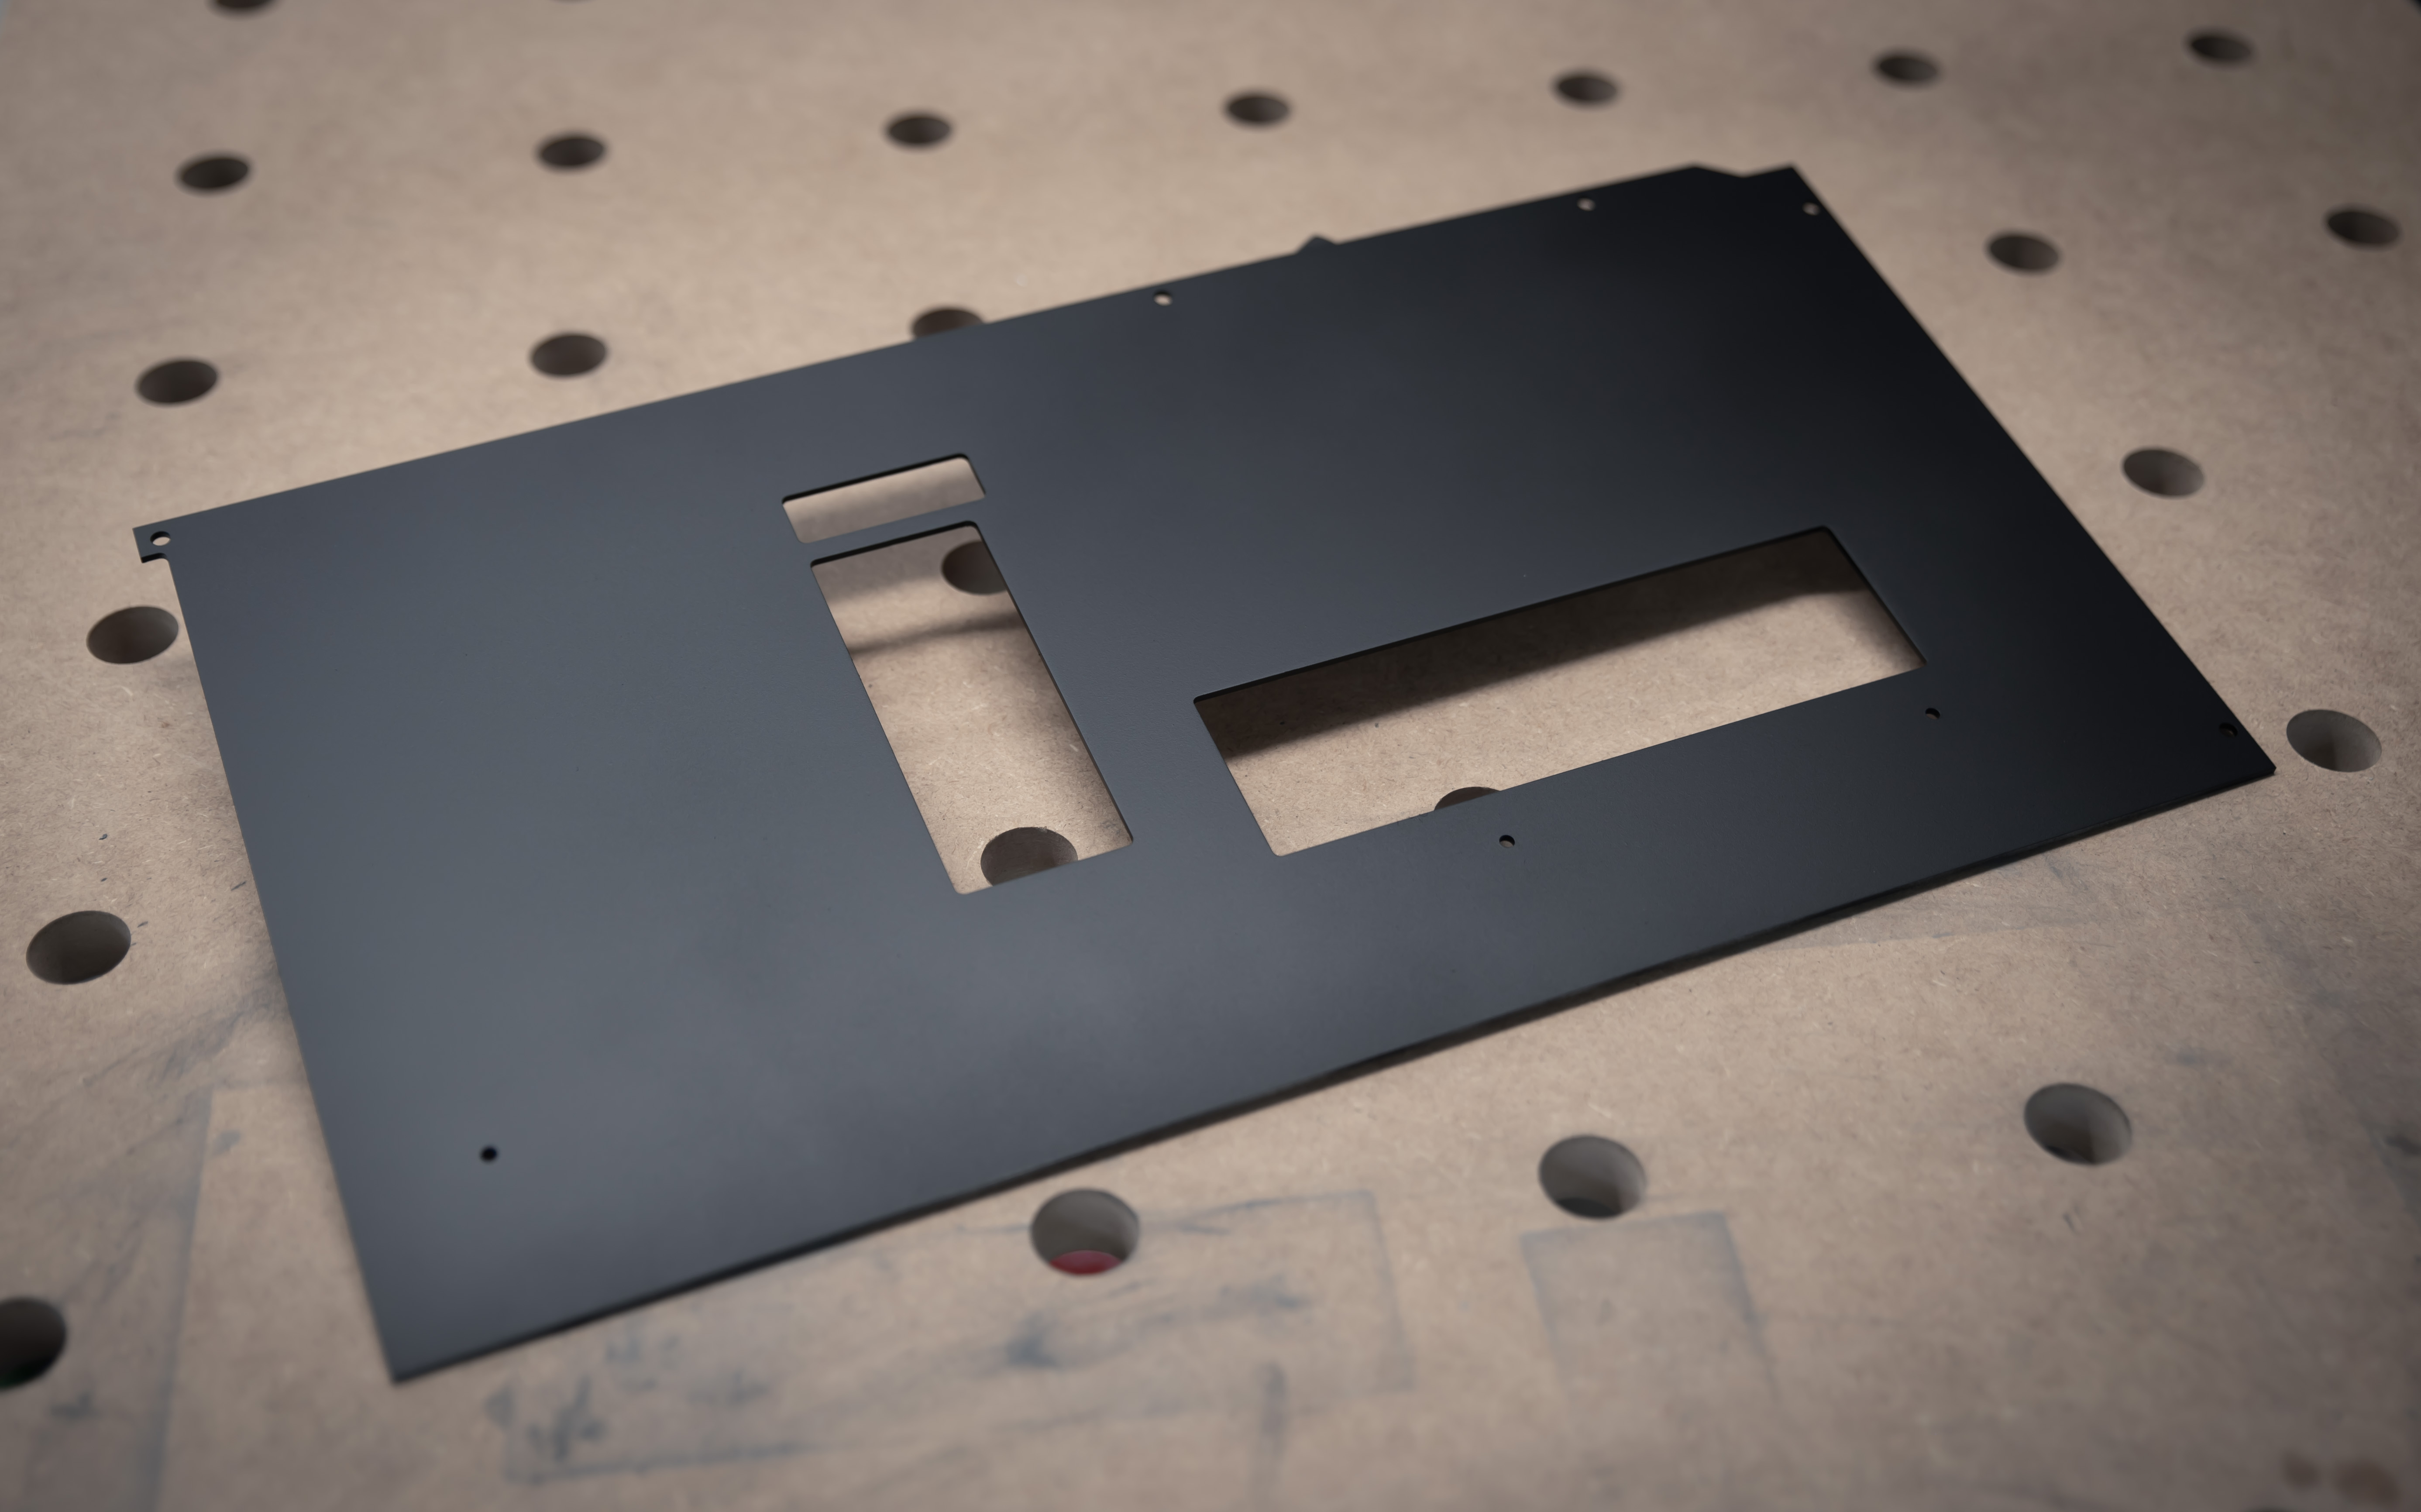
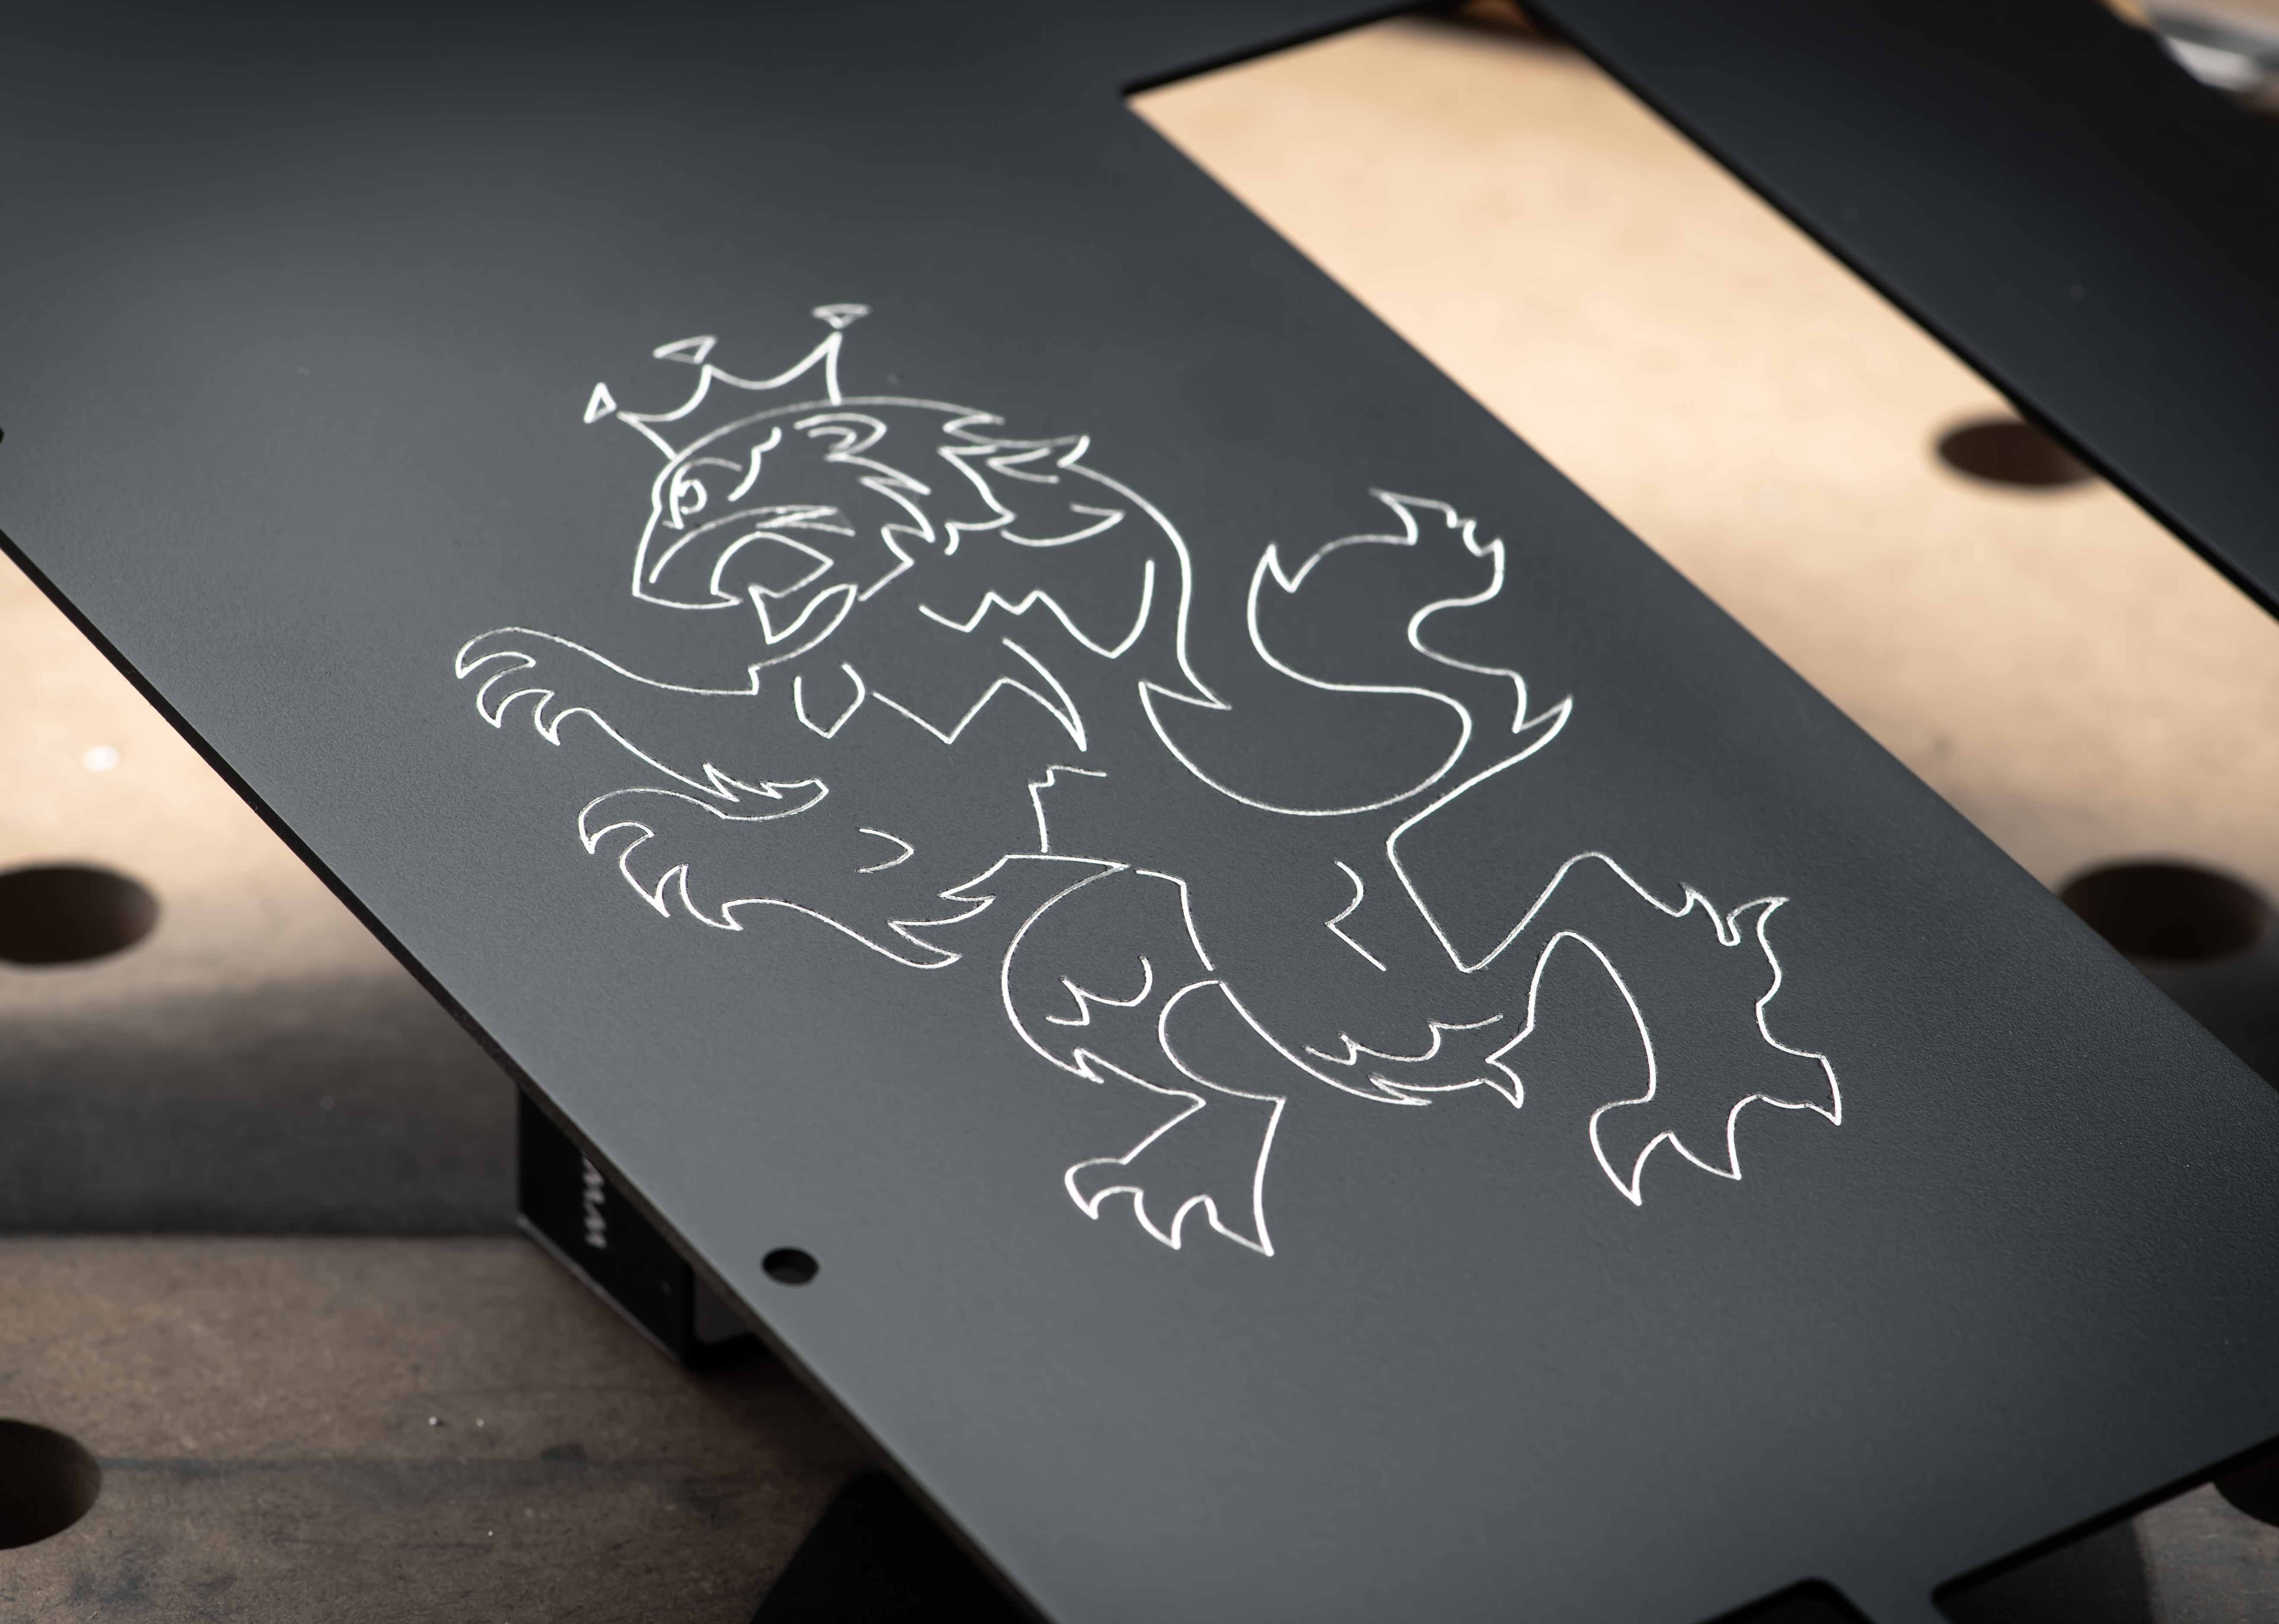
The final step was to engrave the lion onto the piece, which was not as simple as I first expected. Engraving aluminium is pretty simple: A regular engraving bit works nicely, but you won't get a lot of contrast. It's popular to engrave anodised aluminium, as this gives you that extra oomph to the design, allowing the engraving to pop out from the background. I had painted the panel for this reason, but engraving painted surfaces can lead to tiny little paint chips along the edges. To get around this, I engraved in several passes, increasing the cutting depth each time. Whilst this didn't stop the chips, it definitely helped to keep them pretty small. After the initial engraving, I removed it and sanded it smooth, then repainted it with a fresh top coat.
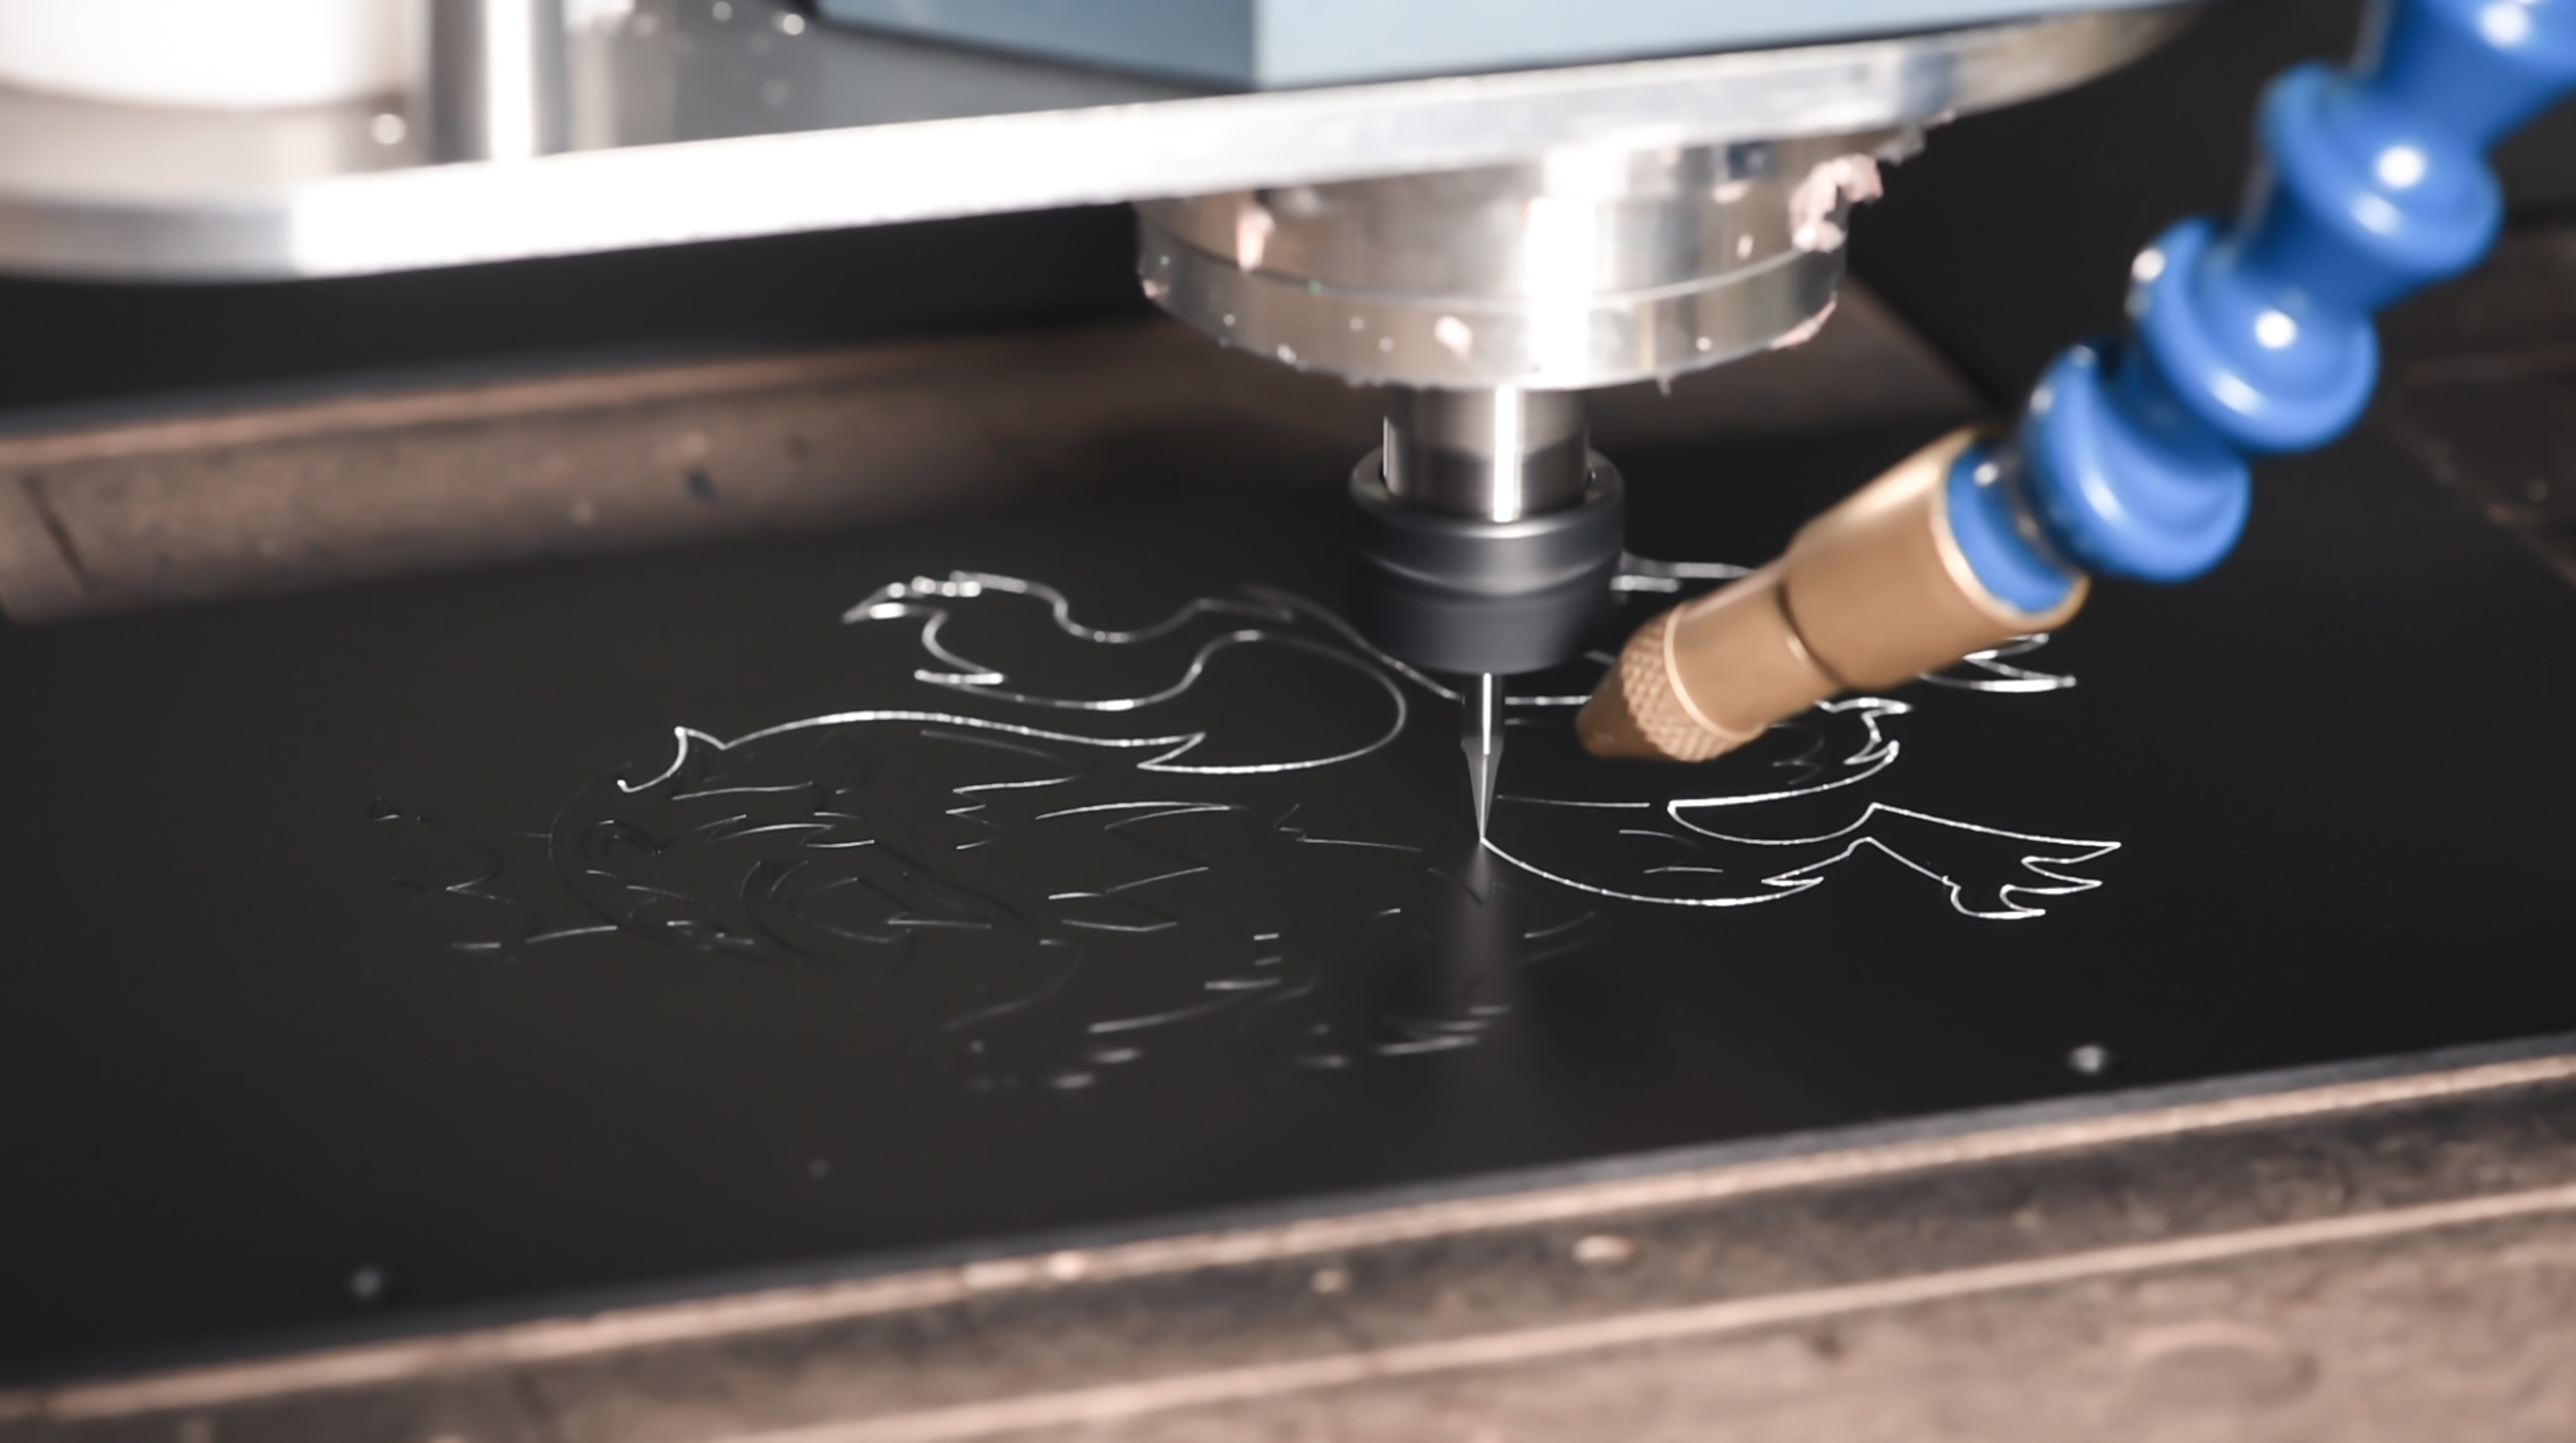
As soon as the paint was dry to the touch, I secured it back on the machine and retraced the engraving, going over the exact same lines as before. This had the effect of only removing the paint, not any more aluminium, resulting in smooth lines with no chipping. To call that step nerve-racking is an understatement, but it was definitely effective.
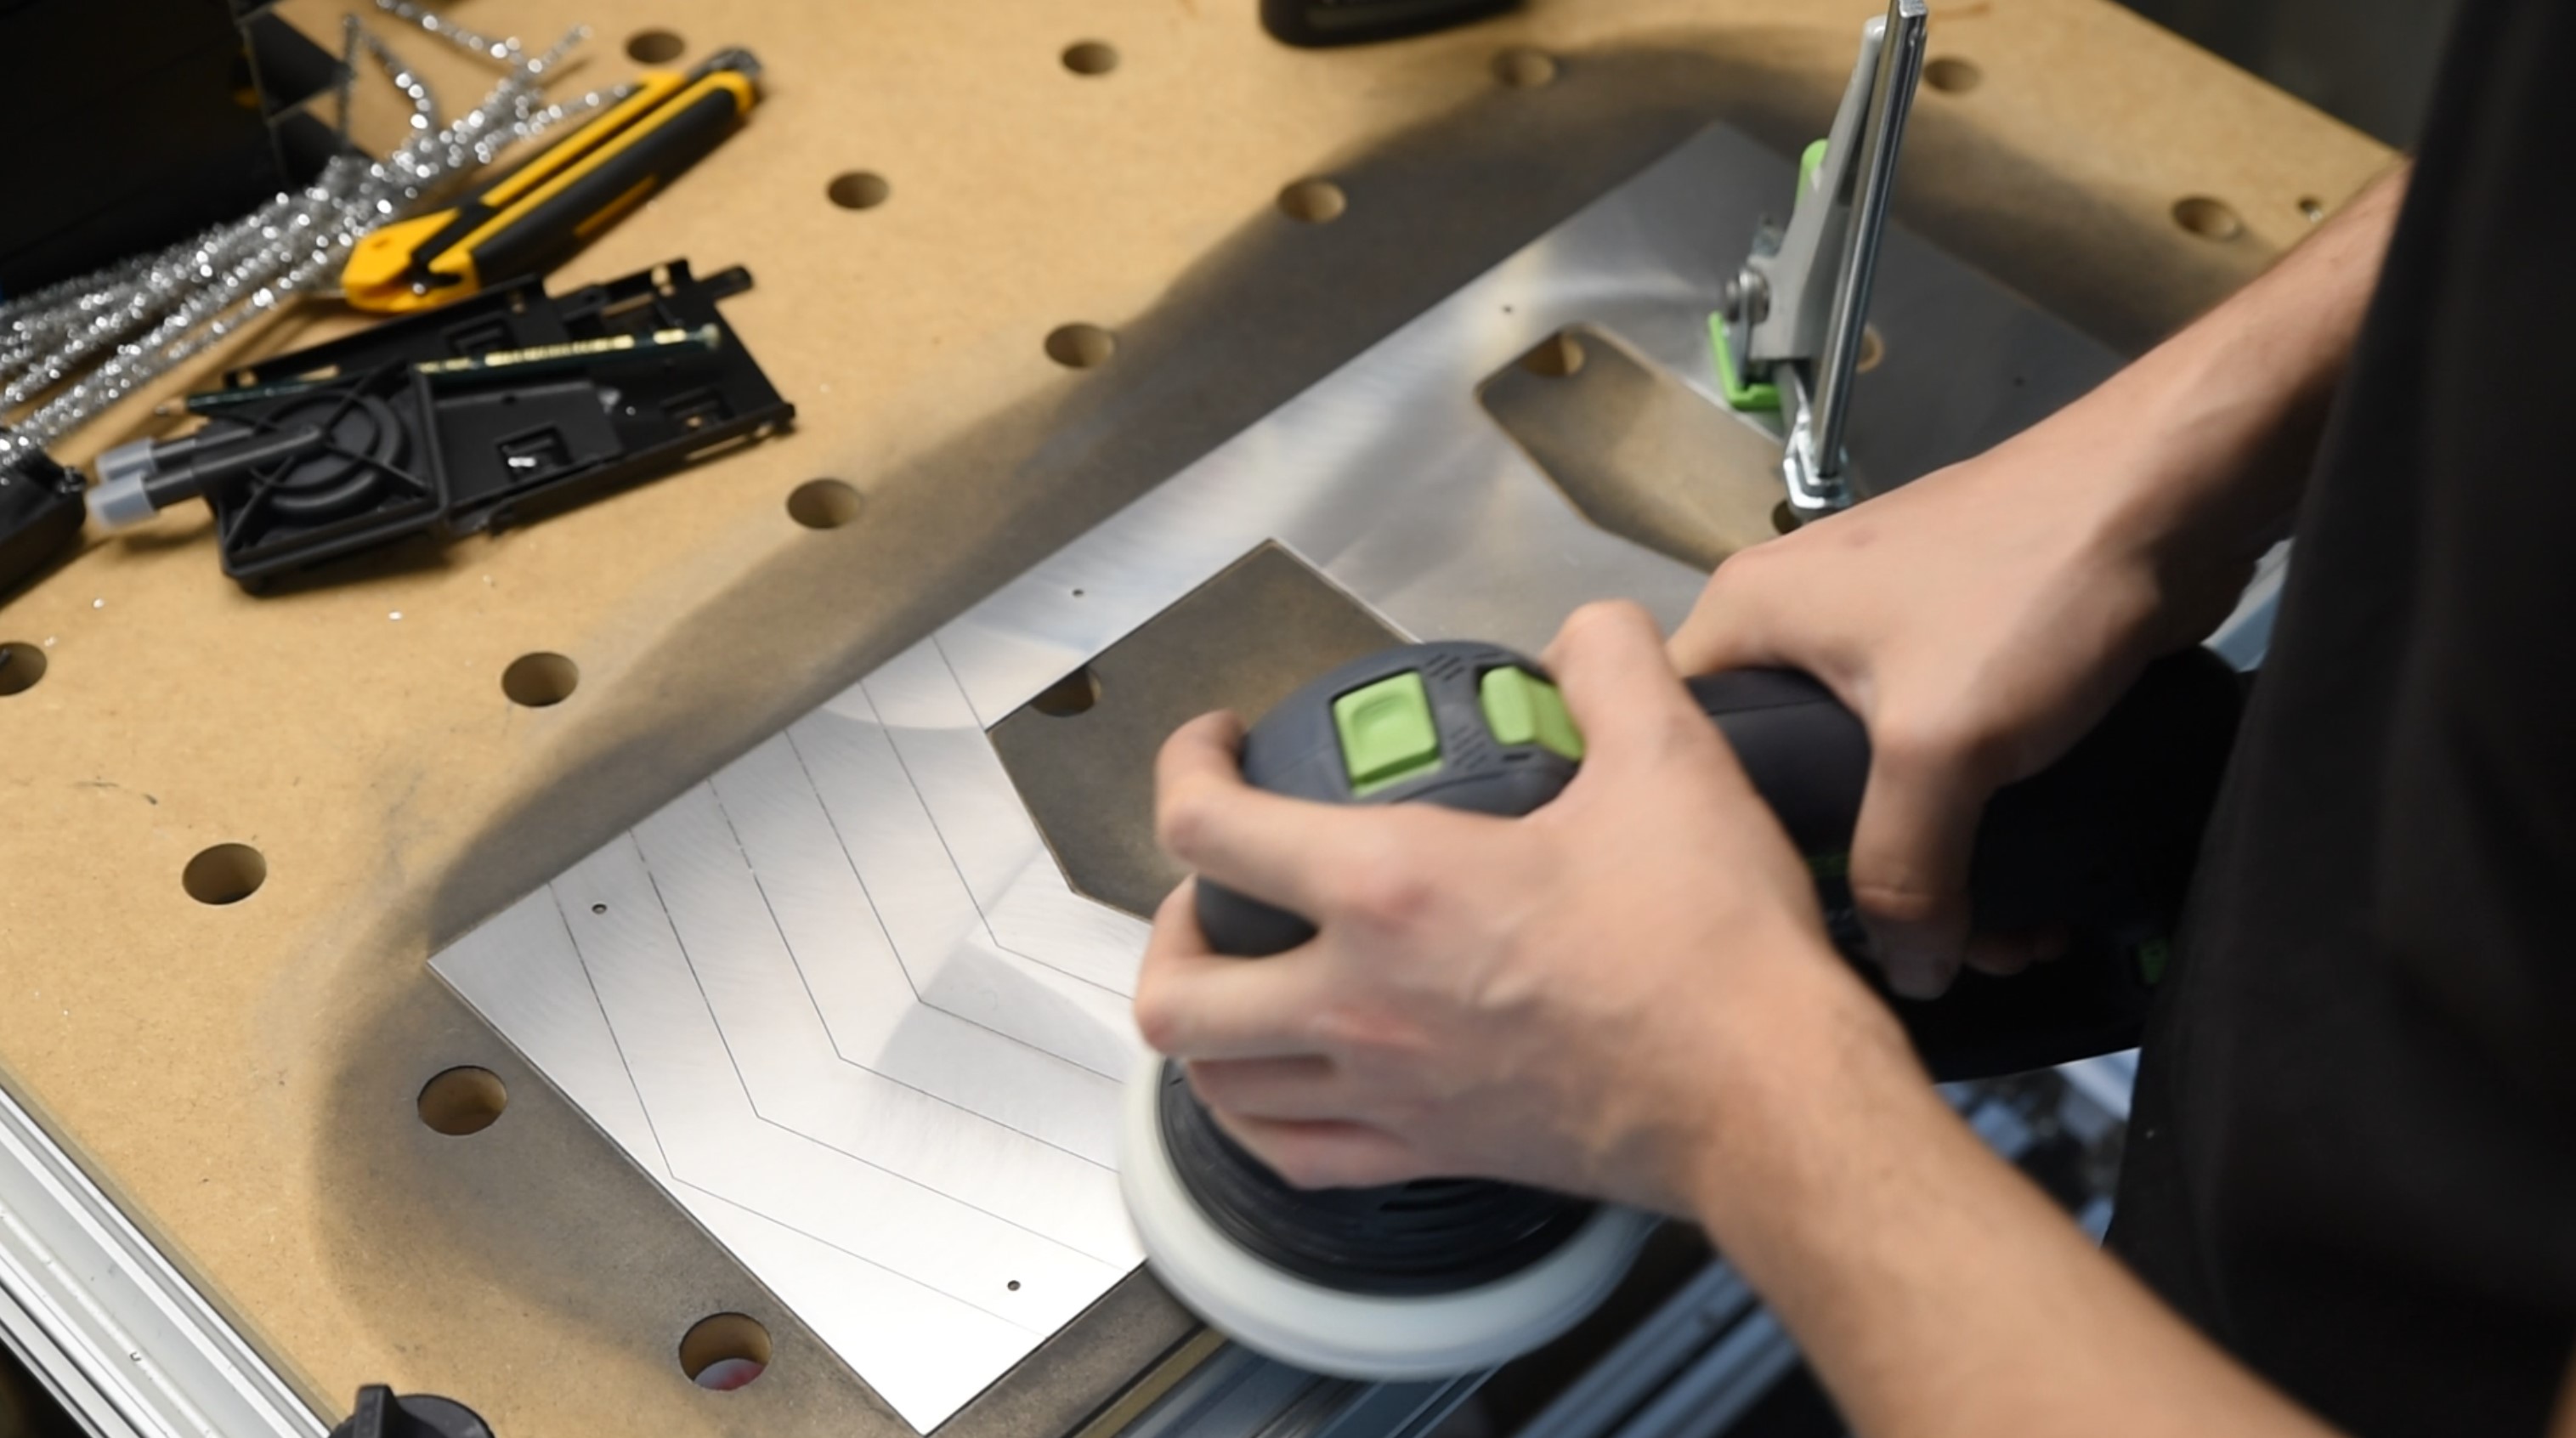
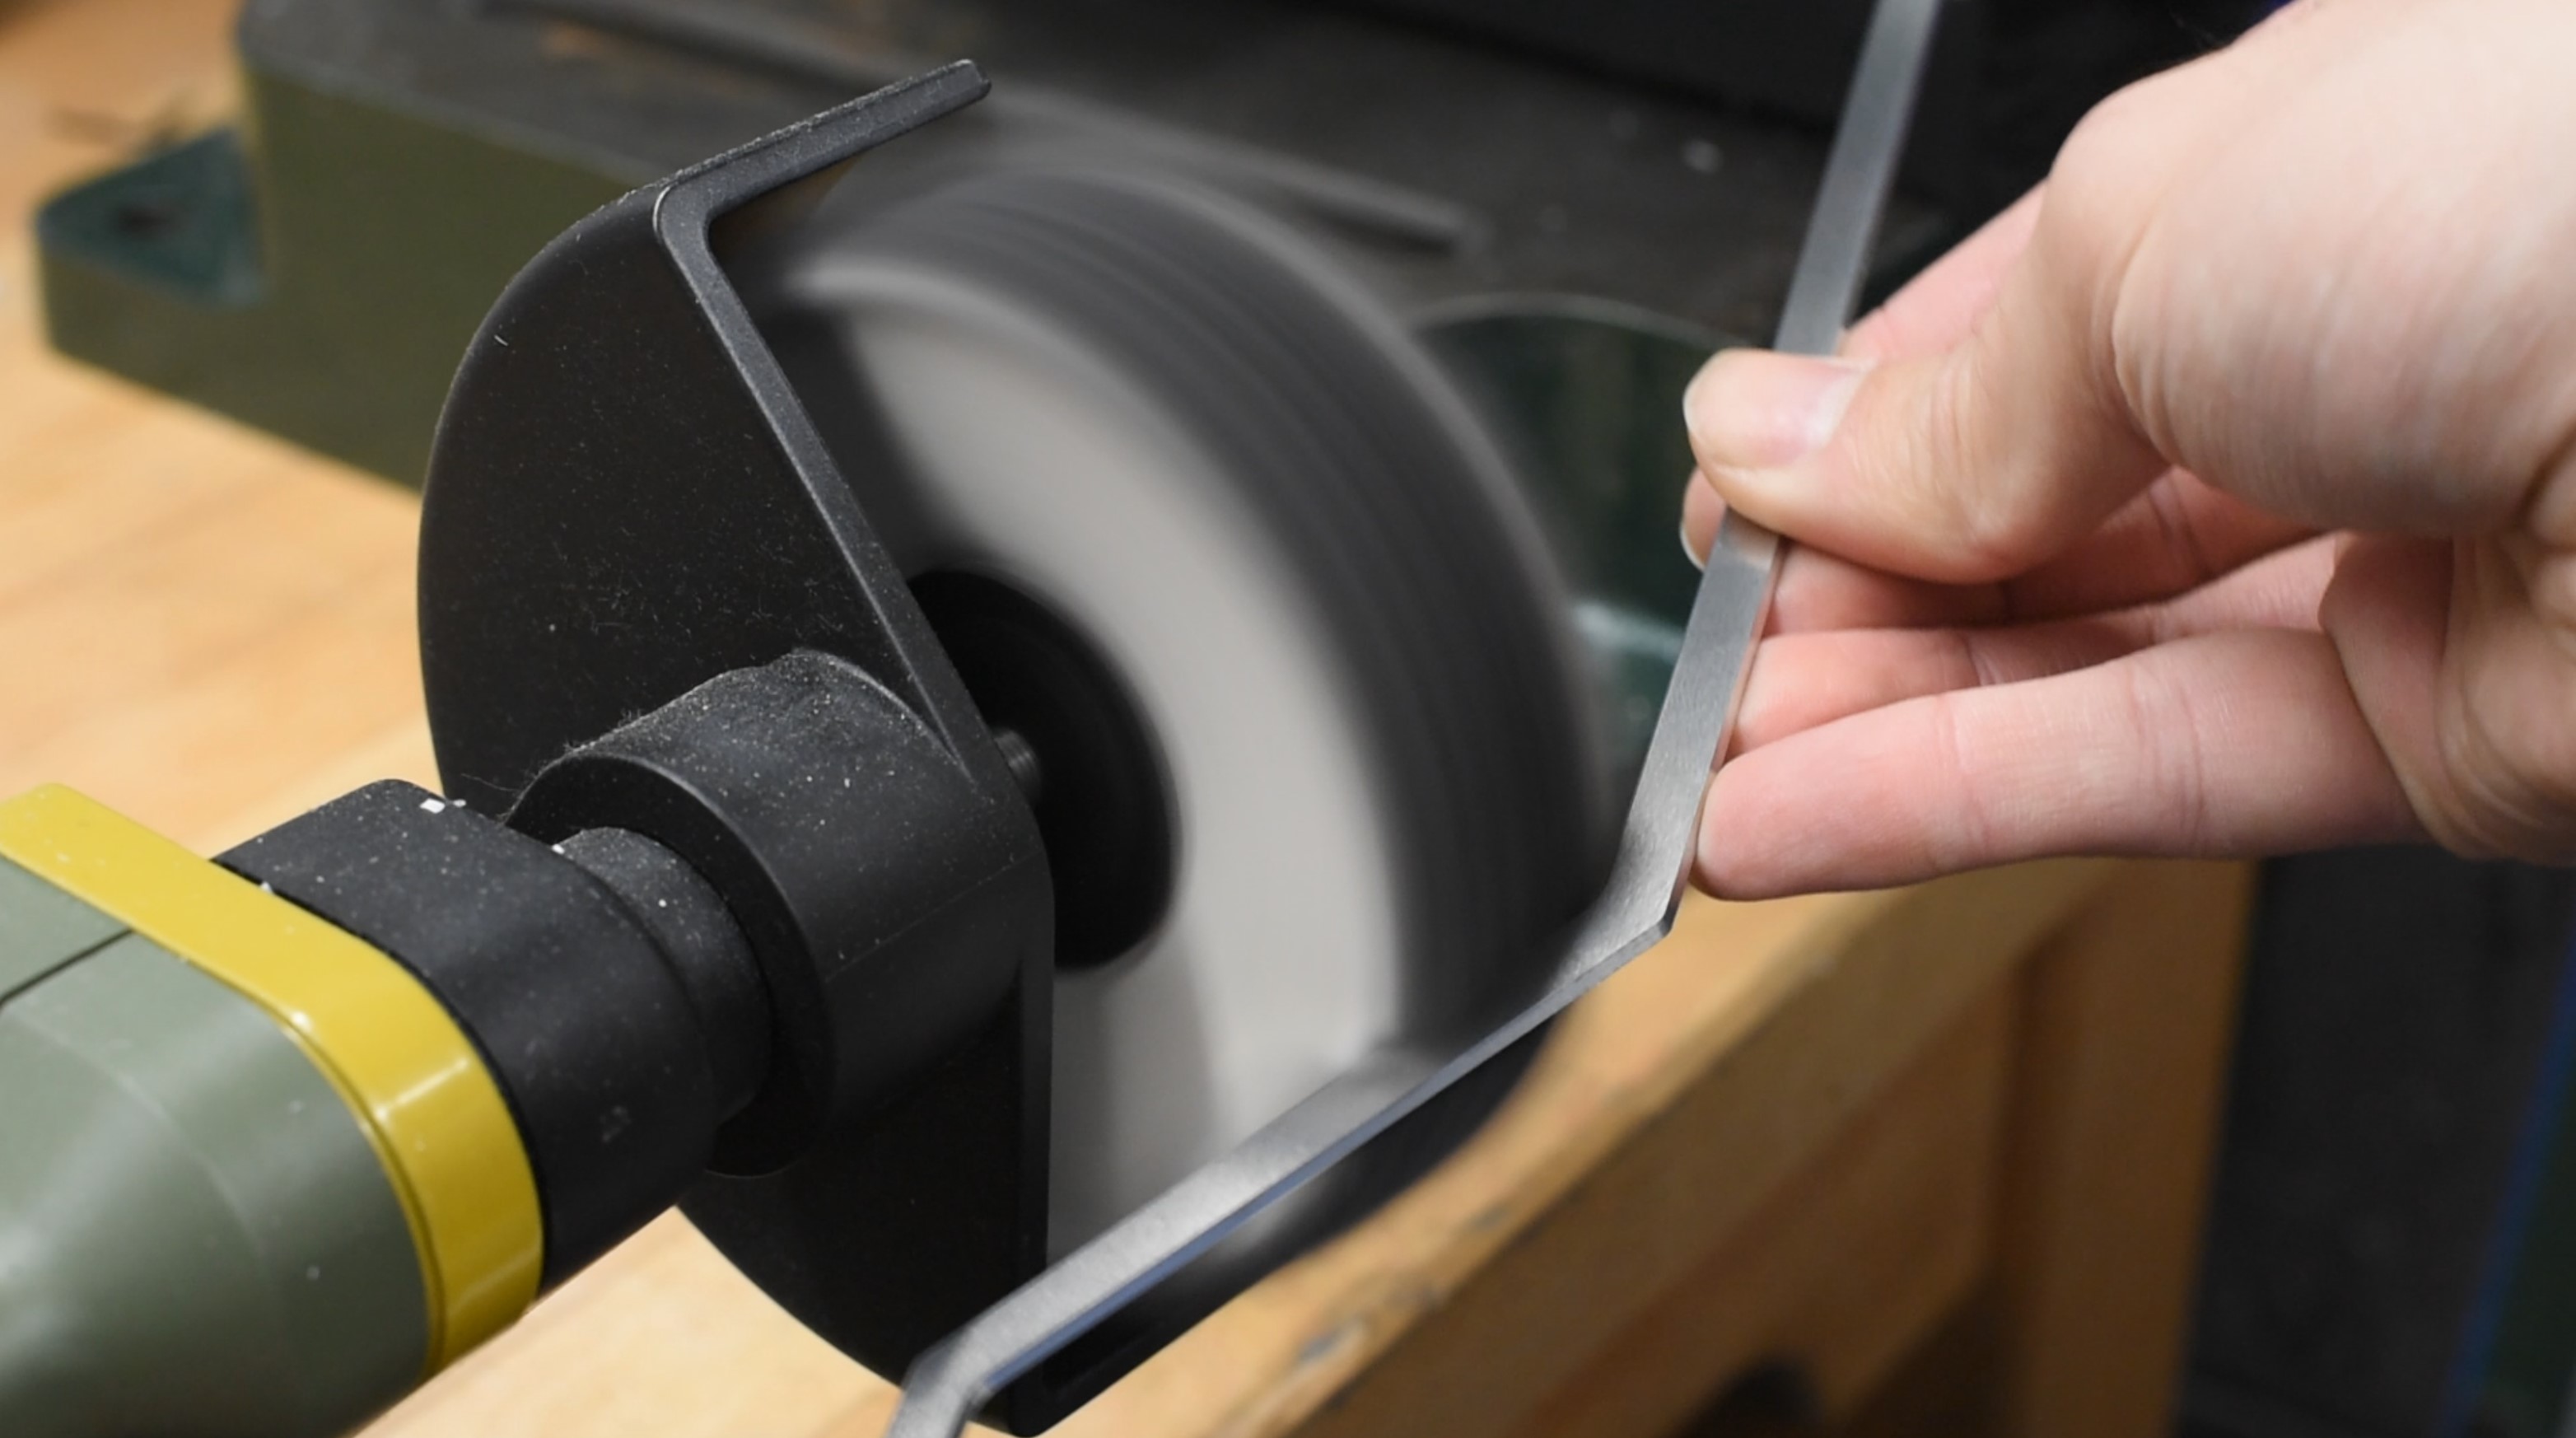
Finishing the aluminium work, I cut out a pump bracket for the basement so that the pump housing I was using could attach to a fan mount, along with the front panel for the reservoir. This was cut from 1.2mm aluminium, engraved and then polished to a fine sheen using the rotary sander/polisher. The front was designed to emulate armour plating so features a cutout for the reservoir along with engraved strips.


MSI MPG Velox 100R Chassis Review
October 14 2021 | 15:04

Want to comment? Please log in.