LDLC Modding Trophy 2018 - Let's Build it!
January 23, 2019 | 19:00
Companies: #be-quiet #ekwb #epic-games #ldlc #thermaltake
Making the Reservoirs
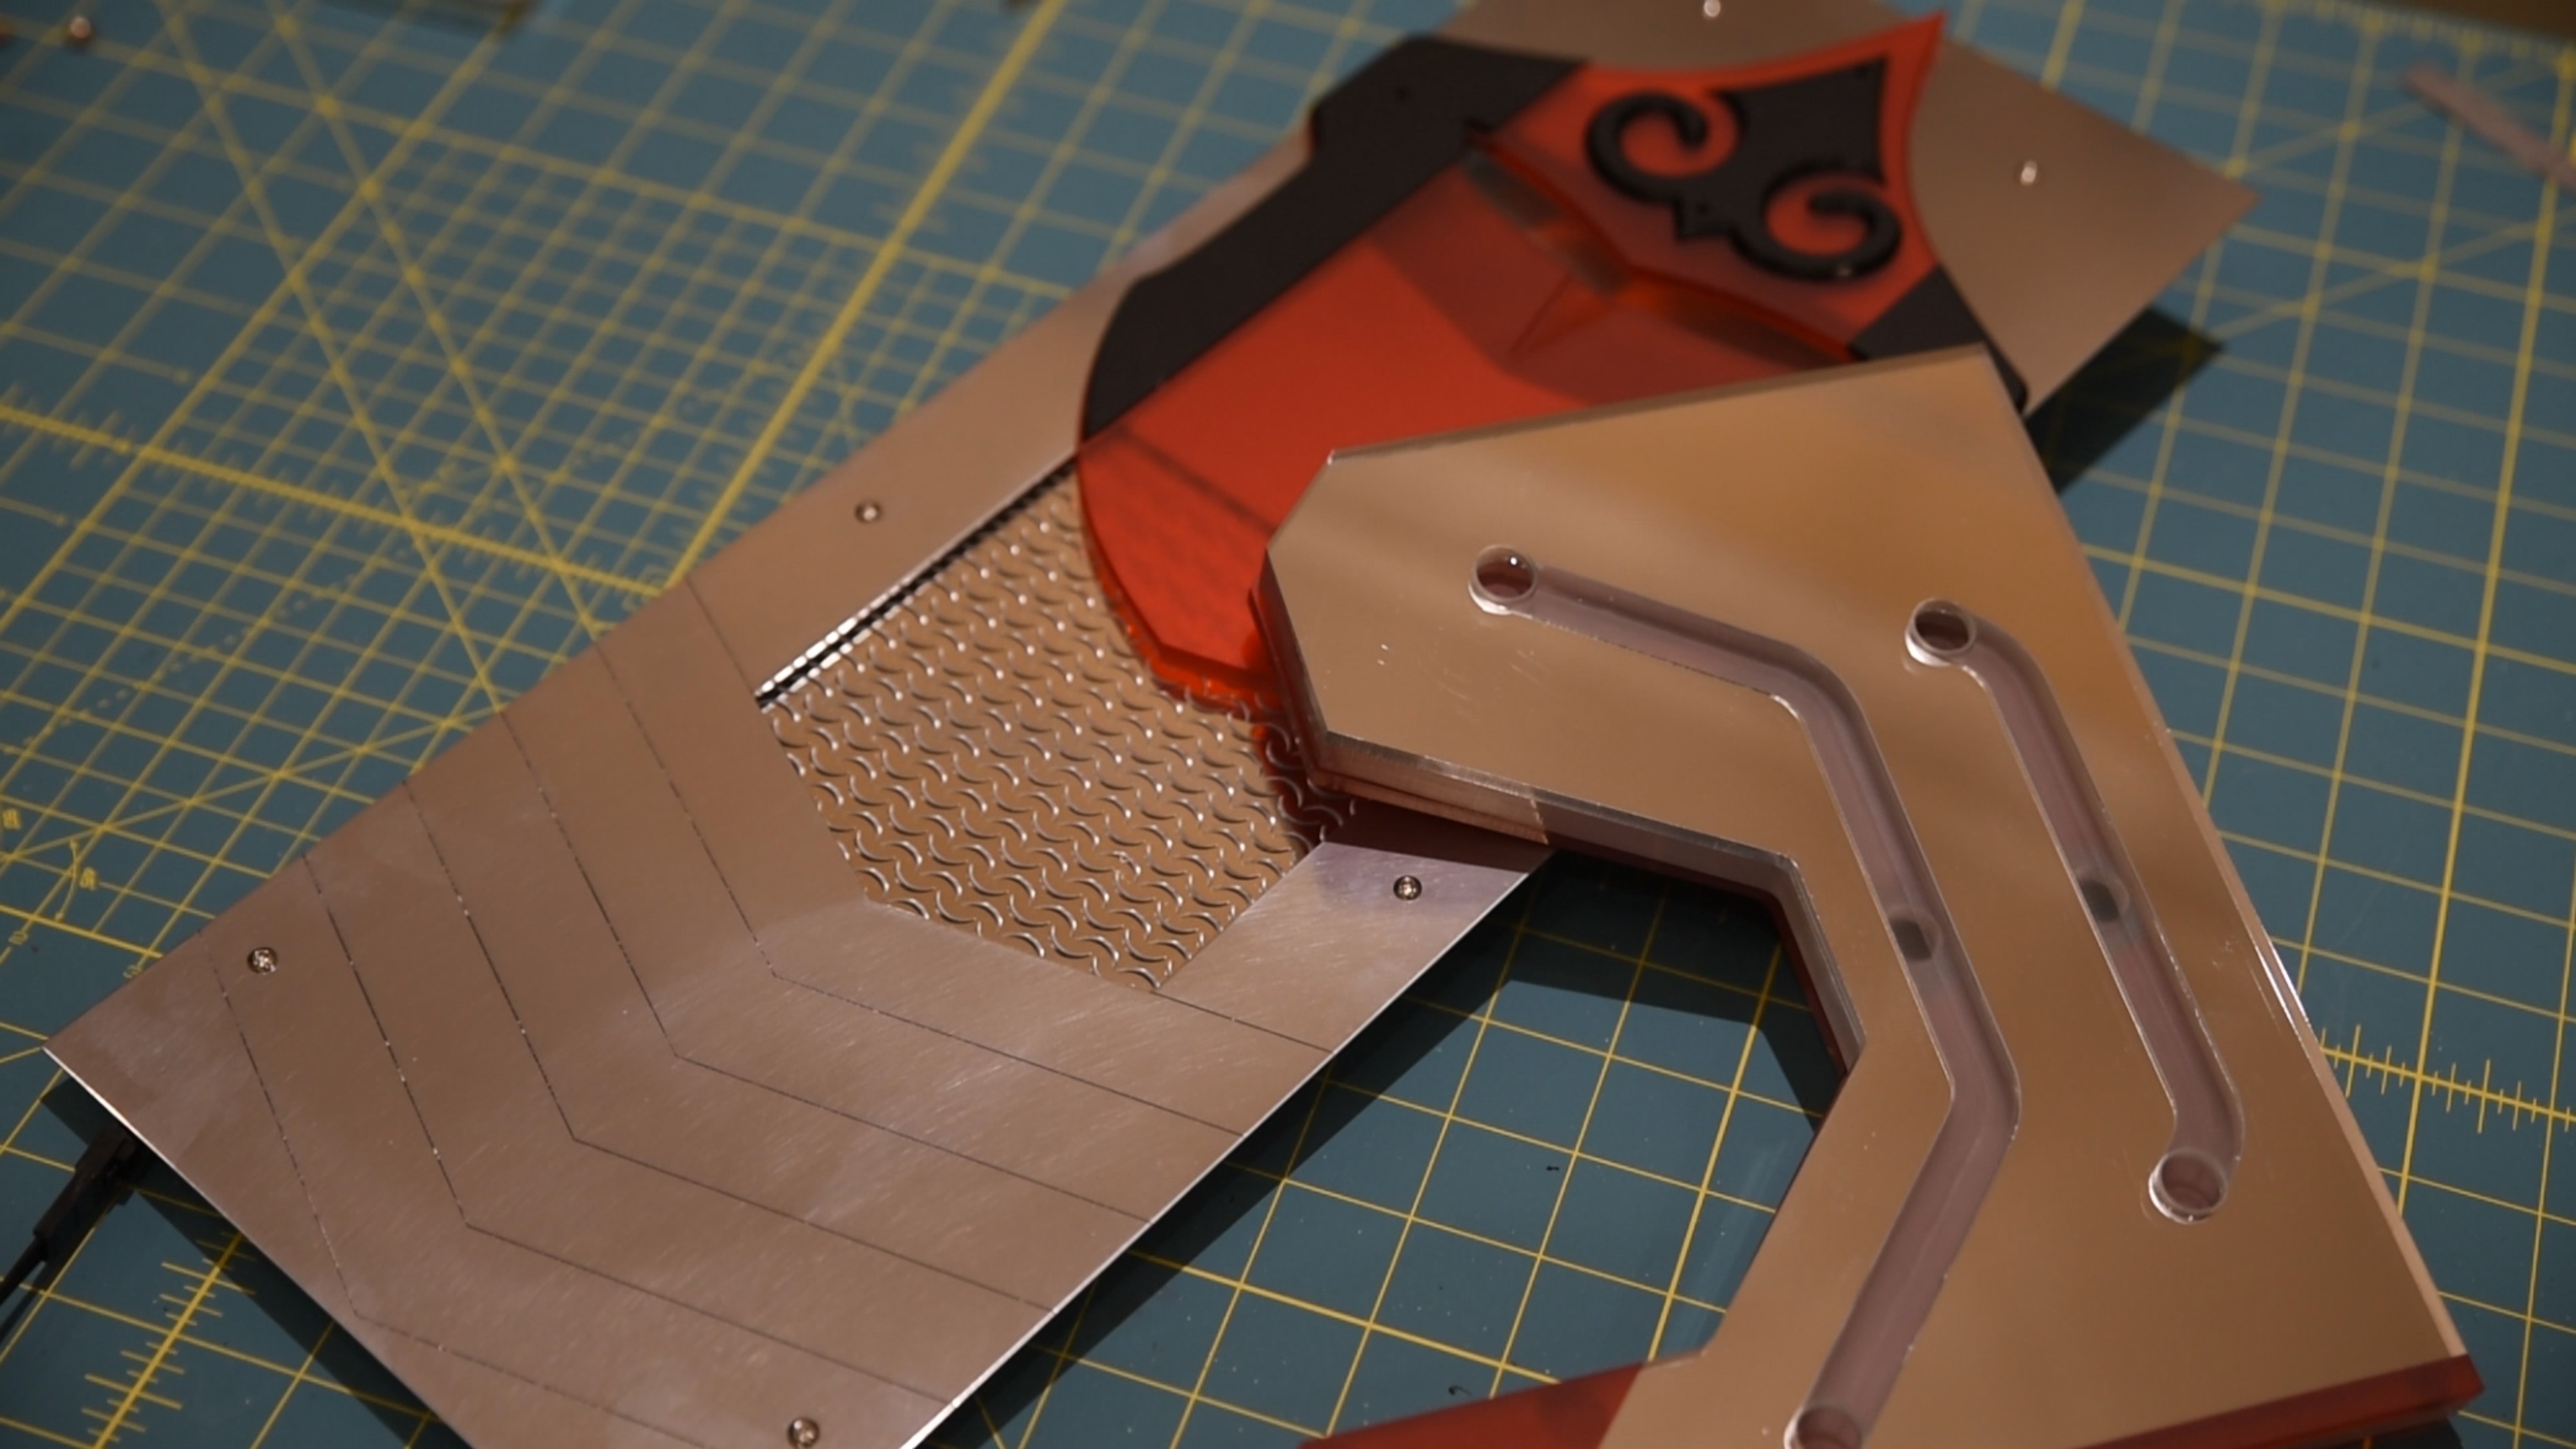
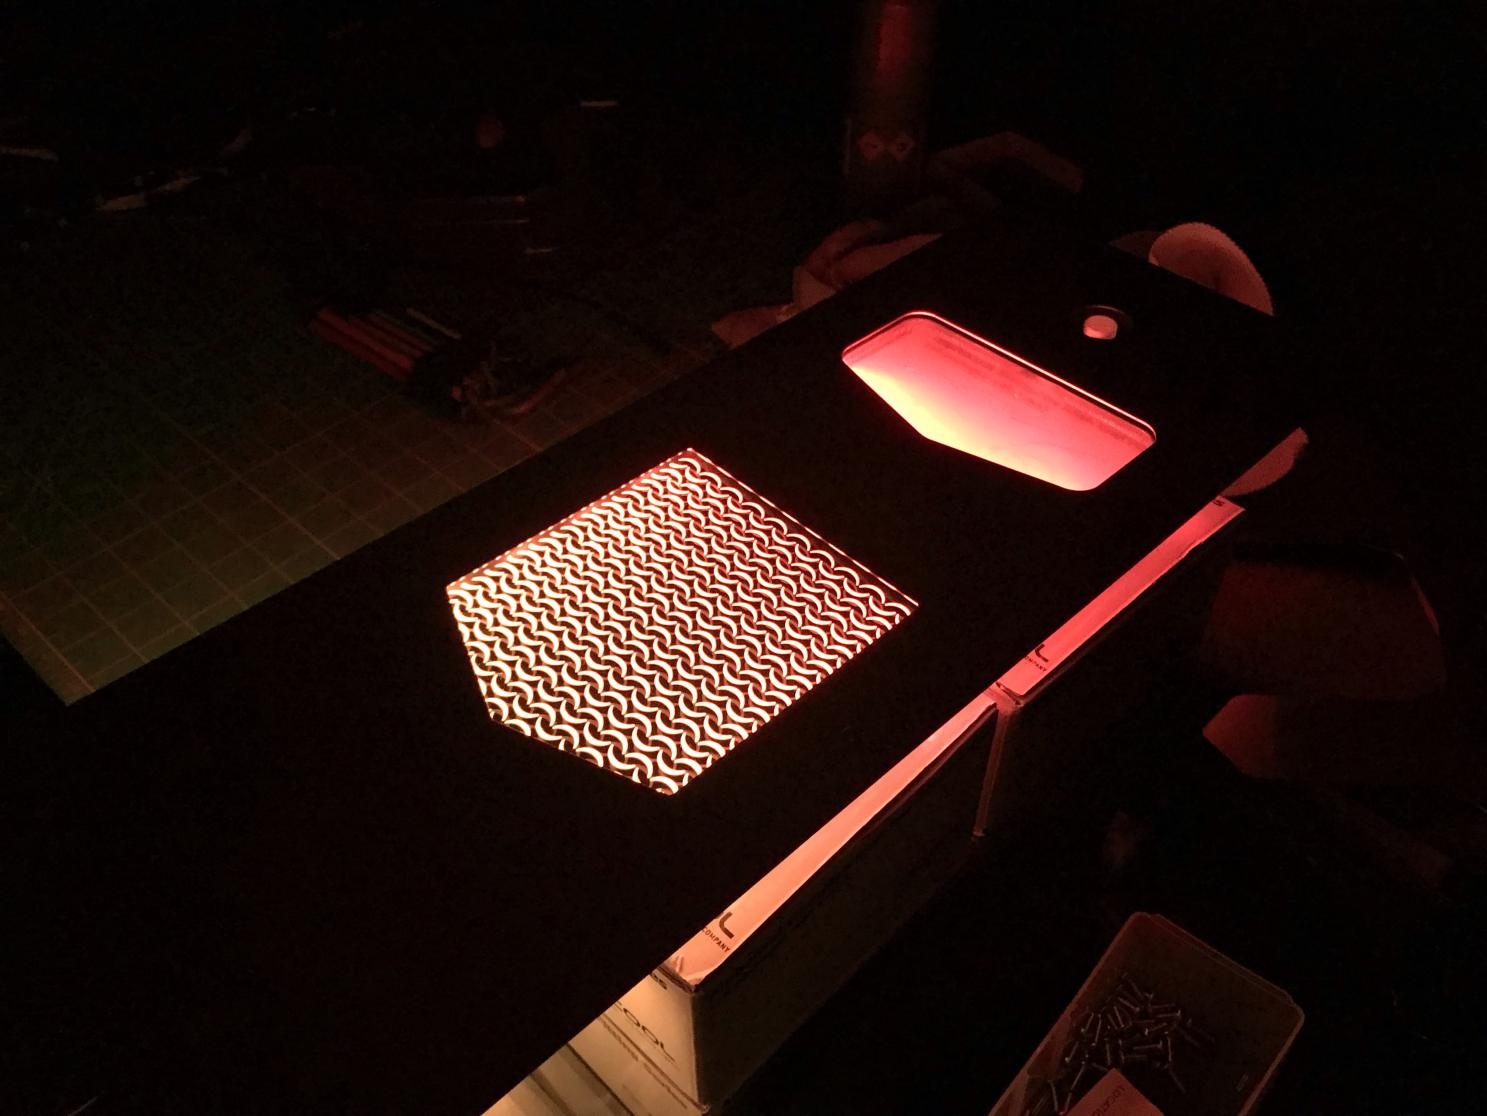
During the 1000D project, I used an interesting technique to construct a hidden plate over the power supply shroud. Most of the distro plates I make use rubber o-rings to seal the water inside. I like this method, as it's robust, simple, and can be serviced later on. However, sometimes gluing the plates together can yield interesting results. When using mirrored acrylic, if you machine the mirrored surface away then use an adhesive to bond the plates, it gives the effect of the coolant floating in a mirror with no mounting points. Personally I think this effect is rather cool, and it also seemed a good match for the distro plate and reservoir in this build too.
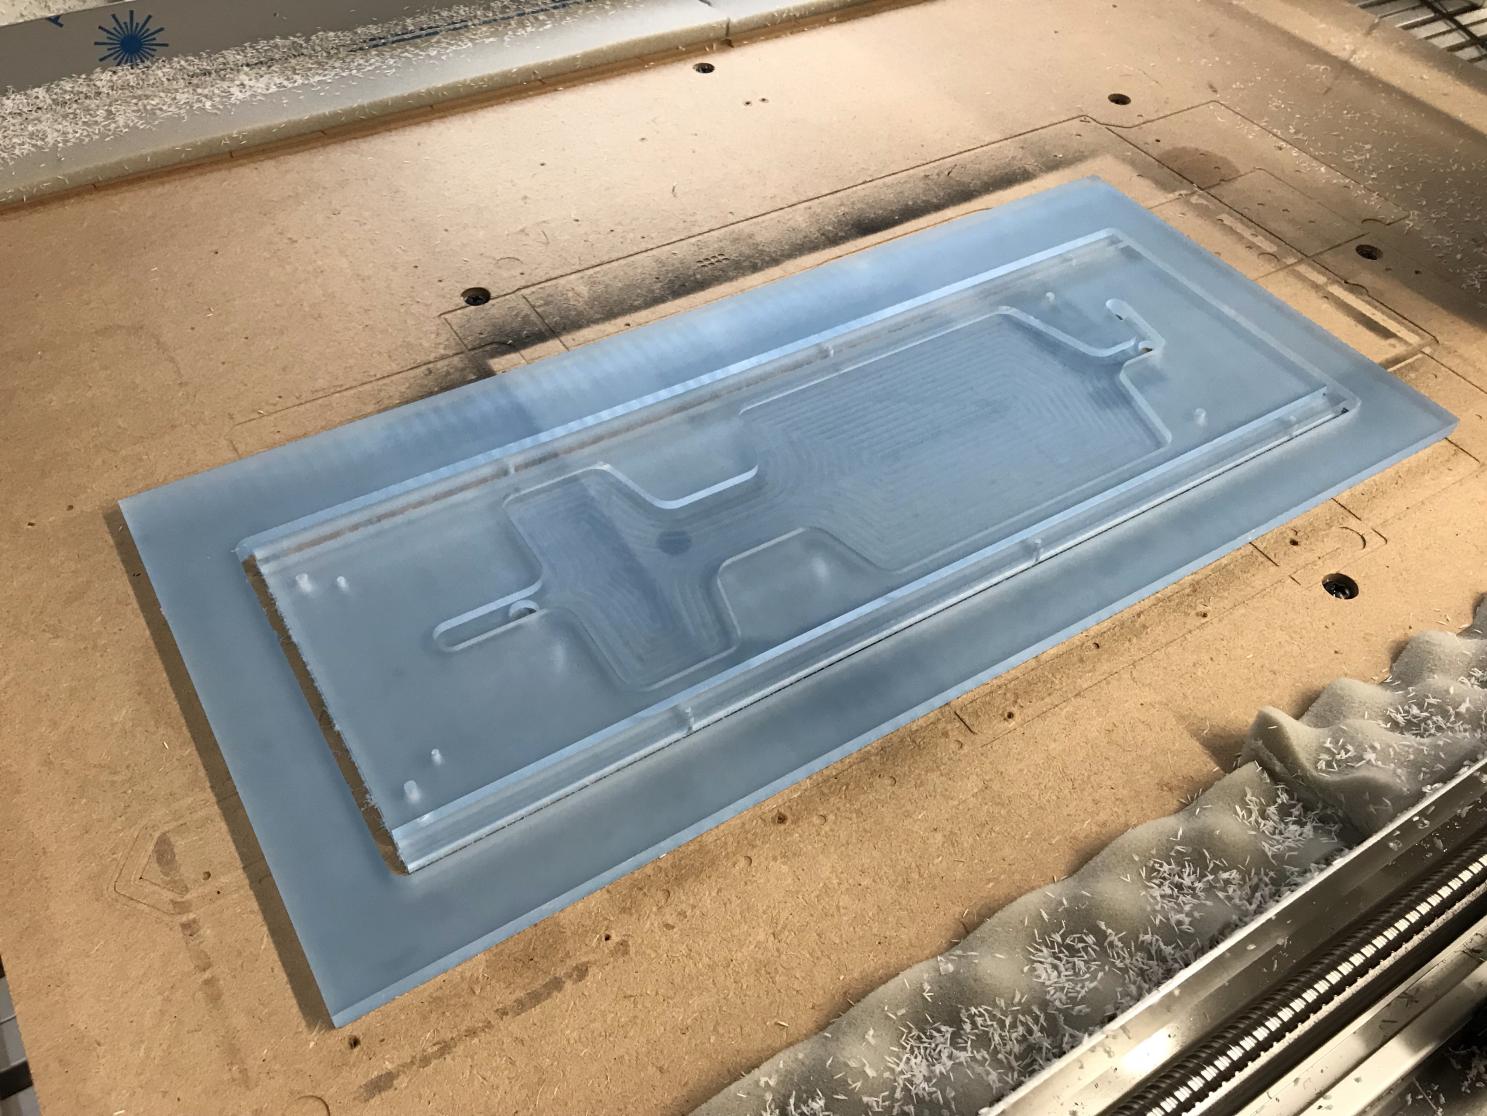
The main distro plate is pretty small. It features three layers of acrylic: the 10mm fluid layer that does most of the work, the 5mm mirror layer and an additional red acrylic layer that covers up the glue marks. The backing of acrylic mirror isn't smooth and flat, and it's also not acrylic, so solvent-based systems like acrylic cement won't work. I used 'Seriously Strong Glue', which basically forms a flexible sealant when it dries in a thick layer. The issue here is it's a bit ugly; you wouldn't want to use it in a clear plate, for instance, as it leaves a visible line around the channels.
The front panel reservoir was constructed in the same manner, but I must have done a poor job of bonding it. During pressure testing, the plate sprung a nasty leak, and I can't imagine how much worse that would have been had I immediately tested with fluid inside the main system. Thanks to the plate being bonded together, I couldn't simply take it apart and give it another go, so it meant making a new one from scratch. This is where that contingency planning really helped, as I had anticipated something going wrong and had ordered duplicate pieces of mirrored acrylic. Disaster struck yet again on the machine, however! I had turned away for a minute to tap the threads on the new plate, when I heard a horrible sound. The acrylic v-bit had somehow melted the mirror layer during engraving, causing it to stick to the bit and rub along all the new cuts, ruining them.

That was a real low point, since it meant I could no longer have the mirror effect running through the plate. I was out of acrylic at that point and had to have the part cut that afternoon so that the rig could be assembled the next day, so I decided instead to cut down into the plate, removing all the existing engraving. I then engraved the pattern into the clear portion of the acrylic instead. It still looked nice, but the effect definitely wasn't as pronounced as before, which was a shame. That said, more coolant colour would be visible from this one, so perhaps it was for the best?
The Devil Is in the Details
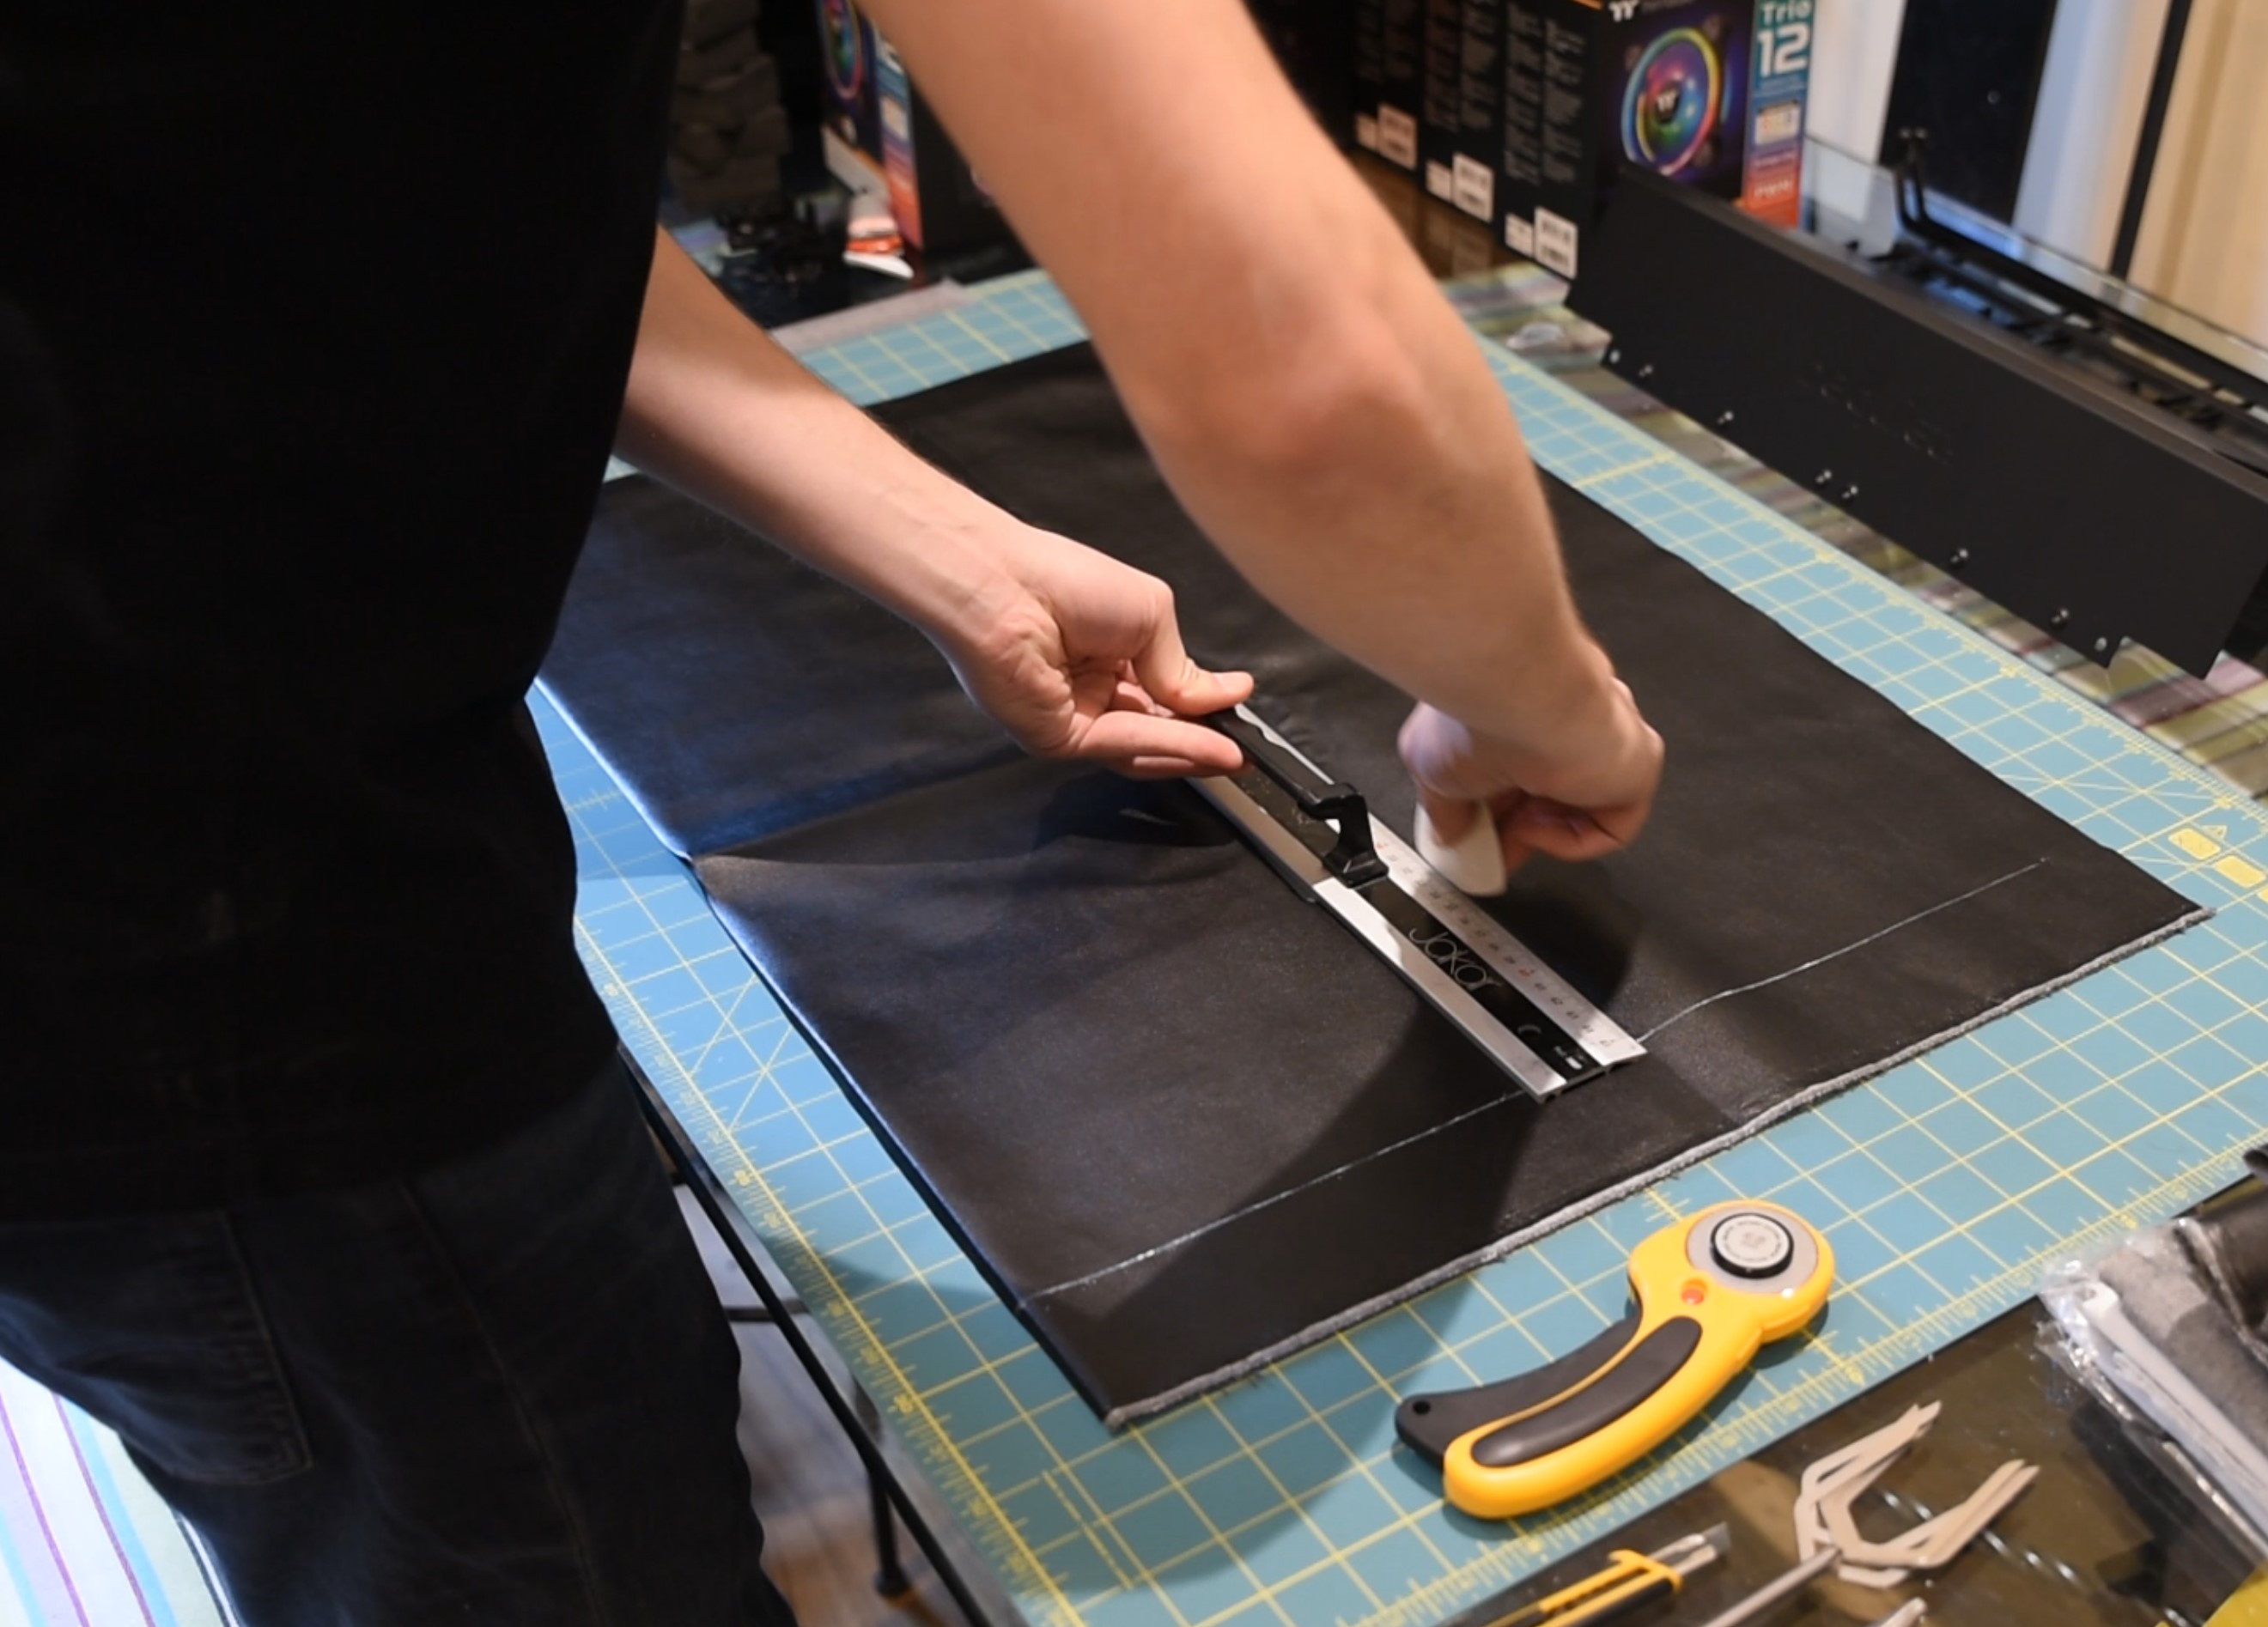
One thing that I had been keen to try out was using some leather vinyl in parts of the rig to add subtle texture. The character rocks medieval-style regalia, so it seemed fitting that leather could be used to add to the look. It also meant that there would be less paint work to do - a bonus since paint takes a long time to apply and to cure properly whereas vinyl can be applied very quickly with a spray adhesive.
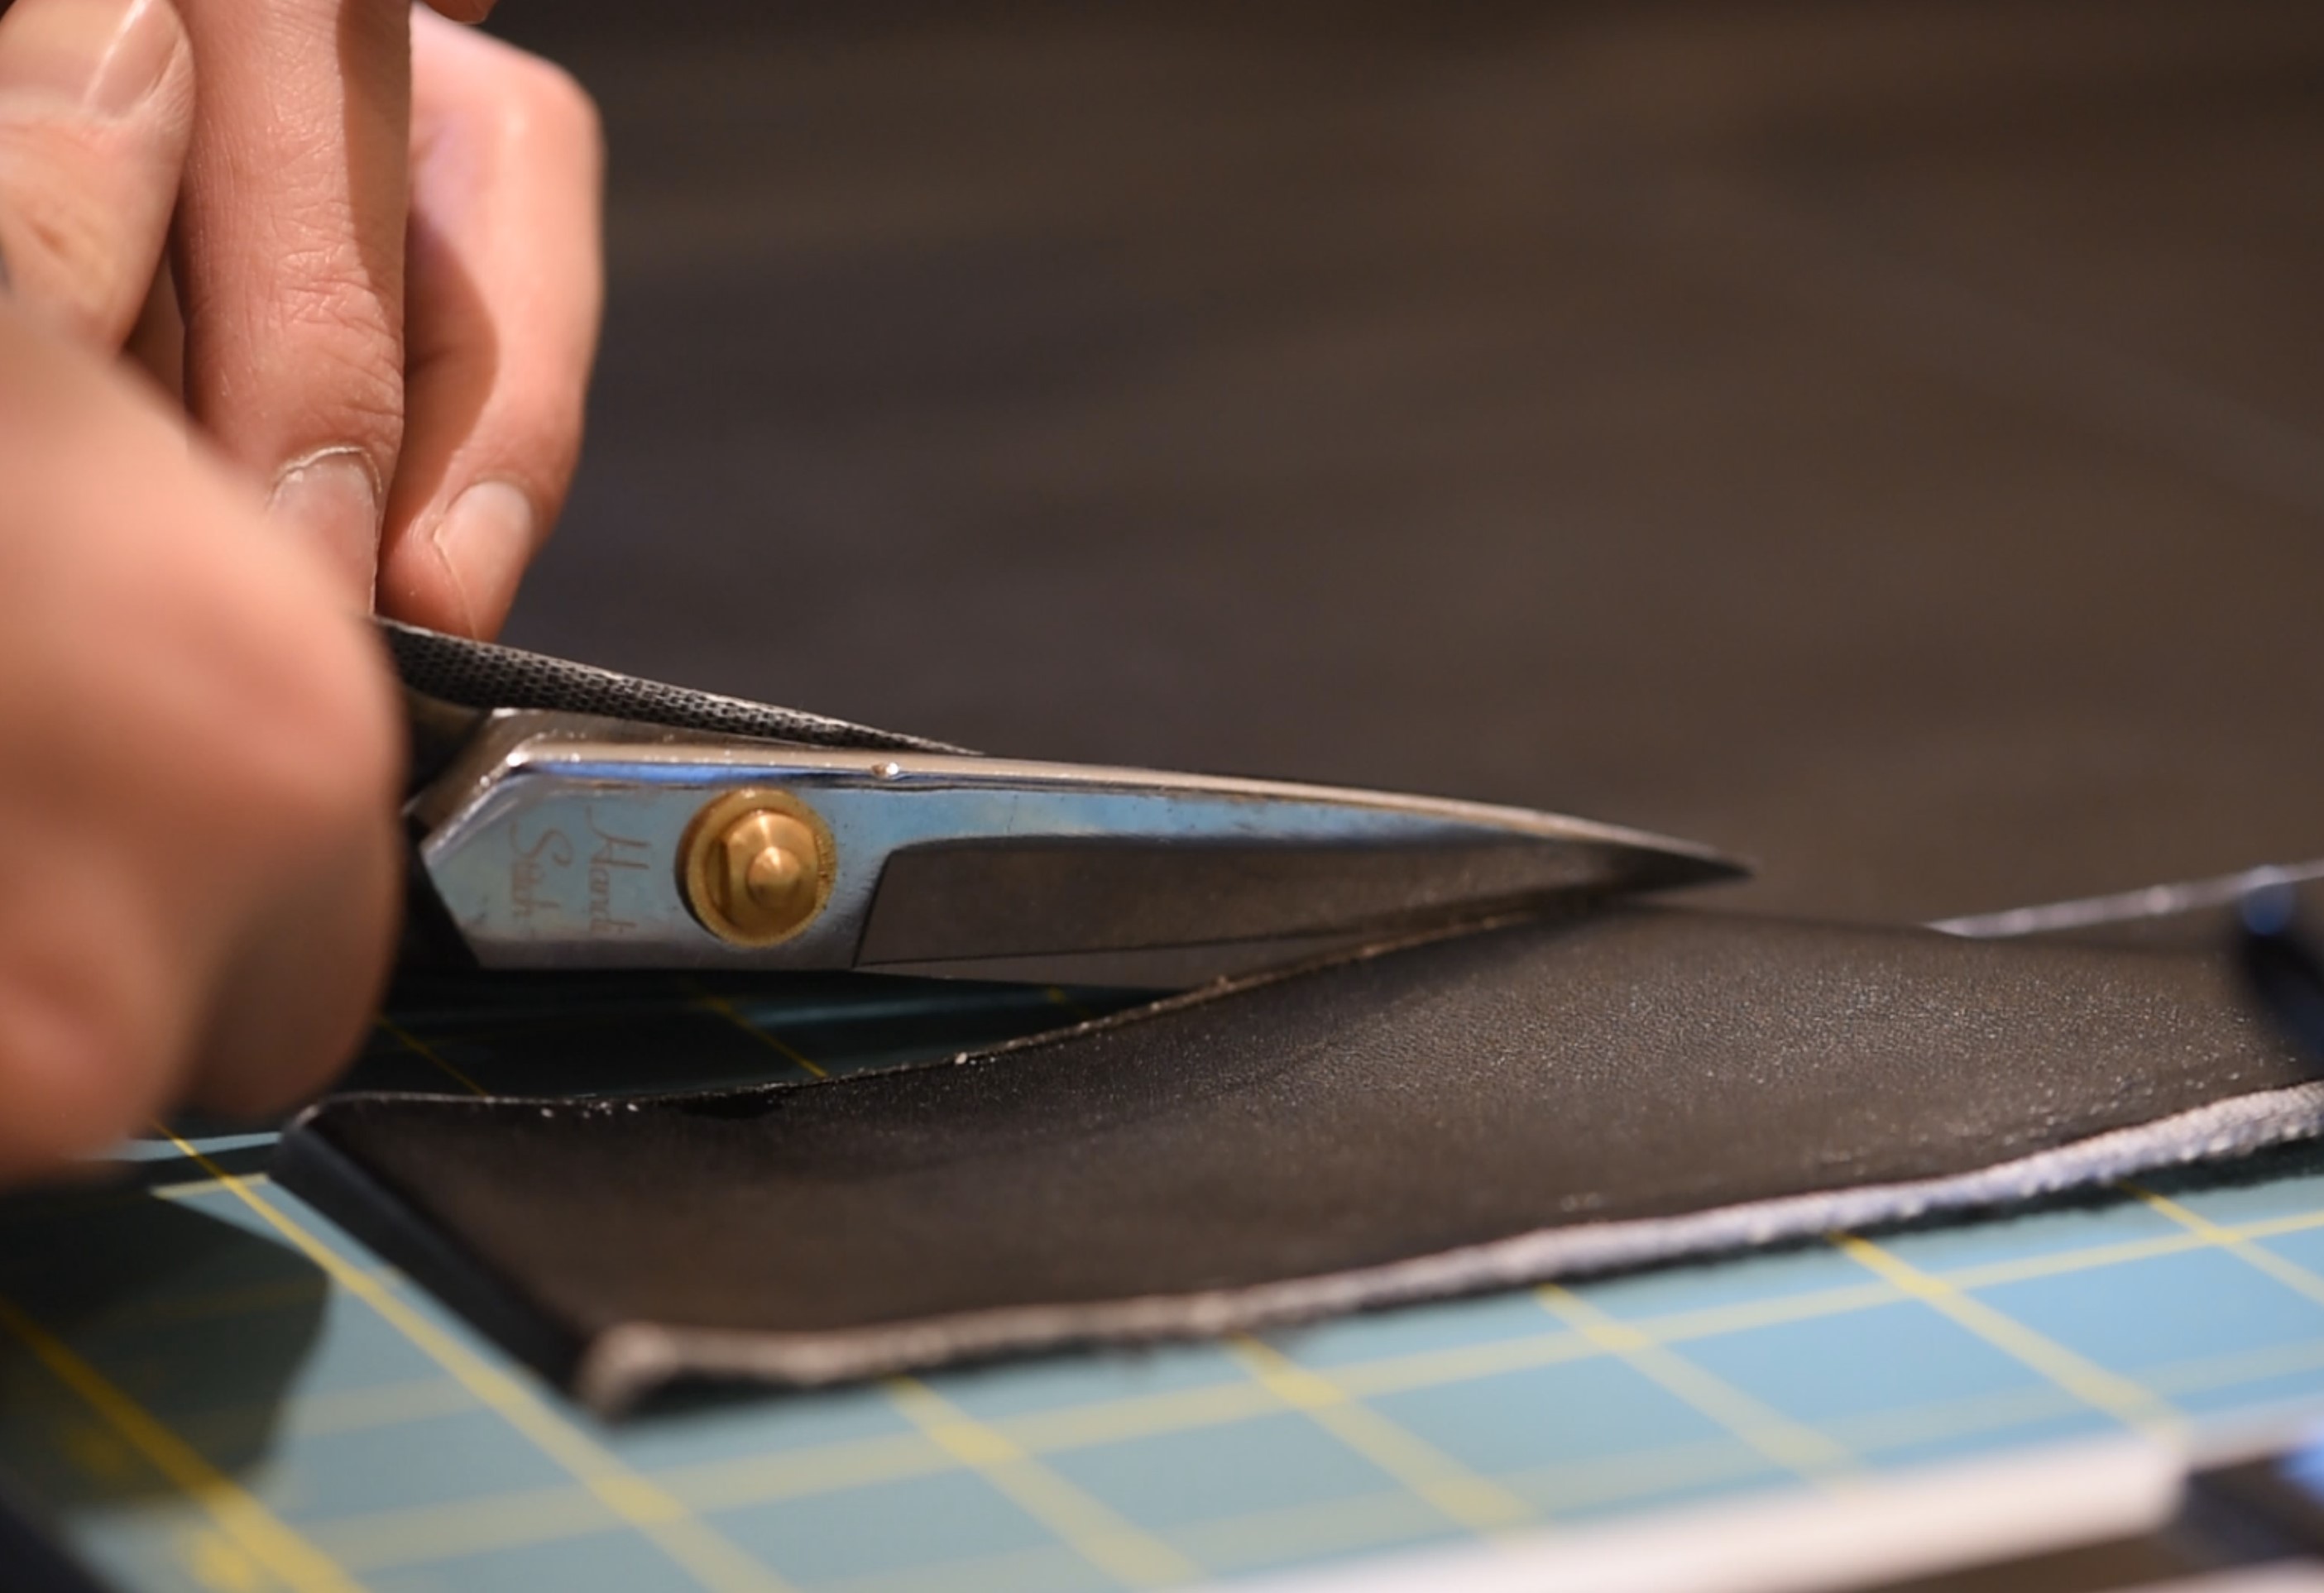
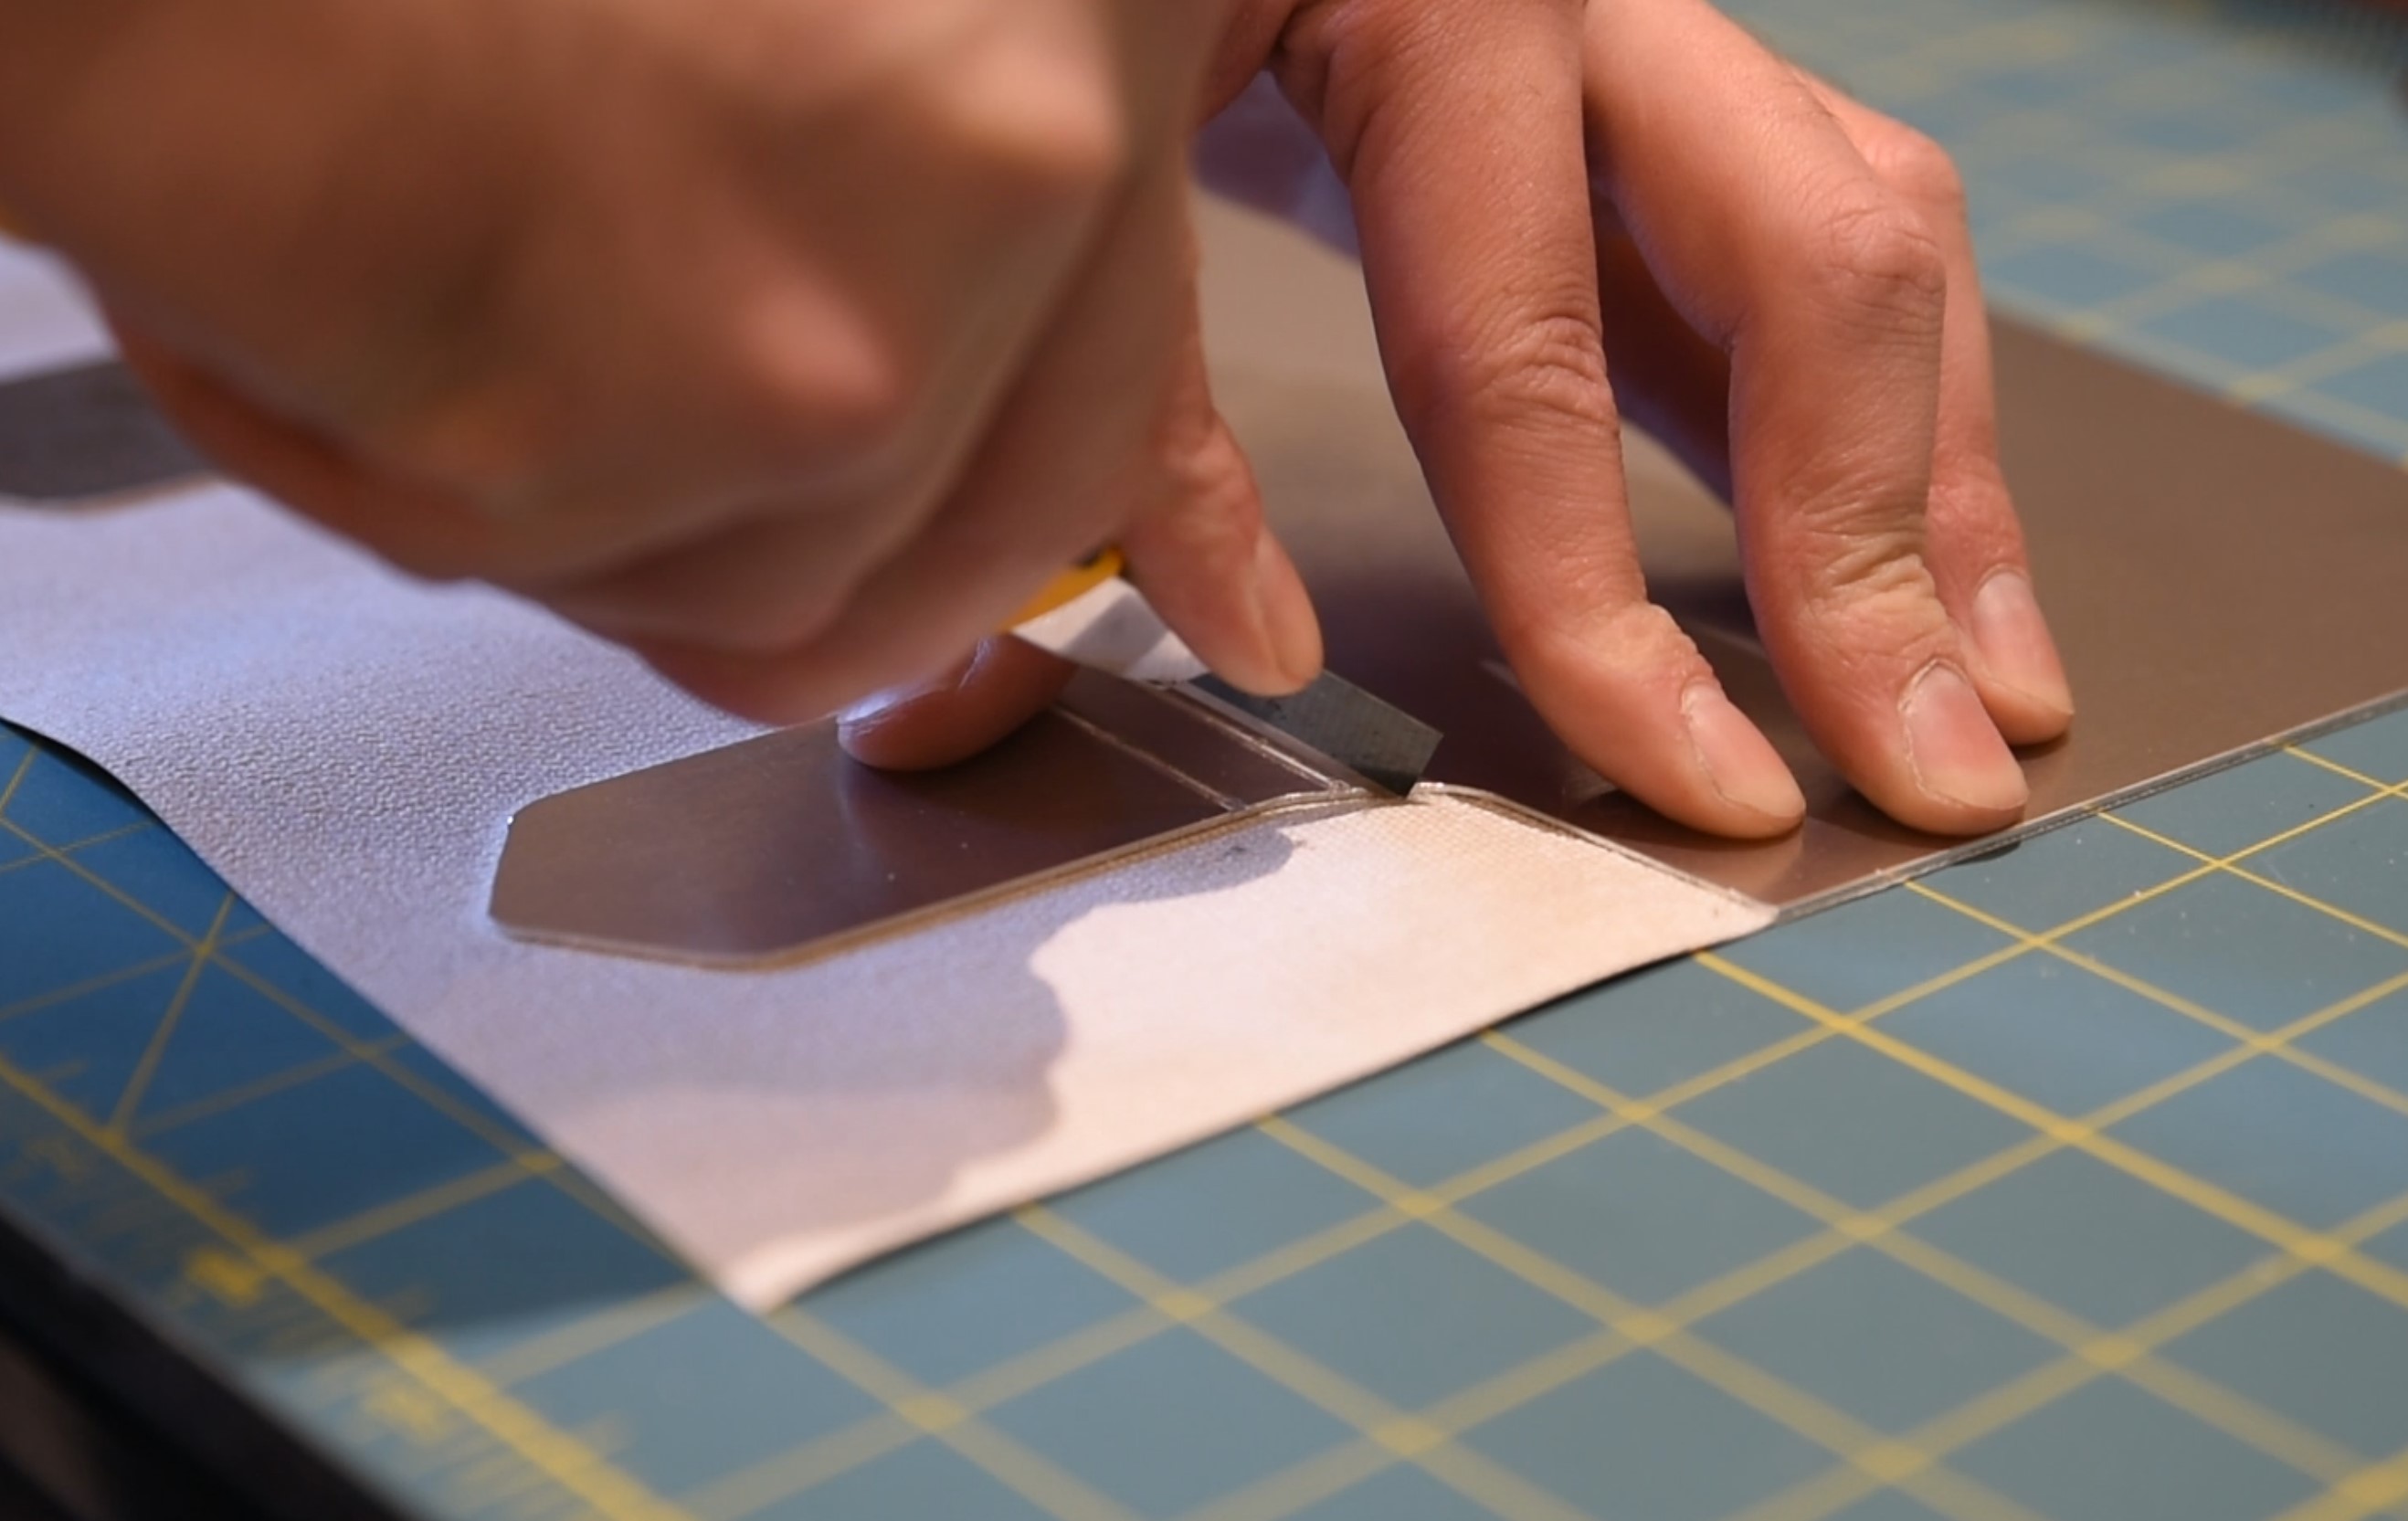
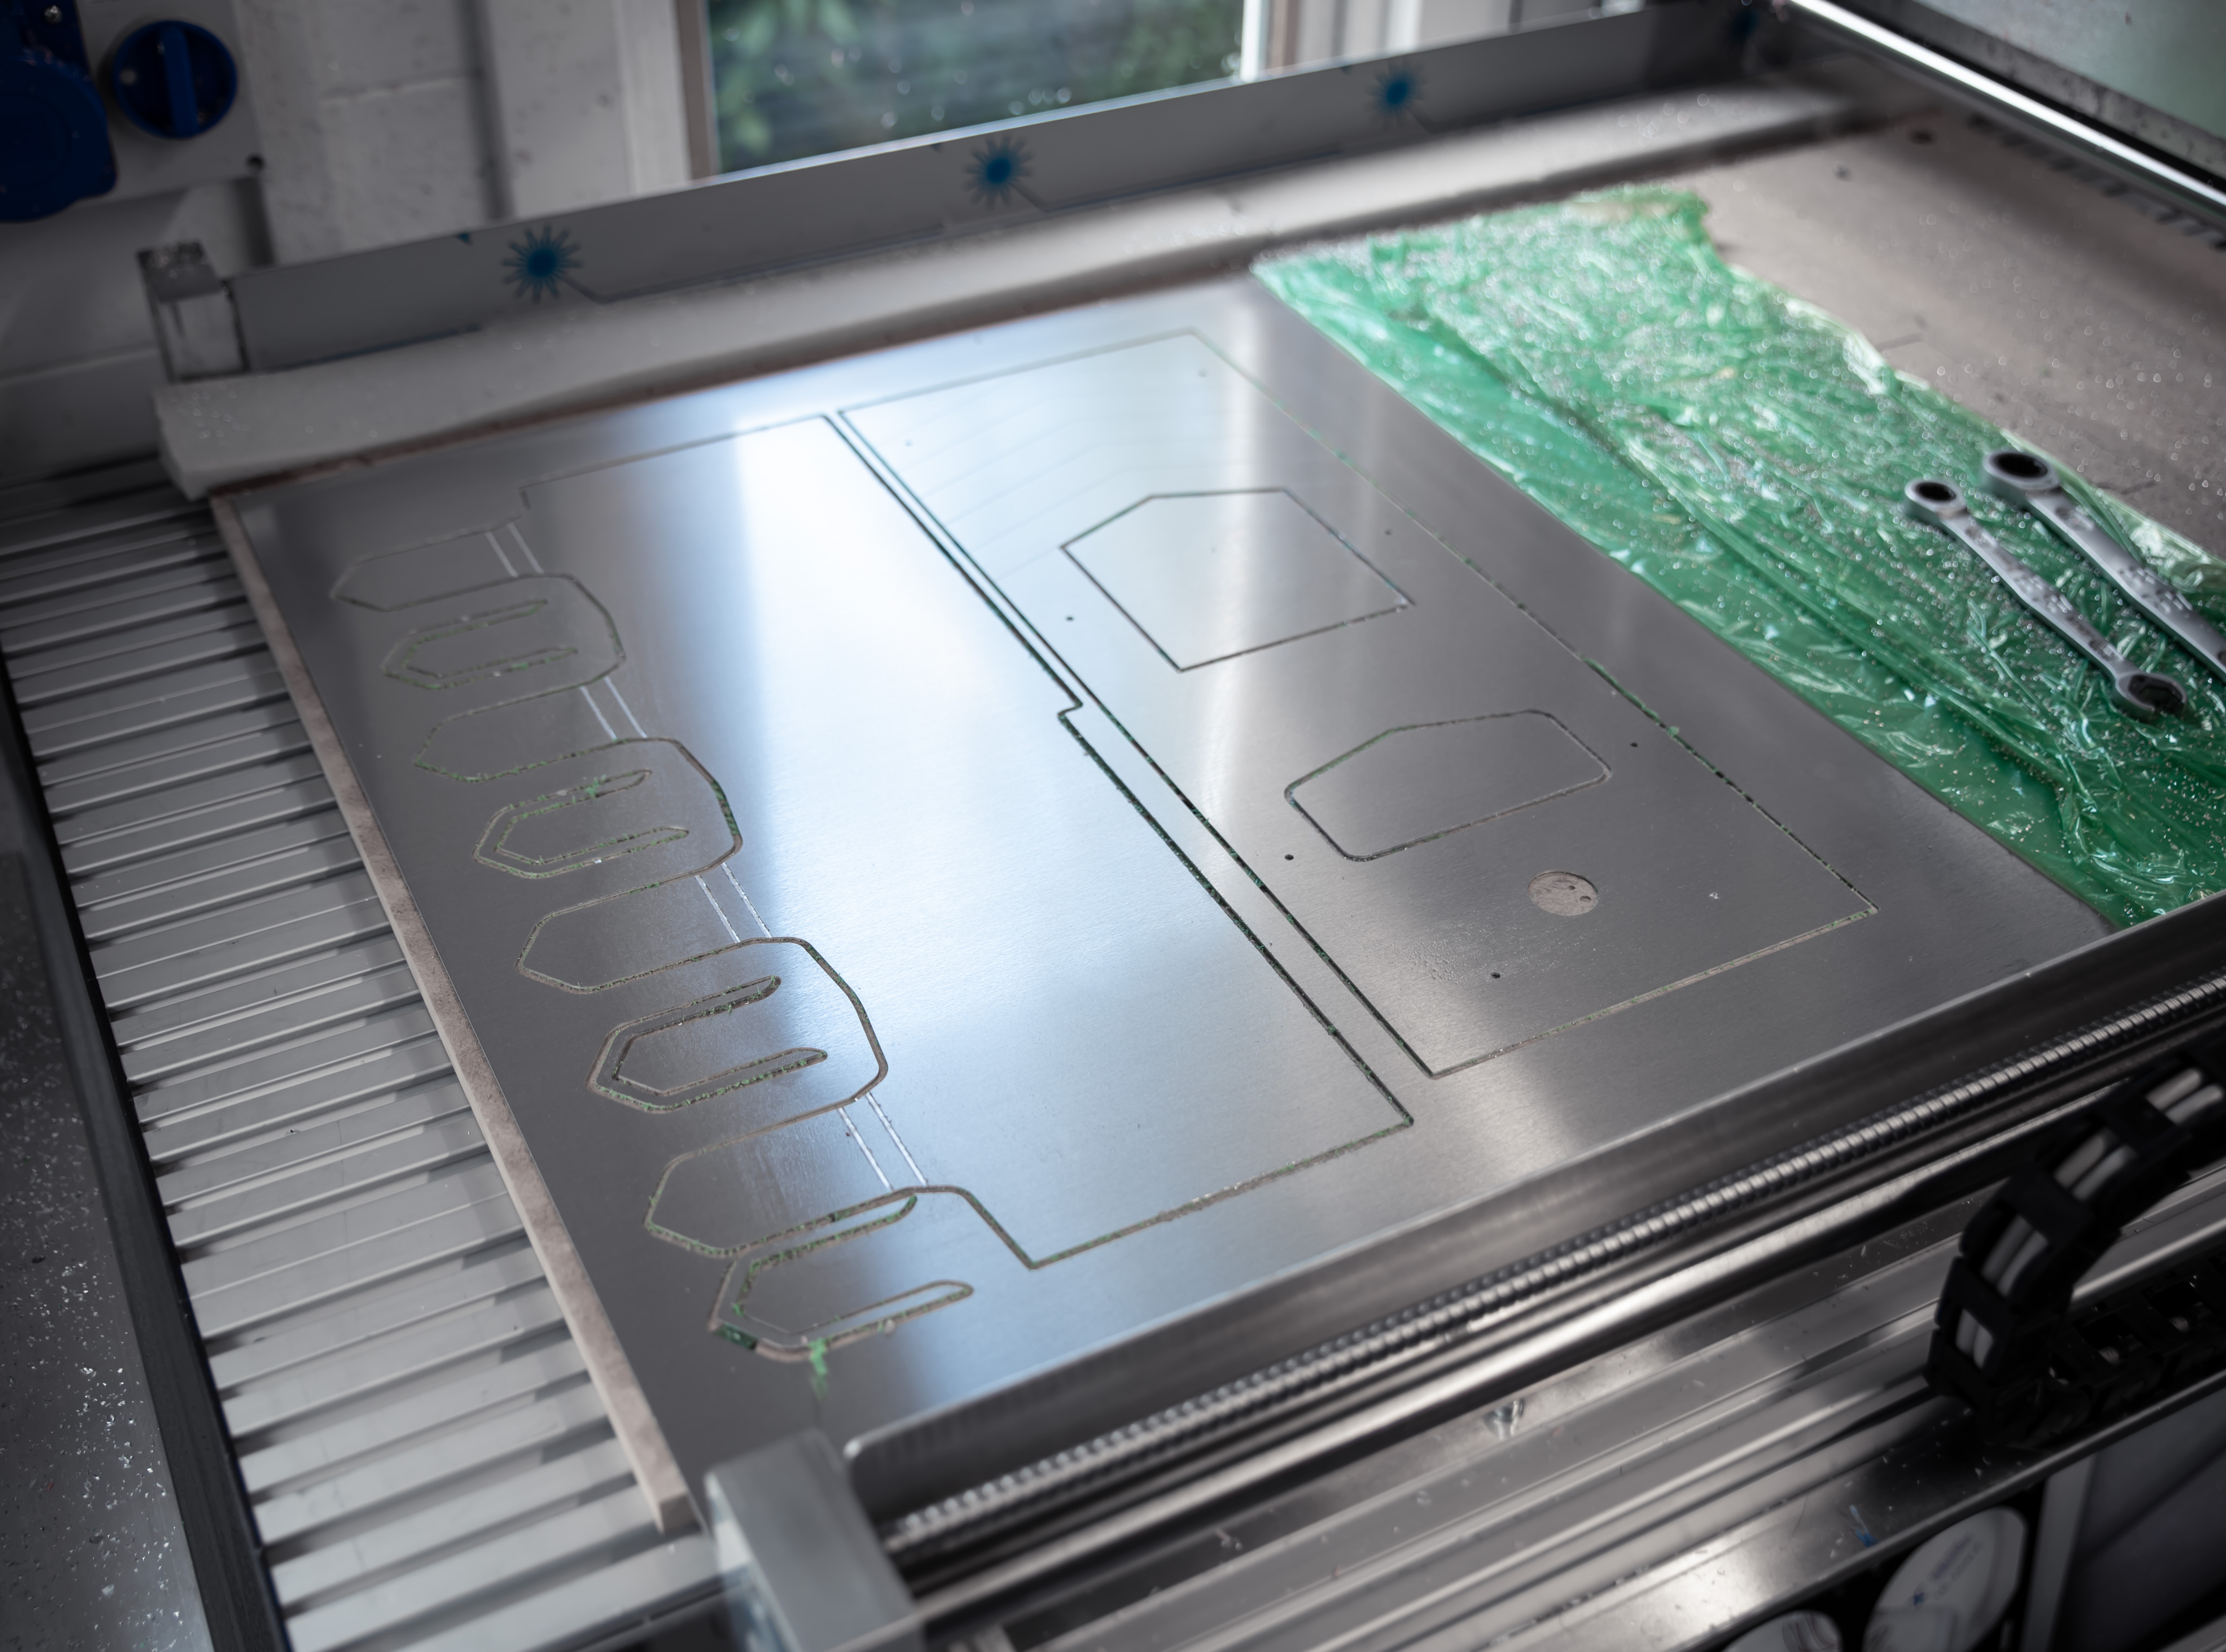
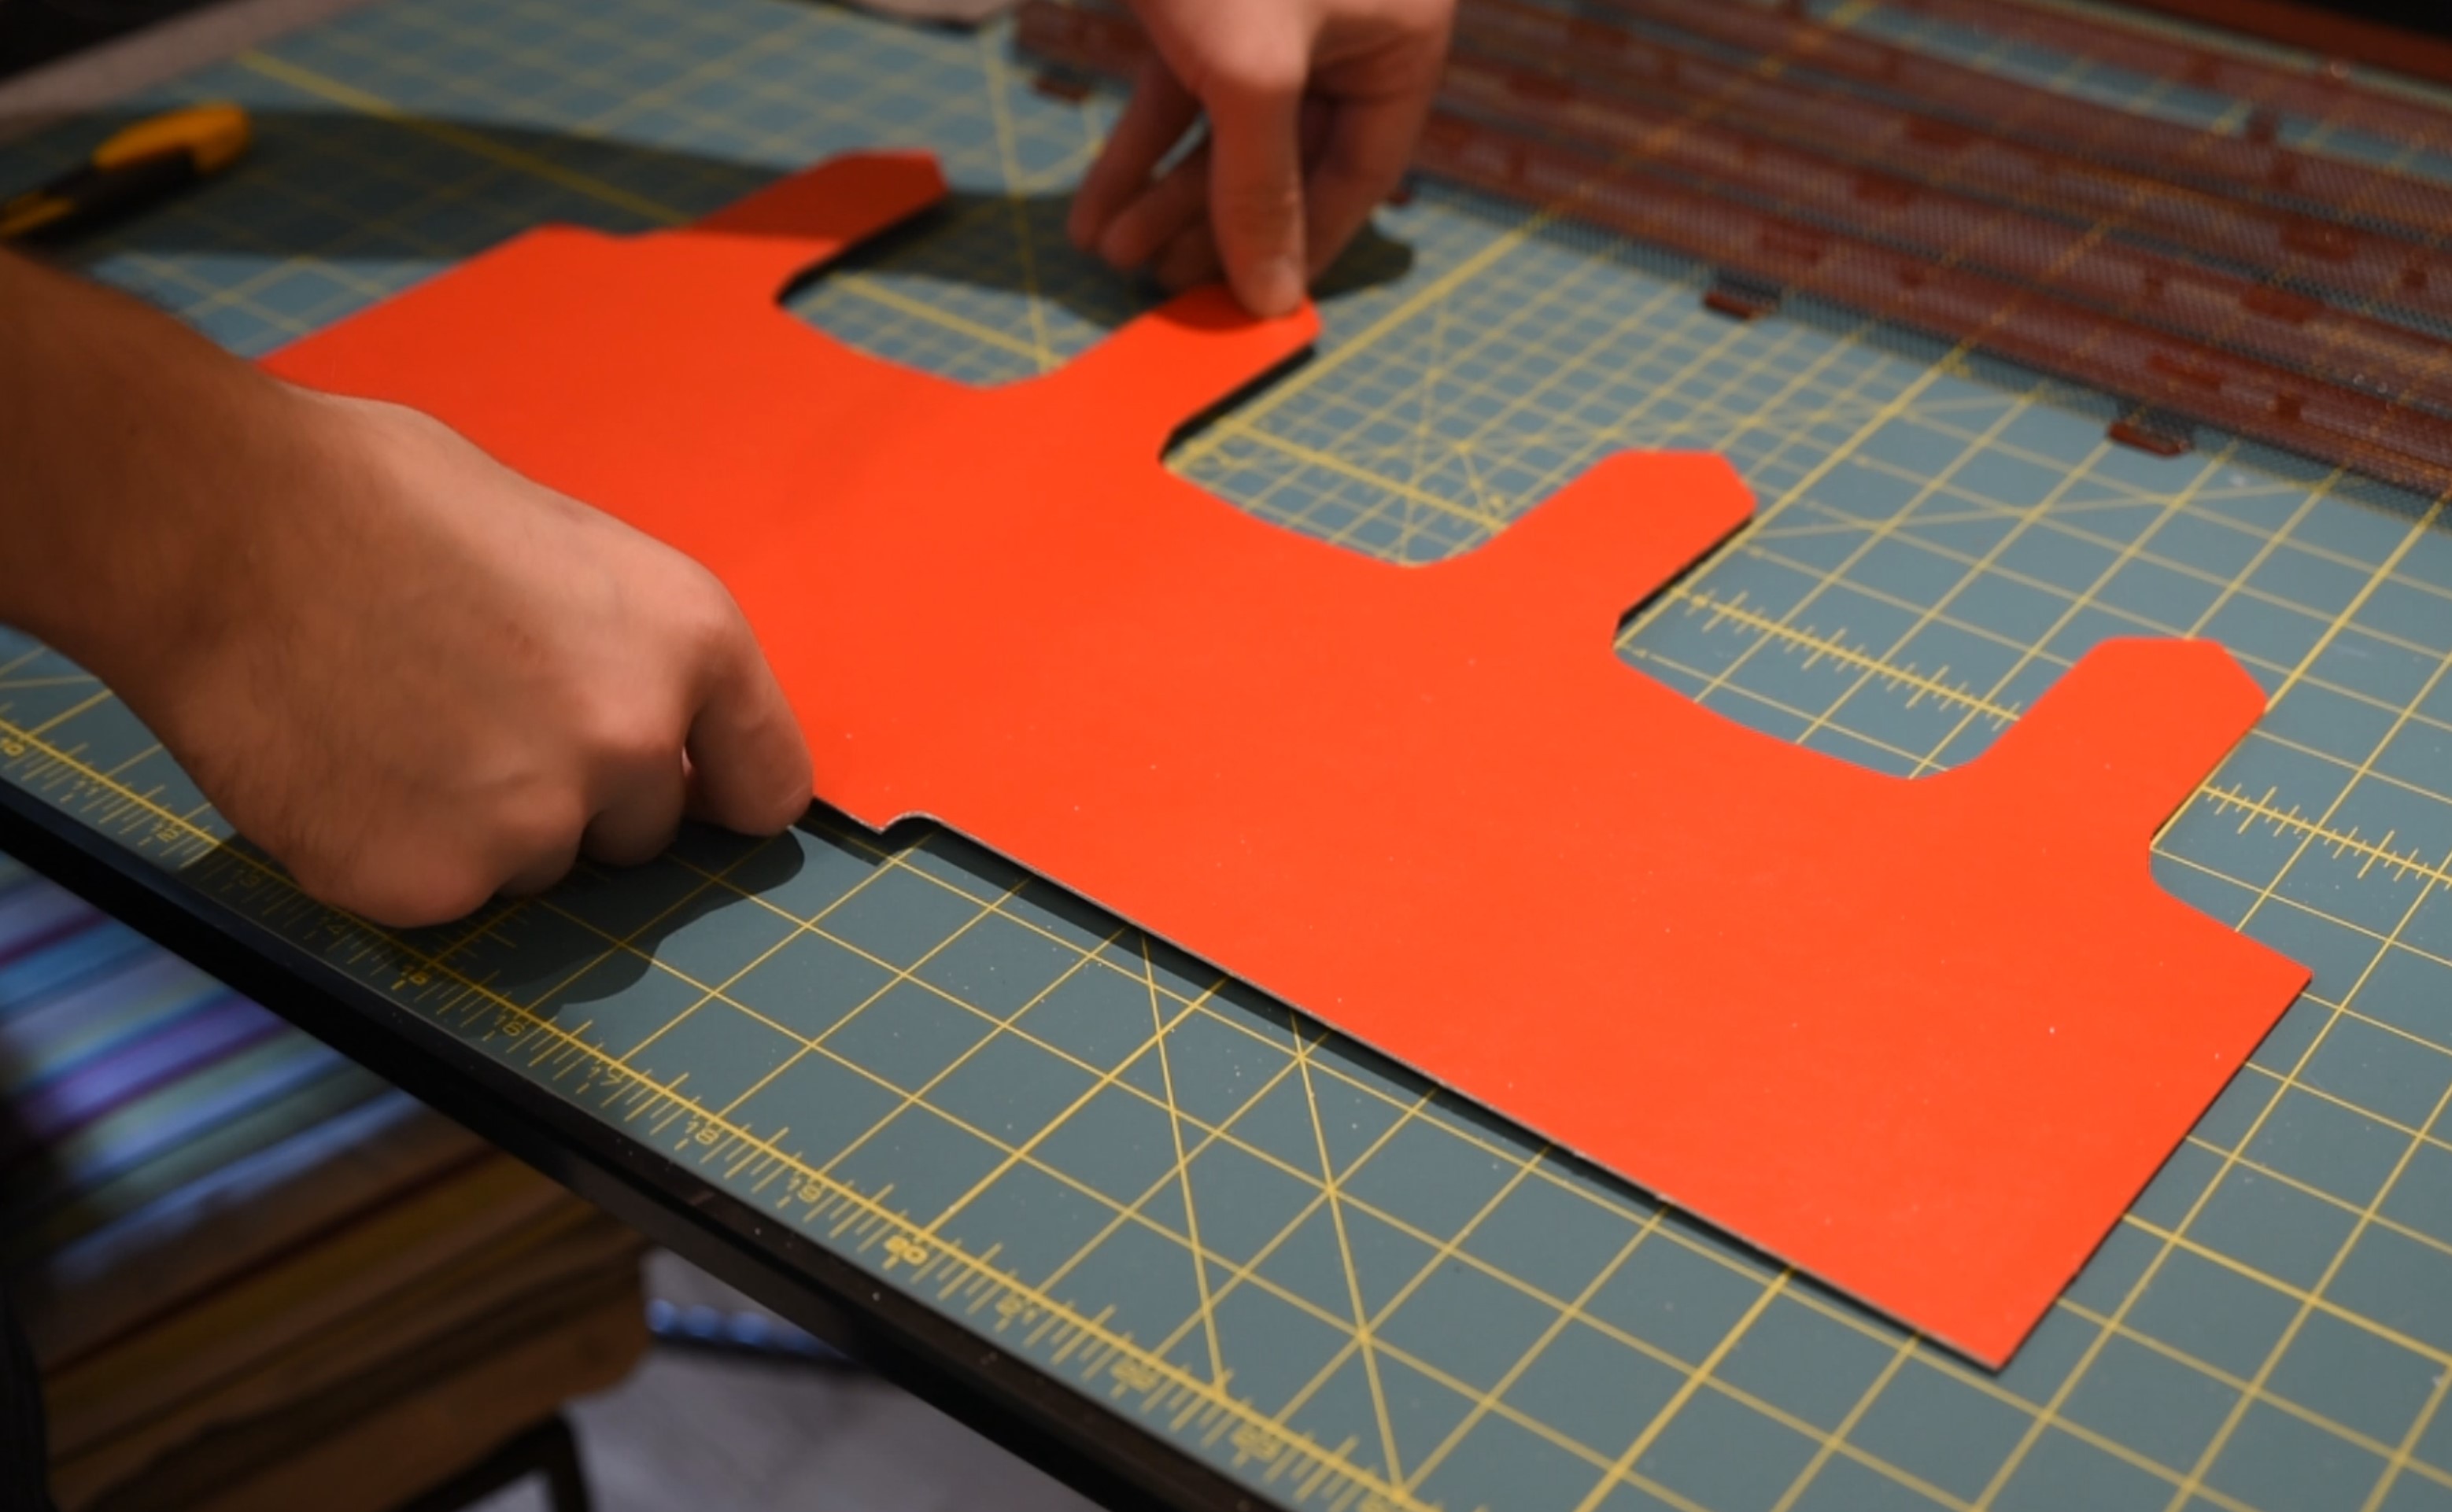
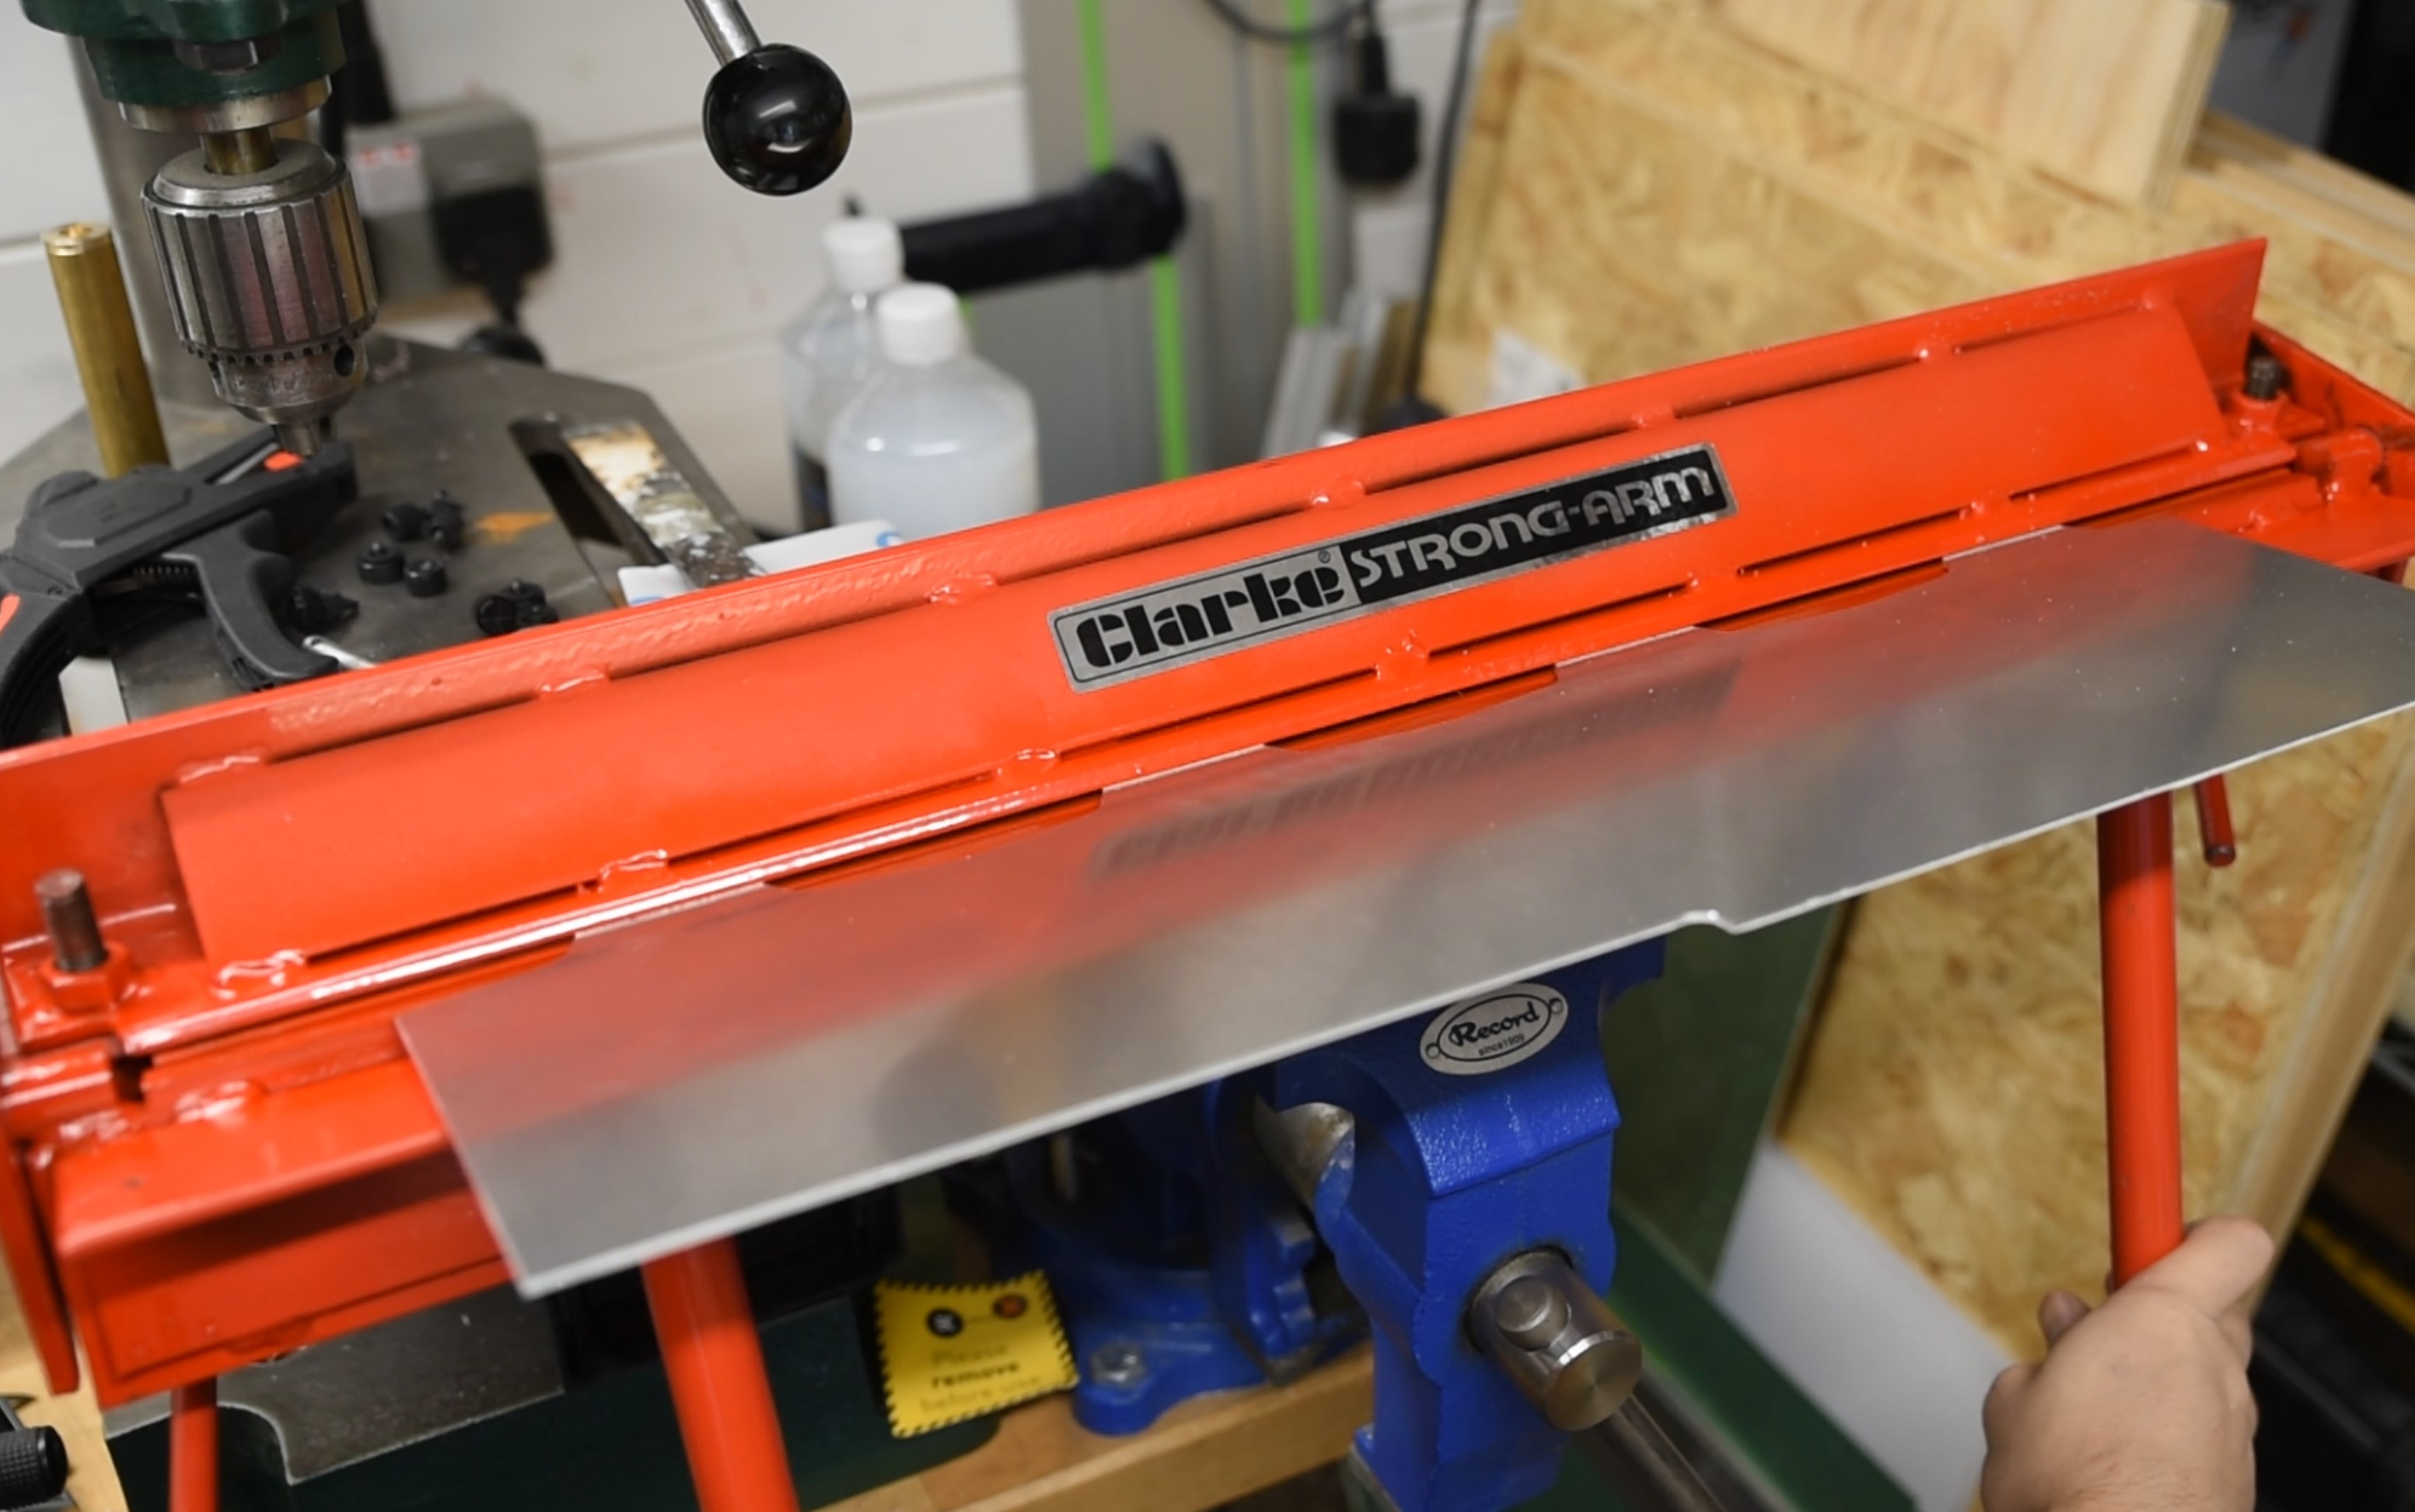
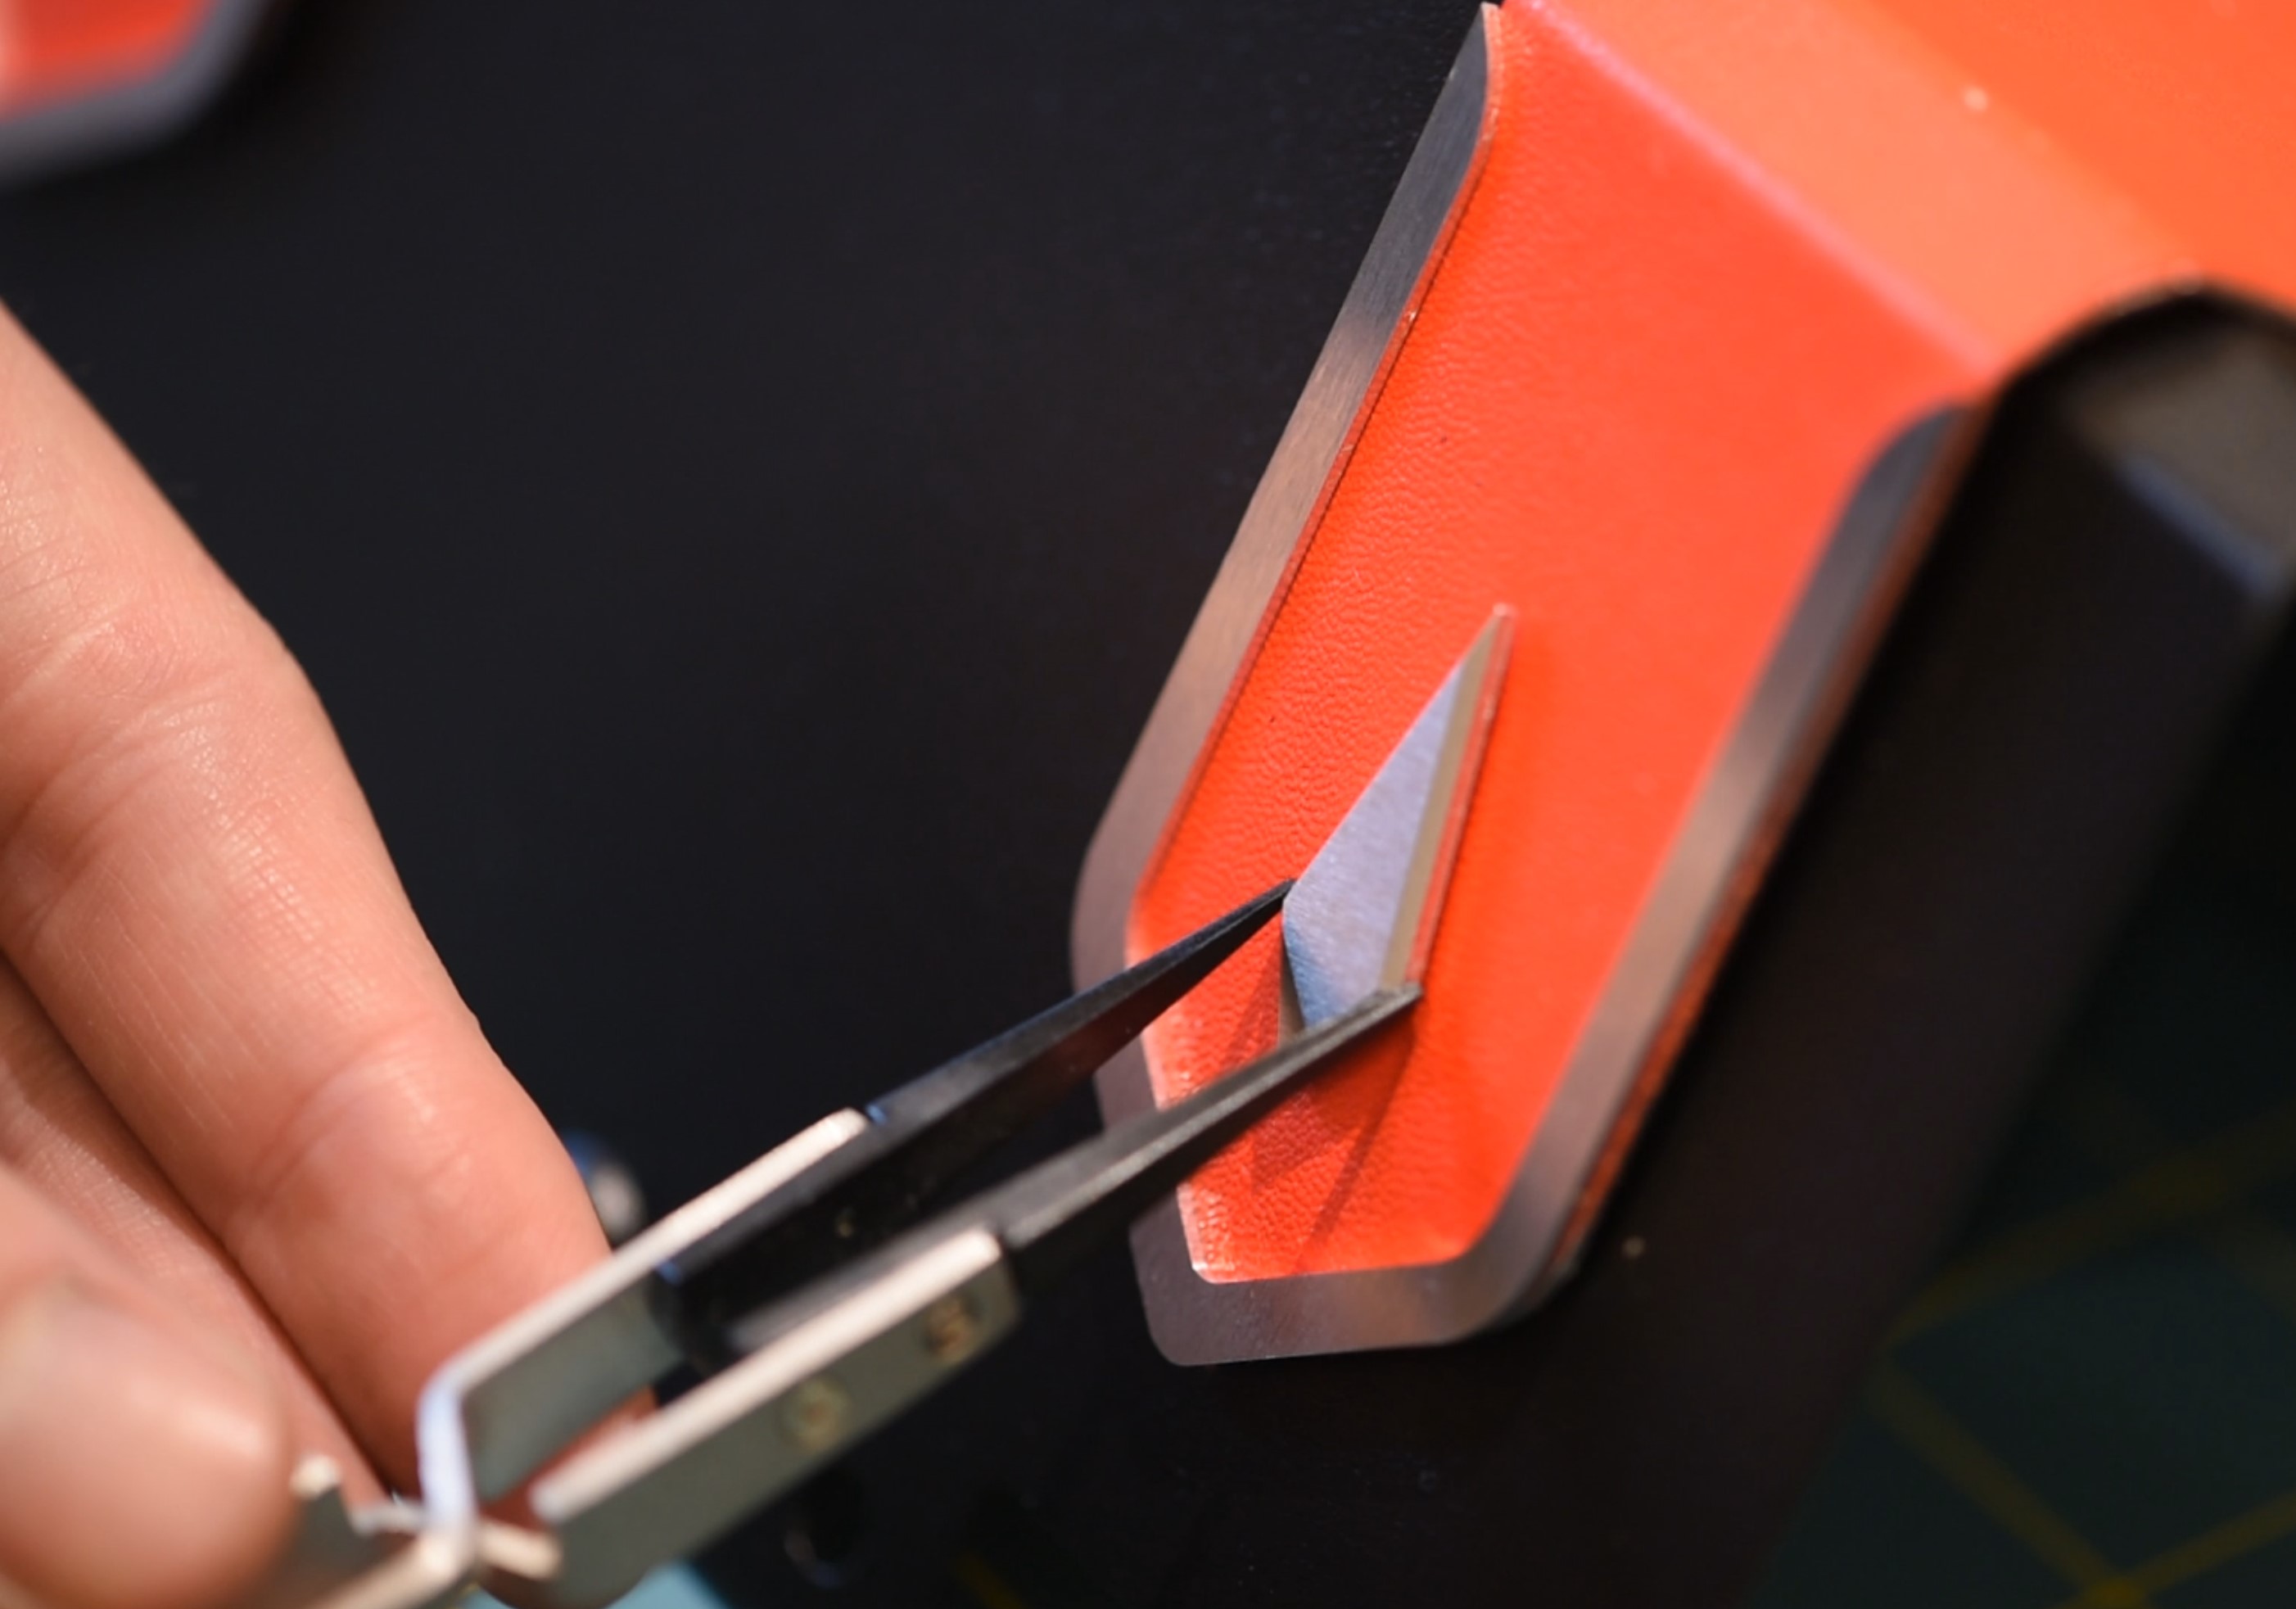
Previously I had cut a shroud cover from 1.2mm aluminium on the router. This cover emulates the regalia pattern found on the character. This part is supposed to be red, so I opted for a red leather vinyl. I cut it to size then coated the piece in adhesive. Next I simply laid the leatherette on top and used a squeegee to push out any air bubbles and ensure solid adhesion. Once dry, it was a simple case of using a sharp Olfa knife to cut away excess, leaving crisp edges. The final step was to bend the piece into the correct shape to match the existing shroud, which was done using a vice-mounted sheet press - very simple given the material thickness. Leatherette is a little bit elastic, so bending once installed onto the metal didn't cause any issues. If using a less forgiving material you may wish to install after working the metal instead.
I added some aluminium accent pieces to the shroud to finish the look. The rear panel was also coated in the same way, this time with black leatherette, but with hindsight I would probably just have painted that panel instead, as the leatherette was fiddly given the square internal corners.
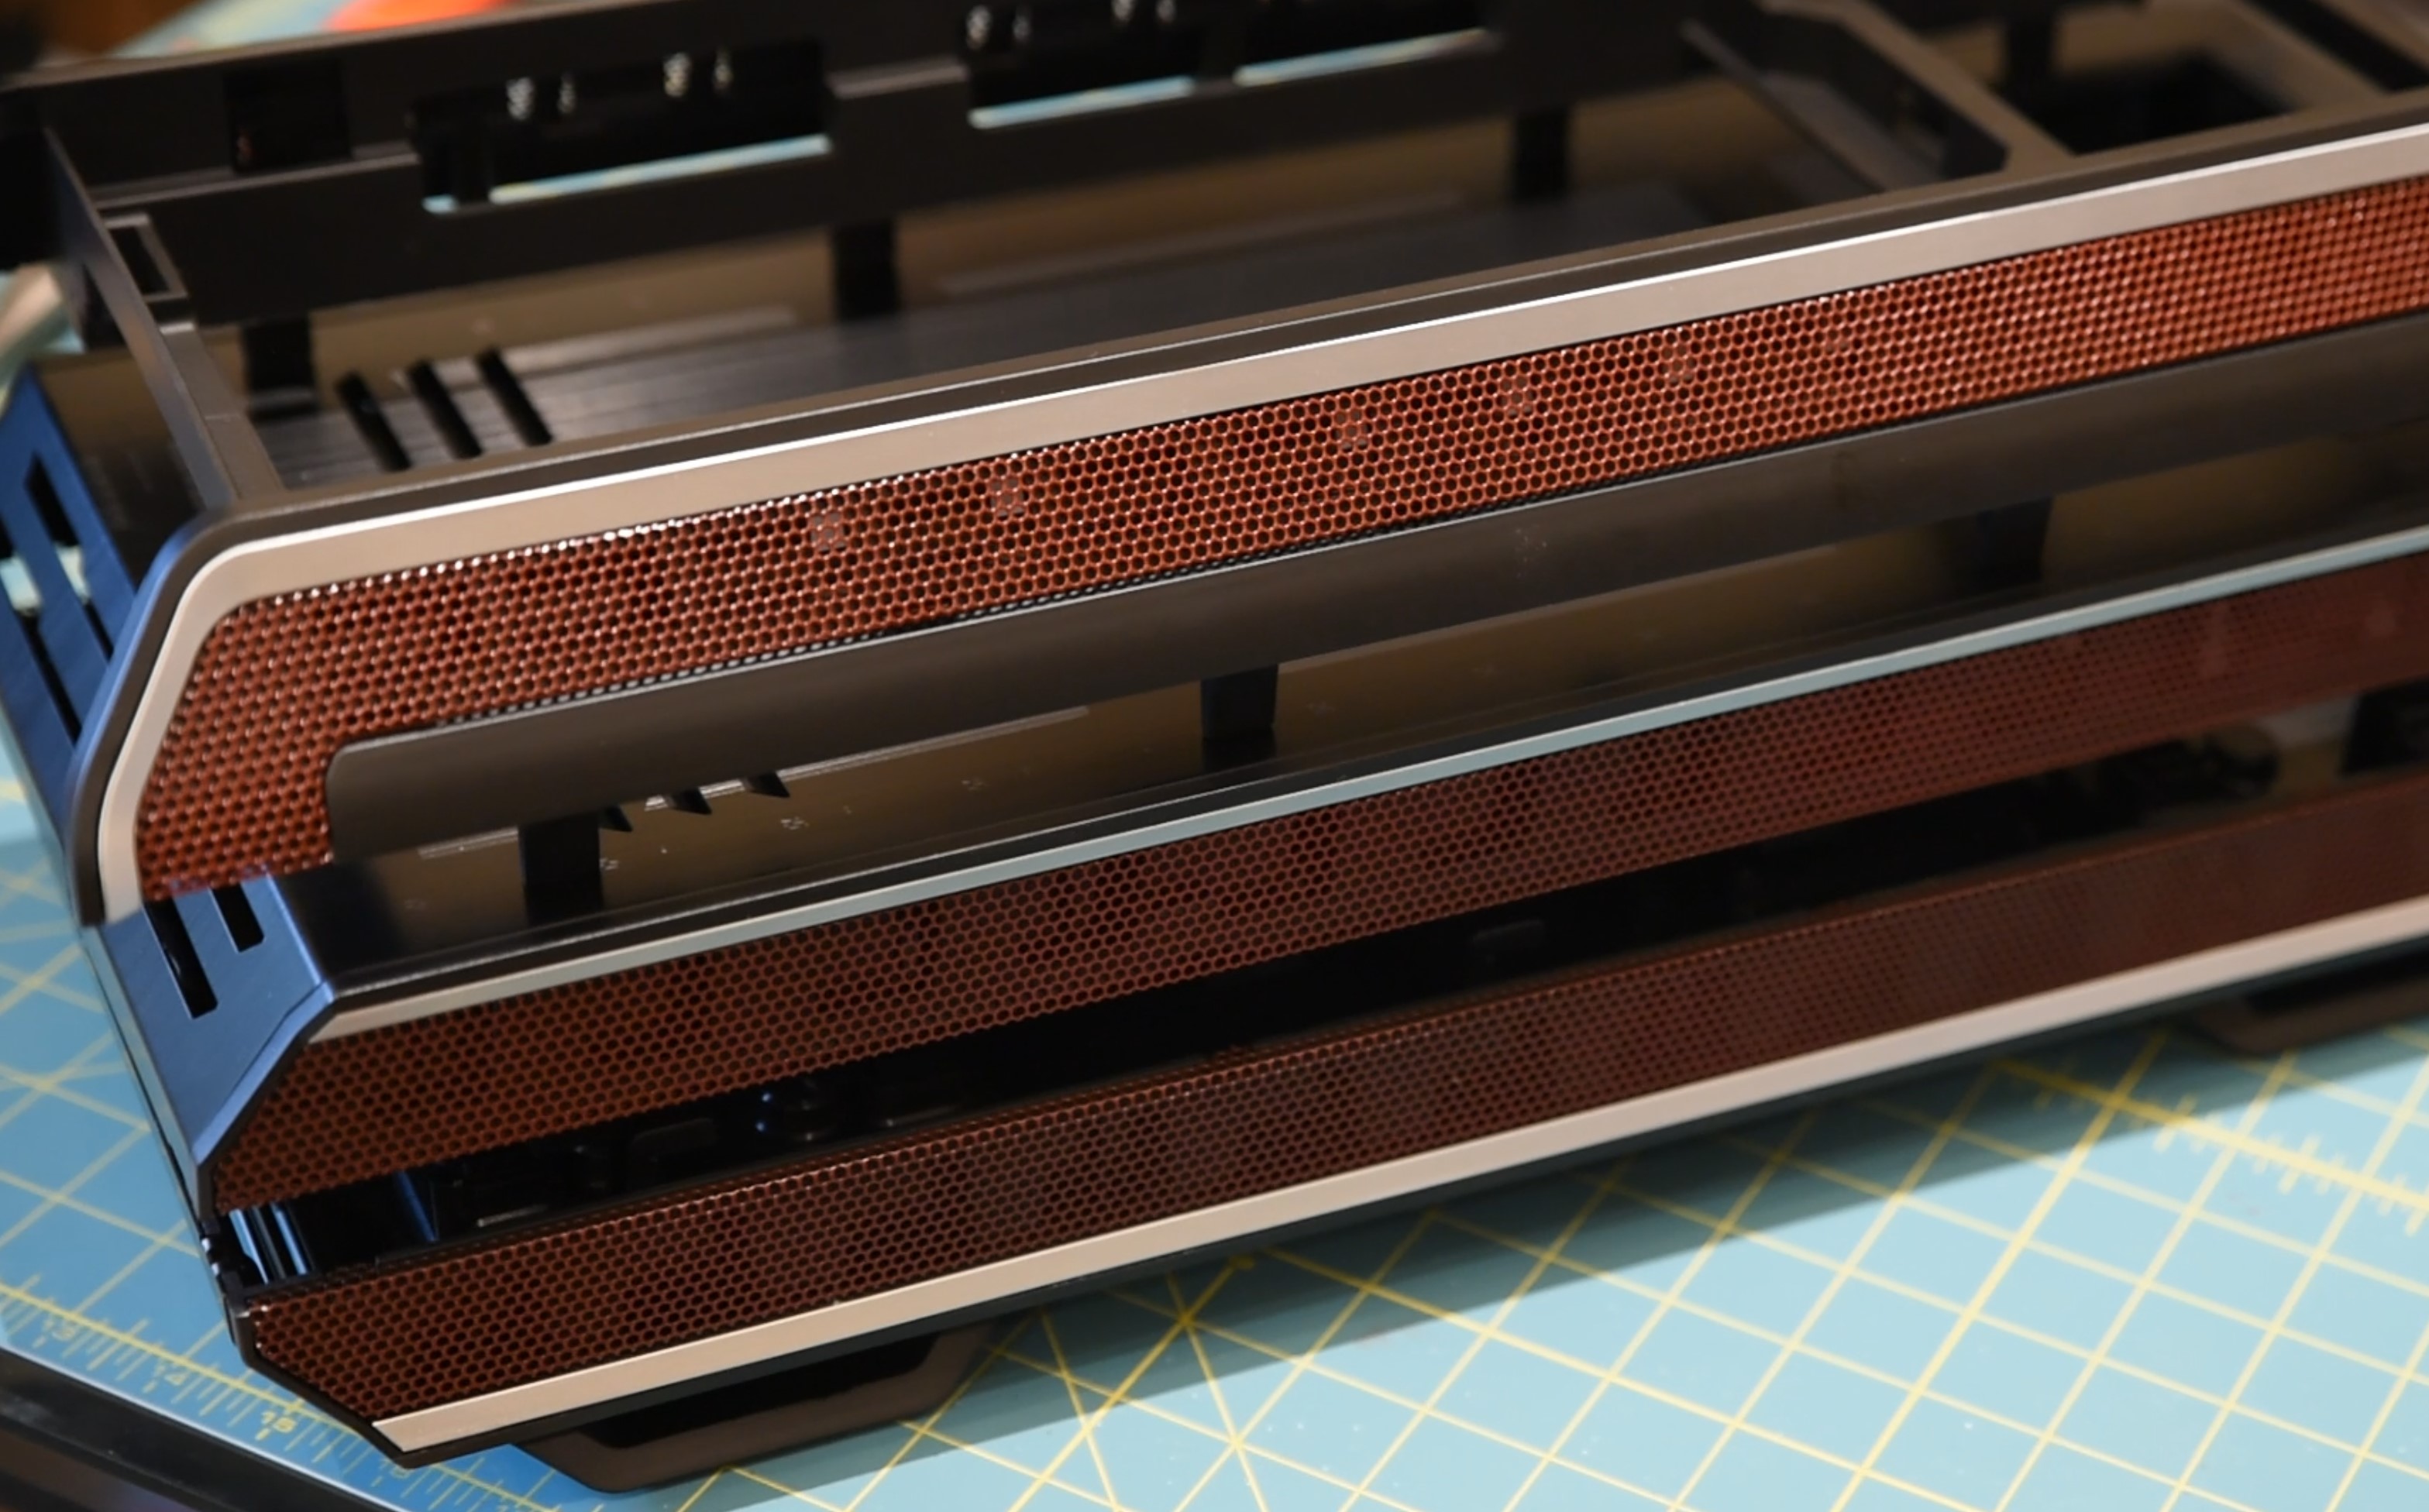
Additionally, since the case comes stock in a black finish, it seemed a good idea to remove the exterior mesh portions and plastic highlights and paint them. Removing the pieces was a matter of popping out some metal tabs and a couple screws, I then sprayed the mesh a deep red and the plastic highlights a light silver. It's a small mod but it makes a big difference; Be Quiet! does exactly this between different models, and it's very effective.


MSI MPG Velox 100R Chassis Review
October 14 2021 | 15:04

Want to comment? Please log in.