Shake 'n' make
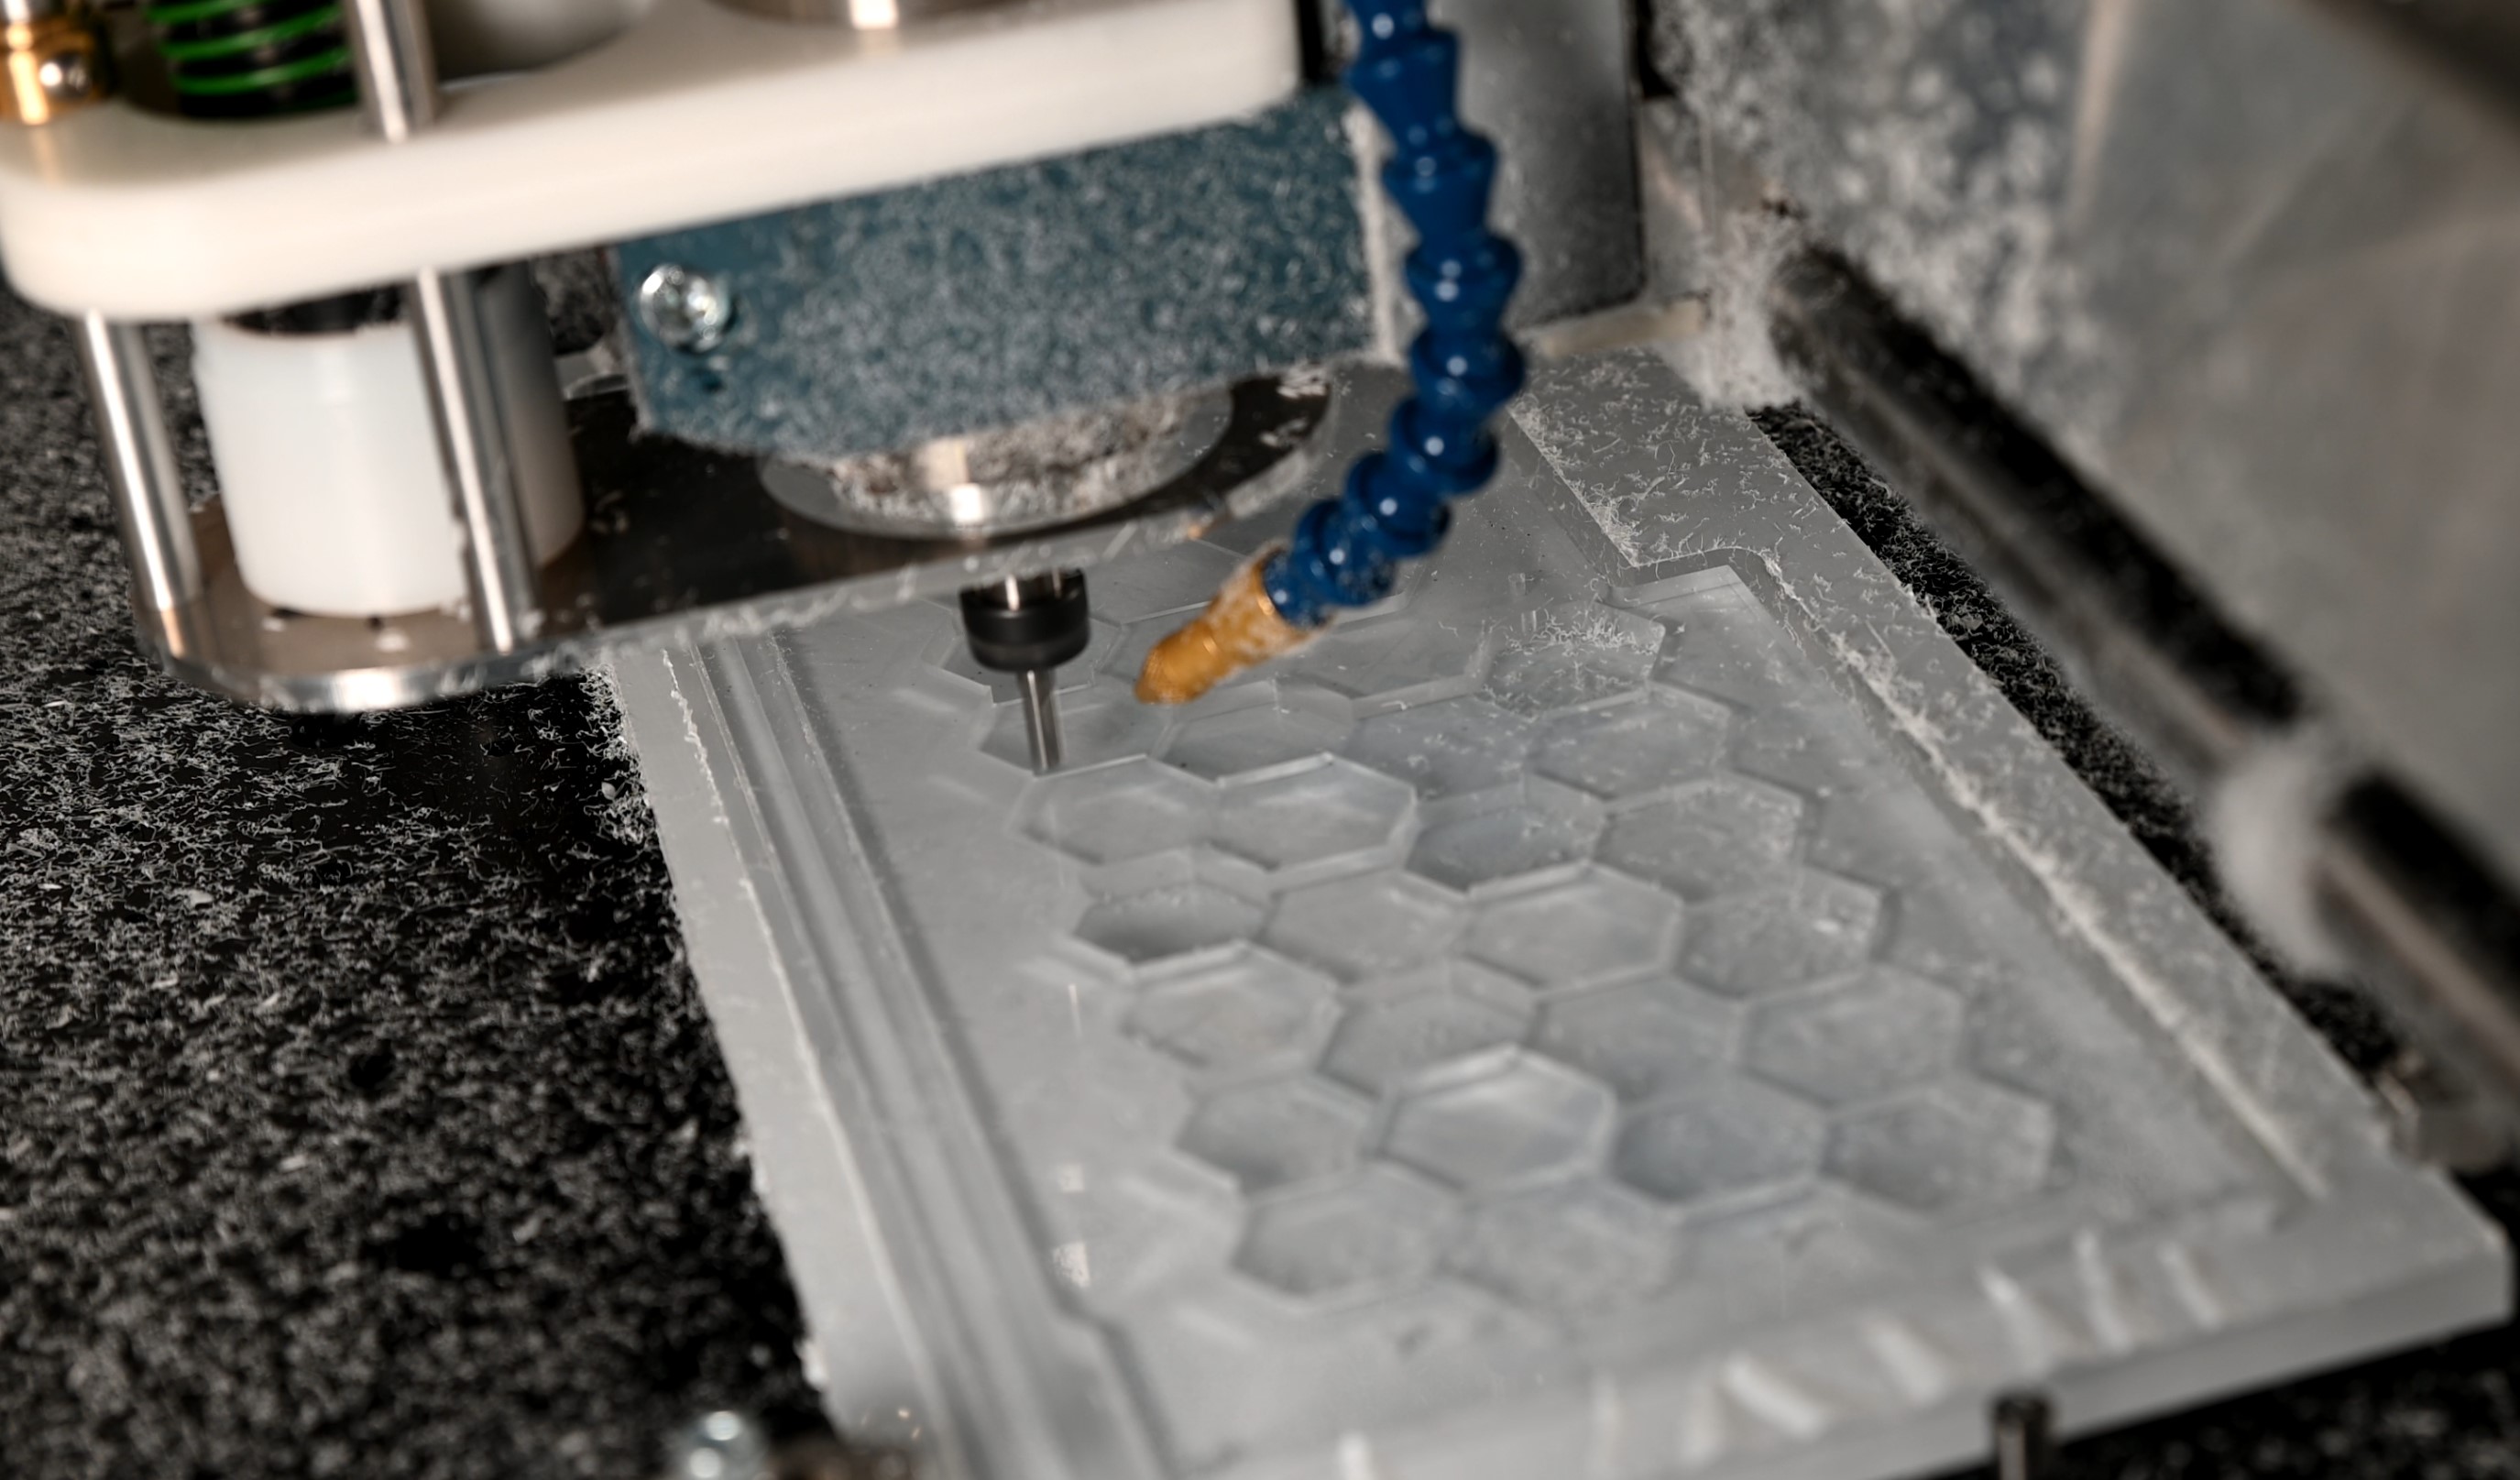
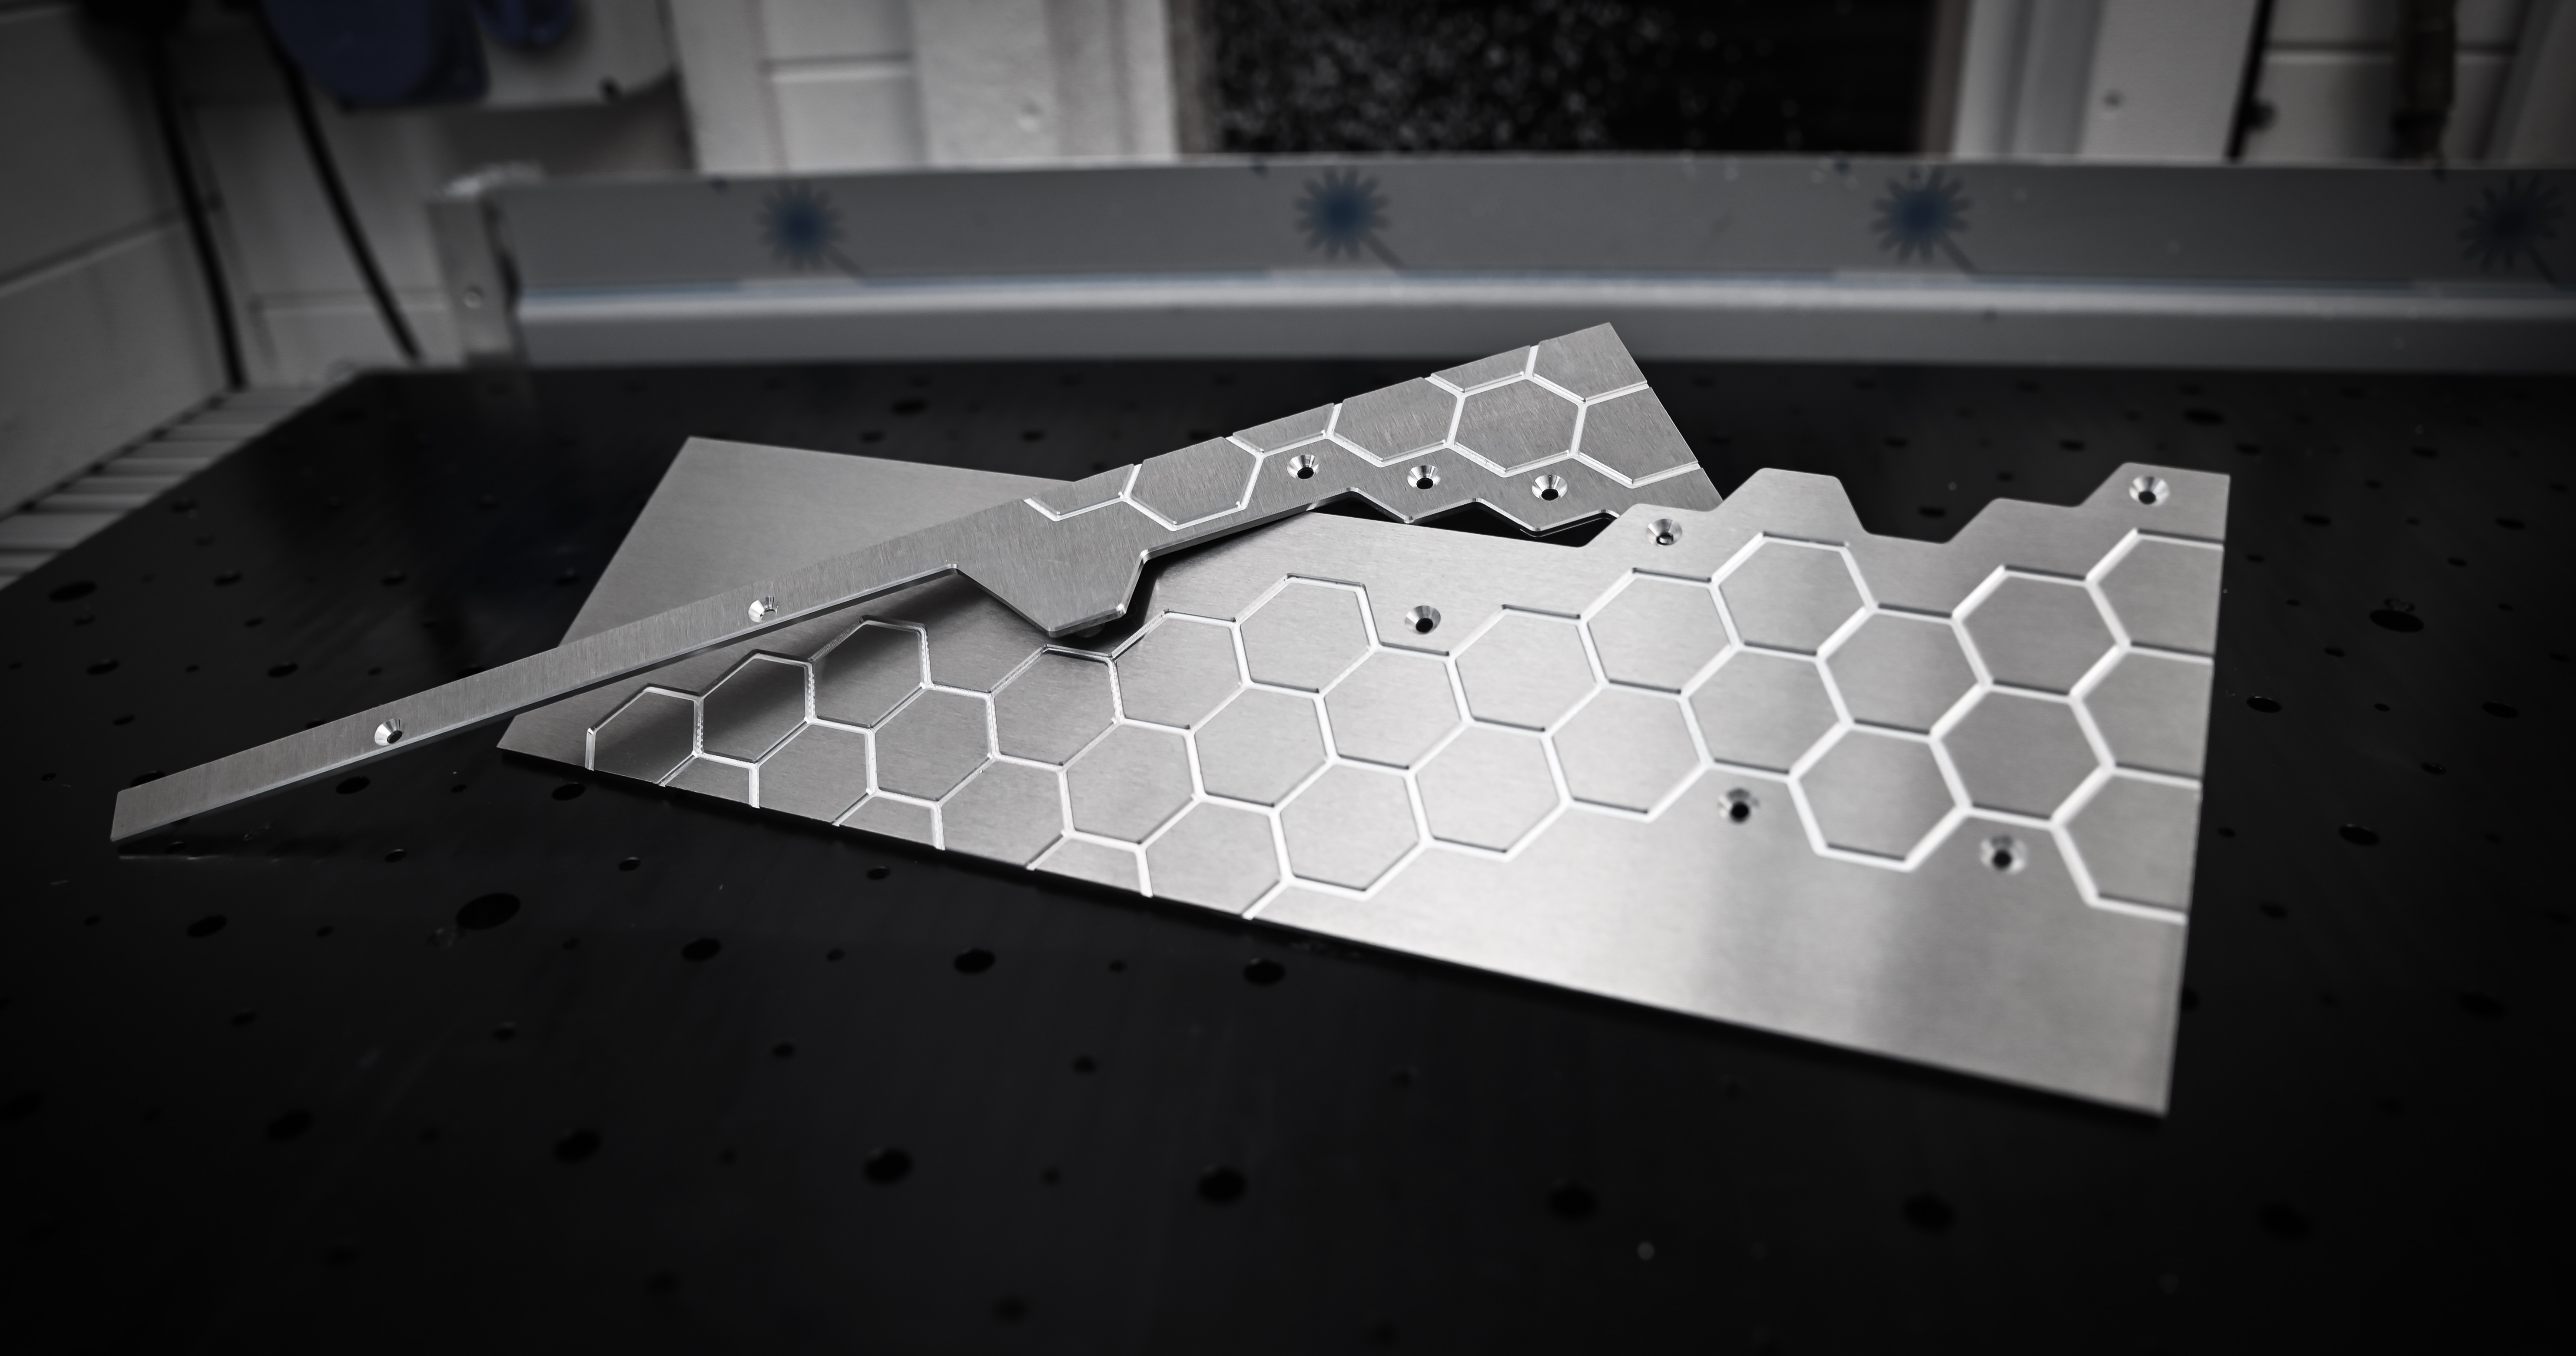
With the parts all toolpathed, it was time to pop the materials onto the router and get cutting. There's perhaps not a whole lot to say about this section other than how everything went rather smoothly; there were no major hiccups along the way, and the time spent in CAM checking over things and adding little finishing steps here and there really paid off.
Probably the most interesting findings for me were the differences between using my old spoil board and the new fixture plate. In case you hadn't seen, a couple weeks ago I actually undertook a fun exercise to machine a new fixture plate for my router out of a solid slab of 22mm thick acetal copolymer. The MDF spoil board had been working okay but had some serious limitations, largely about workholding strength and the inability to survive coolant.
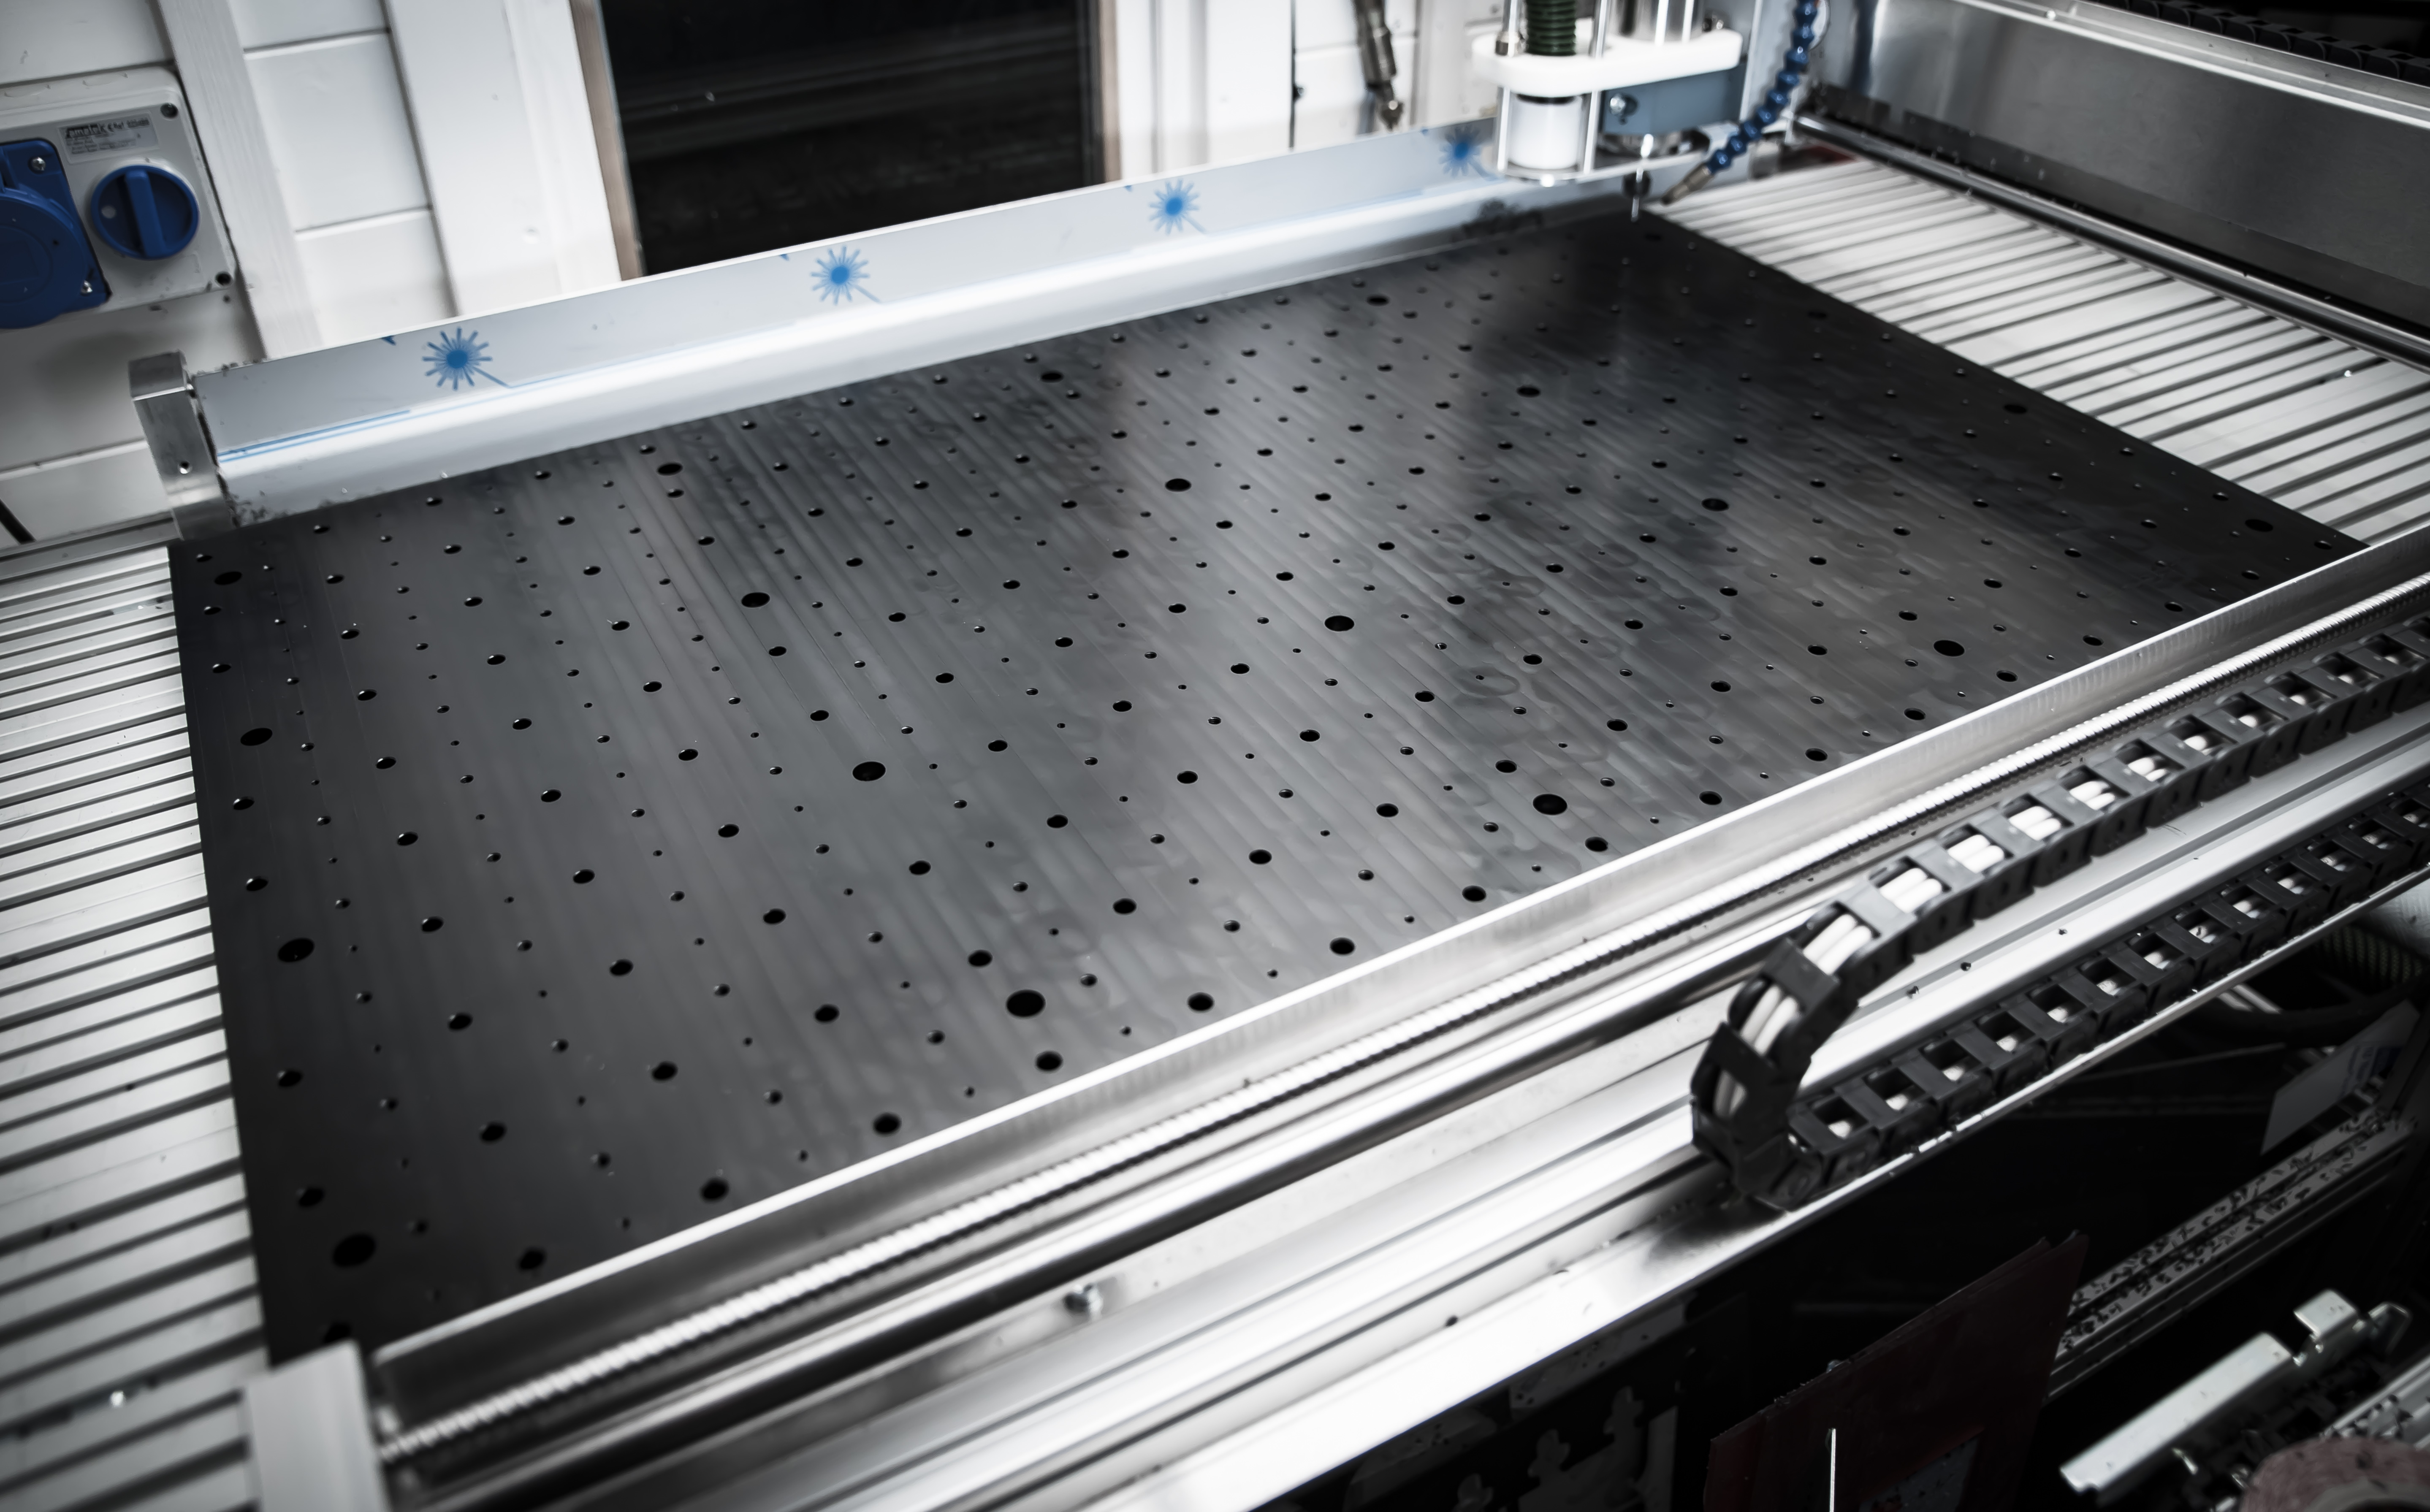
The big issue with the old board was that if I used a heavier coolant setting, any spillage would of course be absorbed by the MDF, causing it to swell and weaken. This had the unfortunate downsides of meaning the bed didn't remain flat for long, resulting in the fairly frequent need to resurface it, which even with the dust shoe on results in nasty particles all over the place. I also didn't have a very good way of reliably locating a part back onto the plate for double-sided work that didn't involve drilling down into the board to plate dowel pins or similar aides. The new plate has a matrix of dowel pin spots, as well as M6 threaded clamping locations and also M4 threaded holes.
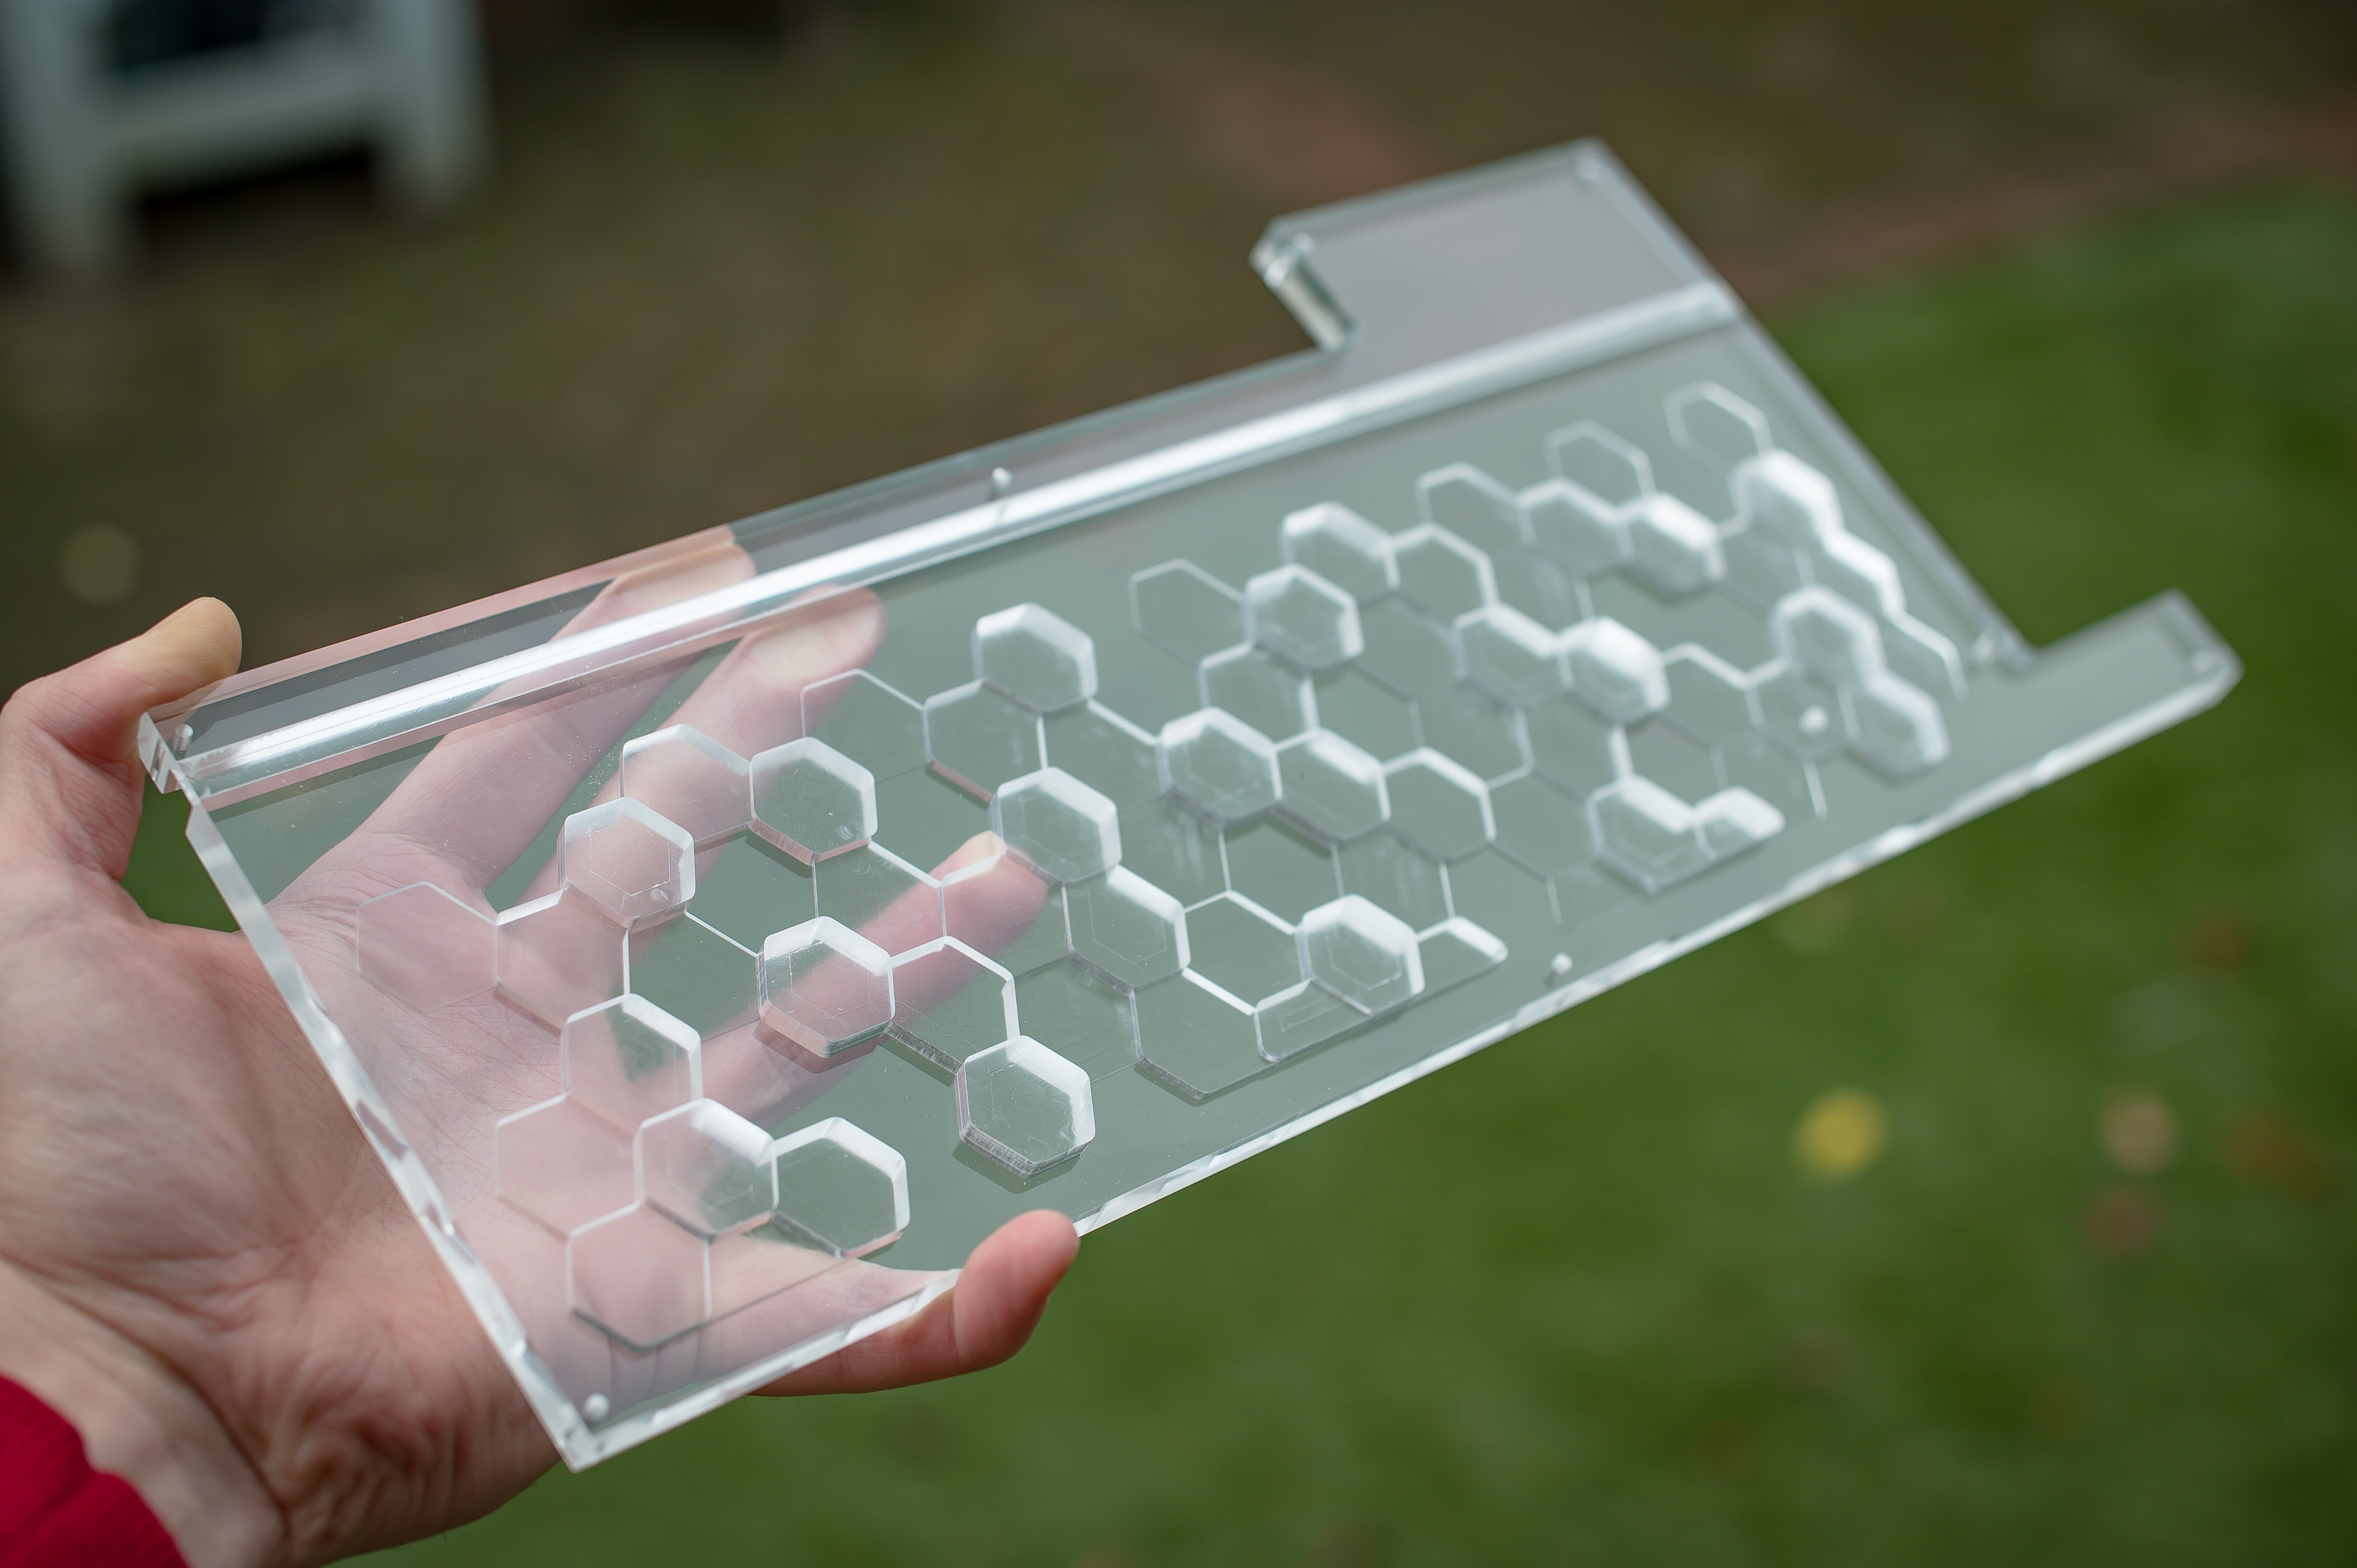
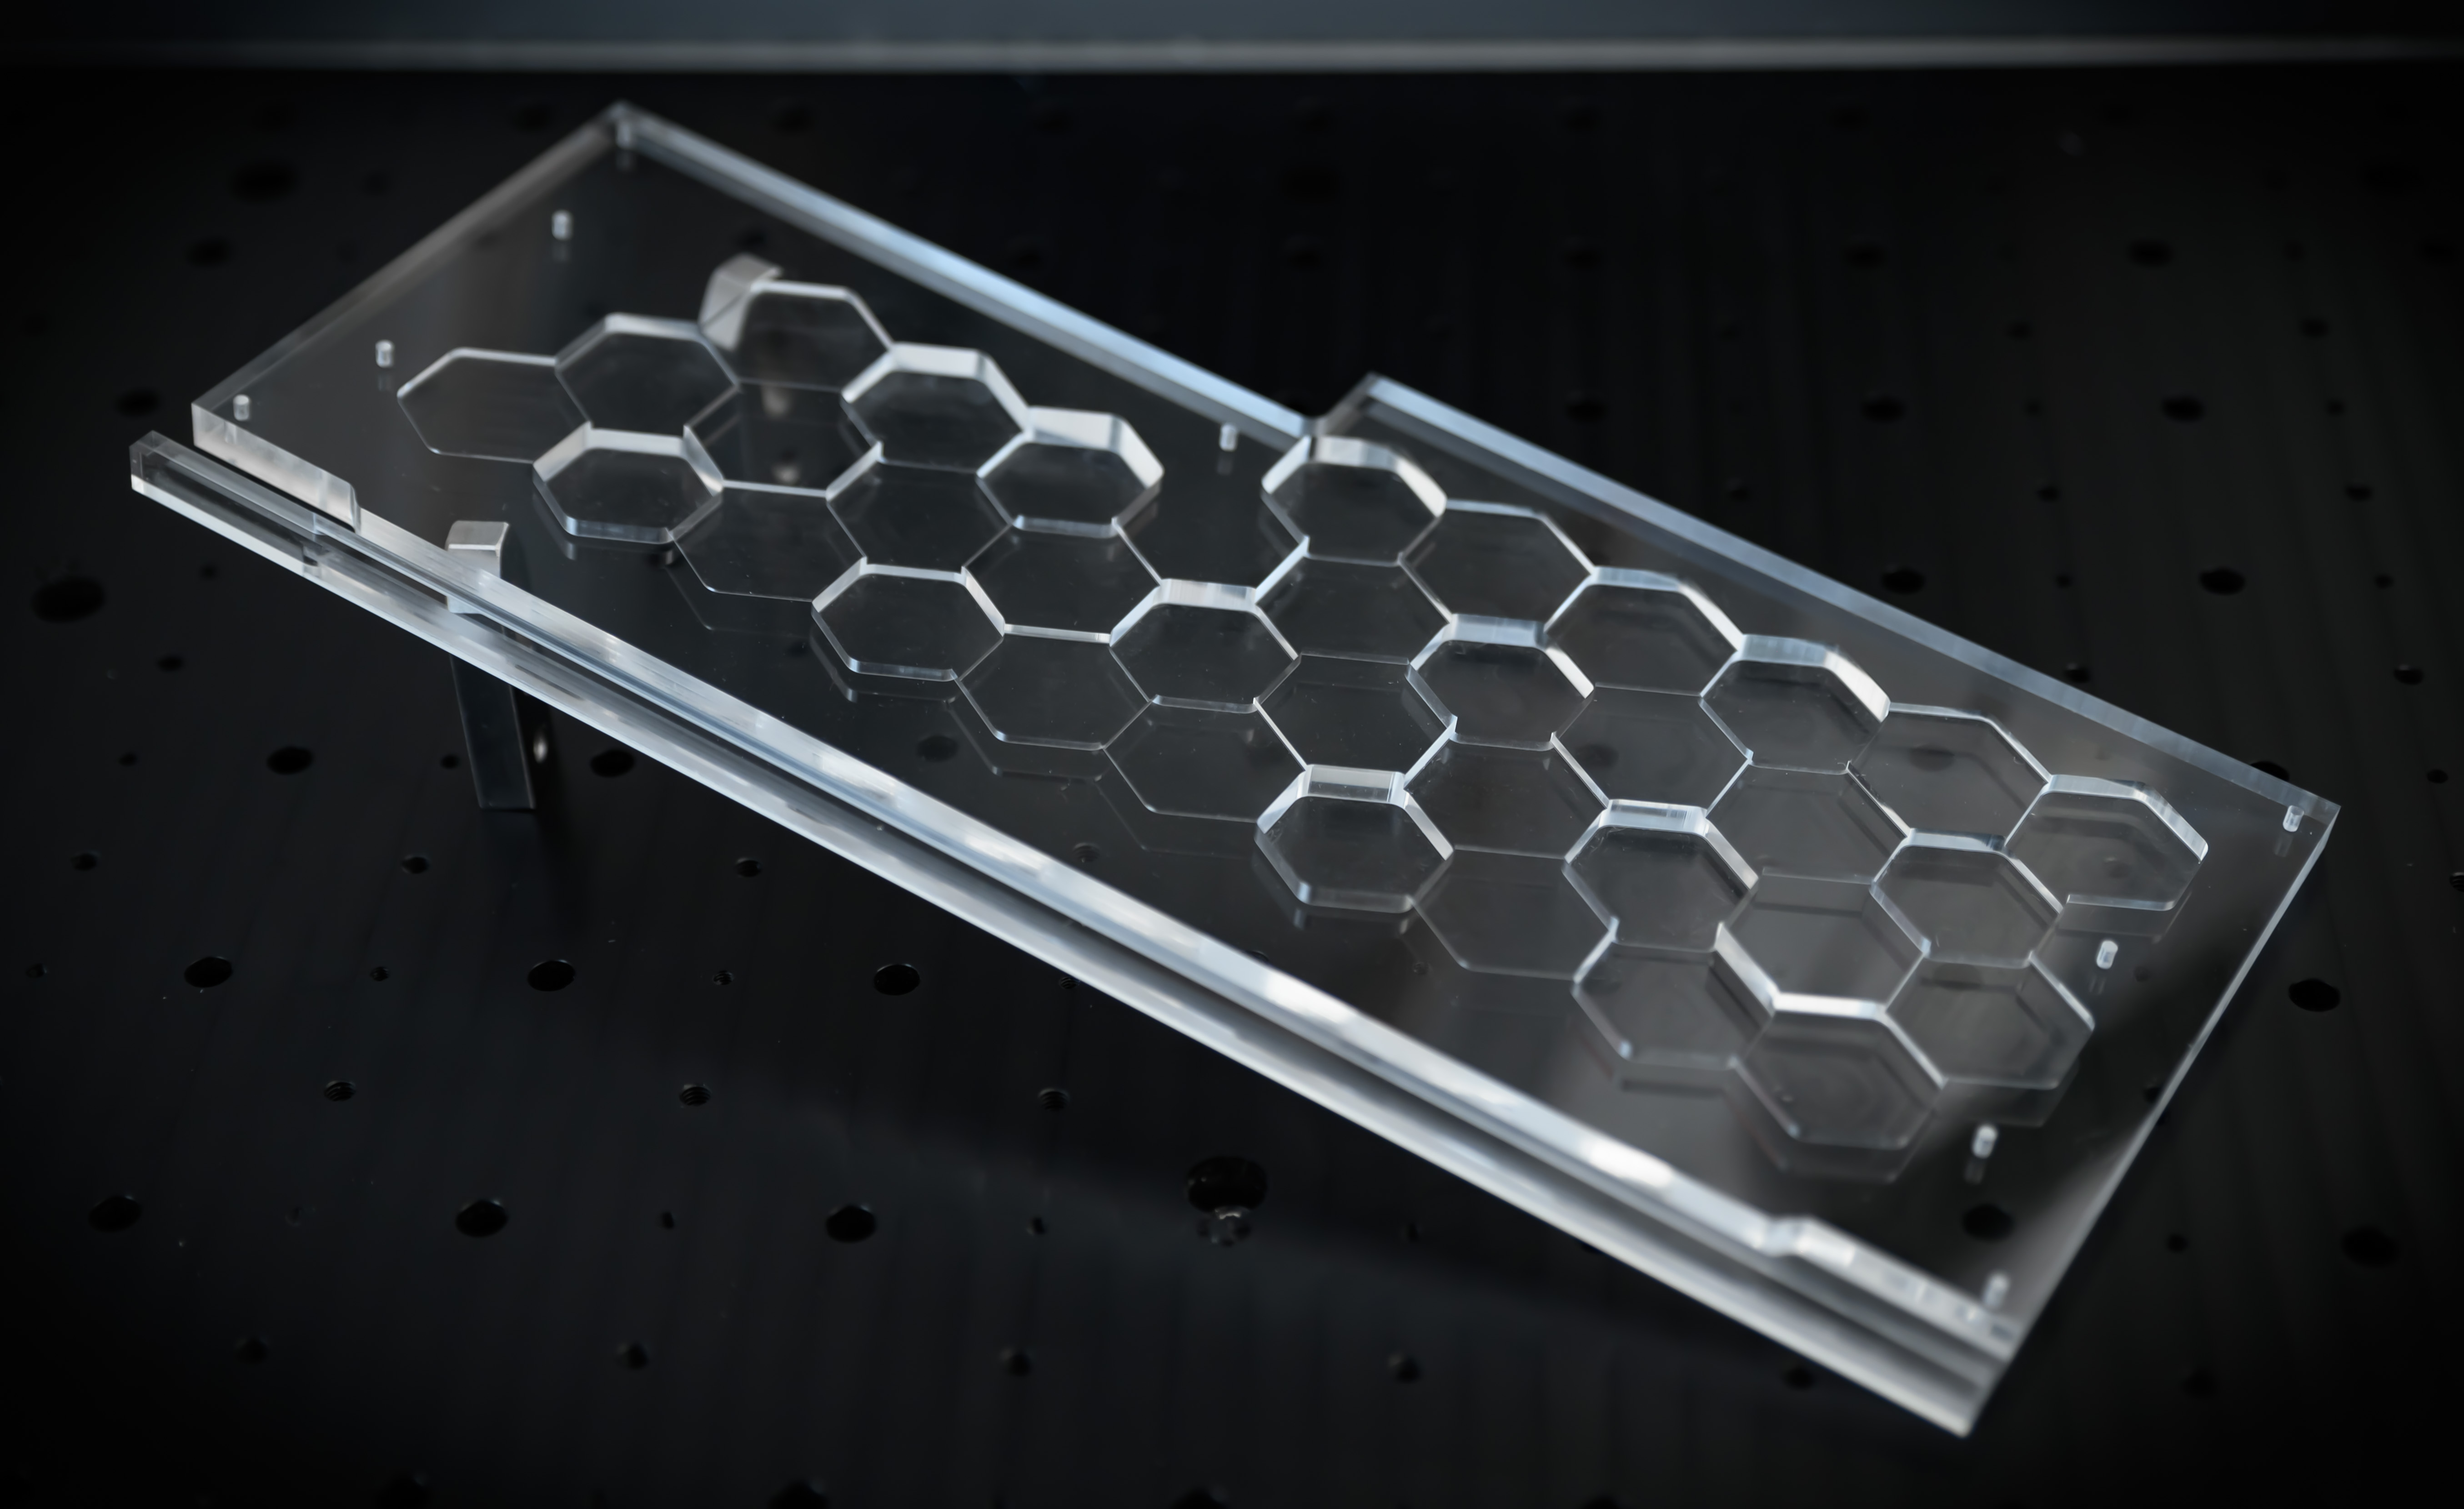
When machining the distro plate I was disheartened to find that my favourite 5mm Datron Polished Edge endmill had an infinitesimally small chip on the very end of the flute. These endmills are simply fantastic for plastic finishing and can leave an almost completely clear finish at times with the right settings. However, with a tiny chip, It meant that the very corners were a little foggy. I wish I had noticed this sooner, as I would have redone the toolpathing to accept the 6mm or 4mm ones I also have. Switching to a shorter flute length 6mm cutter for the top LED panel was a very good idea, I think these results I had straight off the mill were the best I've ever had. I chalk that largely to the fixture plate, as the workholding rigidity seemed much higher than before too.

Cable that up
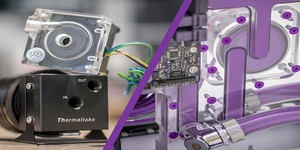
The next step was making up a set of cables for this rig. Rather than going the usual 'custom through to the PSU' route, though, I figured it would be wiser to make a set of themed extensions. By doing that we'll be able to reuse them in future quick builds where full cable sets aren't available, and it's also a great option to try at home, as you can move them from system to system should you change PSUs and so on.
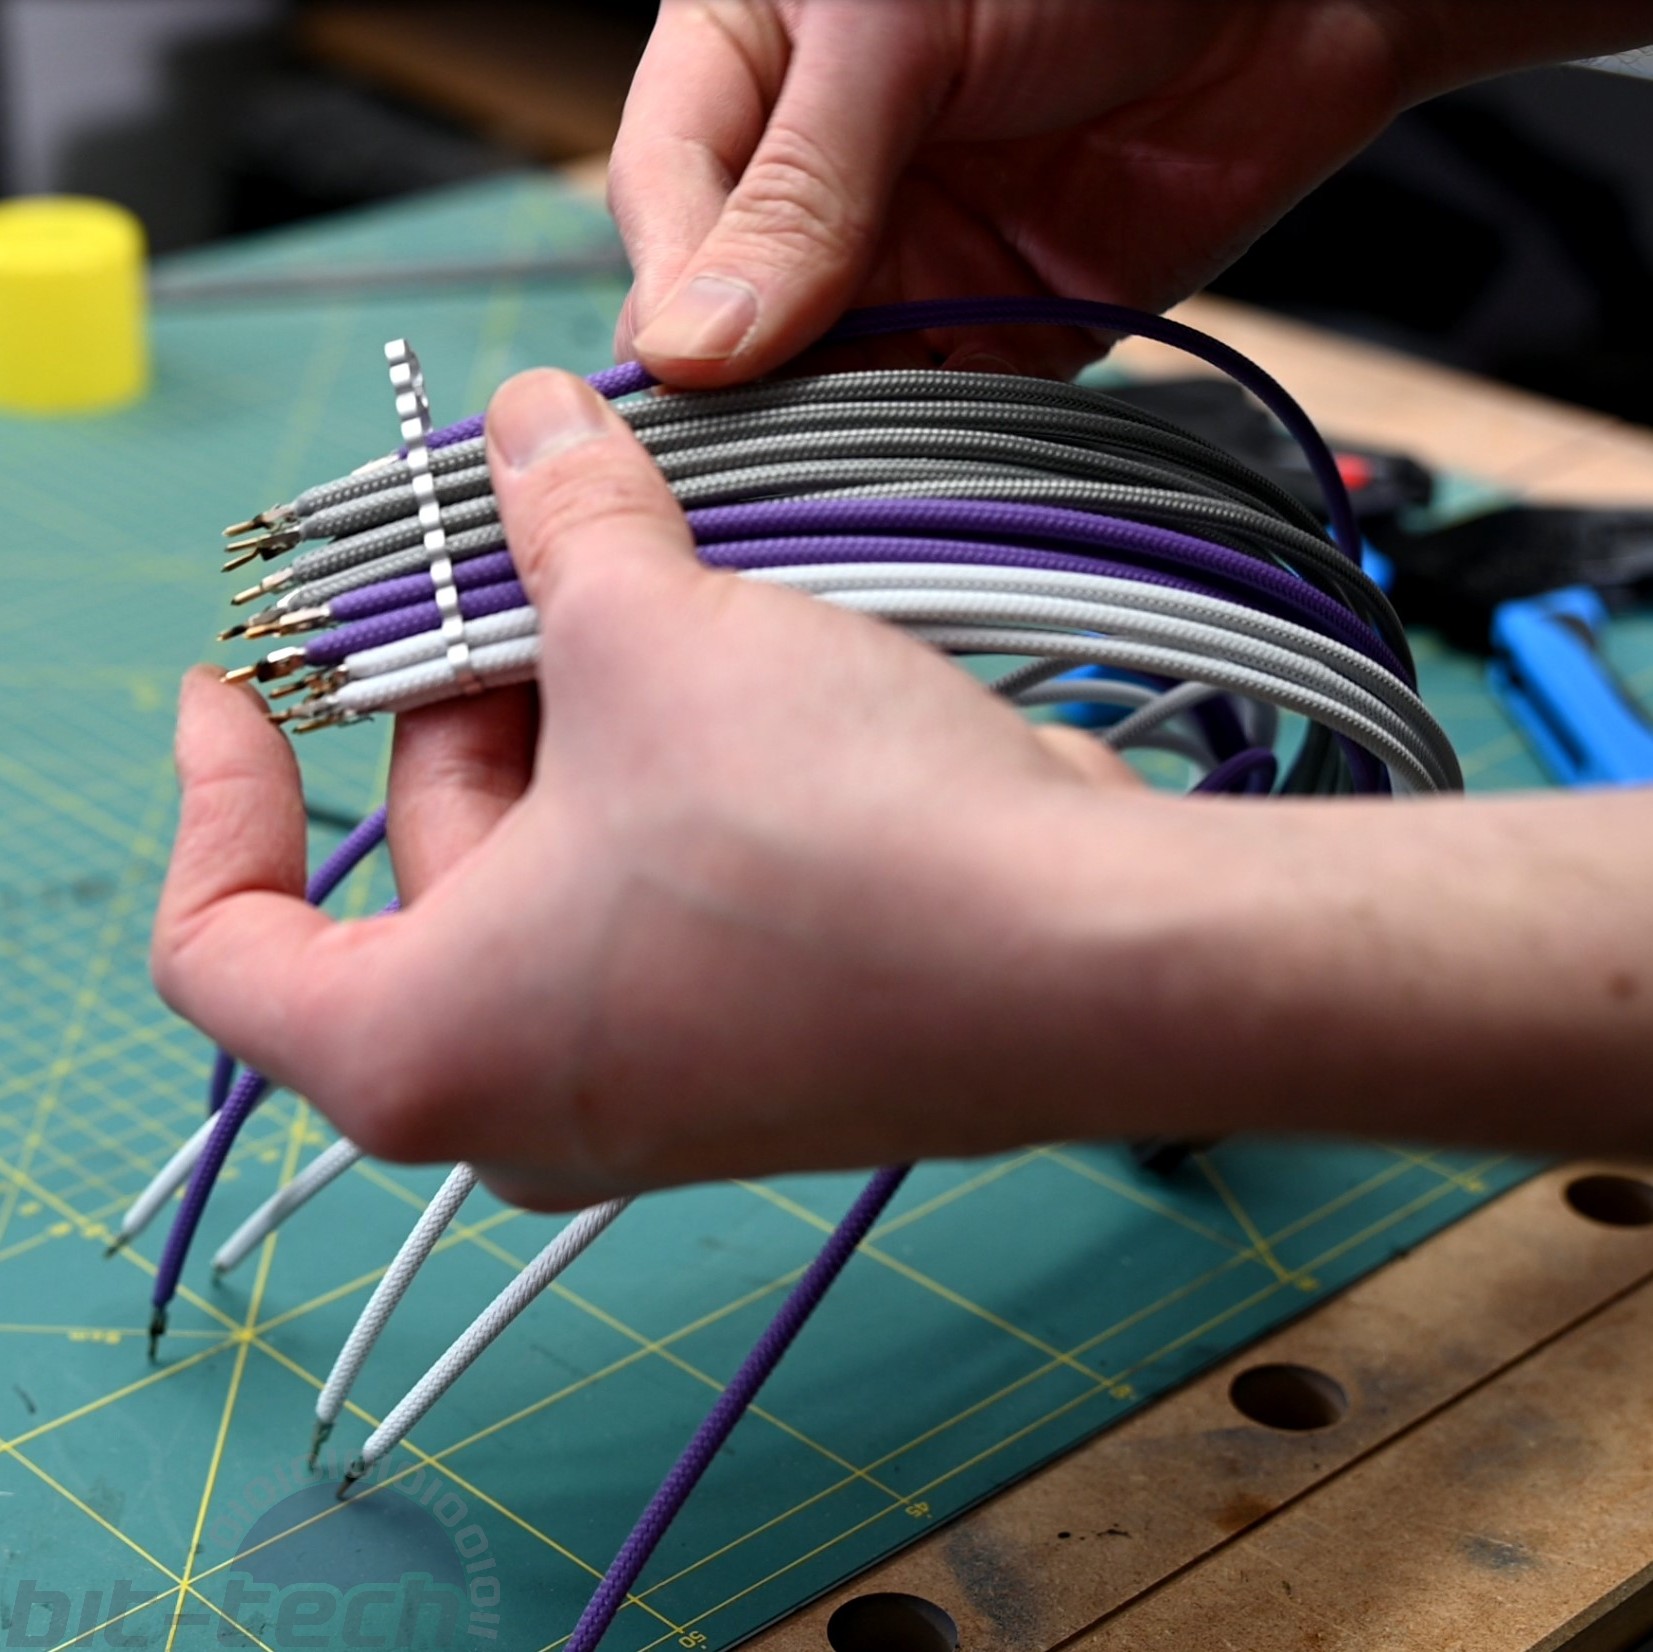
Since this is bit-tech, it only made sense to use the classic combo of purple, white, and silver sleeving over some fairly thick 16AWG wire. I'm using the Alphacool aluminium cable combs here for keeping things organised; they're a personal favourite, as they're low profile, won't snap, and can accommodate thicker wires without trouble.
Paint up and install
We've got panels, we've got cables, how about getting the parts painted and ready for installing the system? The stock chassis is plain black, which is a tad on the dull side if you ask me, even with all the lighting. To spruce things up a bit, I opted to paint the front panel silver, just to line up a bit more with the aluminium panels present in the mod. The white 5 Series DDR4 also stands out like a sore thumb, so the heatspreaders for that also got the same treatment.
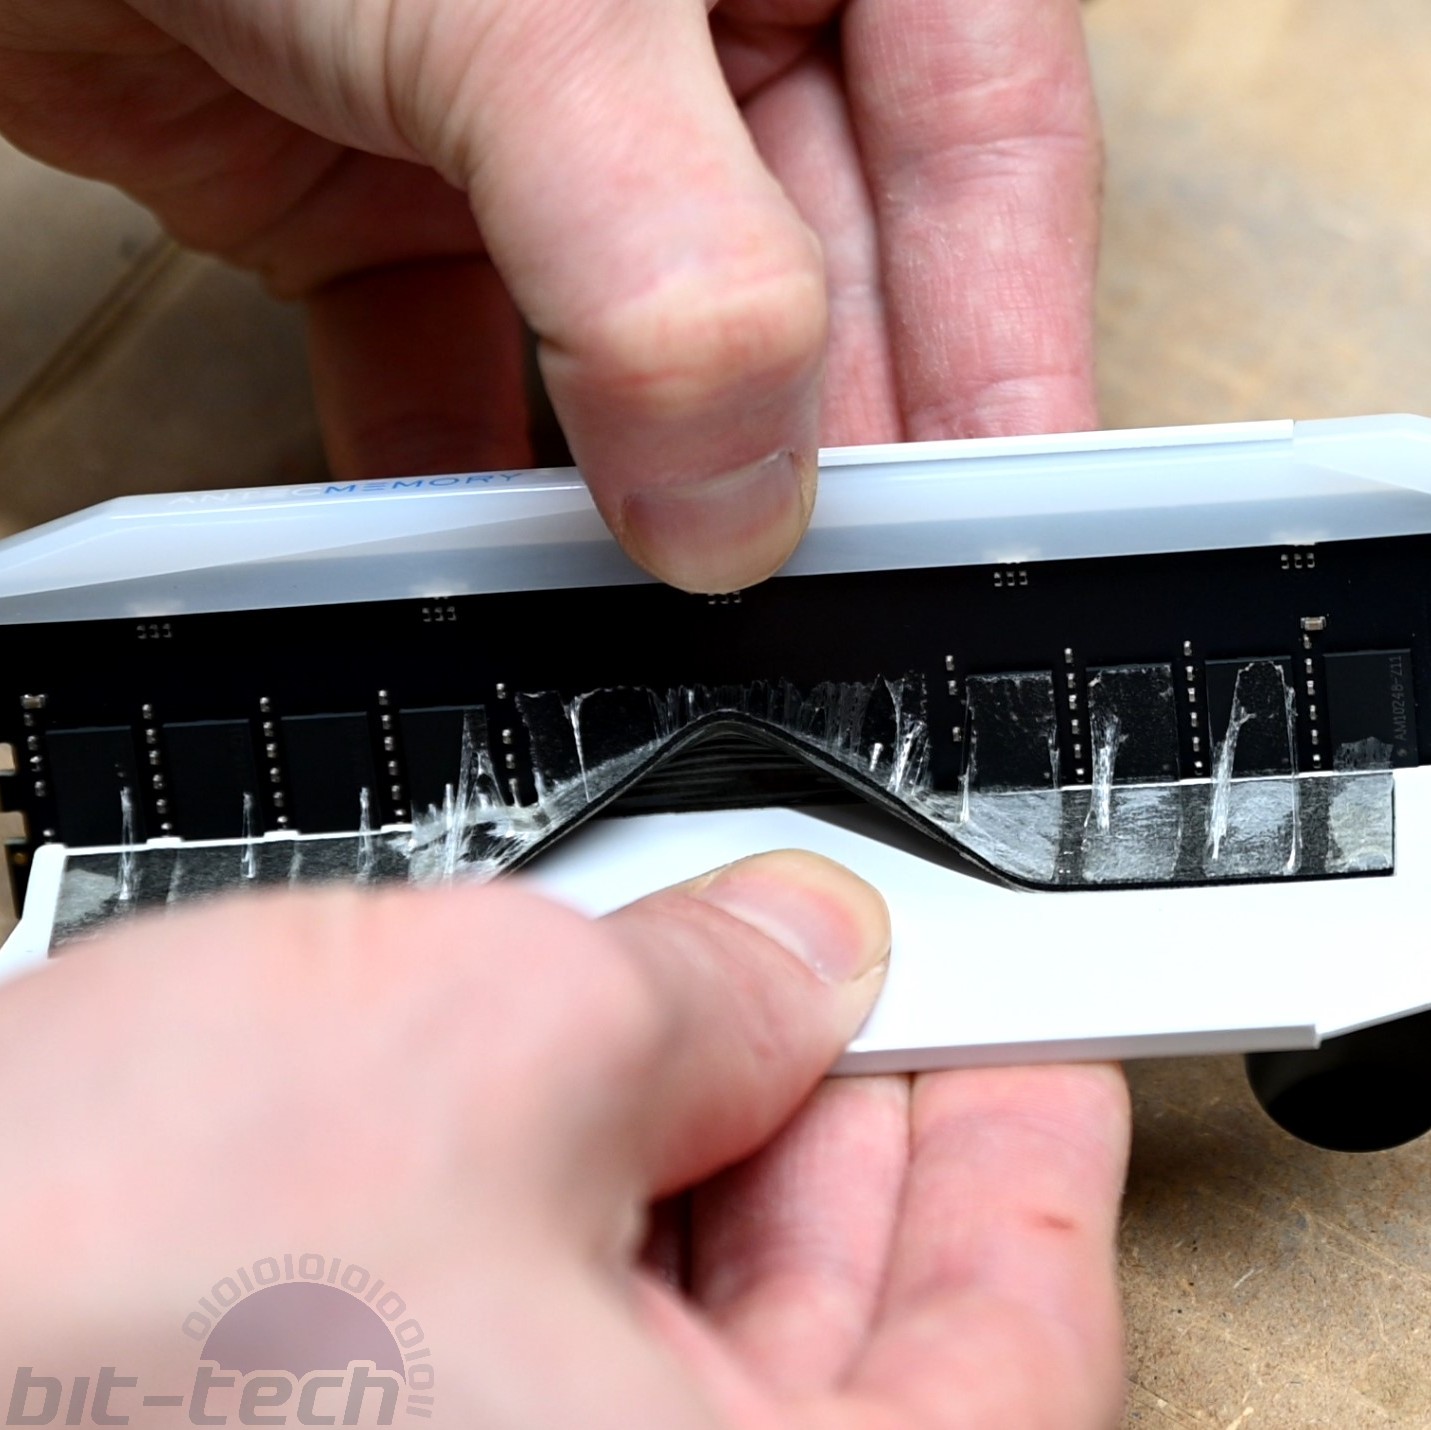
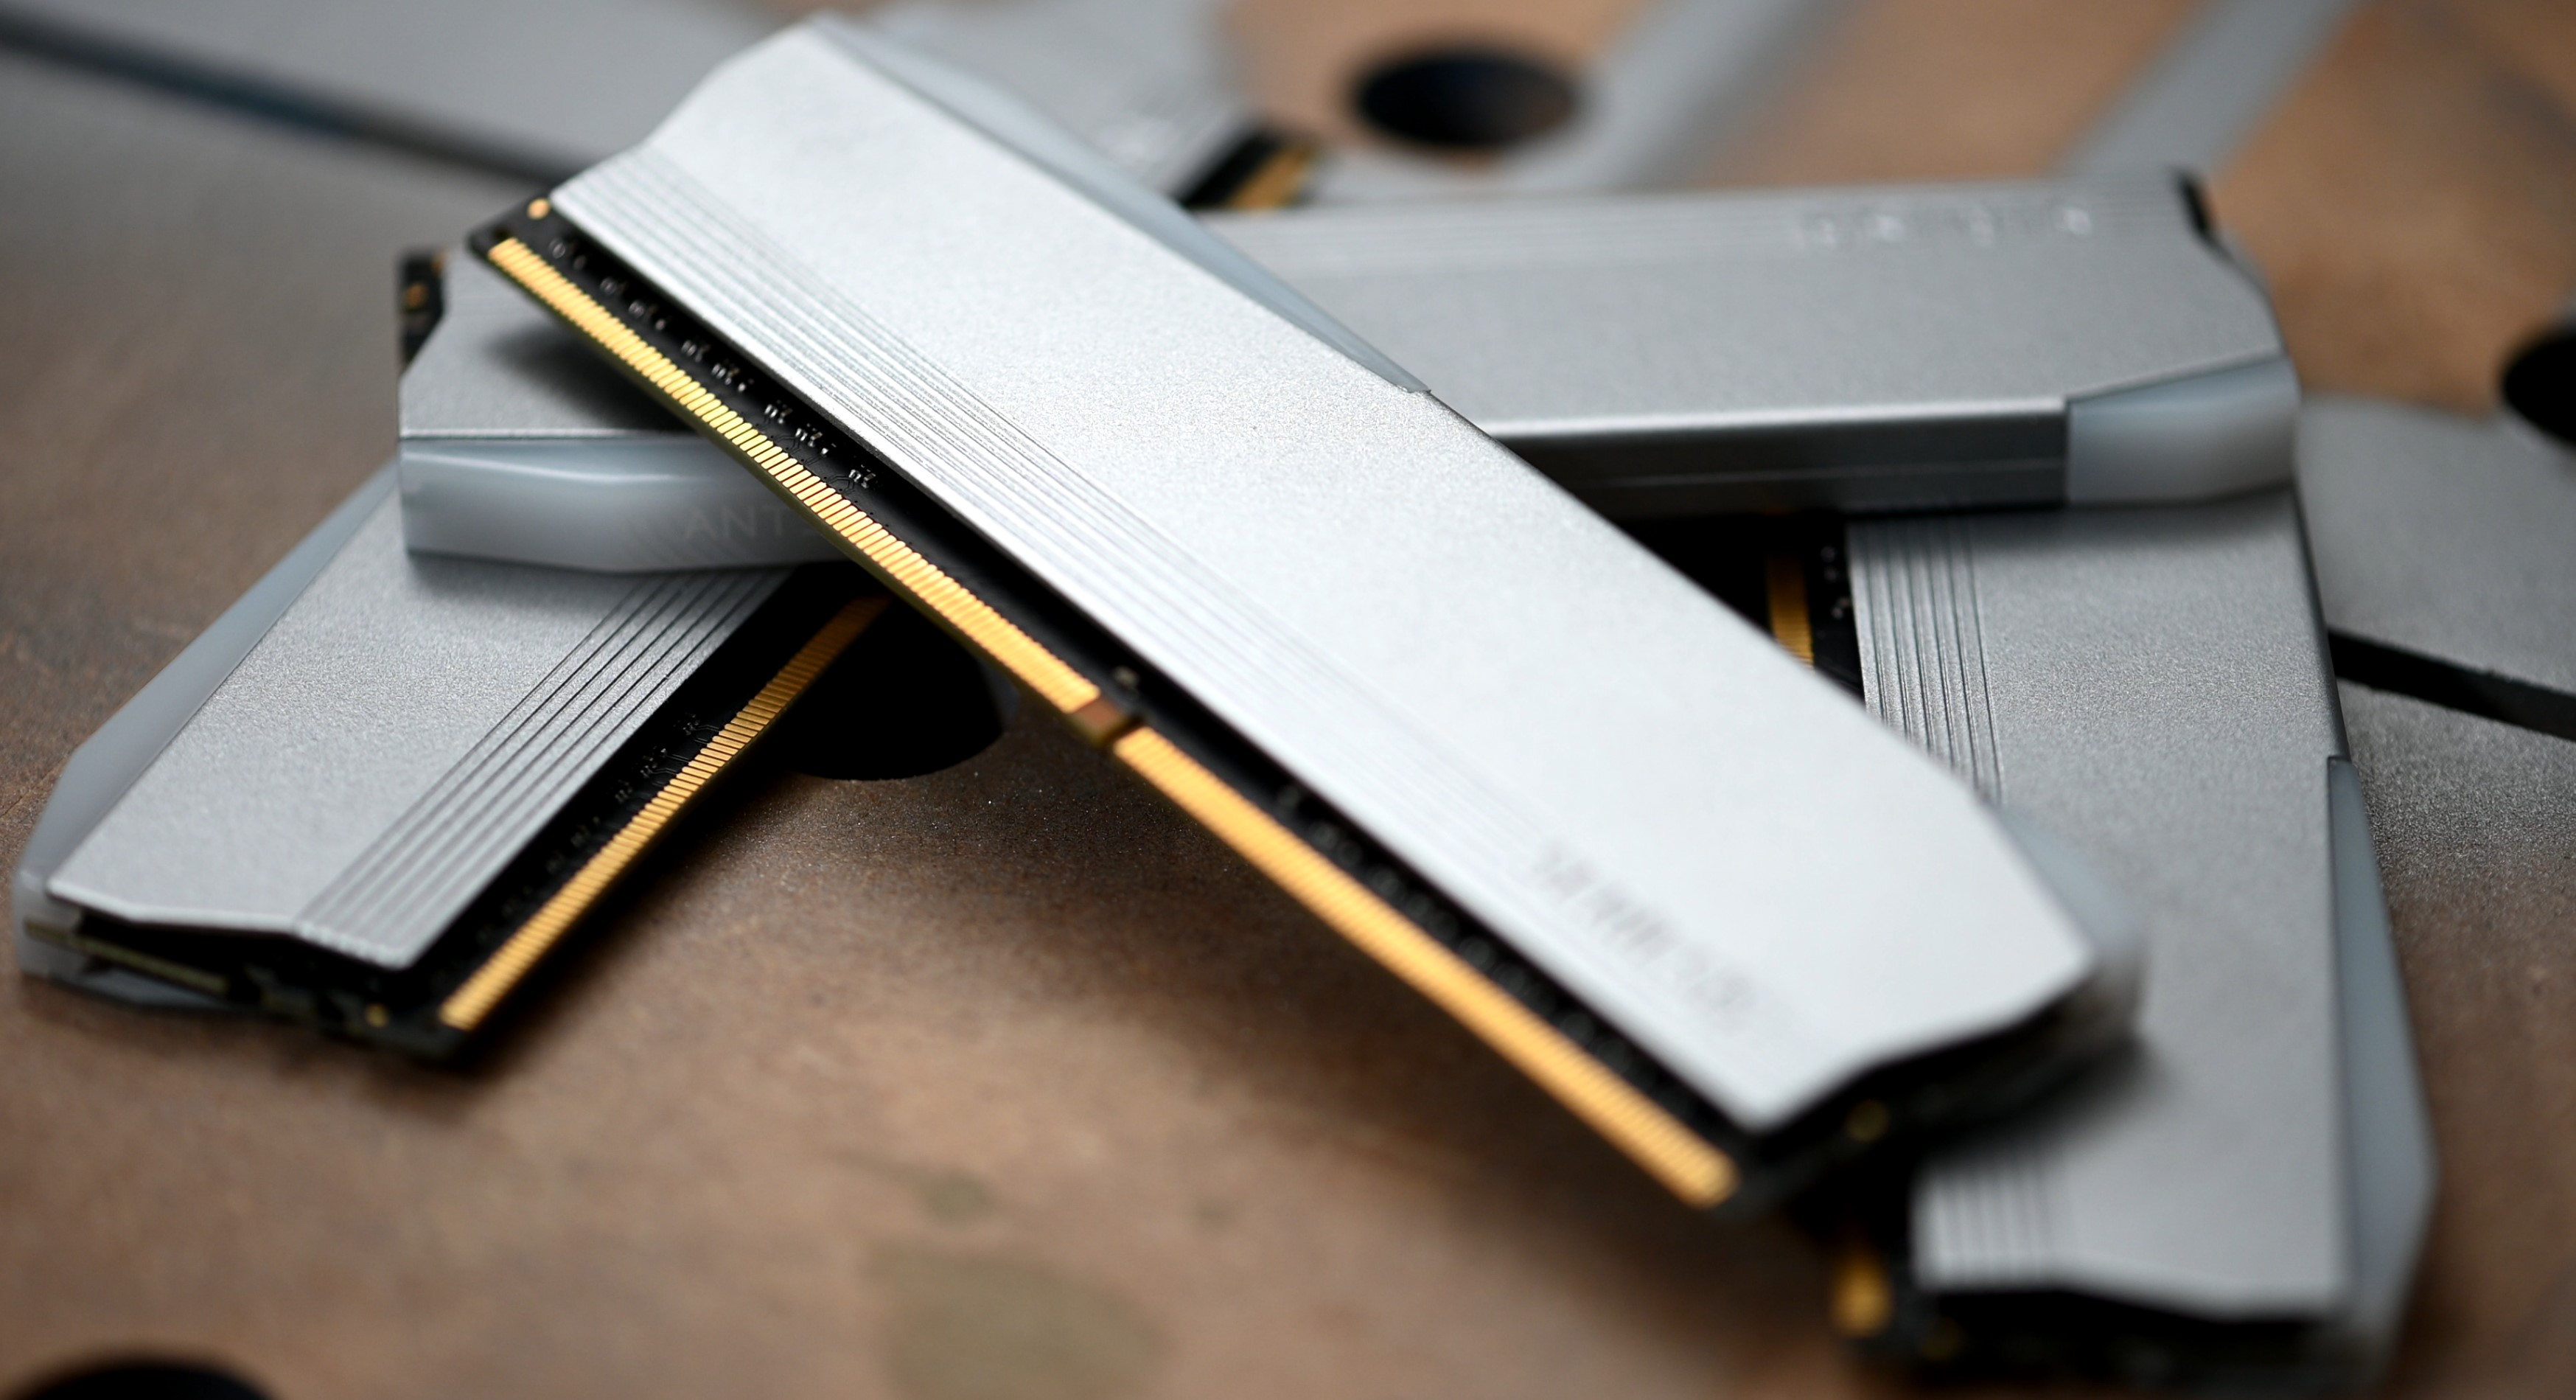
To reduce mess, it made sense to use the airbrush for this, despite there not really being any artwork. My workshop's really quite mini, so painting inside with rattle cans is a painful experience; at least with the airbrush the flow of paint is much more controlled. Removing the heatspreaders was a simple matter of warming over the heat gun and peeling them off, some light prep work with a soft pad and they were ready for spraying, same deal for the front panel that simply pops off the chassis.
The new panels were designed with ease of installation in mind, as long as they're added in a particular order... Beginning with the bottom-most panel, I made sure to check that the LED strip was inserted and cabled up (good luck accessing those once everything's in place) then slid it into place on top of the PSU shroud. Next to go in was the top light panel, which thanks to a careless oversight on my end actually required the aluminium plate to be installed first as the case roof prevents access to the screws. This top panel is held in place with screws that pass through the top fan hole locations to keep things simple.
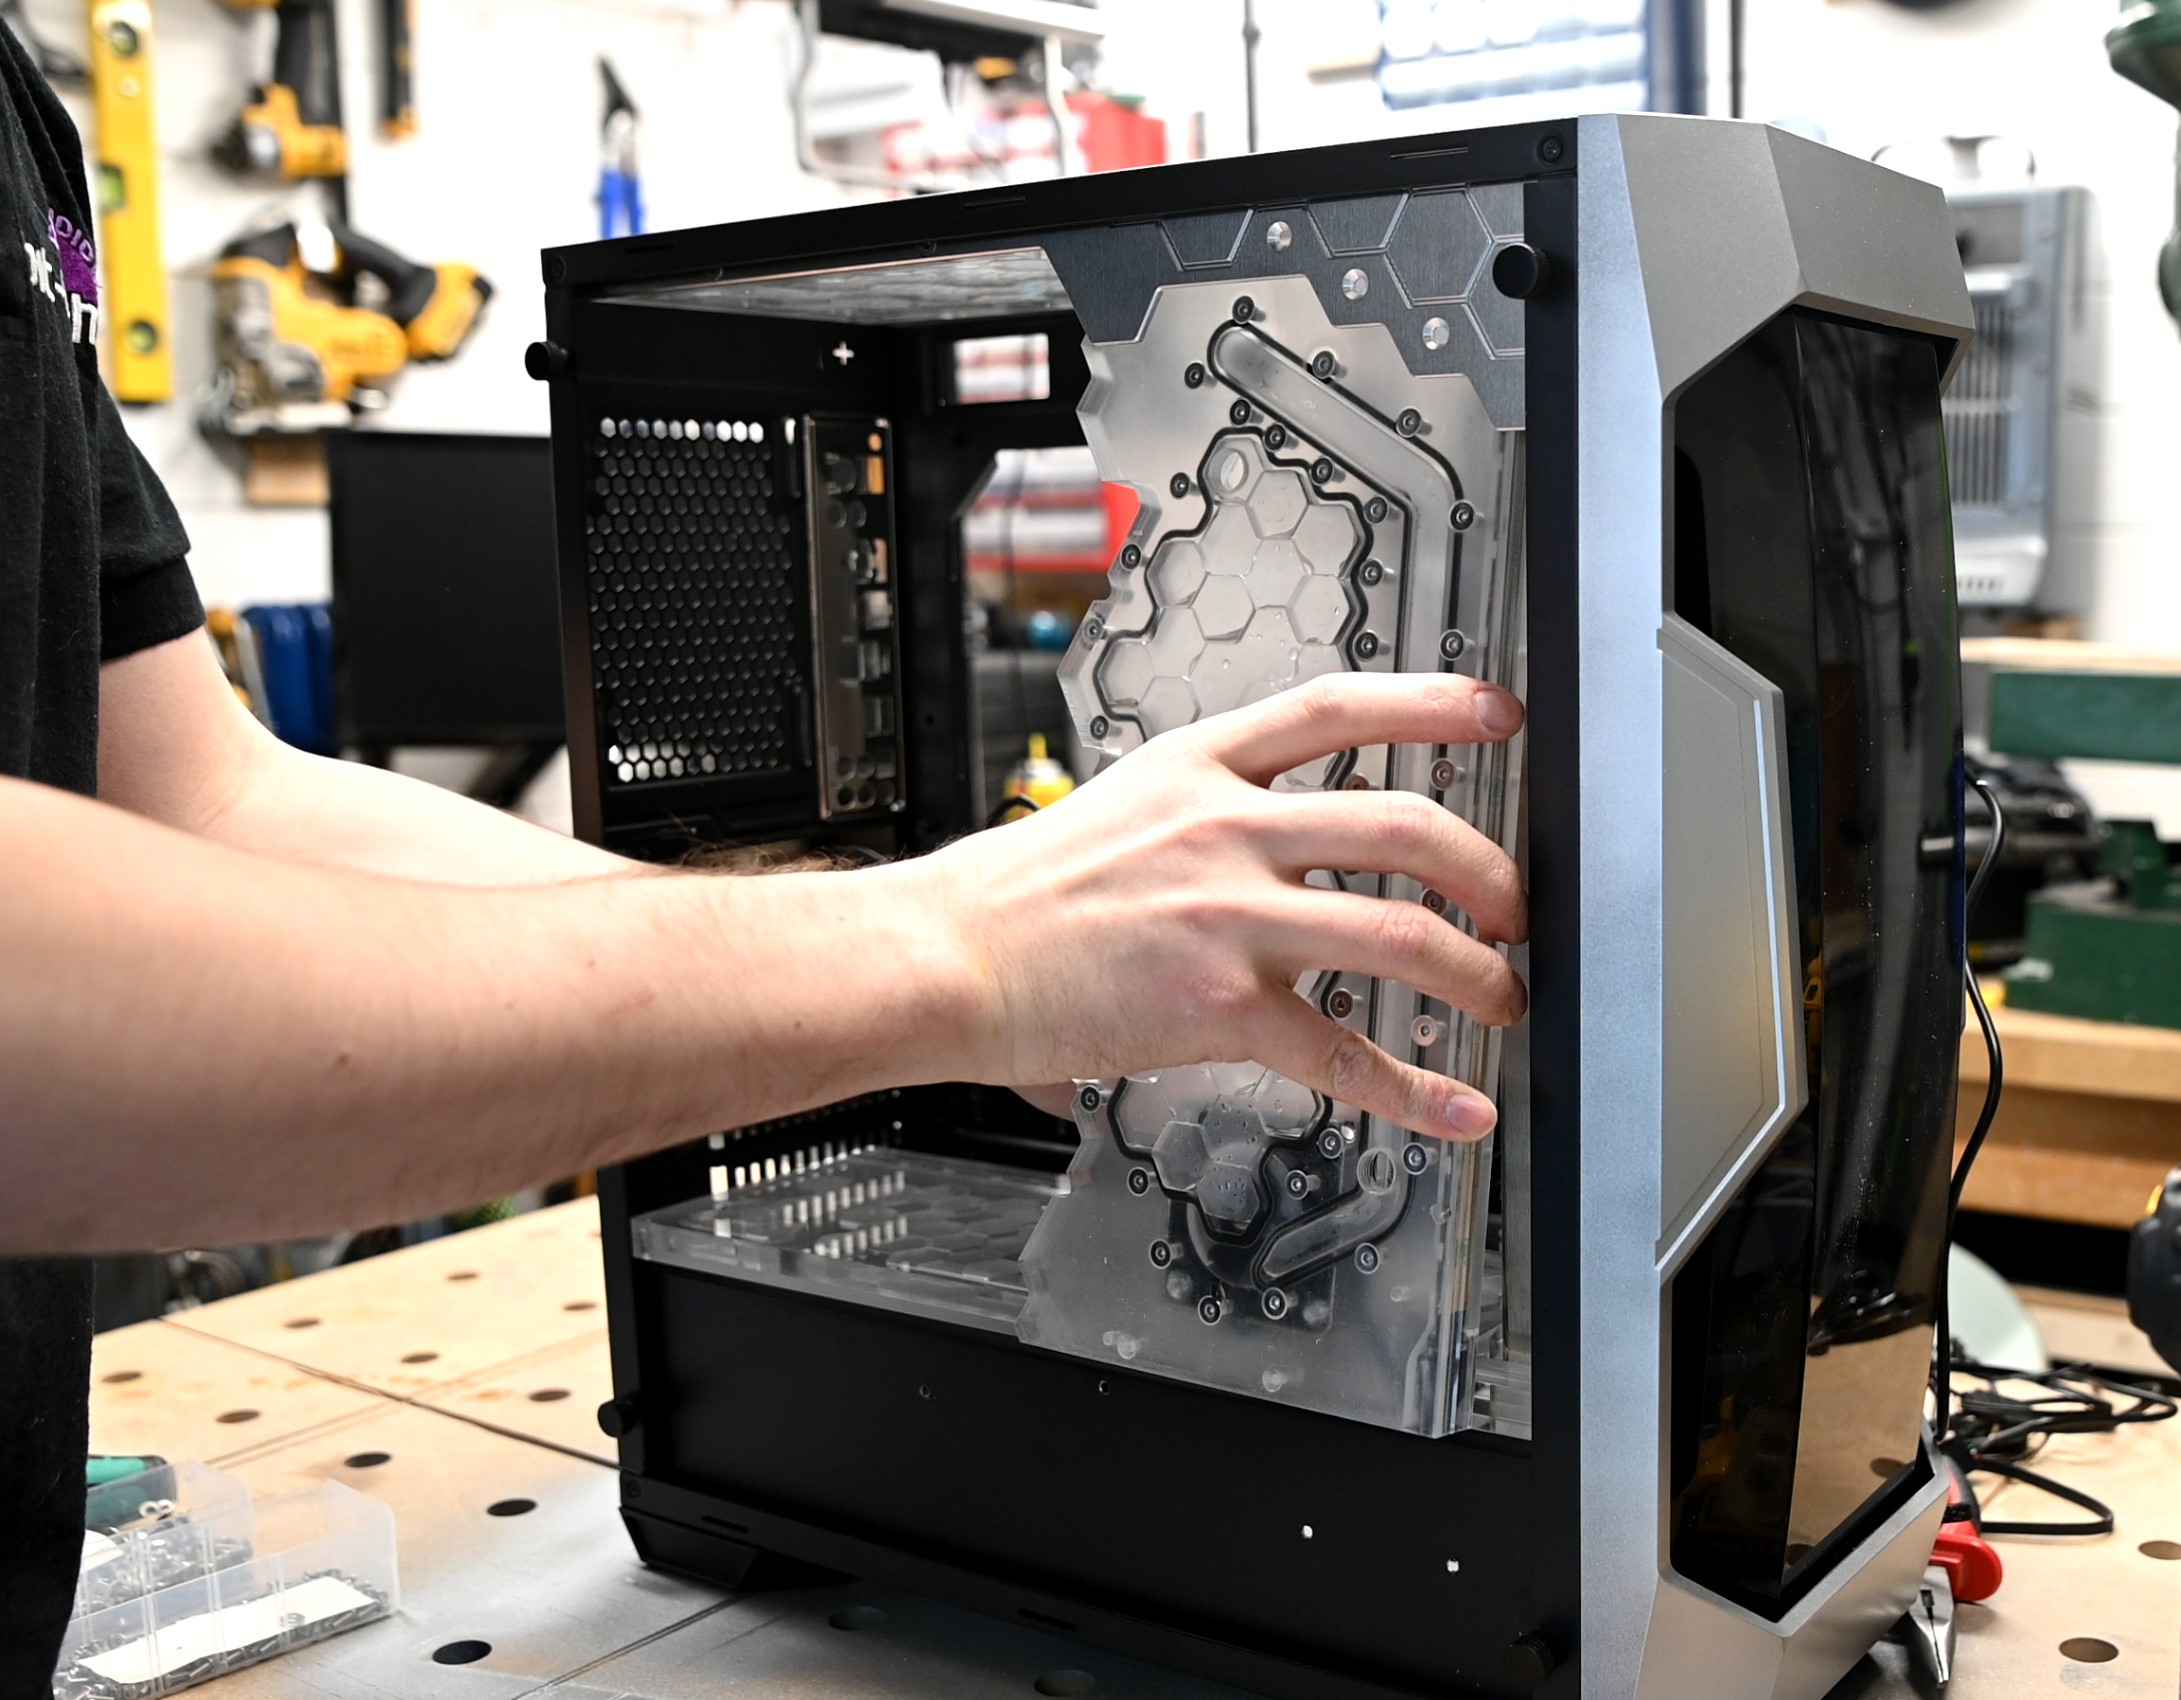
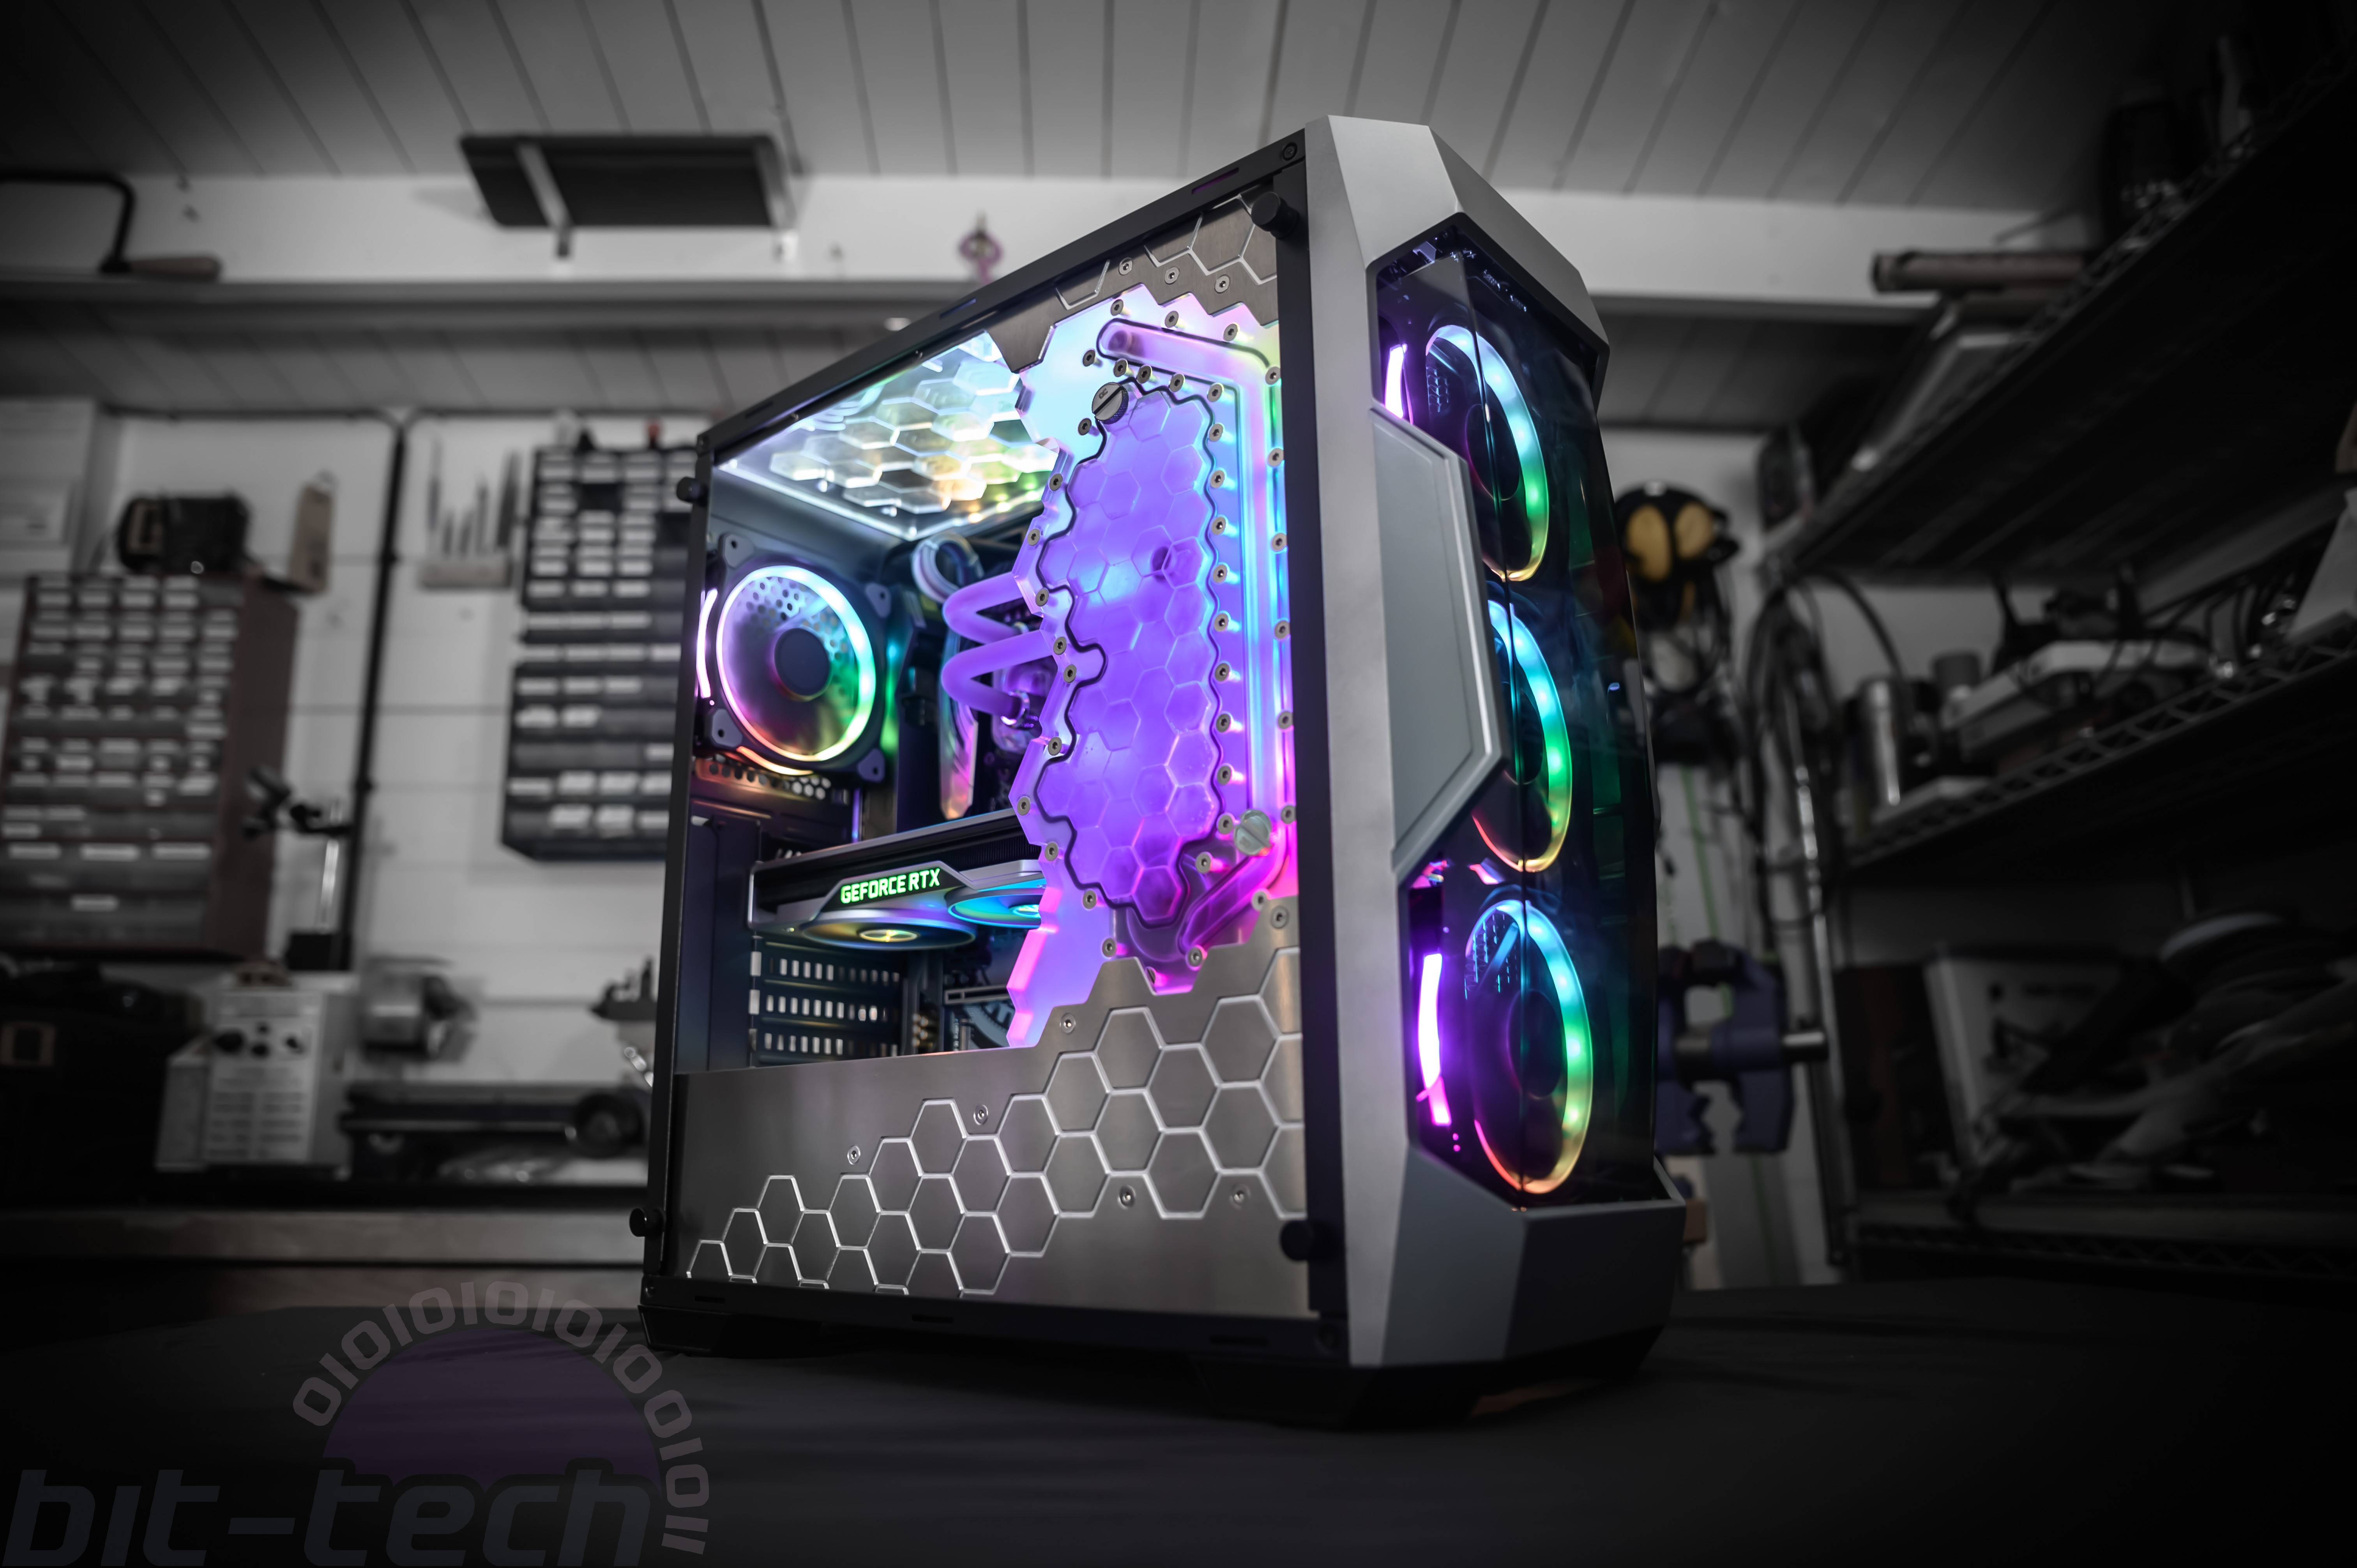
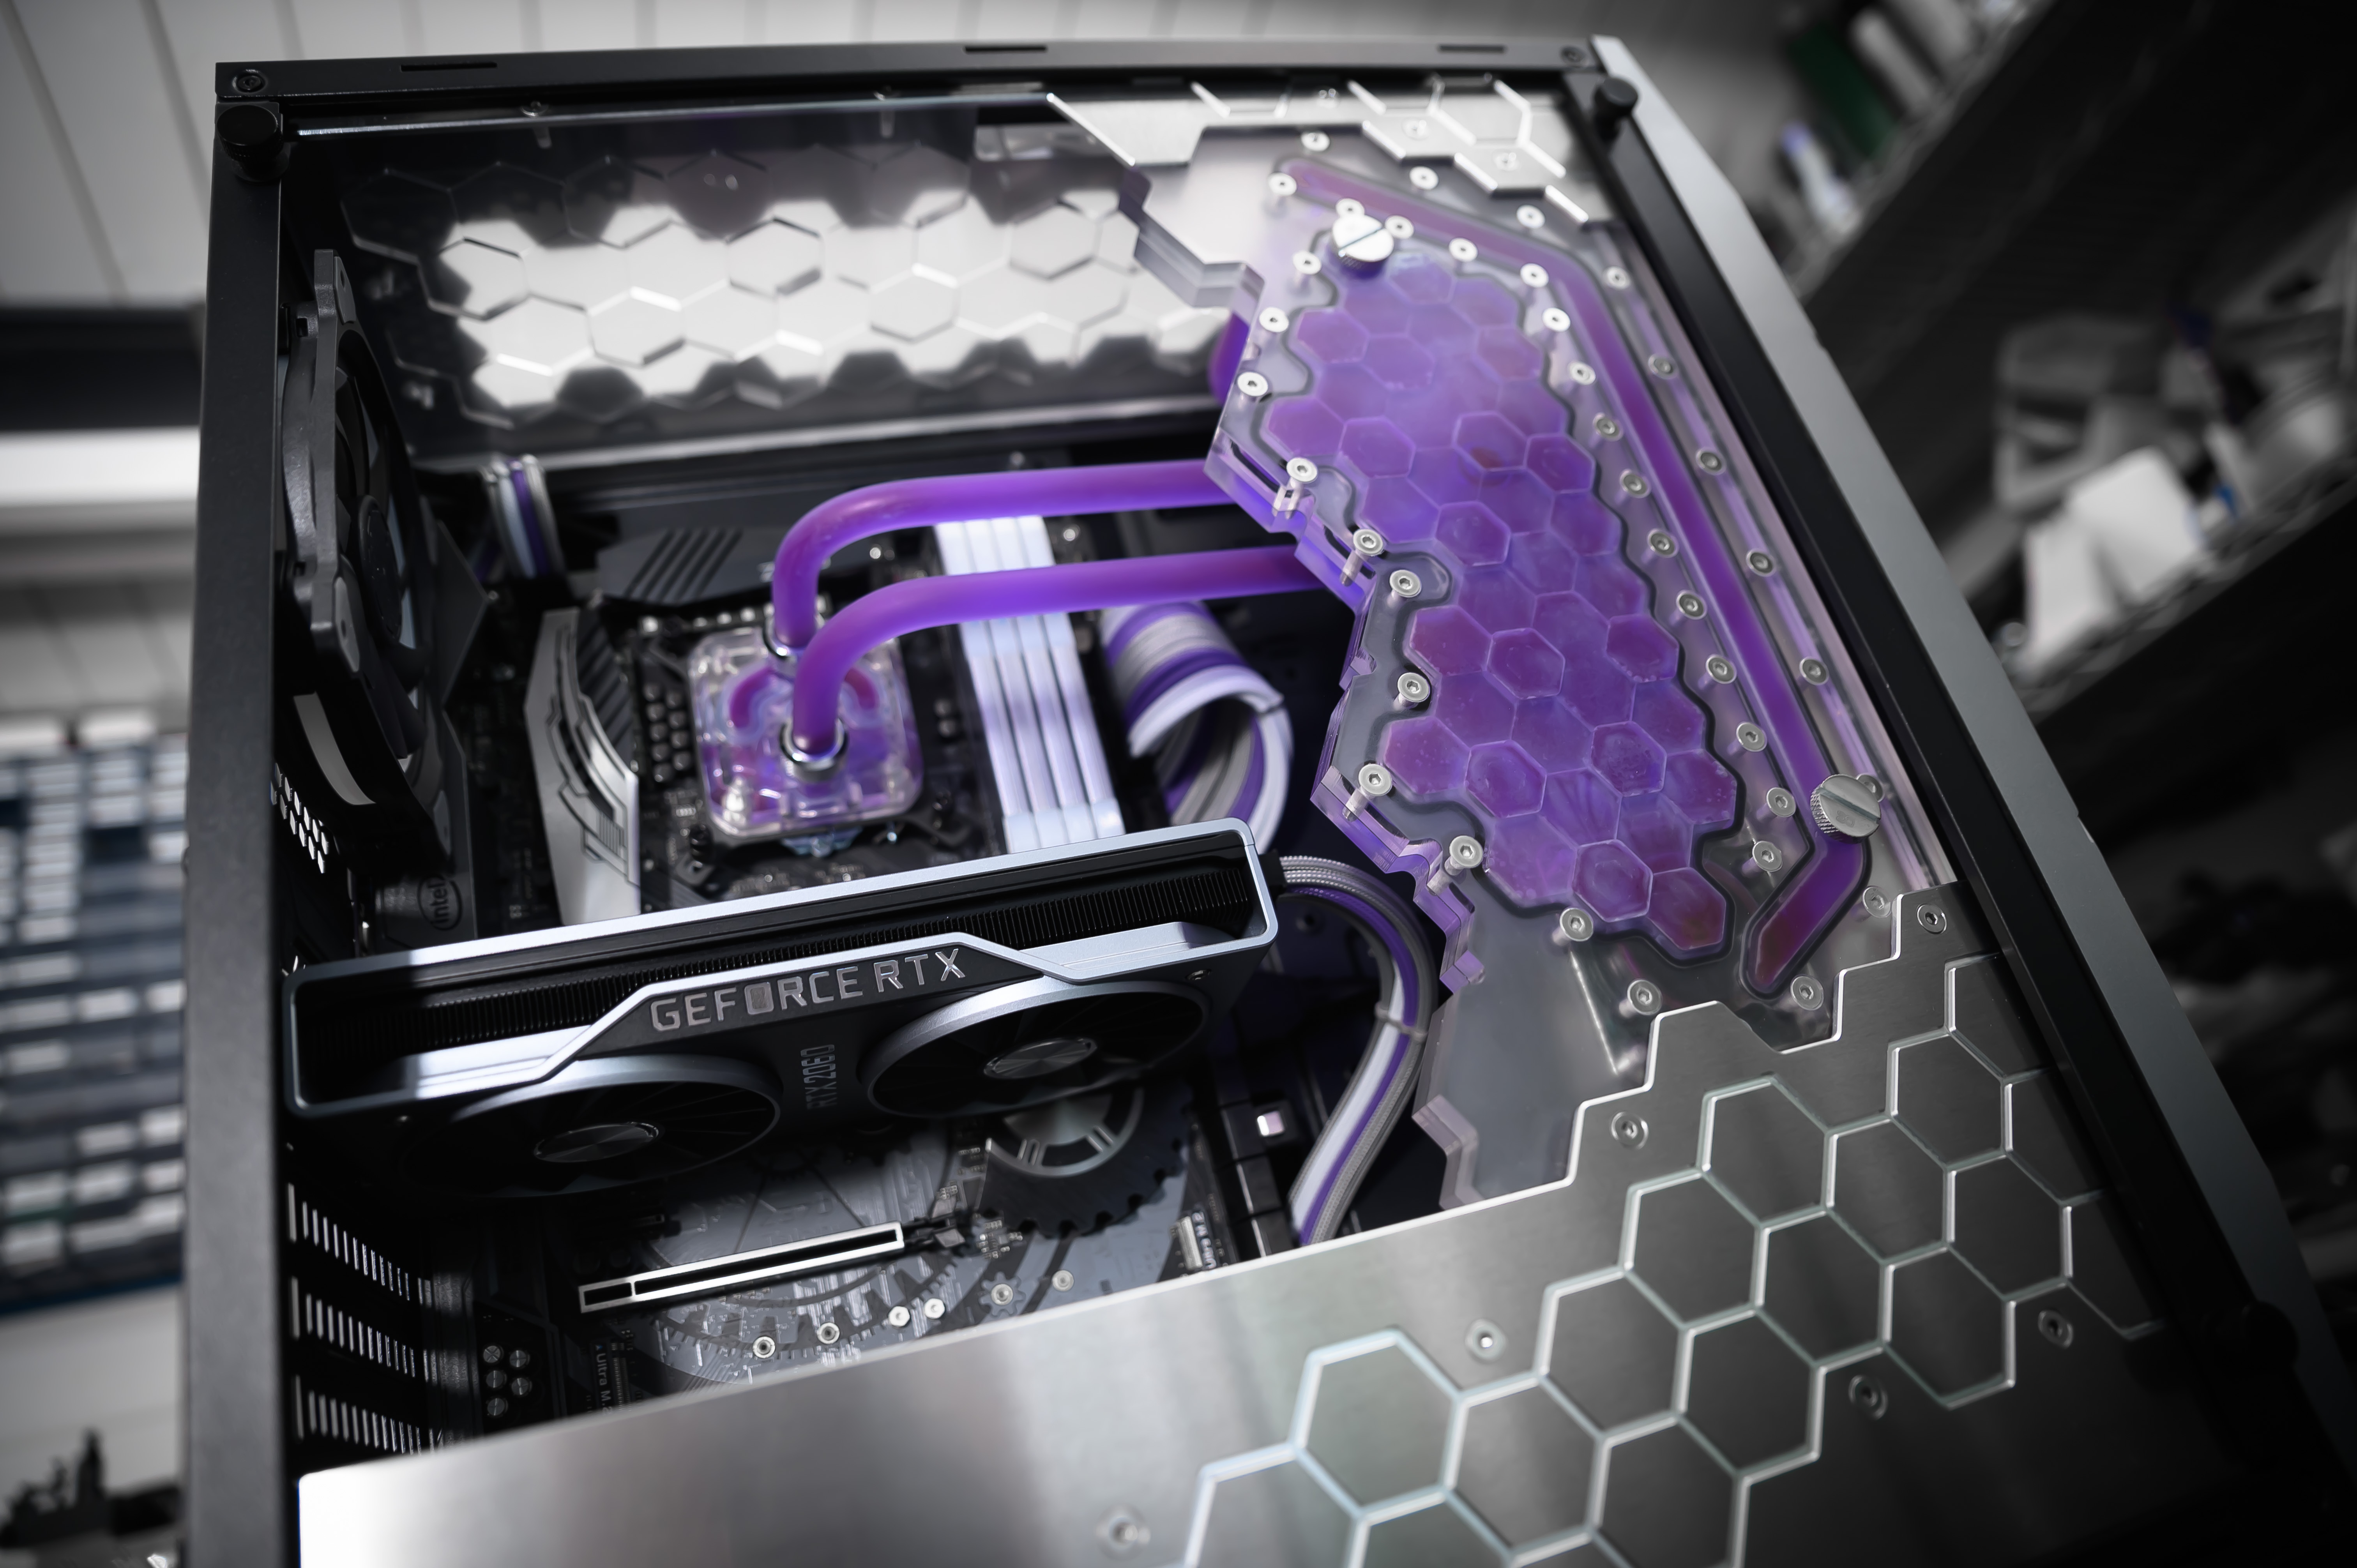
Finally the distro plate had its turn, sliding between the two plates and the aluminium top cover. This plate screws into the top cover and into the lighting panel on the shroud, adding a fair bit of strength to the setup. Probably the best bit about this distro plate is that it creates a huge amount of room inside the case. Not having a large, round reservoir and pump standing behind the radiator makes the whole chassis feel twice as capacious. Finally the aluminium PSU cover is placed on top and screwed into place. This is the cover that provides structural integrity to the bottom half of the system, linking the lighting and distro plate to the lower chassis.
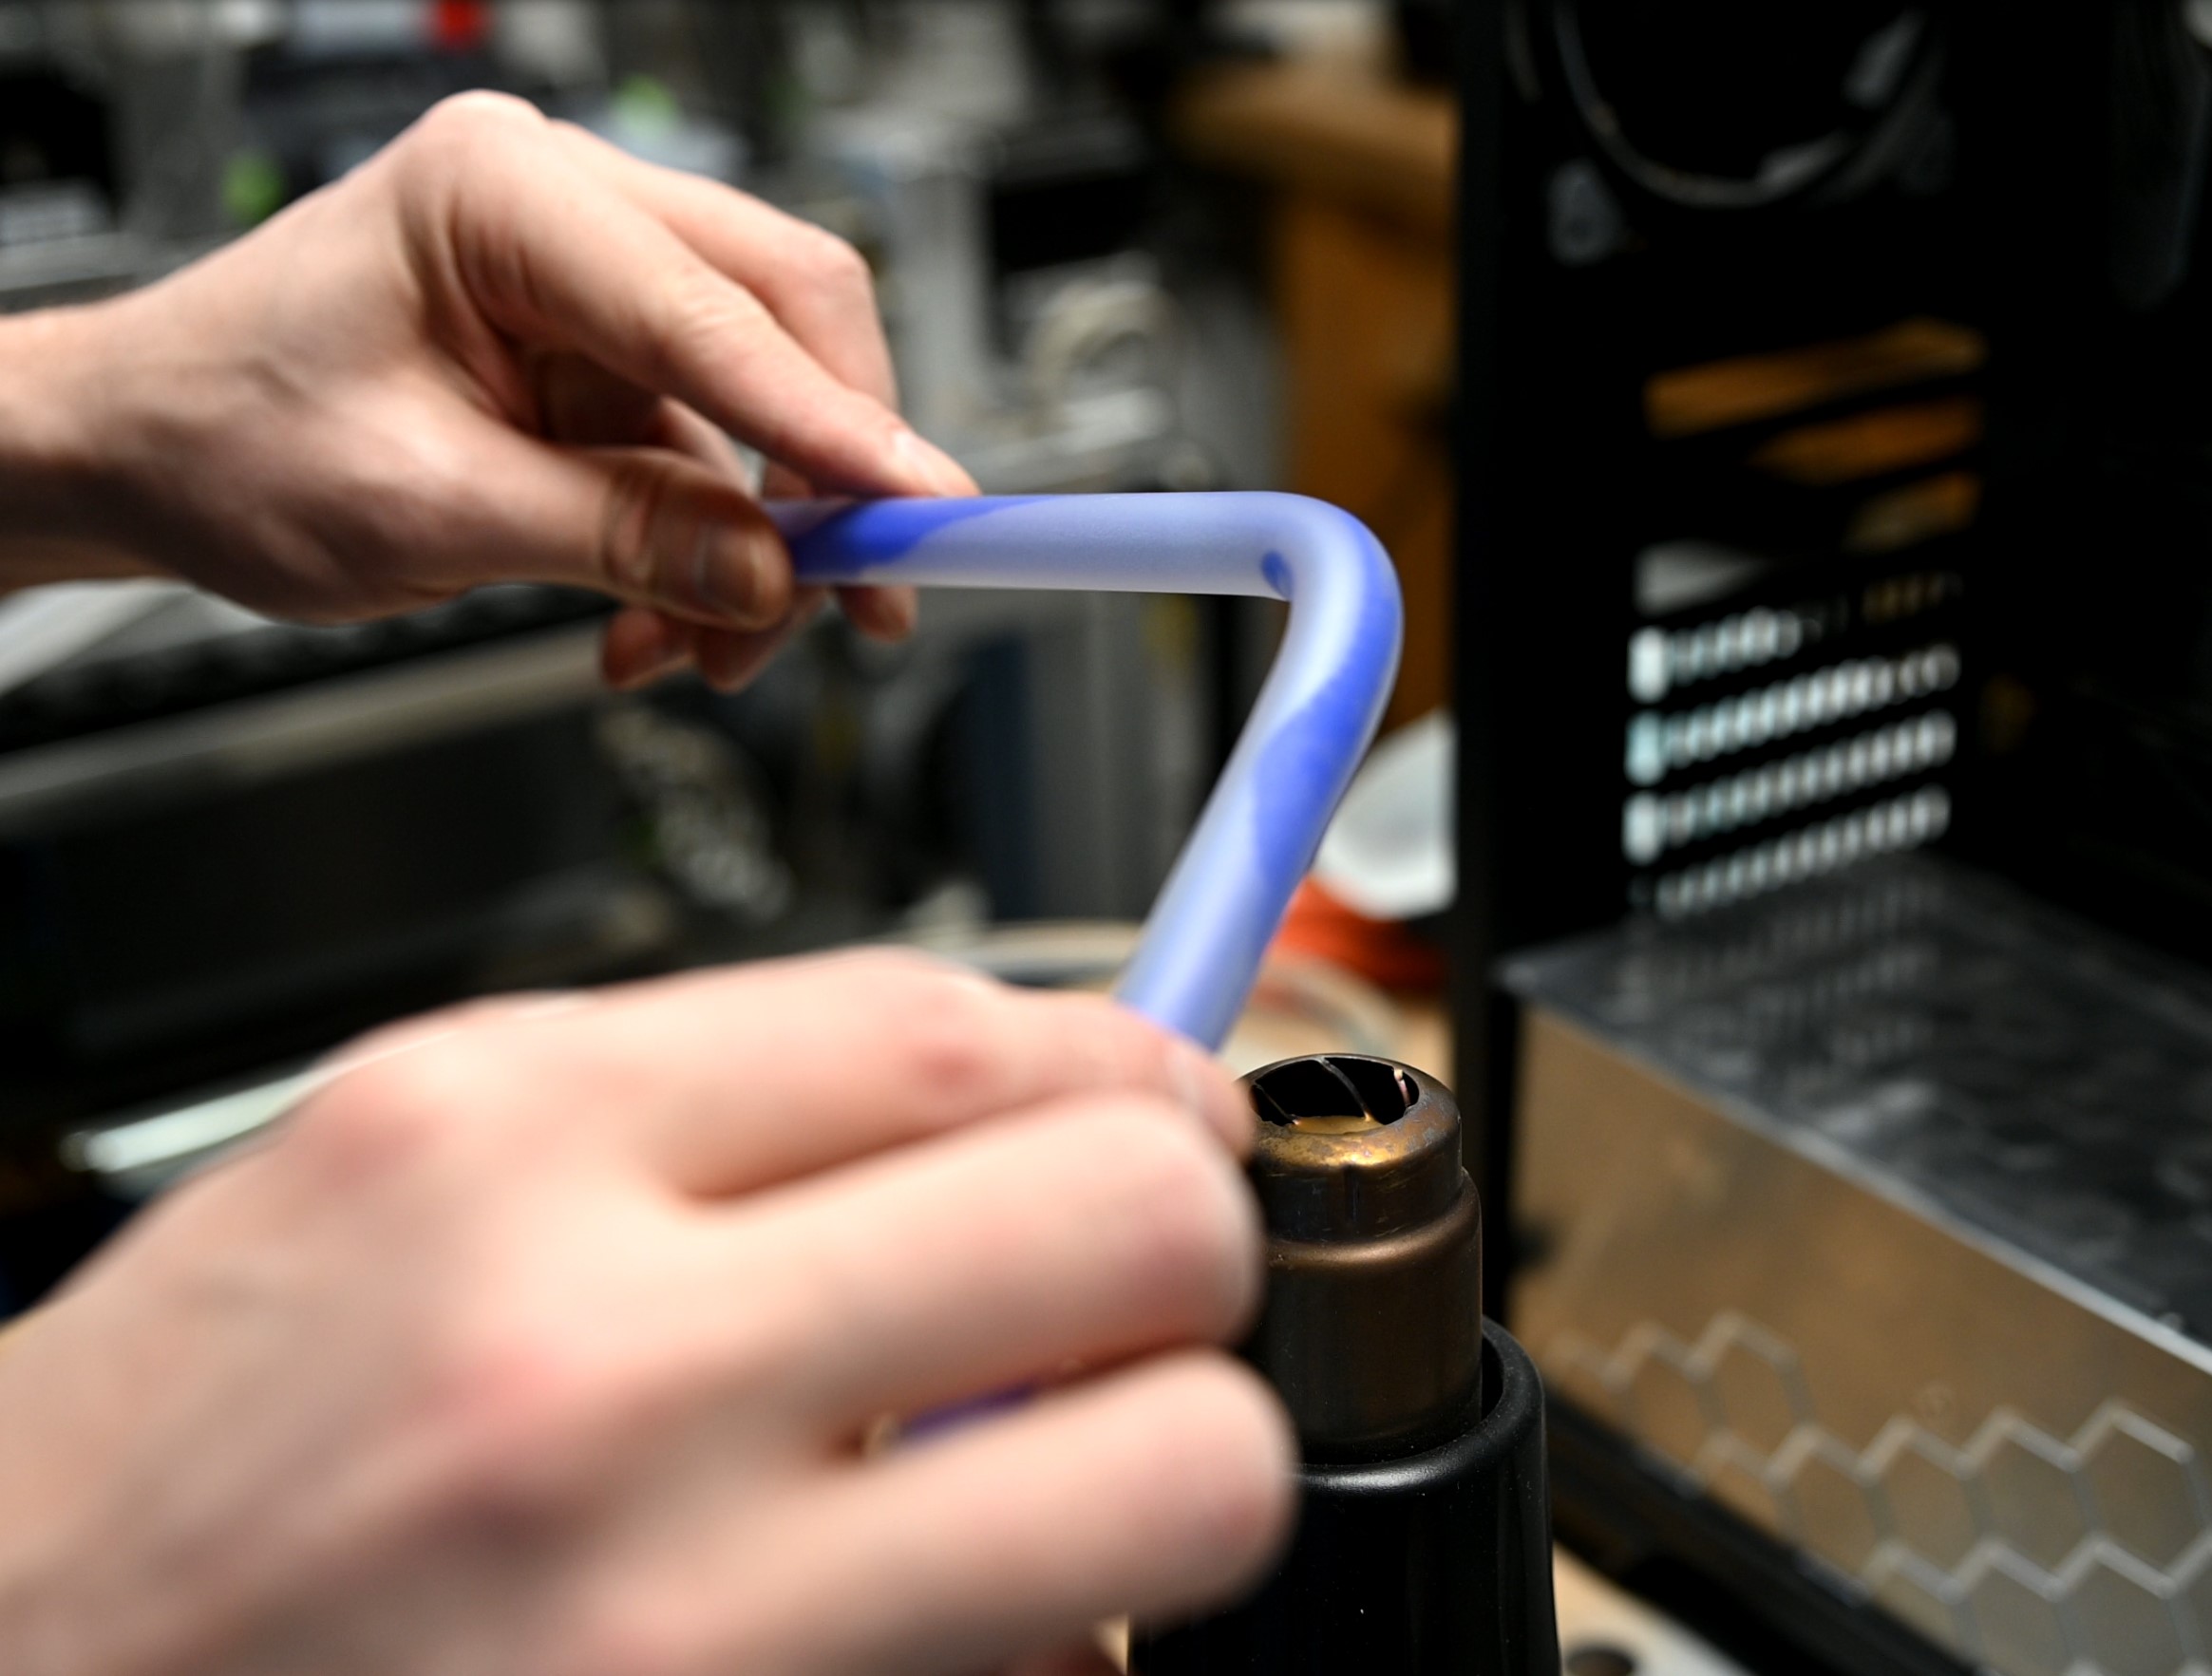
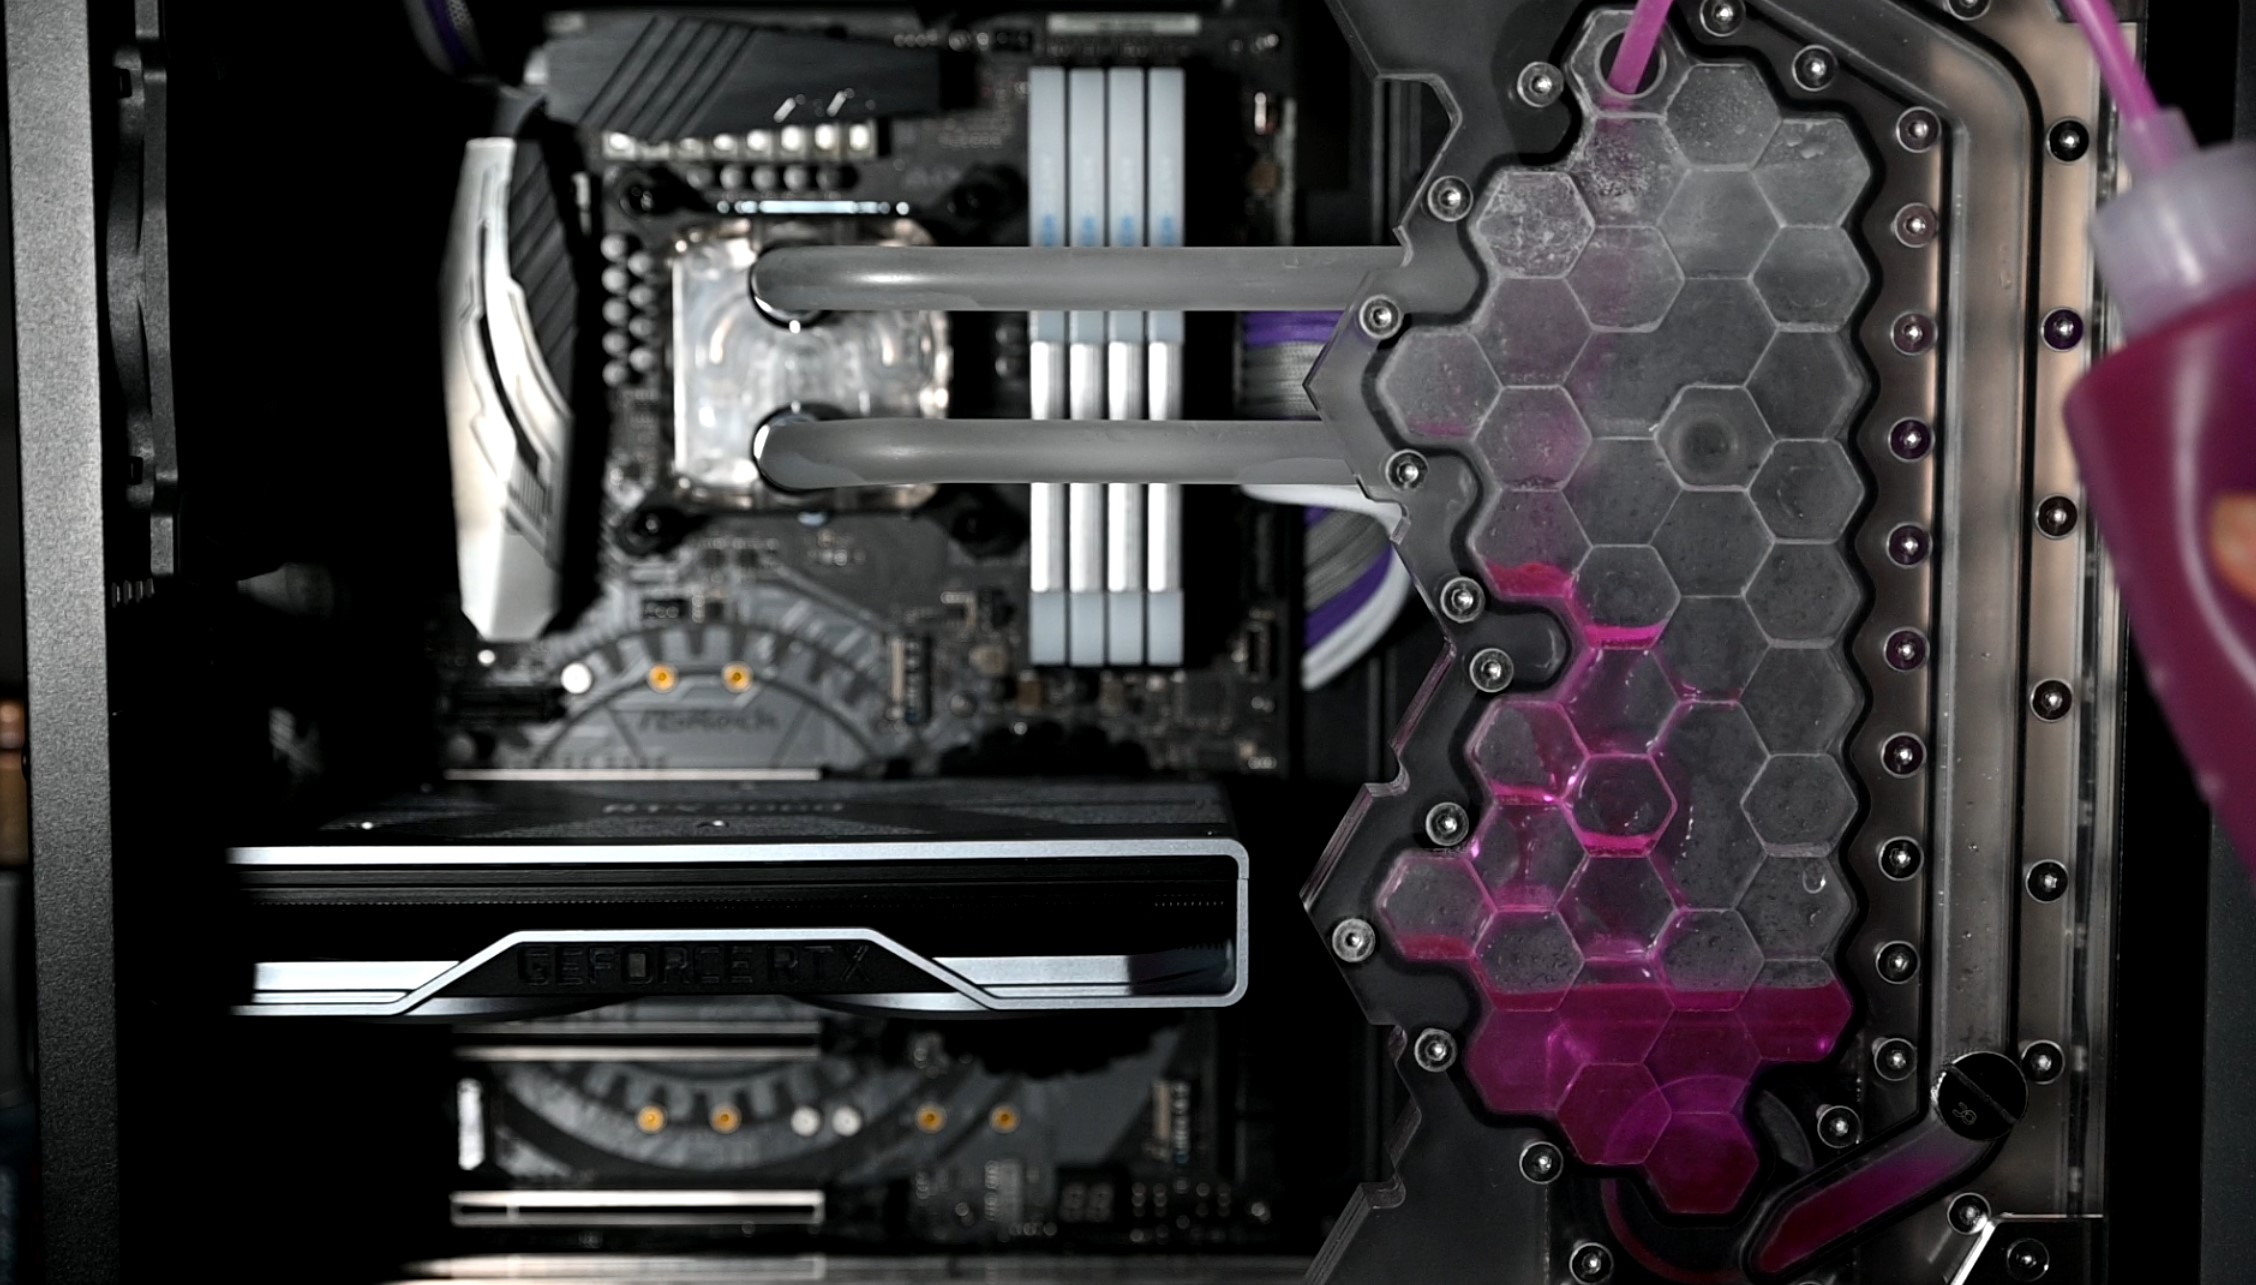
Next was simply a matter of adding in the cable extensions, plumbing the loop (there are only three tubes, blissfully simple) and filling her up. Additionally I decided that I didn't like the mesh on the top obscuring the lighting plate, so I used some tin snips to chop it away; it definitely looks much cleaner without it! For the coolant I used Alphacool's clear Eiswasser with a few drops of purple and blue dyes to get that nice, rich colouring. Mysteriously enough, the RGB was quite easy to configure for this build. The biggest trouble I had was with controlling the RAM in fact, as ASRock's Polychrome utility doesn't actually work on Z370 boards; I had to resort to using a competitor's software instead, which did a fine enough job of reigning in those rainbows.


MSI MPG Velox 100R Chassis Review
October 14 2021 | 15:04

Want to comment? Please log in.