Fitting the Glacier C350I CPU Water Block
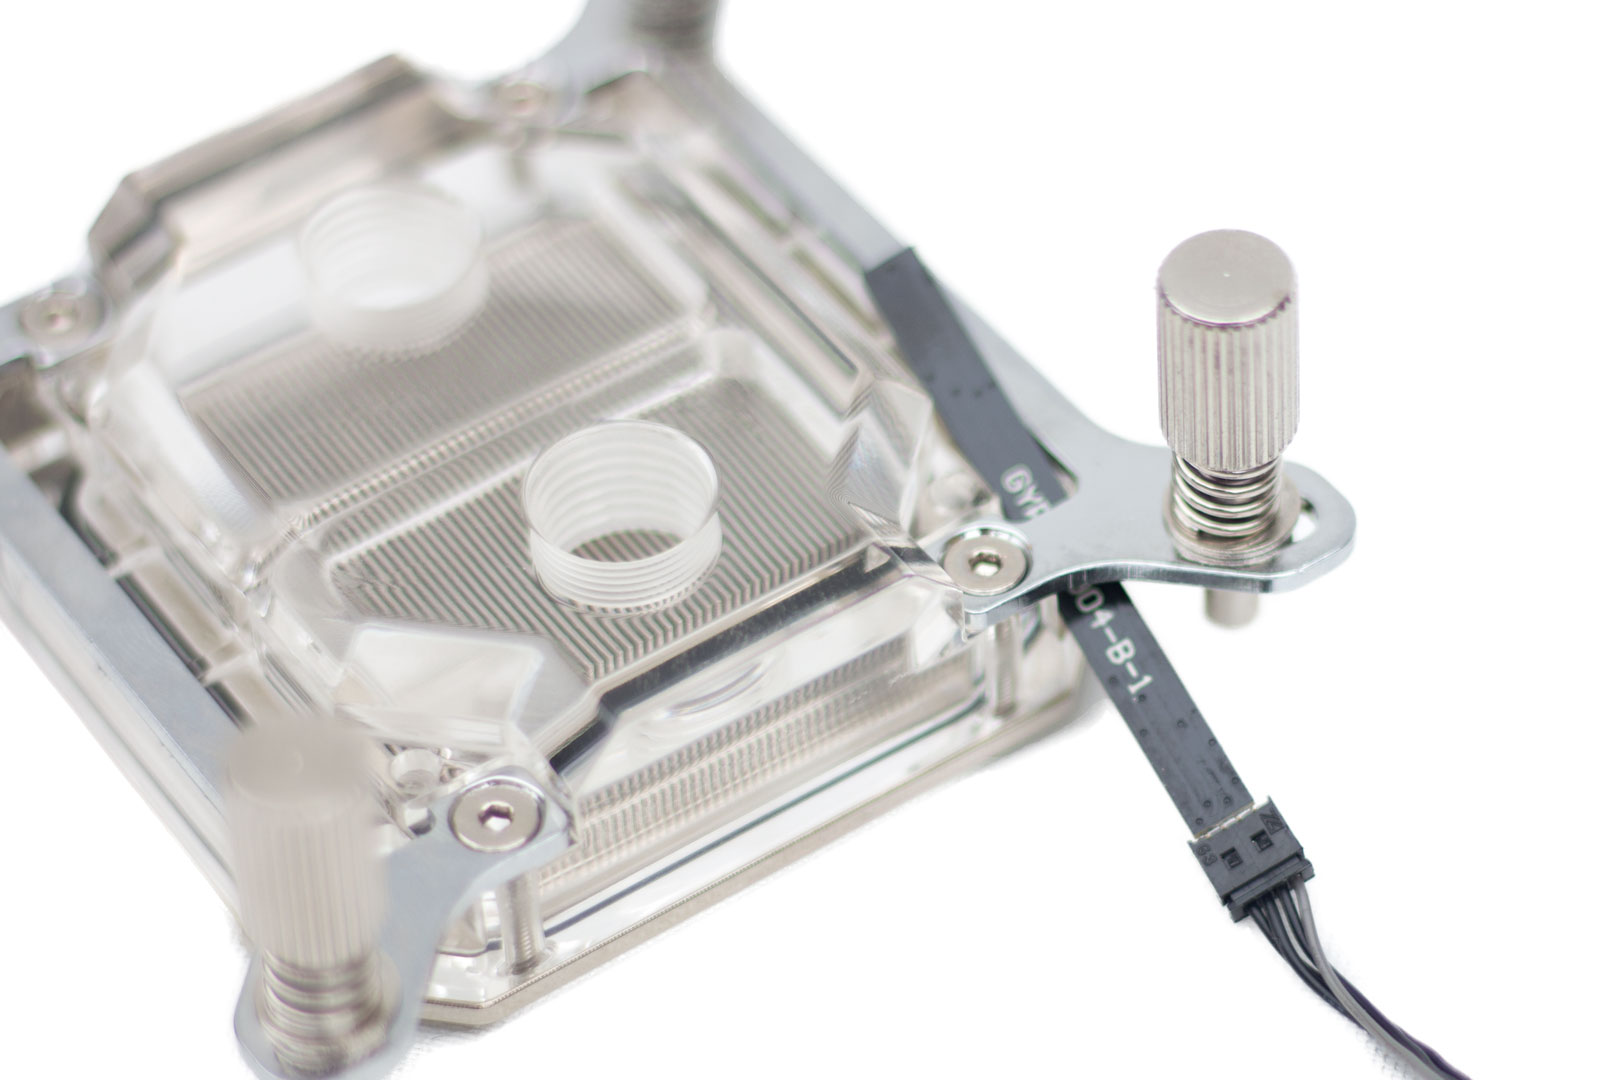
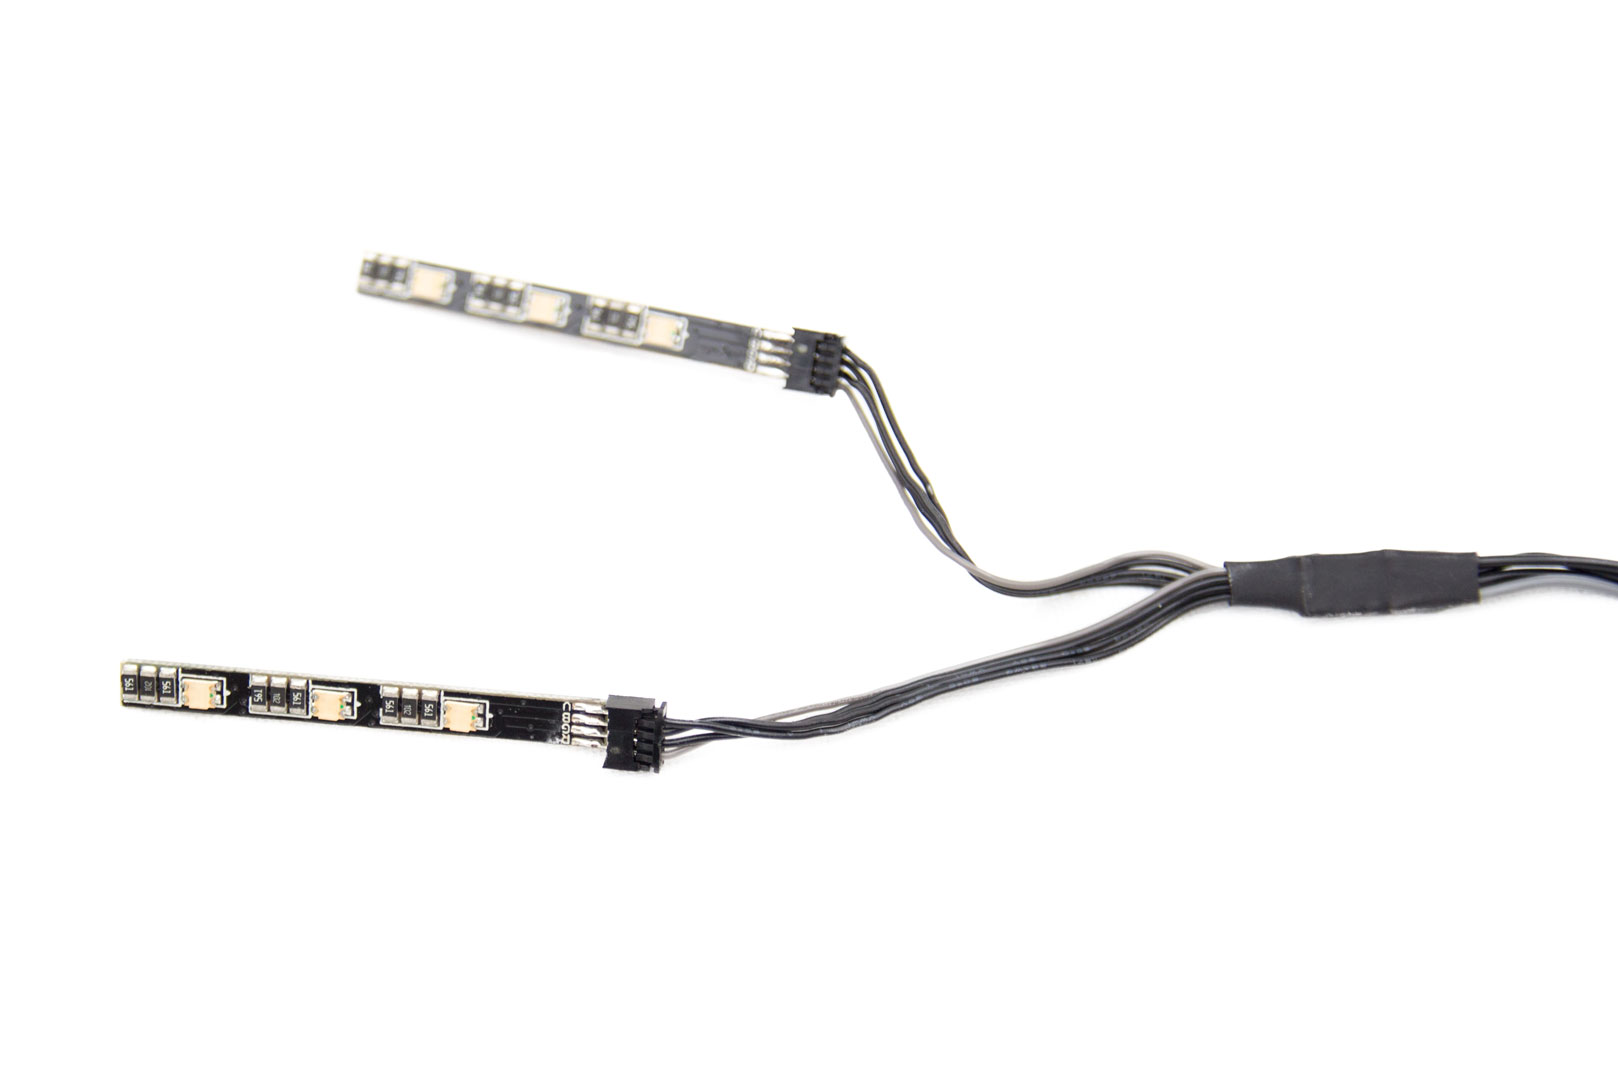
Removing the two metal covers that we looked at earlier shows off the RGB LED strips, and these can be removed if you don’t want to use them, but in all honesty, they work very well. Removing the two small panels also uncovers four screws, and these allow us to take the block apart to show off the insides. There were no stickers to say that this voids the warranty, and it isn’t hard to do.
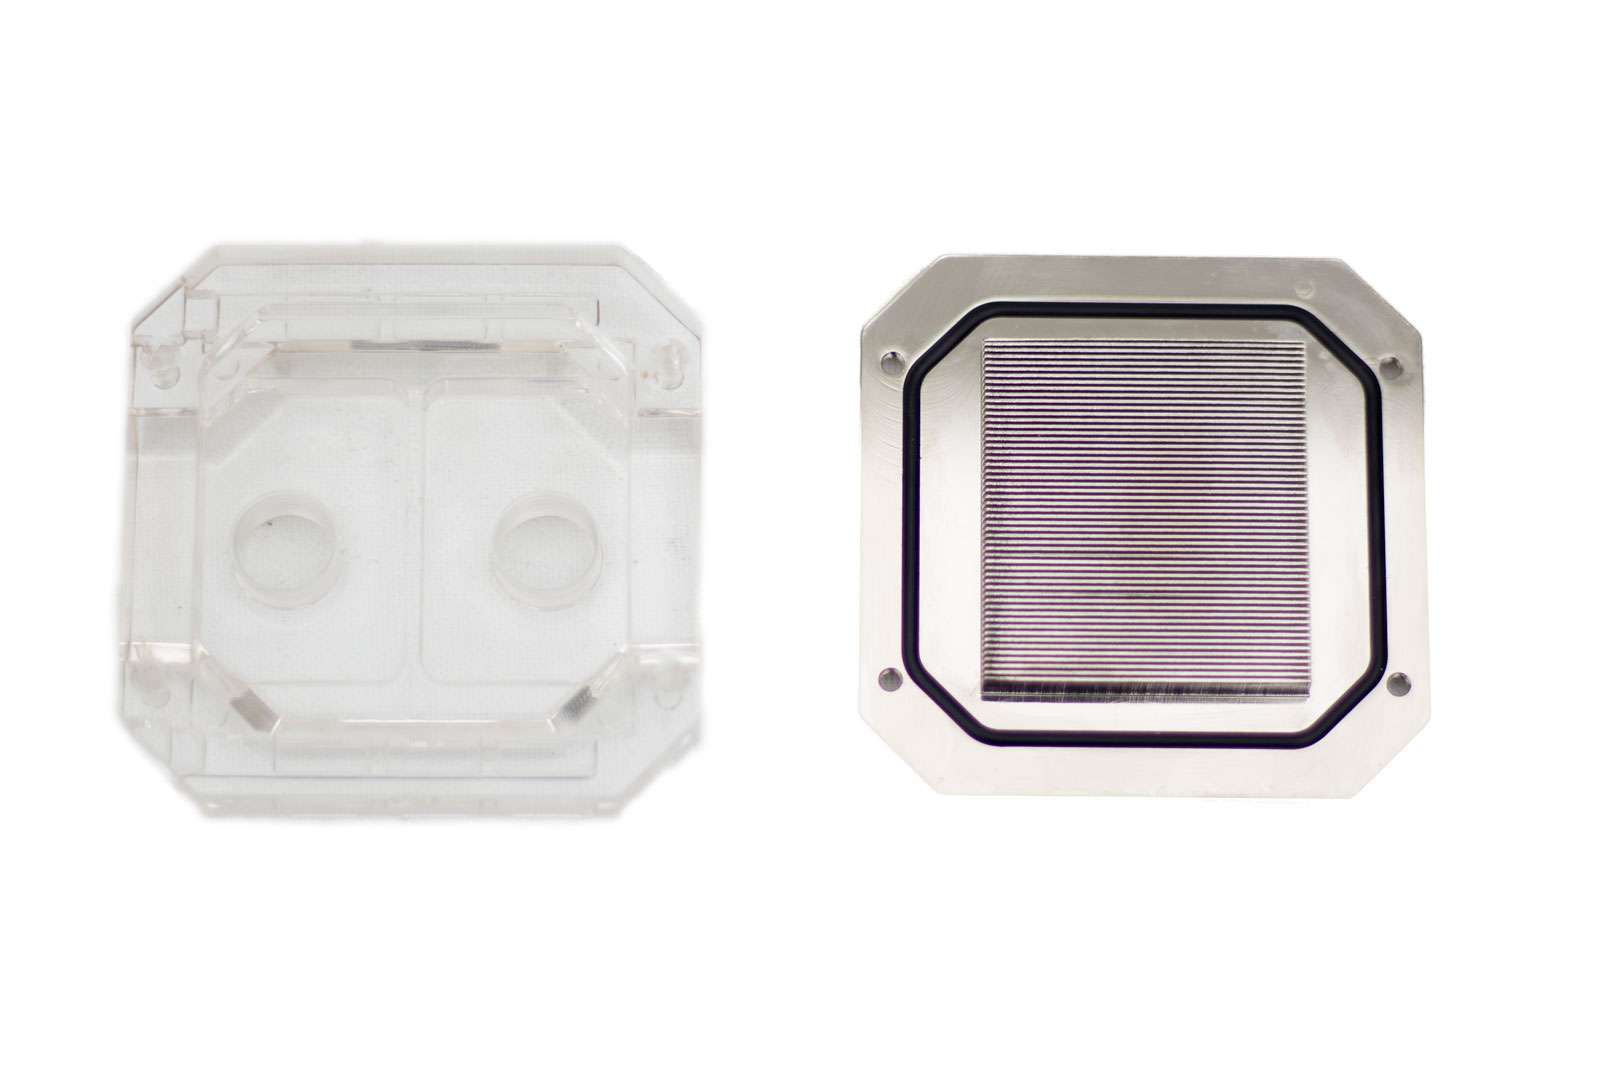
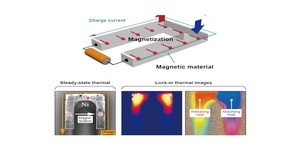
Inside the Glacier C350I CPU block, there's a raised area on the nickel-plated base with fins for the water to pass though. This gives the base a larger surface area, and this in turn allows for heat to transfer to the fluid better. There are two chambers in the acrylic top splitting the inlet and outlet. This increases restriction but also causes turbulence. Turbulence can increase the performance of a water block, and the shape of the block forces the fluid through the fins.

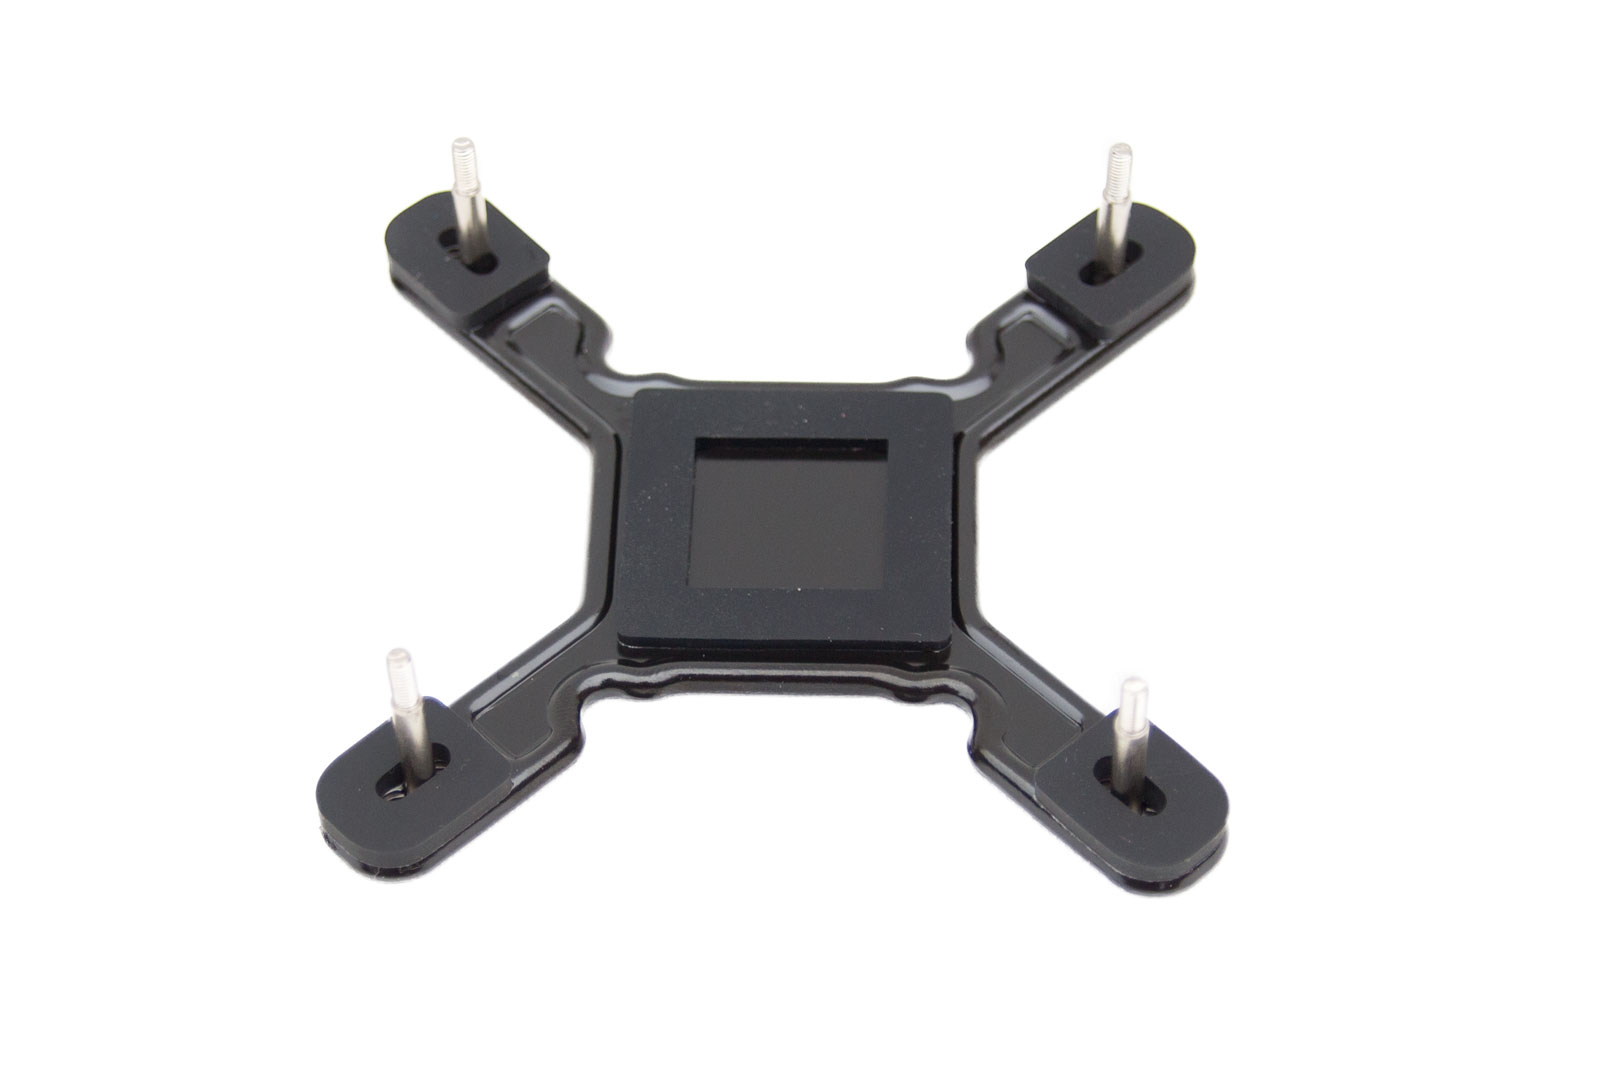
I think this is the first time I have personally taken a picture of instructions, but I wanted to show you how they've been done. Other manufacturers, take note: colour-coded instructions showing multiple options and clear pictures. Very nice. The instructions are concise and really make it easy for the user. We followed the guide to fit our block to the Asus ROG Strix Z270G Gaming motherboard, and we chose this board because it has Aura Sync which is compatible with these water blocks. The first job was to push the mounting screws through the backplate.
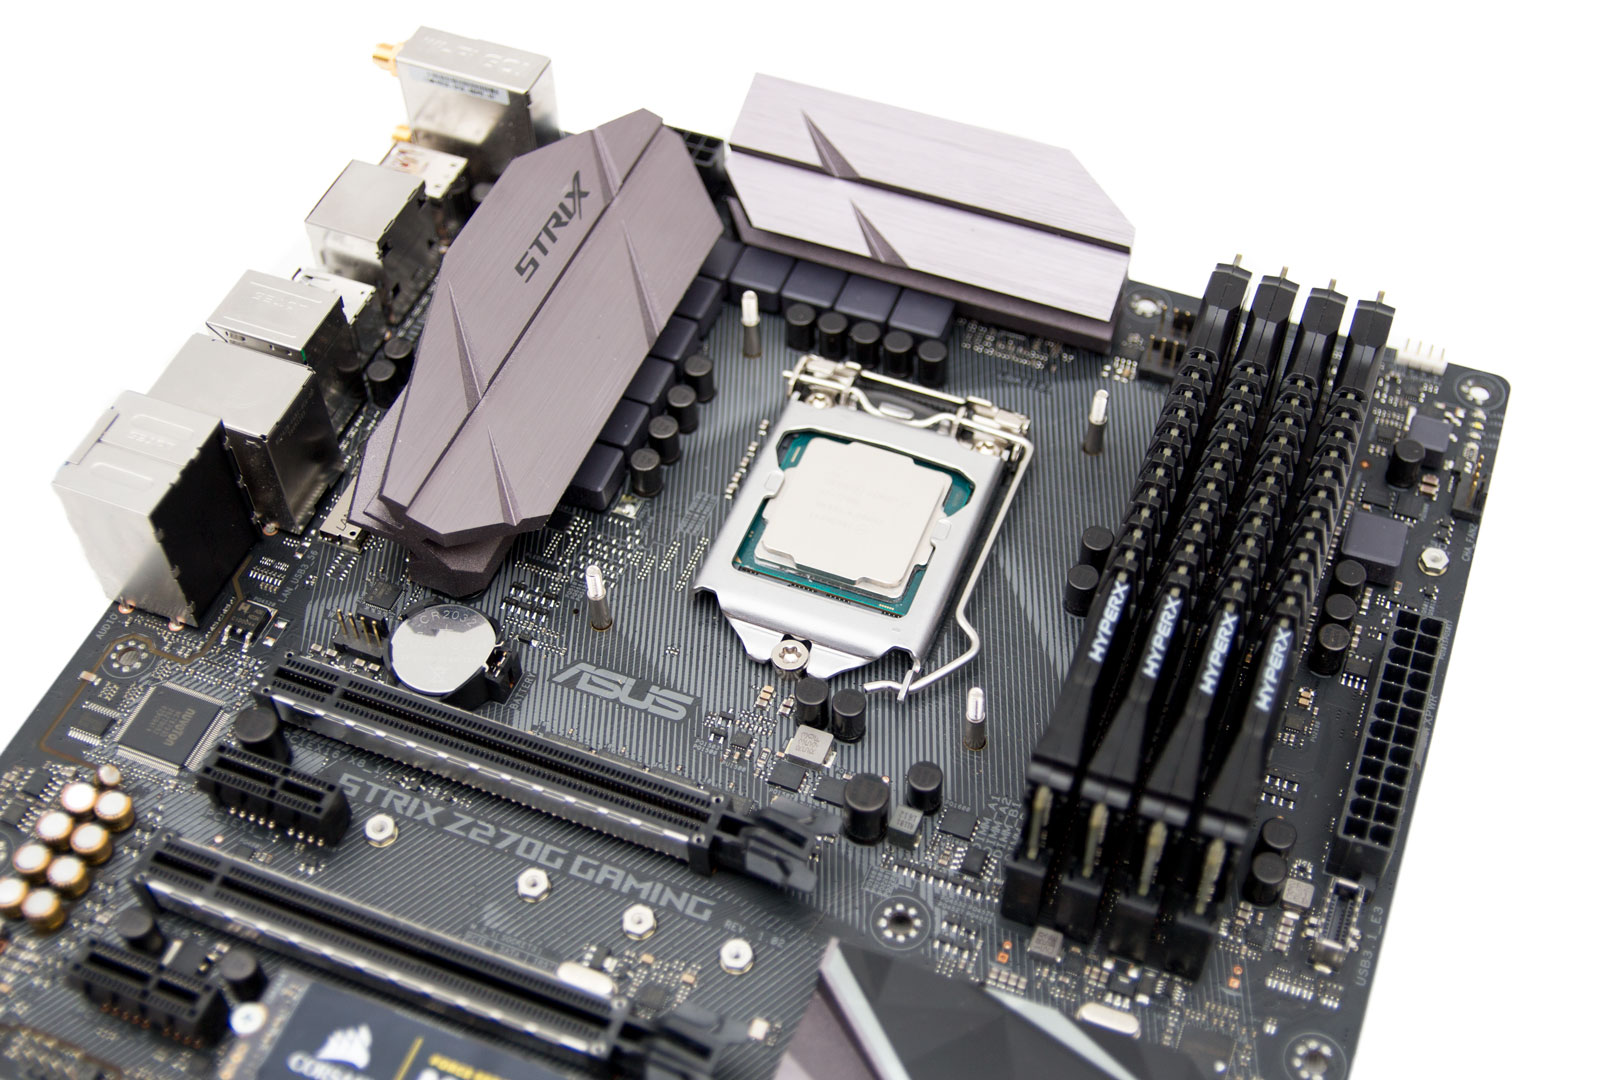

Once the screws were through, they then need to be pushed through the holes in the motherboard. Obviously, if you're using a different socket motherboard, this will be different. Adding the spacers to the screws completes the preparation for the board. Next, simply add thermal paste. Phanteks advises using a single 4-5mm blob in the centre of the CPU, so we used that method.
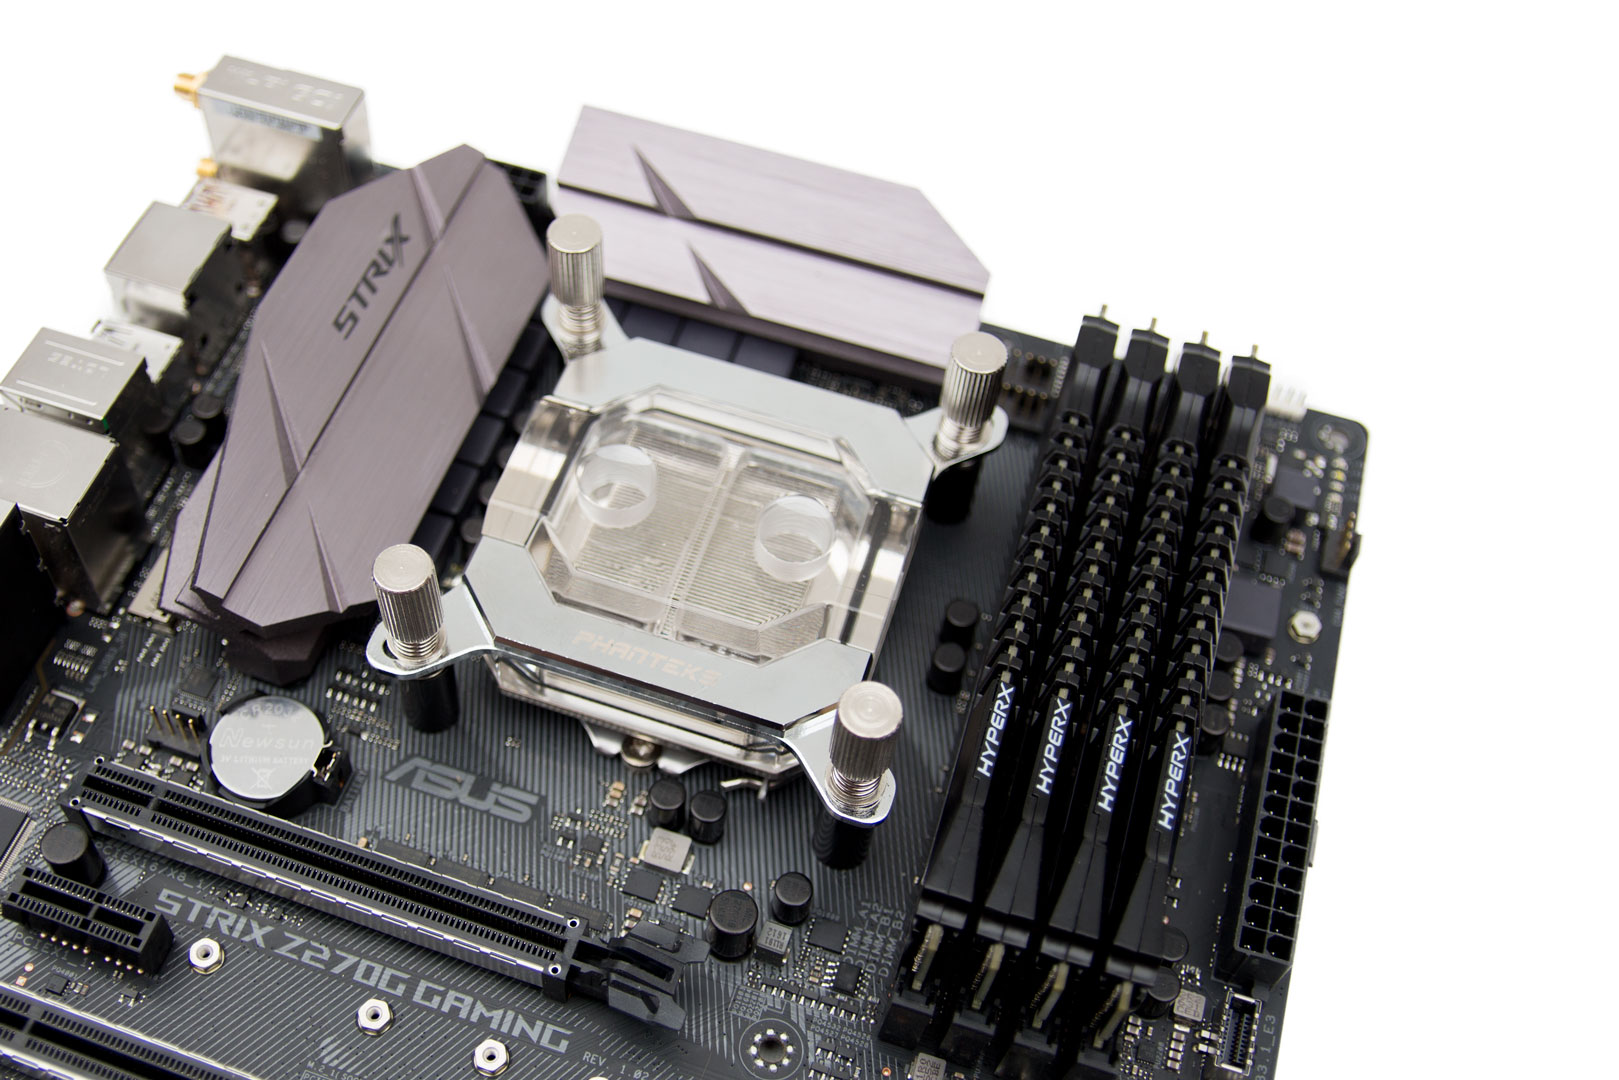
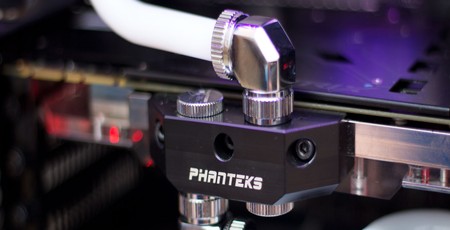
The final stage is to screw the CPU block down using the knurled nuts. The instructions tell you to screw them down until they stop and not to over-tighten. This is good advice regardless of what brand block you use, as tightening a block too much can cause problems with the CPU and damage your hardware.
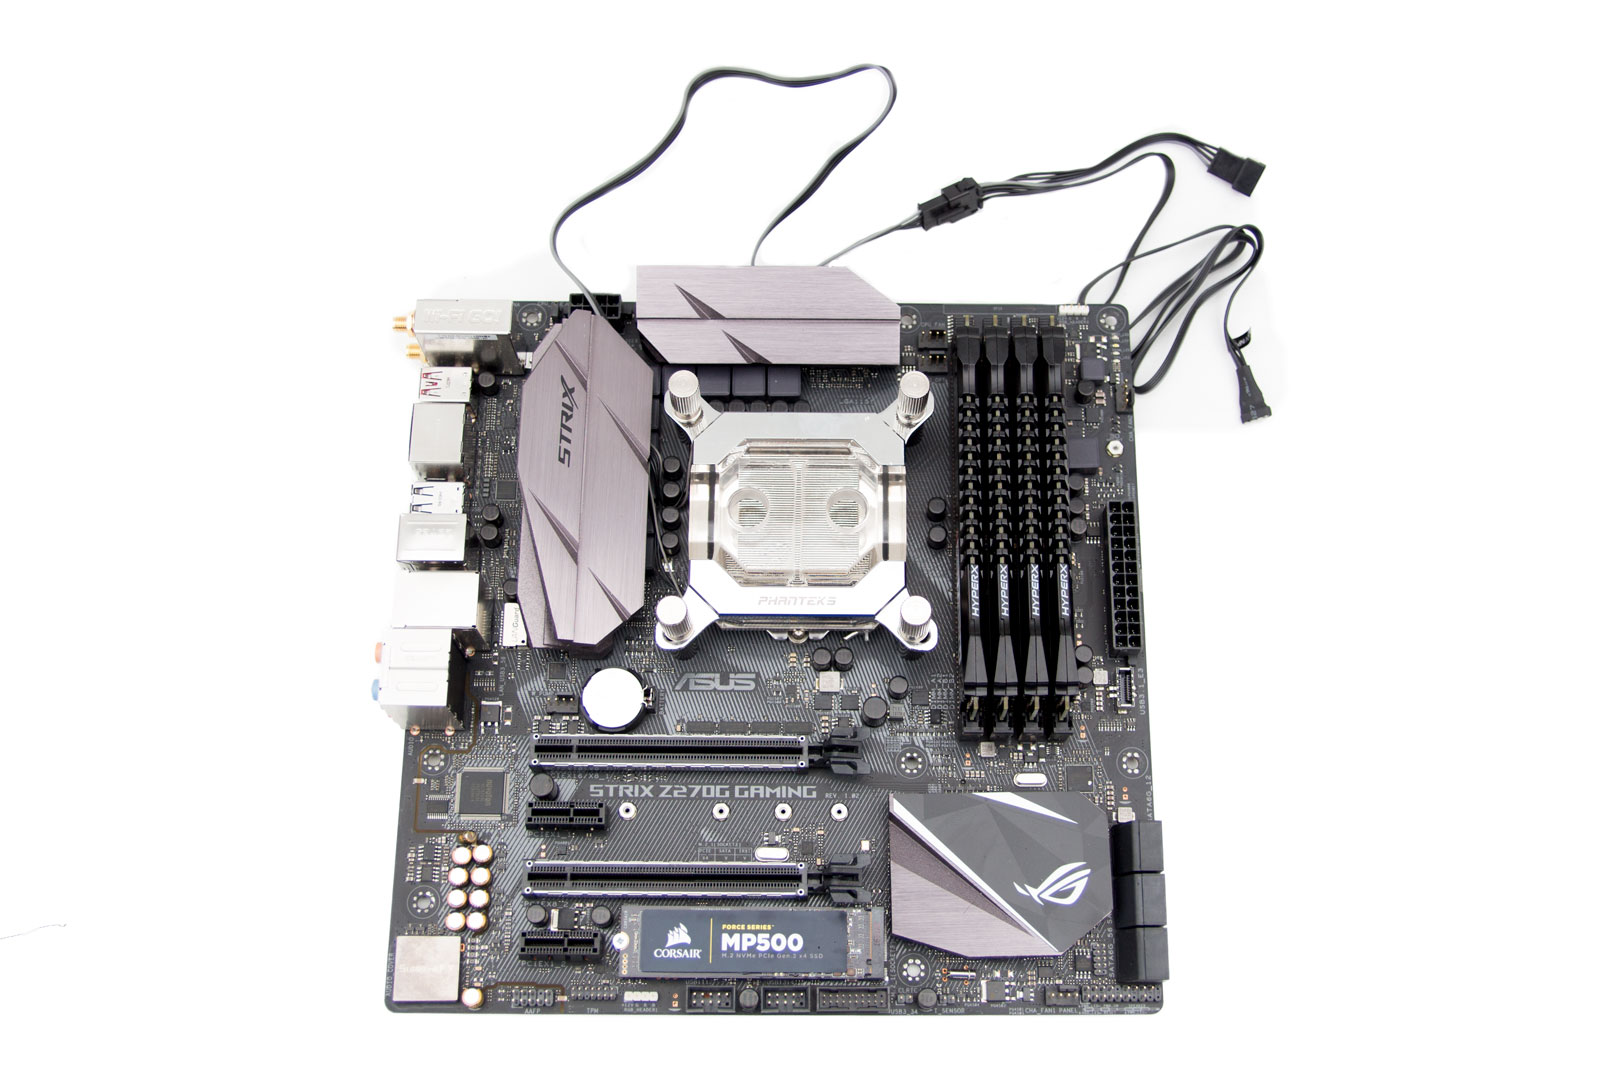
The last part of the instructions tells you to connect LEDs. The connections you use depend on how you want to control the RGB. We want to use the motherboard headers and thus chose the cable for motherboard control. You can also control the blocks by using compatible Phanteks cases and their onboard controls. Also, it's worth mentioning that it's easier to connect the LED cables before installing the blocks; it's very tricky to plug them in when there are motherboard components in the way.
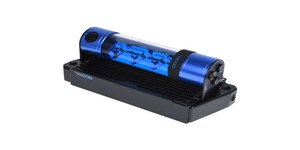
Overall, the installation and general impressions of the Glacier C350I CPU block are very good. The quality is high, and it seems to have the makings of a good water block. We'll see what It looks like with fluid and lighting later, but for now - onto the fittings!


MSI MPG Velox 100R Chassis Review
October 14 2021 | 15:04

Want to comment? Please log in.