
Tripods and Lighting
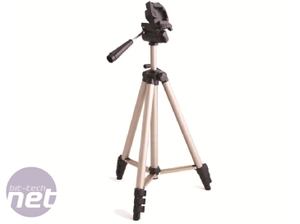
Photography is usually about compromise. Dark scenes usually require high ISO speeds if you're shooting handheld, as does increasing the depth of field with the aperture letting in less light. However, a tripod can turn the tables in your favour.The problem with handheld photography is that you're limited to around 1/40th of a second of exposure time. Any more than this and your photos will probably become blurry.
This limits your options when it comes to shooting in poor light, or if you simply need a long exposure to emphasise lighting in a PC. In certain situations, especially close-ups, using flash to reduce exposure times and ISO speeds can mean images are over-exposed or the lighting is harsh.
Using longer exposures and higher ISO speeds may work but you're often left with little option but to use flash if you don't have dedicated lighting. In these instances,a tripod comes in very handy. It will allow for unlimited exposure times, as the camera isn't wobbling around in your hands. This means that you can use your lowest ISO speed and highest F-number, and still let enough light in as shown below left.
In addition, even with fast exposures, the effect of shaky hands can work its way in, but photos taken with a tripod are always sharp, as long as you've focused correctly. They also open the door to more creativity and flexibility using longer exposures which can be useful if your PC has internal lighting.
Lighting
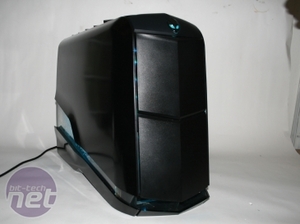
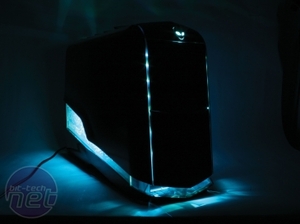
Light plays a pivotal role in any photograph. However, you don't always need as much of it as you can get. It's usually best to light your subject with ambient light or daylight rather than using your camera's flash. Colours and lighting will be much more pleasing. It's important to use similar or identical lights, and also to not mix ambient light with daylight, as all lights are slightly different colours. Also, photographing a PC with lots of cathodes, or UV-reactive plastic or tubing in bright light or daylight can result in these parts losing their glowing effect. Above left we used our in-house lighting equipment to take a well lit shot of the PC. However this saw the glow from the lighting all but disappear. On the right we used a long exposure of 30 seconds in complete darkness which emphasises the lighting but little detail is shown.
Using low ISO speeds, high F-numbers and long exposures are a good way of emphasising the lighting in your PC. The best way to achieve this is in a darkened room with little or no other light sources. For this, you'll definitely need a tripod or some way of holding the camera completely still.
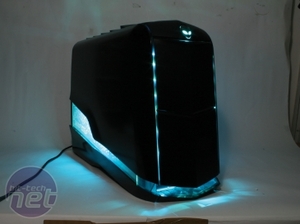
Above left we can see the result of a similar 30 second exposure but this time, instead of leaving the lights off, we turned them on for three seconds at the start of the exposure. This had the effect of illuminating the case slightly showing more detail but the long exposure still emphasised the blue lighting.
You'll sometimes be stuck inside with no good lighting sources. However, if you have a tripod and a camera that can dish out some long exposures, all might not be lost. With all other lights switched off and a light source such as a desk lamp, it's possible to light an object by moving the lamp gradually across it during a long exposure.
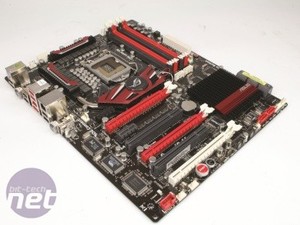
The picture of the motherboard above was taken in complete darkness using a six second exposure. We moved the lamp over the motherboard in an arc so to illuminate all areas during the exposure. As long as this is done fairly evenly, which might require some practice, you can achieve exposures similar to those with photographic lighting. In addition, using a long exposure preceded by a flash will help to illuminate the PC and background, but also allow the lighting to be sufficiently exposed. When photographing an entire PC, it's important to consider each surface independently to make sure they're all well lit.
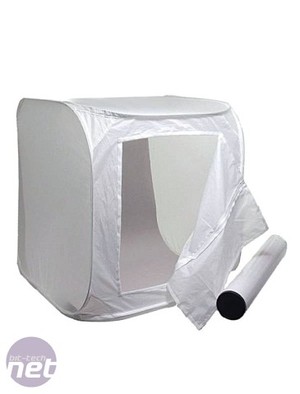
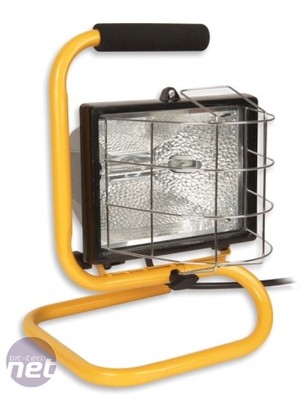
If you're thinking of buying your own lighting but can't afford the expensive hardware specifically designed for photography, basic garden or work lamps from stores such as B&Q can achieve good results and are a fraction of the price. Lamps can focus too much light on a small area though. A diffuser or light tent can help to spread the light more evenly over the subject and will also work well outside using sunlight. They're relatively cheap too.
So there you have it. Even if you have a basic digital camera, there are plenty of simple tricks you can apply to your photography that can dramatically improve the results. What's even better is that most of these are completely free and don't need any additional equipment. However, if you're serious about photographing your PC we highly recommend investing in a tripod. They cost less than £20 and can turn the tables significantly in your favour.
If you're interested in developing your photography skills, then make sure you drop by our Art & Photography forum - as with the rest of the bit-tech forums, it's a great place for help and advice.

MSI MPG Velox 100R Chassis Review
October 14 2021 | 15:04



Want to comment? Please log in.