
Xubuntu
Before we can start to install something, we first need an installation medium. The easiest way of installing a system is through the use of a bootable CD. So, let's get ourselves some ISO images, shall we?Head on over to the guys at Xubuntu and download a Fiesty Fawn (7.04) Desktop CD from one of the mirrors. If you have some bandwith to spare, be kind - use the torrent download, and share the love. The file isn't small despite the meager resources of the system needed to run it, so anything helps.
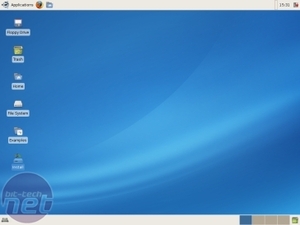
After you have downloaded the ISO file, burn the image to a CD and boot from it. Wait for a moment or two, and you'll be greeted with the XFCE interface. Don't you love Live CDs? The disc itself is a fully working OS, so feel free to play around a bit. Of course, there will be a better time to play soon enough, so you don't need to dally just yet.
Once you're ready, it's time to head on to the installation.
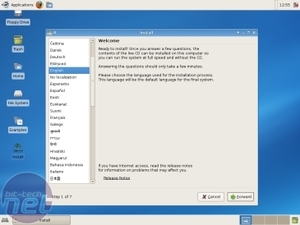
Installing Xubuntu is actually quite easy, just a 7 step process. However, I'll help you through the install anyway. Let's start by double-clicking the nice “Install” icon on the desktop. Just in case you didn't know, that's what it's for. First, we select our language. Conveniently, it's already at English. So let's move on to the next screen...
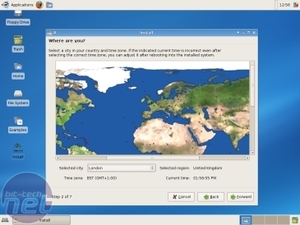
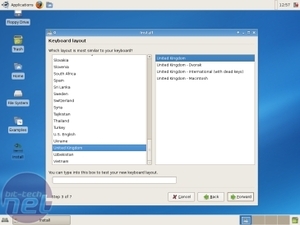
Next, we set our localisation. Either click on the map, or select it from the list. Feel free to choose something close if your city isn't on the map. And on to the next screen, which asks us about our keyboard layout. The intelligent system knows from the localisation what keyboard layout is normally used. But, since Linux is about choice, you can choose another one if required. Let's not stand still too long and move on to the tough questions...
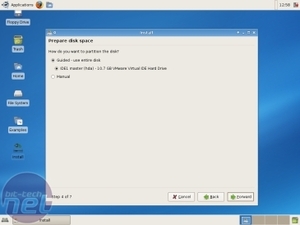
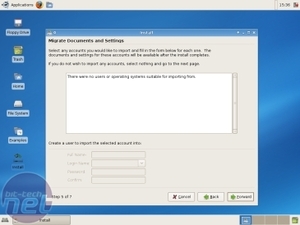
Disk partitioning... if you're building a system from the command line, this can be tricky. But don't worry, the Xubuntu installer handles this nicely. I used an empty hard disk and let the installer handle all the partitioning. if there already is a partitioning table on the disk, you'll have an extra option. But since we won't be dual booting or anyting, just use the entire disk and proceed to the next screen. Here we can migrate documents and settings from the disk, but since it's empty, there's nothing to migrate...
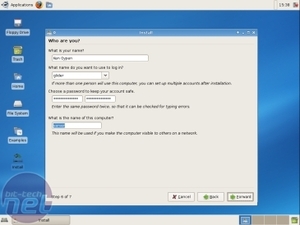
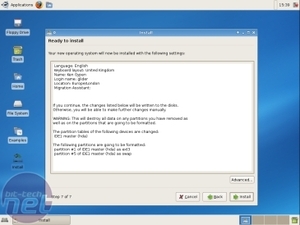
Now, lets get personal. The information you have to input in this screen is actually quite important - especially the “log in name” which serves as your username, your password (try using a strong password), and the name of the computer (hostname). Once all are filled in correctly (it may be wise to write these down for a little while), proceed to the final step, where it gives a summary. Re-read your choices and brace yourself. After clicking on the “Install” button the actual install starts.
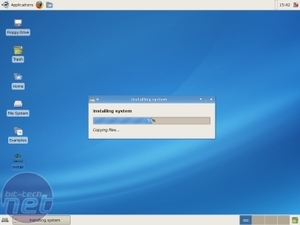
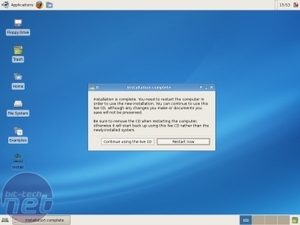
Now, sit back and relax... Everything is automated. It takes some time to install a system, so go ahead, grab a cup of tea. Or even better, scout around. You are in a fully functional environment remember? If you are a first time Linux user this is the ideal moment to check things out. When the installation completes, you'll get this fancy box asking you whether you want to stay inside the LiveCD, or rather boot to your own installation. So let's restart now and start updating and installing.

MSI MPG Velox 100R Chassis Review
October 14 2021 | 15:04



Want to comment? Please log in.