
P2P (Torrentflux via Apache, MySQL, PHP)
Now, on to the web-based torrenting solution. This is the heaviest requirement that our server has, because Torrentflux, one of the best web-based solutions, has quite a lot of dependencies.To get it up and running we need a fully functional LAMP server (Linux Apache MySQL PHP). It's certainly not like this will be hard to setup, it just requires some steps. Also, we’ll be installing Torrentflux from latest release we get from the torrentflux website, just to illustrate this way of installing software (rather than the package manager). Don’t worry, it’s not hard either.
If you really don’t want a web-based torrenting solution or to install a LAMP server, you can just use an alternative torrent solution from the Synaptic package manager, and VNC into the server to control it. But once again, what fun would that be? After all, you've come this far...
Yeah, that's what I thought. Now, let's get to work.
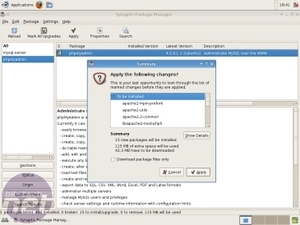
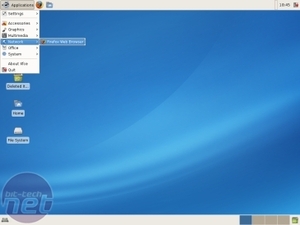
Before we install torrentflux, we need to first handle the dependencies. So fire up Synaptic and select “mysql-server-5.0” and “phpmyadmin”. Again, due to the handling of dependencies, apache2 will be installed alongside (apache is a dependency of phpmyadmin). After the install has finished, fire up “Firefox”, which can be found in the toolbar or under “Applications” -> “Network” -> “Firefox Web Browser”. Yes, some things still came pre-installed.
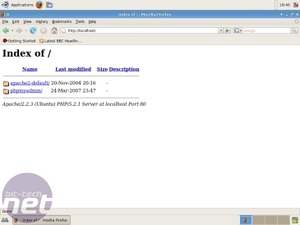
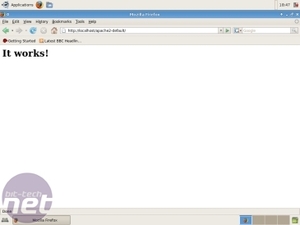
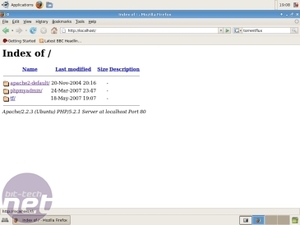
Now we browse to “localhost”. You’ll be greeted by a plain directory listing showing 2 directories. If you take a look in the “apache2-default” directory, you’ll be greeted by a big “It works!”. It's an easy and to-the-point way that the Apache development team left you to test the web server. If you get the message, it will just work.
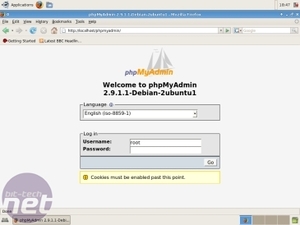
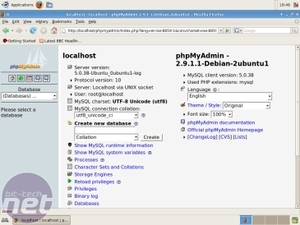
Now, on to MySQL. Go back a step and head for the “phpmyadmin” directory. Upon entering you’ll be greeted by a nice login screen. Just log in with username “root” and a blank password. Note, this is NOT the root password of your system. It’s the root password of the database. Upon logging in you’ll see some fancy data about your database.
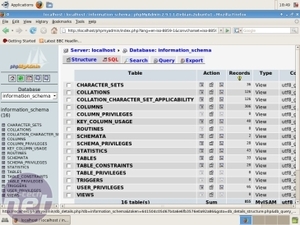
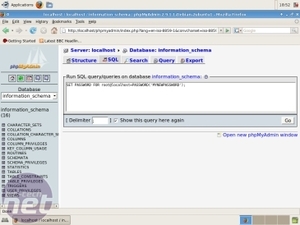
First, we will set a root password. This should be required, as it will make your whole system considerably safer. Therefor, select any database from the “Database” drop down box. I took “Information_schema” but any will do. Now, click on “SQL” on the top of the page. The query you have to enter is: SET PASSWORD FOR root@localhost=PASSWORD(‘MYNEWPASSWORD’);, of course changing “MYNEWPASSWORD” for something safer. Confirm by clicking “Go."
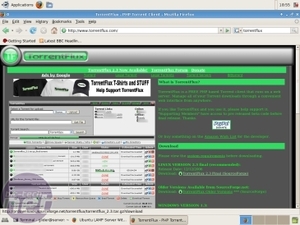
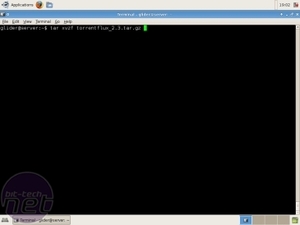
So, now that that’s done, browse to “http://www.torrentflux.com” and download the latest Linux version to your home directory. The software comes in a .tar.gz package. This is a gzipped archive - think of it as something along the lines of a Windows .rar file. At the moment, the latest version is “torrentflux_2.3.tar.gz”. Now, to extract the archive (and also configure Torrentflux), fire up a terminal once again. We’ll start by extracting the archive. Issue a tar xvzf torrentflux_2.3.tar.gz to extract the archive. The syntax is quite straightforward. Tar, the command to be run, and you want to eXtract a gZipped File Verbosely, named torrentflux_2.3.tar.gz. See? CLI is easy.
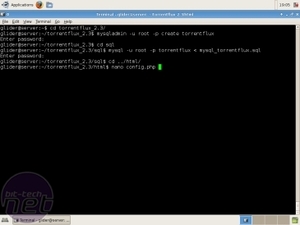
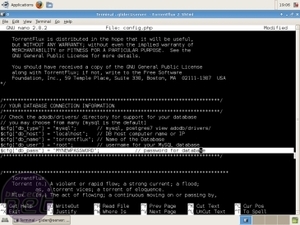
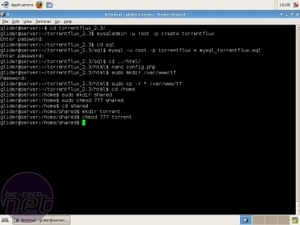
Now, to get torrentflux running we need to configure a bit. First we need to create a torrentflux database user. This is done easily through CLI. A simple mysqladmin –u root –p create torrentflux will do that for us. Just enter your MySQL root password and the new user will be created. Now, we have to create the database itself. Don’t worry, the guys over at Torrentflux have made a sql query which handles it all. So, change to the sql directory by doing cd sql, and issue mysql –u root –p torrentflux < mysql_torrentflux.sql. When asked for a password, enter the MySQL root password once again. Now, for the final configuration, change to the html directory, by doing a “cd ../html” and edit the config.php file (I once again use nano, you could use gedit if preferred), so nano config.php. In the config.php file, search for the line starting with $cfg[“db_pass”] and input the MySQL root password.
There, most of the configuration is done. Now we need to copy all the data into the correct place. First we create a new directory in the webserver by doing a sudo mkdir /var/www/tf. When asked for a password, this time you'll input your system password. Now we copy over all the data, by issuing sudo cp –r * /var/www/tf. This concludes the installation of Torrentflux!
However, it might be handy to have one central shared directory for all users. The logical place for this directory is directly under /home. Therefore, we type cd /home to change to the root of the home directories, and then we create a directory named "shared" by typing sudo mkdir shared. To make it shared, we set the user rights to 777 (user, group and world read, write and executable) by entering sudo chmod 777 shared. Inside the shared directory we will create a “torrent” directory where we will put our torrent files into. So issue cd shared, mkdir torrent and chown 777 torrent. Open up Firefox once again and head over to localhost. You’ll see an extra directory named “tf”.
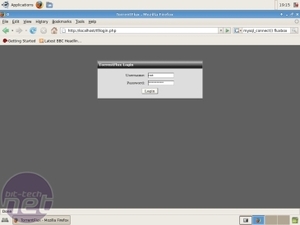
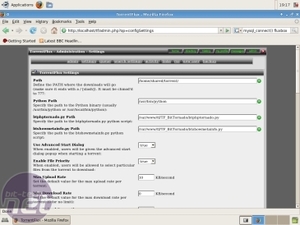
Enter that directory and log in with username “root” and your MySQL root password. Change the path variable to “/home/shared/torrent” (or /home/Username if you chose not to create a shared directory) and confirm at the bottom of the page. You can reach torrentflux now from any workstation on your LAN, just by browsing to “(ip of the server)/tf” and logging in with the aforementioned credentials.
How to use Torrentflux is beyond the scope of this guide, but I doubt you'll need the help. It's quite straightforward and easy.

MSI MPG Velox 100R Chassis Review
October 14 2021 | 15:04



Want to comment? Please log in.