Welcome back to another Mini Mods instalment! I thought I'd try and bring something a little different this time in that it uses a lathe, a tool which understandably isn't found in everybody's homes.
This particular mod is for a previous build of mine which features a set of those classic retention screws, used for holding ever popular tempered glass panels in place. The original build uses a really hacky method to hold it all together: some steel spacers from Ebay, some 35mm screws, and some shiny knobs simply stuck on top. Sure it looked okay for the photos, but there's definitely something satisfying about doing it the proper way, a bit like custom length cables vs extensions.
So with that in mind, I want to document the process of making them in the hope that perhaps somebody fancies the idea of taking up turning in the future. I'm using a CJ18 7x14 Mini Lathe for this work, a fantastic bit of kit given the dimensions and price.
Let's Get Started
First things first, a plan is essential for making objects like these. Although they're simple in appearance, having a solid plan means you can predict difficulties and pre-emptively figure out solutions.
To do this, I jumped into Fusion 360 to model up the parts. For dimensions, I measured the existing spacers that I have installed already, I would like these new ones to at least be fairly consistent with the previous versions. With the parts modelled I then used them to generate an engineering drawing that could be easily worked from. You could definitely do this all by hand for a simple part like this, but it's hard to top the clarity of a good diagram, and it doesn't take long.
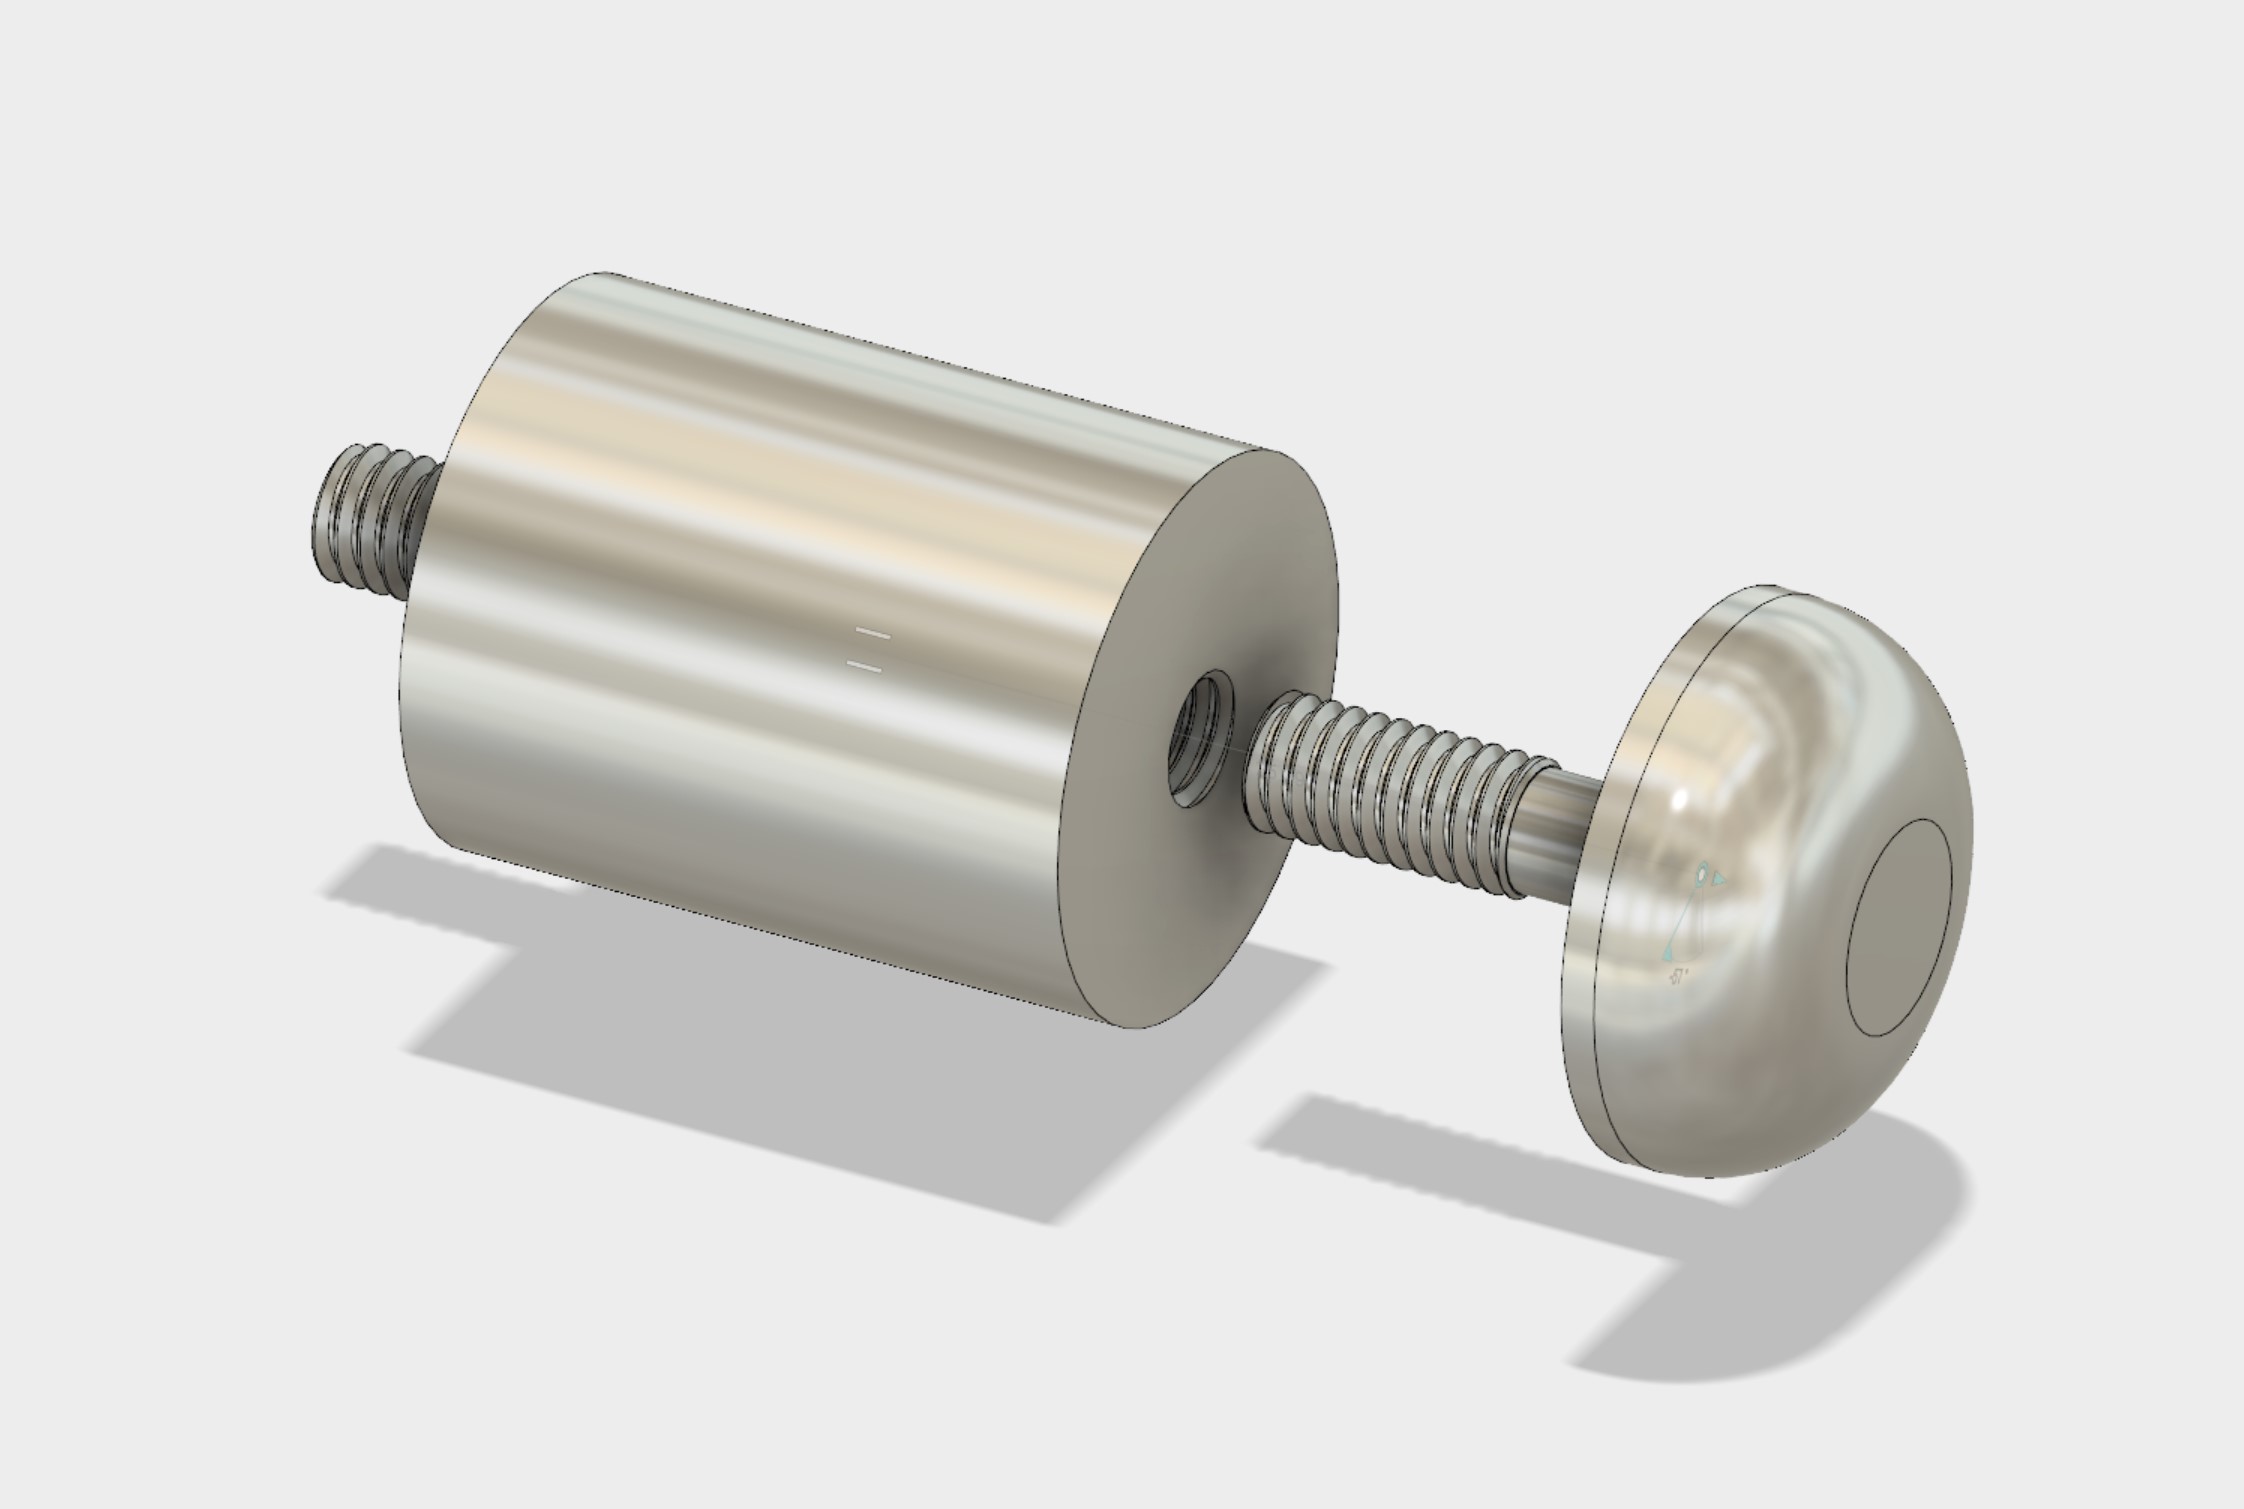
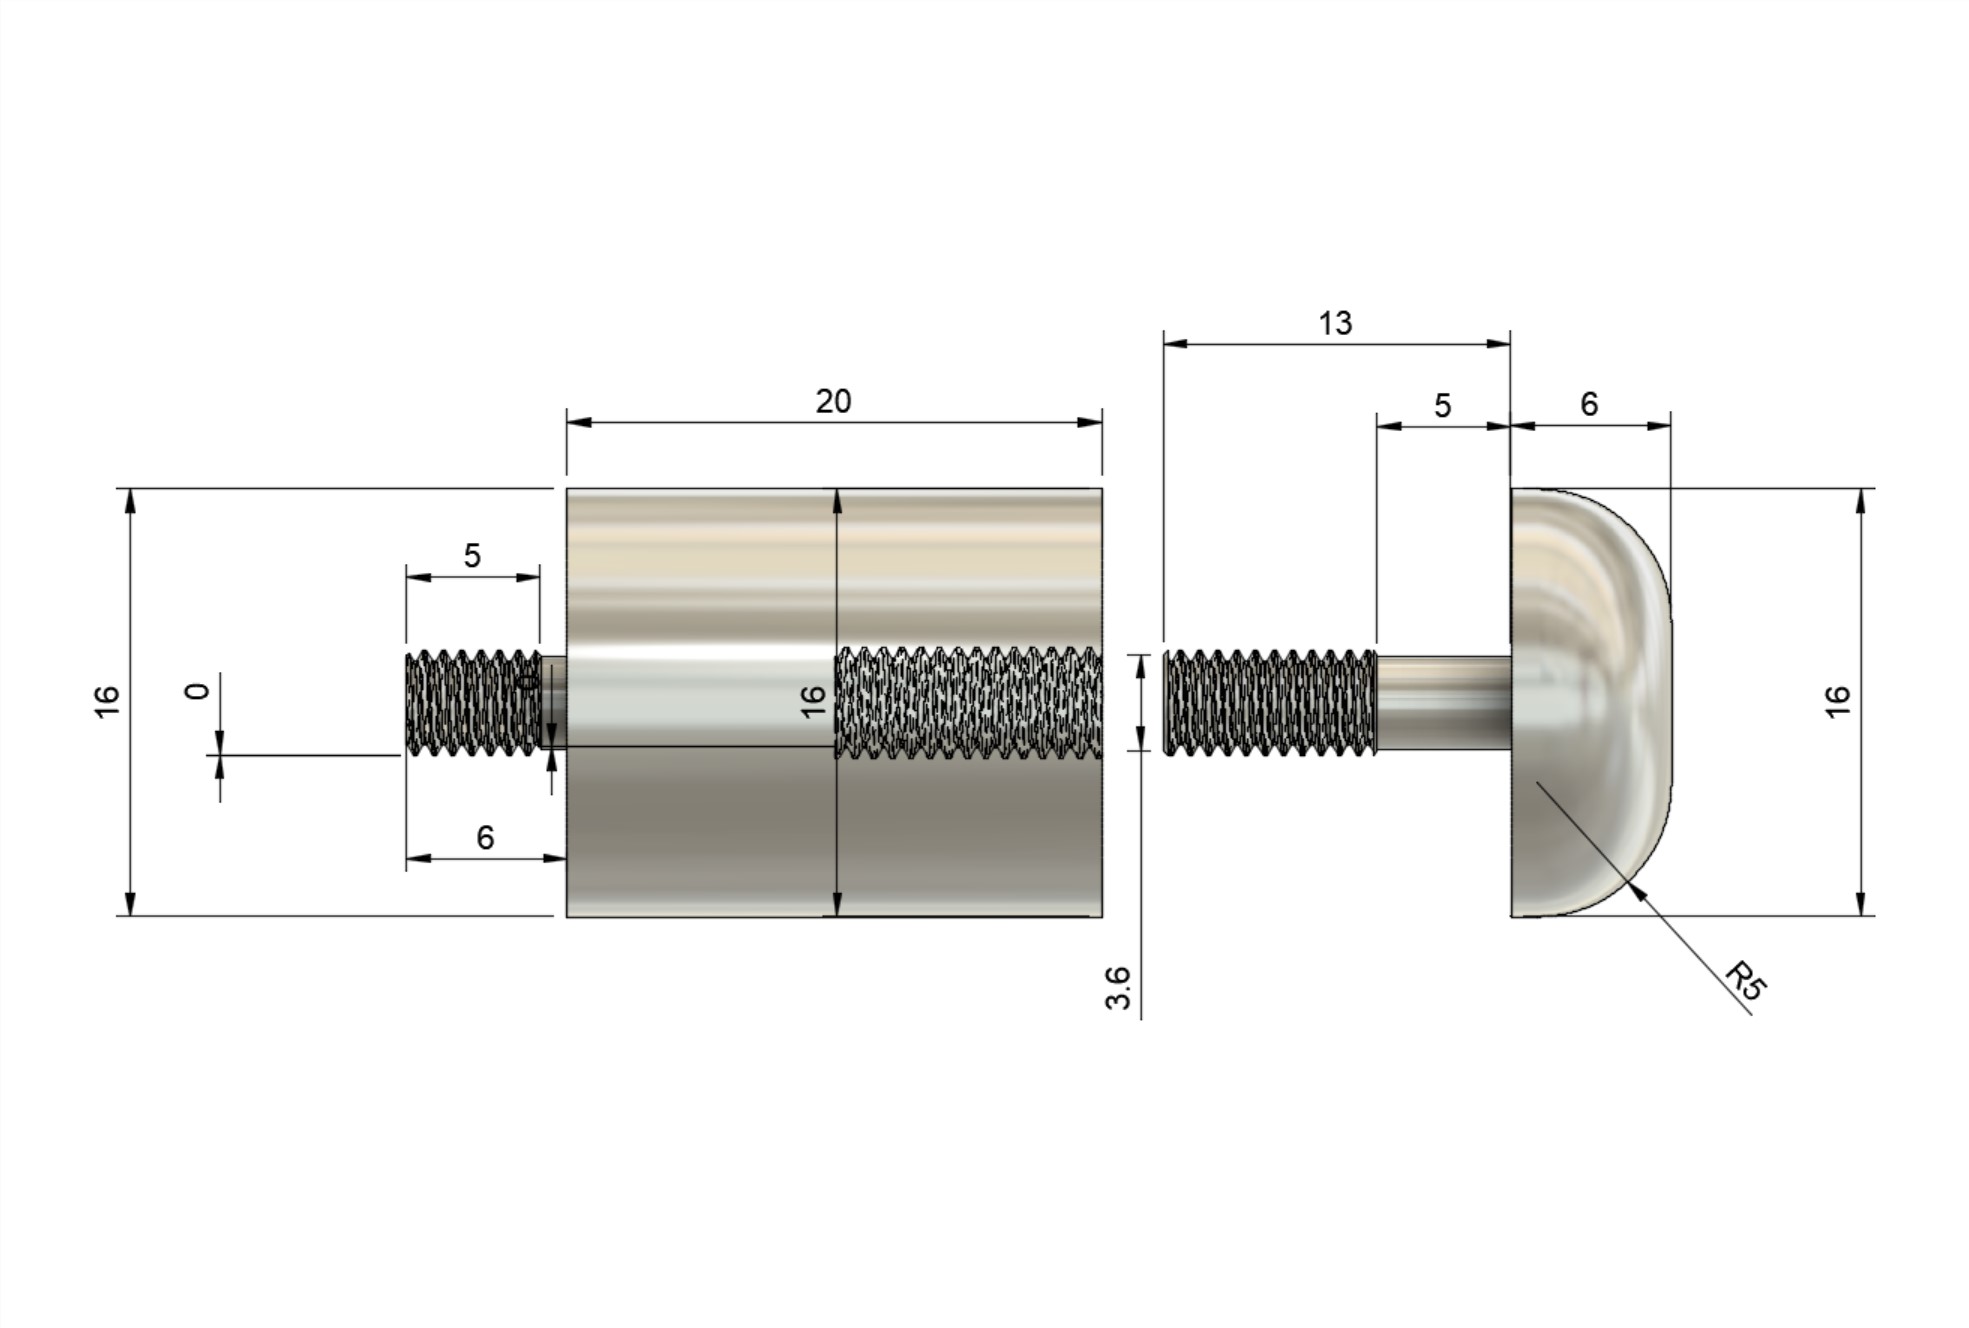
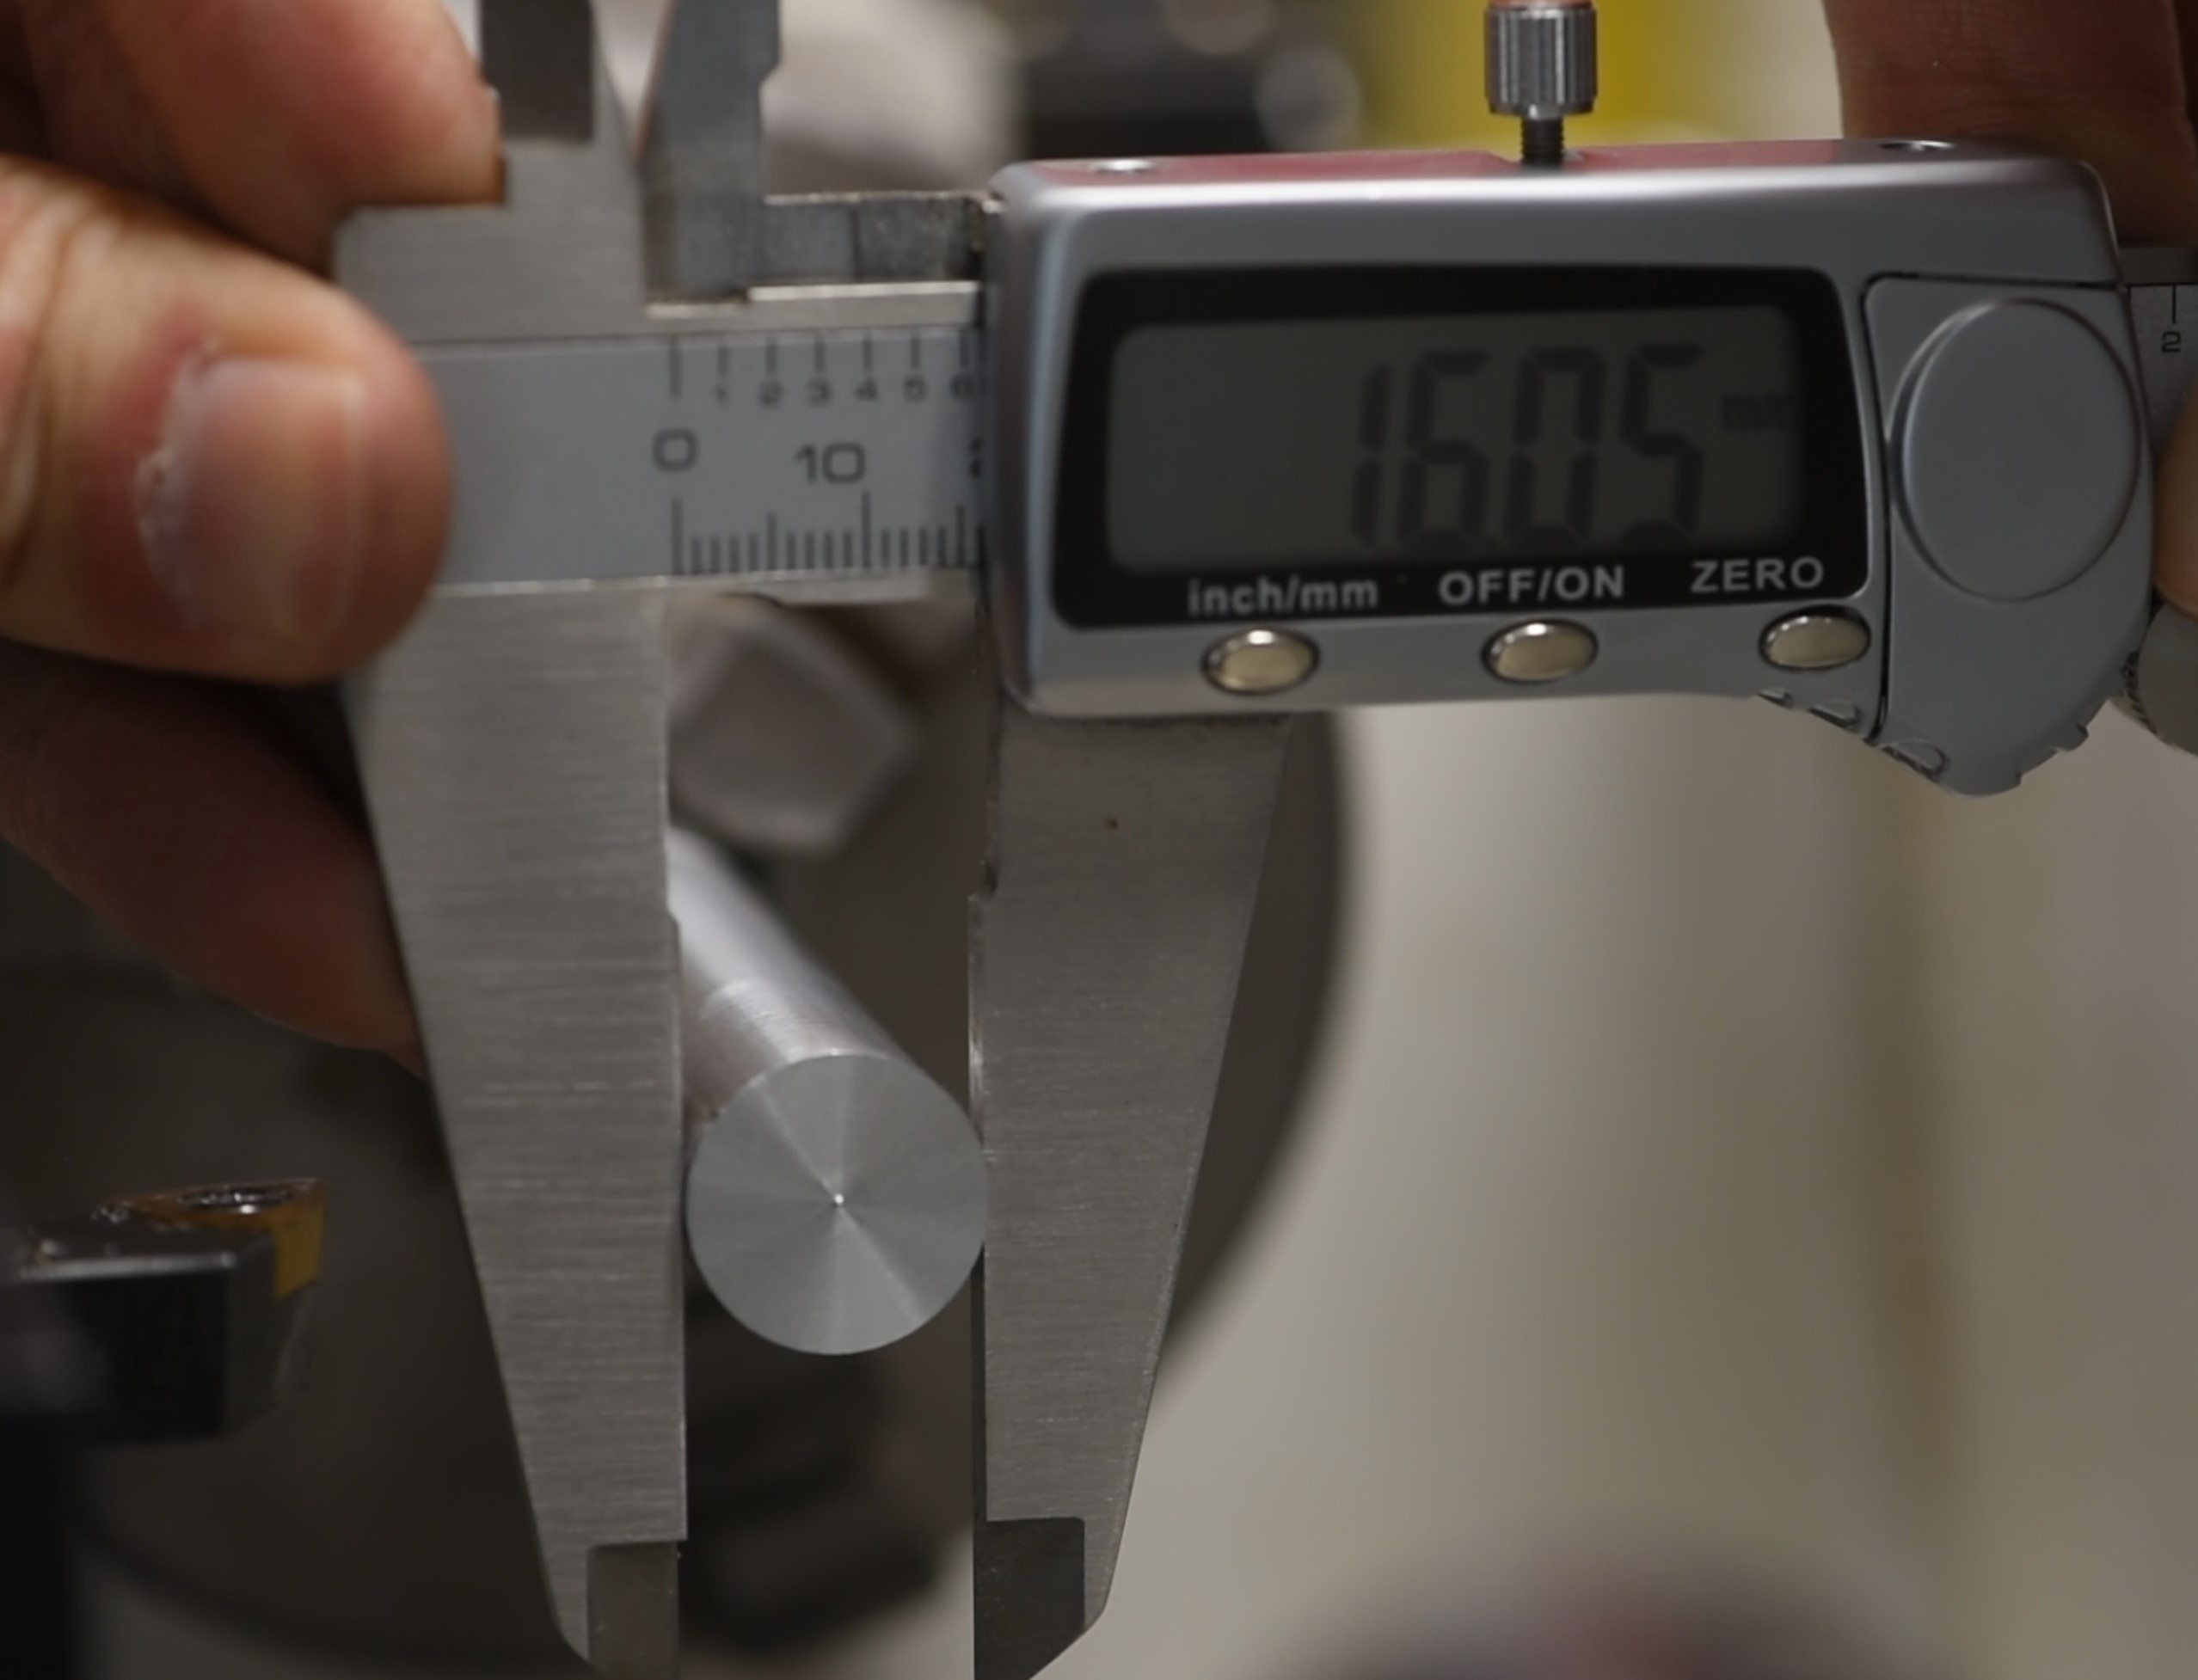
With the drawings done, it's time to pop to the lathe and get going. I'm going to be using some 16mm aluminium rod stock for these; in actuality it's slightly over 16mm so can be turned to size fine enough. Steel and brass definitely are better materials to use for a project like this one! Since I'll be threading parts, both steel and brass would be more hard wearing and accurate. That said, this isn't a precision part, and the stresses aren't high either, so it will be fine.
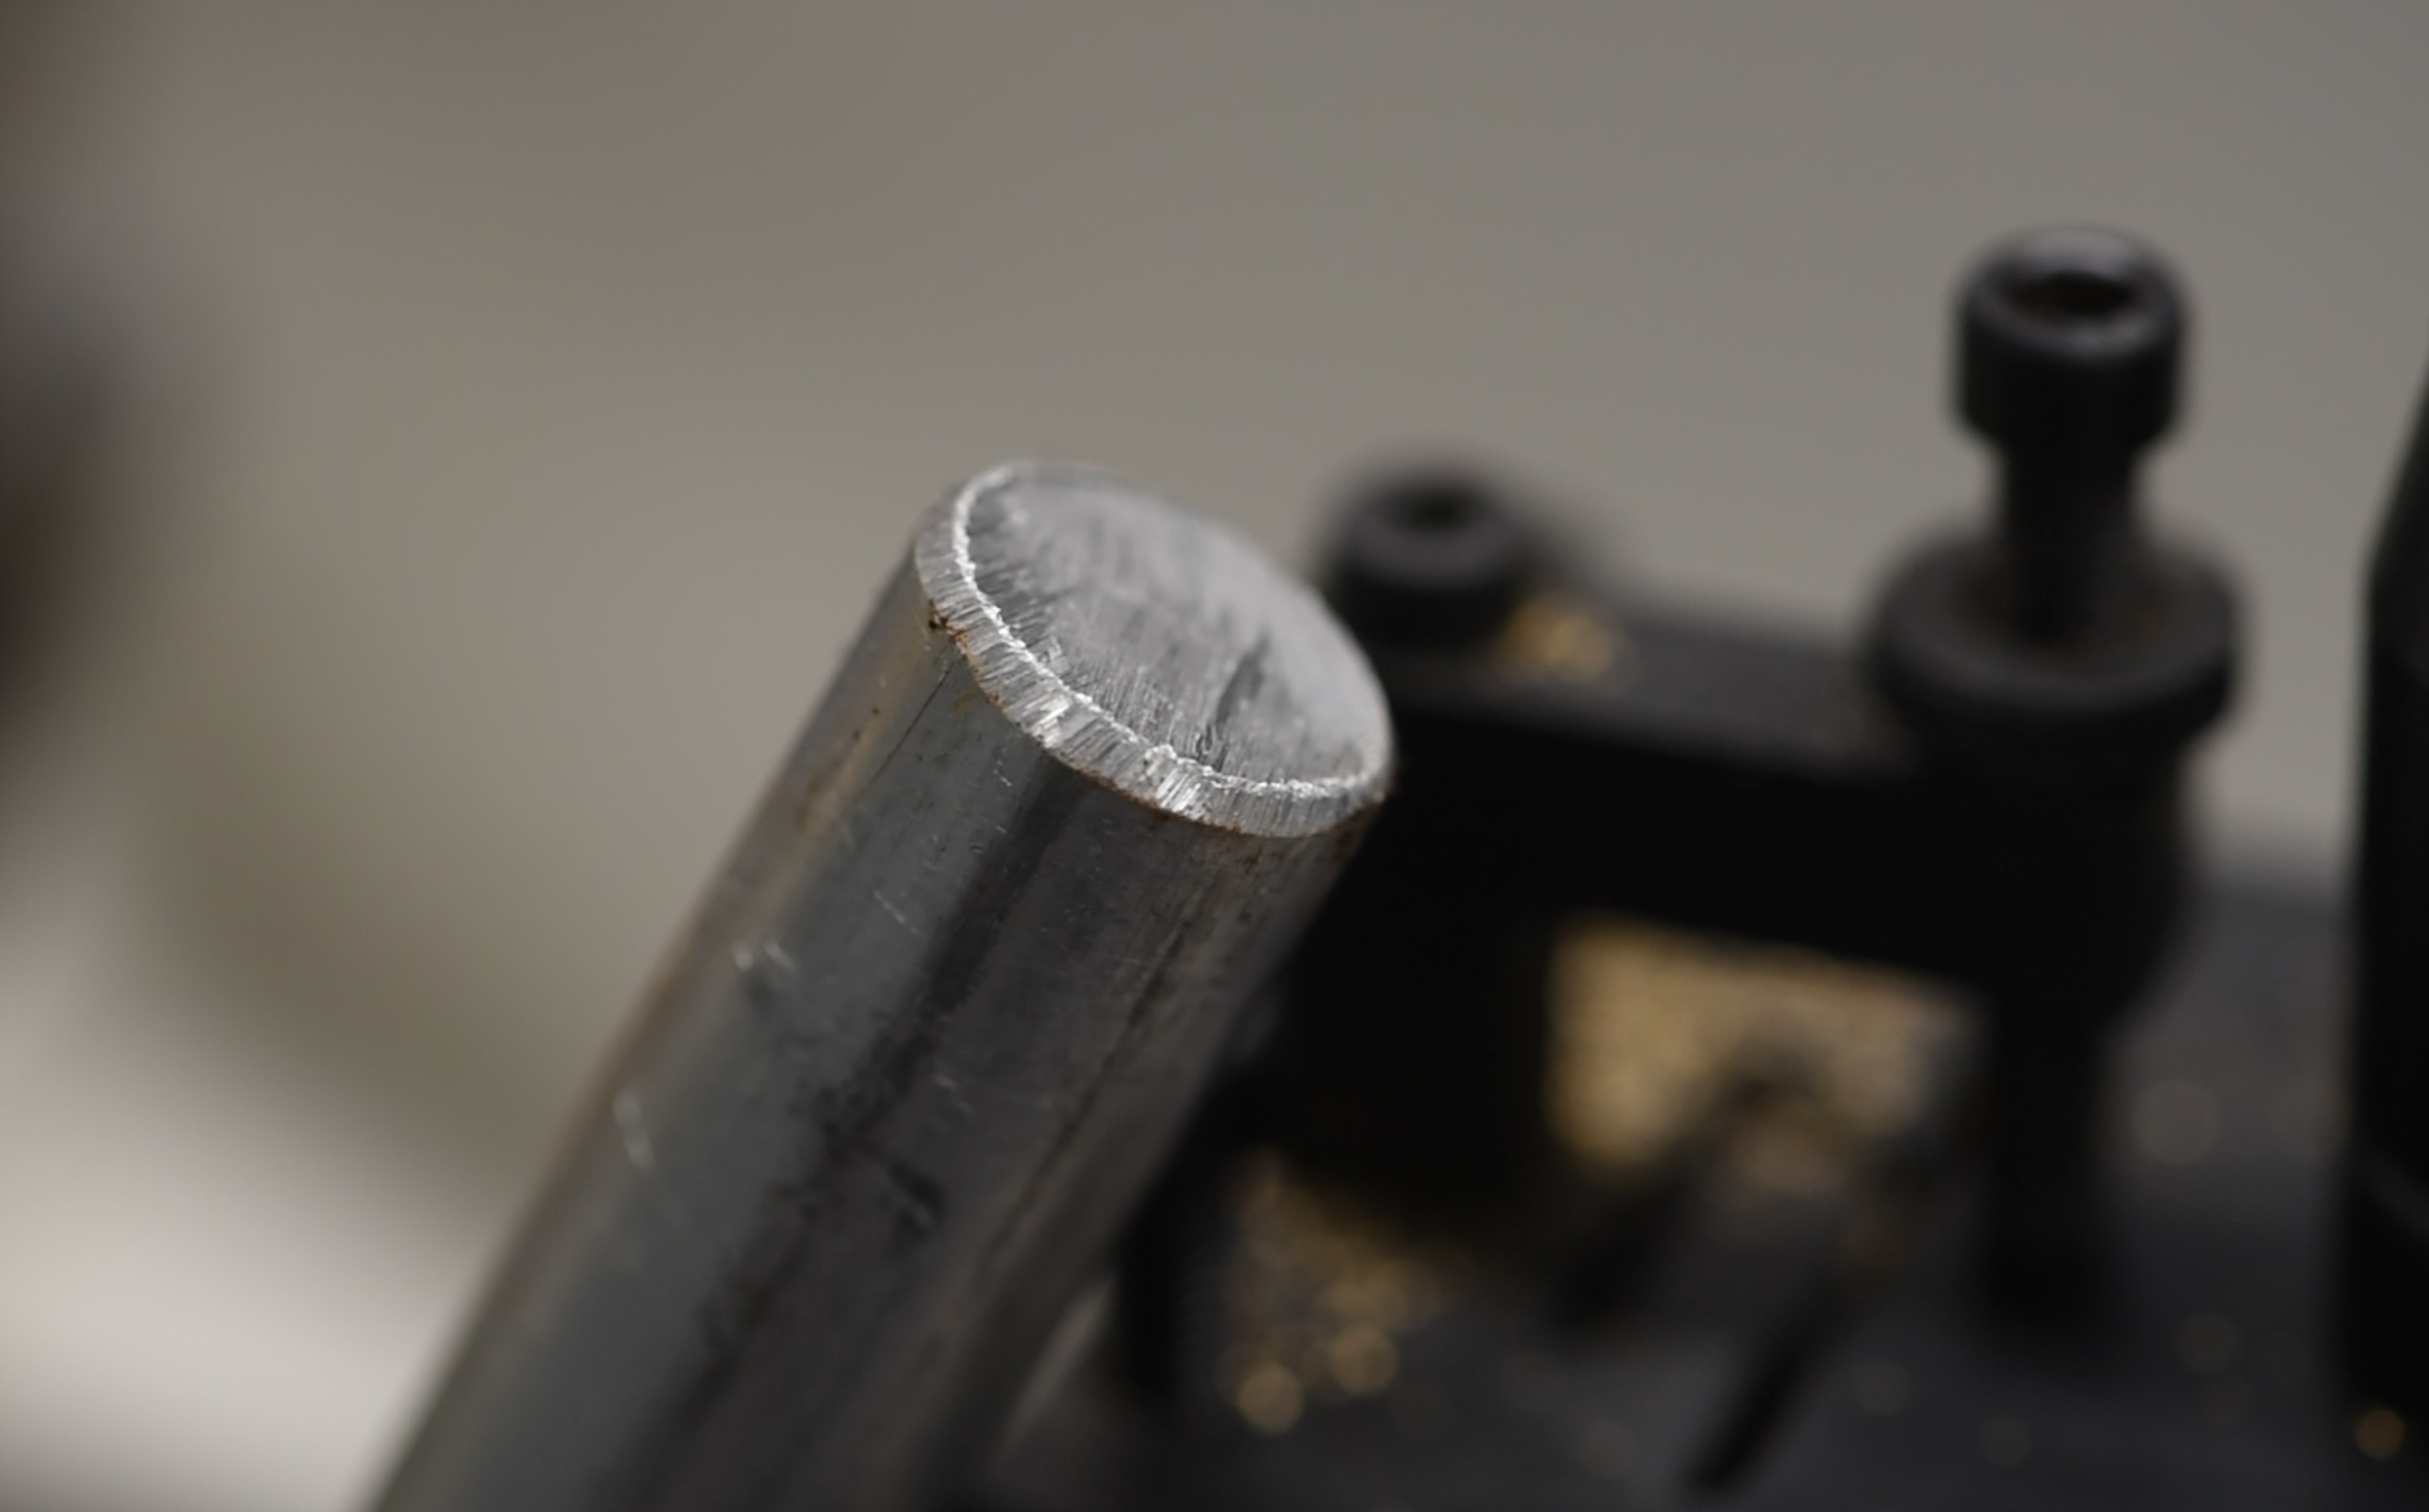
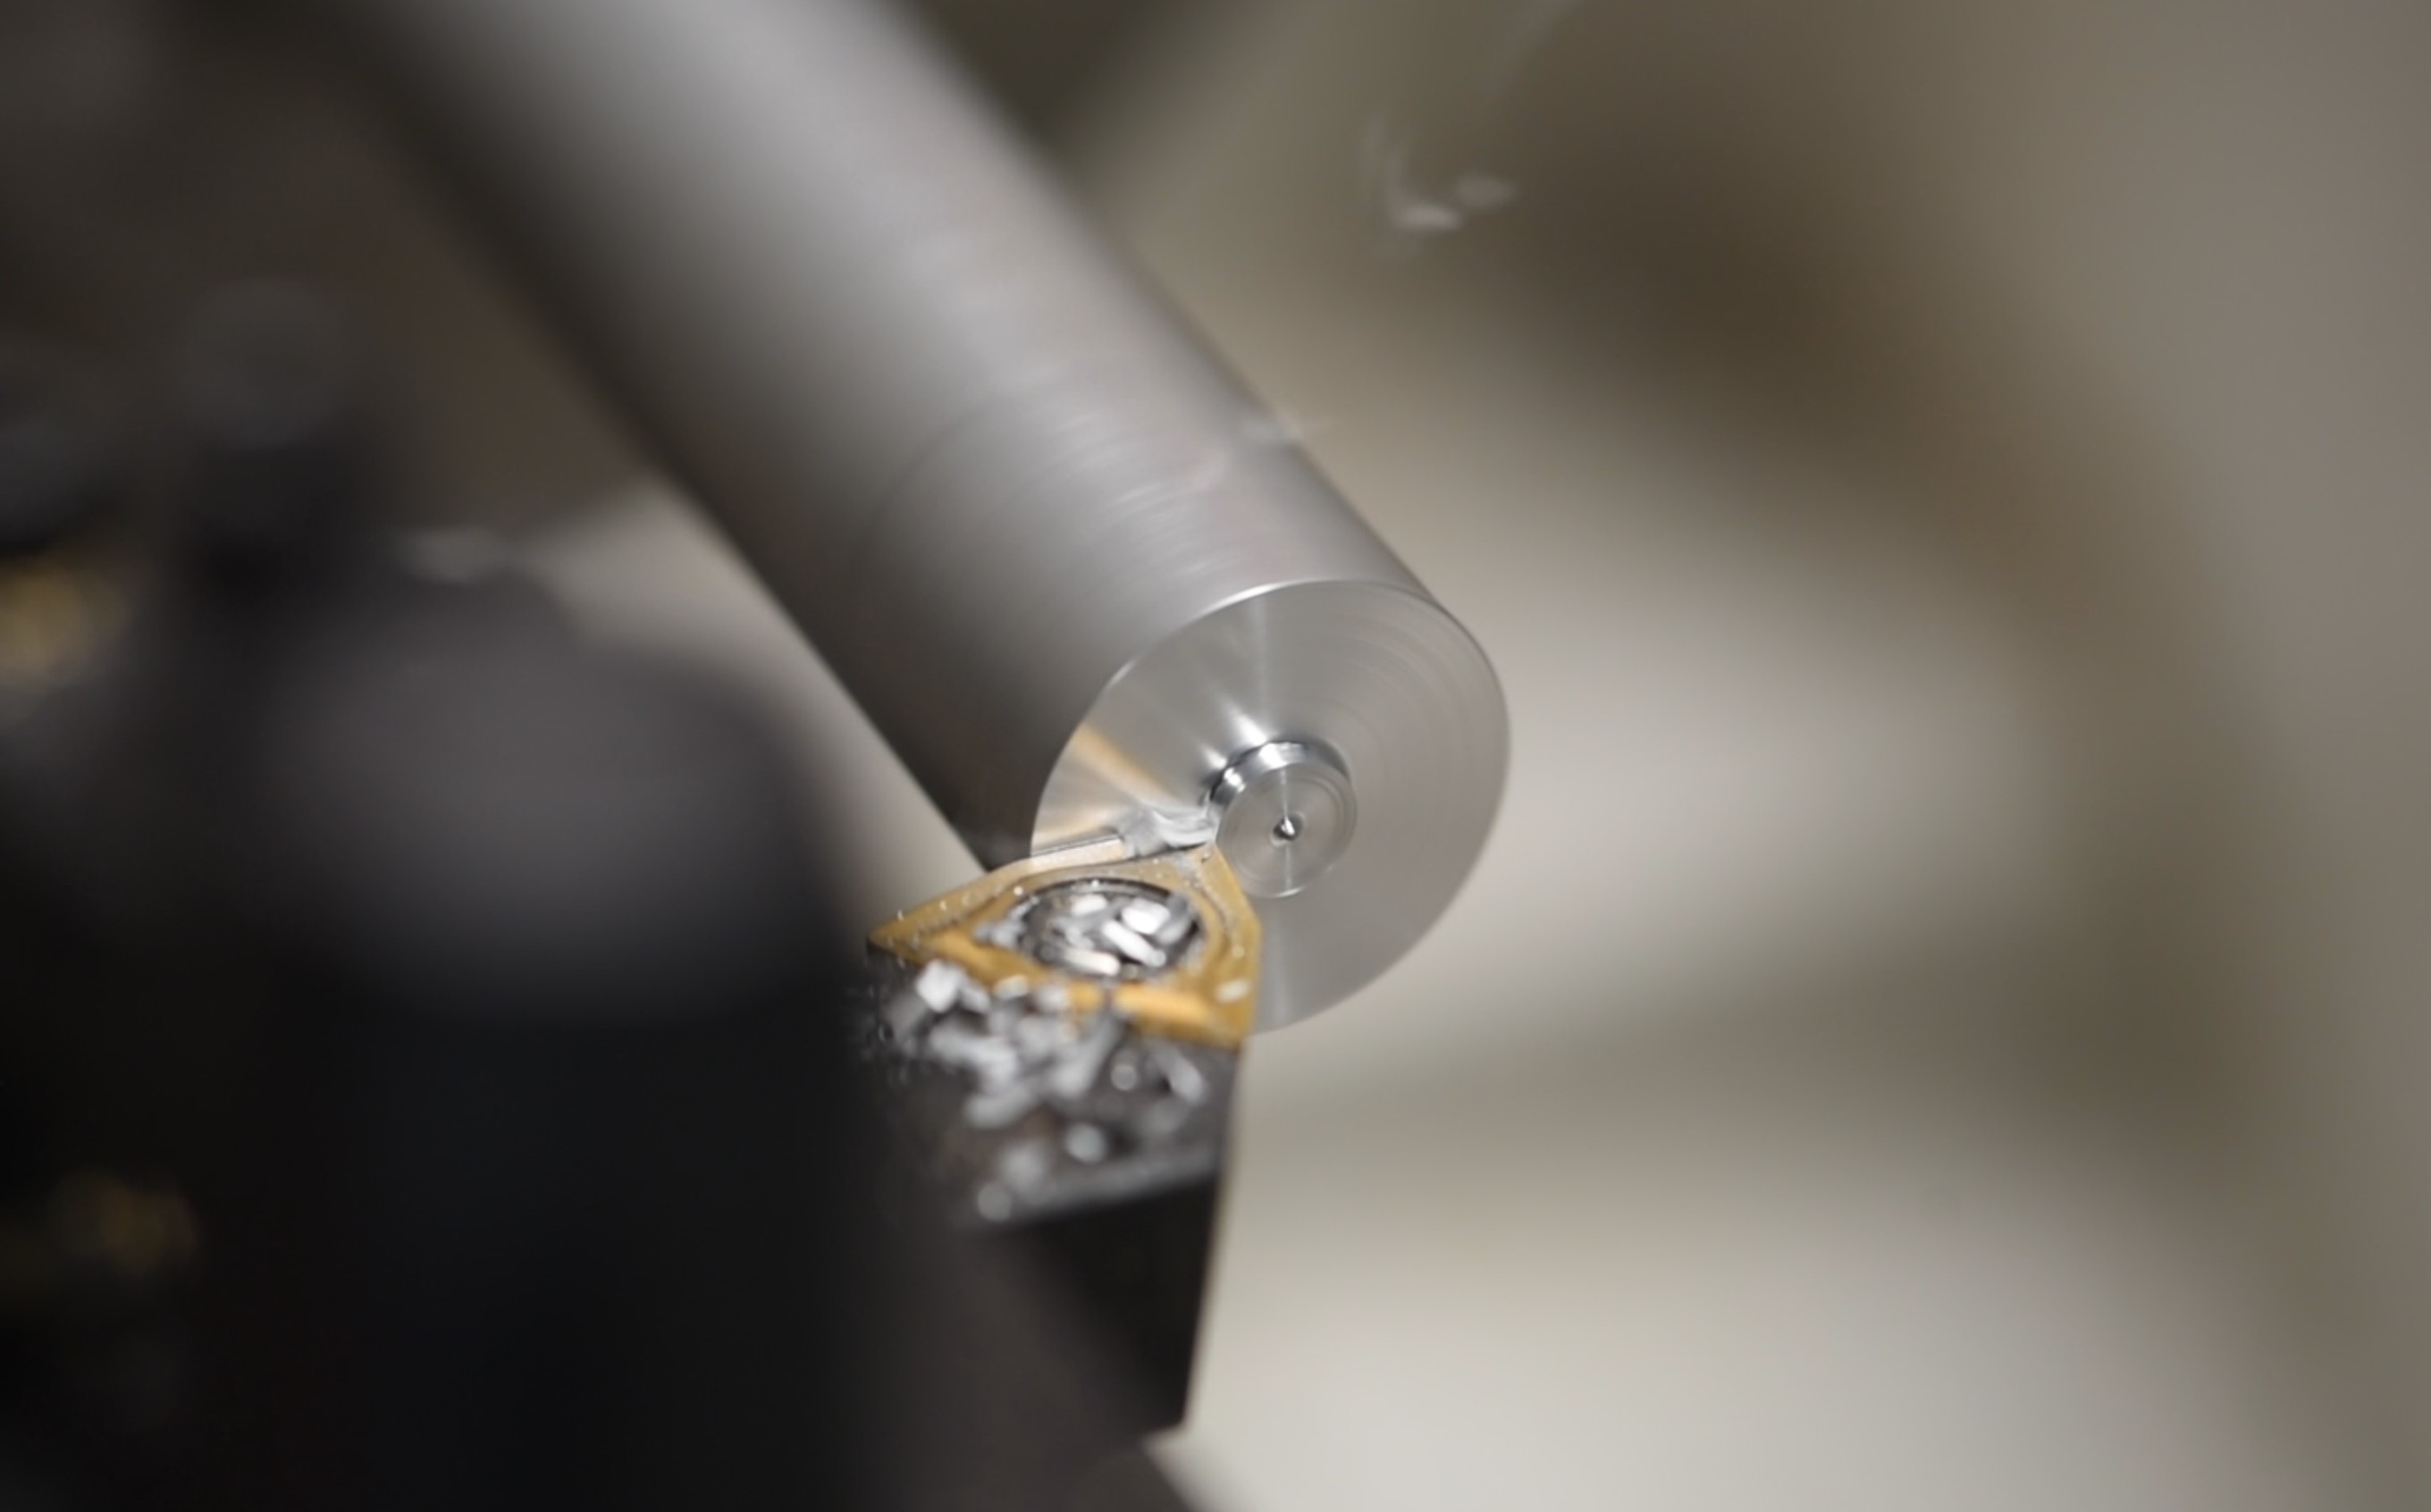
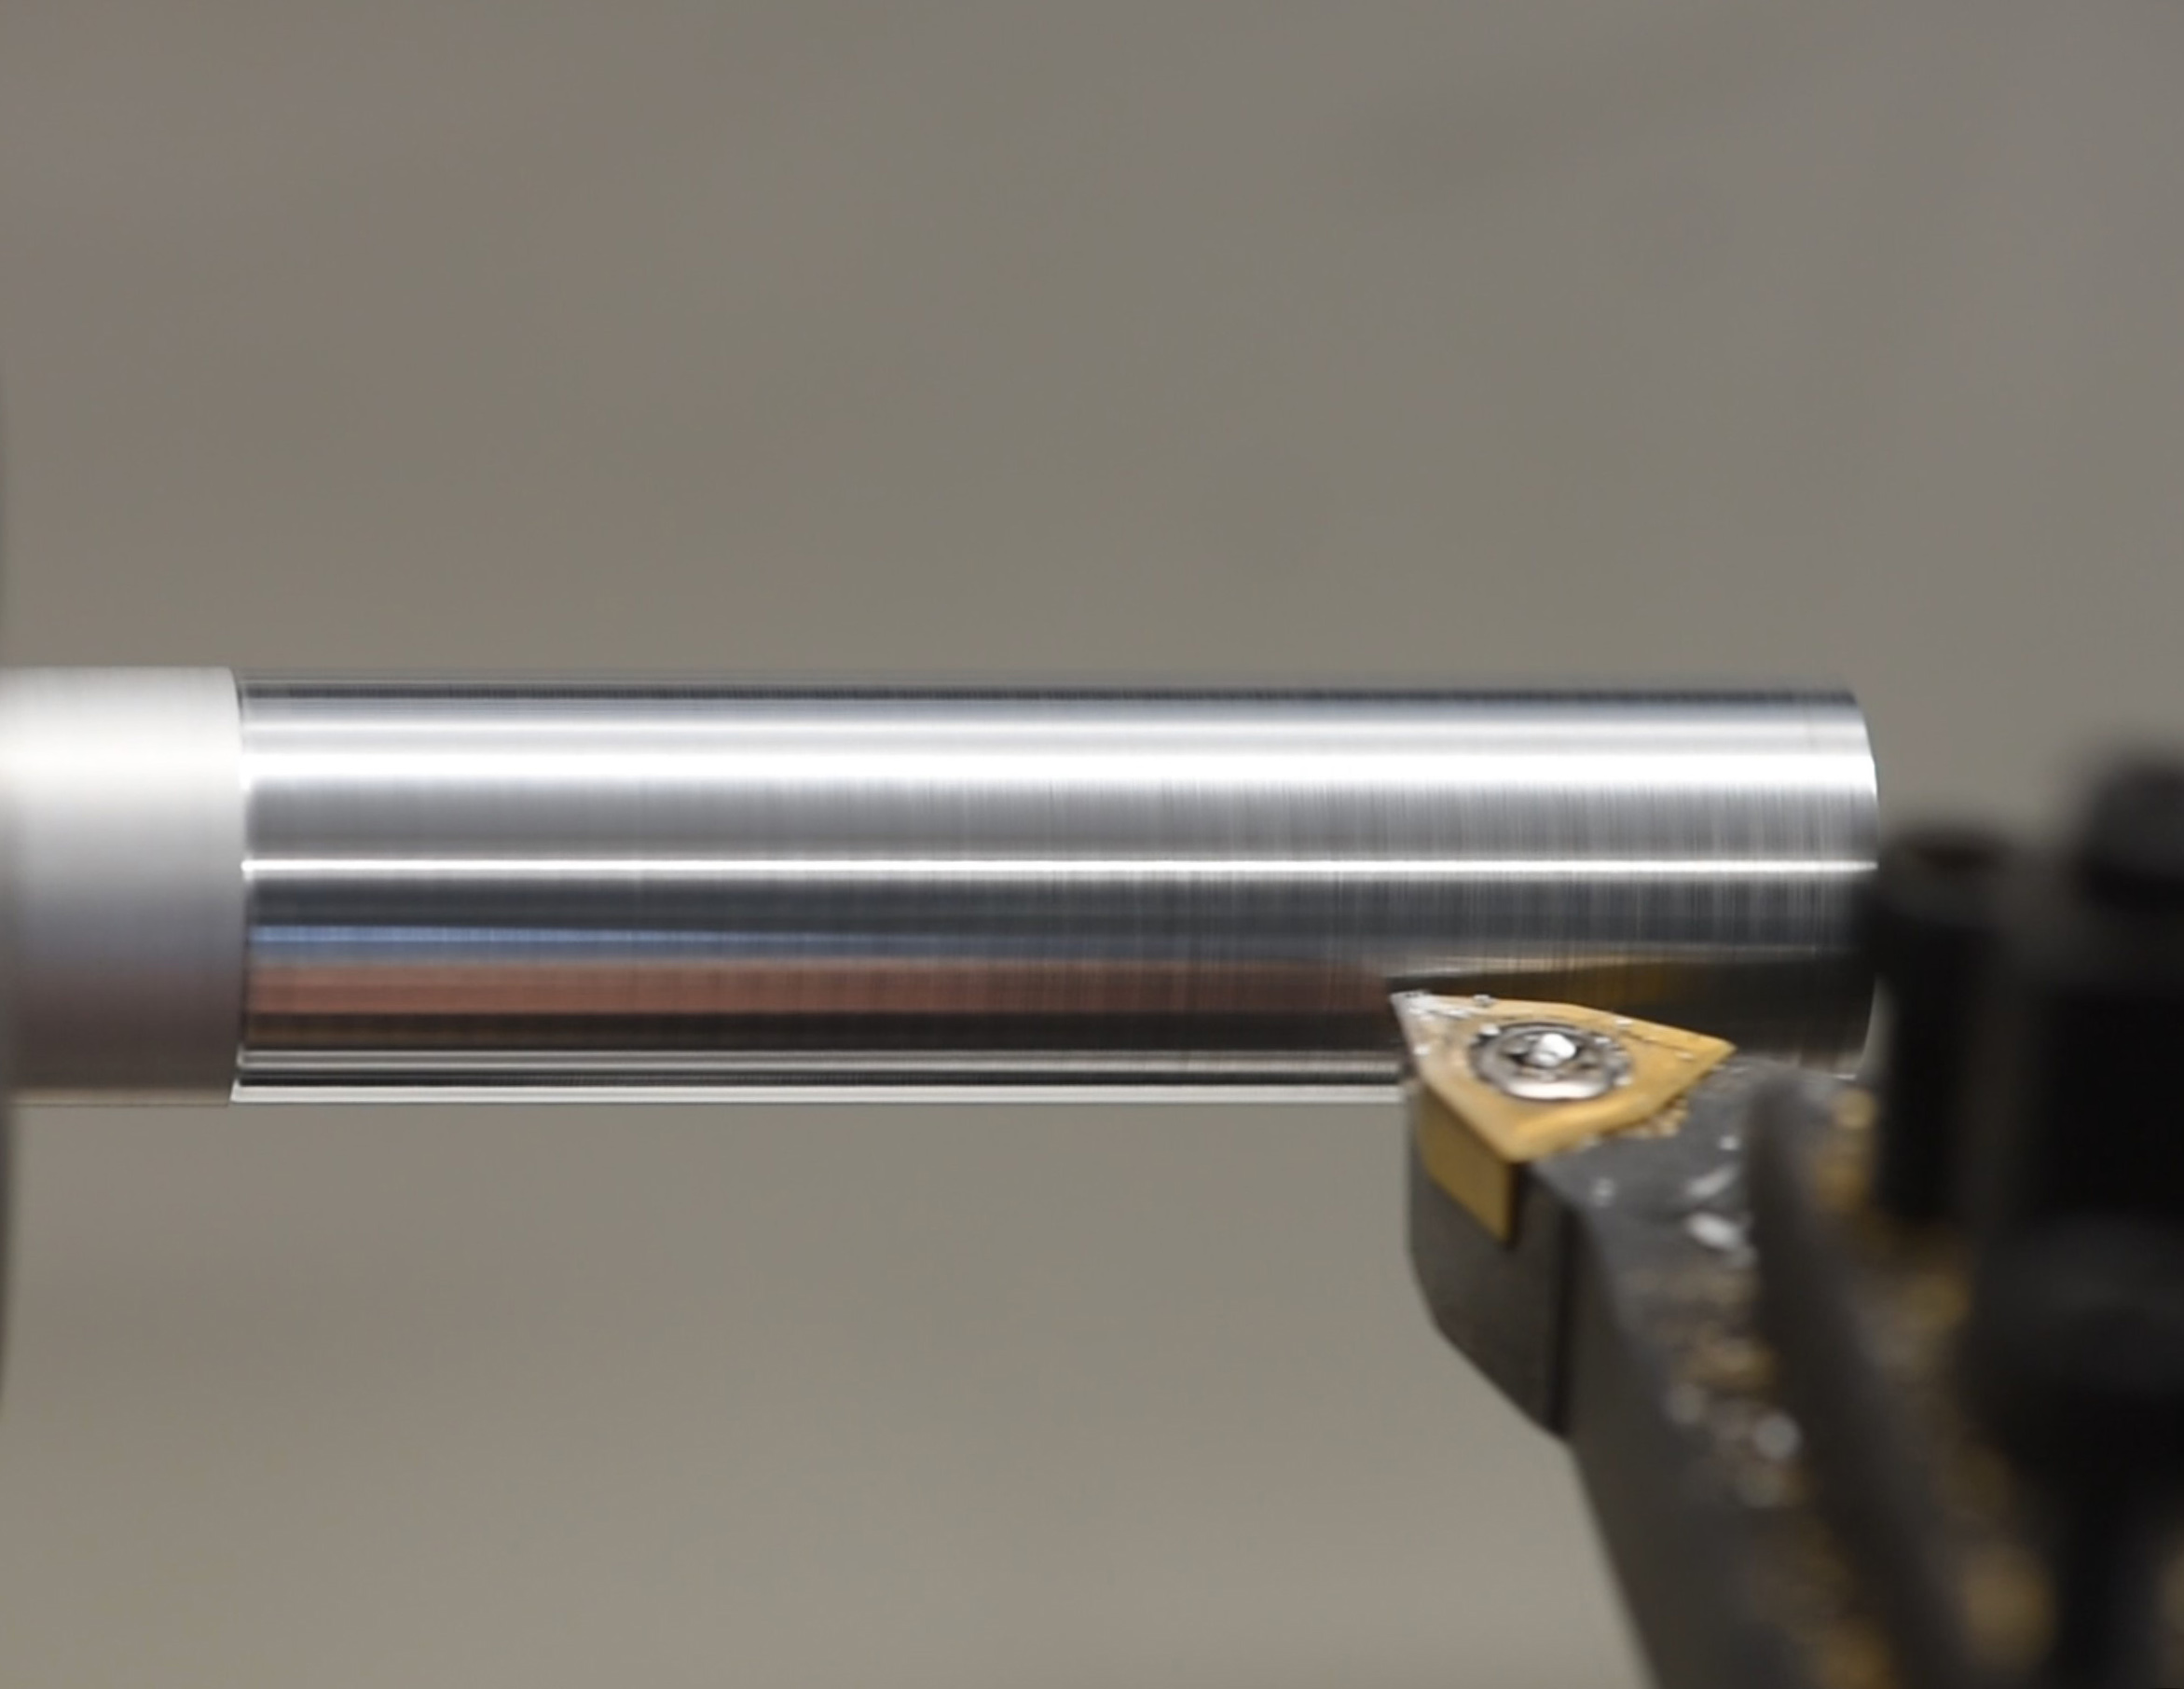
After mounting in the chuck, the first thing to do was face the part in preparation for the later work. I then turned down a long section of the rod close to 16mm, this will help make sure everything is even in diameter and concentric later on, both pieces will be cut without removing the stock from the chuck.
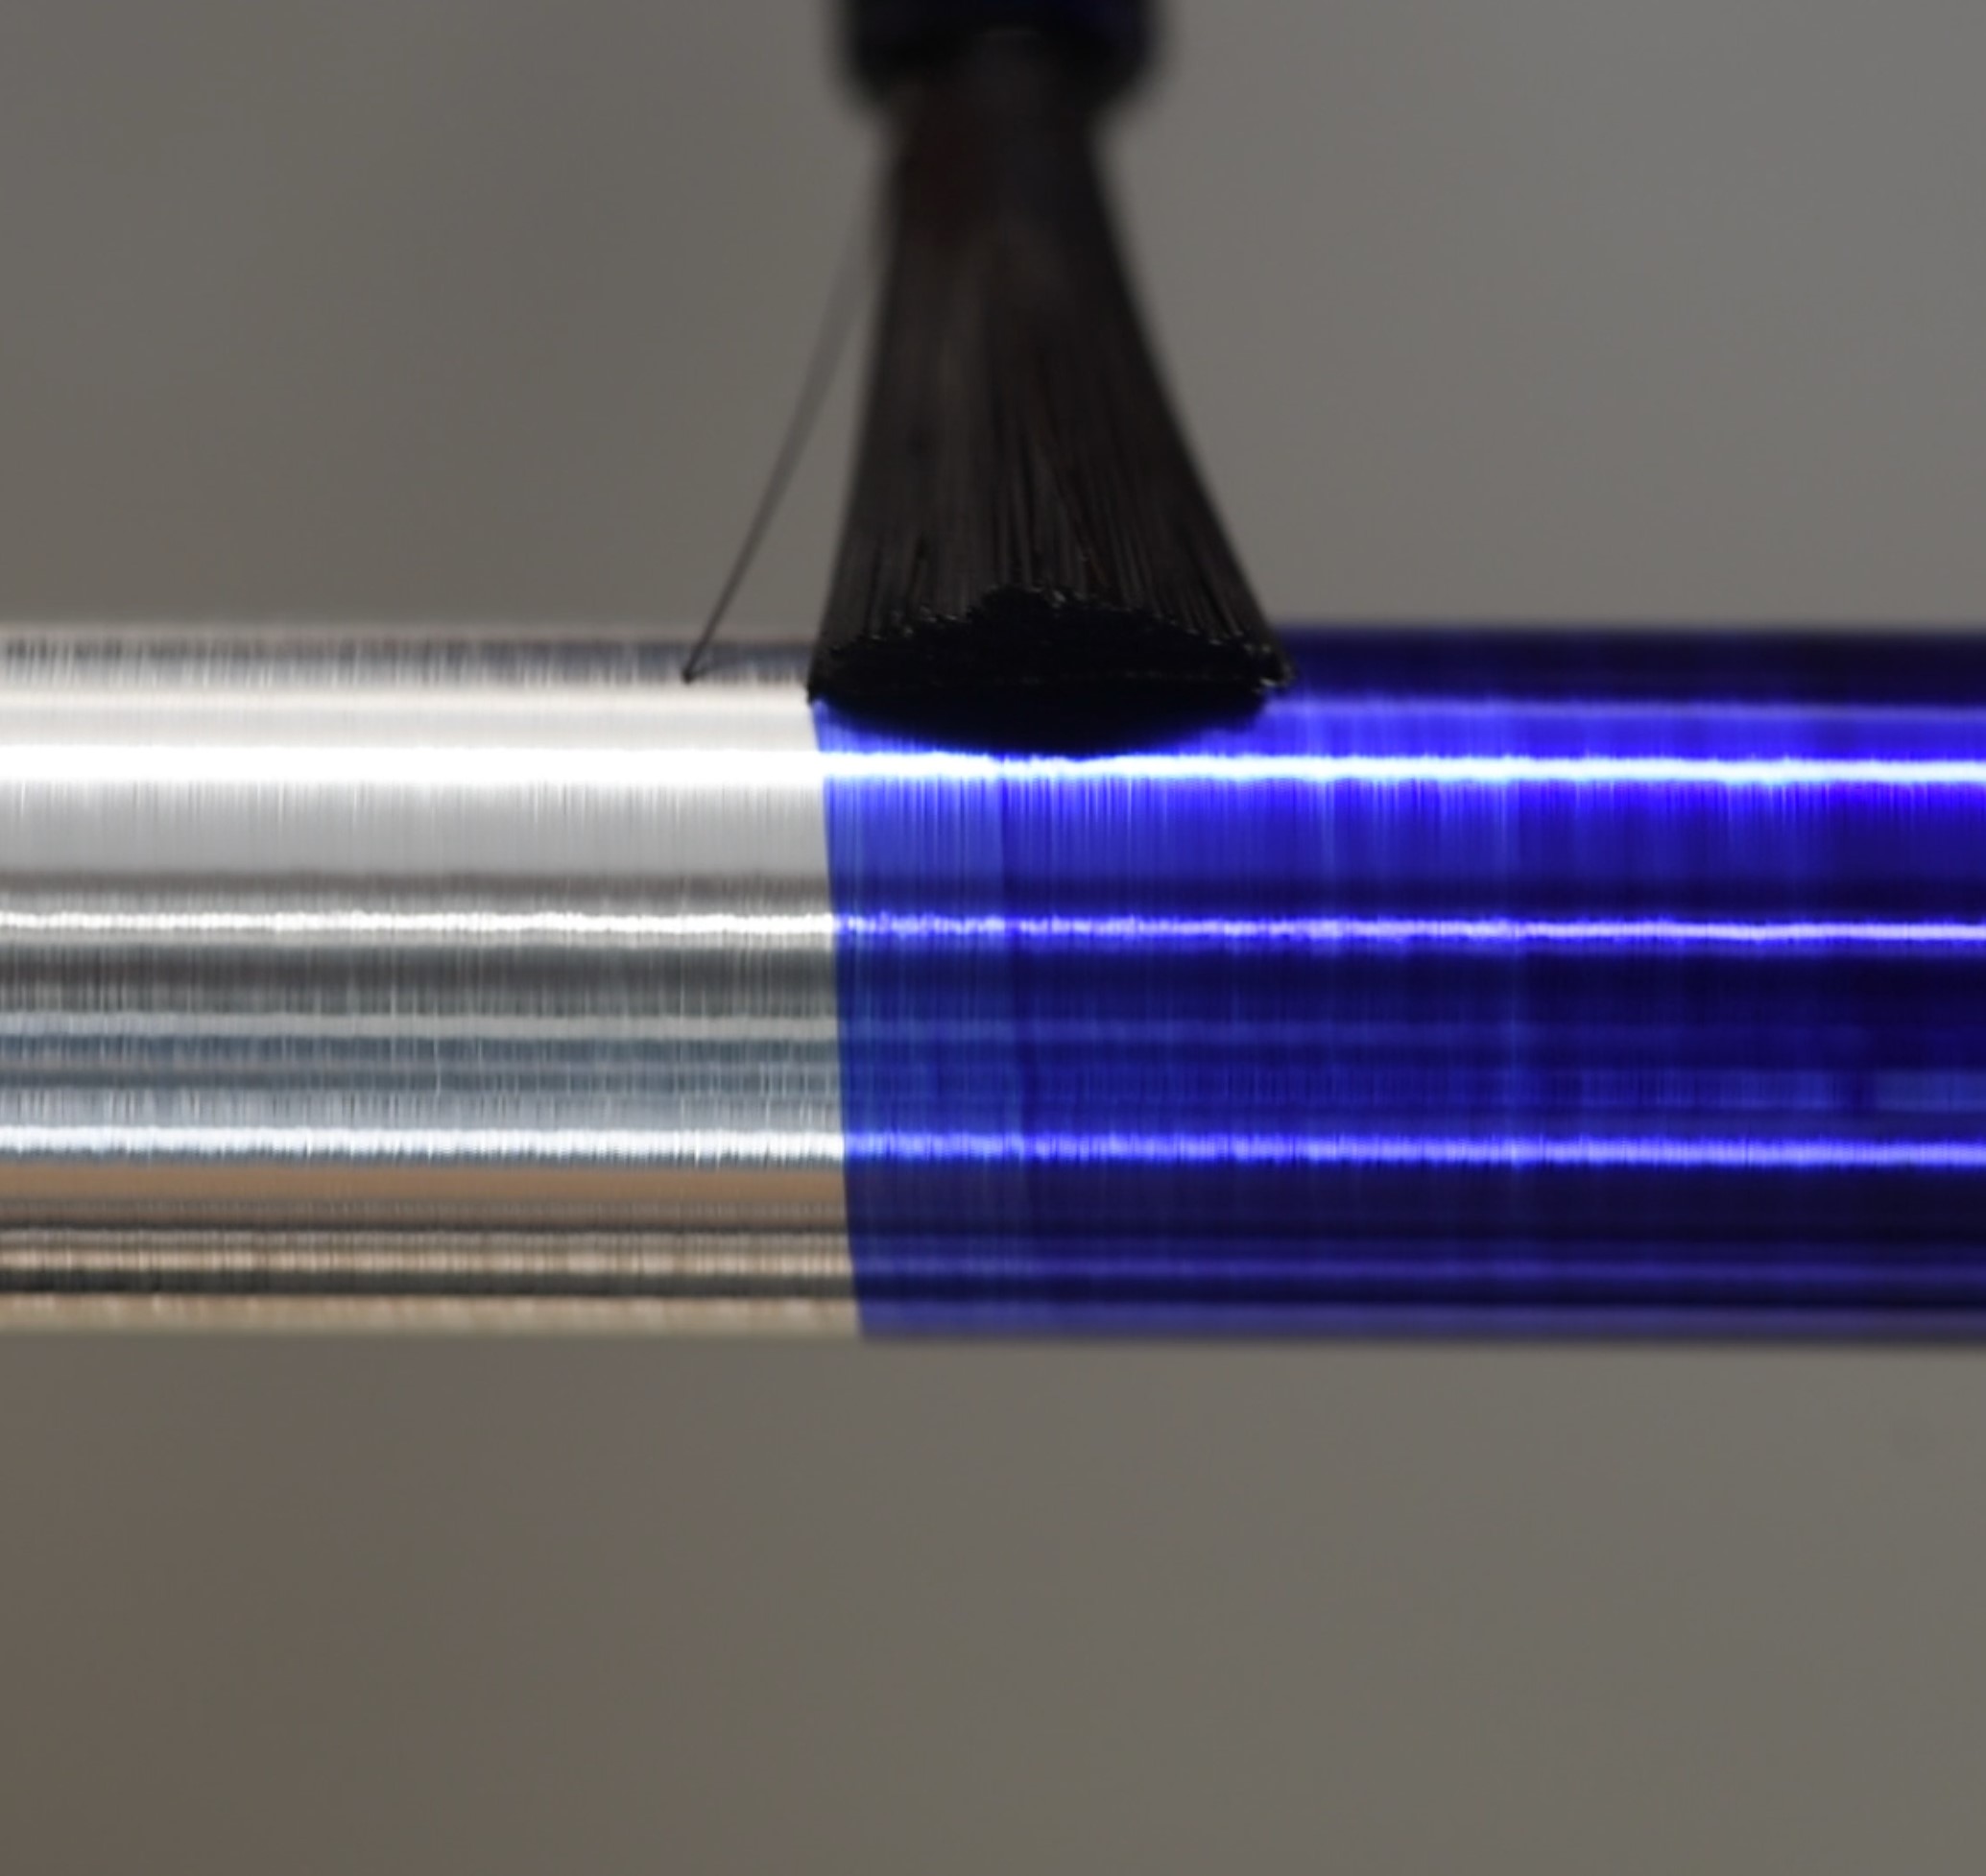
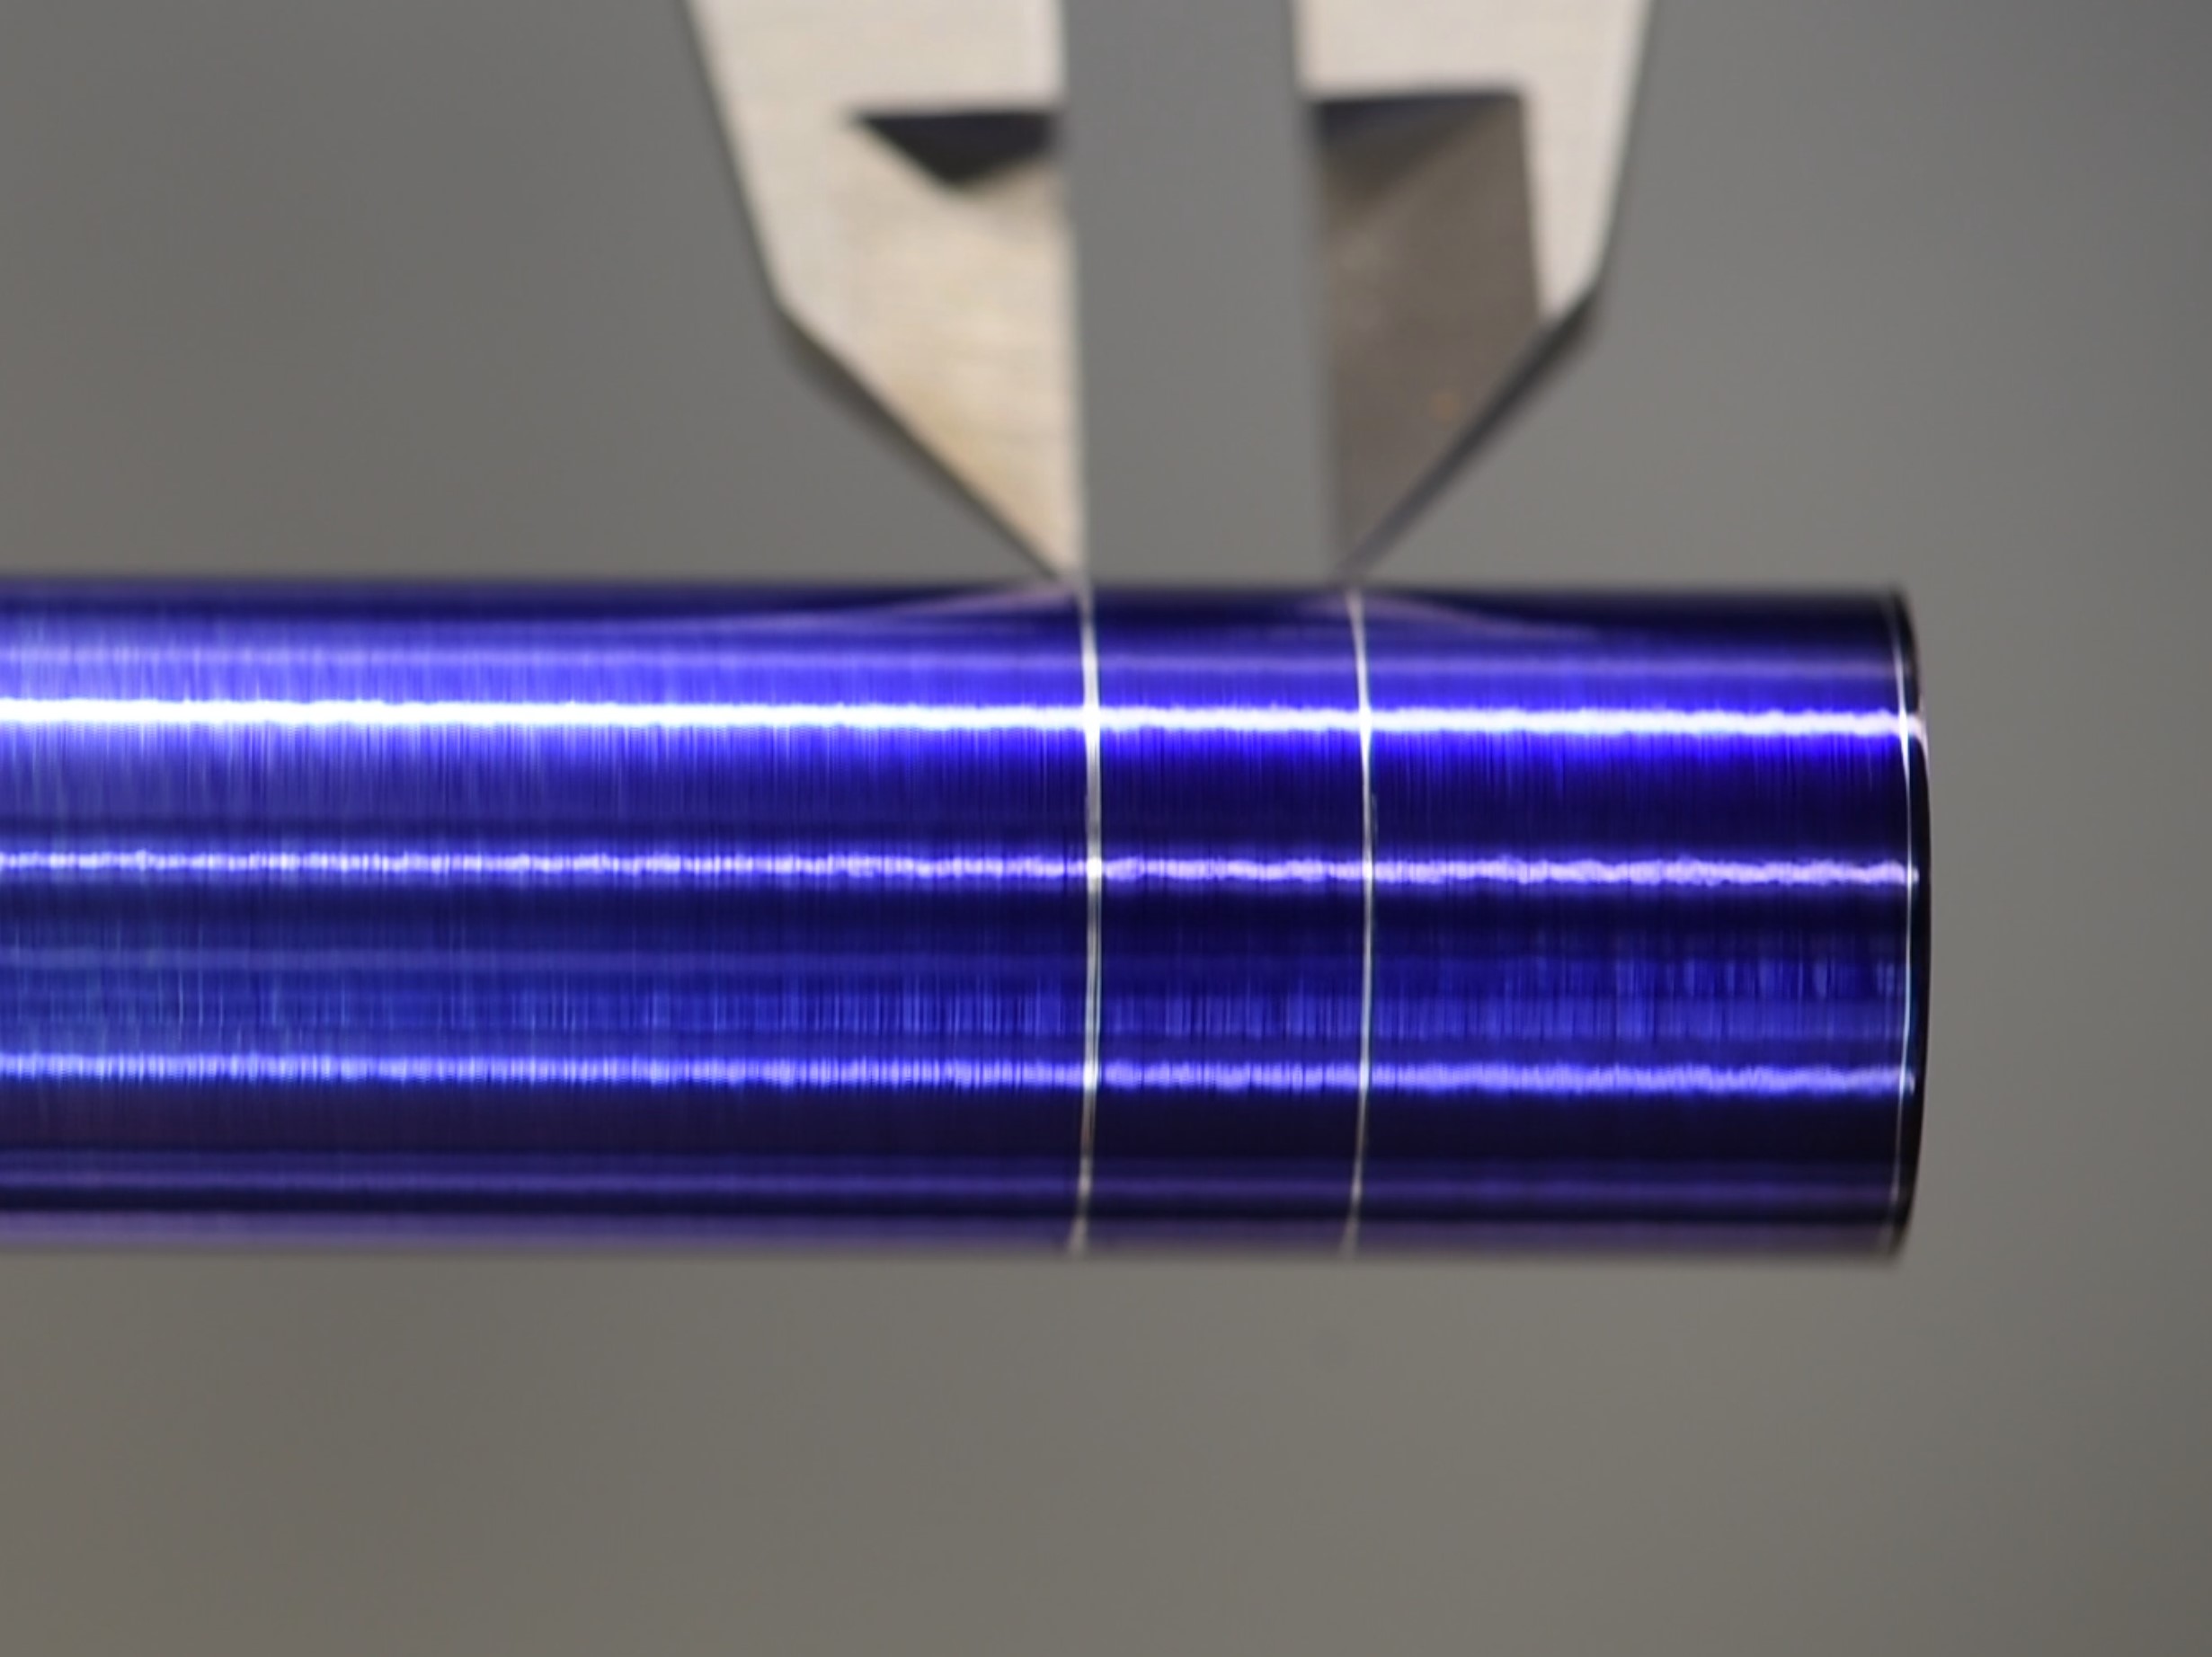
Next it was just a matter of applying some marking fluid and using the calipers to score the cutting boundaries. These are the lines I'll be turning down to; the marking fluid makes the contrast very high, so it's easy to see exactly what you're aiming for.
With the lines marked, it's time to start turning the part into shape, and this is where planning really comes into play. This particular part has a smooth, domed section and a long threaded zone. It's tempting to go and try making the dome first, but the issue there would be trying to hold the part later when you want to cut the threads. So to combat this, I decided it would be best to cut the threads first.
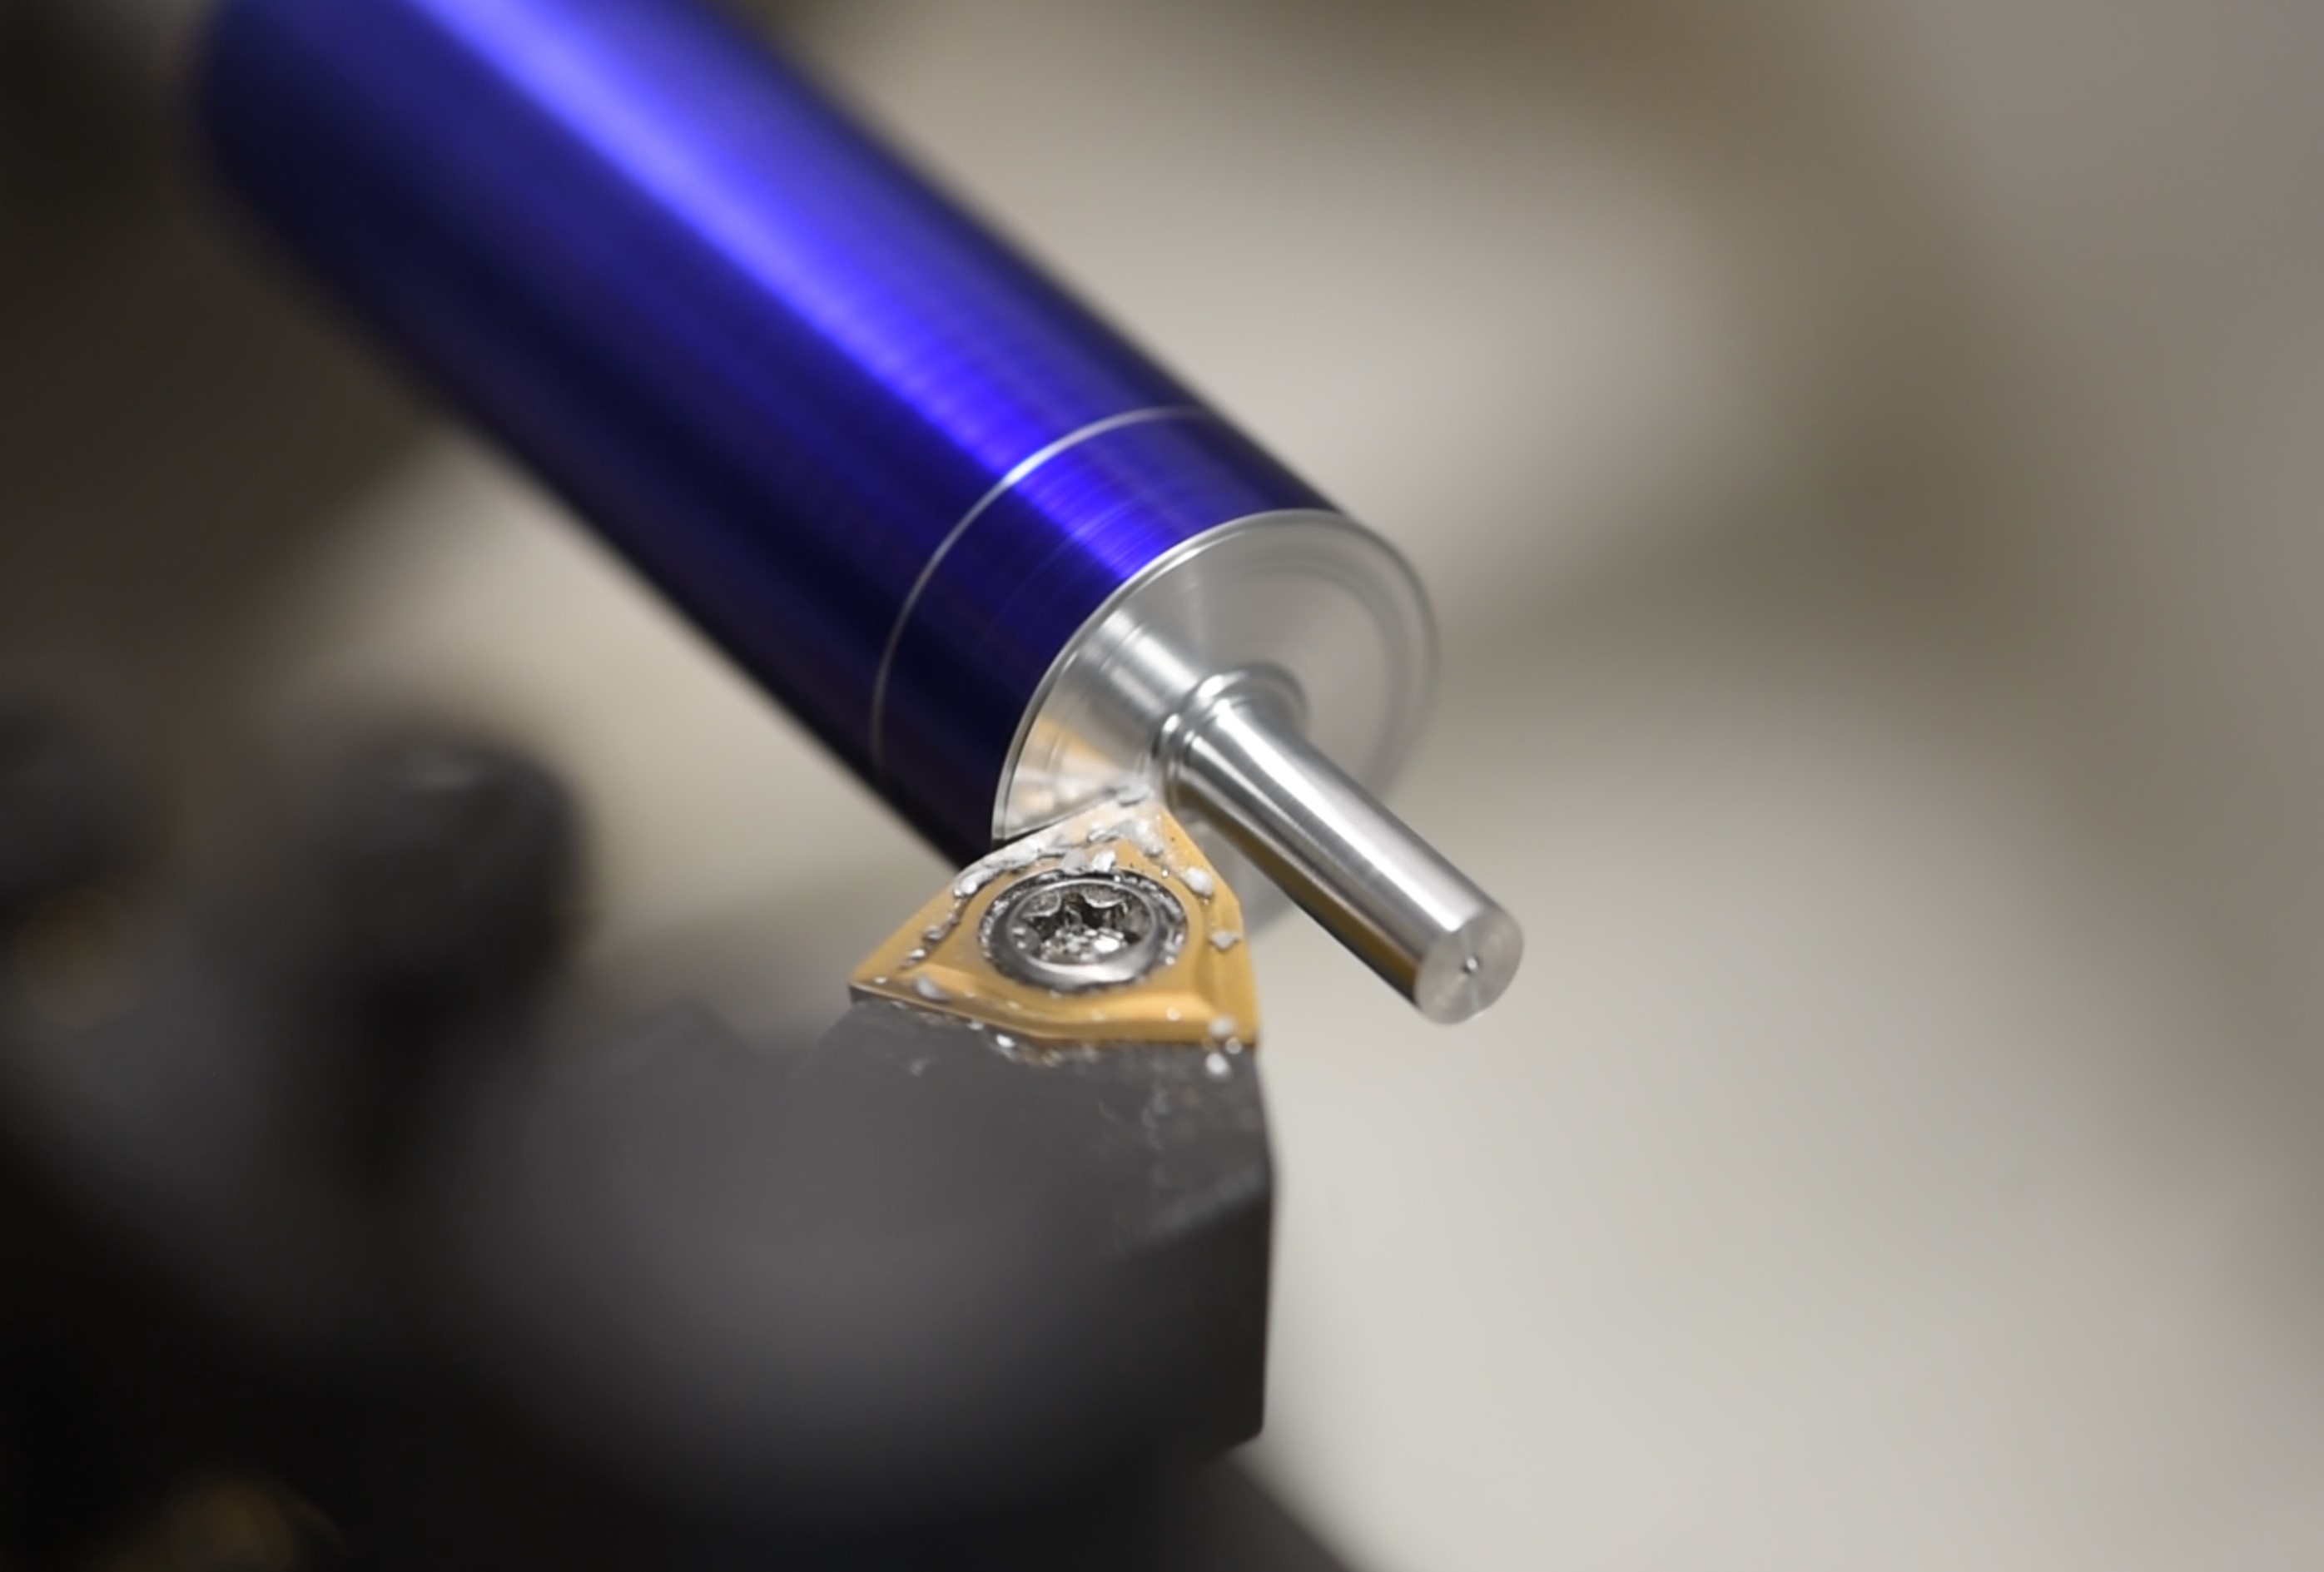
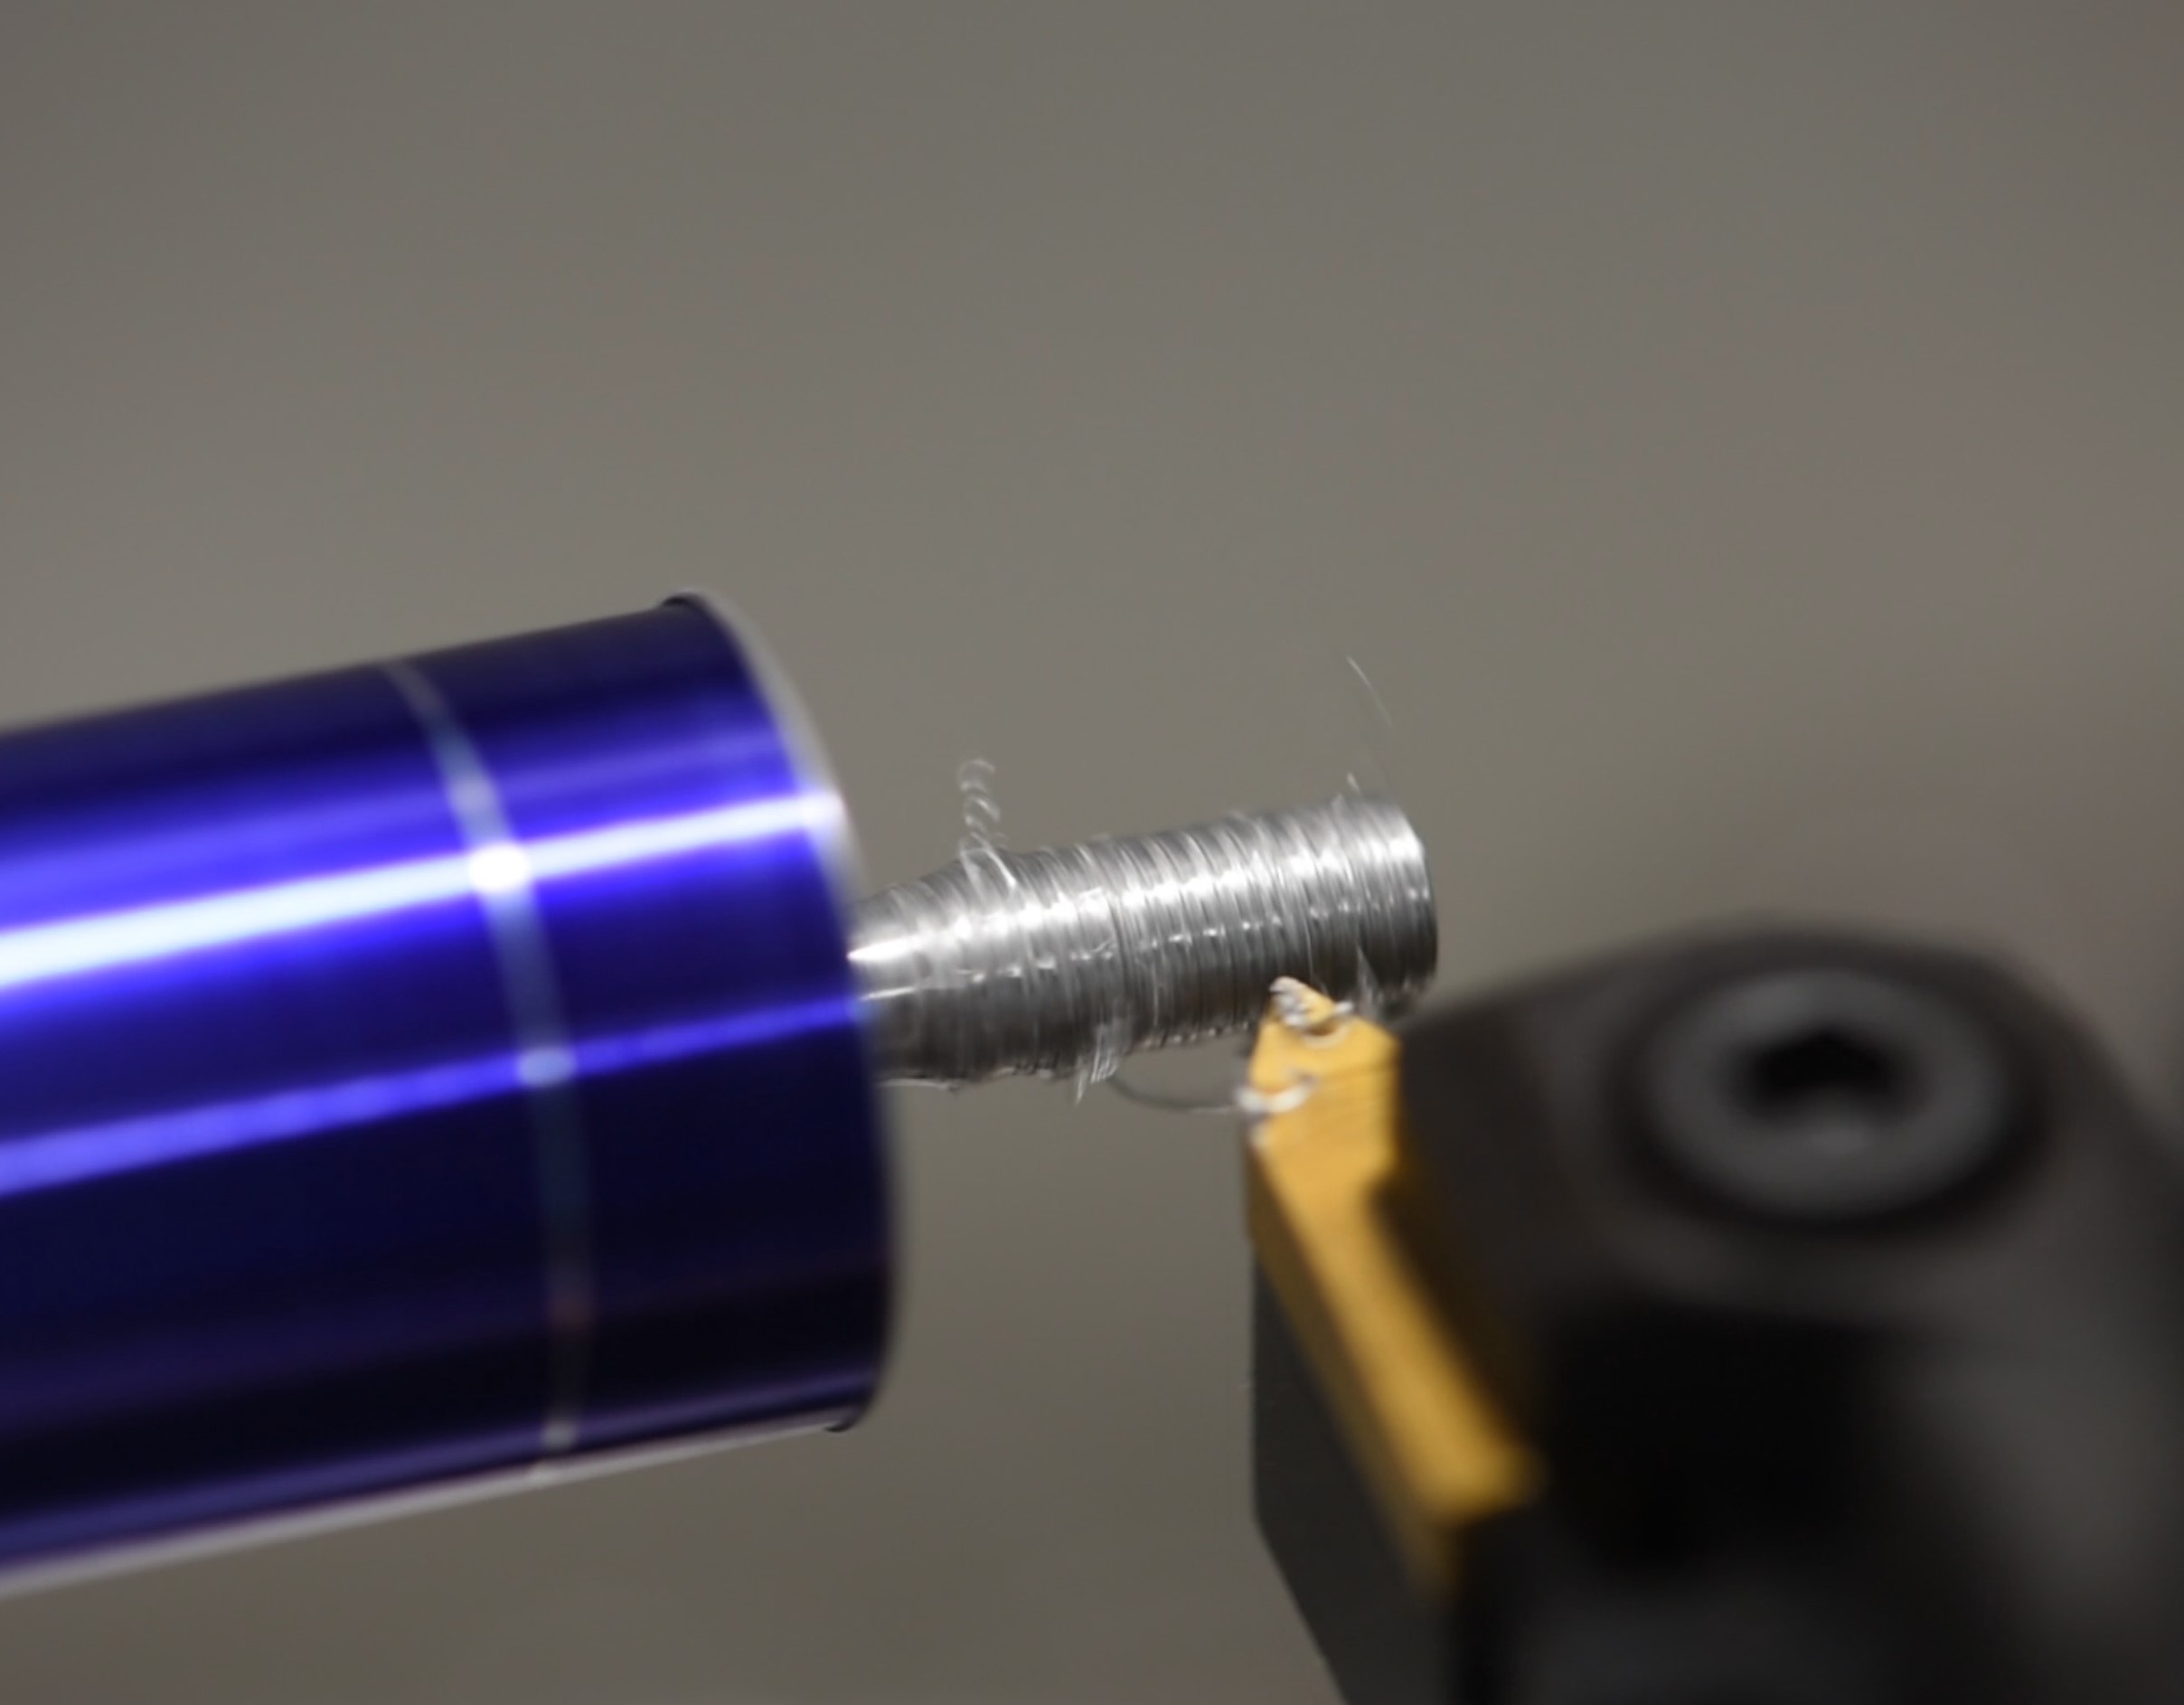
I turned down the section to 3.9mm, then faced the shoulder to make it flat. The thread only needs to be present on the first 8mm of the part, so the very end is left nice and smooth. I set the machine for thread cutting at a 0.7mm pitch, then used a number of small passes to progressively remove more material. Aluminium is soft, so it's not ideal for this sort of work; I had to be very conservative with the feed on this one to avoid stressing the turned section too much.
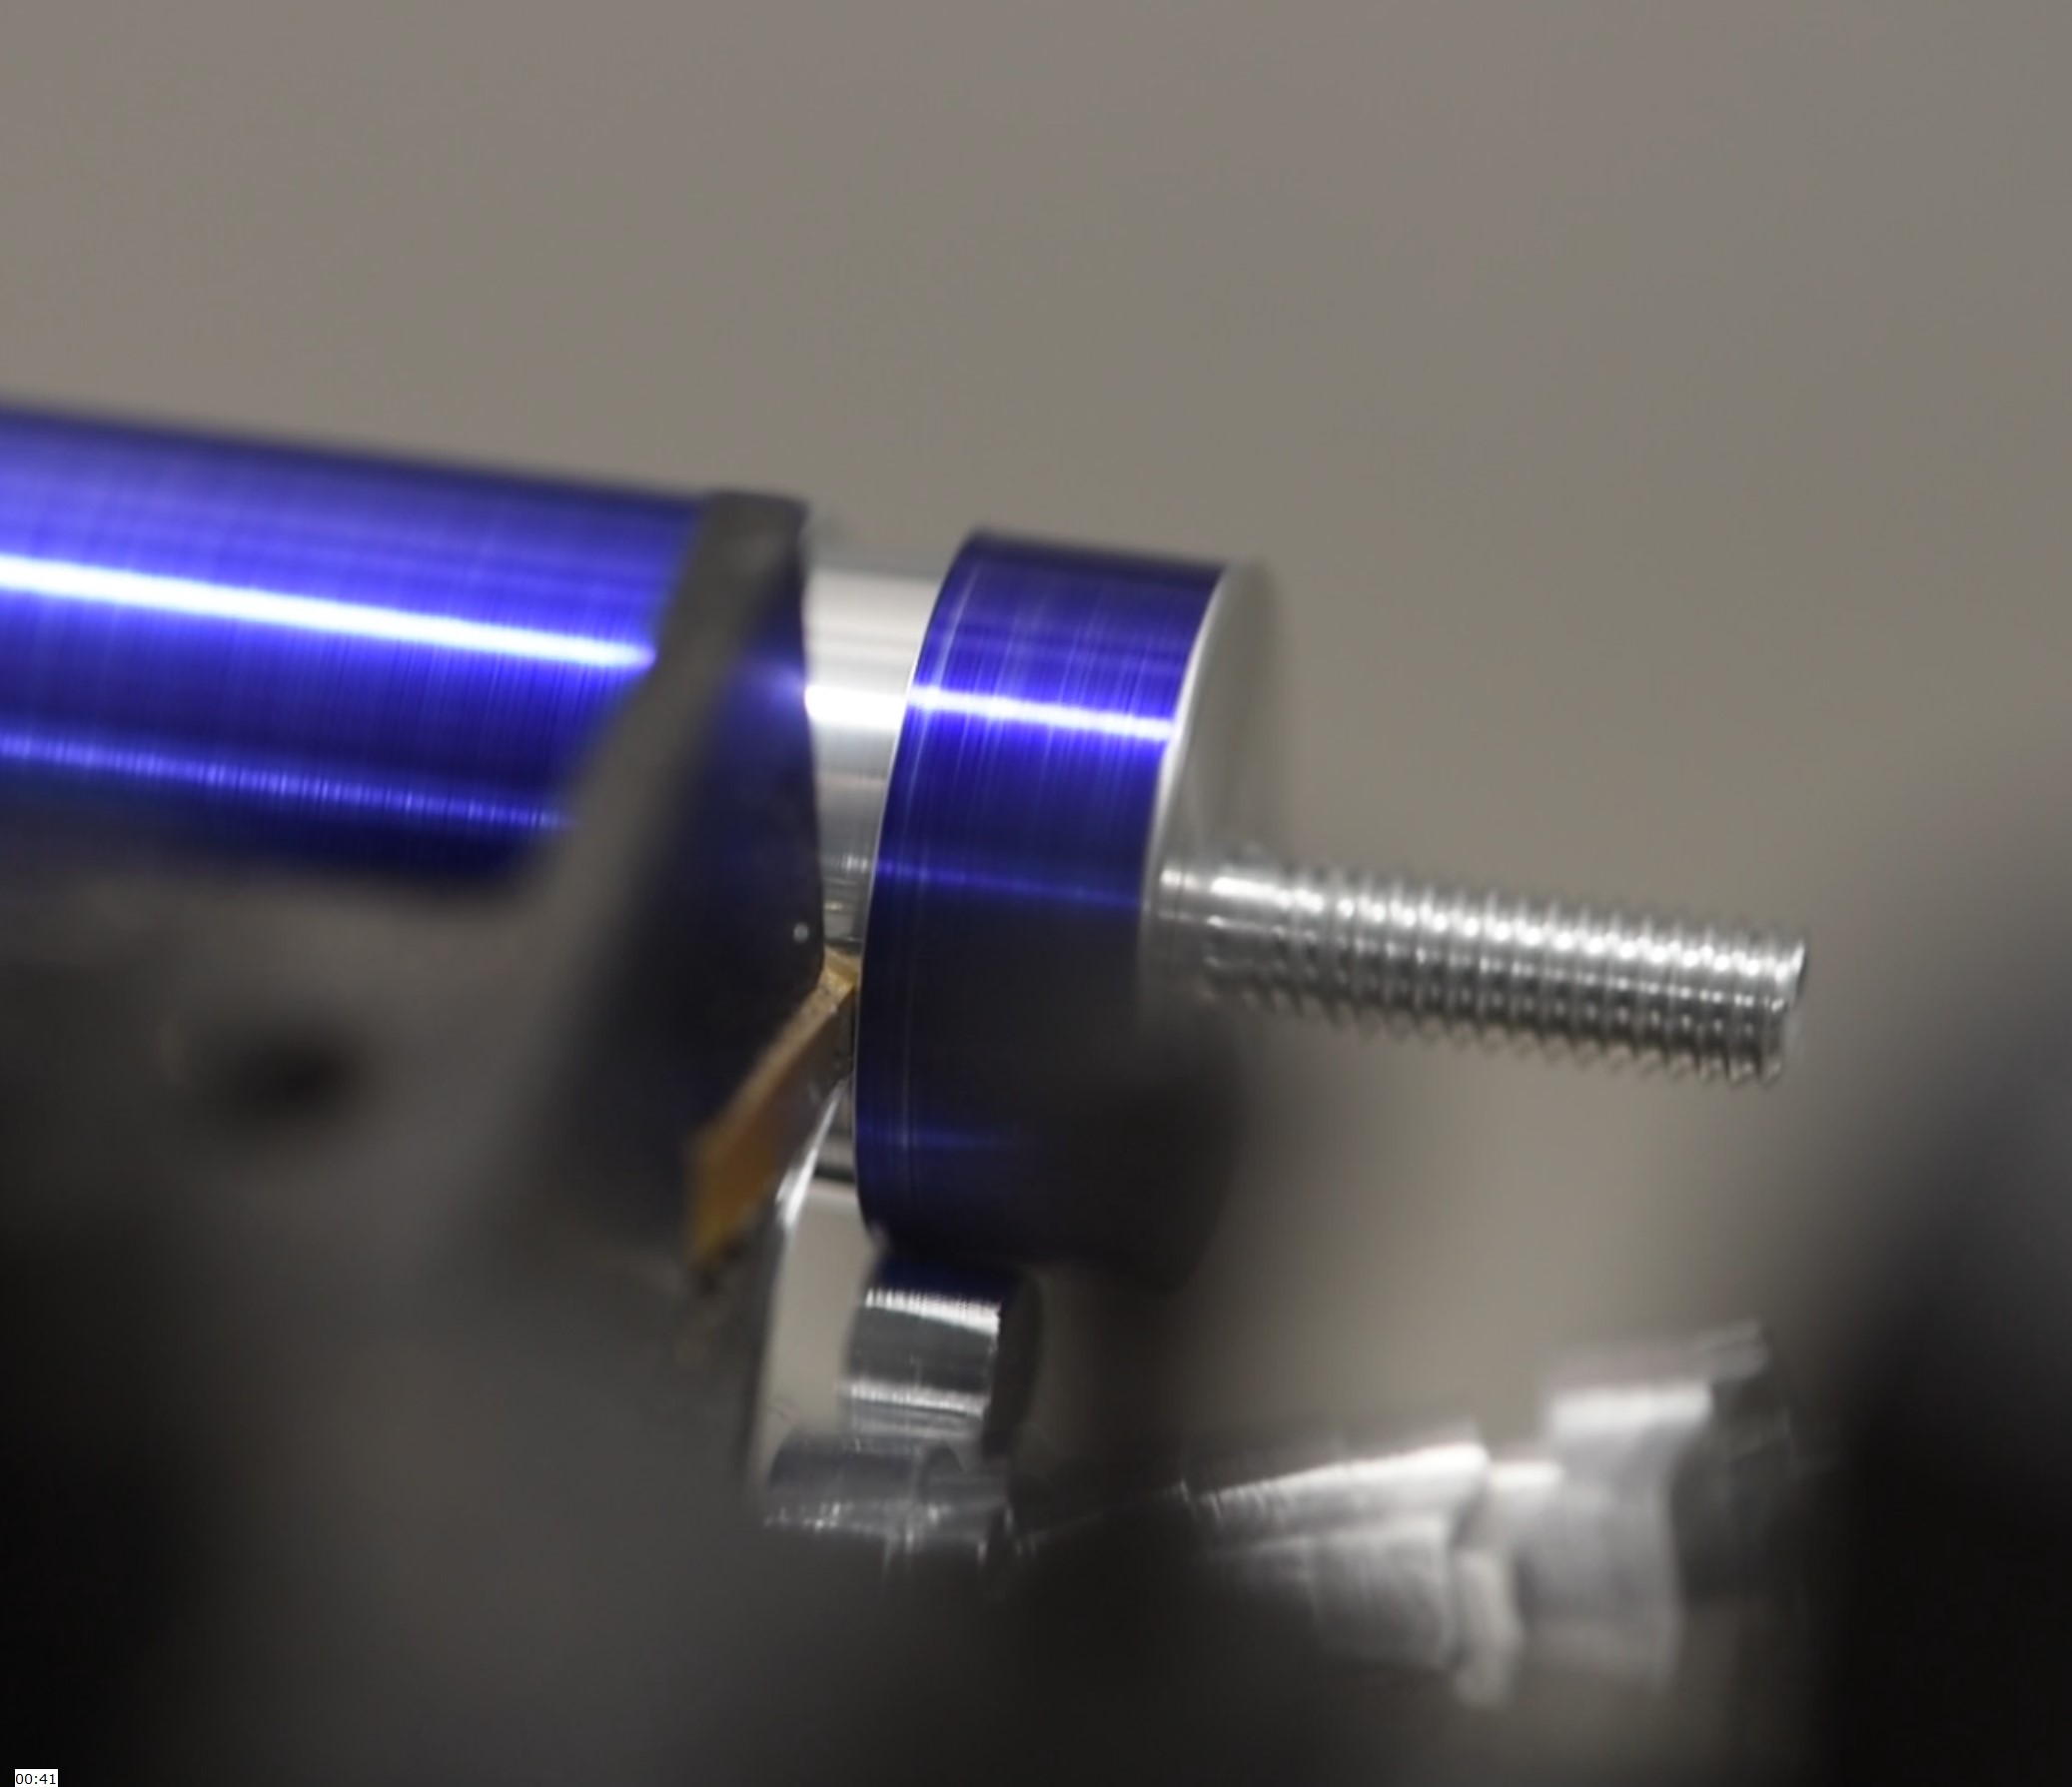
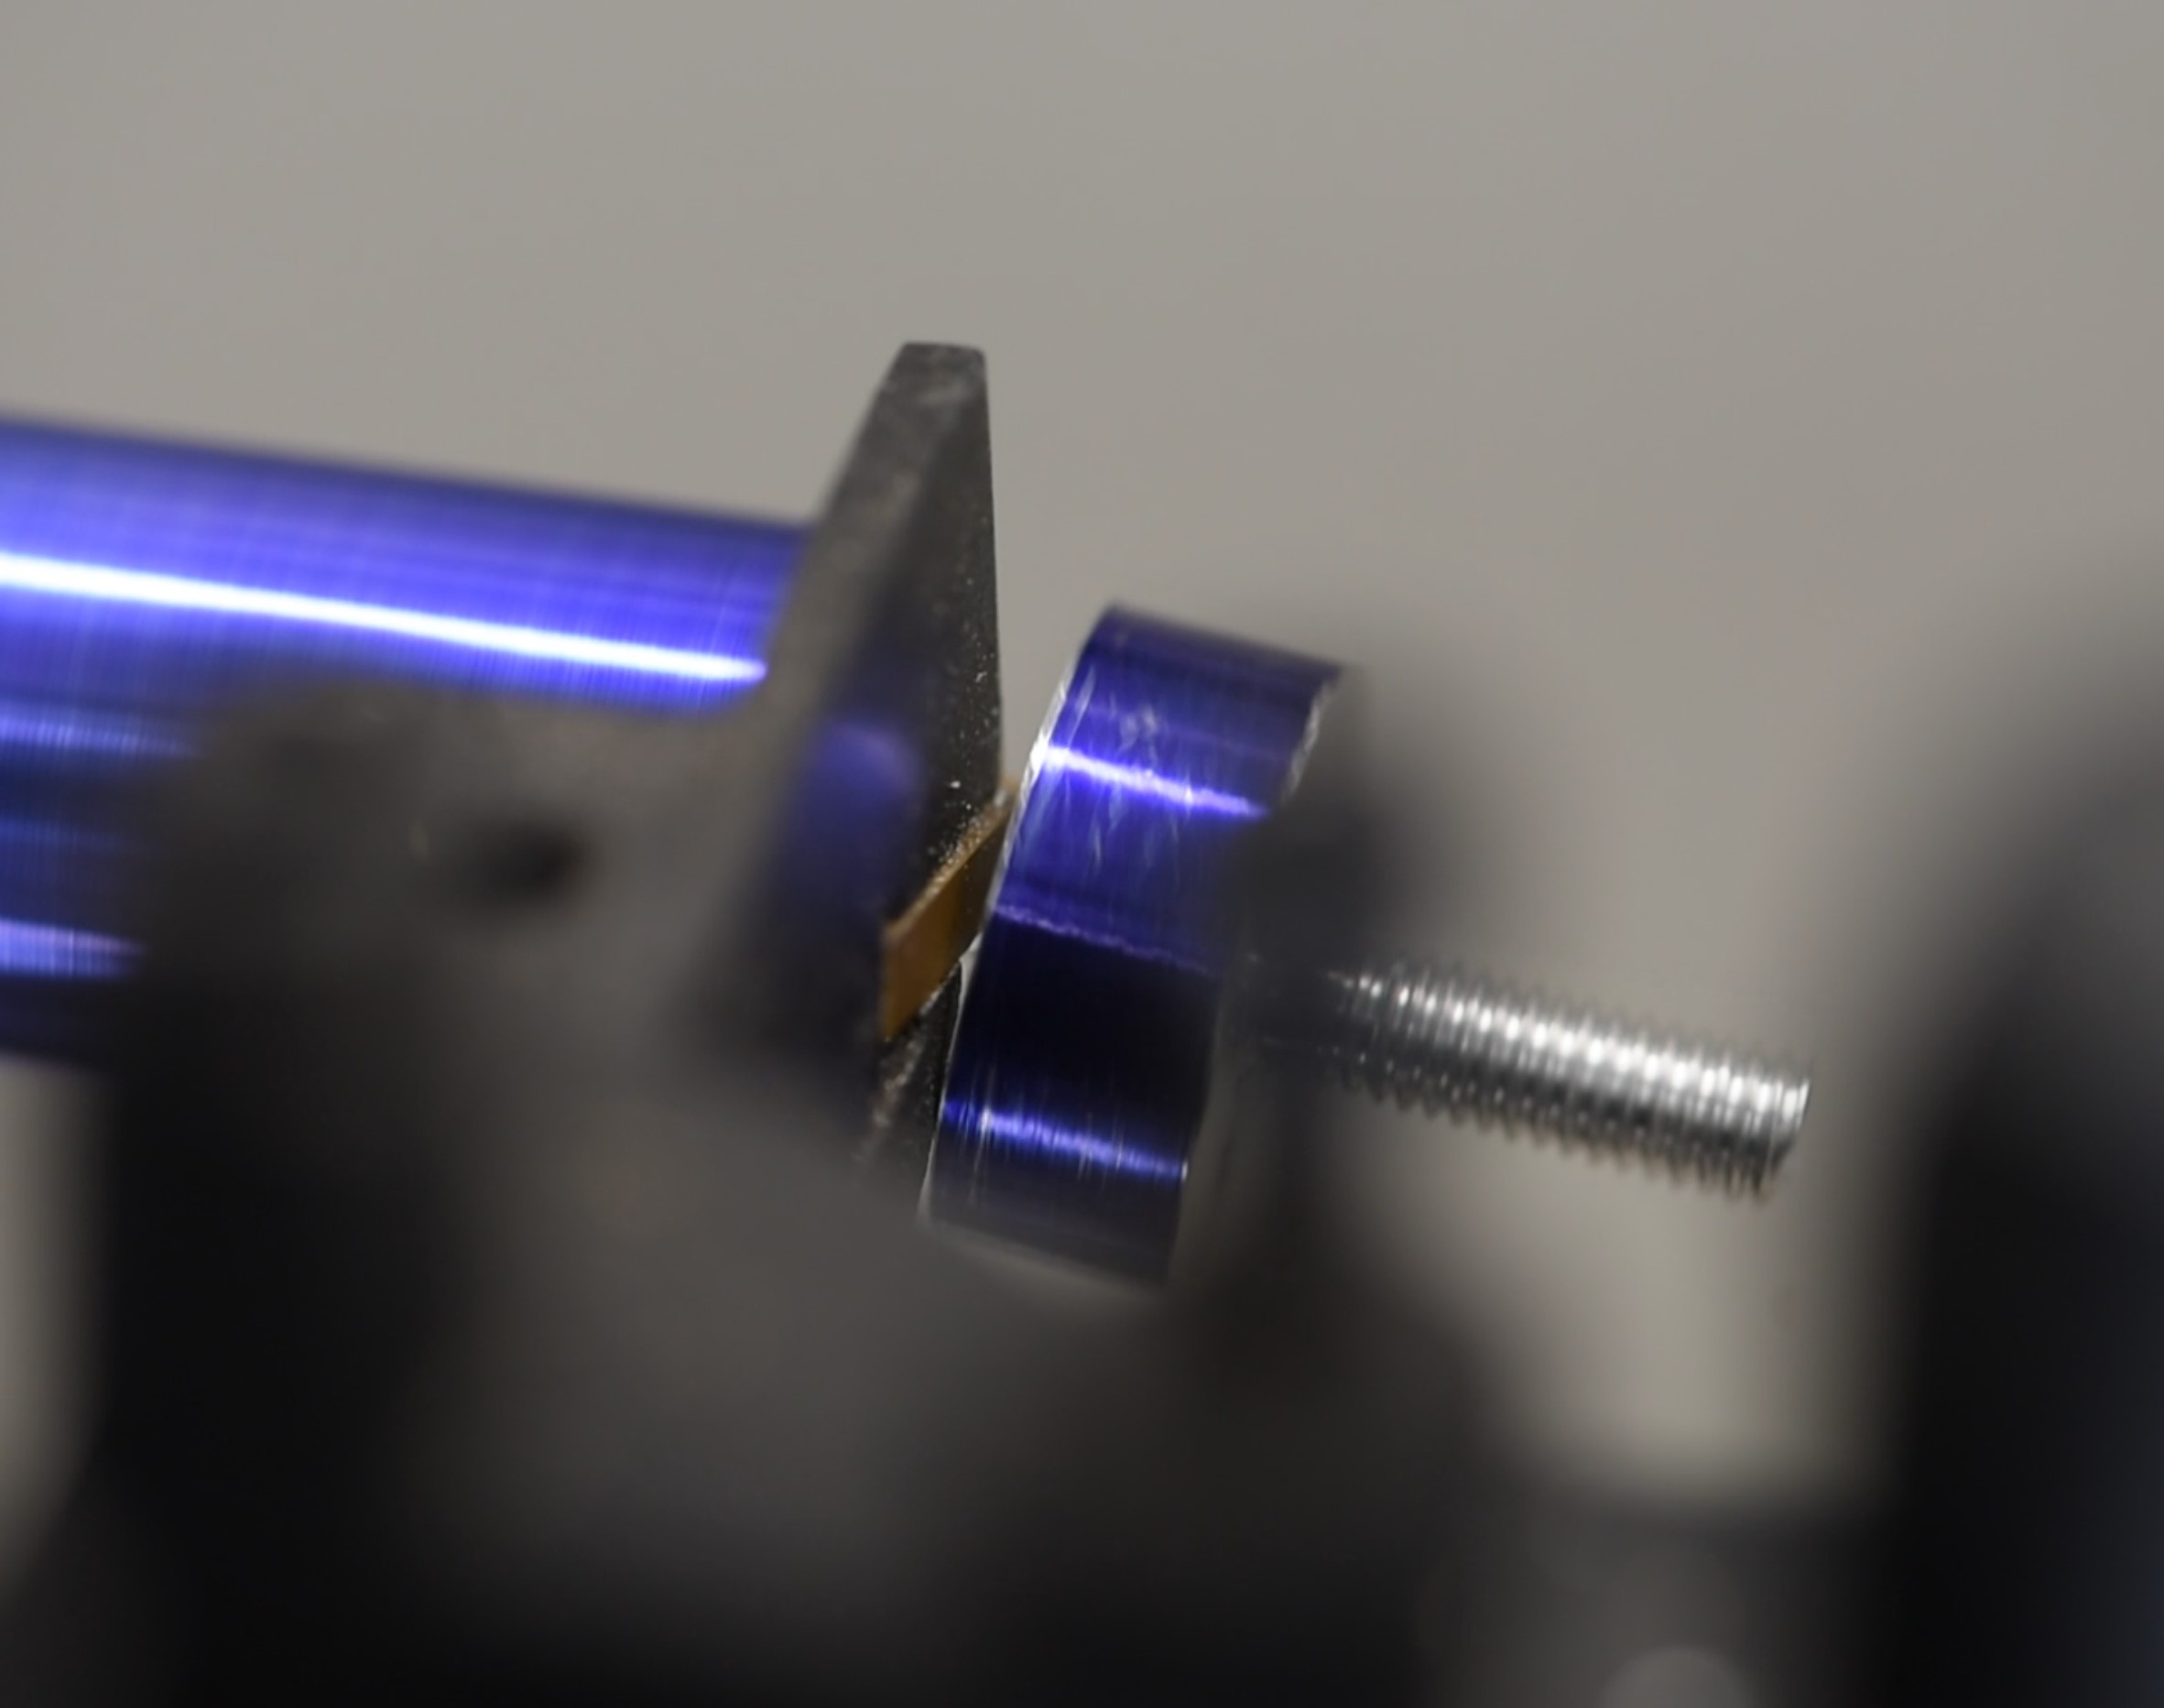
With the thread cut, all that was left was to part it and move onto the next one. Handy tip for doing this on a mini-lathe: If you use the parting tool upside down and with the chuck feed going clockwise (as opposed to anti-clockwise like normal) then it reduces chatter massively, resulting in quicker, cleaner cuts.

MSI MPG Velox 100R Chassis Review
October 14 2021 | 15:04




Want to comment? Please log in.