Making the Spacer
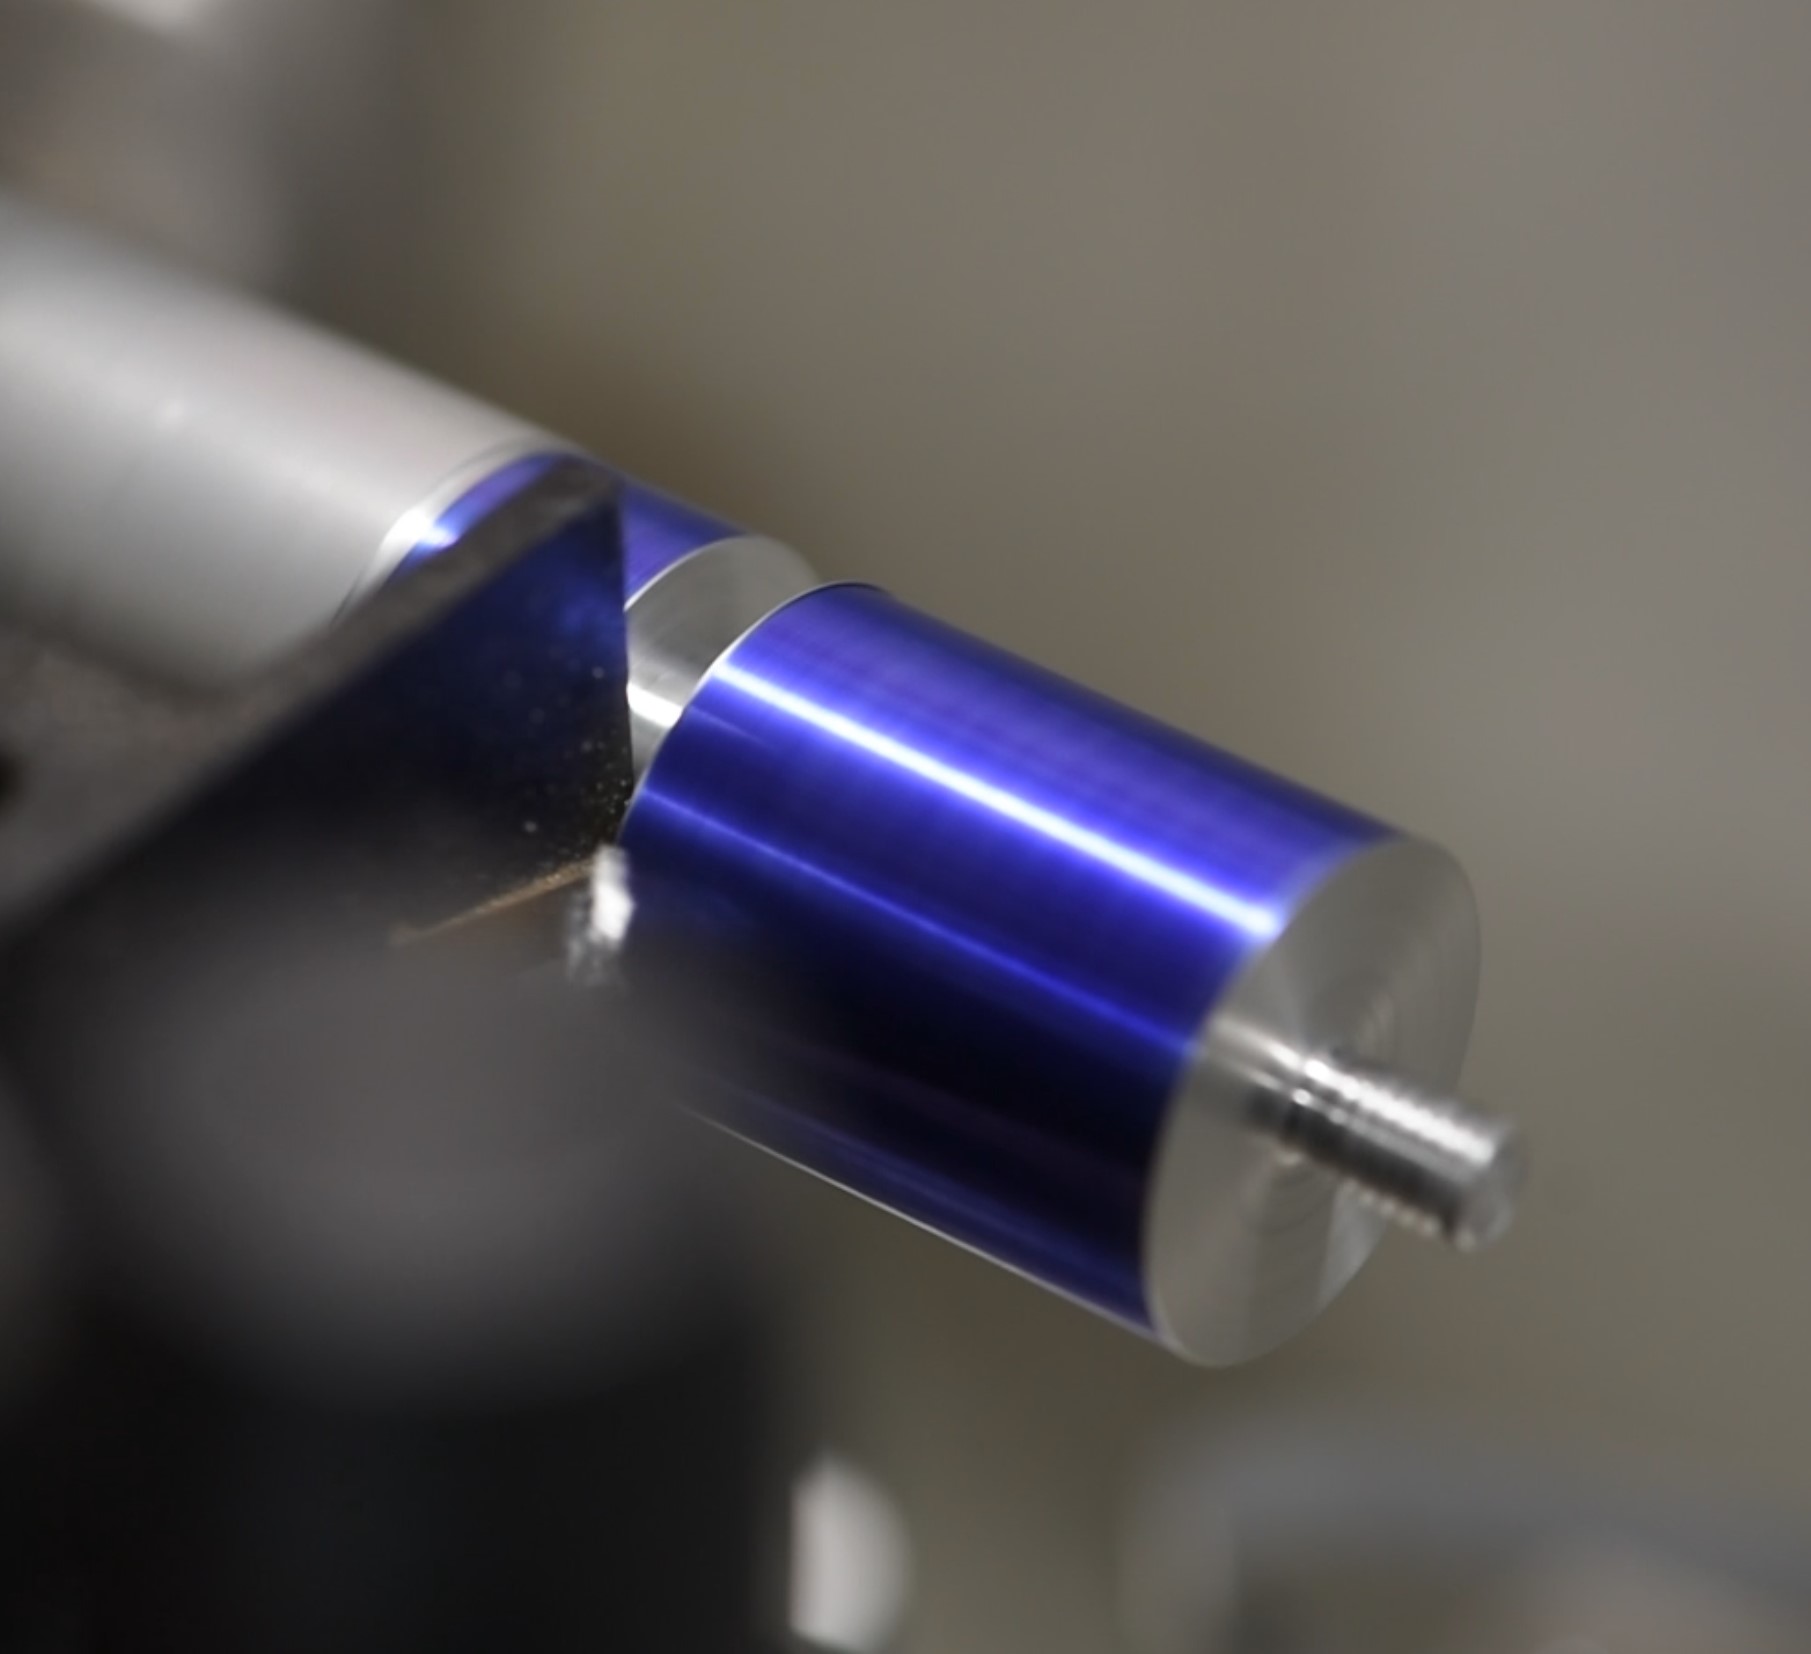
There's not a big difference in methods involved for this part. The spacer is turned in very much the same method and order as the retention screw. Face the end, mark out the cutting boundaries, and then turn it down to 3.9mm for tapping the thread.
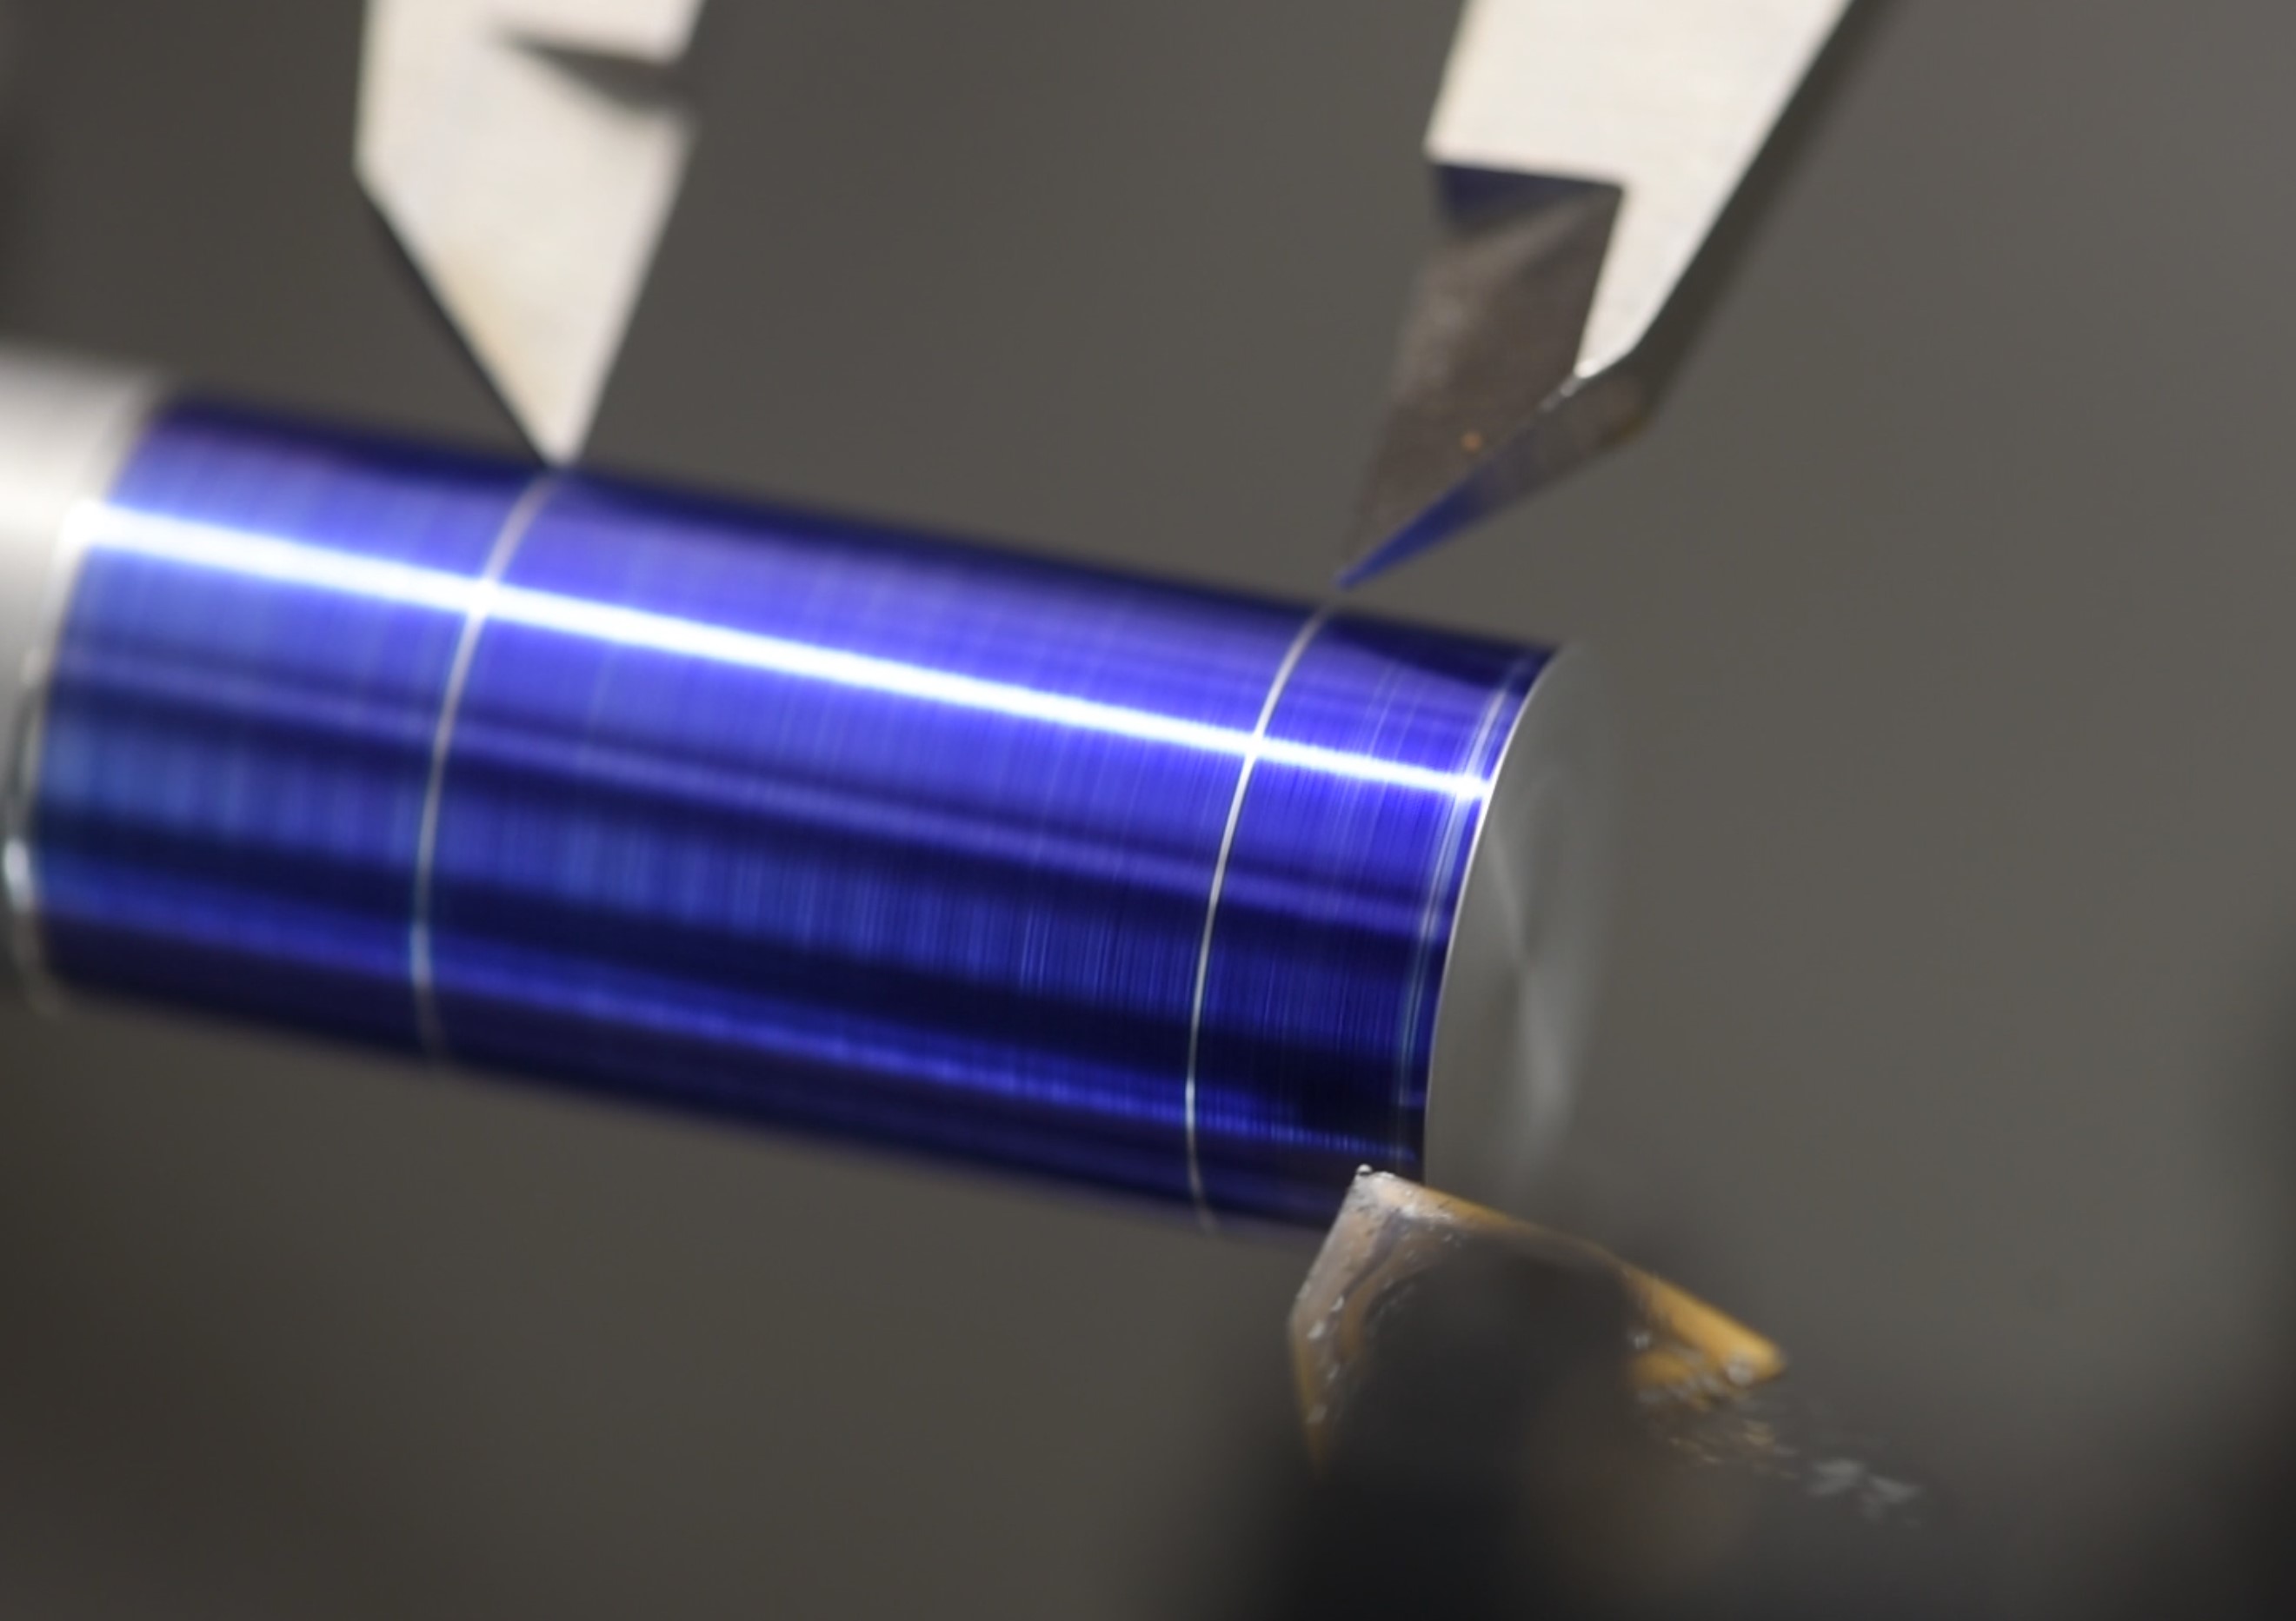
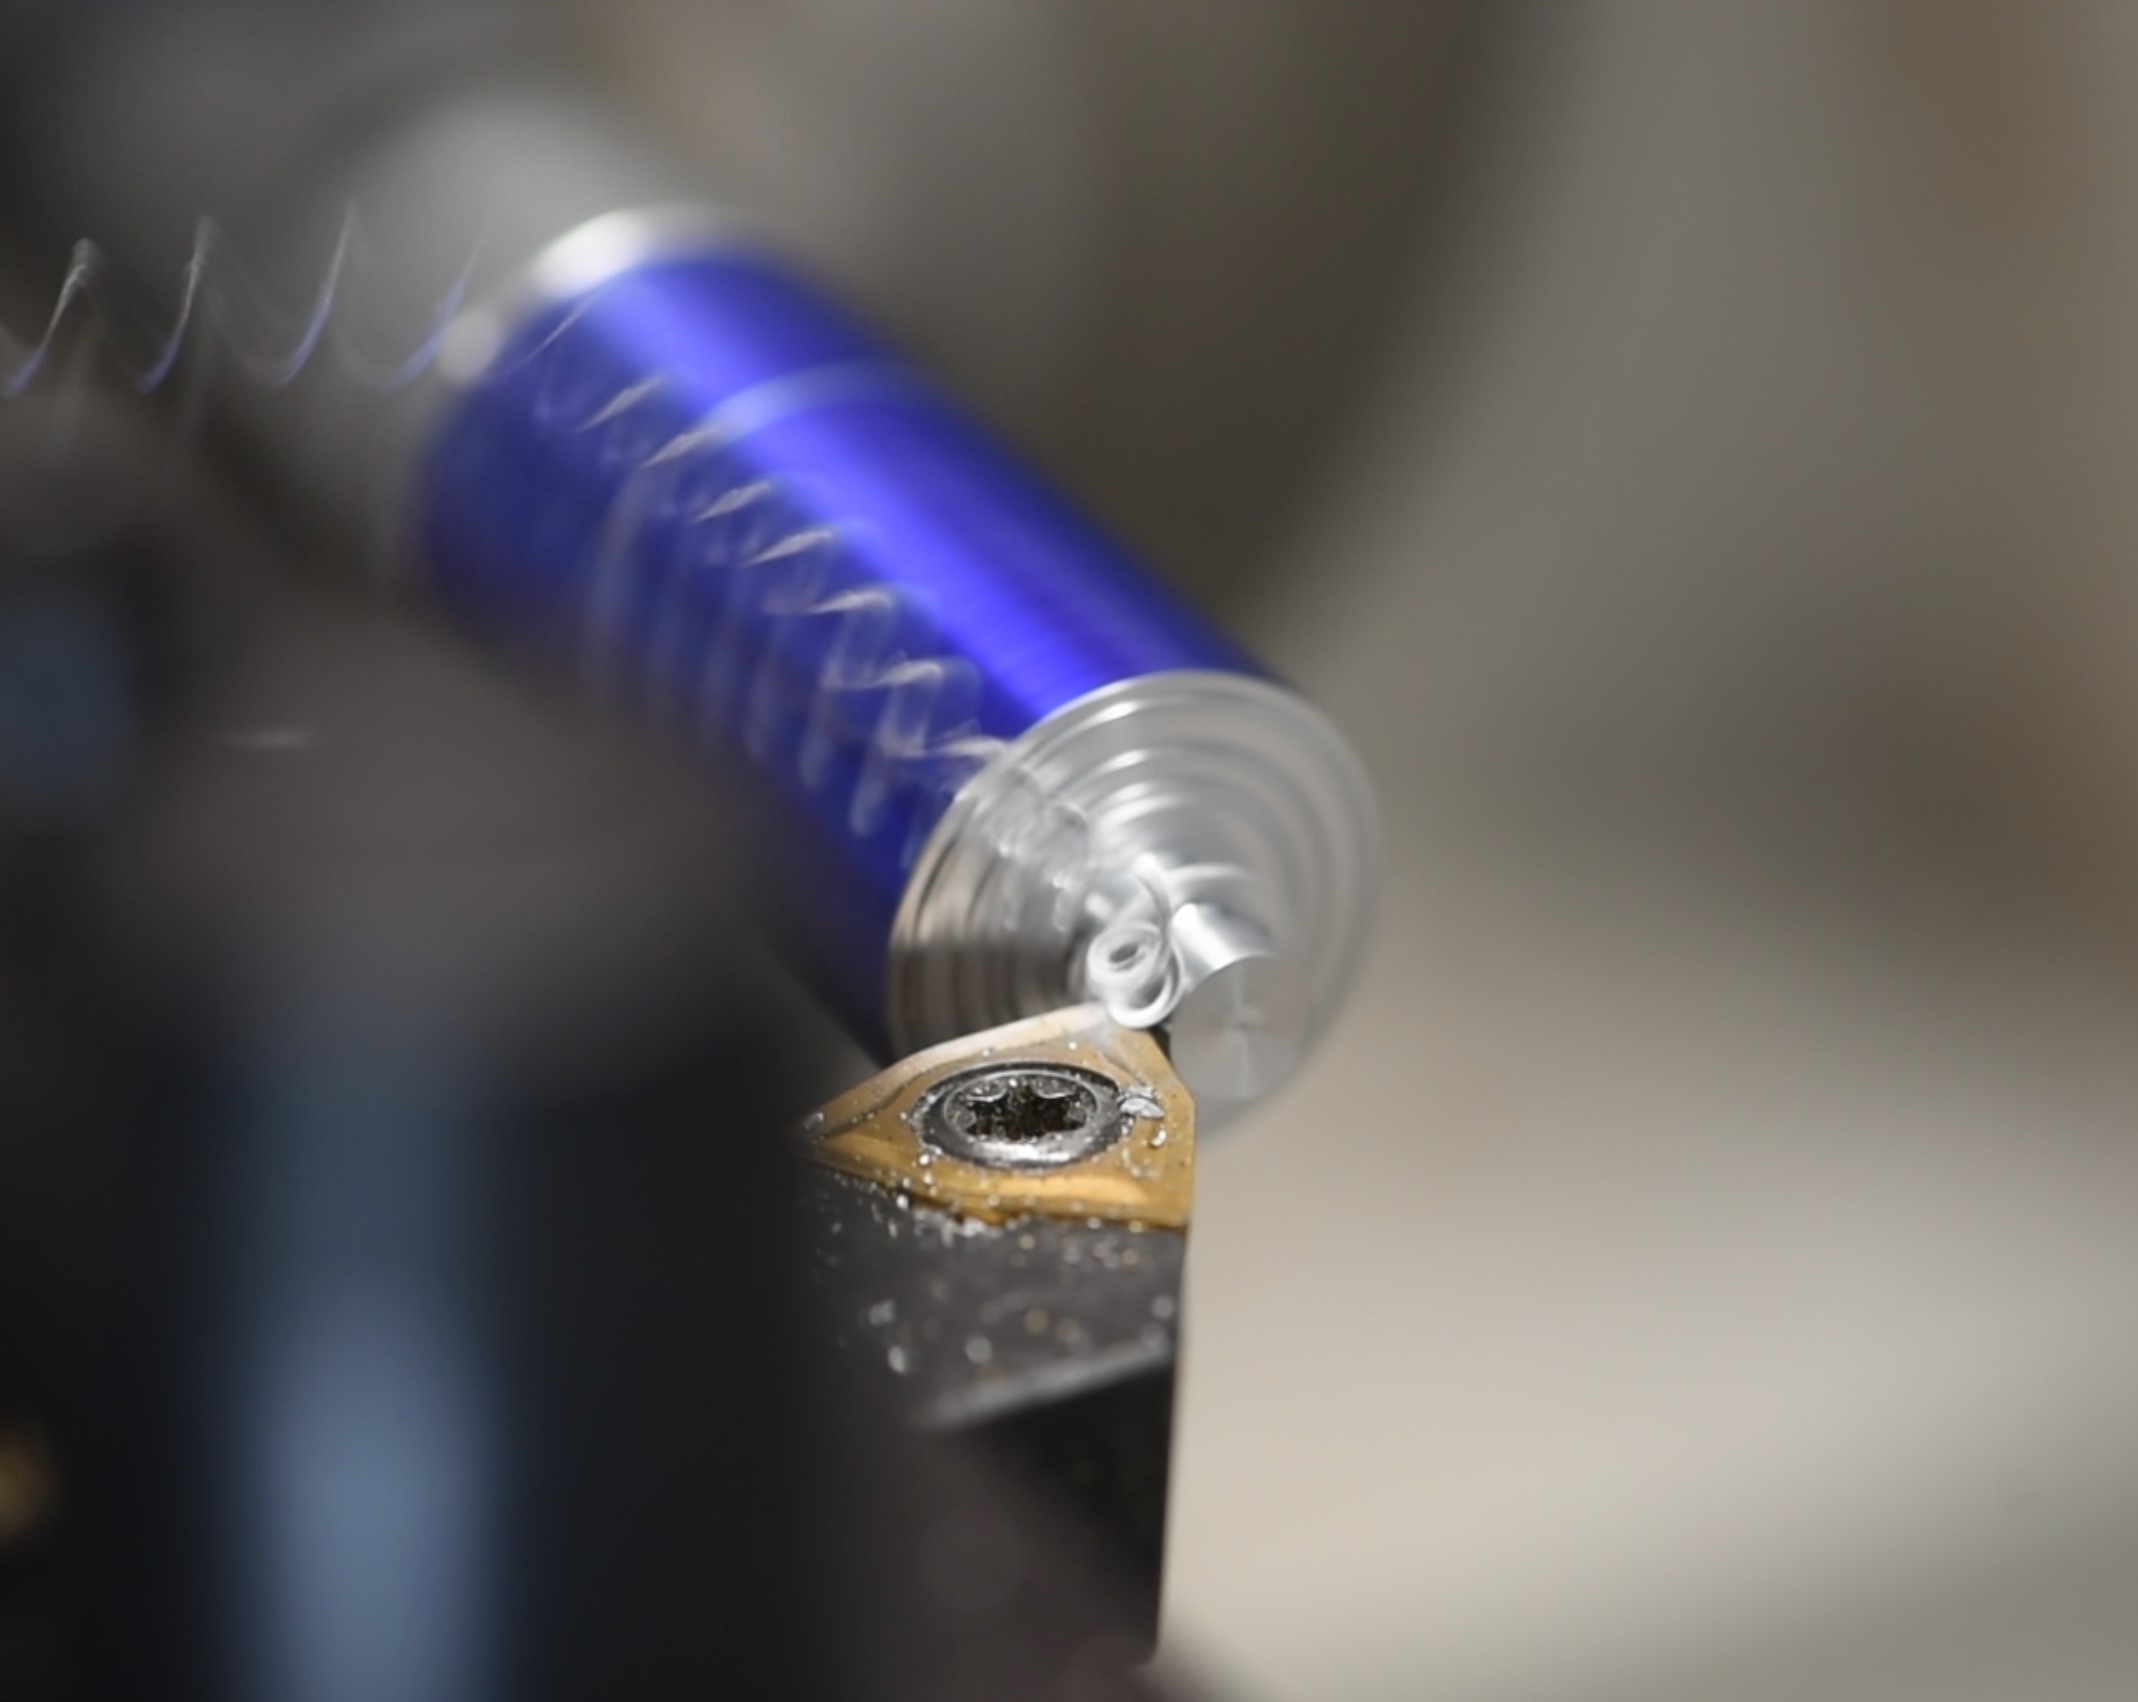
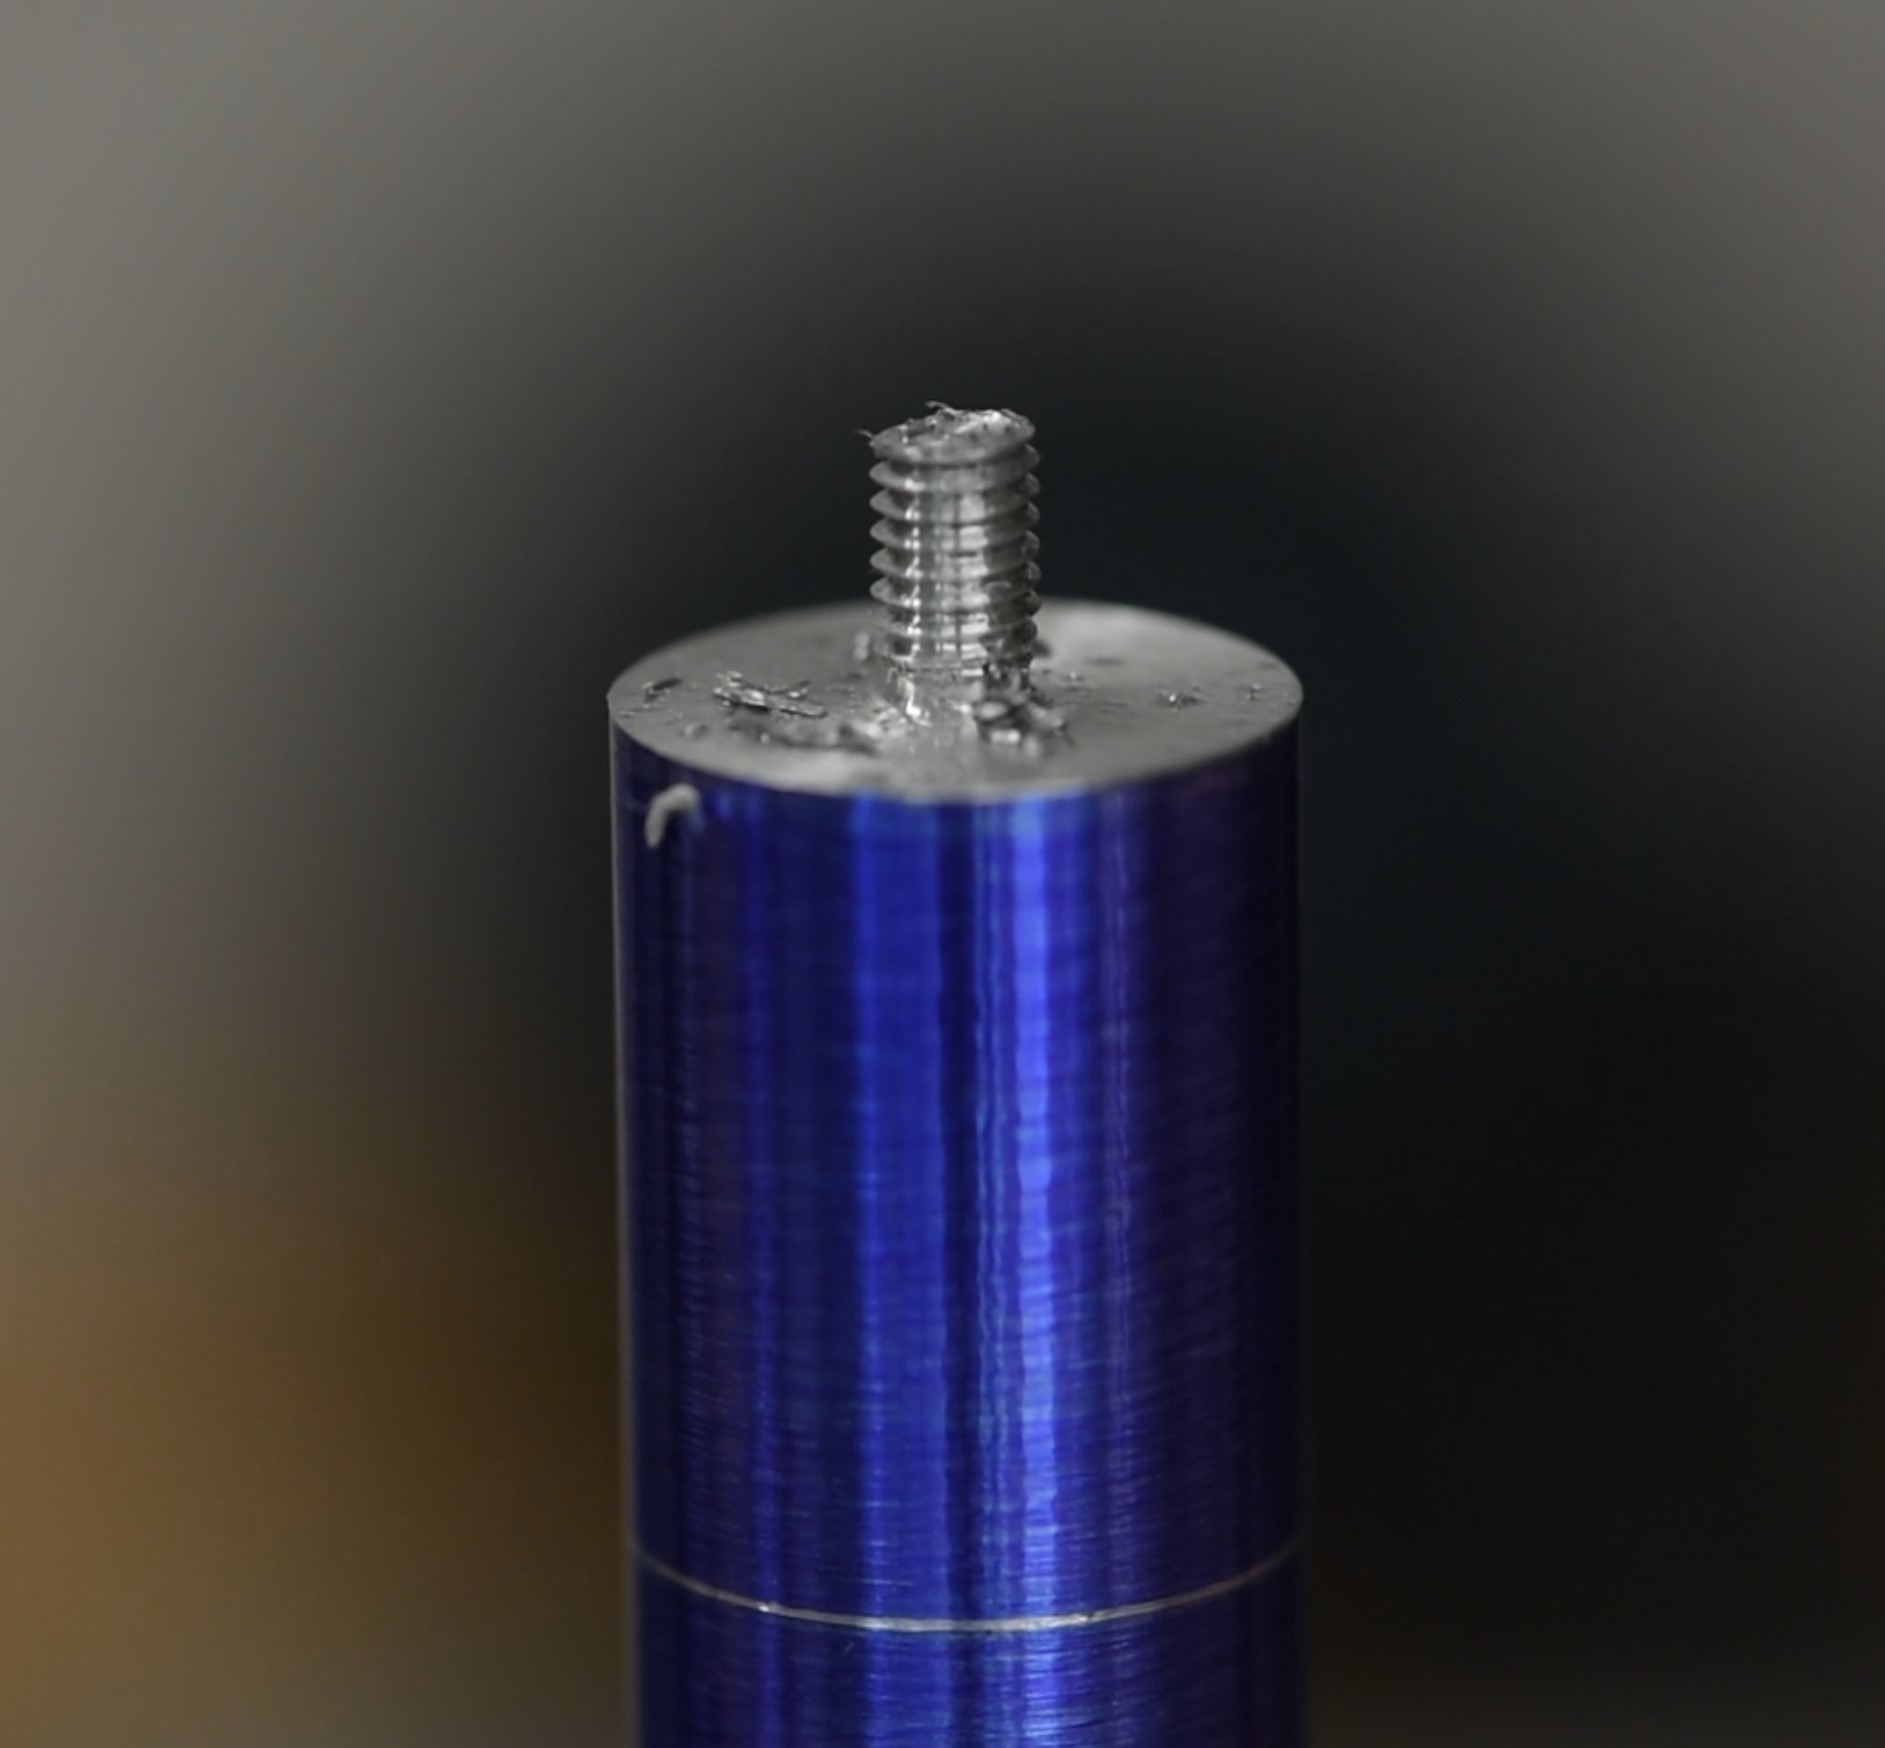
Where we differ in method here is that this part is going to be used differently. It has a much shorter thread, which isn't really suitable for turning on a machine like mine (you could, but it would be a pain). Instead, this can be done manually using a die and tapping wrench. There's also another point to consider: Since I can't thread all the way to the shoulder of the part, that part needs to be reduced in diameter so that it will fit through the threaded hole on the case itself. So during the facing operation, I cut a small channel at the base of the proposed thread.
For the threading, I find this part easier to handle with more material to grip, so instead of parting it, I removed the stock from the chuck and gripped it in the vice. Having the extra stock makes it easier to align properly and also helps ensure the vice can get a good grip, preventing the piece from moving whilst threading. Now, it's true that doing this manually in this fashion reduces accuracy and concentricity, but for a part like this it doesn't matter much. This thread doesn't actually need to be that concentric to function, unlike the retention screw.
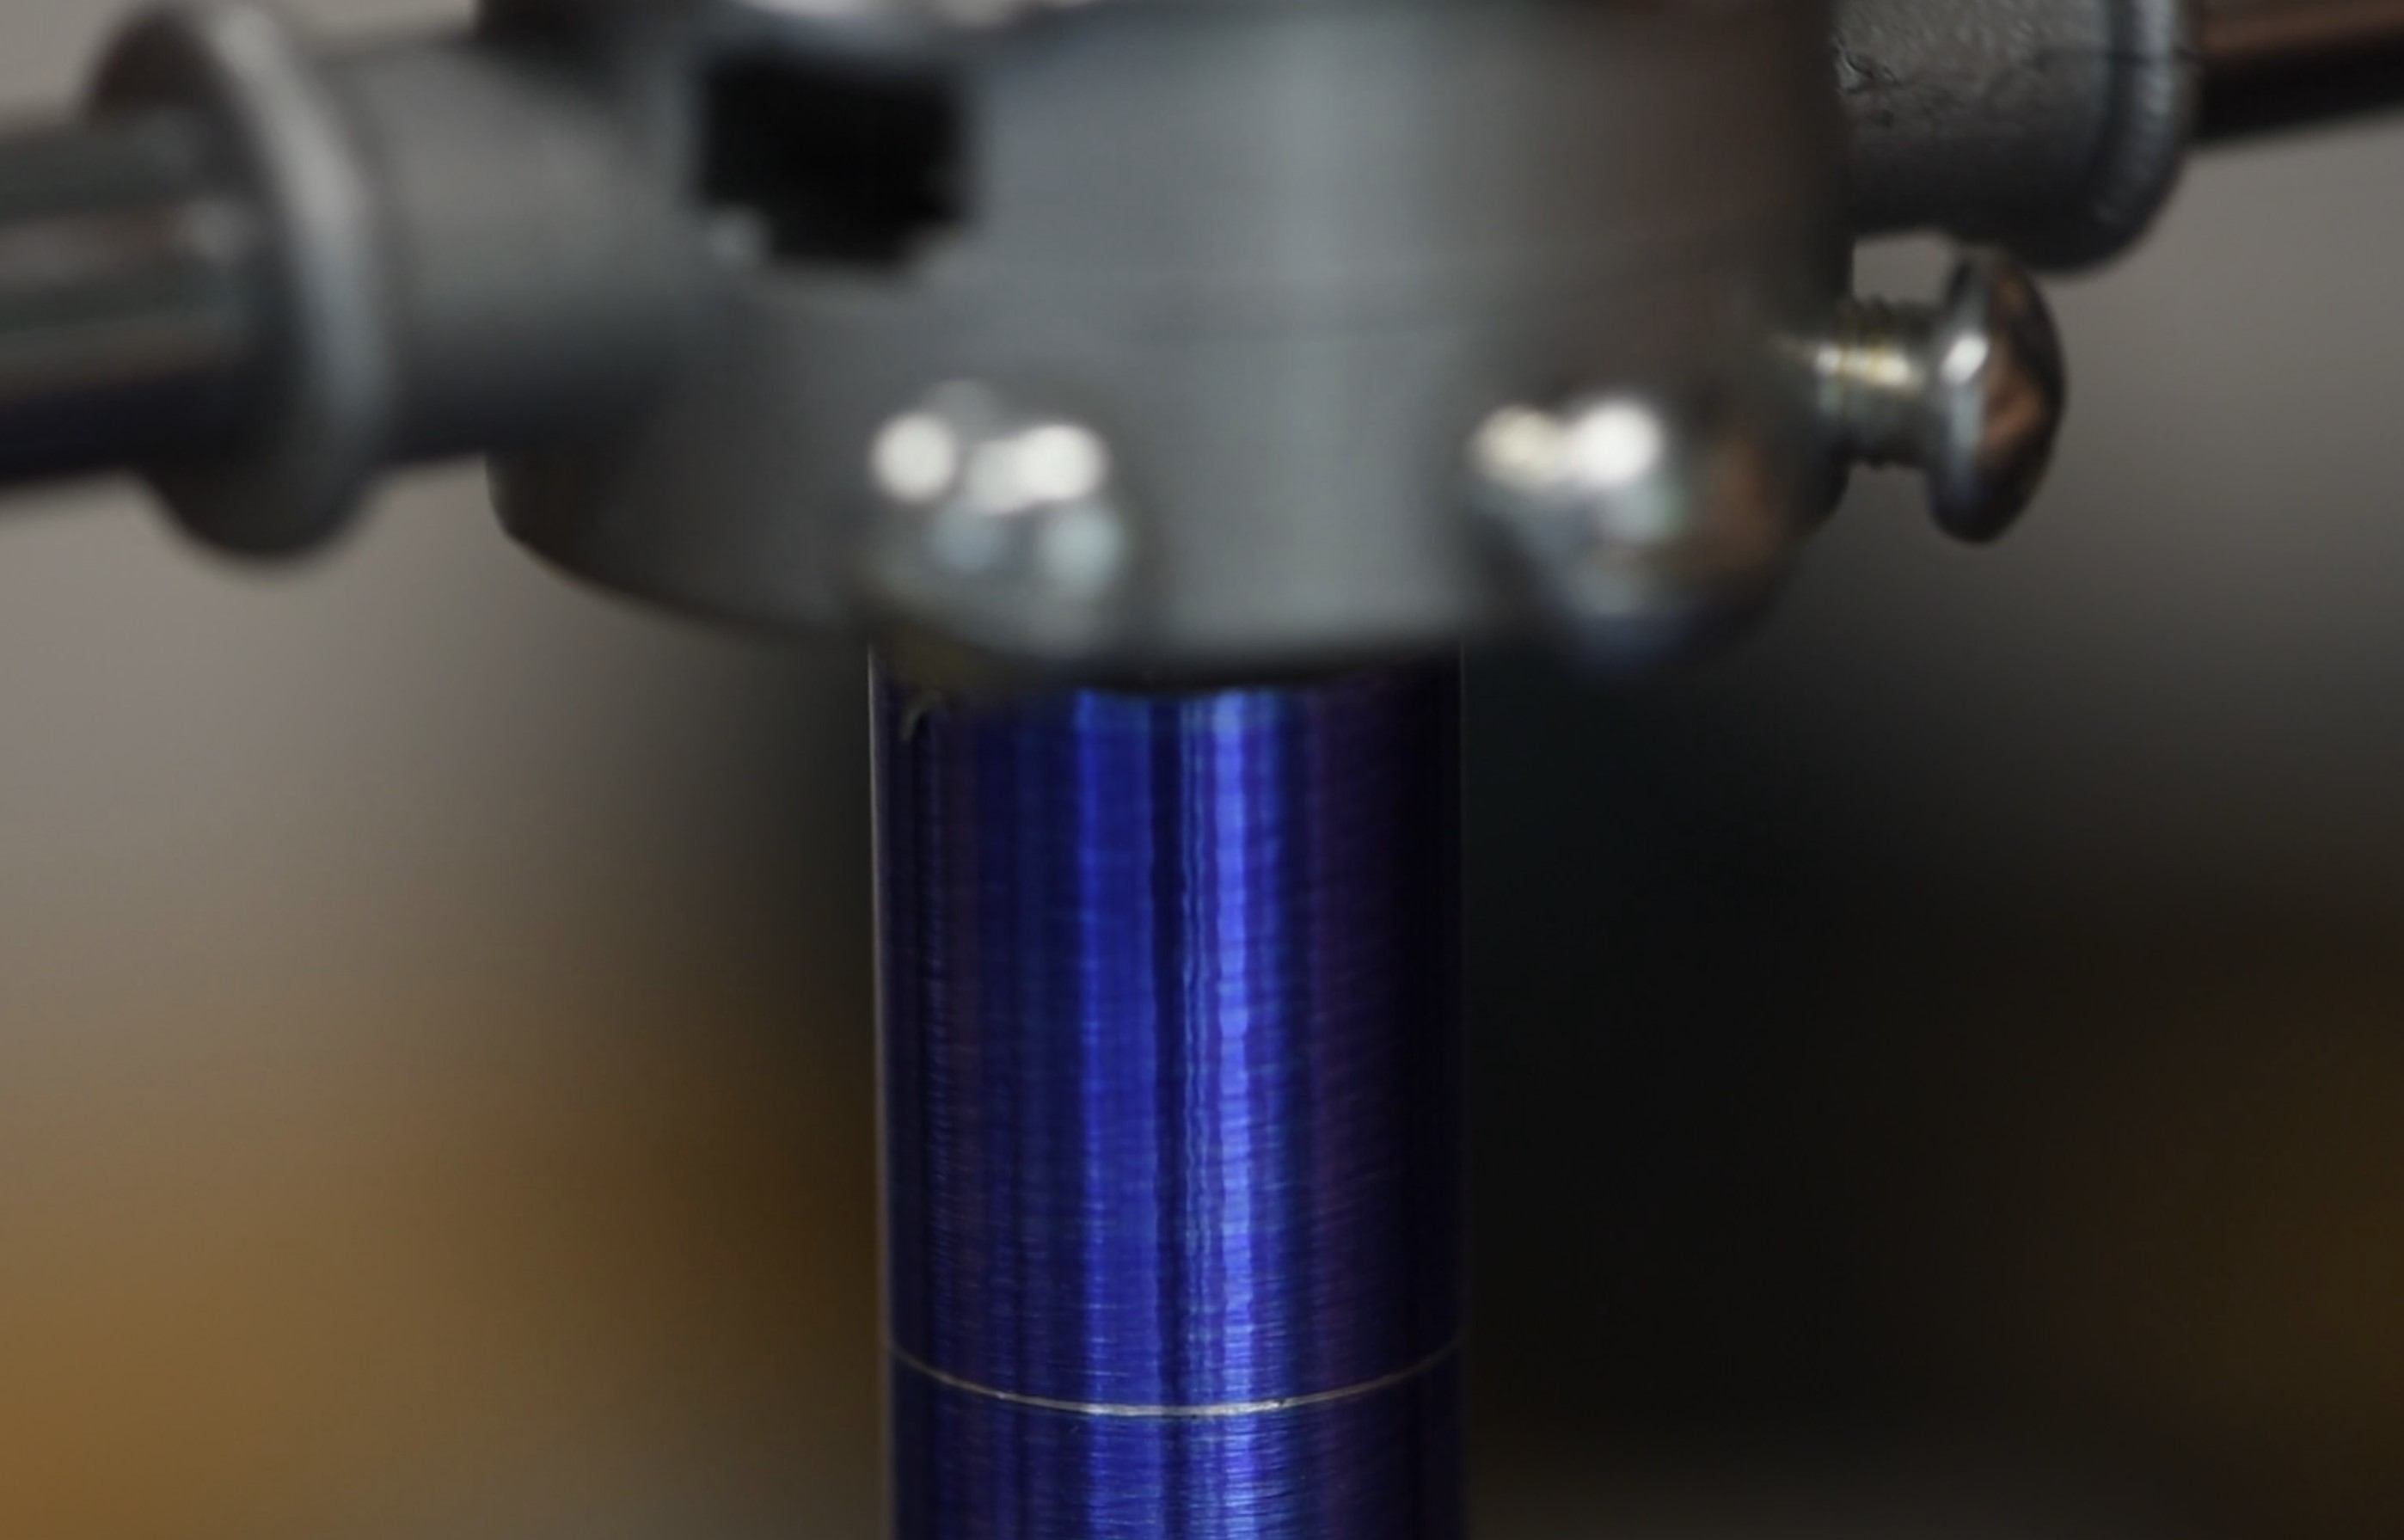
Next up is simply parting the piece. Like before the chuck was spinning in reverse with the tool upside down. I used a dial indicator to help ensure that the stock was properly seated in the chuck again. Since I want the spacer to be 20mm long, I took care to measure the part and approach slowly. Once parted, the tailstock chuck was engaged and prepped for drilling.
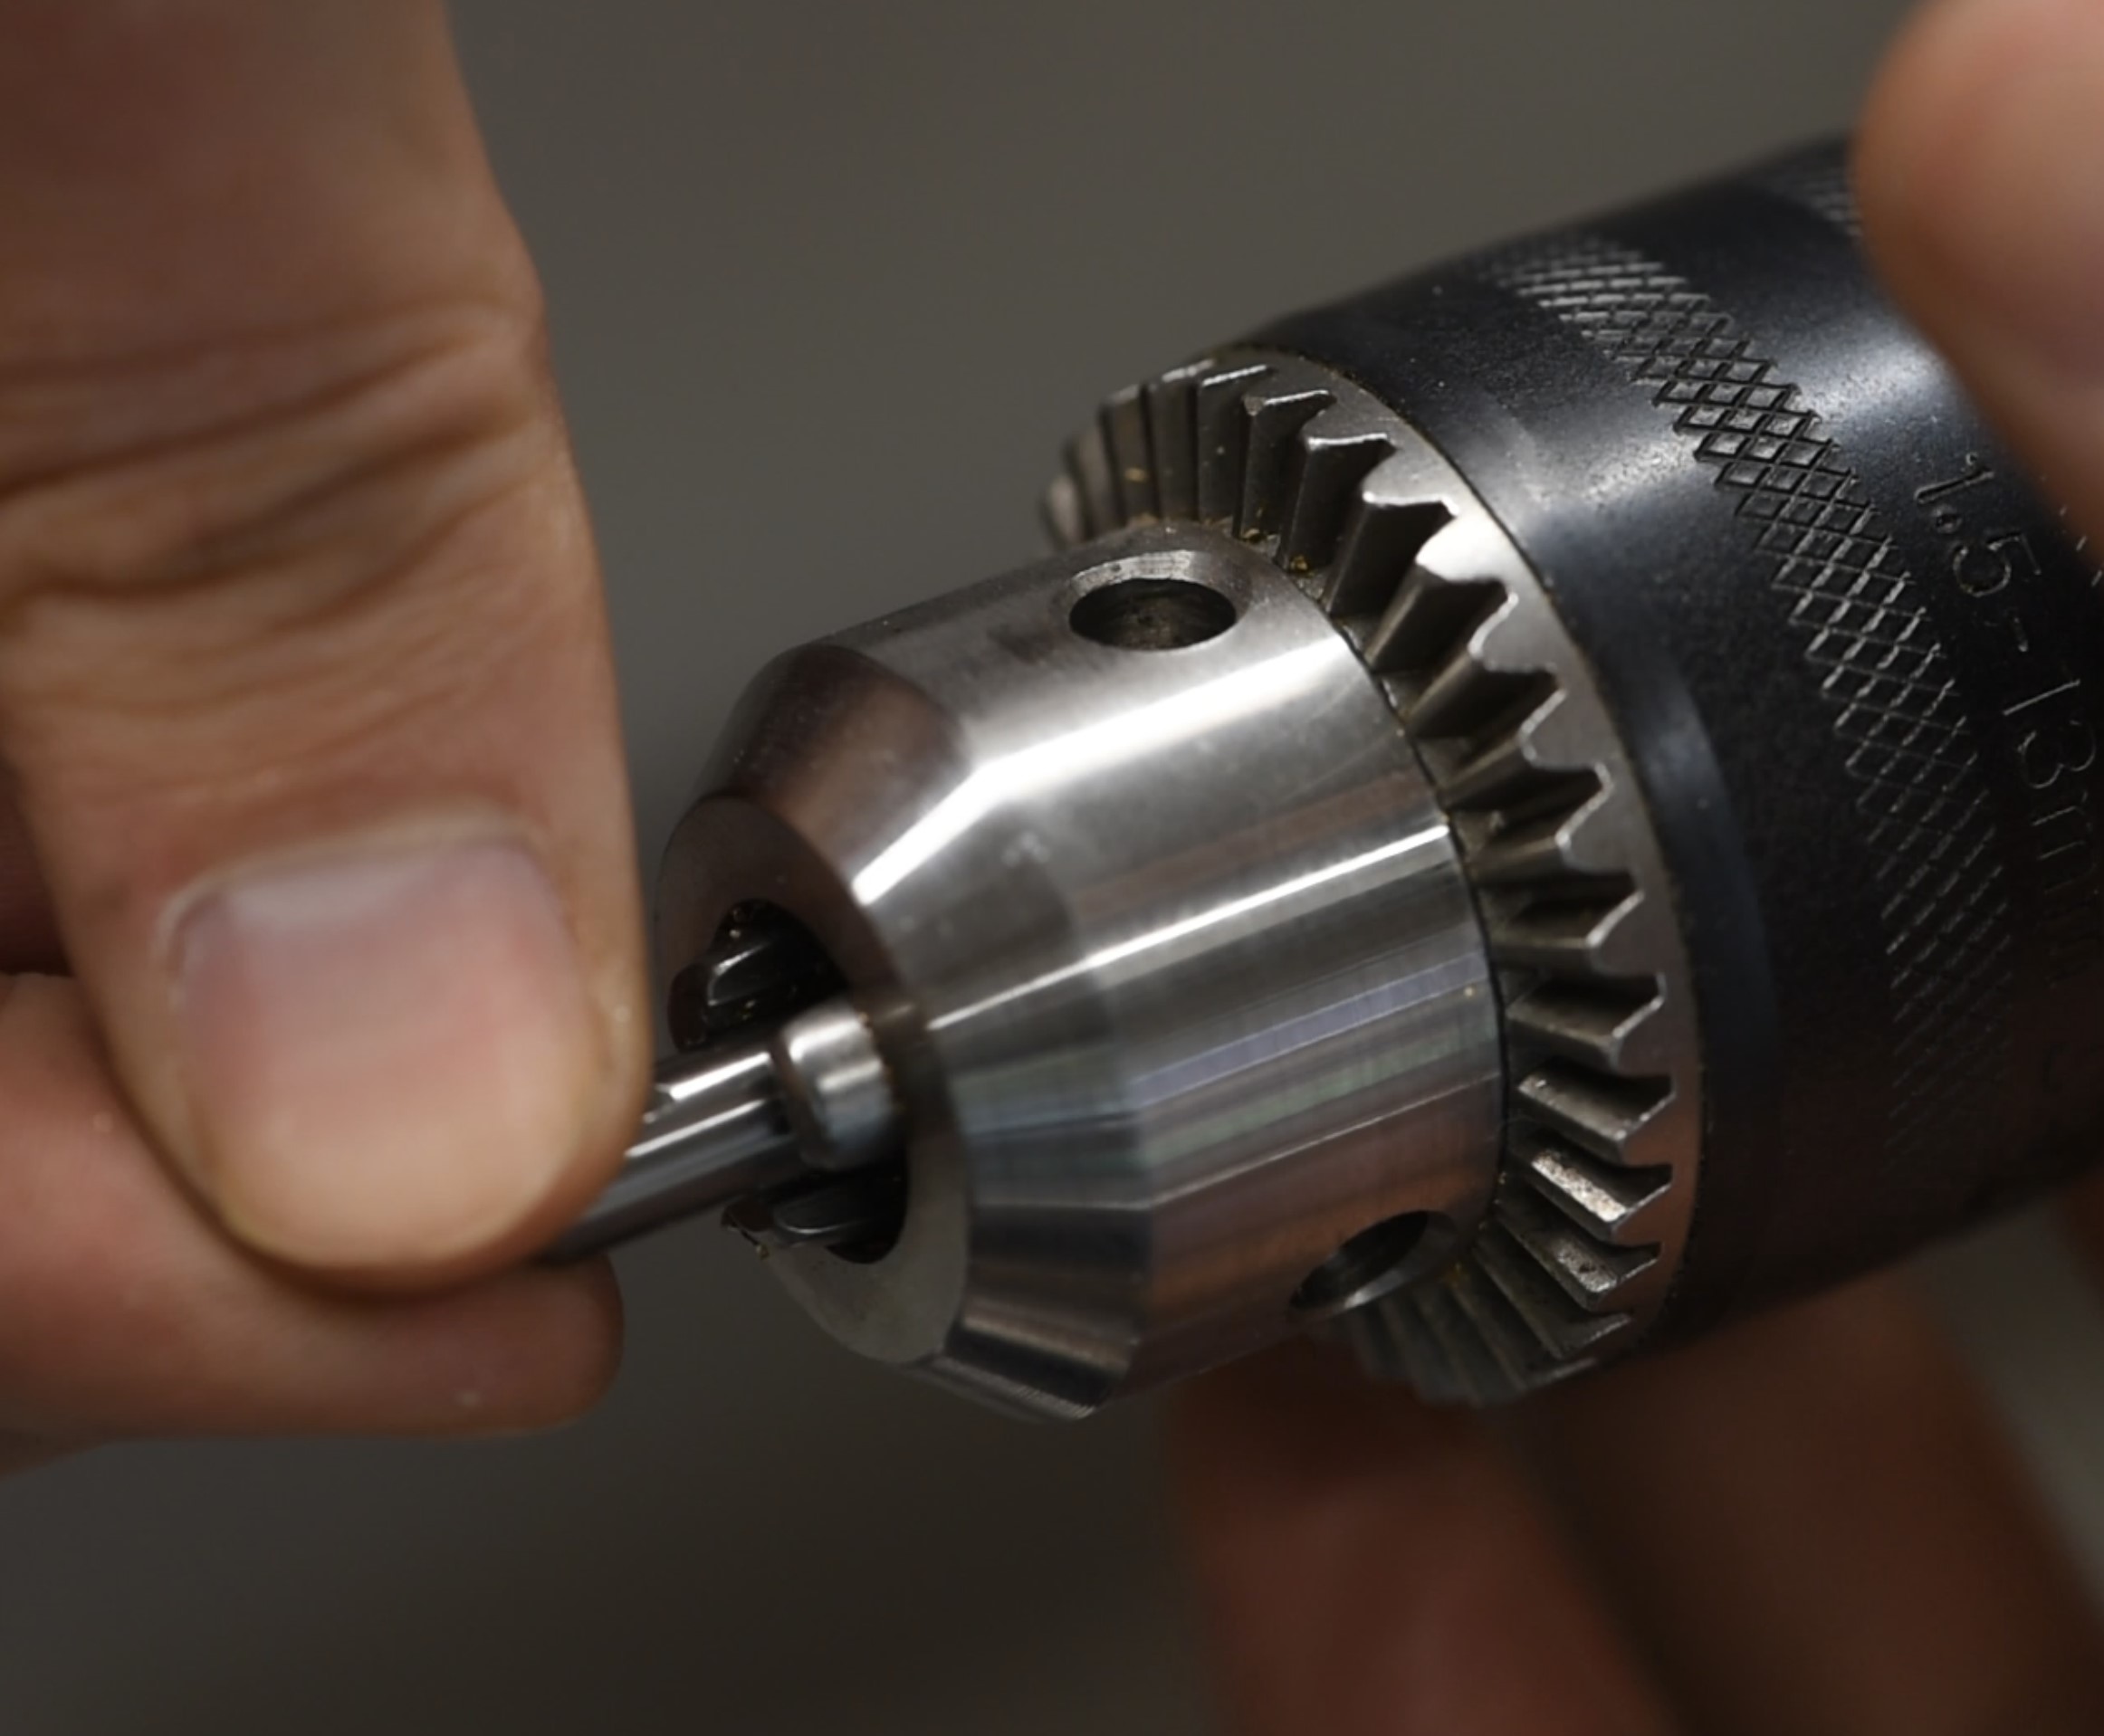
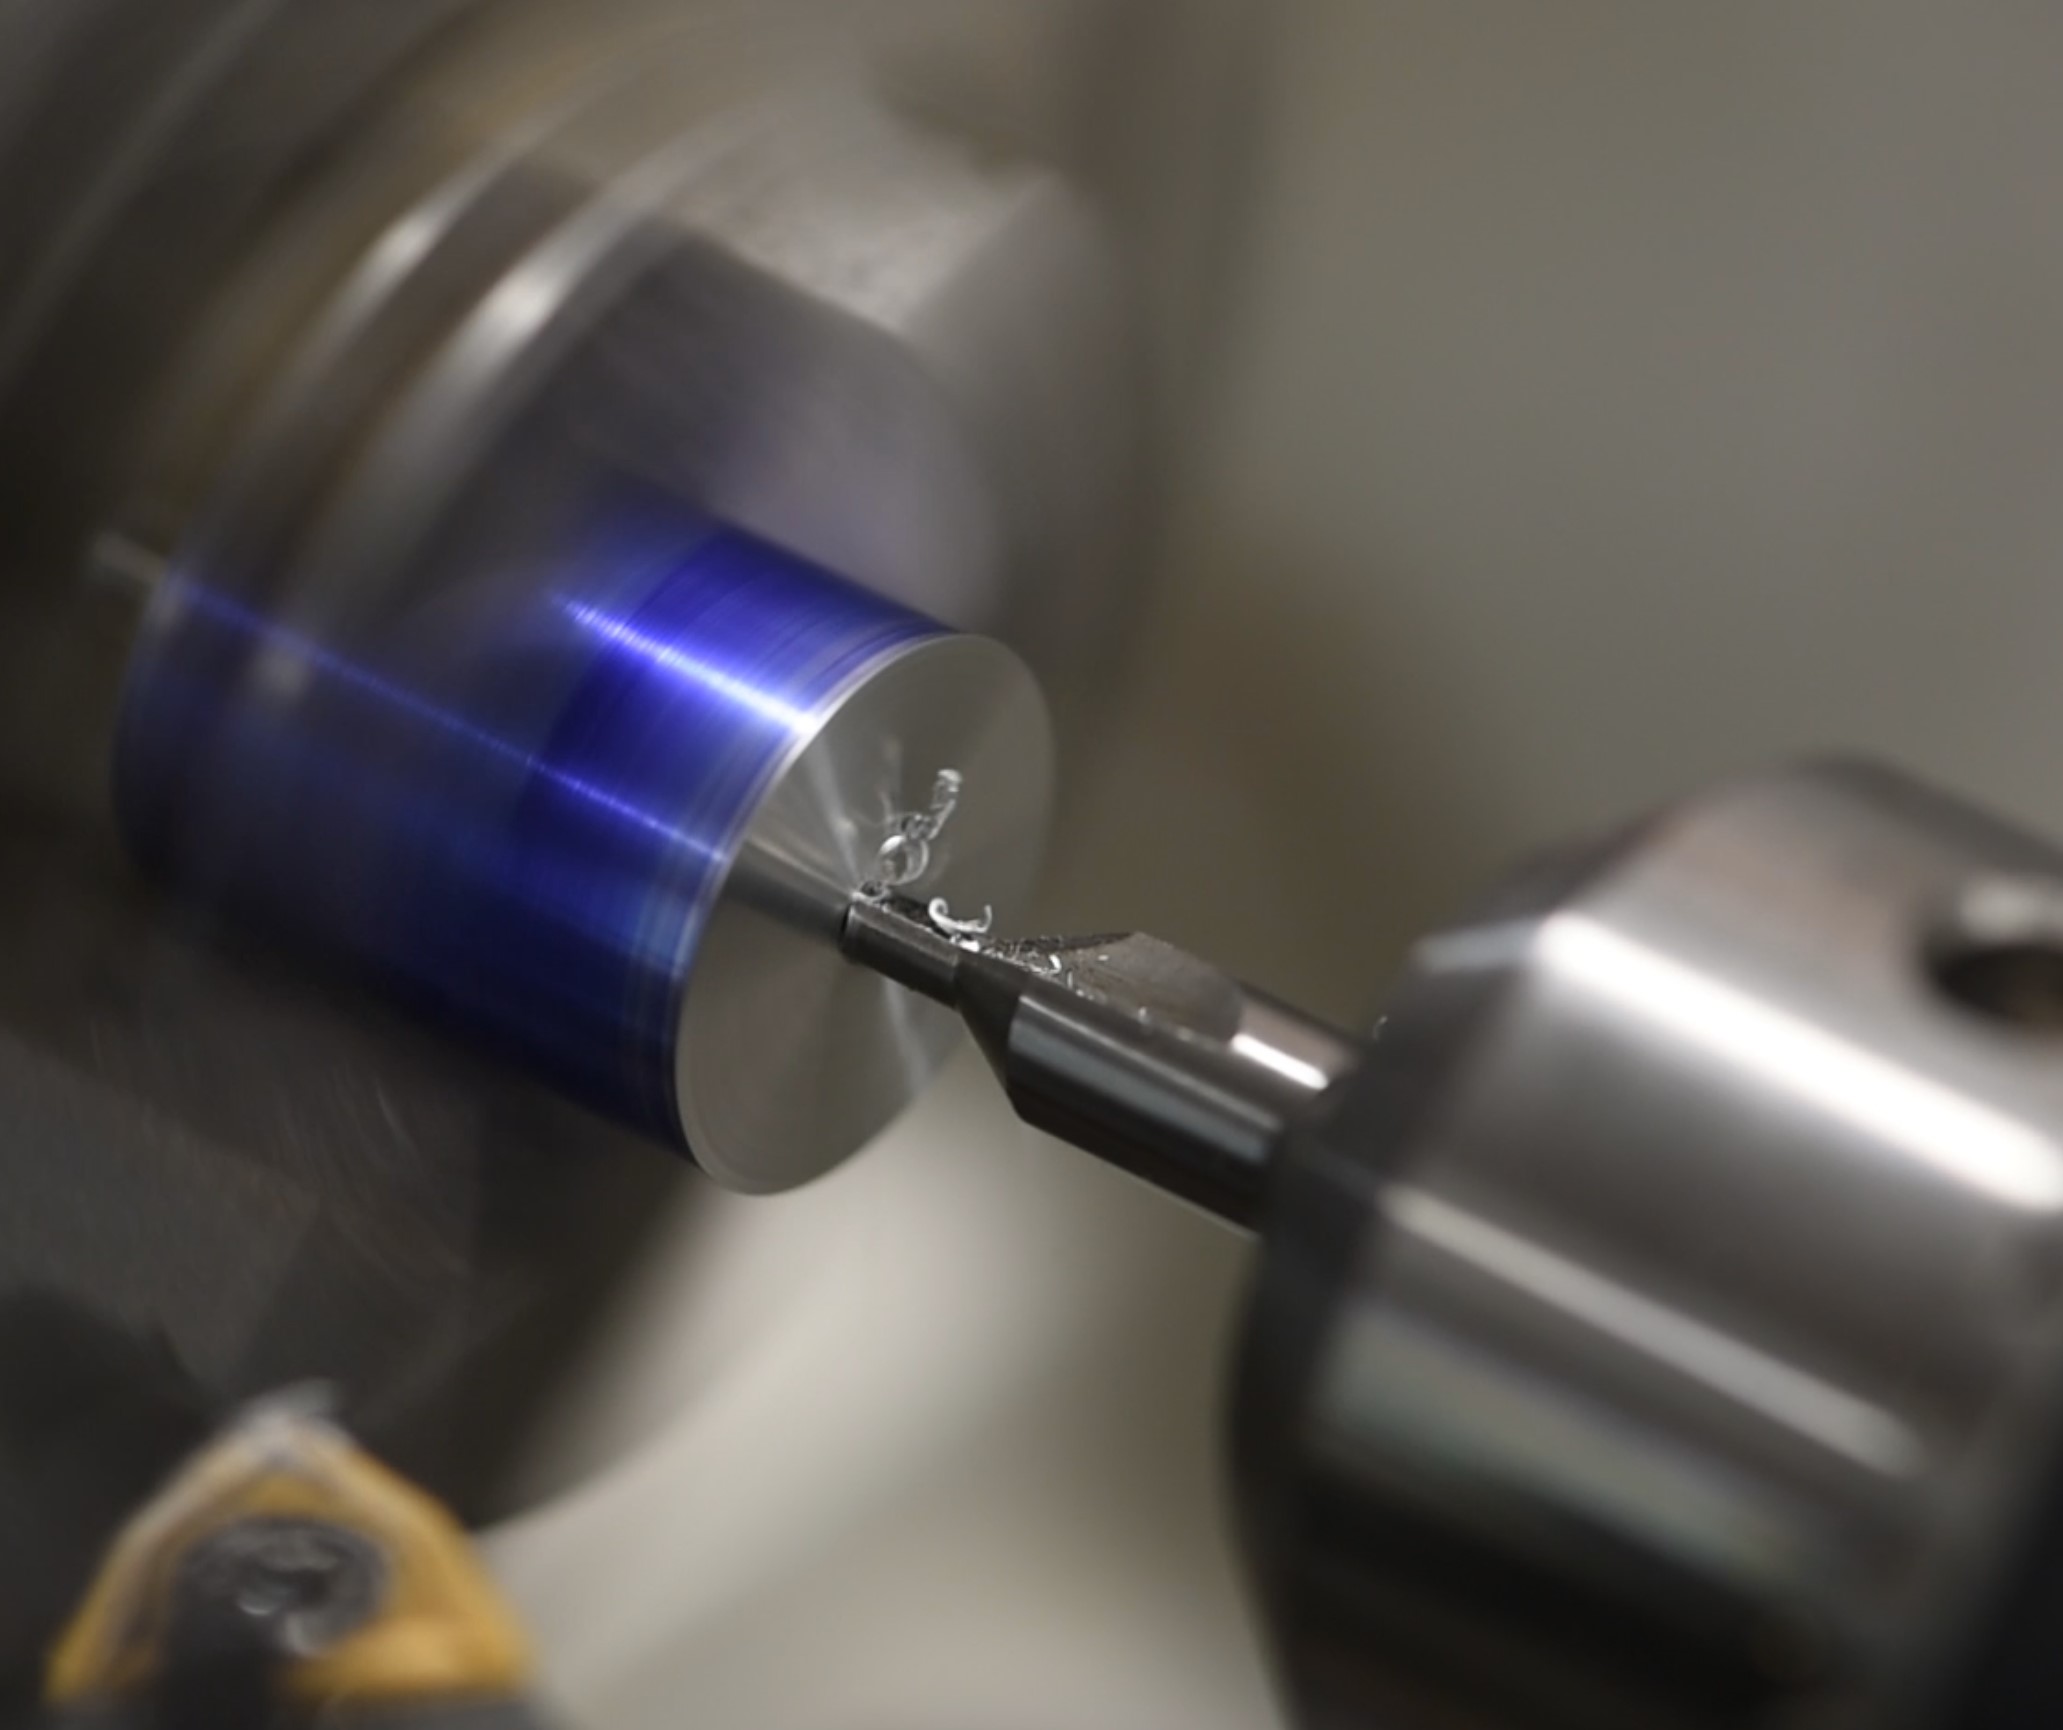
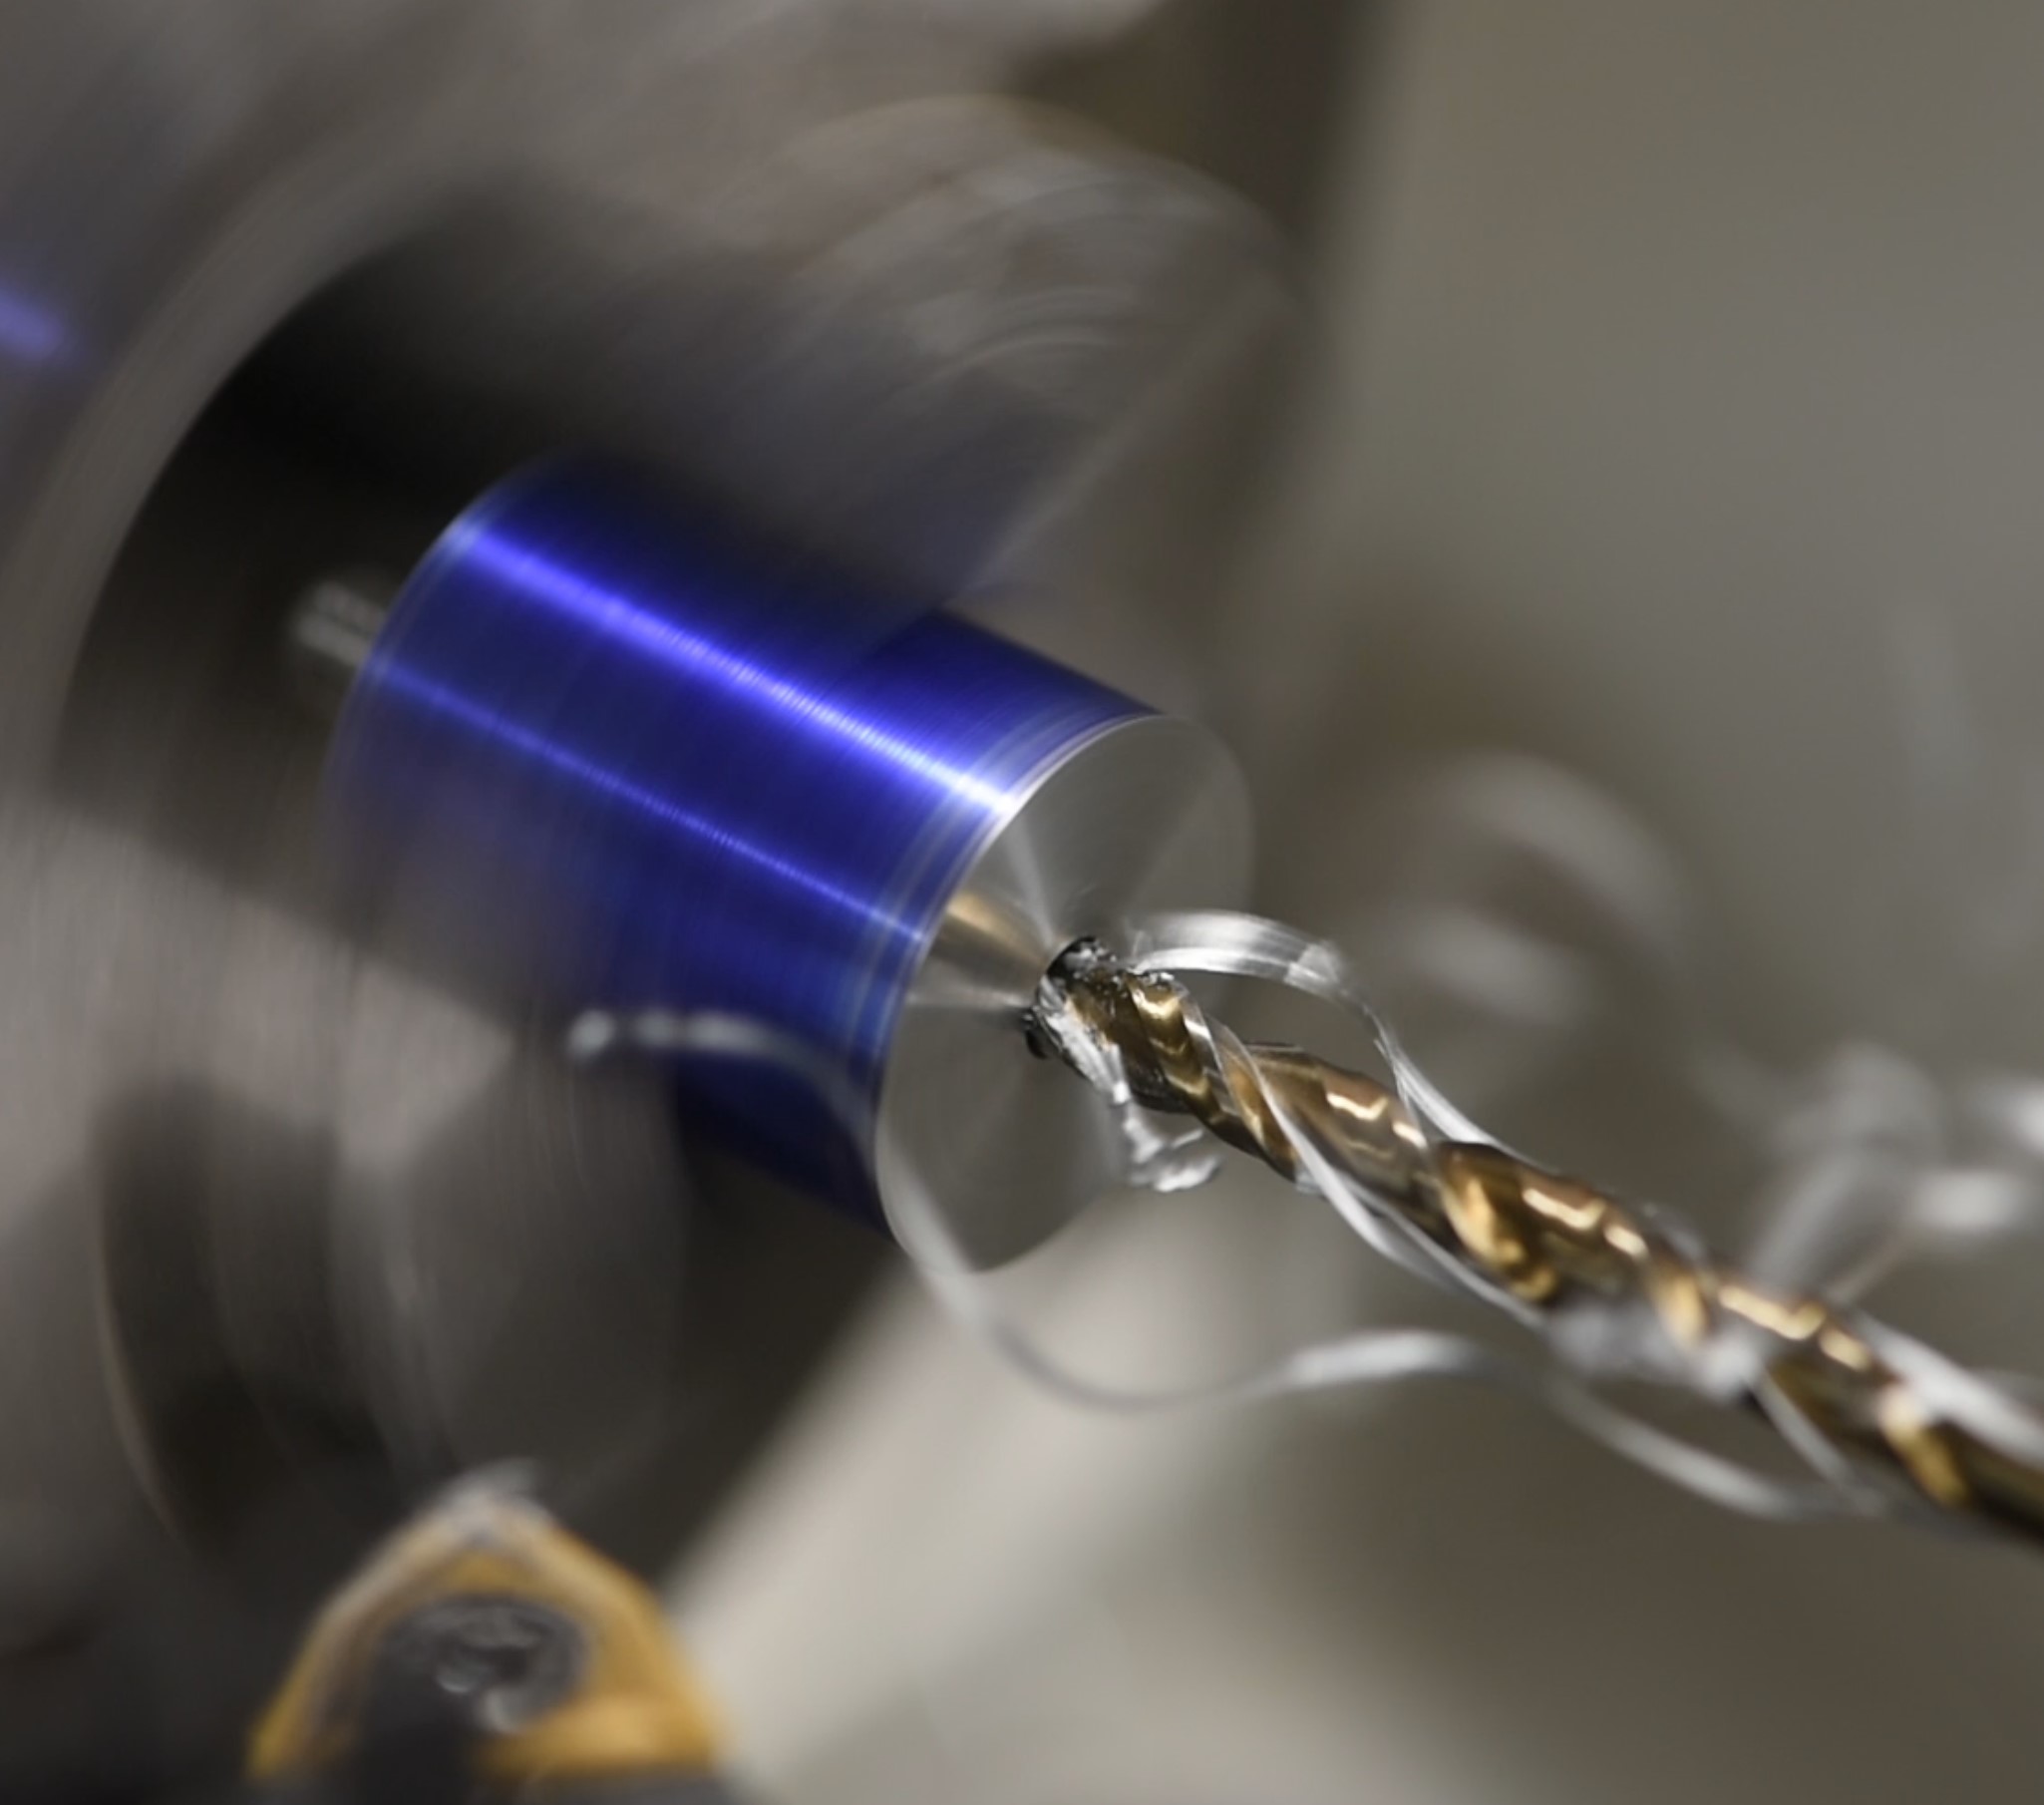
Since we want the internal thread to be concentric on this side, it's important that the tailstock is properly adjusted and the workpiece aligned. For the CJ18 this means fiddling with the little screws by the base of the unit, which is worth doing, as out of the factory they're usually way off the mark. To get the workpiece properly mounted, again I used a dial indicator. After a very light facing cut, a centre drill was used to start the hole, and a 3.5mm twist drill to finish it. I went 15mm deep into the workpiece.
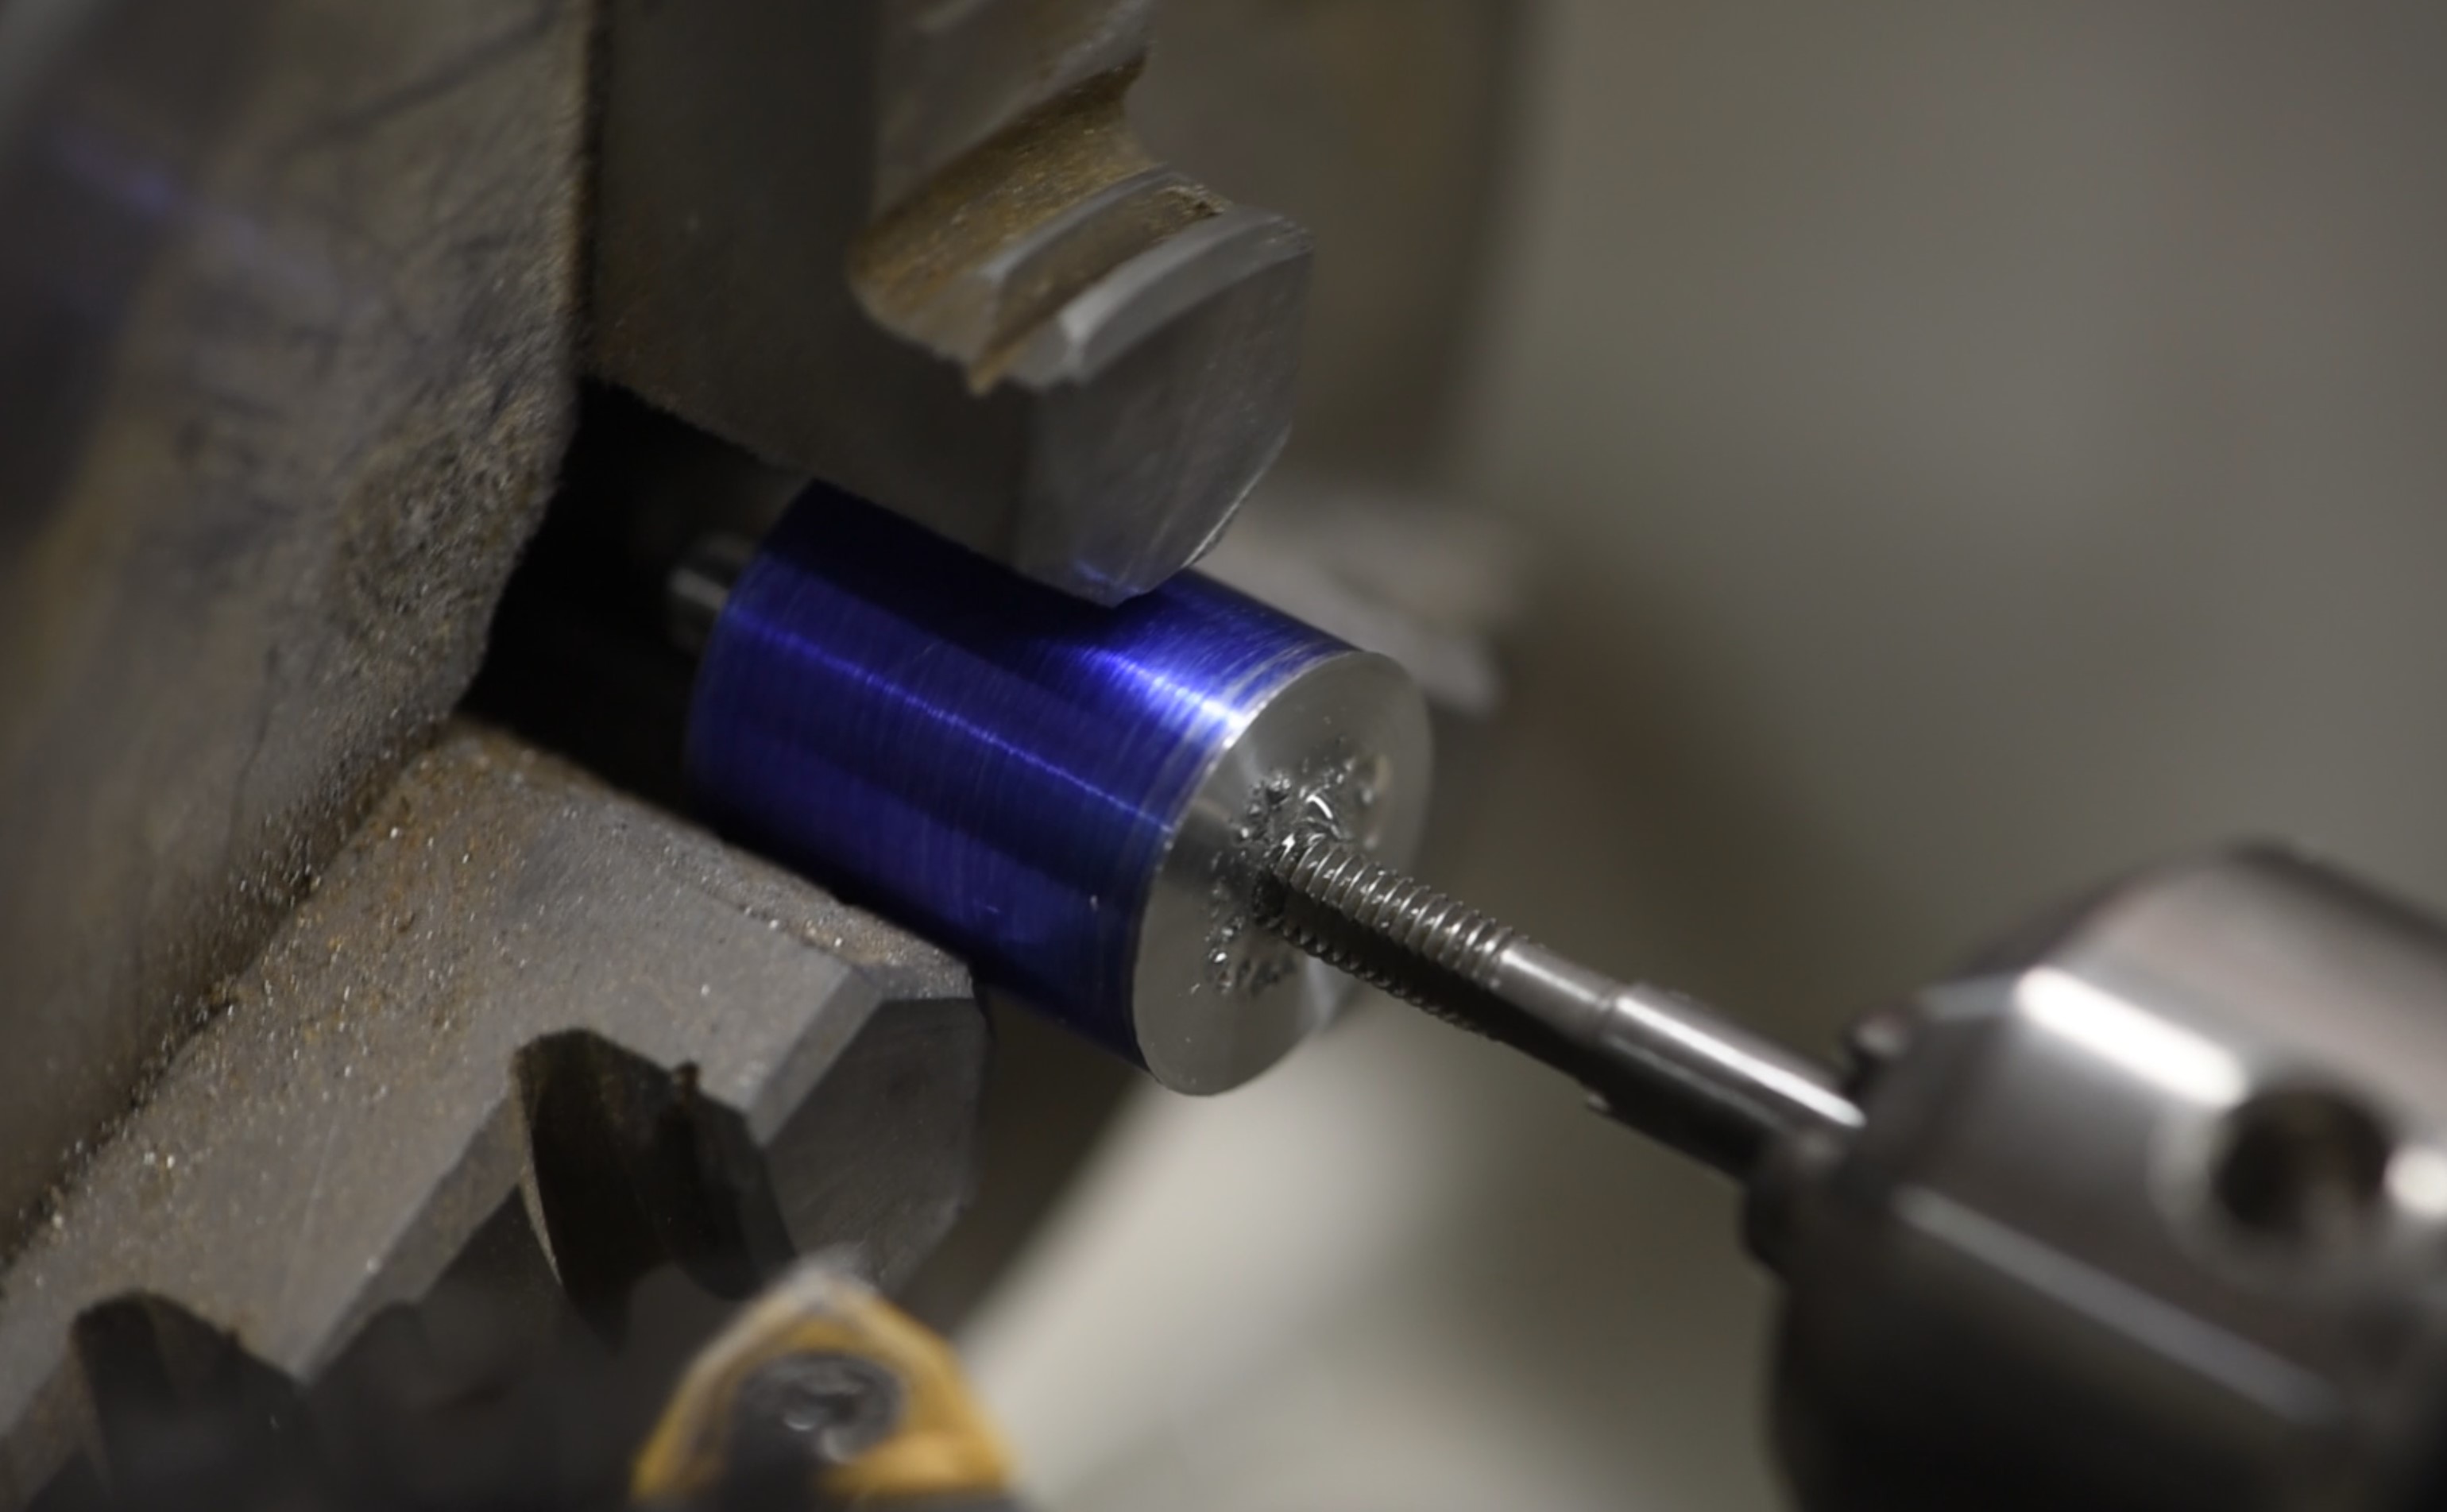
The final step is to tap the hole itself. This could be done outside the lathe but I figured it made sense to just do it with the piece still in the chuck. I put a 4mm tap into the tailstock chuck, then disengaged the clamp so that the tailstock was free to move along the length of the machine. Next I simply pushed it to the workpiece, lubricated, then manually rotated the chuck back and forth whilst maintaining gentle pressure on the tailstock. Moving the chuck like this pulls the tailstock towards/away from the workpiece and results in an accurate tap. You could try chancing it with a very low rpm setting but doing it by hand allows you to feel what's going on; the last thing you'd want is to snap a tap.

MSI MPG Velox 100R Chassis Review
October 14 2021 | 15:04



Want to comment? Please log in.