
USB Ports
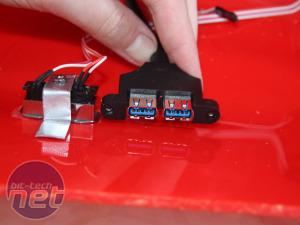
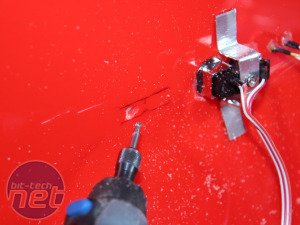
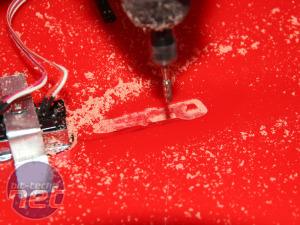
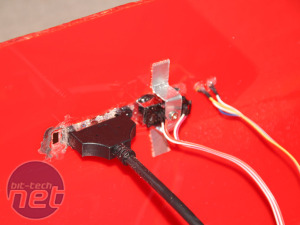
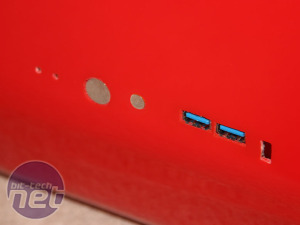
Adding USB ports to your case is actually fairly easy and you can even take advantage of USB 3 too. Many motherboards now come with USB 3 front panels, but you can buy these separately as well. They dismantle to reveal USB ports, often with a mount too, meaning installing them in your case should be straighforward.Our example has two USB 3 ports located between threaded holes. The screws for these can obviously be used but as we wanted to achieve a screw-less finish to the front panel we decided to use something else to secure them instead. The first thing to do is measure up and drill holes for the ports themselves. We used a rounded routing attachment but you can easily use a standard drill bit too. The advantage of the former is that you can both cut through the acrylic and side to side too, meaning you can shape much of the port using the Dremel, leaving a minimal amount to finish with hand files.
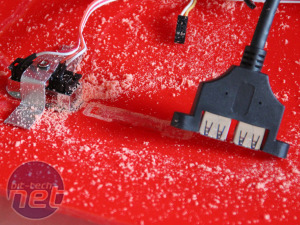
To ensure the ports sat flush with the front panel, we had to route the area again next to the power and reset buttons to take a few millimetres out of the depth of the acrylic. It's important to check the depth regularly to not to cut too deep.
We used our glue gun again to secure the USB ports in place but make sure you test them with a USB stick beforehand to ensure they can slot in easily.
That's it for Part 2. We'll be back in a couple of weeks with more guides and updates on our project - you can see more in the official project log in our forums.

MSI MPG Velox 100R Chassis Review
October 14 2021 | 15:04



Want to comment? Please log in.