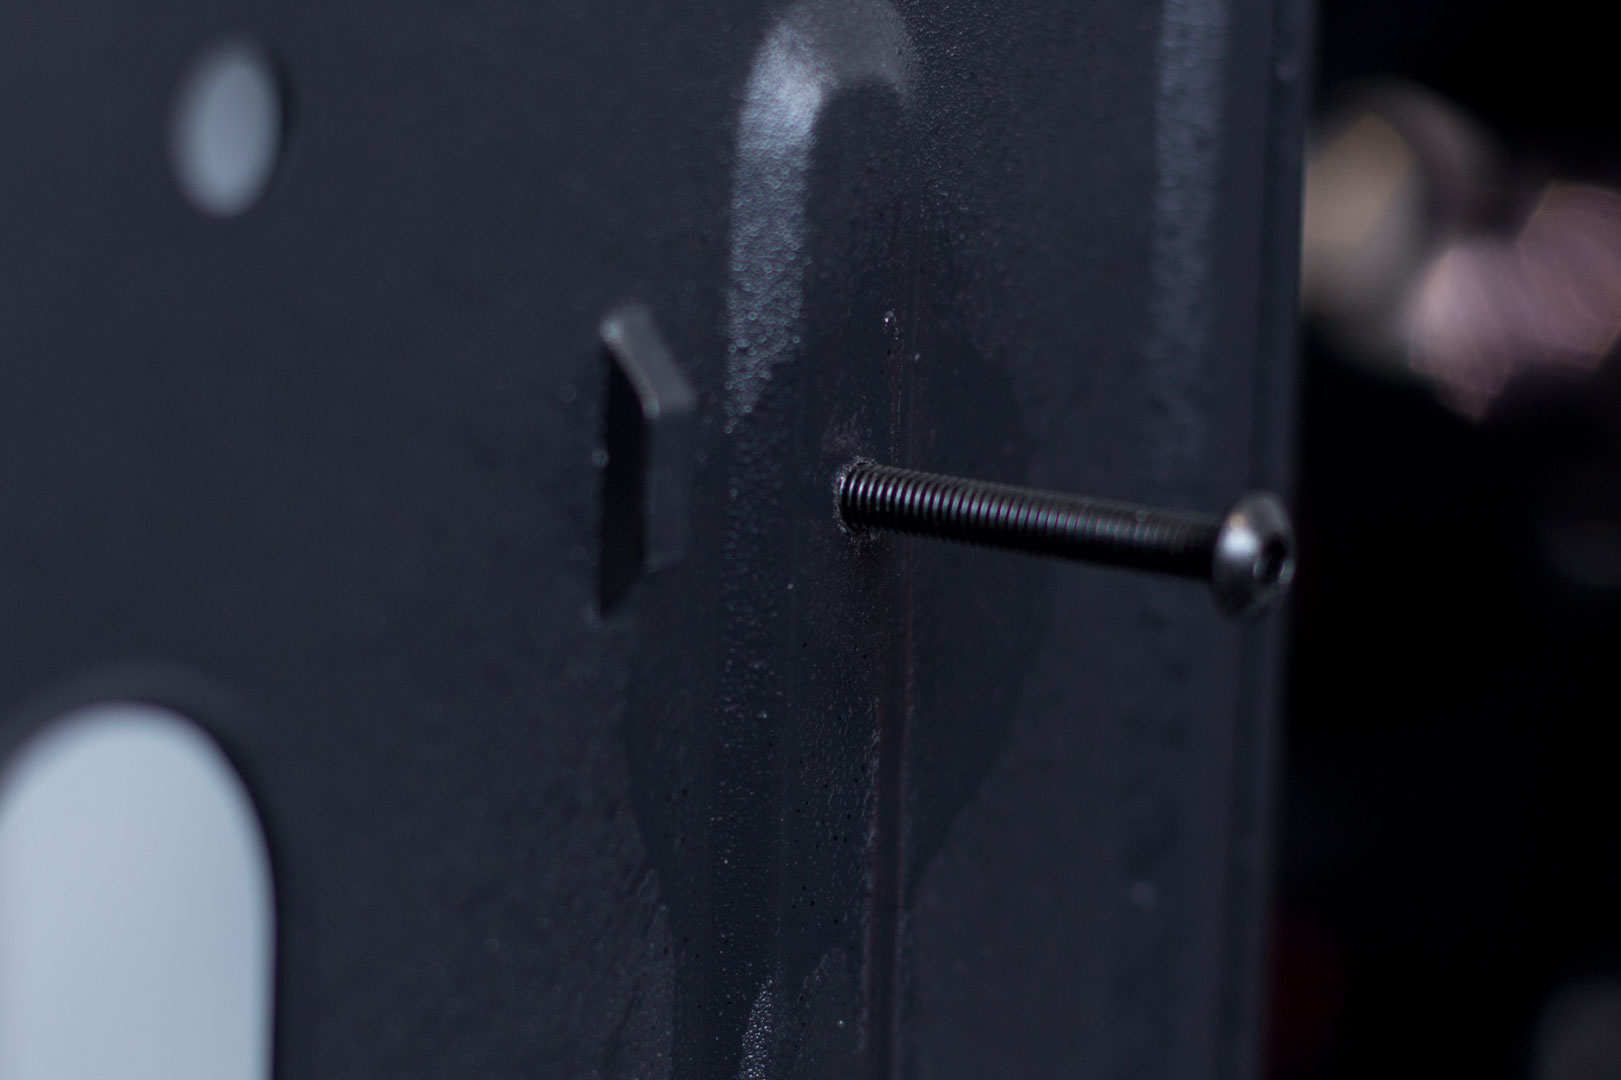
Once you have finished tapping the hole, it is always worth making sure that your screws fit correctly.
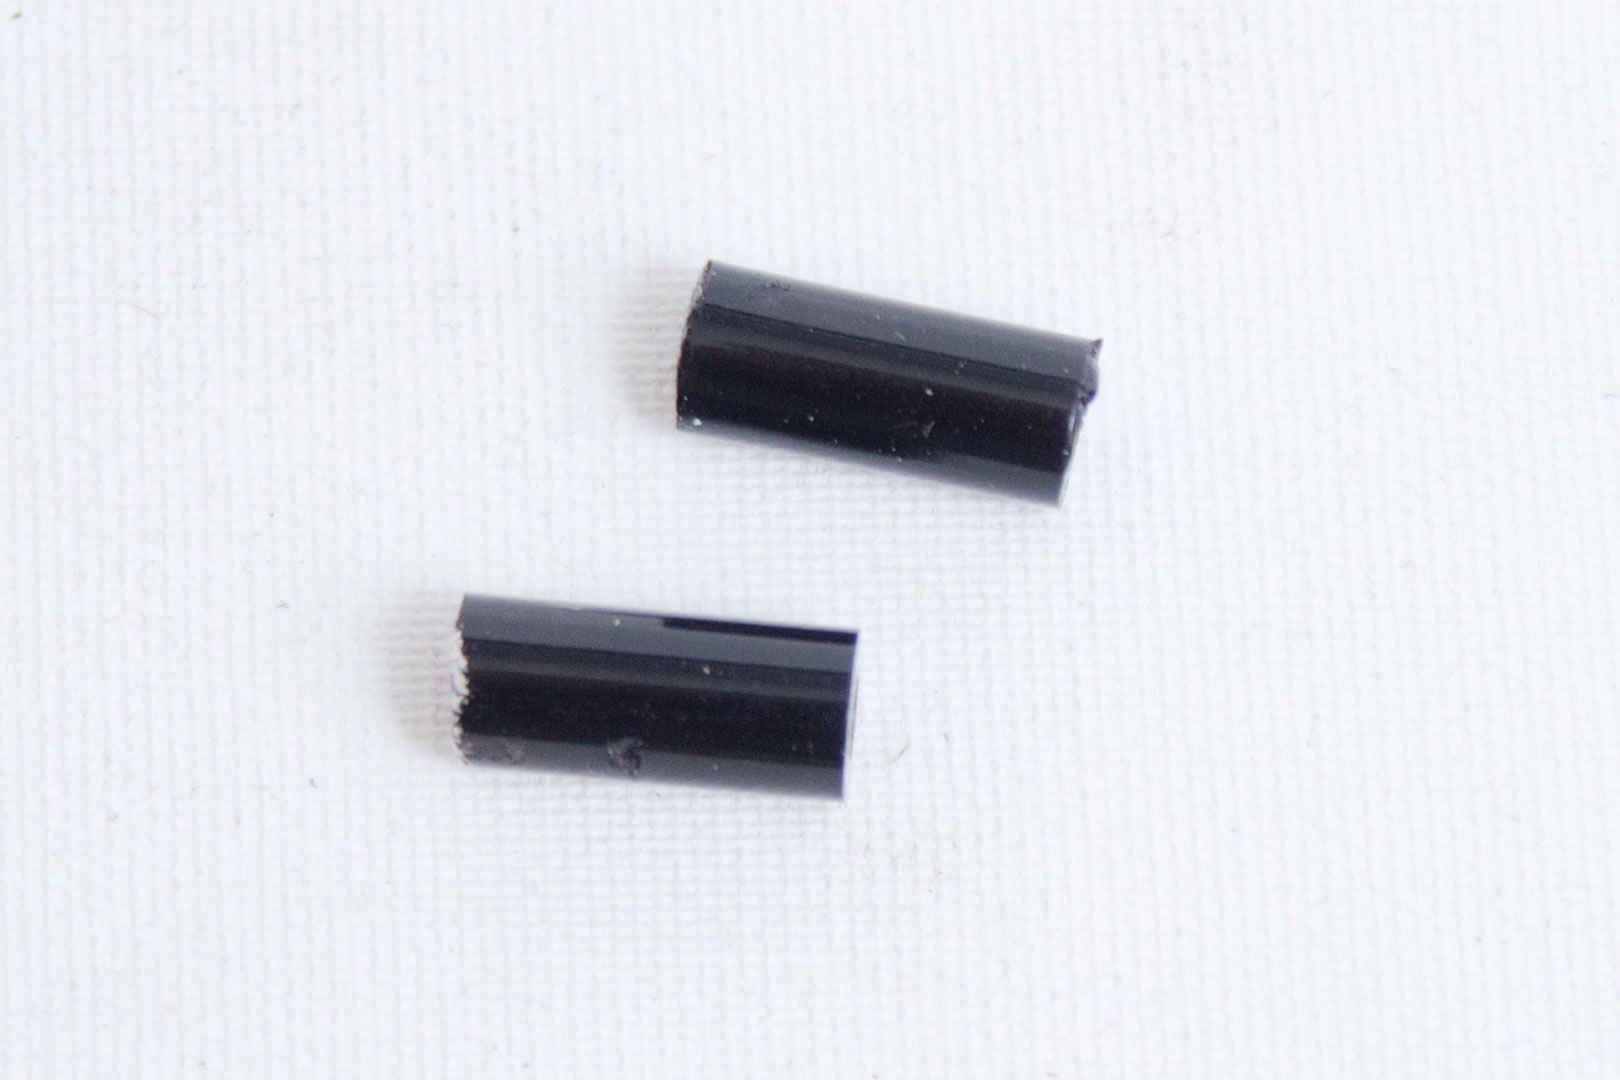
Next, we will need to cut the spacers down to size. I used the junior hacksaw and just went to 15mm. Make sure you check how much space you have between the motherboard tray and the back panel before you find out how large these can be. Remember that the screw head thickness and the thickness of the material you have used will need to be accounted for also. So, if you have 20mm between the motherboard tray and panel, your metal is 1.5mm thick, and the screw head is 2mm, the longest you can make the spacer would be 16.5mm.
This is is how we are assembling the bracket. Screw, bracket, and spacer - simple!
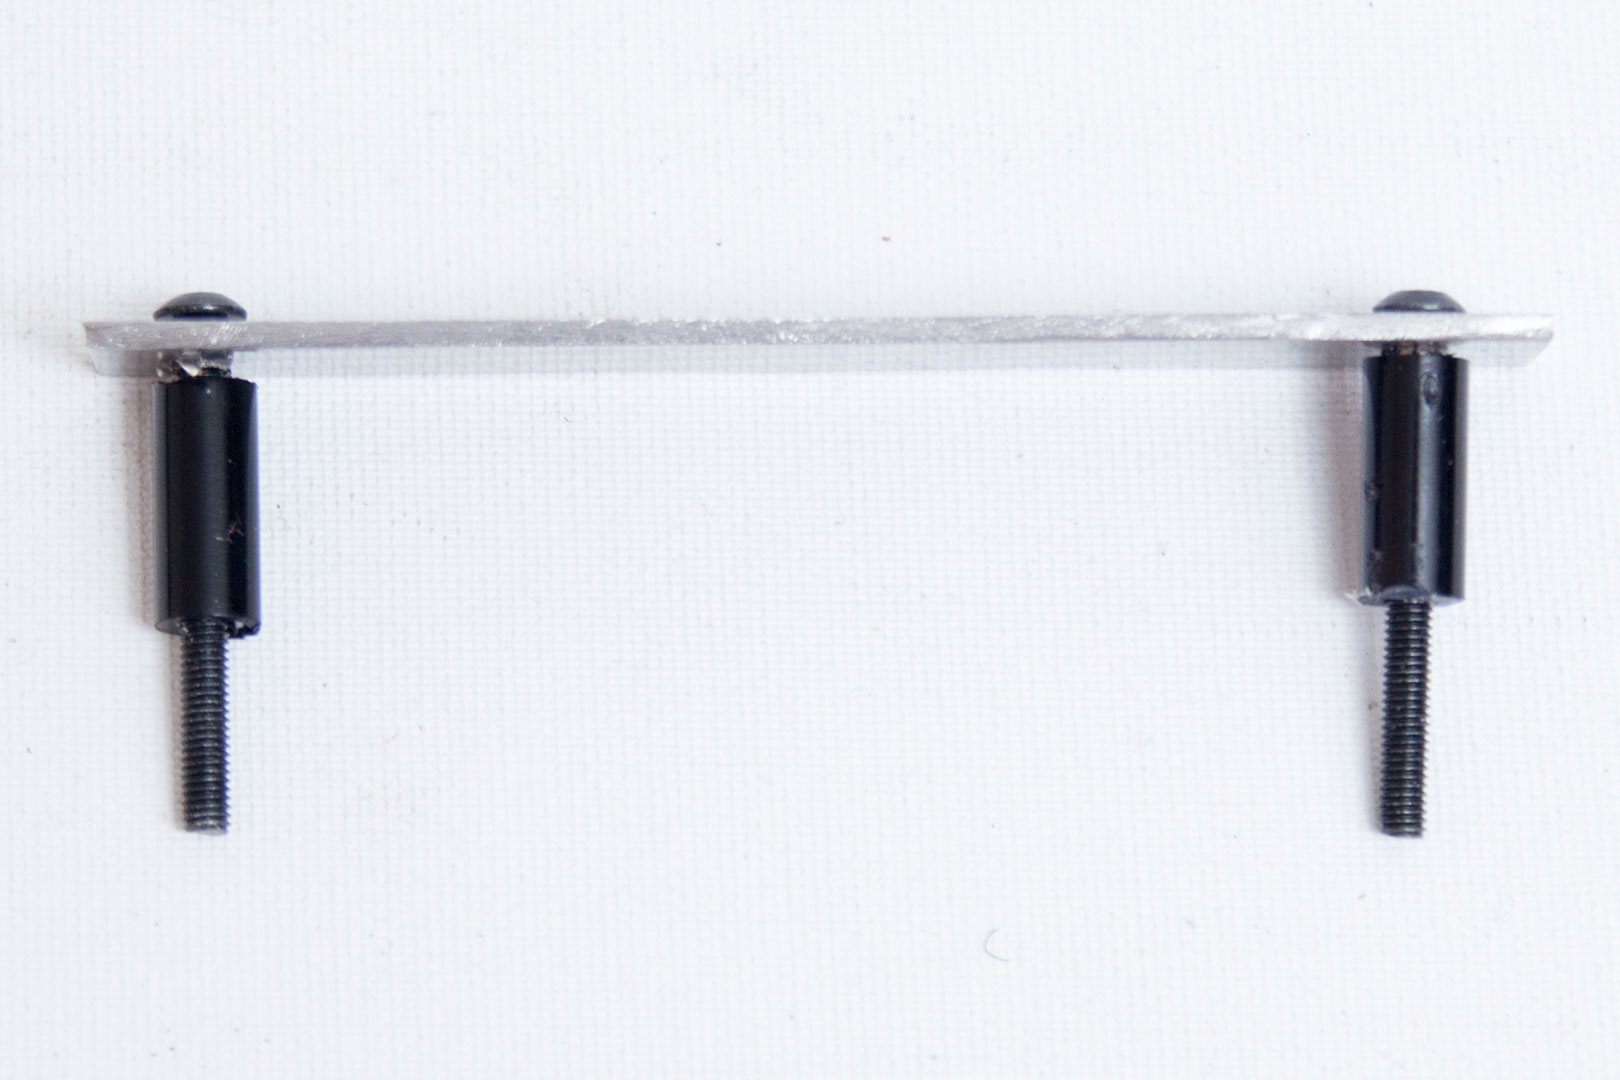
Because we tapped the motherboard tray, we can screw directly into it, if you didn't tap it, you would need to put a nut on the screw, and it makes things a little more tricky.
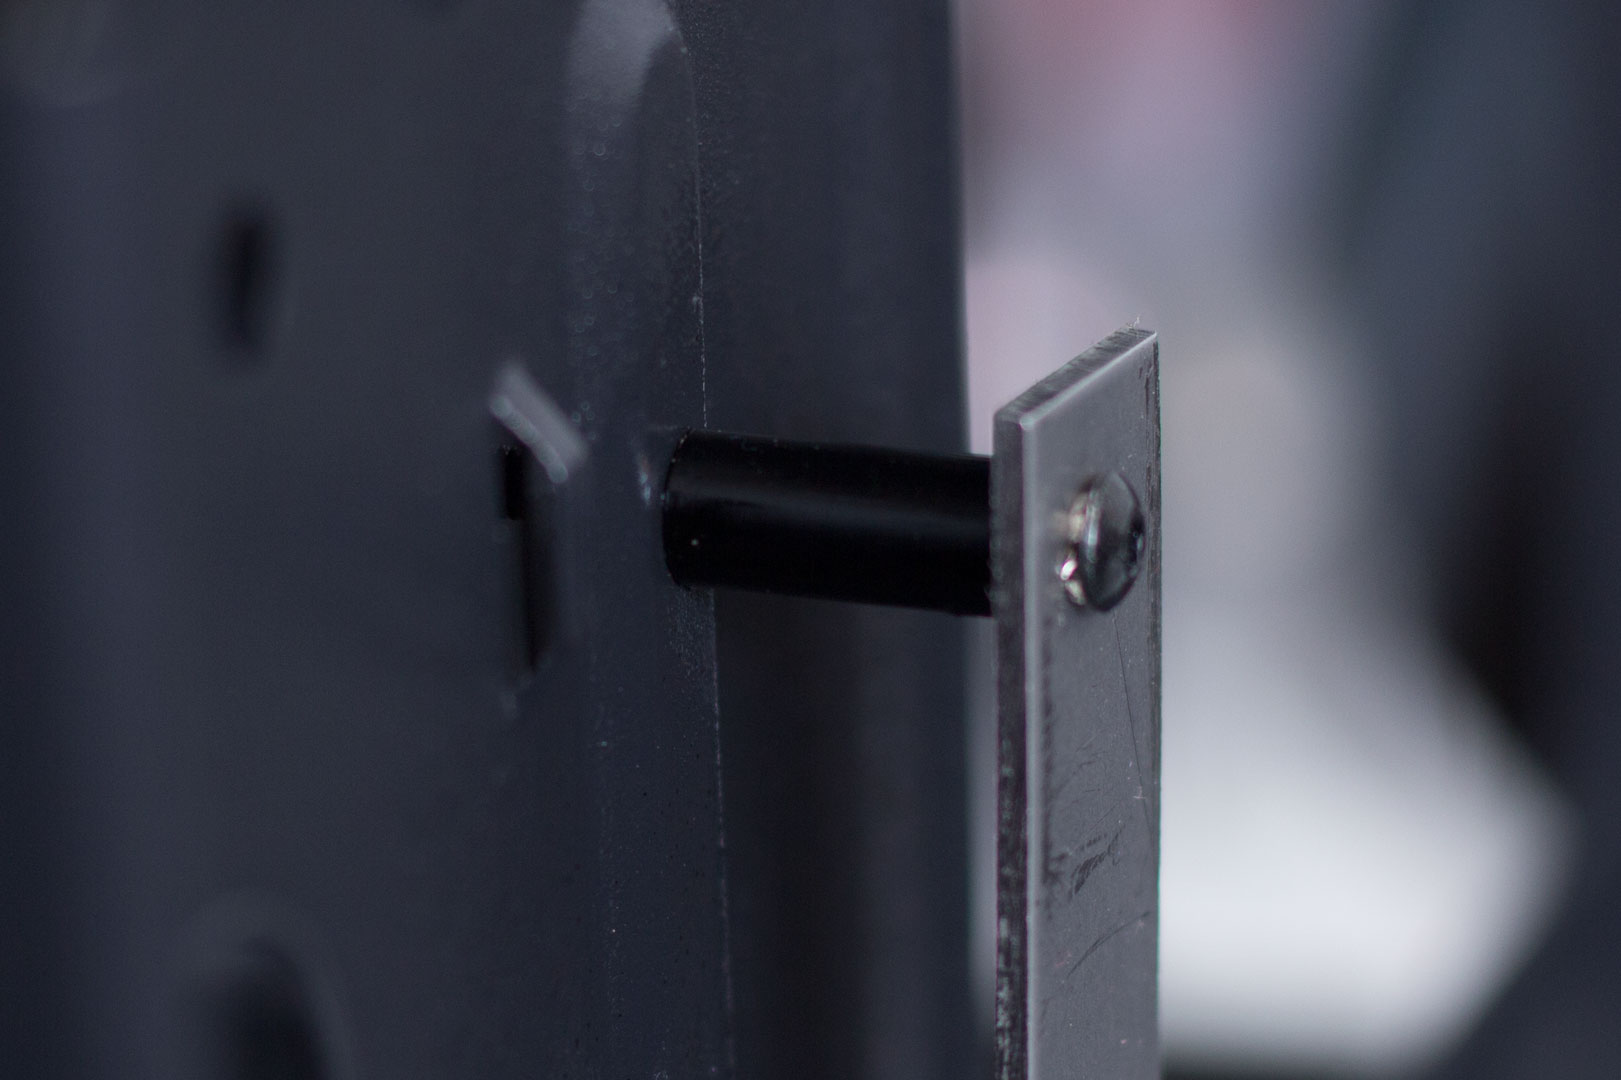
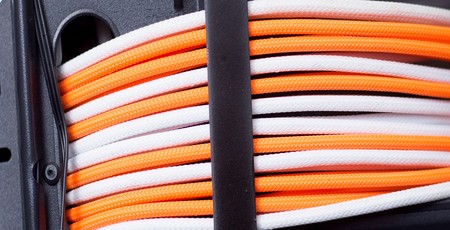
Now it's all done, you can give it a nicer finish. I simply gave it a quick blast of black paint. It wasn't quite dry here, but once it was, it looked rather nice! You can see how it holds the cables straight now rather than scrunching them up.
This only took me around 30 minutes to actually make, and while it's a little rough around the edges, it shows you what you can create. You don't need to do a simple strip of metal either; you could do any shape you like.
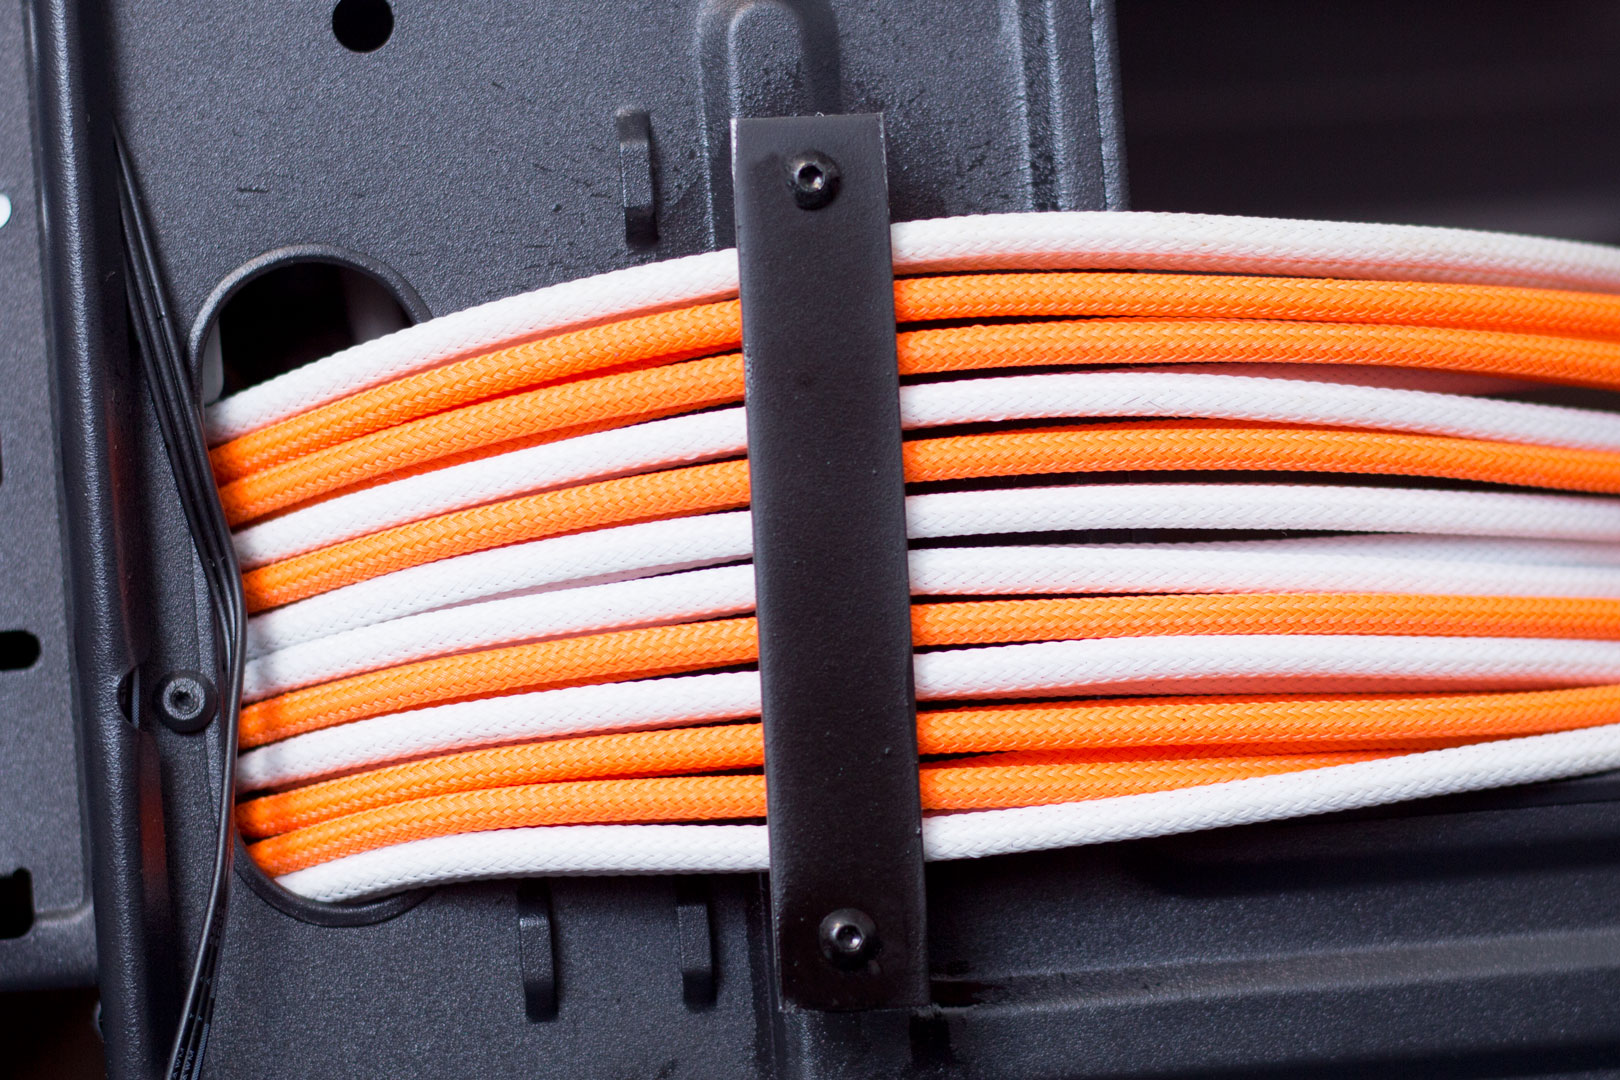
Obviously, this mod won't be for everyone; some people don't like to see anything on the cables at all, but I think these will look great when finished and personalised with a nice logo. To see how I utilise this idea properly, stay tuned for part two of the Alex Brooks build, which will be coming soon!

MSI MPG Velox 100R Chassis Review
October 14 2021 | 15:04





Want to comment? Please log in.