Method
The method is straightforward, just a bit fiddly. If you've made custom cables before then this is a walk in the park. The first port of call is to establish where you want your new connector to go. I decide this based on where the fan will be placed in the case usually, but 3-4cm from the fan housing is often a nice length. With modern fans with completely black wires, you'll need to keep track of the cable orientation. My favourite way of doing this is to use two pieces of tape, which you place on either side of the cut, both facing the same way. This allows you to keep track of which direction the cable should be facing and thus which individual wire is which.
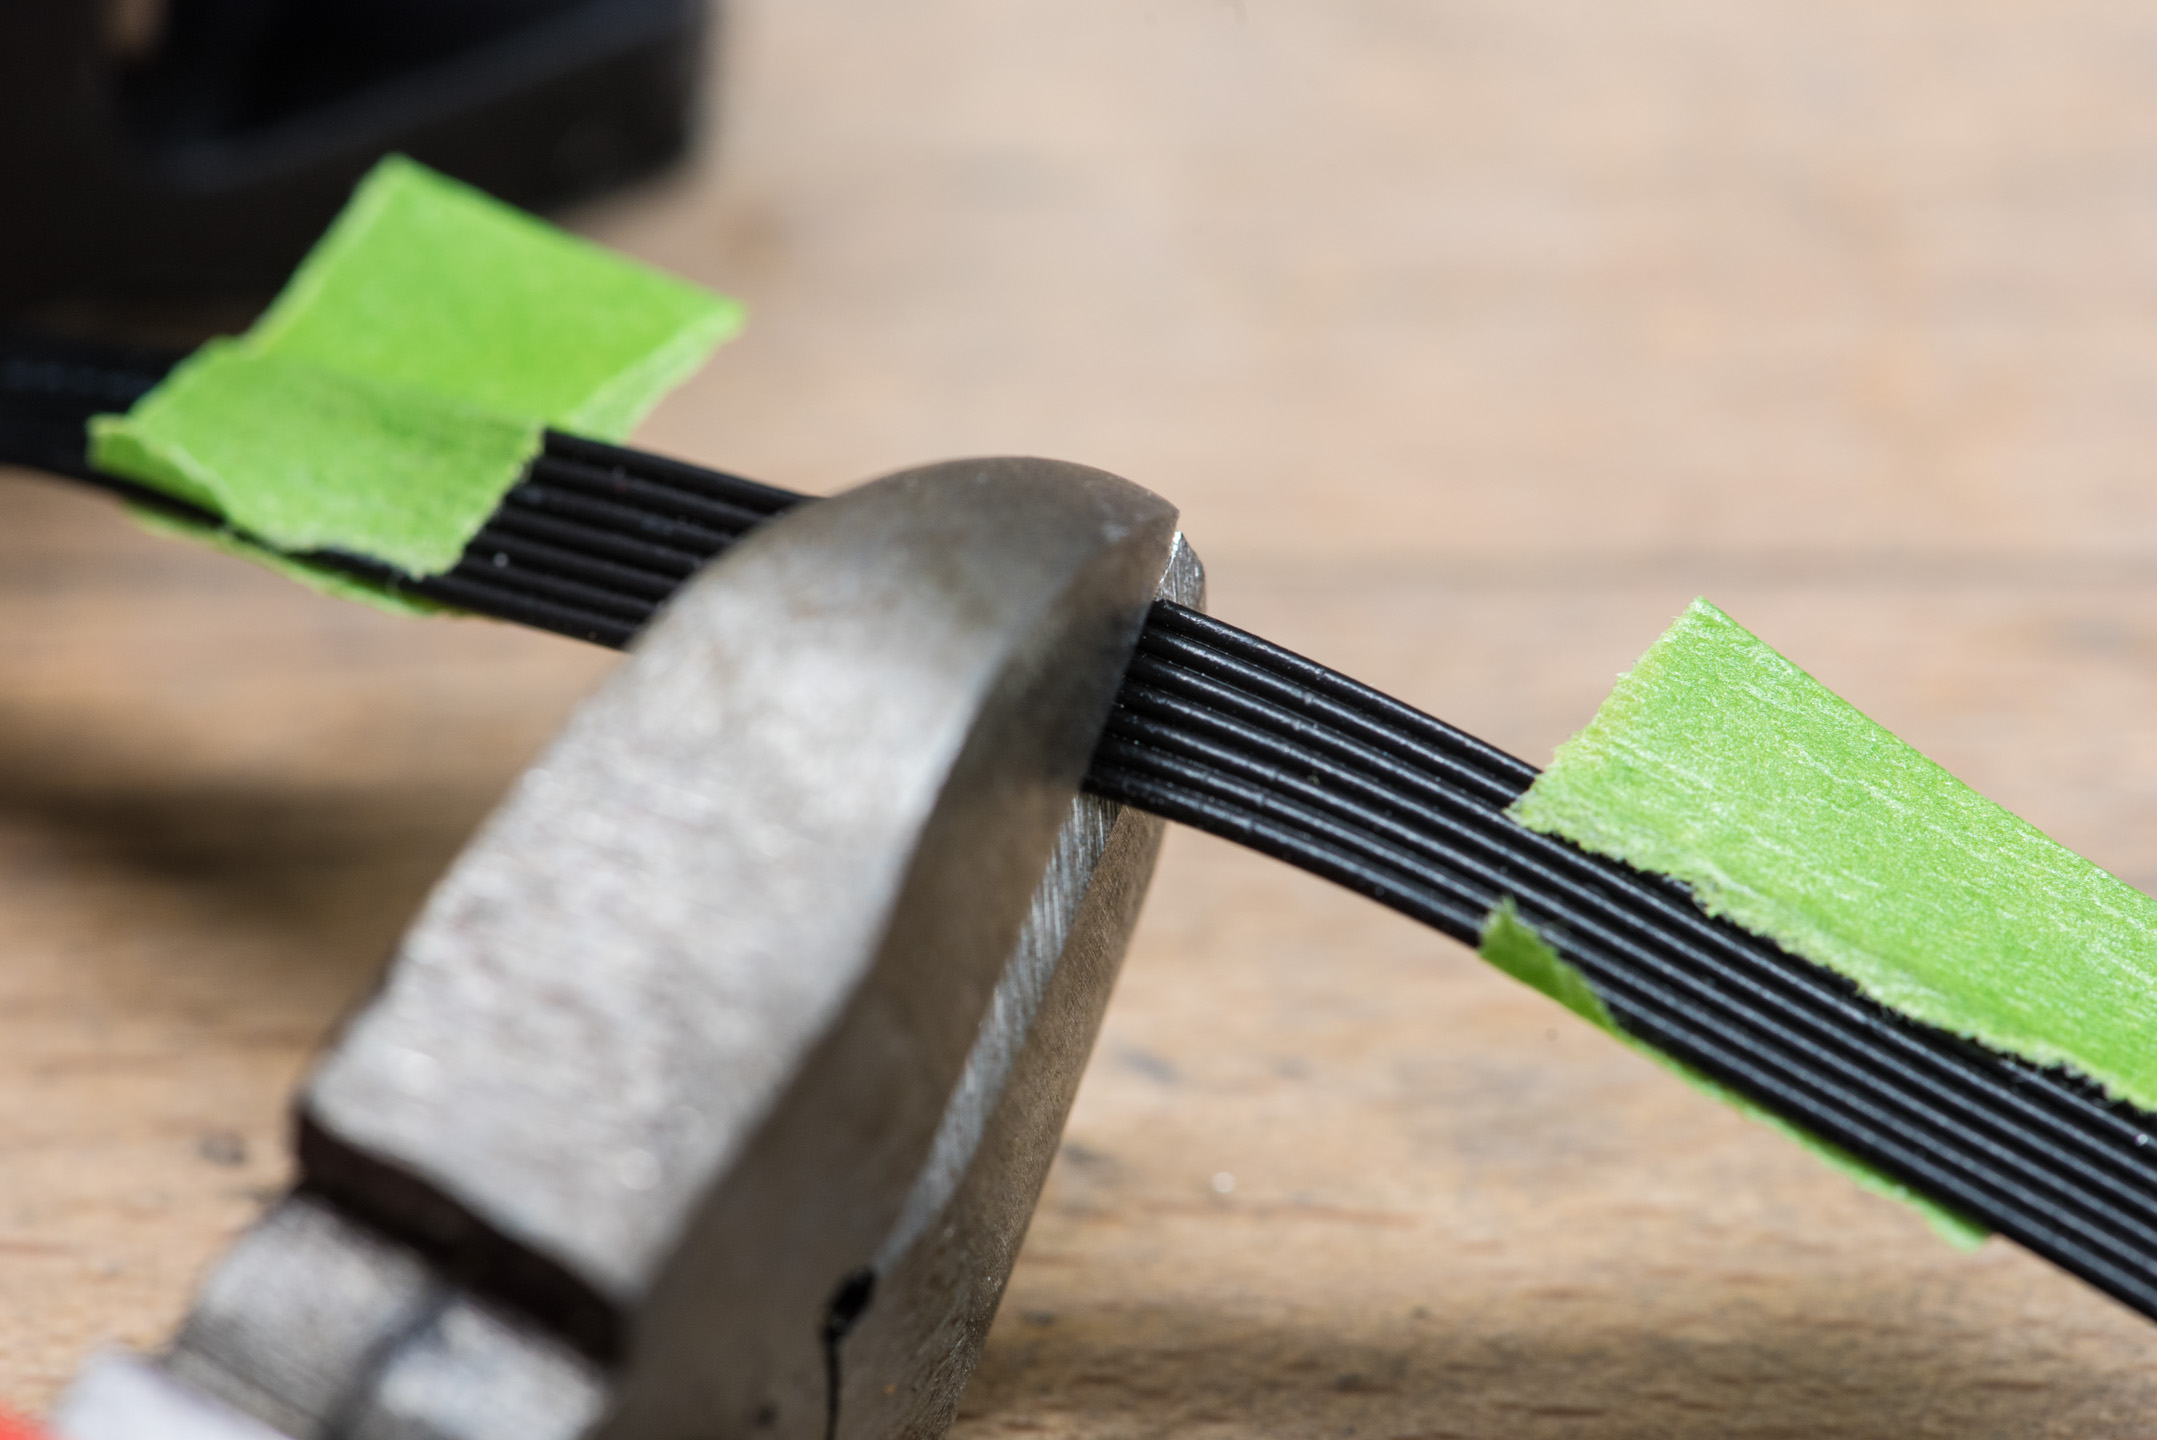
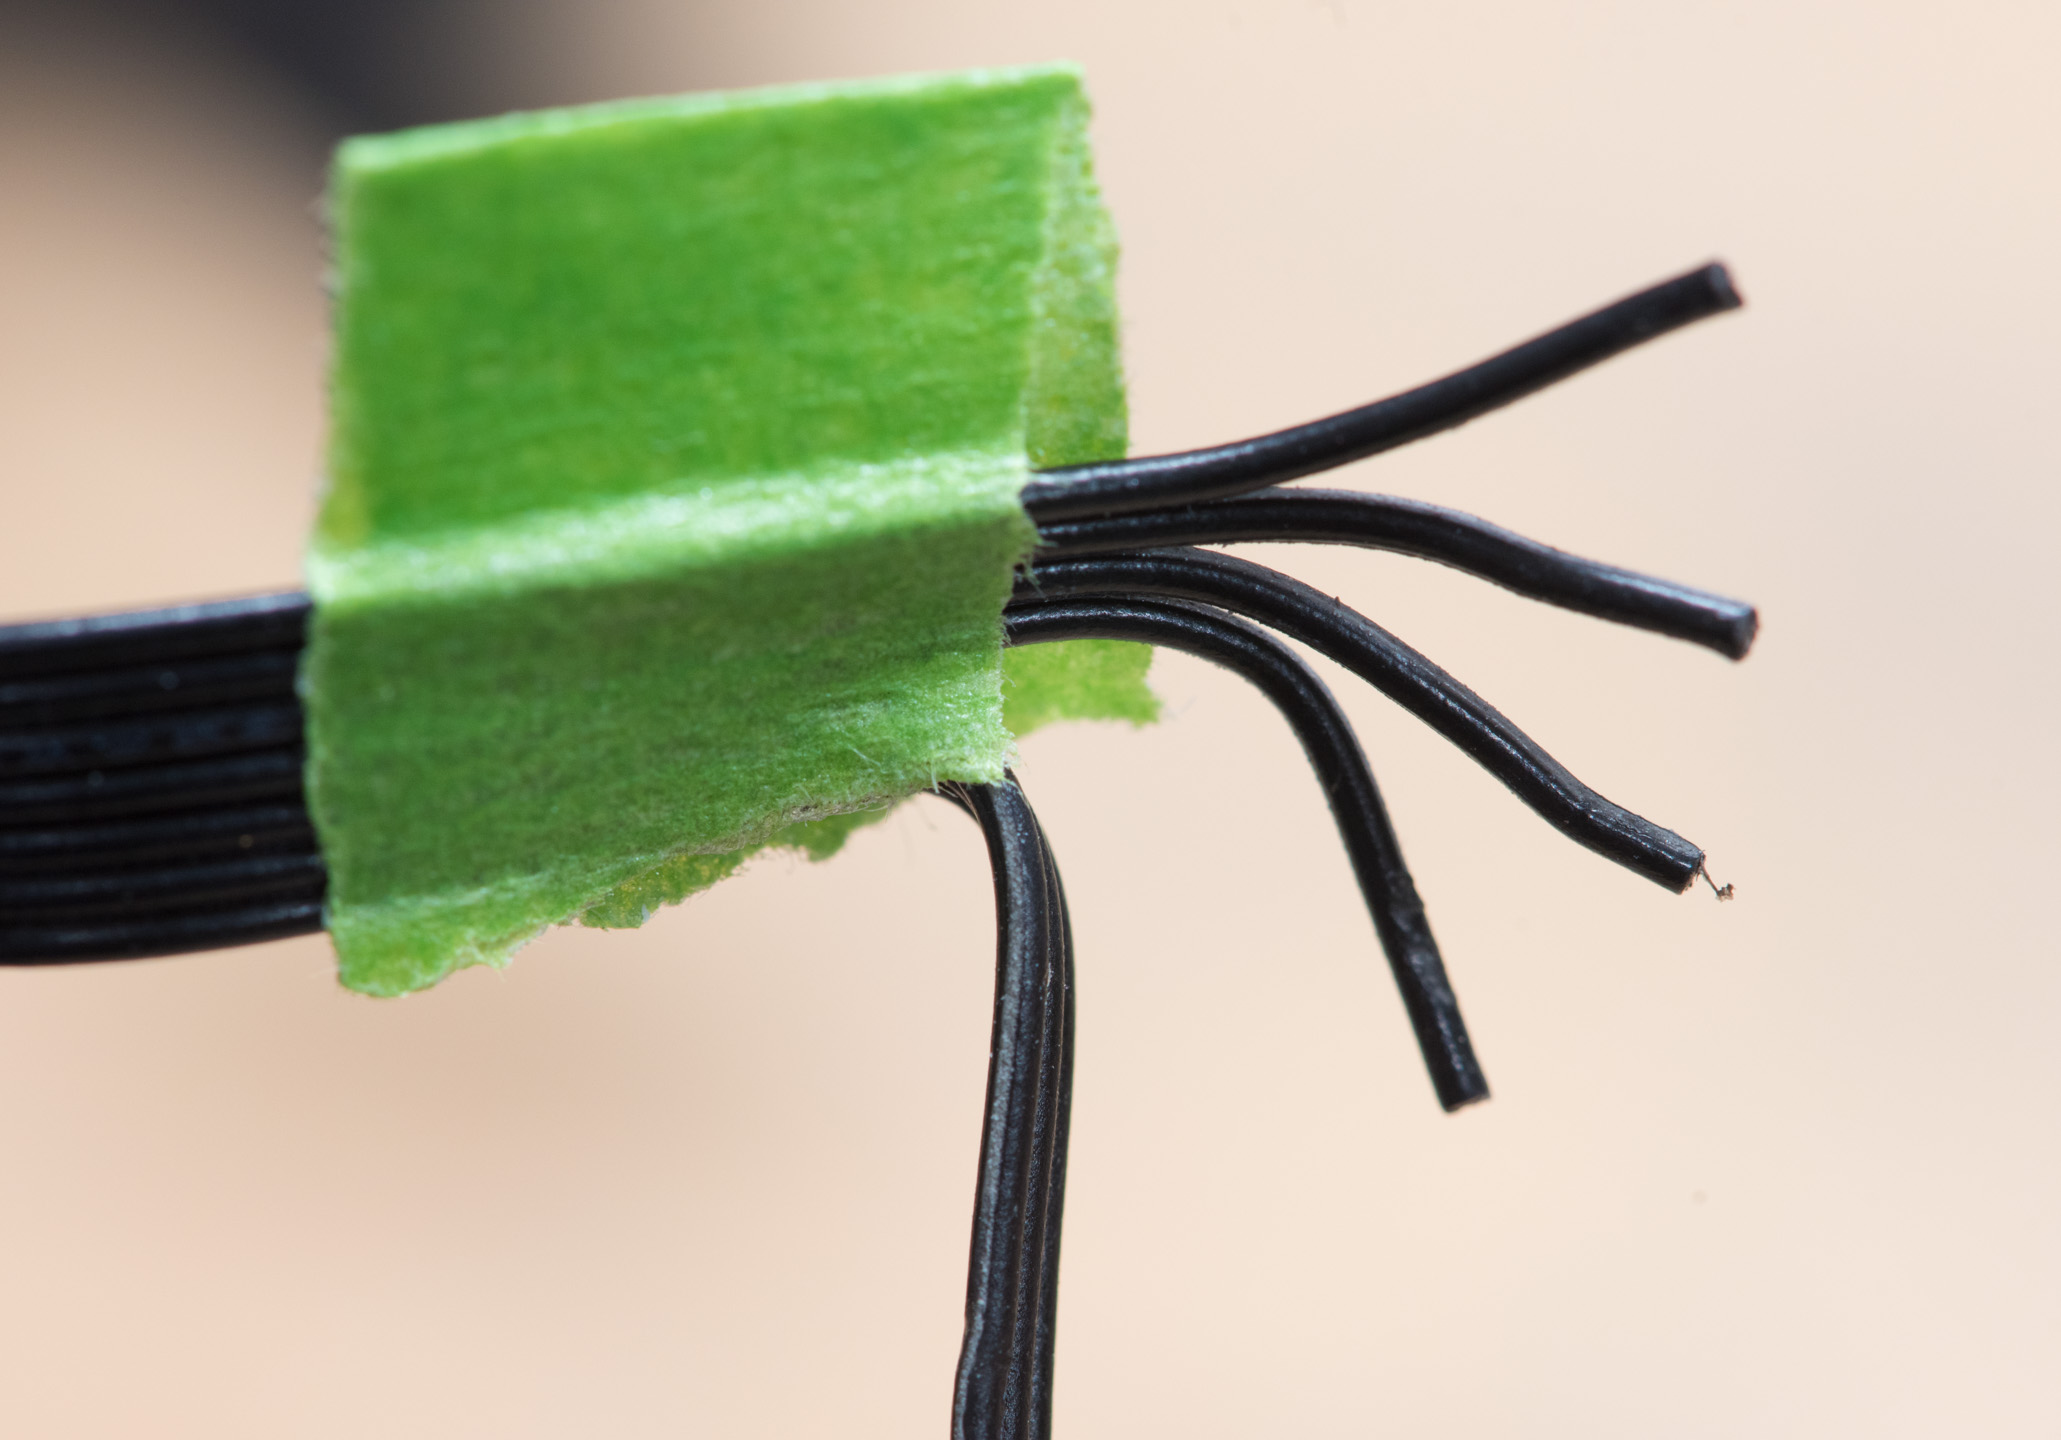
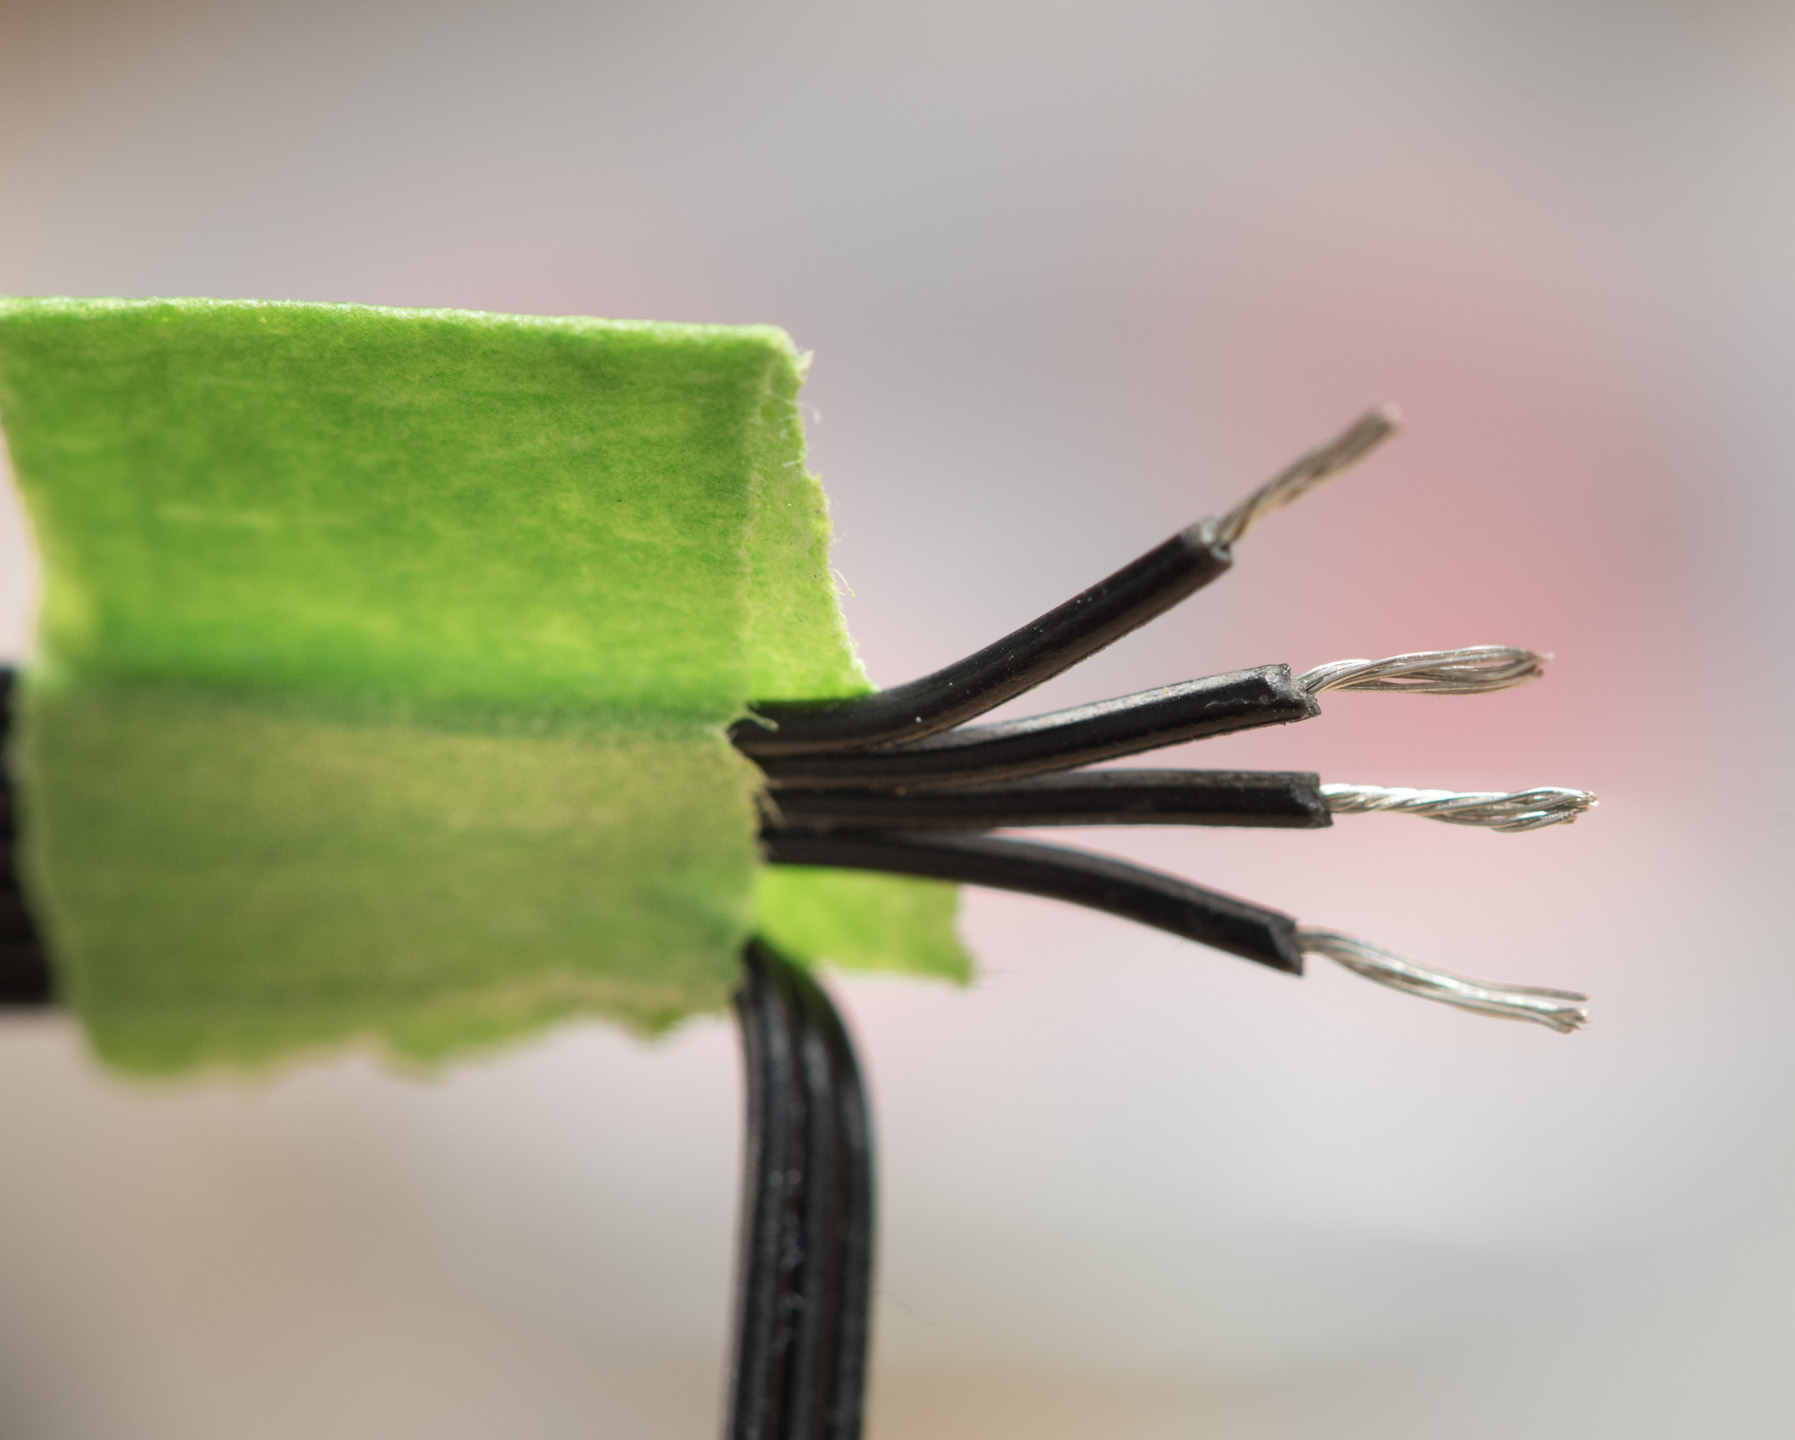
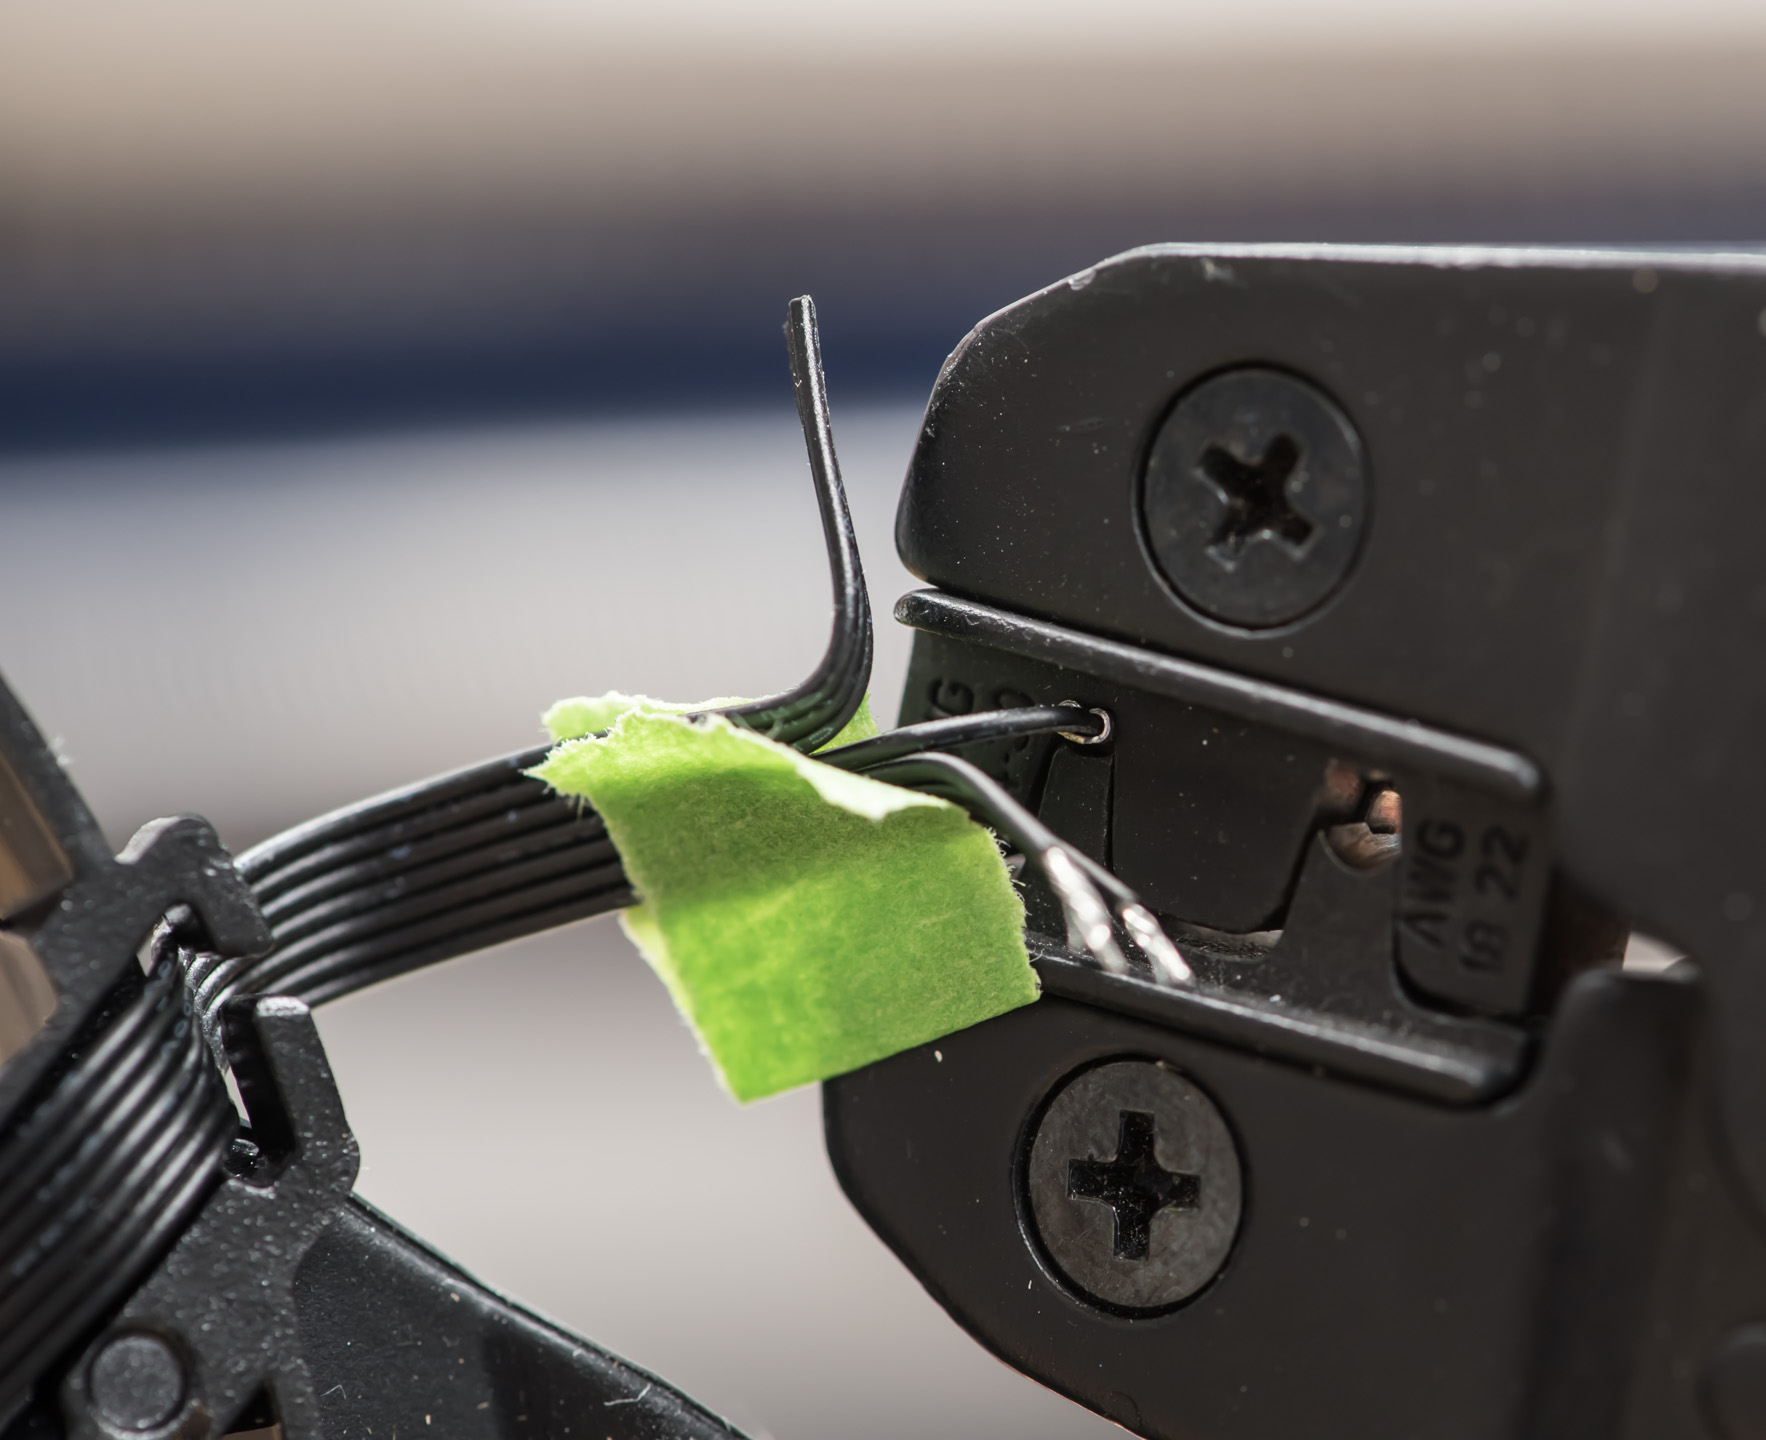
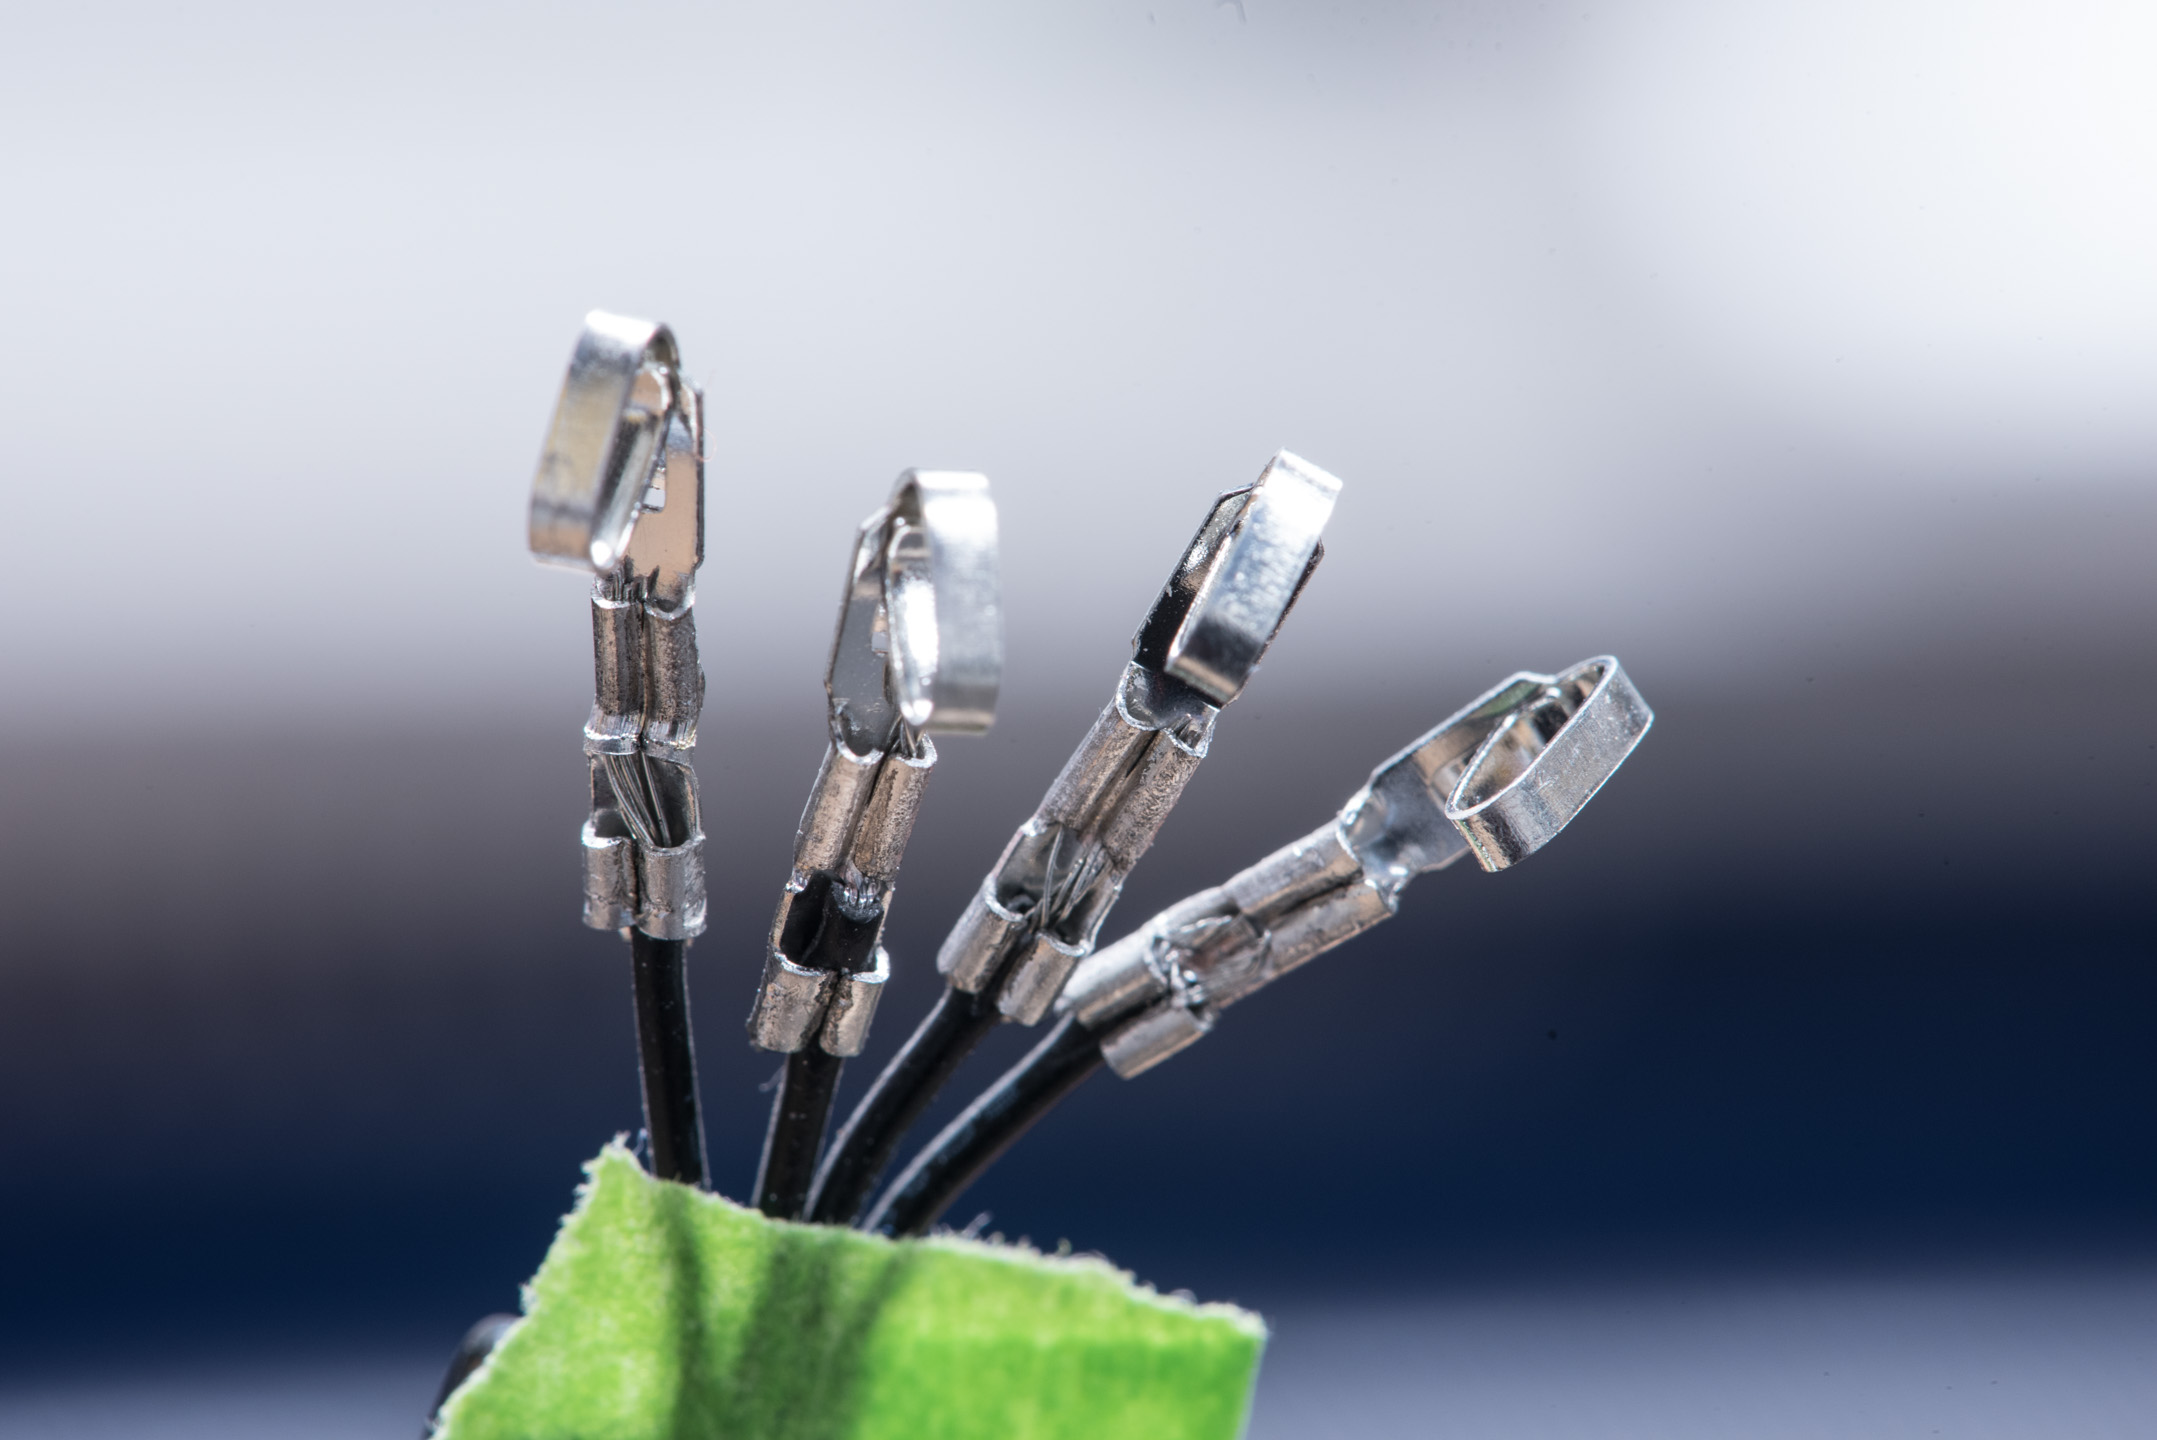
Snip the wire in the middle, leaving space between the fan and the cut, else you may have trouble crimping the pins on later. Next you want to separate the wires and strip approximately 3-4mm of the insulation from the ends. I gently twist the ends so keep them from fraying when placed into the pins
Since fan wires are often very small gauges, it's a good idea to pre-crimp your connector pins a bit. Simply place them into the crimper and press maybe only a couple clicks or so; you're looking for the end "wings" of the pin to be pushed inwards a bit but there still to be space to insert the wire.
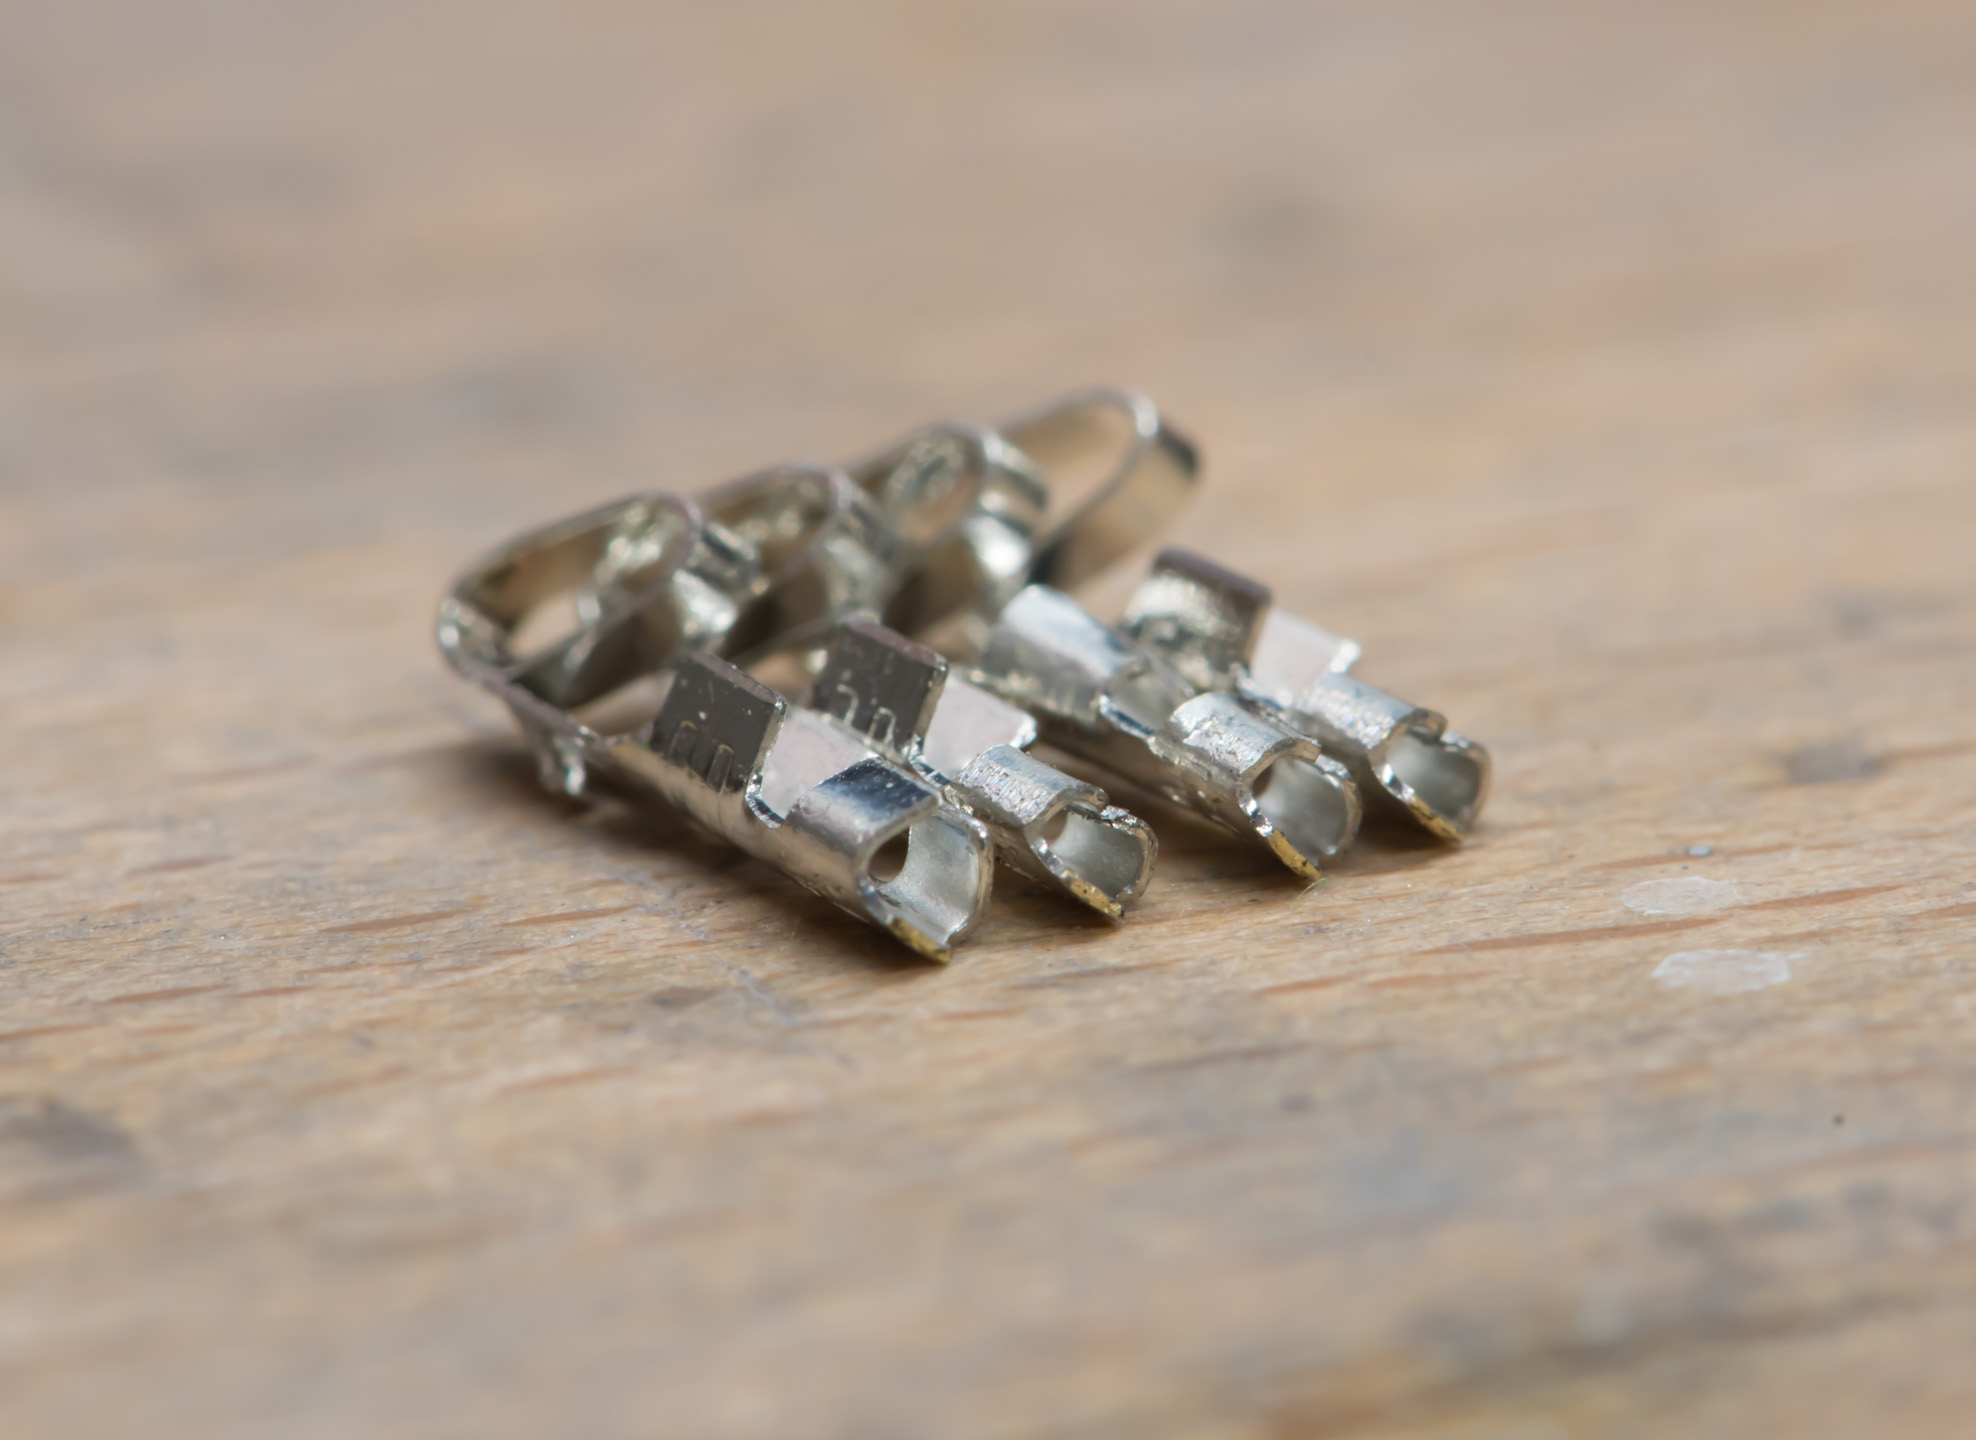
Finally we want to crimp our pins. There are a couple ways of going about this, the first is to place the pin onto the wire and crimp around it, the second is to hold the pin in the crimper and insert the wire there. Personally I find the first method works fine if using thicker wires and the second works best if using very thin. You want the first set of "wings" that you compressed earlier to sit on the insulation, and the second smaller set to be on the raw wire. Next you fully compress the crimper, clamping the pin onto the wire.
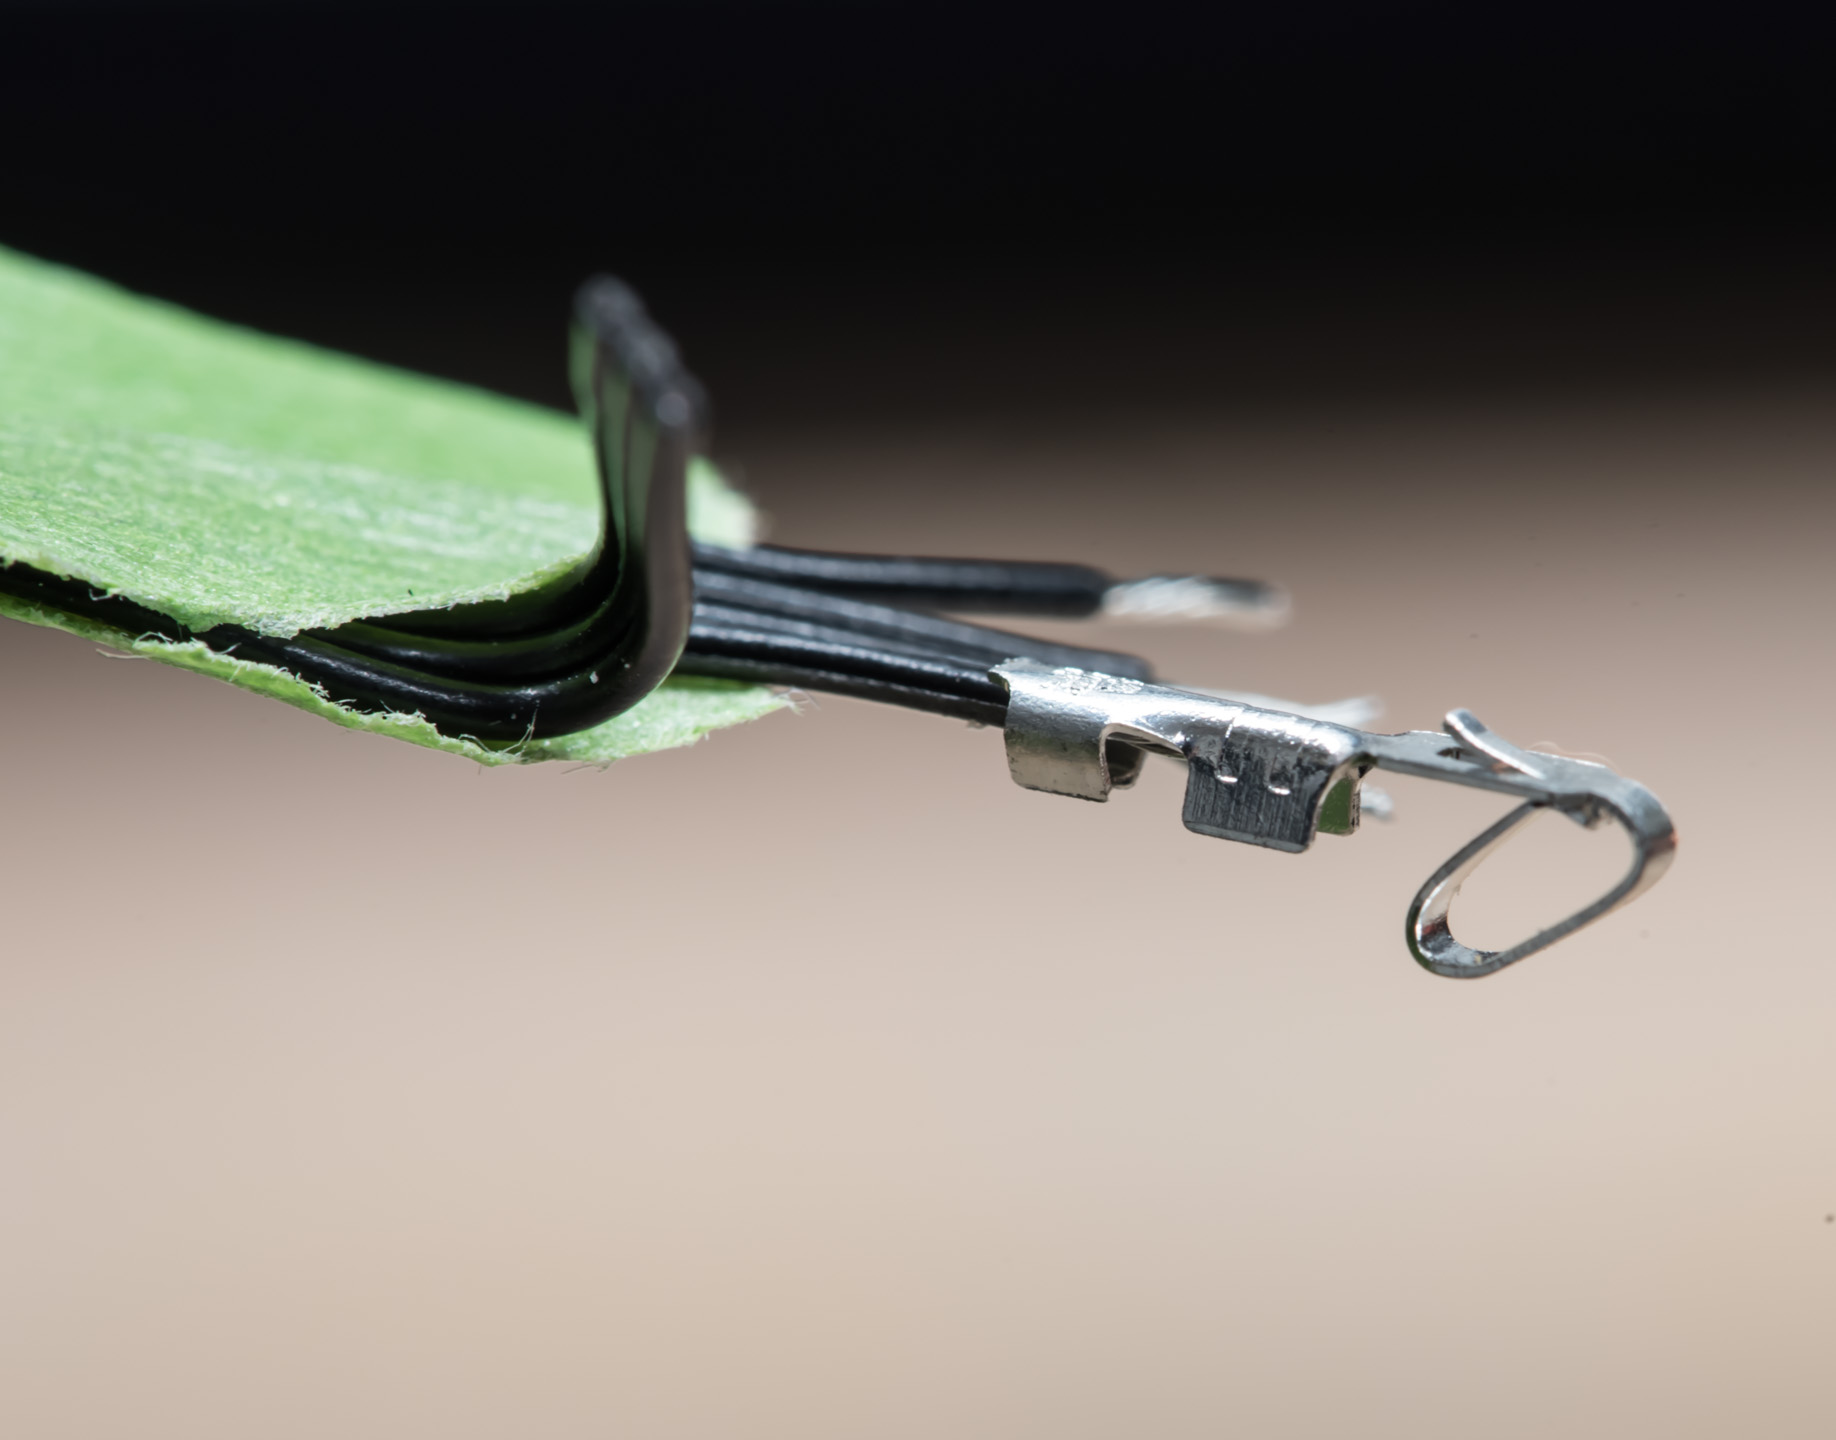
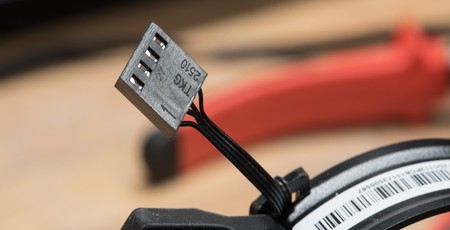
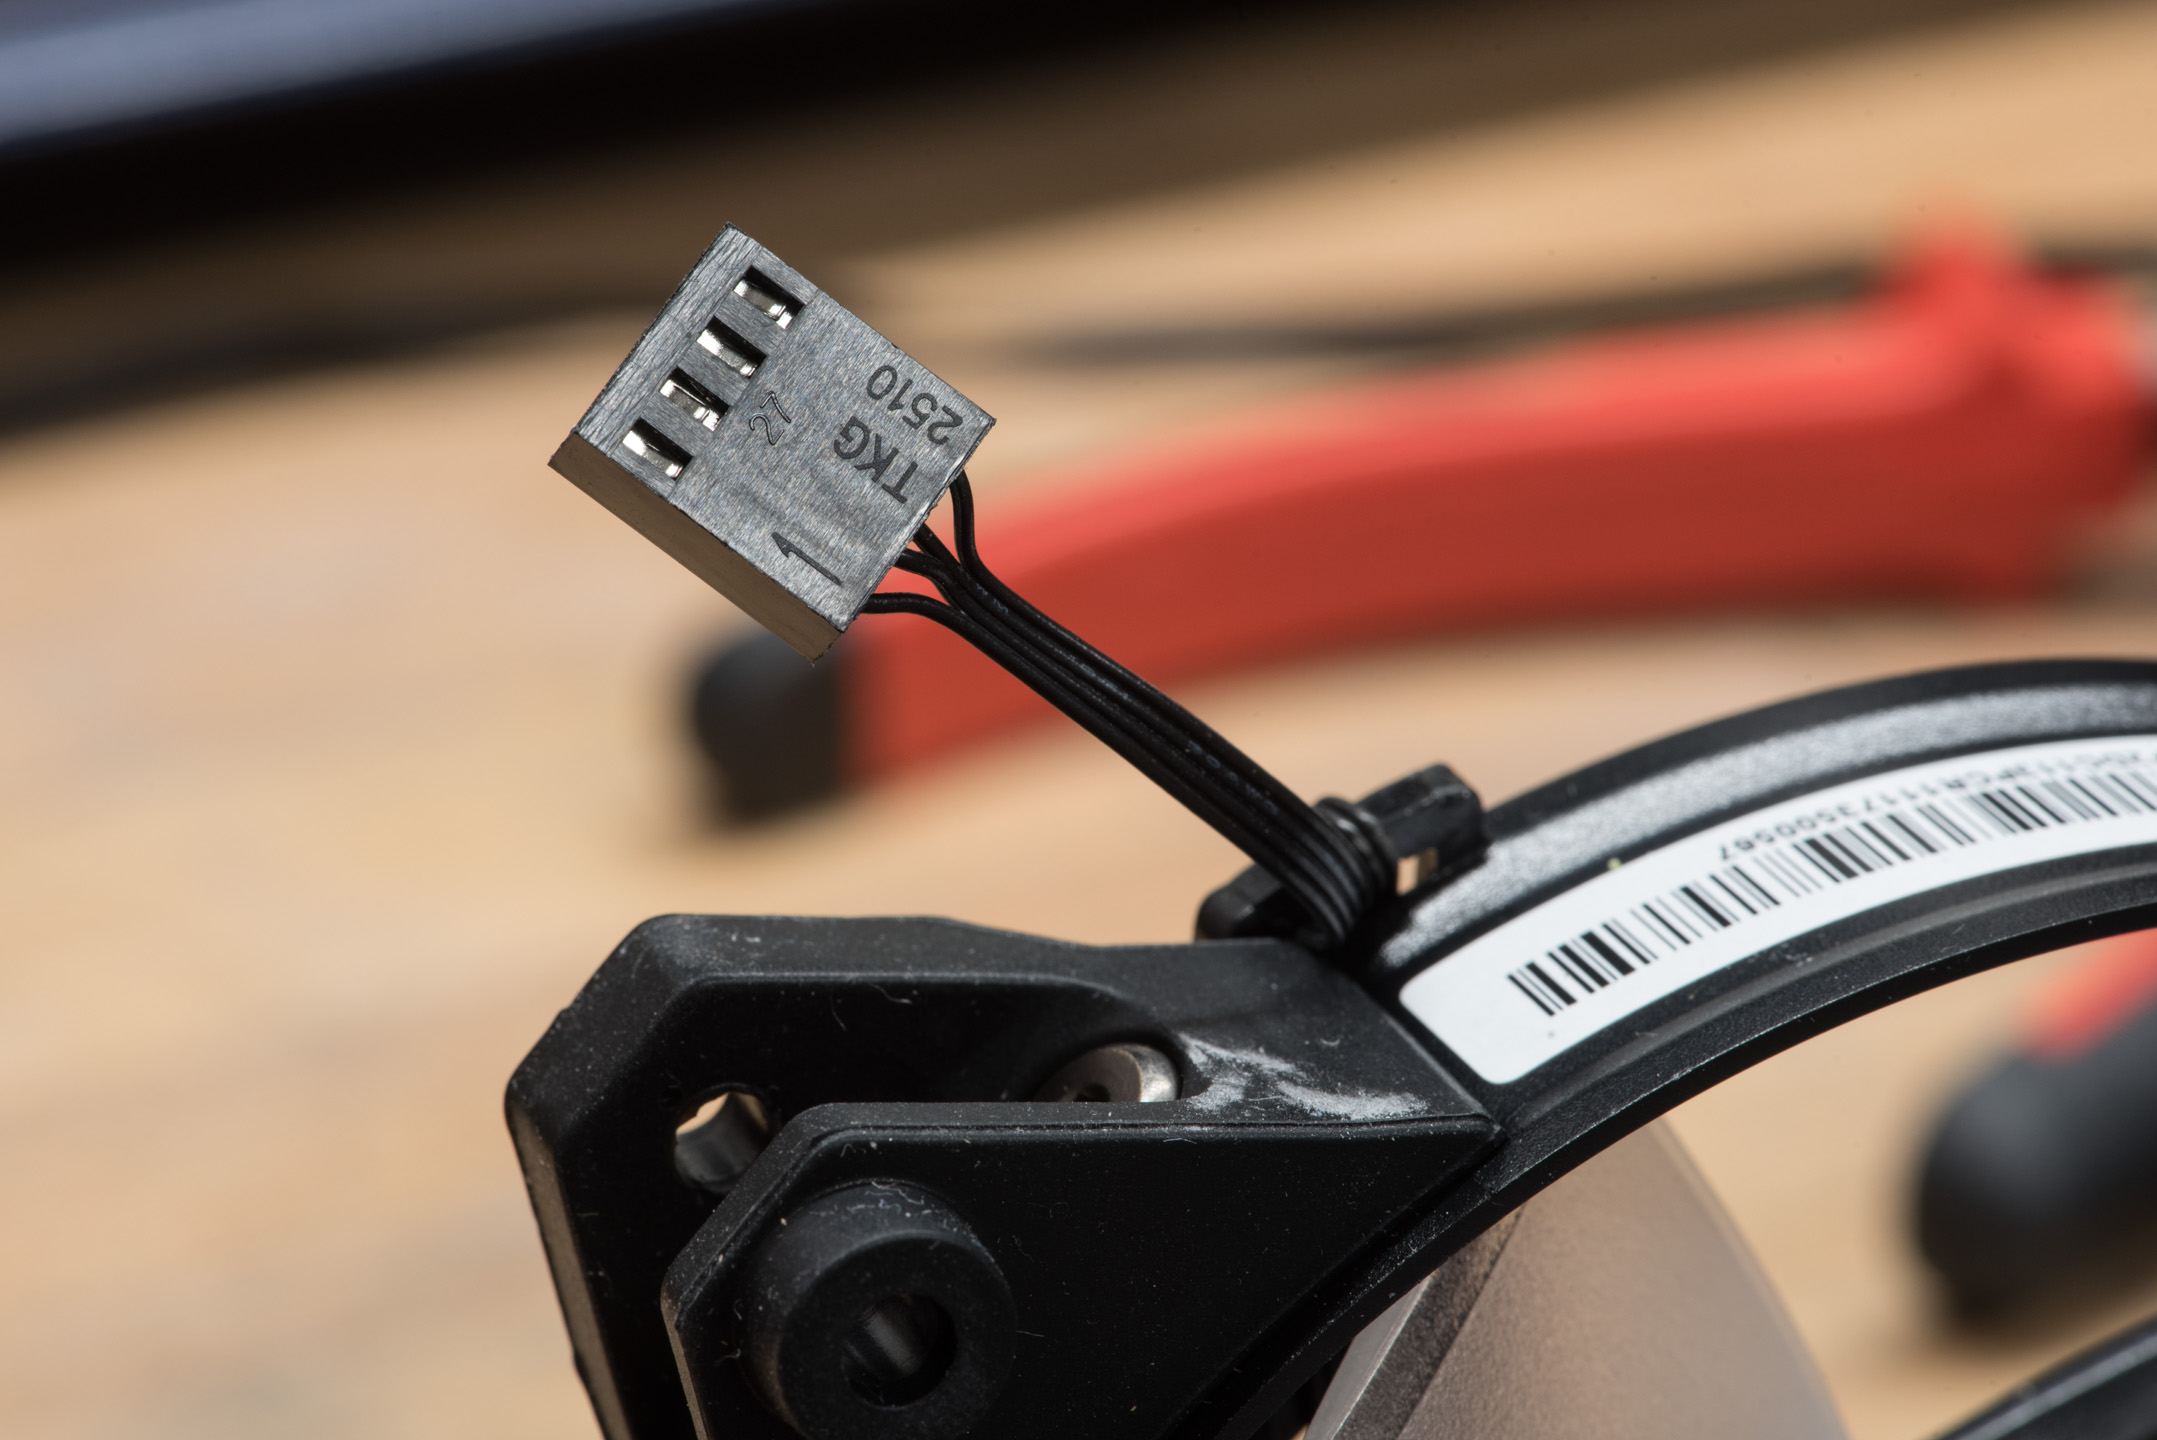
With the connector pins attached, all that's left is to attach the fan header. This is where the tape we applied earlier comes in handy as you can double check against the original wire which way the connector goes. Just push the pins into the backside of the connector and the little barbs will keep them stuck right up there.
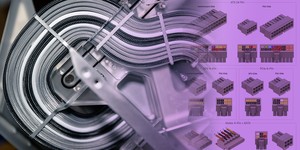
That's all there really is to it. As I mentioned earlier, you can use connectors like these with shop-bought splitters like this one below, which can take out some of the hassle; pre-made extensions also exist in case you don't want to make those.

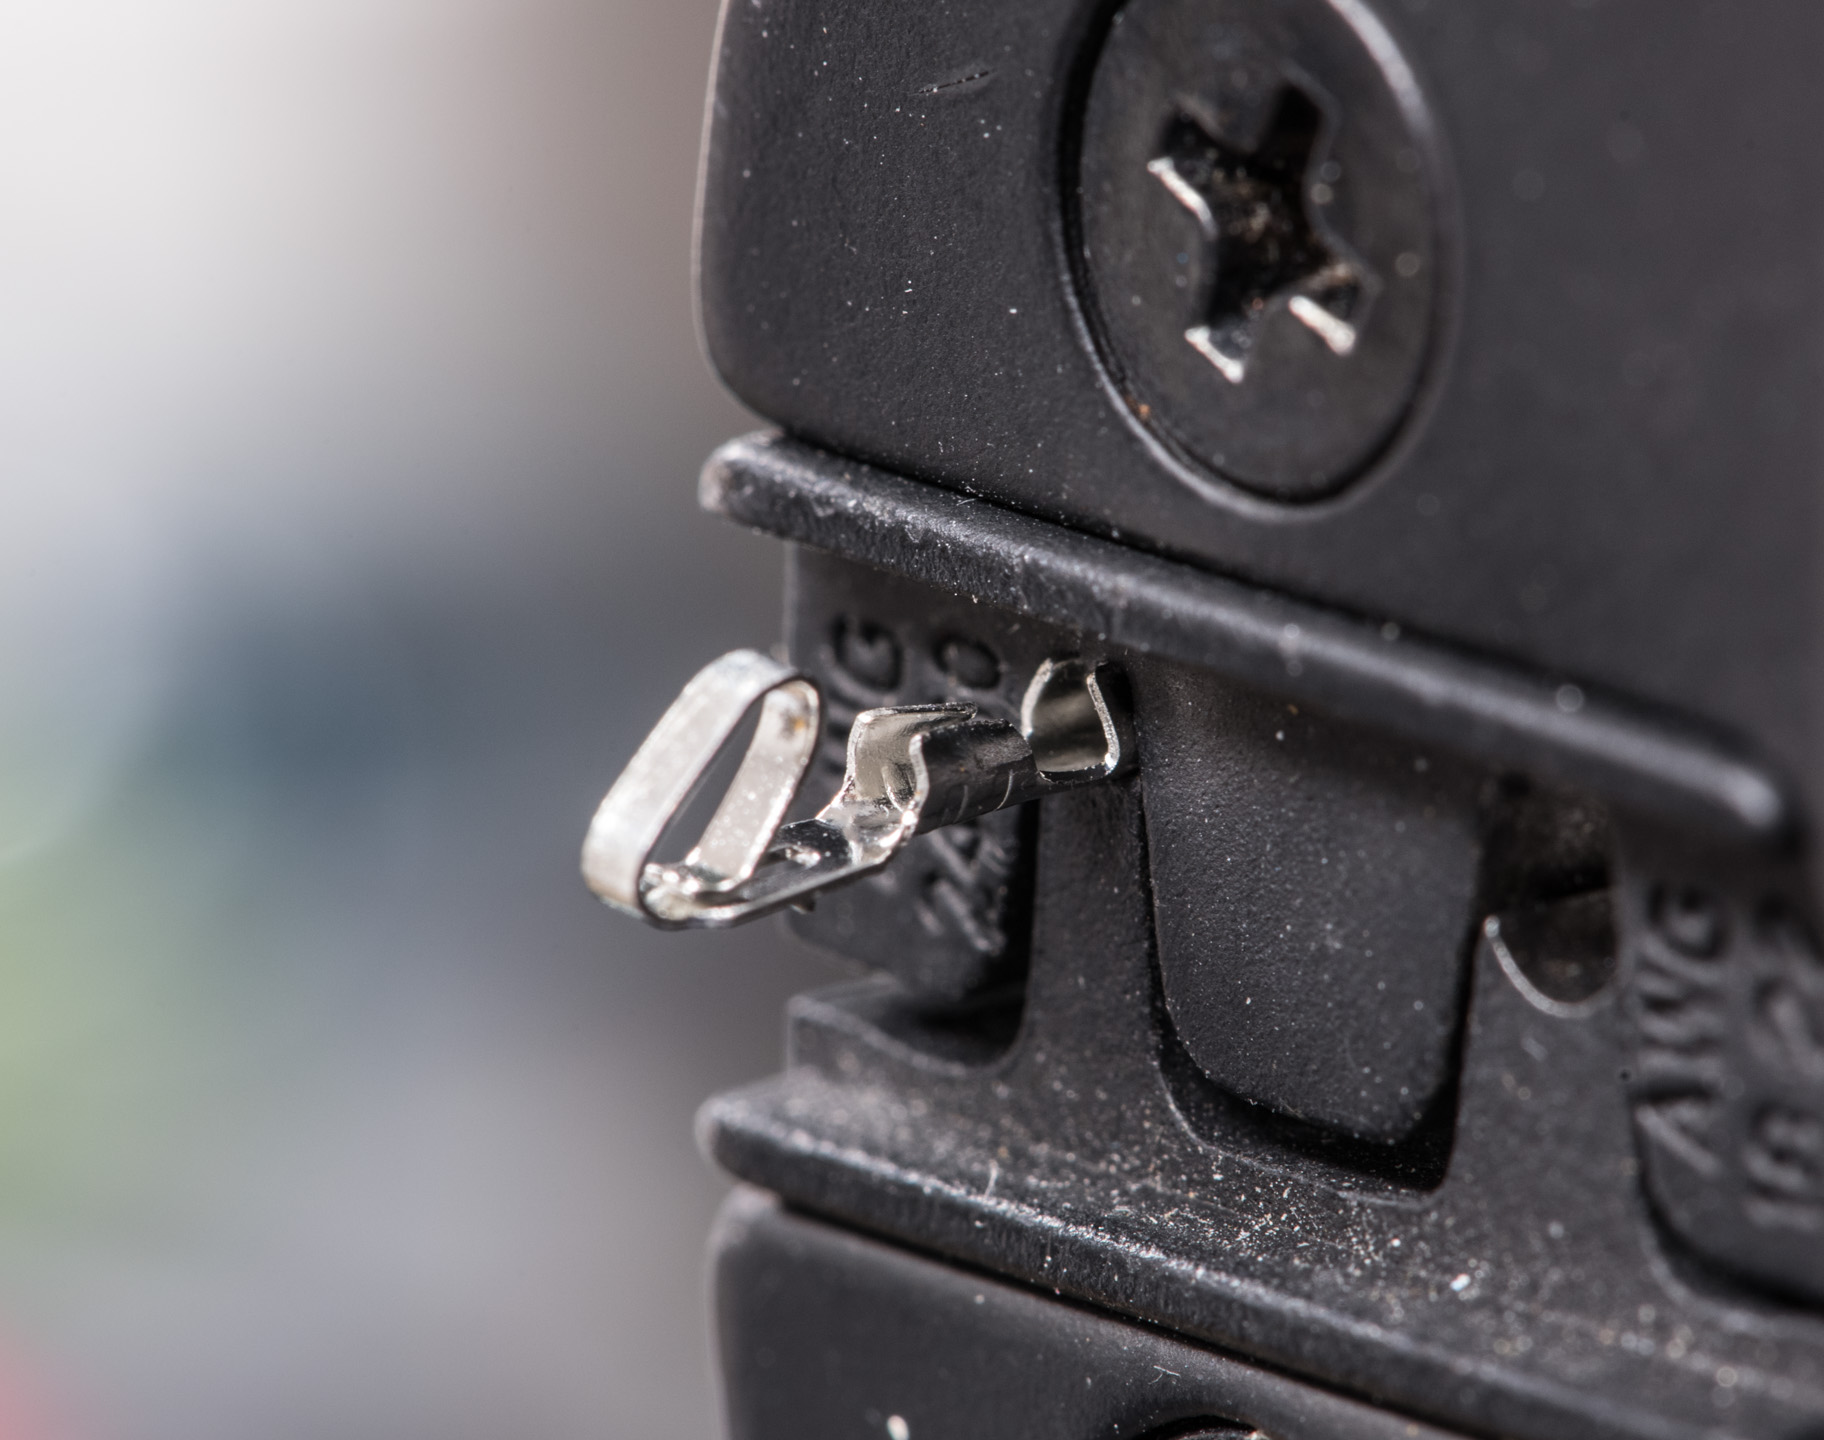
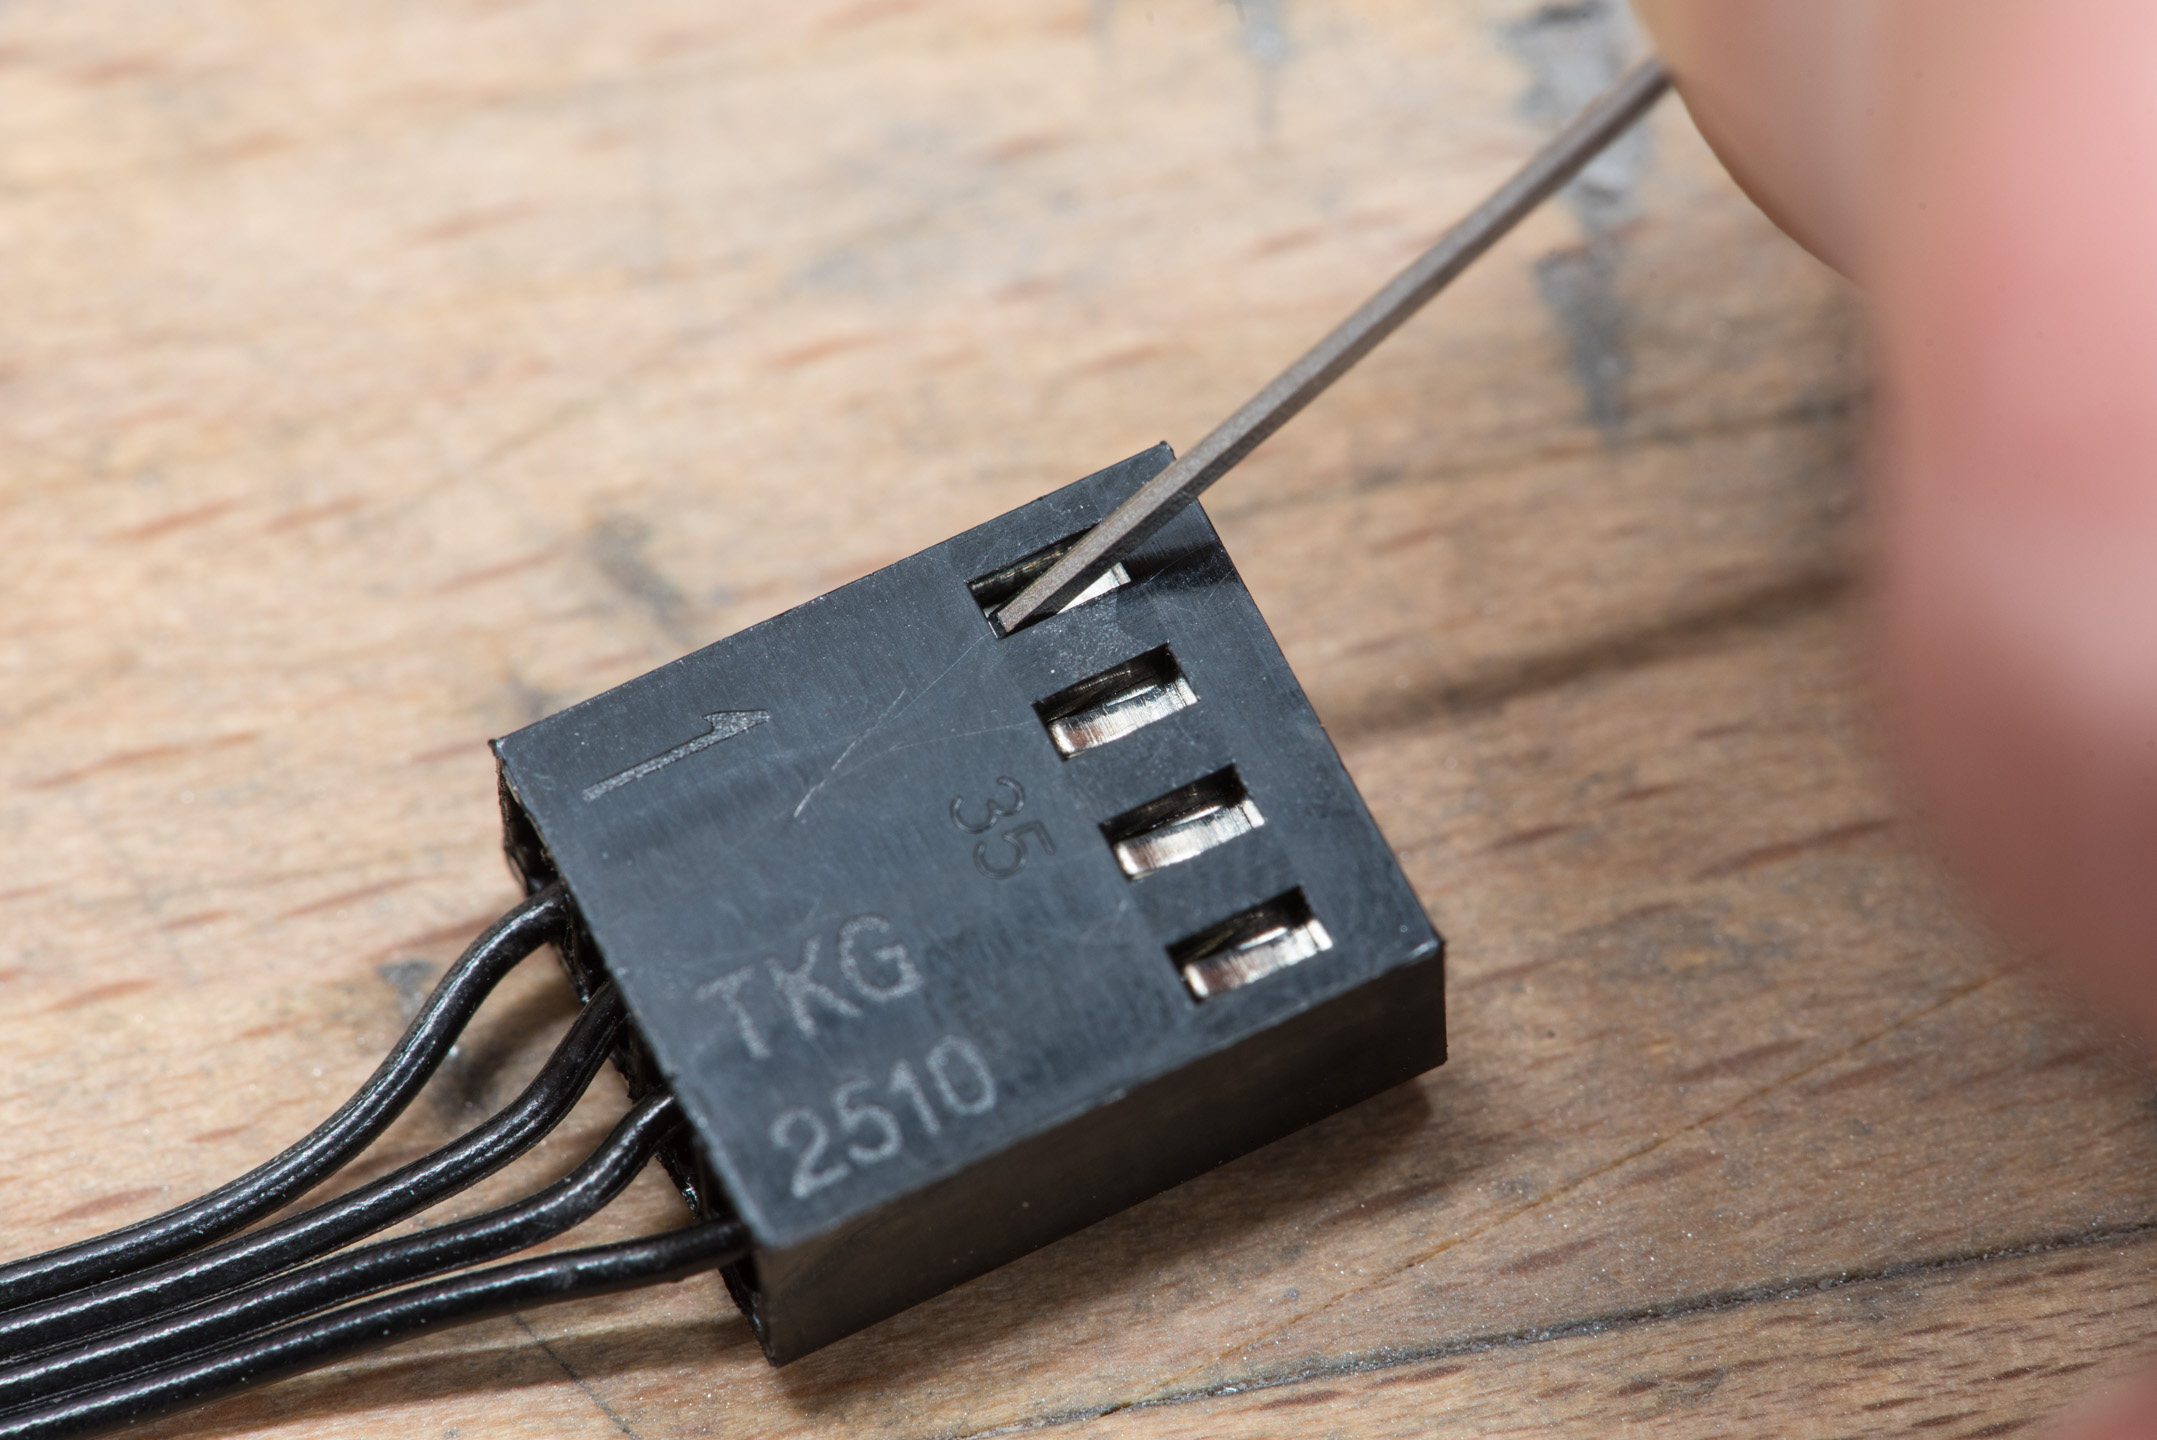
Removing Wires from a Connector
This is where your needle or other small implement comes in handy. All you have to do is depress the little tabs that are visible in the connector and pull the wires out. This is fiddly, but it's really simple and quick once you get the rhythm right.
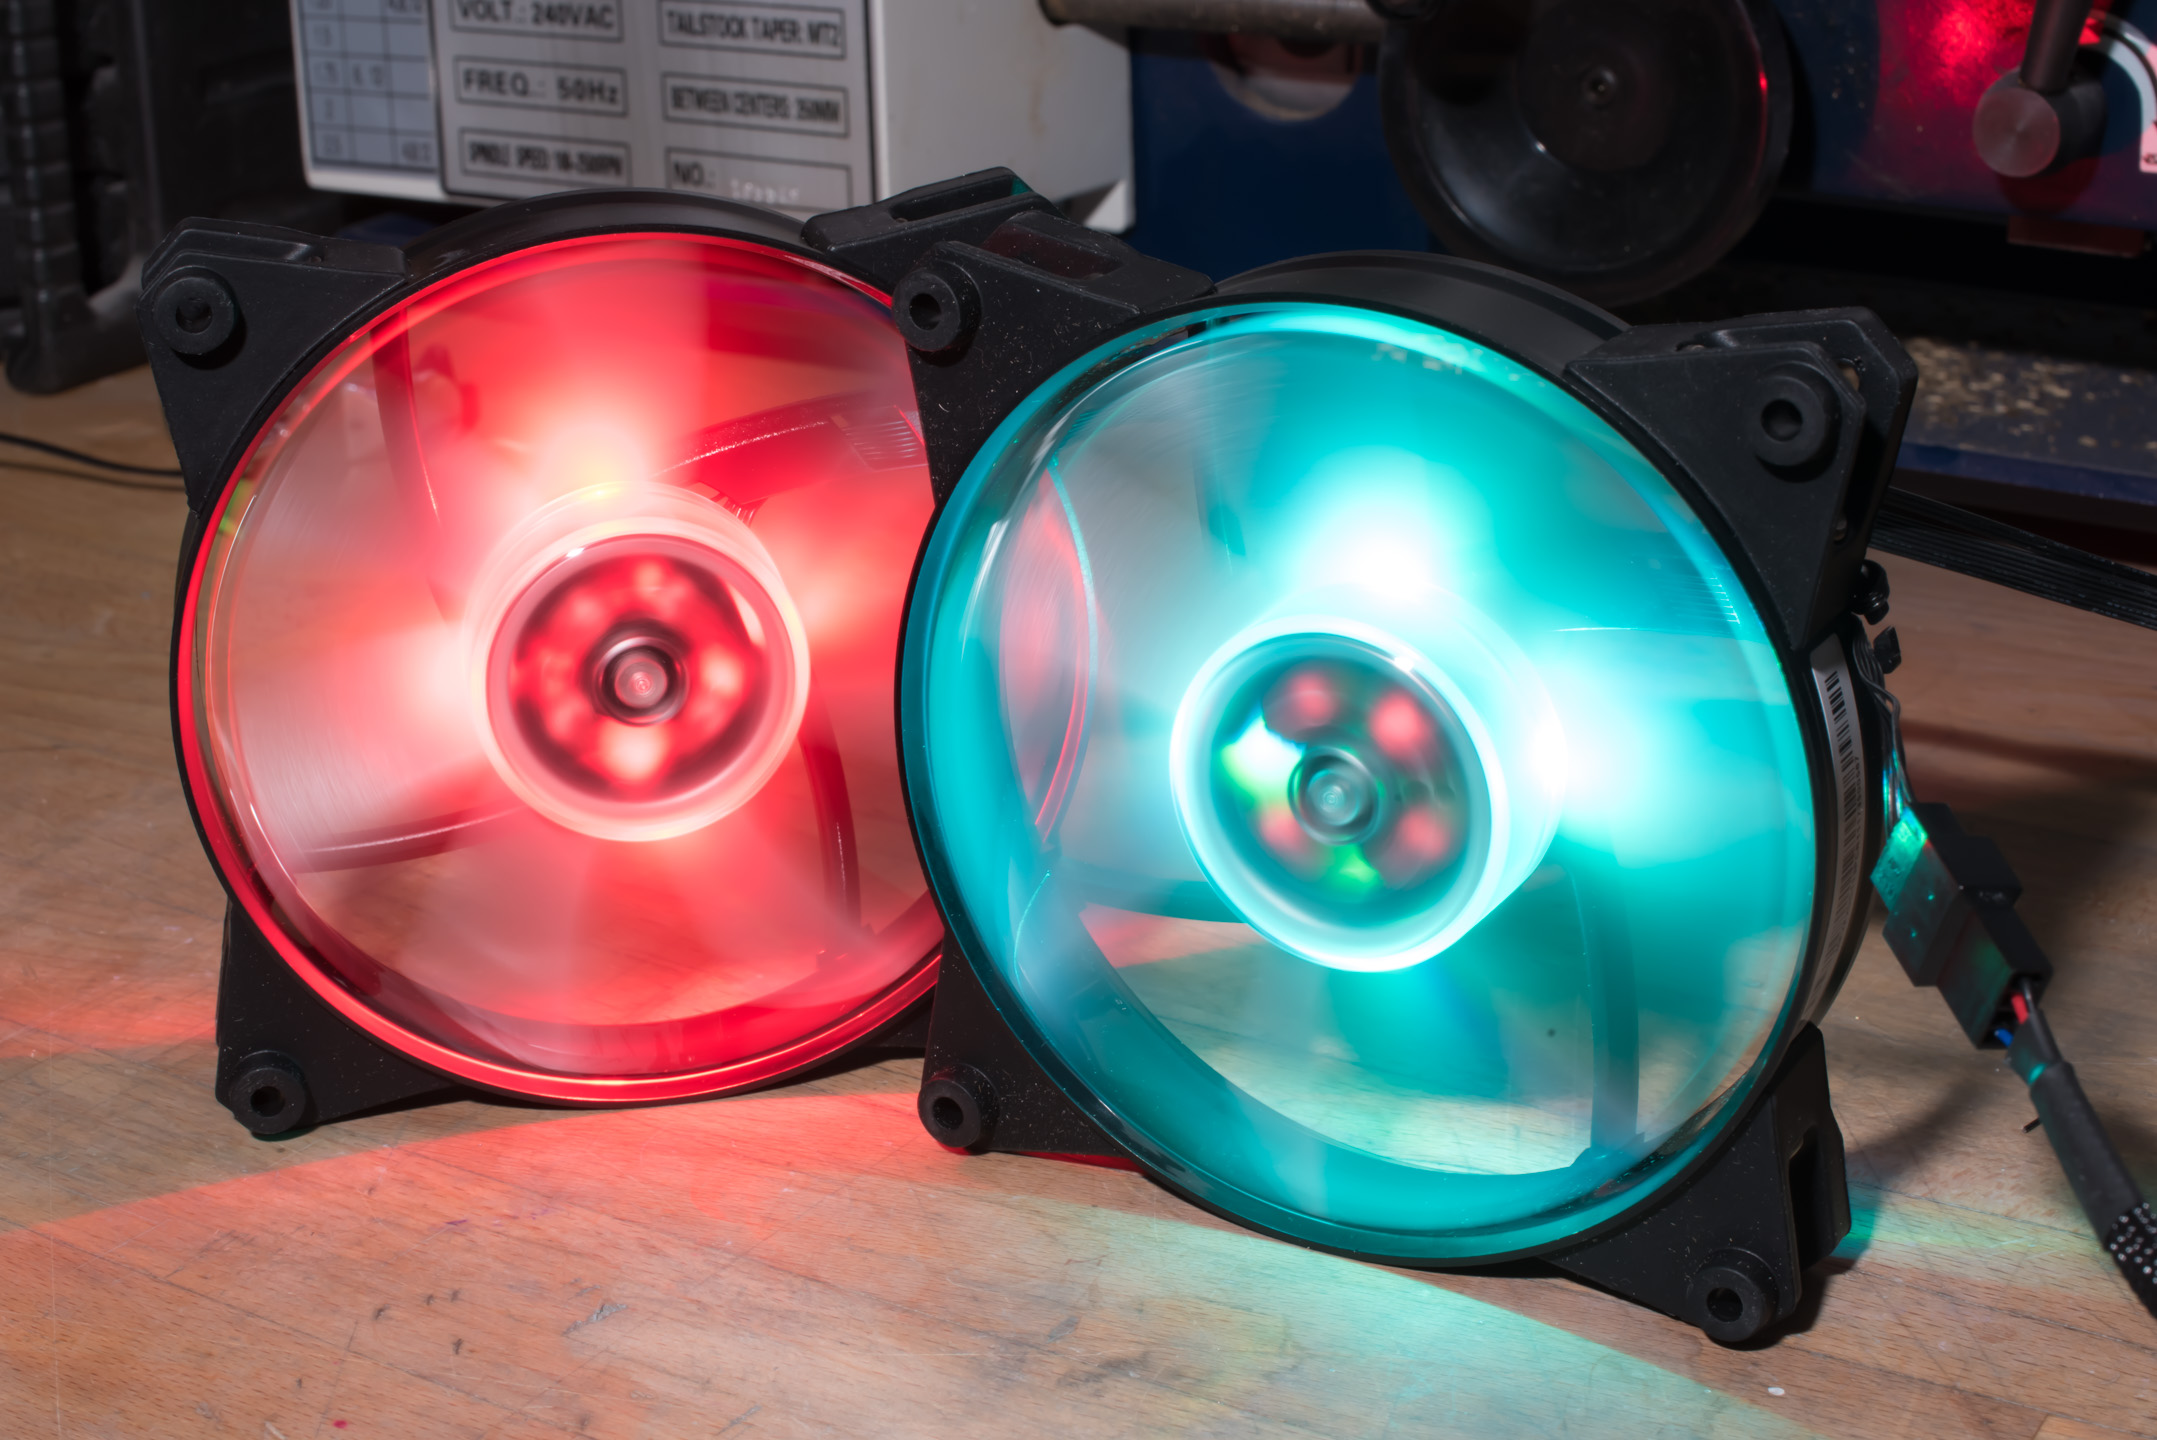
I hope you enjoy having wonderfully managed, conveniently short fan cables from now on!


MSI MPG Velox 100R Chassis Review
October 14 2021 | 15:04

Want to comment? Please log in.