
Shoji
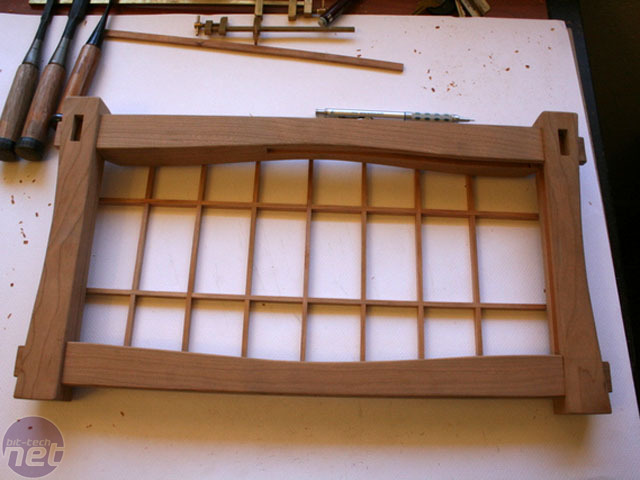
I also decided to make the shoji panels out of cherry to give them a nice contrast from the paper which would eventually go behind them. The most difficult part of this was figuring out the best proportions for the shoji as both the negative space and the size of the shoji pieces themselves would determine the feel of the case.I was originally going to inset the shoji with the spruce pieces but after having cut all the shoji and joined them, I realised that it was just not going to work. So I went back to the drawing board and decided to simply put the shoji panel behind the spruce. This means his had to be thinner which worked out great because visually this is what the case needed.
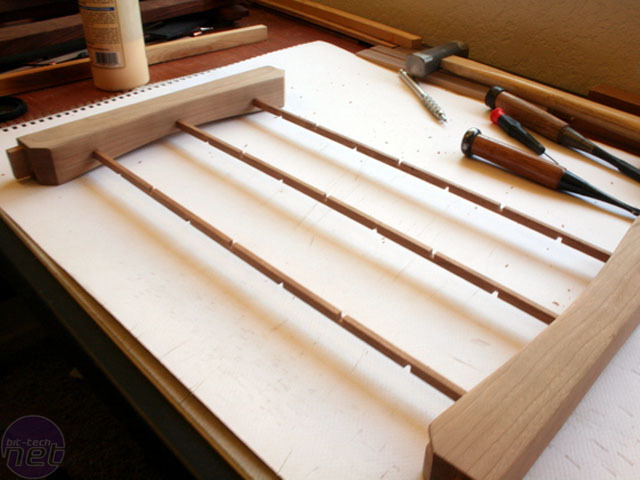
To build the shoji panels, I first milled the cherry pieces using a band saw to get the rough strips and my surface planer to get a smooth finish. The plan was to make all the panels first, and then inset them into the cherry frame.
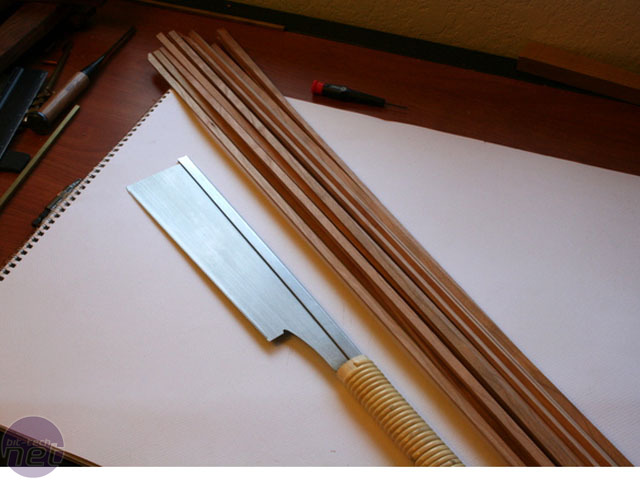
First, the necessities for shoji making; wood, fancy saw, little clamps.
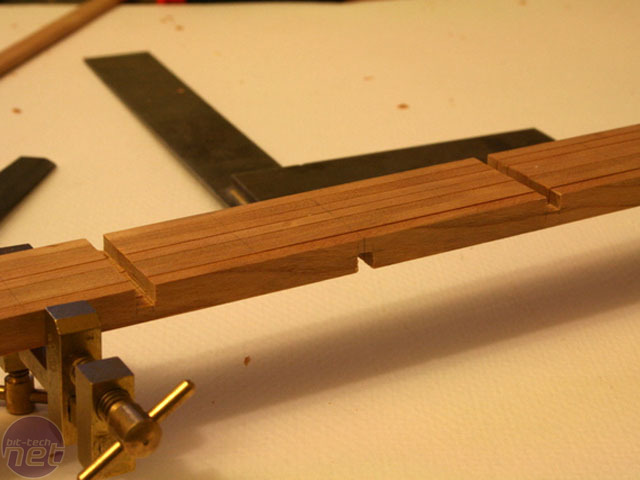
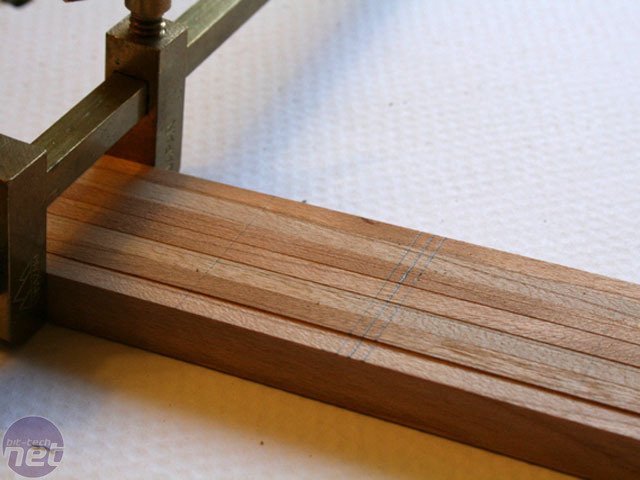
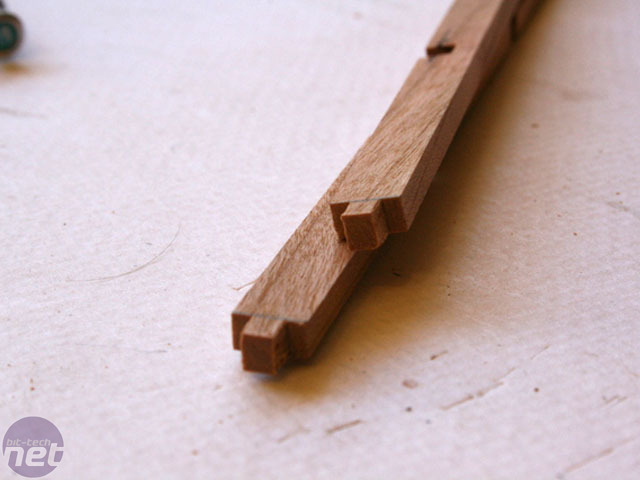
The panels are held together by half lap joints which are very easy to make with this small of wood. For speed, I clamped about 7 pieces of wood at a time and cut them all at once. I also trimmed them to fit while clamped to expedite the assembly process.
Once the panels were complete, it was time to inset them into the frame. I did this with mortise and tenon joints. First I placed the frame piece over the shoji panel, making sure it was lined up, then I simply marked where they shoji overlapped and made a joint there.
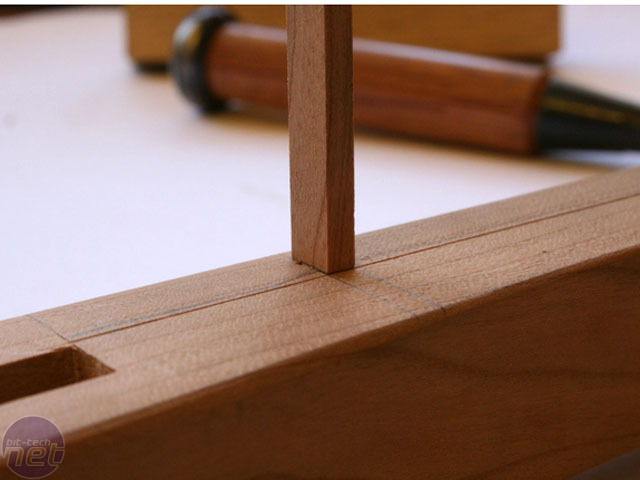
After the joint was made, I trimmed them to fit nice and snug, no glue necessary. I started with the two horizontal pieces and went from there to the middle piece. This was all the support that was needed.
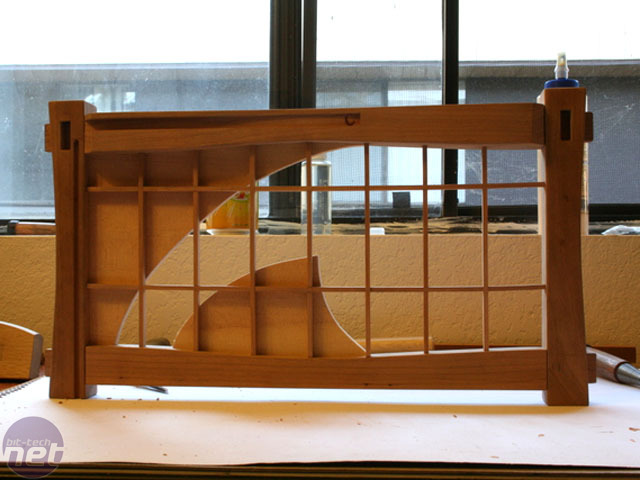
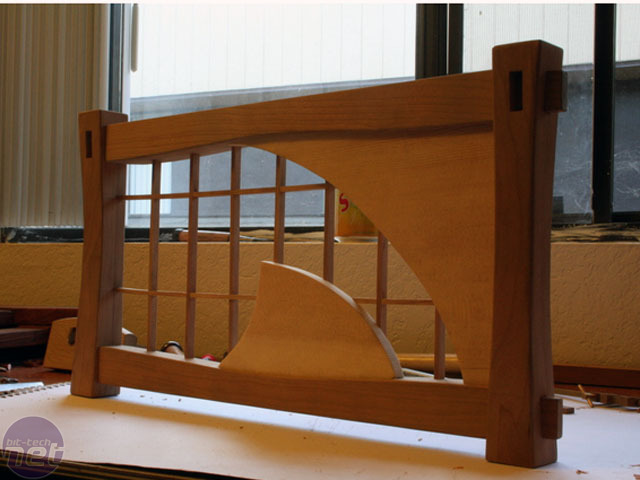
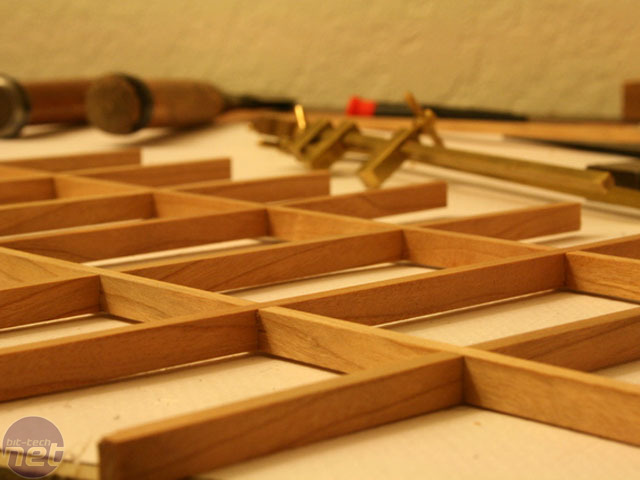
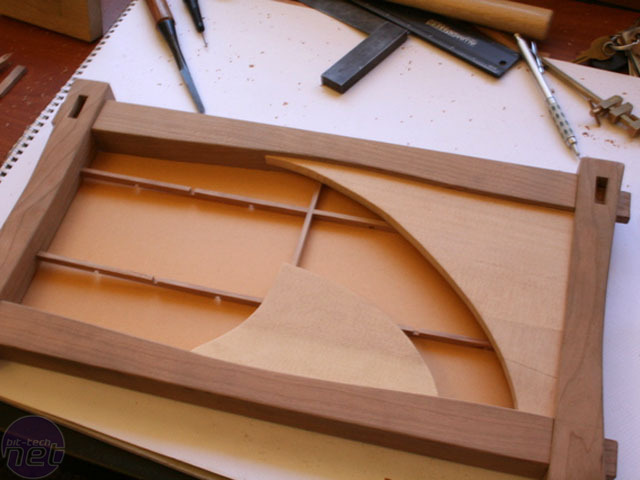
Here you can see one finished panel. The acrylic that will go here will actually be attached from behind to the spruce in front using threaded inserts.
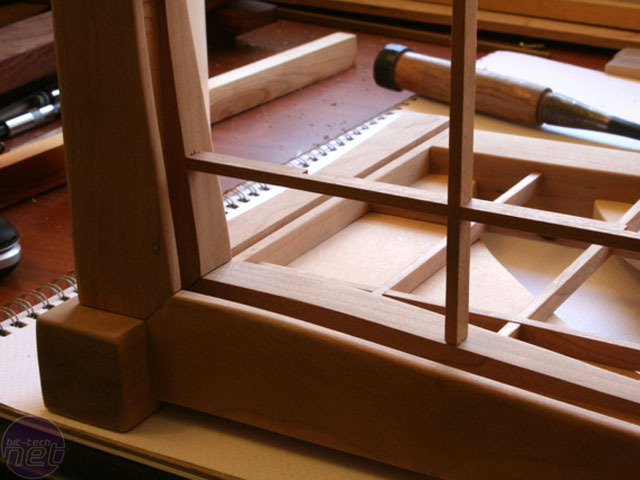
I used the same process on top although I made a joint for every other piece instead of only the middle one.
RELATED ARTICLES


MSI MPG Velox 100R Chassis Review
October 14 2021 | 15:04

Want to comment? Please log in.