The end was in sight, but the last major hurdle was the Bezel Skin - the forward-facing panel is the most visible, so any error here would marr the entire project.
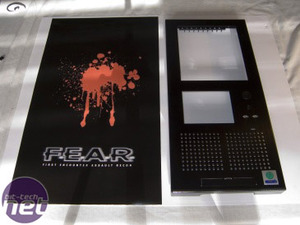
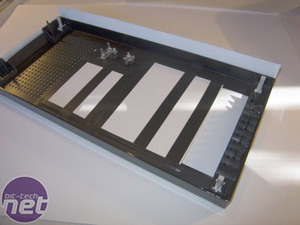
Unlike the sidepanels, the bezel is small enough and contains enough airholes for the Skin to be applied in one go. I'm sure the boys at PolyGFX would disagree, but I went ahead and peeled the entire backing paper off and placed the Skin face down.
I won't deny the placement was tricky, and the pressure to get the thing on straight was high. But using my overlaps to guide me, it wasn't a problem in the end. On to the simple process of securing the overlaps, and Stage 1 was complete
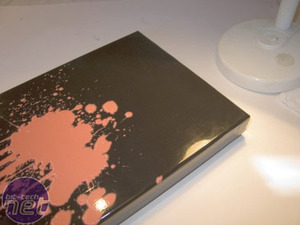
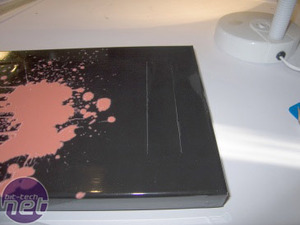
The CaseSkin is tight as a drum, and if only this machine didn't need an optical drive, my job would have been complete. Unfortuately, that wasn't the case, so I flipped the bezel over and made four careful cuts 10mm or so inside the line of the drivebay to allow me to fold the Skin over the back to hold it in place.
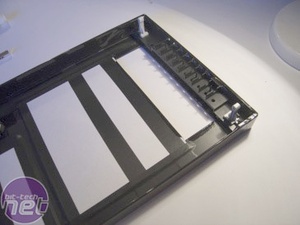
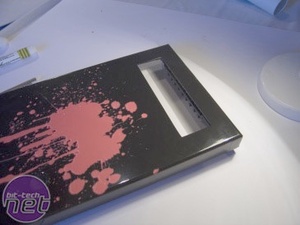
Here you can see the end result, and the mask is holding strong - the join is barely visible and the bezel really does look like it only has one drive bay.

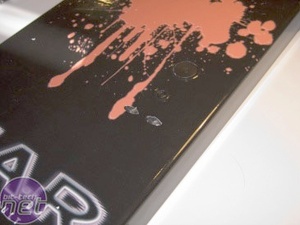
The most difficult parts of a Bezel Skin are the Power / Reset buttons and the activity LEDs. For this very fine detail, I changed scalpel blades to a brand-new one and took as much time as I needed. The buttons came out just fine, but as you can see from the photo (right) the LEDs don't blend as well as I had hoped.
The trouble is that the CaseSkin material is white in cross-section, so when you cut it, the white can sometimes stand out. One trick you can use is to colour it in with a black felt-tip marker. This hides the white, but I suspect next time I may consider using a different case to avoid this issue.
Unfortunately, the problems didn't stop there...


Unlike the sidepanels, the bezel is small enough and contains enough airholes for the Skin to be applied in one go. I'm sure the boys at PolyGFX would disagree, but I went ahead and peeled the entire backing paper off and placed the Skin face down.
I won't deny the placement was tricky, and the pressure to get the thing on straight was high. But using my overlaps to guide me, it wasn't a problem in the end. On to the simple process of securing the overlaps, and Stage 1 was complete


The CaseSkin is tight as a drum, and if only this machine didn't need an optical drive, my job would have been complete. Unfortuately, that wasn't the case, so I flipped the bezel over and made four careful cuts 10mm or so inside the line of the drivebay to allow me to fold the Skin over the back to hold it in place.


Here you can see the end result, and the mask is holding strong - the join is barely visible and the bezel really does look like it only has one drive bay.


The most difficult parts of a Bezel Skin are the Power / Reset buttons and the activity LEDs. For this very fine detail, I changed scalpel blades to a brand-new one and took as much time as I needed. The buttons came out just fine, but as you can see from the photo (right) the LEDs don't blend as well as I had hoped.
The trouble is that the CaseSkin material is white in cross-section, so when you cut it, the white can sometimes stand out. One trick you can use is to colour it in with a black felt-tip marker. This hides the white, but I suspect next time I may consider using a different case to avoid this issue.
Unfortunately, the problems didn't stop there...

MSI MPG Velox 100R Chassis Review
October 14 2021 | 15:04


Want to comment? Please log in.