
Here you can clearly see the old and the new: the gloss black of the CaseSkin on the side with the matte black of the anodised aluminium case on the nude top panel.
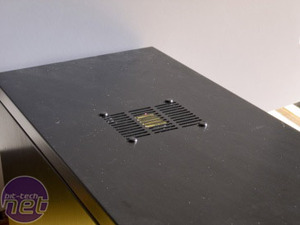
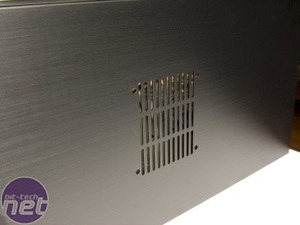
The first thing to do is to remove that top fan: the securing pins will cause the CaseSkin to bubble terribly. They come out quite easily, providing you have fingernails, and be sure not to lose them if you want to reattach the fan later.

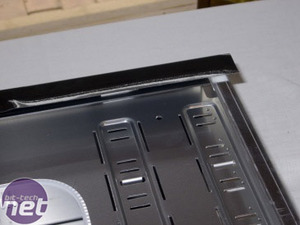
As before, trim the CaseSkin to size, and once again, I wanted to try something new in order to achieve a better finish. As I mentioned earlier, the method suggested by PolyGFX would see a single piece of Skin bridging the side and top panels, and a single incision made along the join, which is then smoothed out.
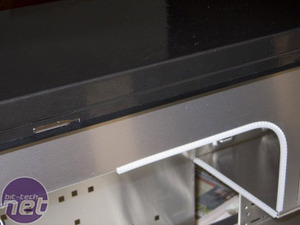
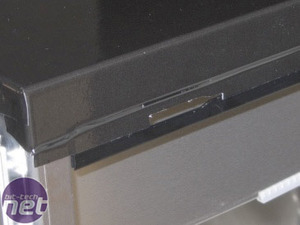
Leaving a greater overlap, I folded the CaseSkin right down into the groove that secures the sidepanel. This was something of a gamble, since was introducing two layers of Skin into the space where previous metal rubbed on metal: the first layer is on the panel, wrapped around from the visible side, and the second layer you can see above.
As it turned out, while the panel is a little harder to slide on / off, it is by no means a problem, and the net result is a much cleaner result with the panel in place.

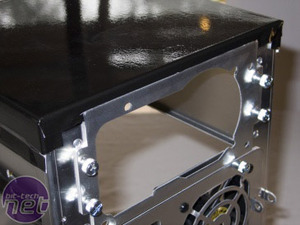
Moving around to the rear of the case, the situation is similar to earlier with the sidepanels: simply fold the Skin over, pulling tightly to achieve a clean edge. Trim the corners neatly and fold. Because of the Lian-Li design, I had to trim the excess material from above the PSU plate - it originally simply overlapped - to allow this plate to be removed: it is the only way you can install a power supply.
Sidepanels? Check! Top panel? Check! Time to tackle the front bezel...

MSI MPG Velox 100R Chassis Review
October 14 2021 | 15:04


Want to comment? Please log in.