Project Log update 4

Written by Wil Harris

August 21, 2006 | 13:11

Tags: #badassumption #dutchcedar #hellgate-london #nick-falzone #sangaku #update

Orange Monster

Created by: Darkened
Worklog link

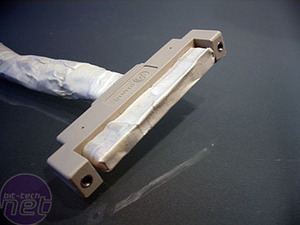
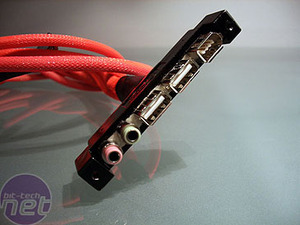
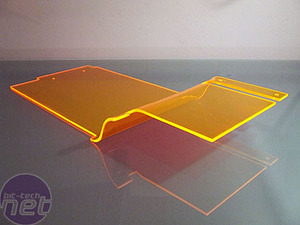
The Lian Li V1000 case is pretty popular at the moment, and for good reason. It has pretty sleek G5-esque looks, a nice internal layout and masses of space to accommodate watercooling and other kit. Orange Monster is one of two V1000 mods we're looking at today, and this one has some rather nice features.

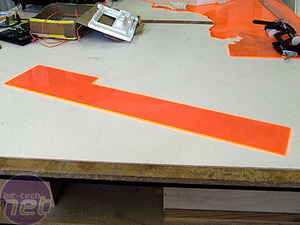
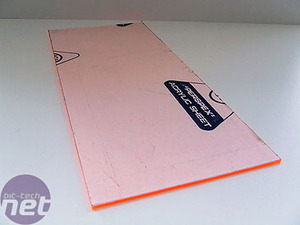
Why Orange Monster? Darkened explains: "Well I'm a bit of a watch enthusiast, so the name comes from a Seiko divers watch which has a nickname Orange Monster. I have it's brother, the Black Monster, which has a black dial where the Orange Monster has an orange dial. So the theme for this mod is orange and black."

Project Log update 4 Orange Monster Project Log update 4 Orange Monster
The first thing to do is to change the appalling front port assembly. It's beige - what the heck! Darkened duly breaks out the black paint and the orange sleeving to keep things in tune with the mod colour scheme.

Project Log update 4 Orange Monster Project Log update 4 Orange Monster
Darkened is a bit handy with plastic, and he intends to make good use of this through the project. He decided that he wanted to make a plastic shroud that covers the wires from the PSU. Task one was to grab some acrylic and jigsaw out the required shape. A heat gun and a bench/clamp assembly results in a pretty nice twist.

Project Log update 4 Orange Monster Project Log update 4 Orange Monster
The final thing, when mounted, looks really sweet. So sweet, in fact, it's worth doing it again.

Project Log update 4 Orange Monster Project Log update 4 Orange Monster
The final result. It acts as the divider between the main motherboard sectin of the case and the lower area, which houses the PSU.

Project Log update 4 Orange Monster Project Log update 4 Orange Monster
As a little tweak, we have some orange-plated PCI slot covers. Darkened is working methodically (obsessively?!) to make sure that all the finishing touches to the project are coherent and smart. He explains, "I just cut some acrylic into 95mm x 12mm pieces, then sanded and polished. Once I had the pieces ready I clamped them on the slot covers and drilled trough both of them using a 3.5mm drill bit. After they were drilled, I deburred the holes and attached the acrylic pieces to the slot covers with M3 hexheads and some shiny dome nuts."

There are tonnes more pictures in the thread, and plenty more progress to be keeping track of. Go and check out the full worklog and let us know your thoughts.
Discuss this in the forums
YouTube logo
MSI MPG Velox 100R Chassis Review

October 14 2021 | 15:04

TOP STORIES

SUGGESTED FOR YOU