SSD Modding: Vinyl, Painting, Brushed Aluminium, and More
June 16, 2017 | 14:20

Painting Mod
Click to enlarge
Strangely enough, where we left off on page one is halfway through our second mod! I know, it's crazy, it's almost like I planned it! As I said previously, vinyl is really versatile when combined with a plotter. The nice design from before is now a useful stencil.

Click to enlarge
Make sure you mask everything that you don't want to get paint on.

Click to enlarge
When spraying, it's far better to use multiple light coats of paint rather than a single, heavy coat. Also, make sure you spray from different directions to ensure you don't miss anything. Using a bit of primer first wouldn't be a bad idea, either. In terms of paint, most normal spray paints will be fine, so work to your budget; just focus on getting the method and coatings right.
Click to enlarge
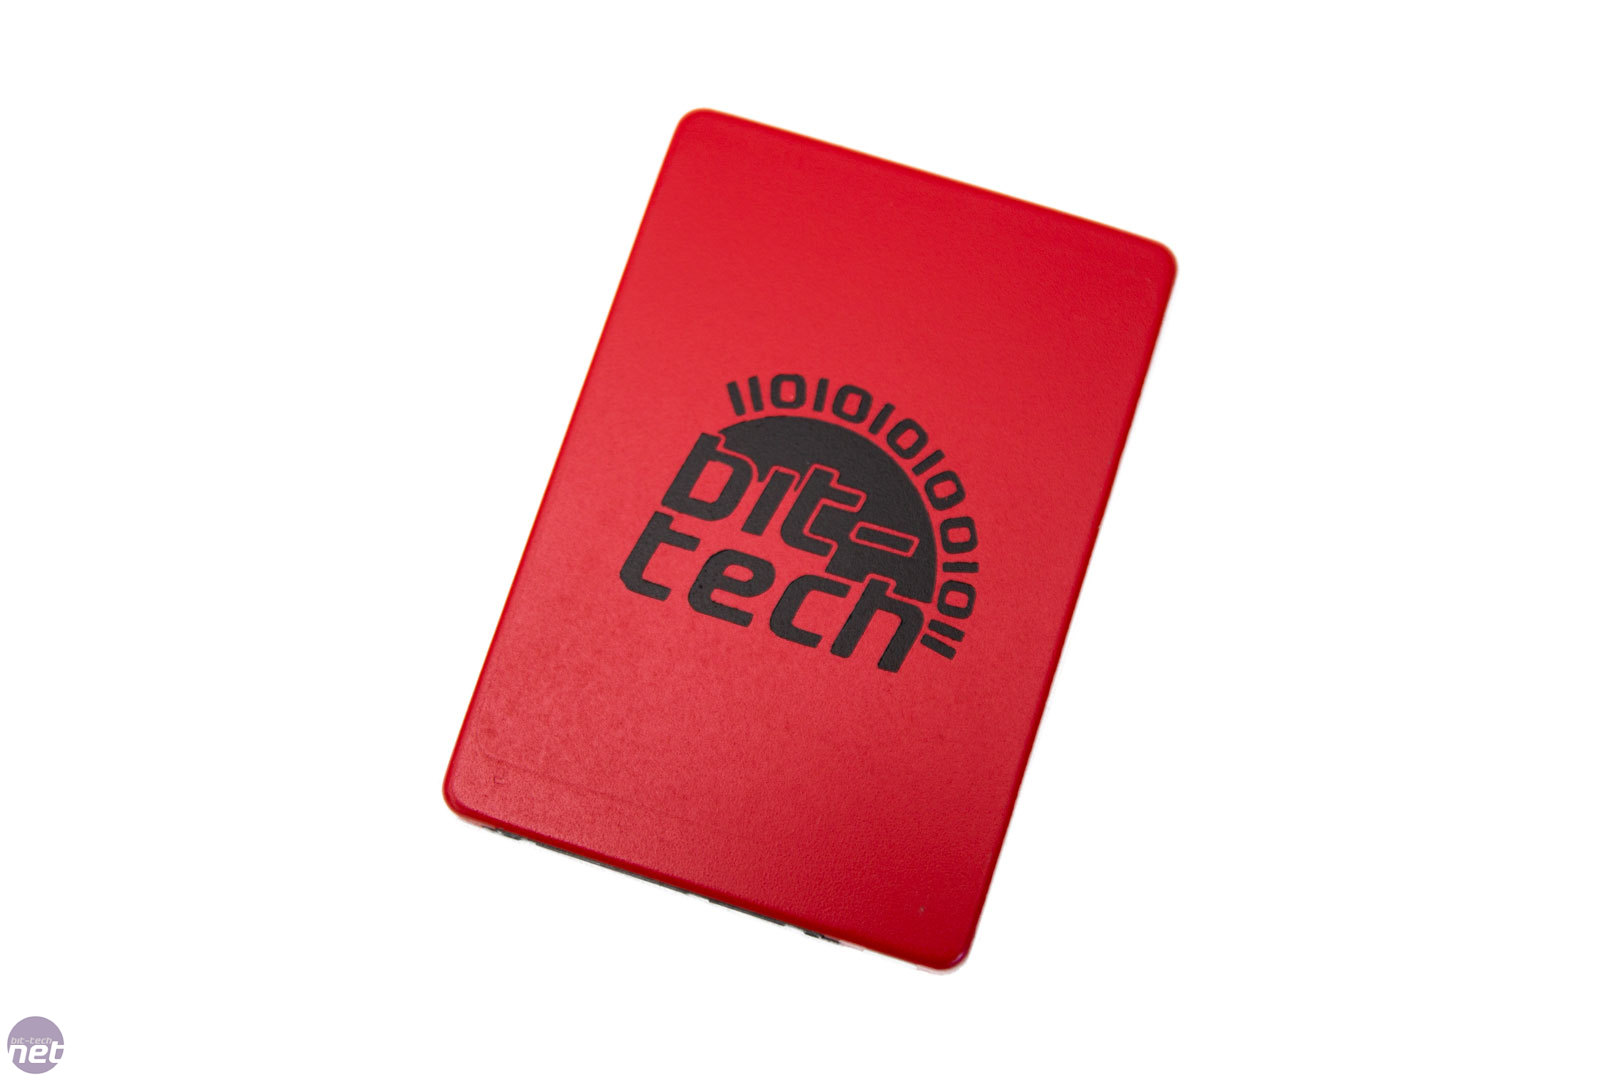
Once you peel the vinyl off, you are left with something a little like this! It looks rather awesome if I do say so myself. bit-tech branded merch, anyone?
Acrylic Mod
Click to enlarge
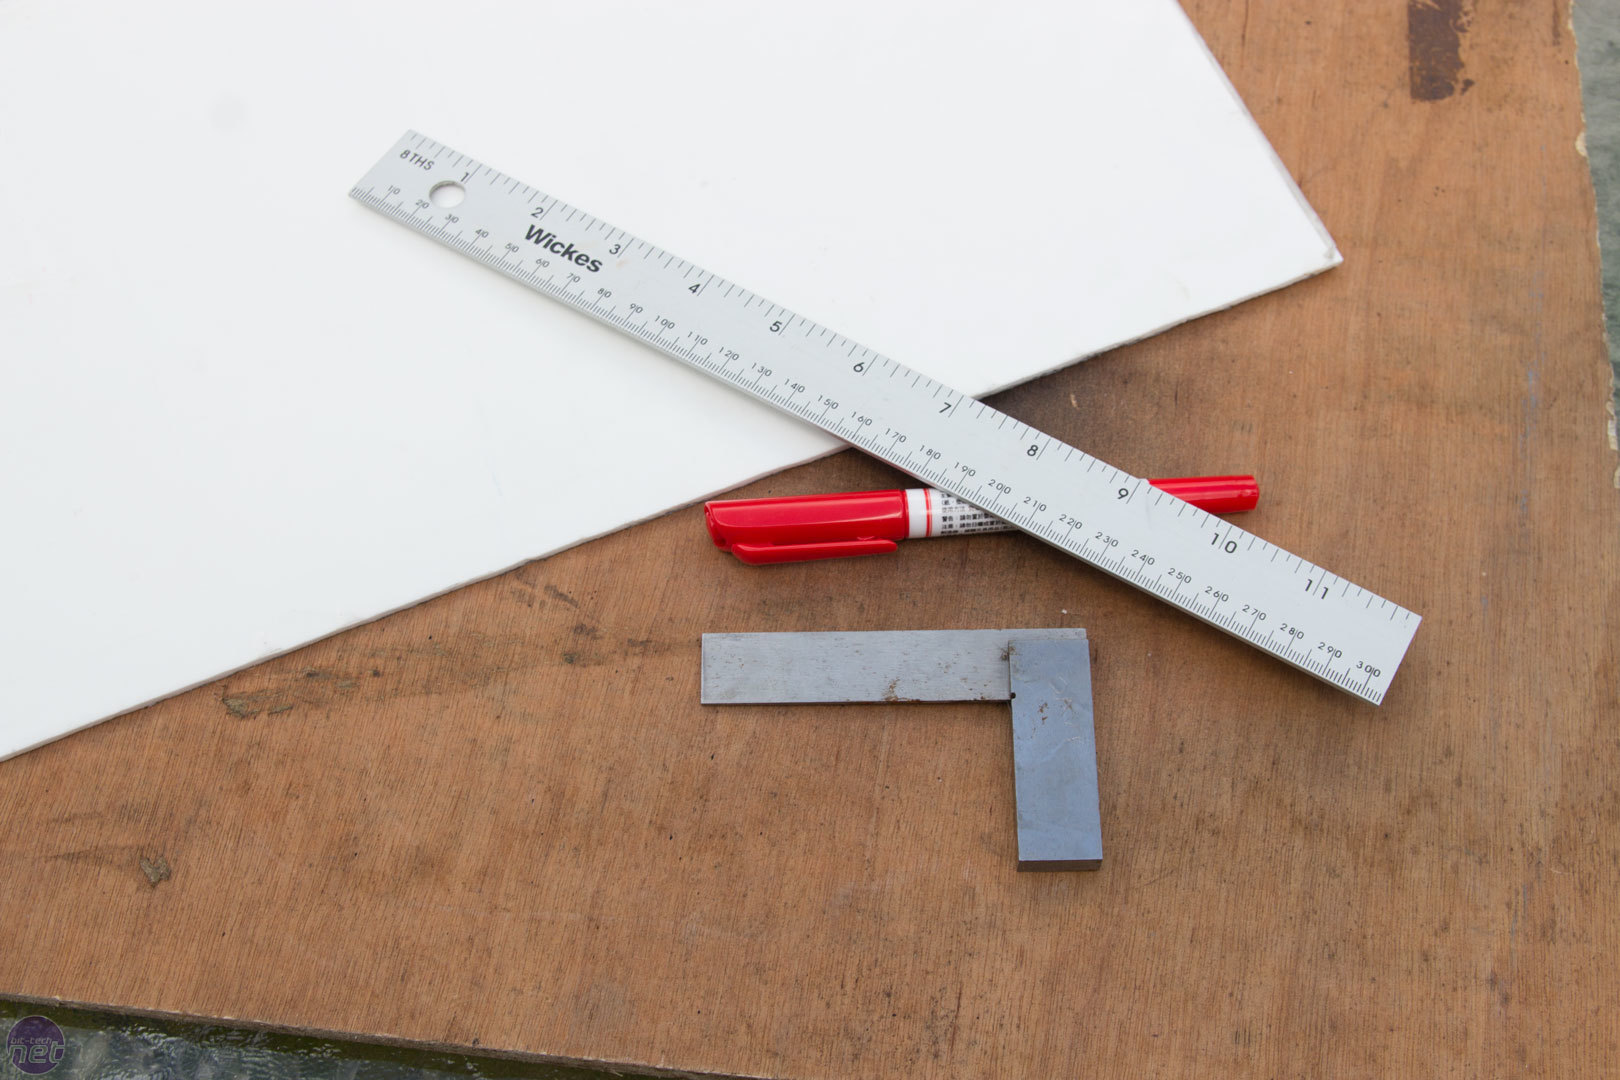
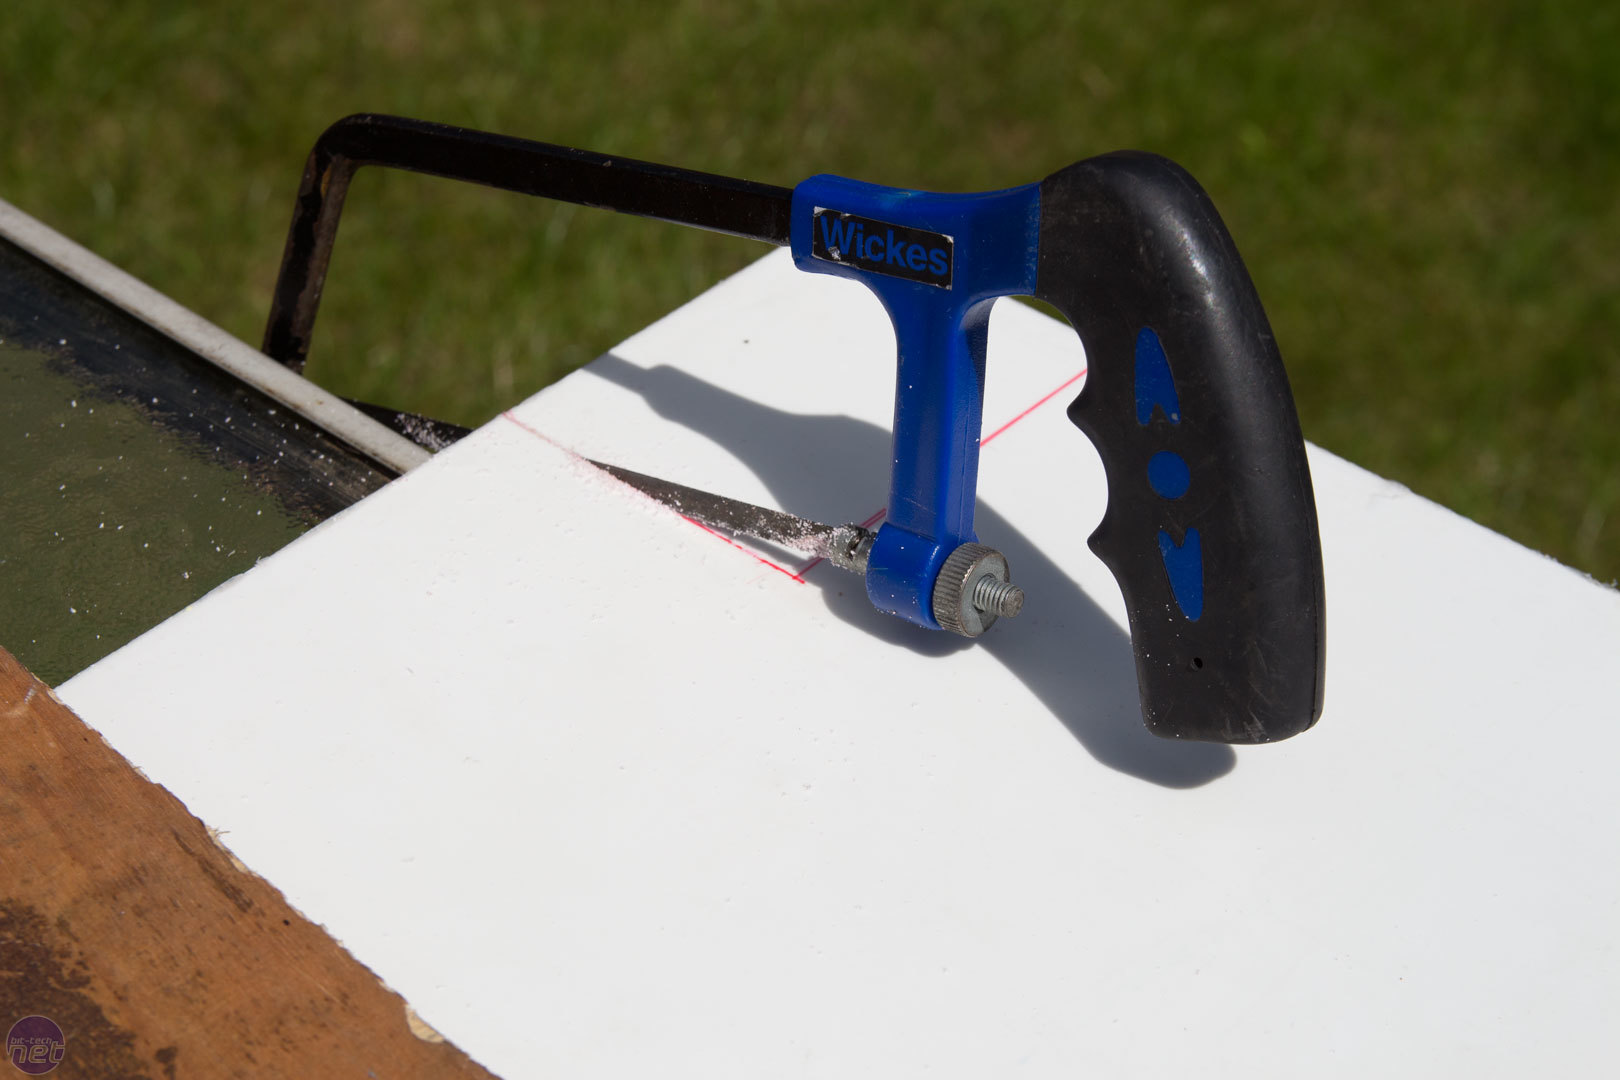
Now we have well and truly voided our warranty, let's take a step back and see how we could have done all of the above without having done so. For this, grab some acrylic. Anything over 1.5mm in thickness would be ideal, as it's a little easier to work with. You will also need a ruler, an engineer's square (or similar), a pen, and some kind of cutting device. I am using my old, trusty, knackered junior hacksaw, as it was next to me, but you could use multiple tools to cut acrylic: hacksaw, Dremel, chop saw, Jigsaw, laser, and even a scribe. Regardless of how you do it, measure twice, cut once!

Click to enlarge
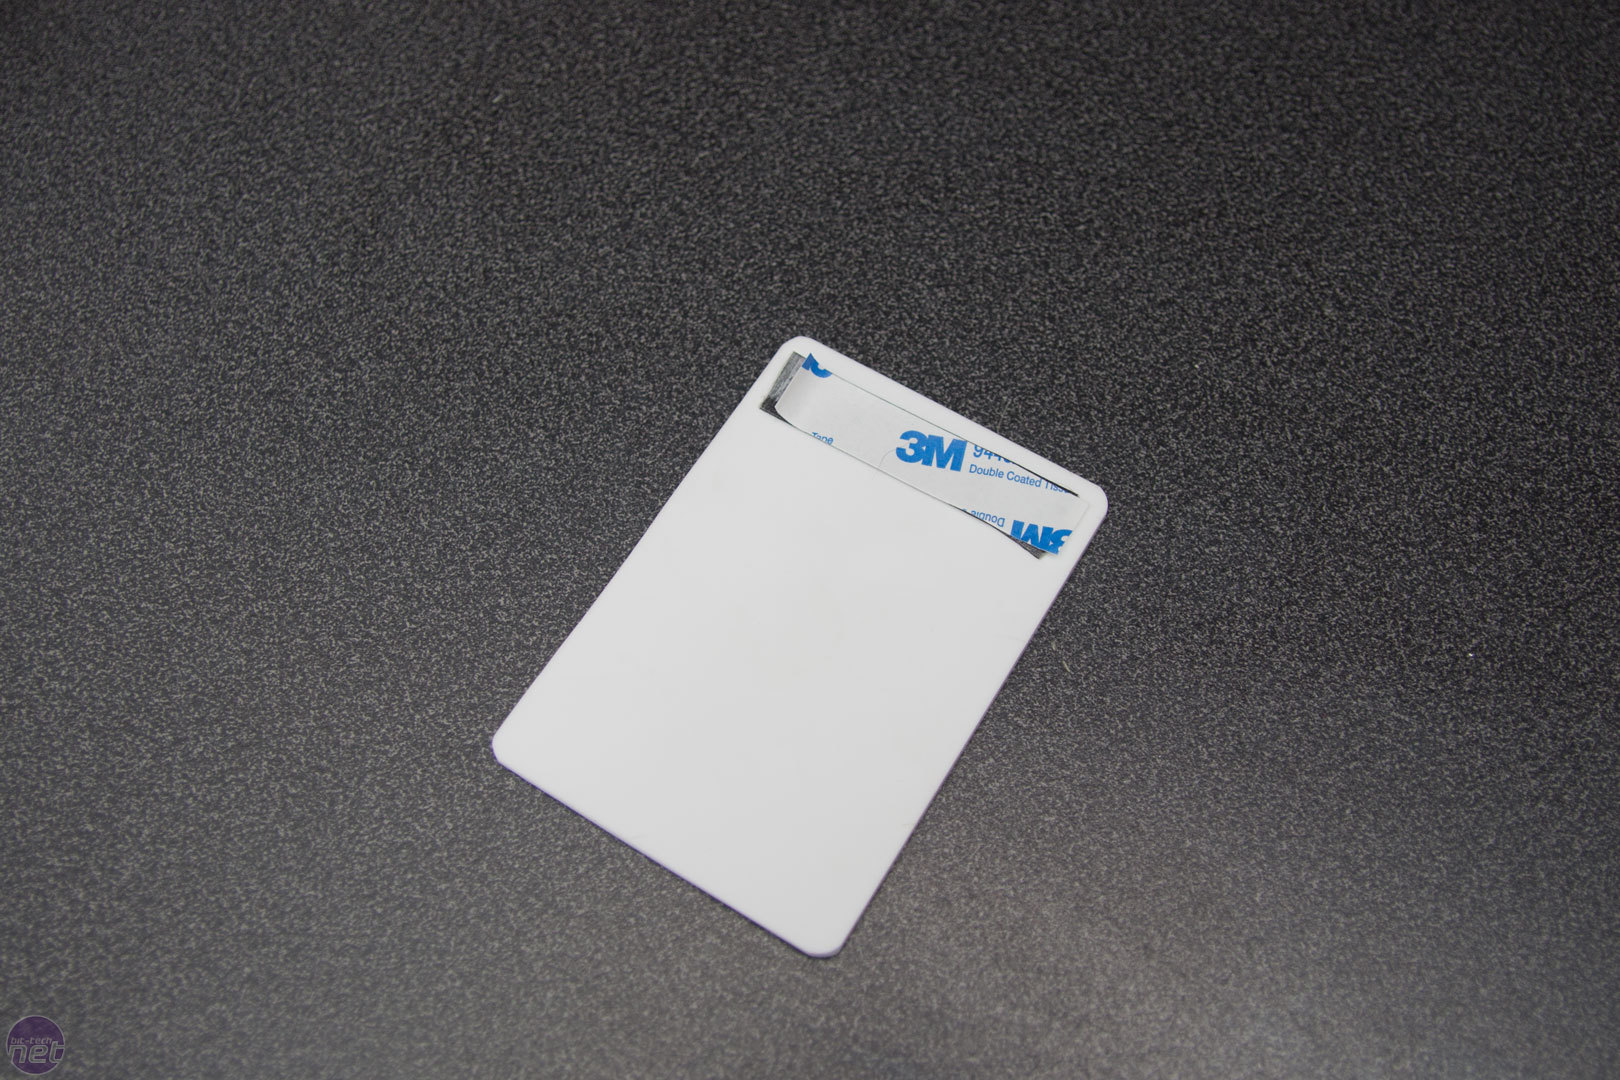
Once the bit of acrylic is cut to size, you can round off the edges by using some sandpaper or a file. It would be best to mark what kind of curve you want before sanding, but as this is just a scrap bit of acrylic that's going in the bin after this guide, I did it quickly. Once the acrylic is finished, it can be stuck onto the SSD. I usually use some double-sided tape or pads.
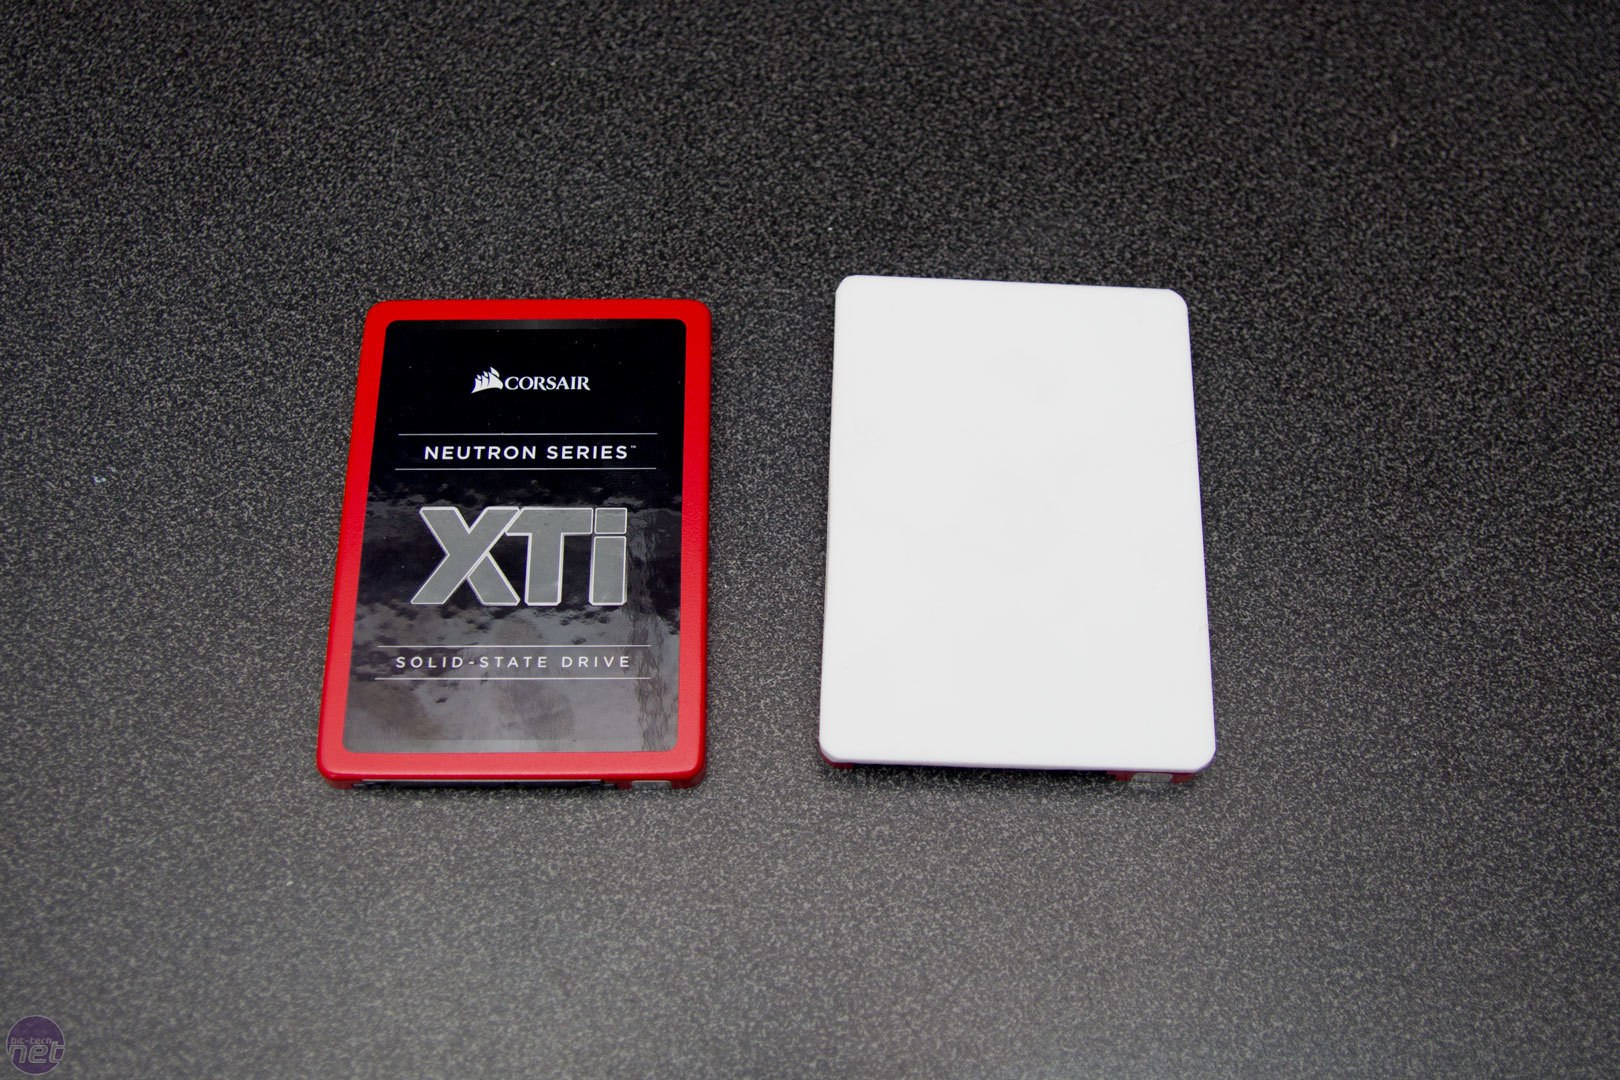
Click to enlarge
Now, once again, you are left with a blank canvas like we had originally after peeling off the sticker. You could paint or use vinyl on top of this and the warranty would still be intact, as it could simply be removed. You could also do some crazy designs with the acrylic or add other colours as inlay, etc.
RELATED ARTICLES


MSI MPG Velox 100R Chassis Review
October 14 2021 | 15:04

Want to comment? Please log in.