Previously, we had a look at the process behind designing a water-cooling distro plate in Autodesk Fusion 360. Not only that, but we revisited the process in order to shed some light on how to integrate one of the more common water-cooling pumps into a plate directly. However, we haven’t really touched on exactly how you go about machining one yourself.
Now, I know that may seem a little lofty at first glance, but machining is more accessible than ever thanks to the likes of DIY kits such as the Inventables X-Carve, Ooznest Workbee, or Carbide 3D Shapeoko. Much like what we’ve seen happen with 3D printing, machining is being brought to a smaller scale, making it considerably less prohibitive for hobbyists. Even if you don’t own a machine yourself, some of these points could help you to design plates that can be more easily cut by others for you.
My Five Considerations
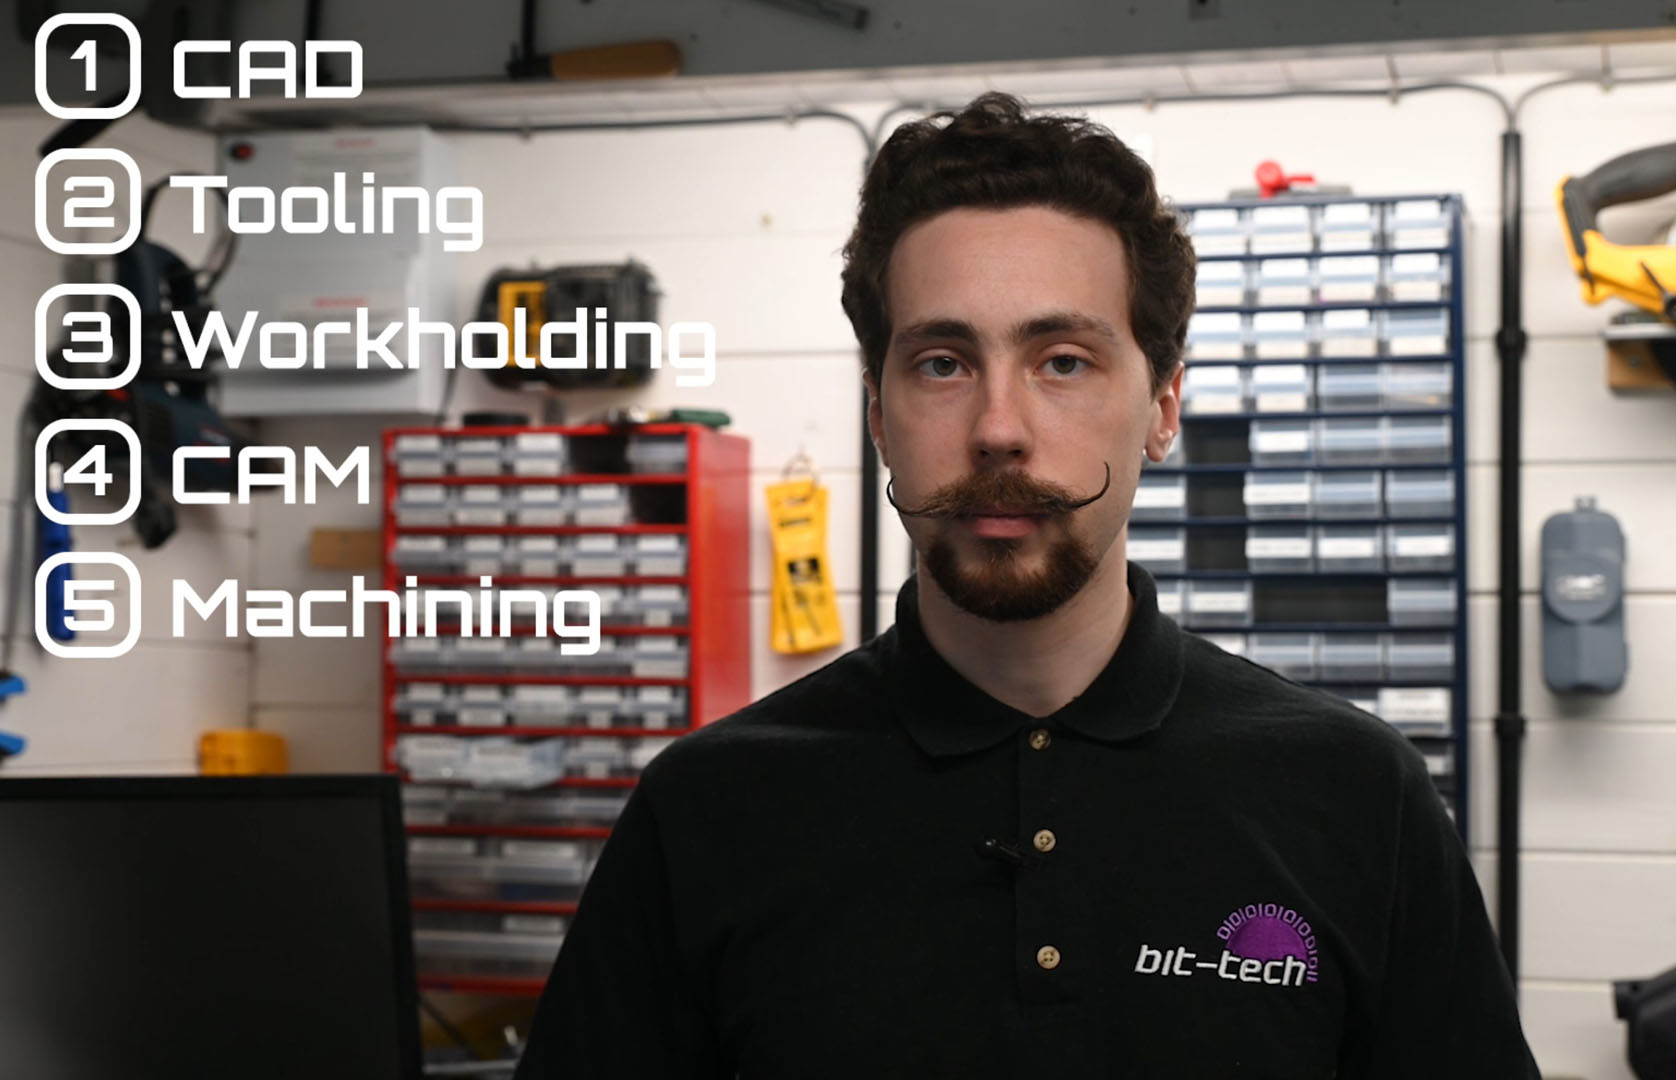
I like to break down the whole process into five comprehensive steps. The idea here is to take the fairly large task of cutting a distro plate and make it into a checklist of sorts. Note that there isn’t a strict order here; some of the points will take priority at different moments and dictate choices made elsewhere.
- CAD – Your 3D design of the part
- Tooling – Which cutters do you have access to, and how will you use them?
- Workholding – How will you hold your stock? Very important for double-sided jobs.
- CAM – Programming the toolpaths and routines
- Machining – The machining process itself, double checking your tolerances, measurements, and so on
CAD

As covered here in our tutorial on ‘How to Design a Distro Plate’, this part is the 3D model you’ll be working from. It’s naturally an integral part of the process, and I fully endorse spending some good time on it. Often the cutting process can be made far simpler by proper forethought and planning. For instance, by considering how you will cut the piece, you might avoid difficult features like chamfers on the backside of parts or rounded sections where a sharp line might prove more convenient.
It also helps to think about what tooling you have at your disposal as well as your workholding. When doing a double-sided cutting job, thinking ahead can allow you to place locating pins or edges into your model so that it can be accurately aligned. In a similar vein, if you have larger cutters available, it might make sense to use larger-radius corners on interior cuts to save yourself unnecessary tool changes. Try to get comfortable with the latter points, then revisit your model to see what you might do differently.
Tooling
Probably one of the most frequent questions I’m faced with is which tools you use. Truth is, there isn’t really a simple answer; there’s a reason why there are so many different suppliers and such a range of price points, reaching from dodgy Chinesium bits through to Onsrud monocrystalline diamond cutters and beyond.
So, why have I put it so high on the list? Well, I’ve found that the further I go into this subject, the more important I find having a firm understanding of my tooling becomes. A lot of the time my tooling will dictate my design, and I won’t choose to model features if I know I don’t have the right tool for the job or at least might not be able to acquire said tool.
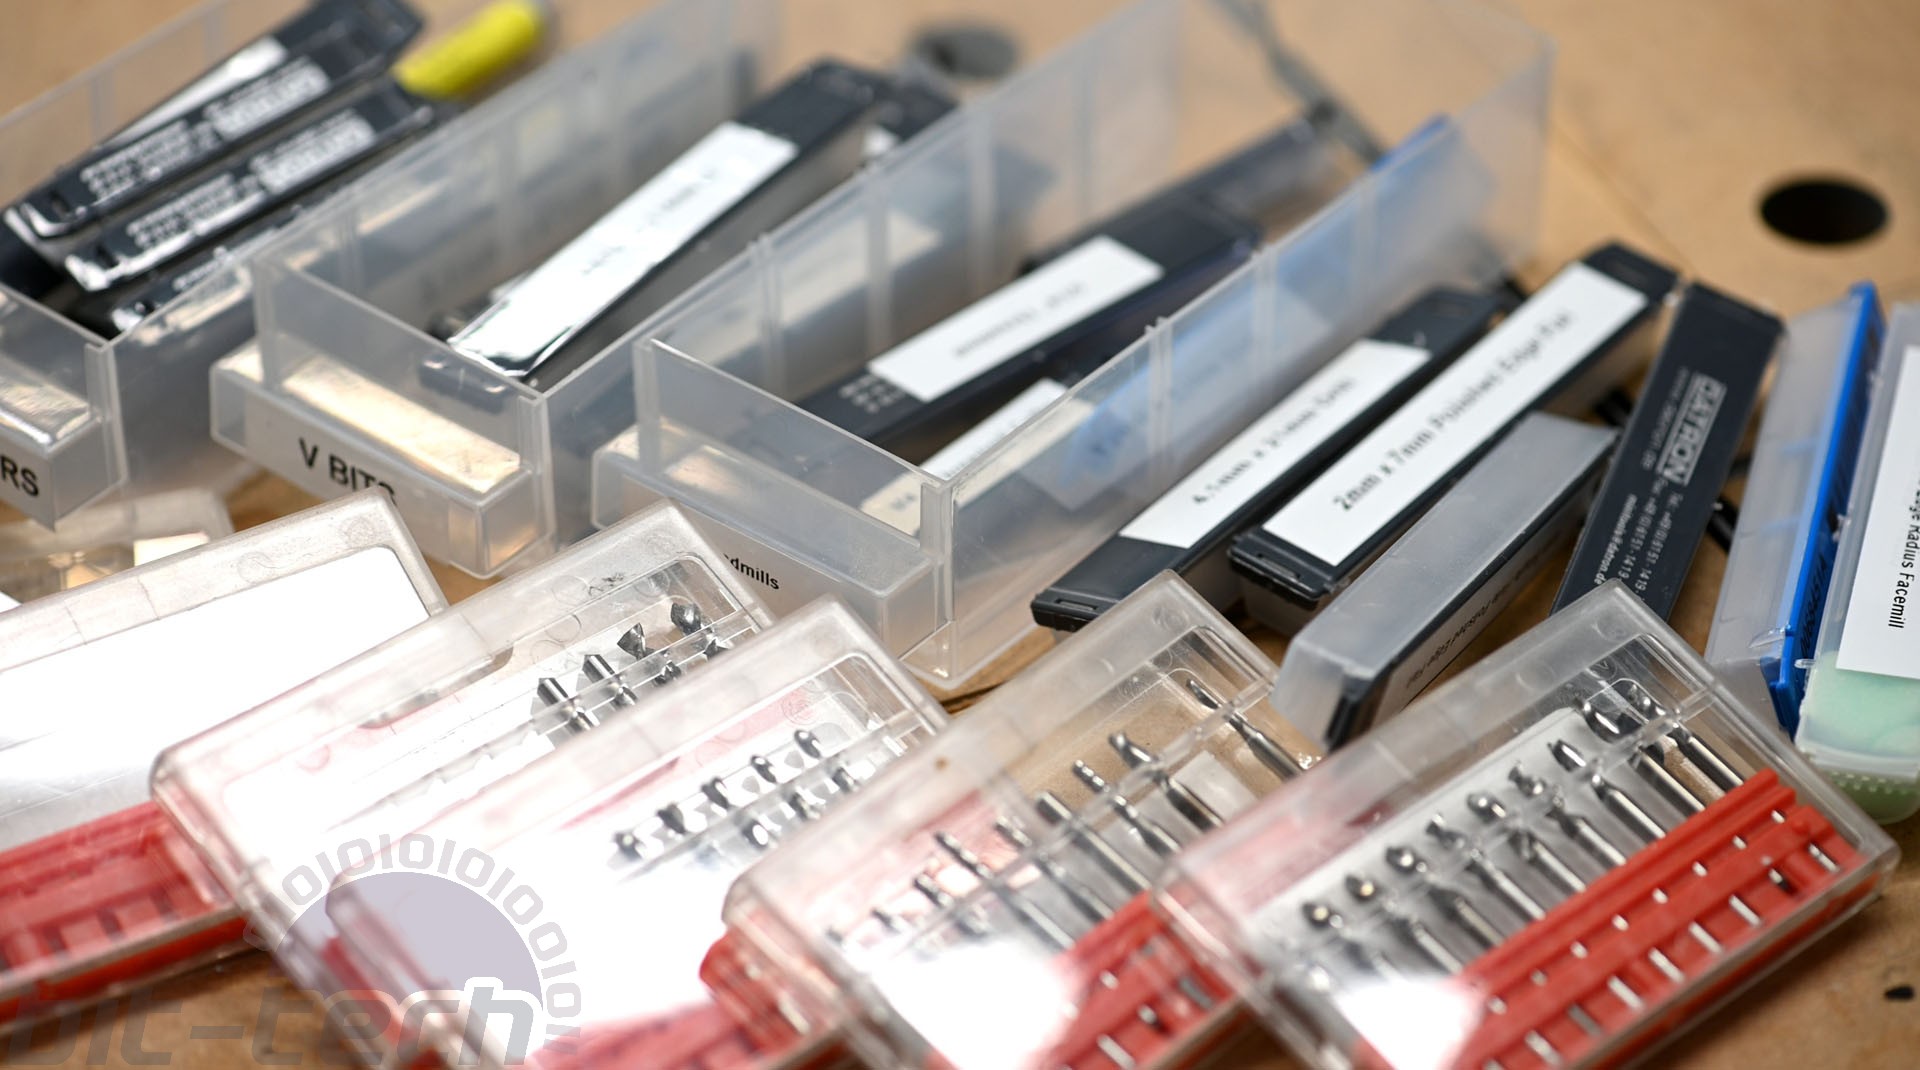
Since this topic is so vast, I’m going to focus on a small niche, the sort of tools that you may wish to use on a DIY or similar CNC router, specifically for cutting acrylic and other plastics.
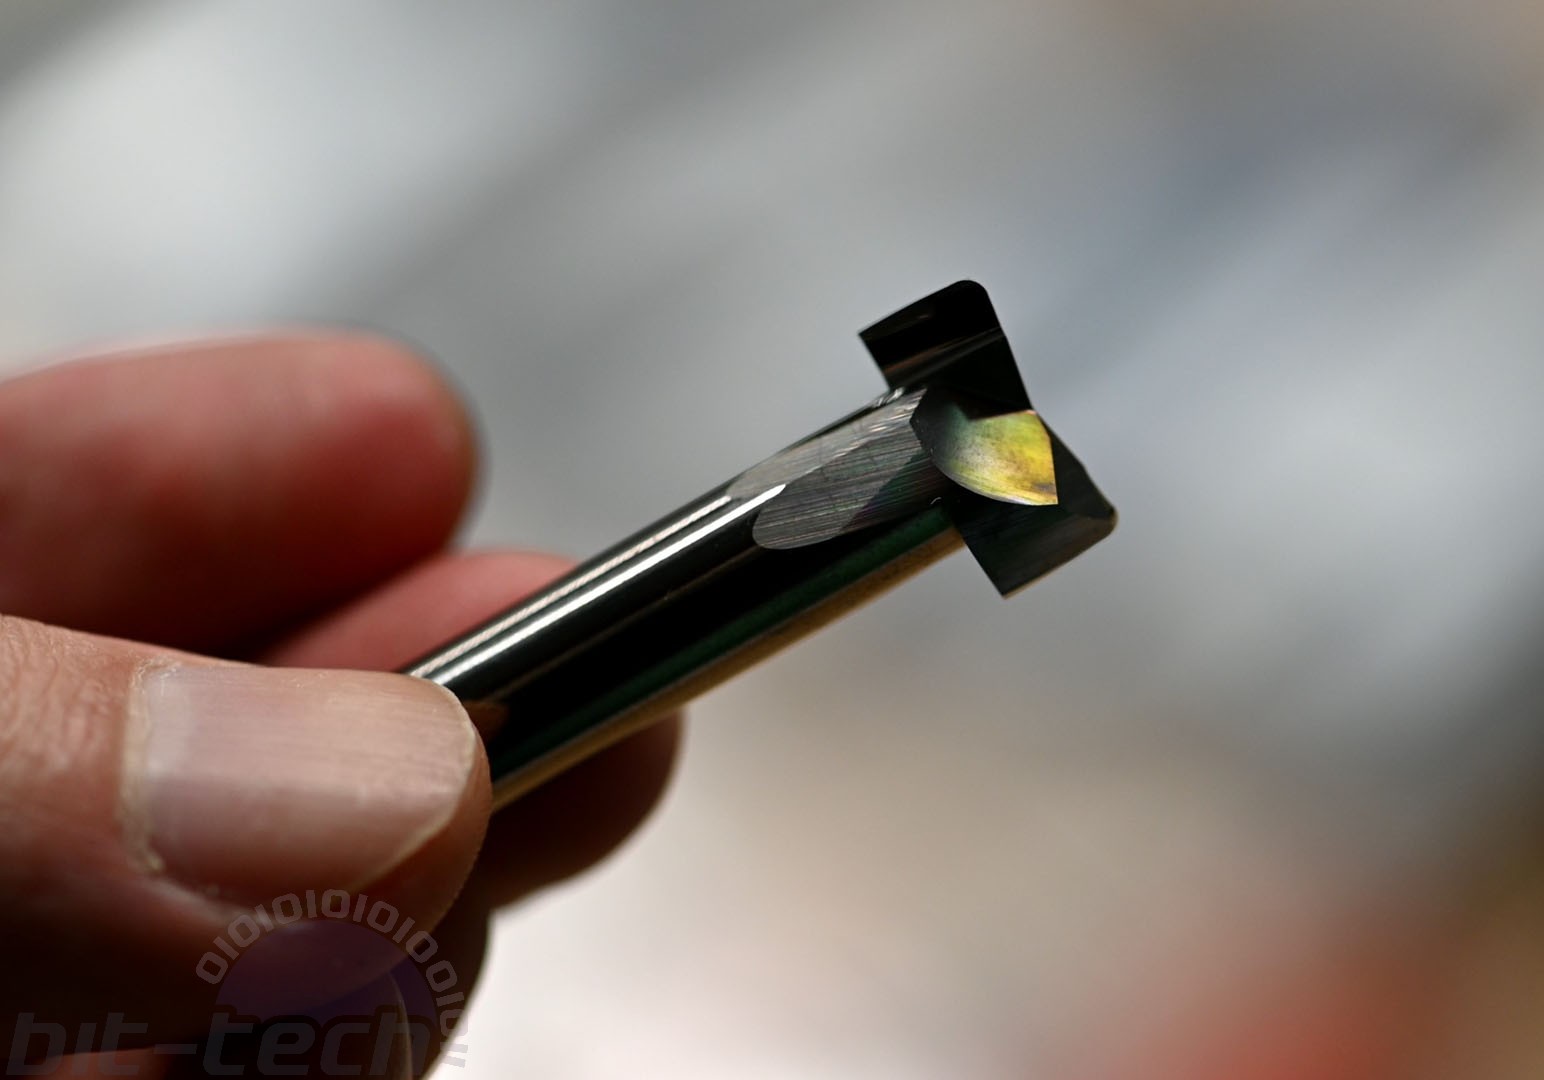
For the vast majority of the cutting I do, I tend to use single flute, solid carbide end mills. These come in a variety of flavours, some coated, others with different spirals and rakes, and so on. My personal go-to ones are the 4-in-1 Twice Polished single flute end mills produced by Datron. For finishing passes, I use Datron’s ‘Polished Edge’ end mills, as they’re specifically designed for cutting plastics and leave an astounding surface finish.
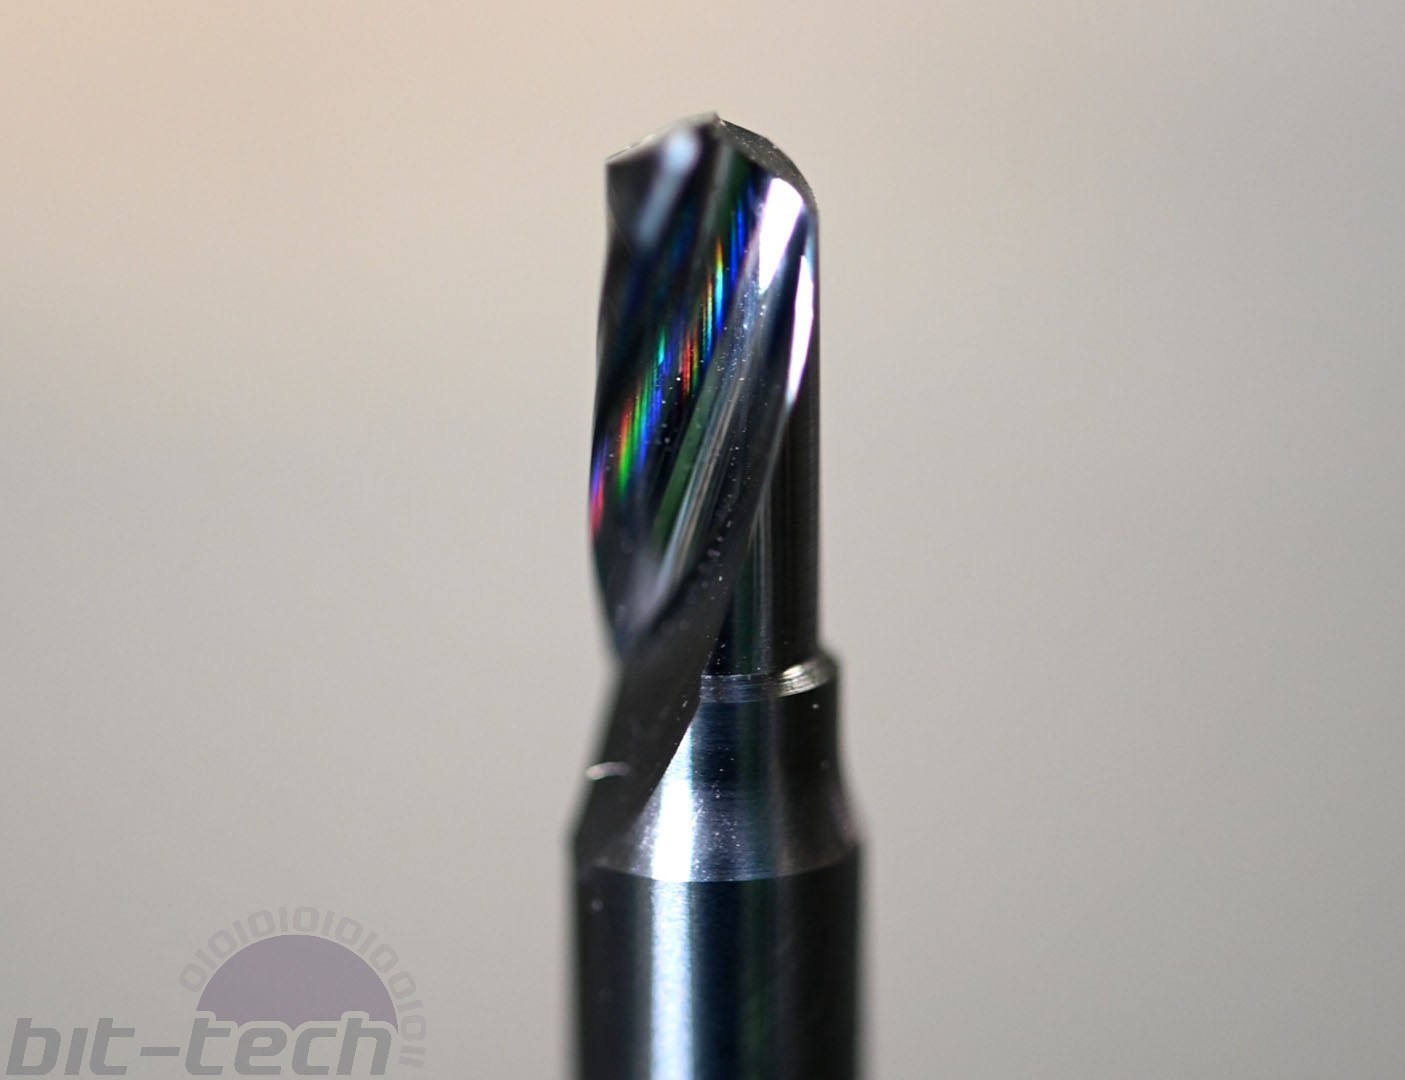
It’s probably not best to jump straight in with the more expensive cutters the moment you get your machine. There’s definitely a hefty learning period where you have to figure out which tools work best for your machine and setup. Unfortunately, I learned this the hard way and plunged a brand new 5mm Polished Edge Single Flute cutter straight into my tool length sensor, destroying both before I even had a chance to try them out.
I found that Sorotec’s 1/8” carbide end mills work rather well too, and they’re also fantastic value. In fact, they’re good enough that I use them very frequently for slot-cutting aluminium, as it’s not a big deal if something goes wrong. You can pick up four or five for the price of a single Datron cutter. The Sorotec 1/8” carbide drills are also really rather decent if you don’t require a lot of reach (the flutes are only 8-11mm long); I use them very often for the distro plate holes.
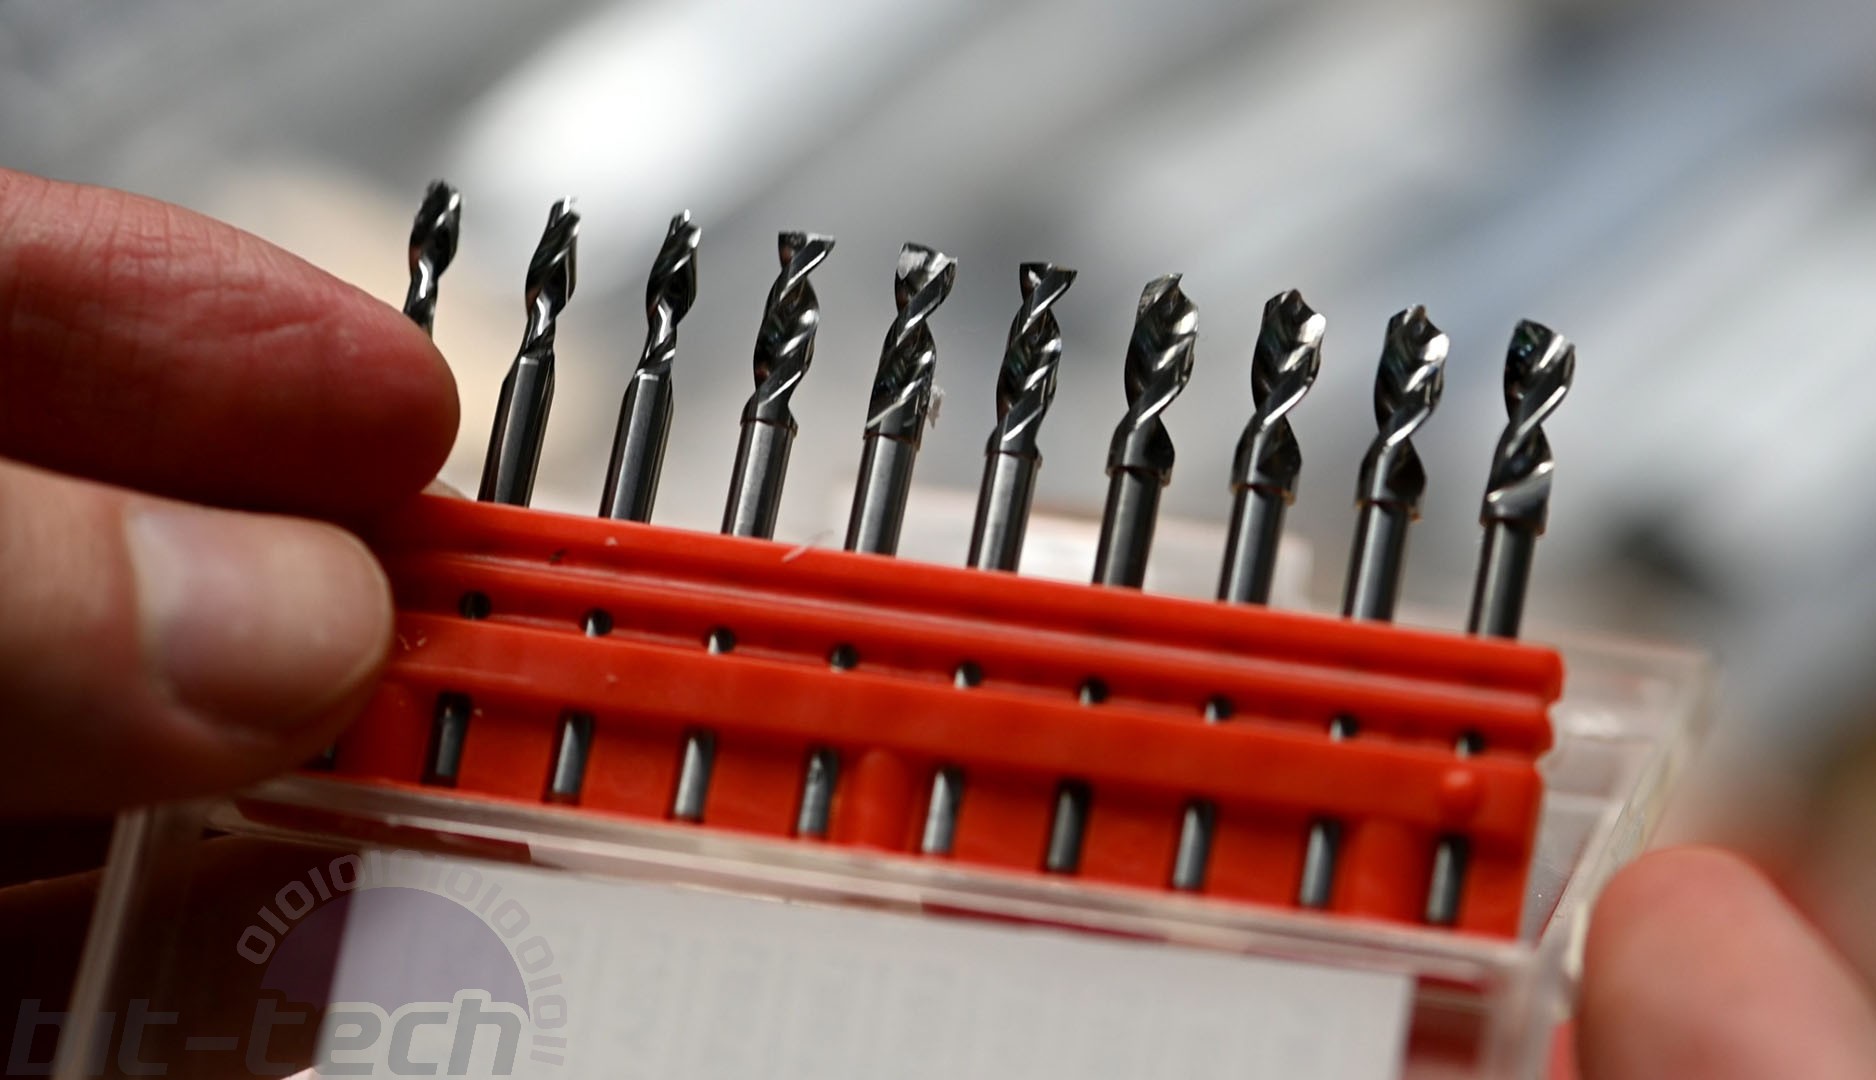
When starting out, I would suggest picking up the following:
- 2.5mm/3.1mm/3.5mm/4.1mm carbide drills
- 2mm single flute end mill (for o-rings)
- 3mm single flute end mill with 10mm+ long flutes
- 5mm single flute end mill with 10mm+ long flutes
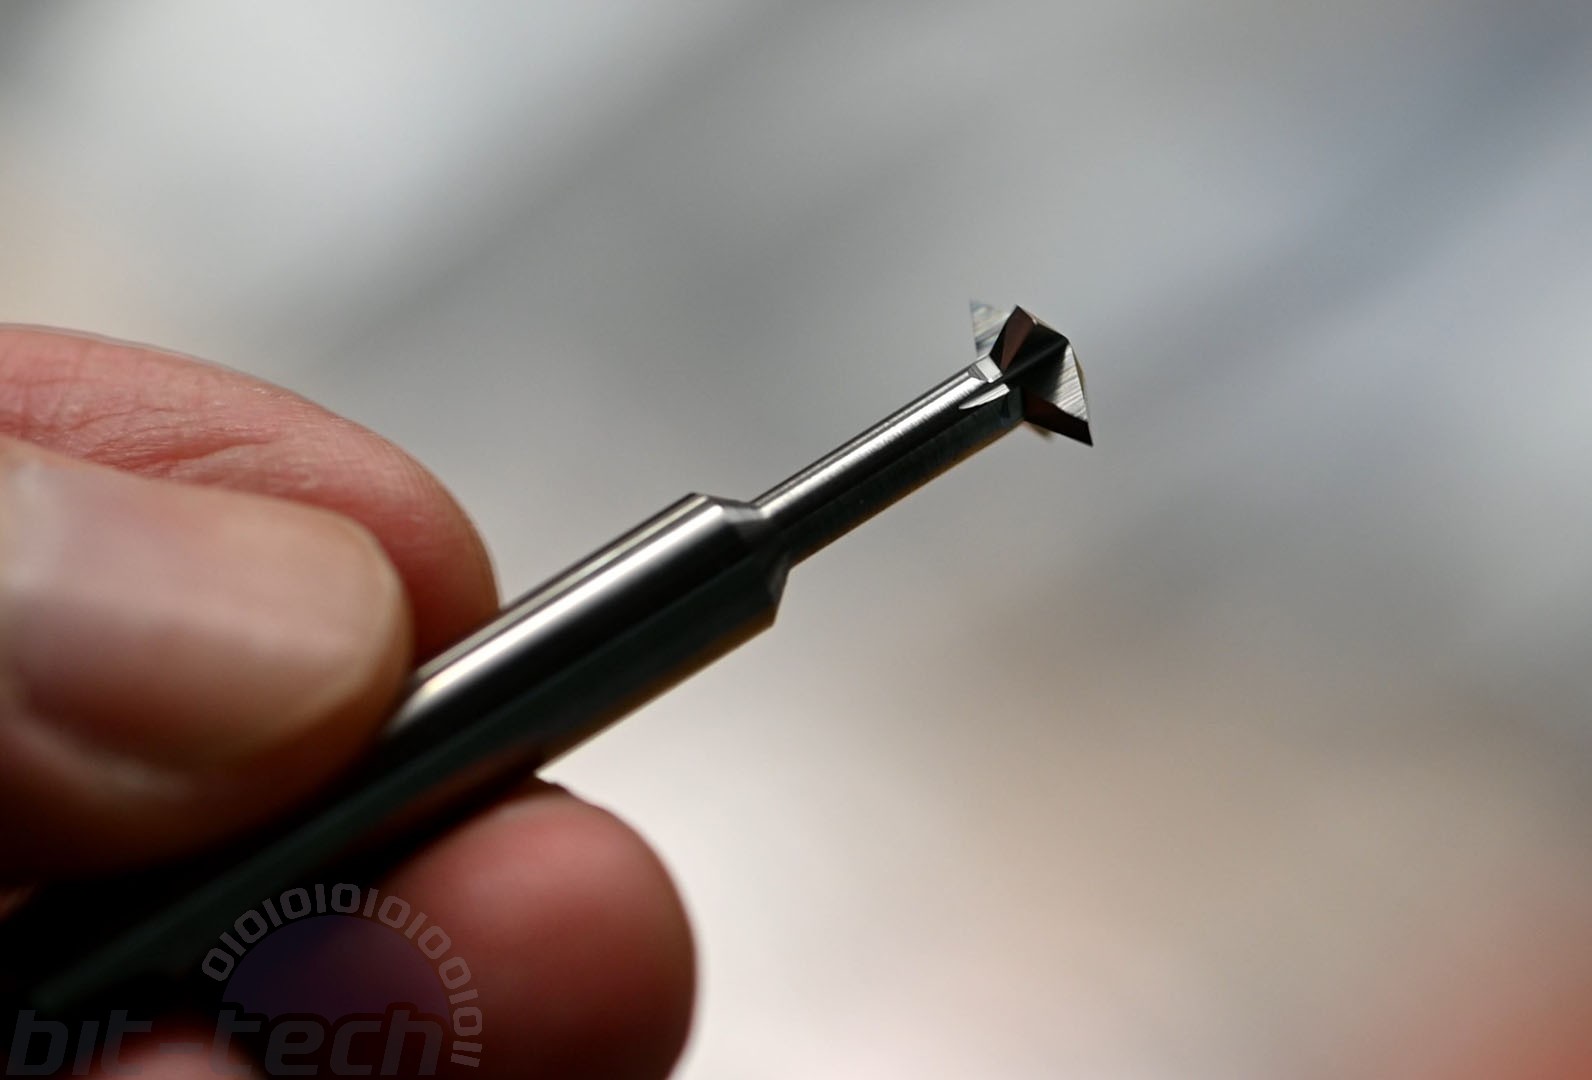
- 6-8mm chamfer mill
- 3mm ball end mill
Those will get you through the vast majority of jobs to begin with, and you can then later add to them based on which you use most frequently and which techniques you’d like to be using.
Workholding
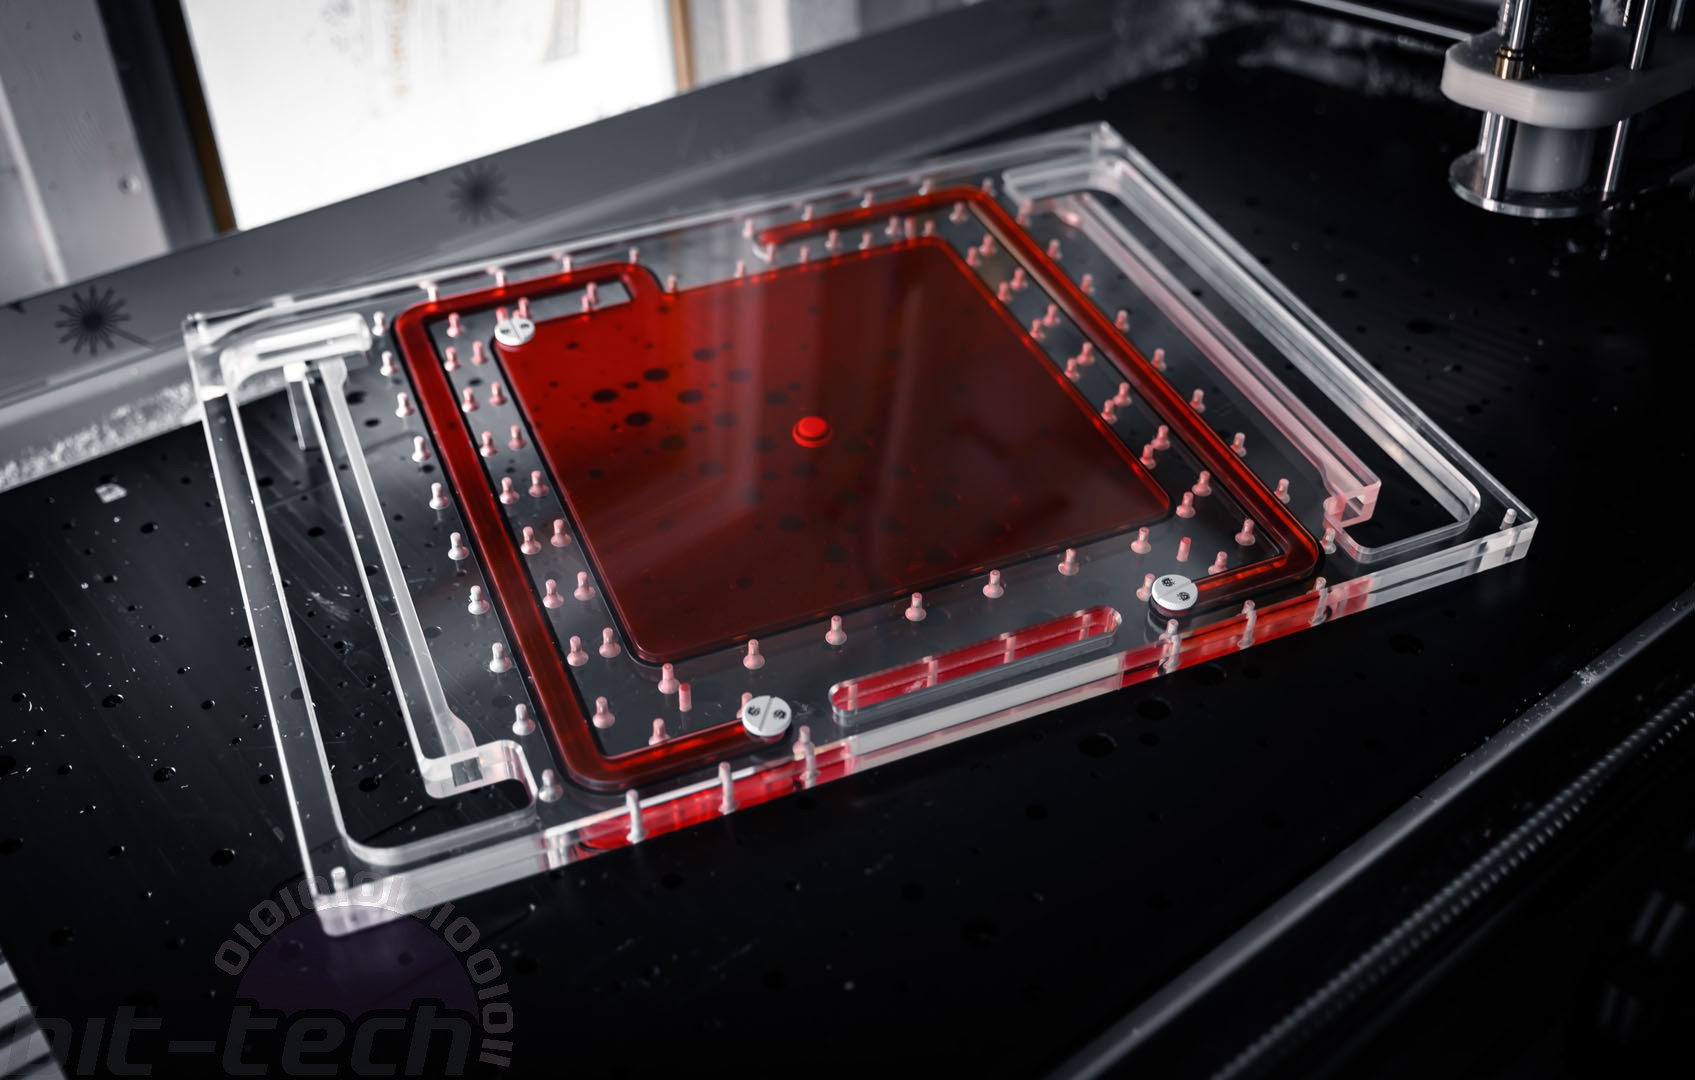
Workholding is an intrinsic part of machining, after all you need to ensure that the material you’re going to be cutting stays in one place, firmly. Considering your workholding early on is vital for machining more complex parts. For instance, if you’re doing a double-sided job with chamfers around the outside edges, you’re going to need to factor in a method of holding down the part without getting in the way of the cutters. Similarly, if you’re going to be cutting a shape with no flat edges, how will you locate your cutting coordinates?
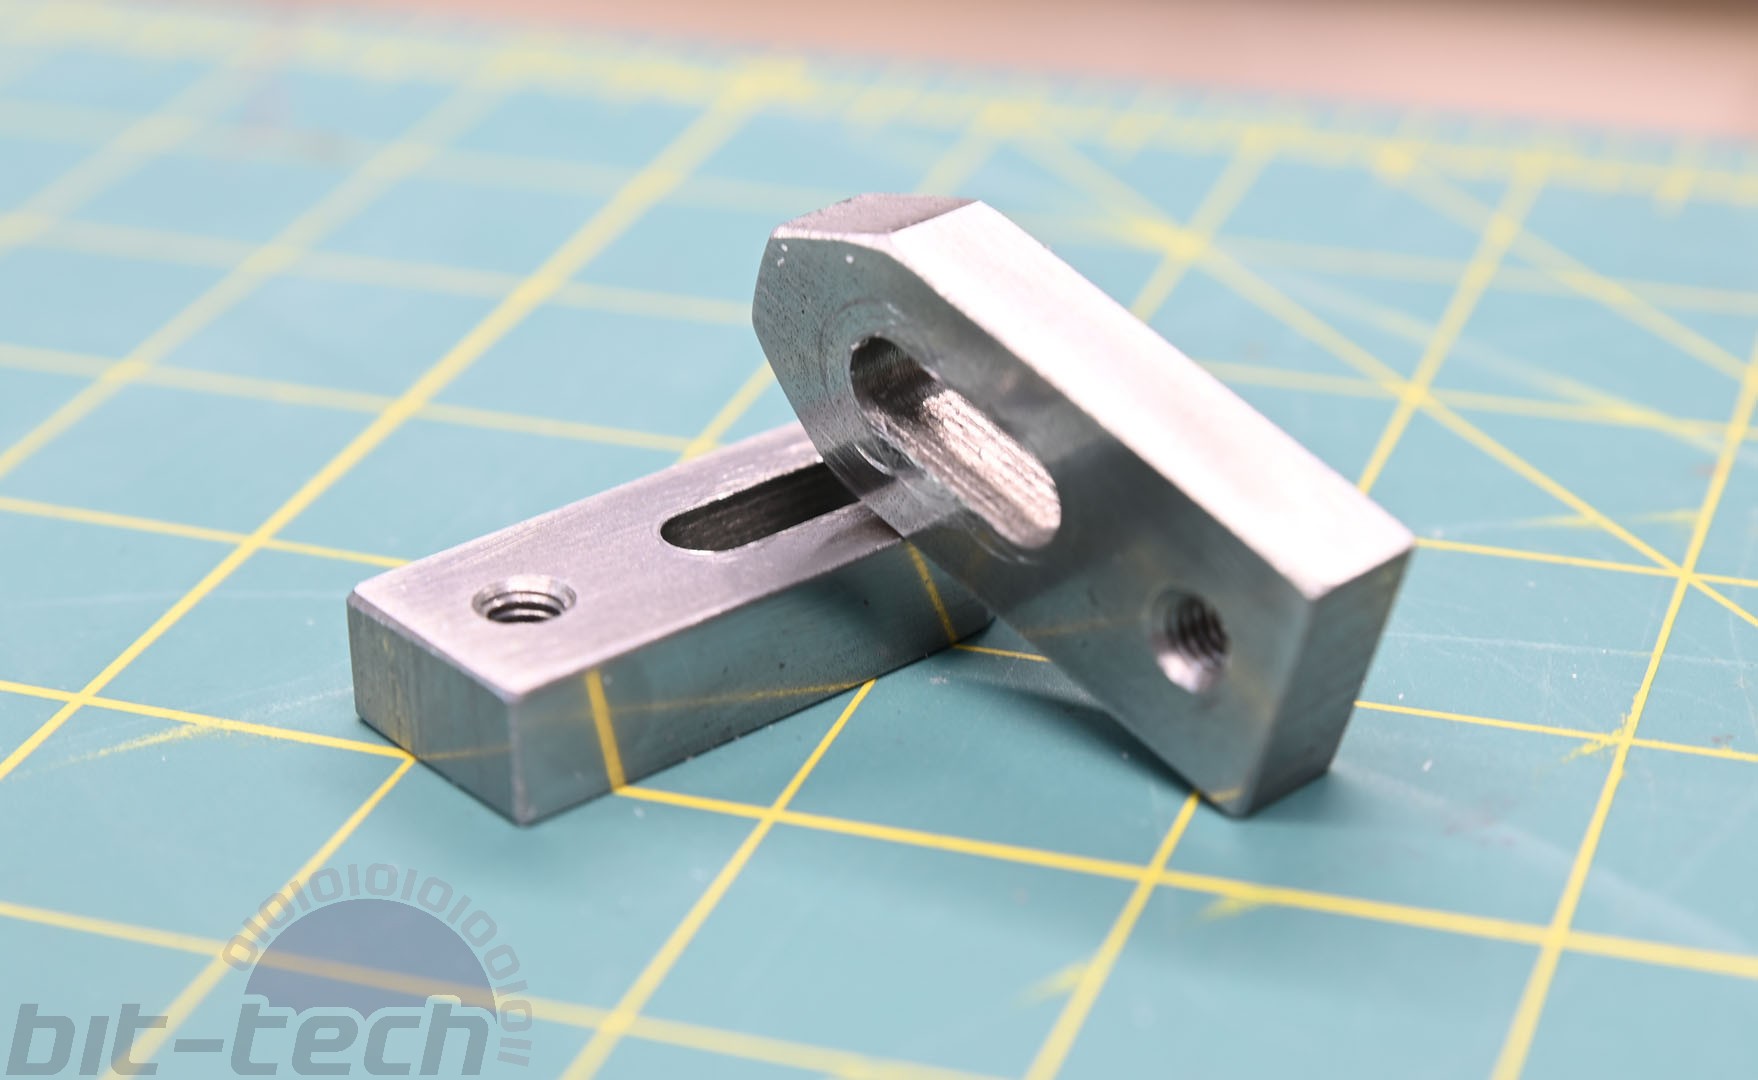
Thankfully, for distro plates, unless you’re adding more advanced features, workholding can be rather straightforward. I tend to use a combination of 3M double-sided tape and steel clamps that I can screw into my fixture plate; you could do the same with a regular MDF bed too. I use both for a few reasons. The first is just for added support: The clamps are very strong, but the material itself can flex during cutting, especially if you’re cutting a large piece. I found that by adding the tape, it can help prevent the clamps from accidentally warping the acrylic when tightened down. Remember that cast acrylic isn’t perfectly flat, so if one area is, for instance, 0.4mm thinner than elsewhere, you could warp the material by clamping there.
Now, that’s not to say that the tape cures all, but it does help to prevent the acrylic from moving during cutting, resulting in more accurate cuts and better finishes. A more high-tech alternative is a vacuum bed as that will provide even suction along the whole surface, preventing it from warping. The other big reason is that the tape prevents the workpiece from moving when you’re parting it out from the stock. The worst thing is getting to the end of a job, then just as you’re about to cut it out, the part chatters, leaving a horrible mark on the side. Again, the tape can’t fully solve this all the time, but it can help.
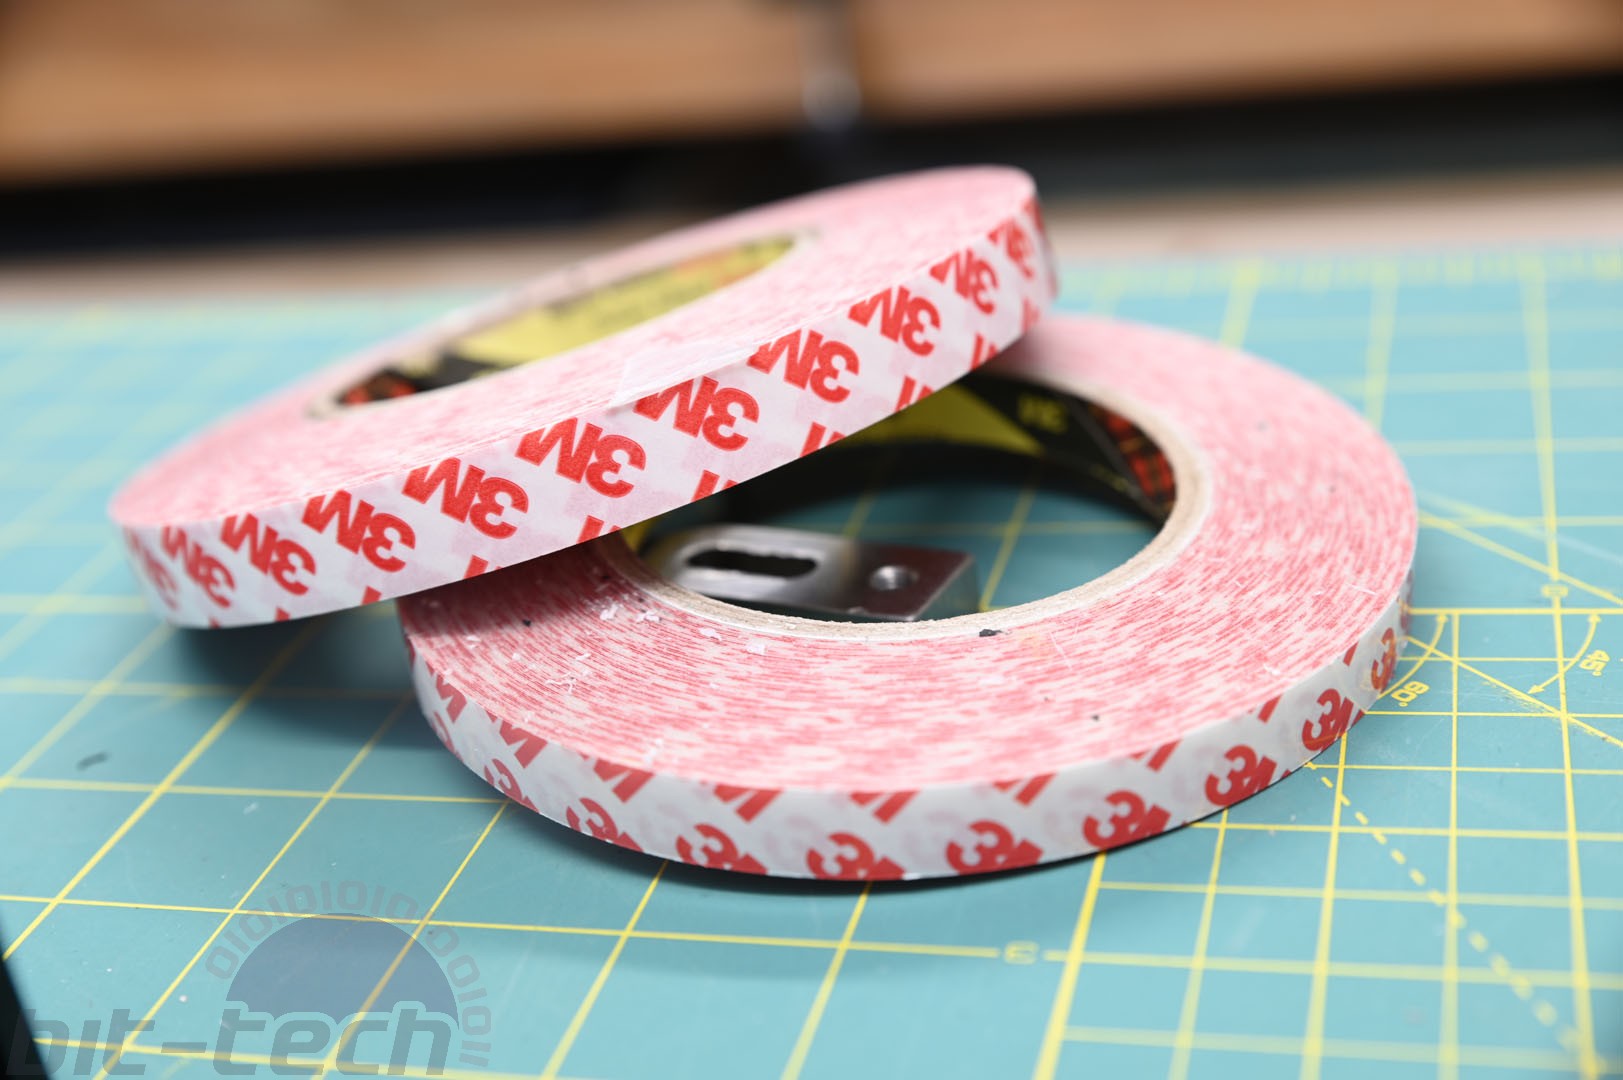
It’s worth mentioning that you should use the real, high-quality stuff, as it really does work amazingly well. In fact, the tape alone can be so strong that you can machine without the clamps at all if you apply it evenly! Whilst I don’t recommend it, it’s definitely possible, so if you have only light cutting to do on the opposite side of a block, it could be a viable method.
RELATED ARTICLES


MSI MPG Velox 100R Chassis Review
October 14 2021 | 15:04

Want to comment? Please log in.