Solvent Welding
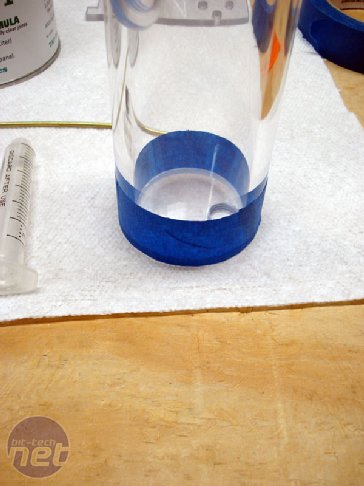
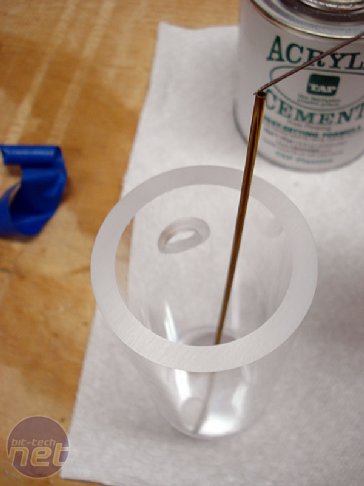
Now that everything is cut and ready to use, it's time to put it all together. IPS Weld-On #3 and/or TAP plastics acrylic cement melt the edges and hence ‘weld’ them together. This stuff is a thinner than water, and you don’t need much at all. I put one end on and hold it in place with blue painters tape. This way when I put the solvent into the joint, it doesn't run all over the place on the outside.I use the brass tube from one end to reach the seam of the other end. You want to minimize getting solvent onto the acrylic as it clouds up whatever it hits. This is why i recommend the use of the syringe applicator to put on a bit of solvent at a time. I took the tape off here just to show better how it works-I had already done this end.
You just squirt a bit of the solvent down the hole into the joint, working it all of the way around. It will go into the joint until it pools up on the inside, then once the joint won't take anymore, pull off the tape. You can look from the bottom to see it going into the joint. Once you have got as much solvent as will go into all of the joint, press down on the entire tube end hard for about a minute or so. This is to help minimize air bubbles and force an even spread of solvent. Holding the tube horizontally, I then put the middle insert into position and ran solvent down the sides to attach it in place. Finally the process was repeated for the other end.
If you end up with a few small bubbles in the joint, it is nothing to worry about. I have never had a reservoir leak yet from a couple of bubbles. For example, the one I have been using now I have had in my current case for over a year. If you are finding you still have bubbles in the joint then sanding rework is needed along the edges to get them as flat and smooth as possible because it allows the solvent to entirely penetrate the joint.
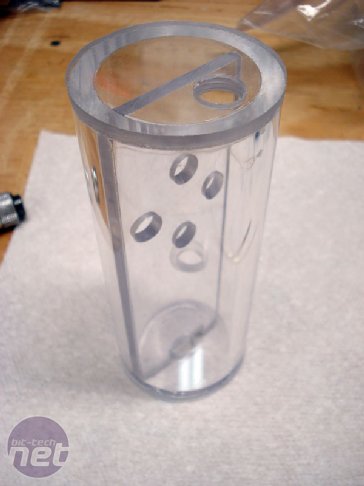
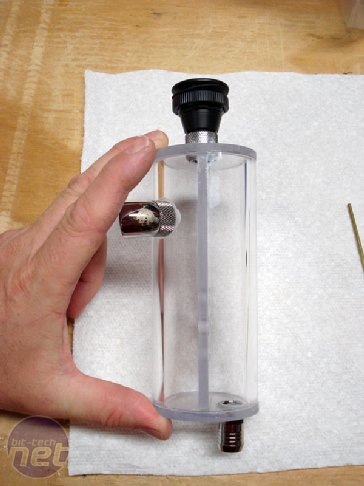
Here is what the res looks like welded together and with all of the barbs in place.

MSI MPG Velox 100R Chassis Review
October 14 2021 | 15:04




Want to comment? Please log in.