Other Thoughts
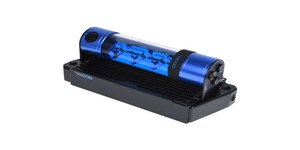
I didn't build a mount into the res itself, as I will be making a separate piece for that, but you could easily modify the bottom piece to incorporate a mount at the cutting stage. In my own reservoir I did incorporate a mount into one end, however the tube laying horizontally instead of vertically.Once done, I suggest letting it sit for a few days before doing anything with it. Although the solvent dries quickly, it takes days for the joint to form its maximum strength (Ed: insert Crysis joke here). Then the next step is pressure testing it with air to about 10PSI to make sure it is solid and leak free. If it holds 10PSI for an hour, it isn't going to leak.
Without the use of a lathe or something to cut channels for o-rings on the ends, this is a workable method for making a dependable, leak-free reservoir with just a few basic hand power tools.
Leaktesting with Air Pressure
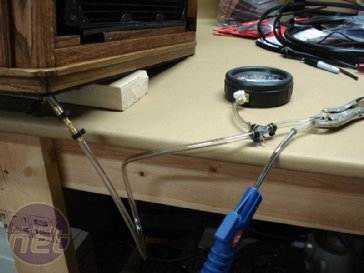
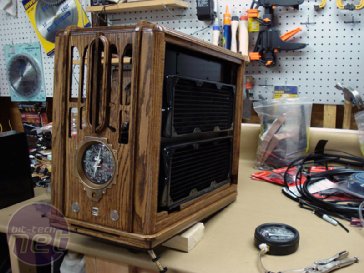
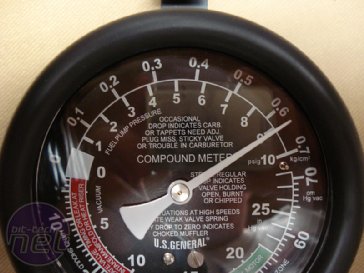
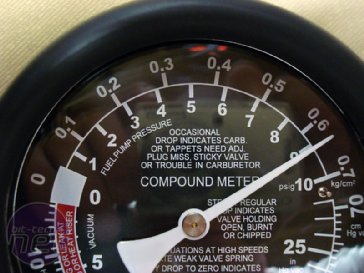
I became convinced some time ago and still am so that leaktesting with air pressure is a much better way to leaktest than the water “fill and pray” method. I use a simple $13 vacuum gauge for this as it has a large gauge area for the 0-10PSI range. I have a small air compressor to fill the loop, but a simple bicycle pump could be used to do the same thing. I first clamp and pump up the gauge and the T going to/from it to make sure I have no leaks in the actual line that I will attach to the case loop. Once I've confirmed this line isn't leaking, I then attach the line from the compressor hose blow handle, through the vacuum gauge, into the drain valve. I then pump it up to about 9psi which is easily 2-3 times the pressure in the coolant loop, clamp off the pump line, and give it some time. The smallest leak will easily show up on the dial and it’s usually very easy to hear the hiss of a leak.Here is a pic of the dial when I initially pumped it up and here is the same dial 3.5 hours later. It didn't budge one tiny bit.
As I mentioned, I am convinced this is the far better way to leaktest for several reasons:
- If there should be a leak, which has happened to me before, there is no clean up or getting anything wet. You just fix the problem. No draining, drying, etc.
- Leaktesting with water in a system which is at room temp doesn't have the same pressure as a loop that is warmed up. I can pump the loop up to 9-10psi thereby introducing 2-3 times the pressure the loop will experience when running, so if it survives that it will survive anything you subsequently throw at it.
- It can be easy to miss a small seeping leak as can happen easily at a barb or such with water, while with air the tiniest little leak will show up on a good gauge. You’ll know 100 per cent if you have a leak or not. A very small seeping leak however can be a bit hard to pinpoint with air but will be visible over time, and you can usually hear the hiss from the air escaping.
- It’s not expensive to leaktest. A $13 gauge, a bit of hose, a fitting or two, and a pump of some kind are all that is needed. Of course I use a compressor since I already have one, but a bicycle pump, a simple Schrader valve, or ball pump fitting can be used to do this. A sub $10 trip to the hardware store can net you whatever fittings you may need.

MSI MPG Velox 100R Chassis Review
October 14 2021 | 15:04




Want to comment? Please log in.