Sleeving your cables has become very much a modding staple, or at least it was until services such as Cablemod became widely available. That said, it's extremely popular to have your cables neatened and colour matched to your build either through the use of sleeved extensions or whole PSU kits. Naturally, once you have your mainstay cables sleeved, it makes sense that you might want to have your peripheral cables matching them, and that means sleeving your fans, other accessories, and, if you have a water-cooling setup, your pump!
A while back we covered a handy mod that makes sleeving fans simpler by making them pseudo-modular, and that mod allows you to sleeve the extension cable very easily. If you haven't sleeved your own cables before, be sure to check out our written beginner's guide on the topic too. In this guide we'll be looking at sleeving a D5 pump so that it's just that bit more aesthetically pleasing.
Those are rookie cables, son
This is entirely an aesthetic mod for the most part, but you could add some functionality too by replacing the Molex connector and hooking the pump up directly to the PSU. I do this in the majority of mods that I do; it's simply a matter of matching the Molex power wires to those of your power supply's peripheral cables, but we'll be focusing solely on appearance.
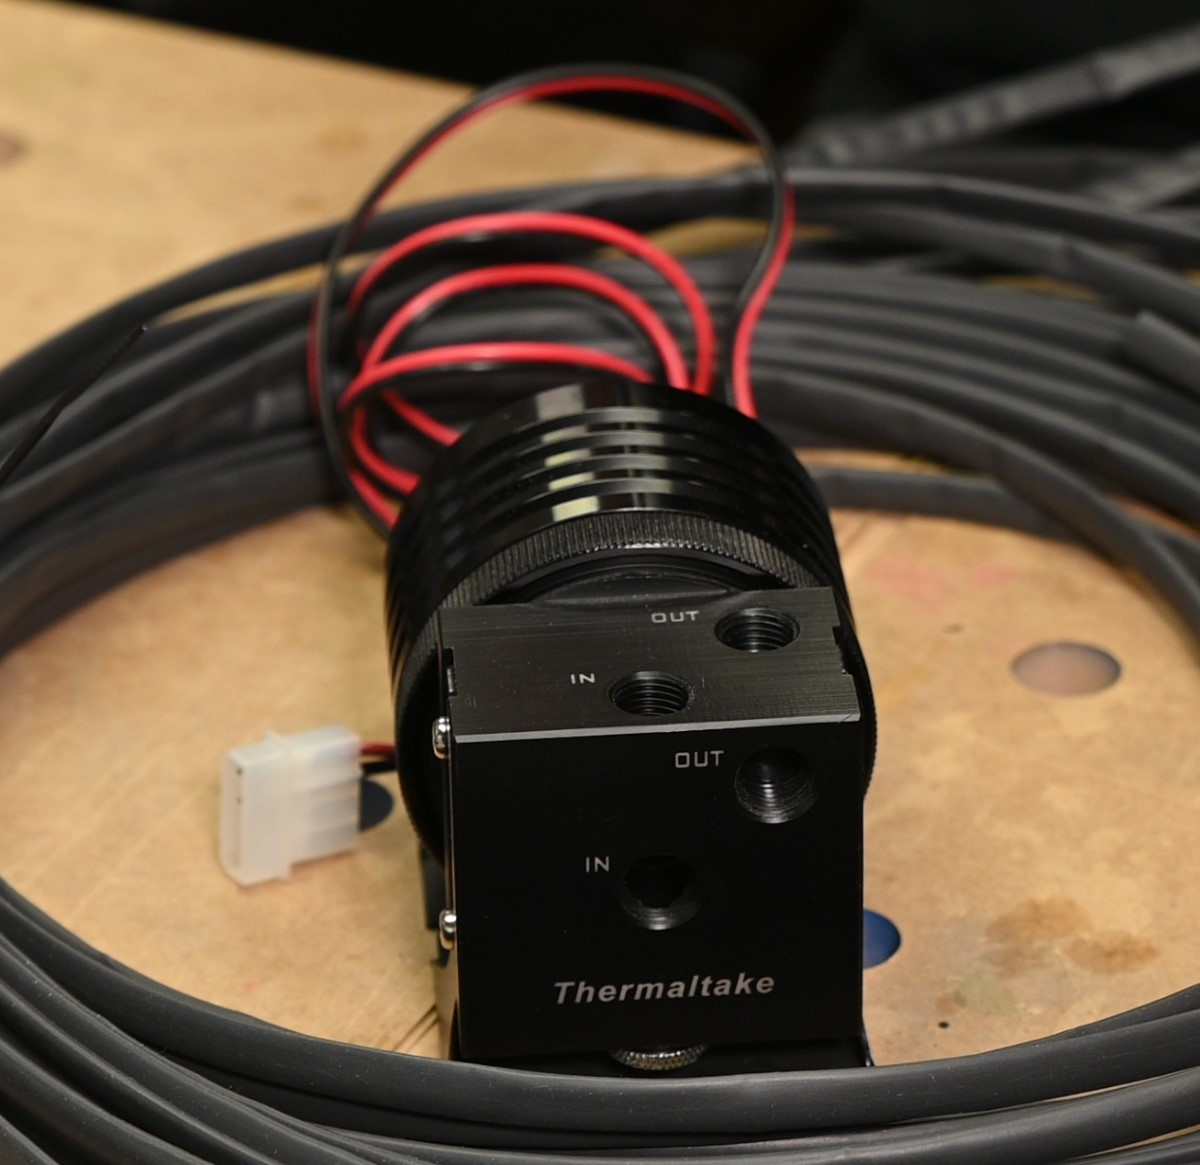
With the ubiquitous nature of tempered glass and open chassis cases plus the ever increasing popularity of water-cooling, one component has a habit of being left out of the loop (I do apologise): the pump. This is a shame, as pumps quite often have the most hideous cables of all. The typical affair is a bright-red 12V and black ground for D5 Vario pumps, with additional shades of green and blue for PWM variants... lovely. All this usually goes to a translucent molex connector; again, lovely. Sleeving a D5 pump is in fact a very simple process, and it's also 100 percent worth it if your pump is on show at all, say if you have a pump/reservoir combo unit in plain view or a case like Thermaltake's P3/5.
You can always try to hide the wires, the 'out of sight, out of mind' approach, but sleeving them gives you options and means you can turn them into a feature instead.
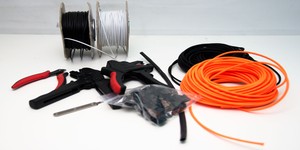
Tools of the Trade
In essence, to do this mod you need a standard set of sleeving tools:
- Sleeve of choice (e.g. MDPC-X, Paracord, or Teleios)
- Lighter (I like the BBQ/Stove lighters as they're more comfortable)
- Heatshrink
- Snips/pliers
- Molex pin extraction tool
- Crimper + Pins (optional)
- Stepped drill bit or 6mm bit (see our Modder's Toolbox on Drill Bits for more info)
- Flathead screwdriver or butter knife (something flat basically)
Get to it!
We're going to be sleeving into the pump housing in this tutorial, hence the need for a drill and bits. Whilst not necessary, I think it adds so much to the mod that it's almost not worth it without doing this. Having an ugly piece of heatshrink outside of the housing looks terrible; just go the whole hog and sleeve into the pump.
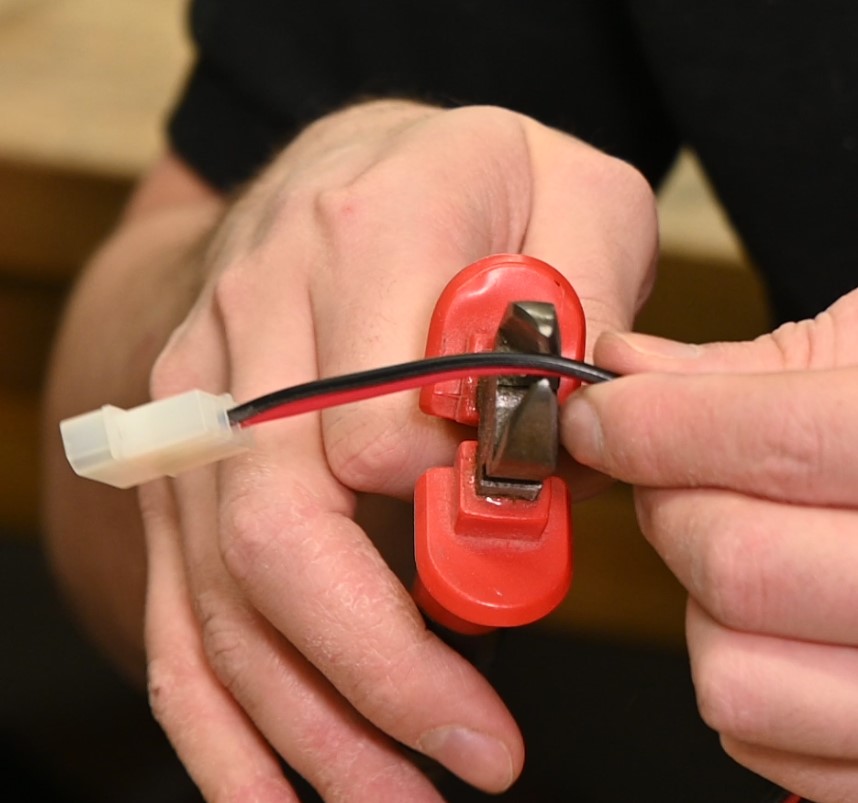
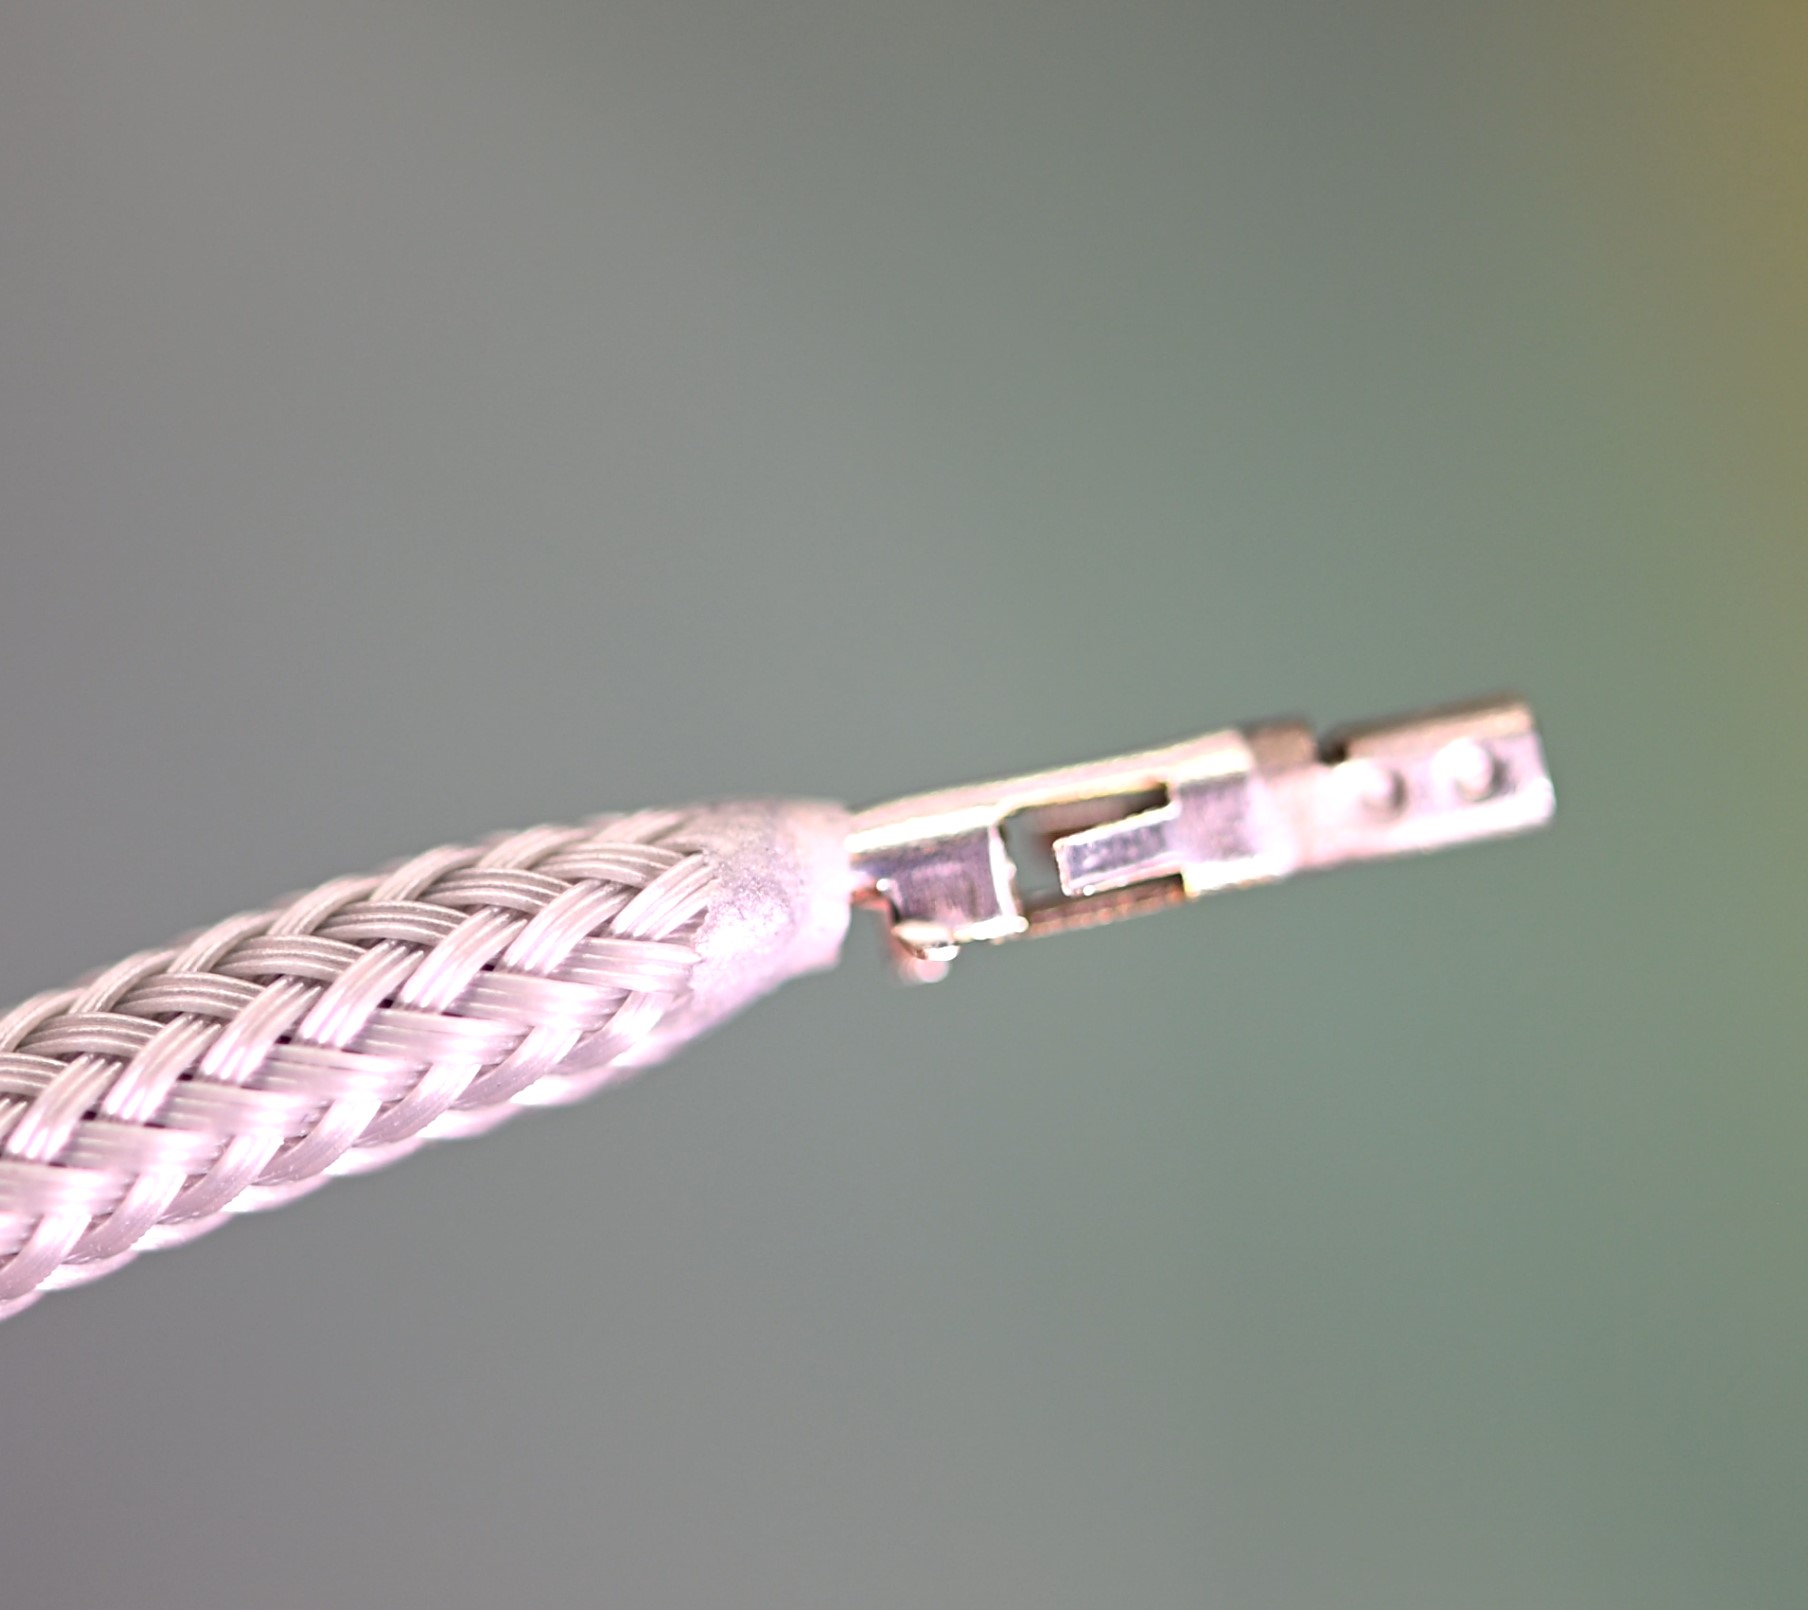
The first step is to remove the Molex pins from the connector; you can either use your extractor tool for this or simply snip the connections off and recrimp. In the video I take that approach, as typically for most mods I'll also be shortening the cable to length. It's important to take note of the wire locations, however, as you don't want to be accidentally plugging the Ground back into the 5V pin location, for instance! This is easy enough to check with a multimeter or simply by comparing with a stock cable from your power supply. To help me keep track of things, I tend to sleeve pumps in two colours, that way I always know which wire is the Ground and which is 12V.
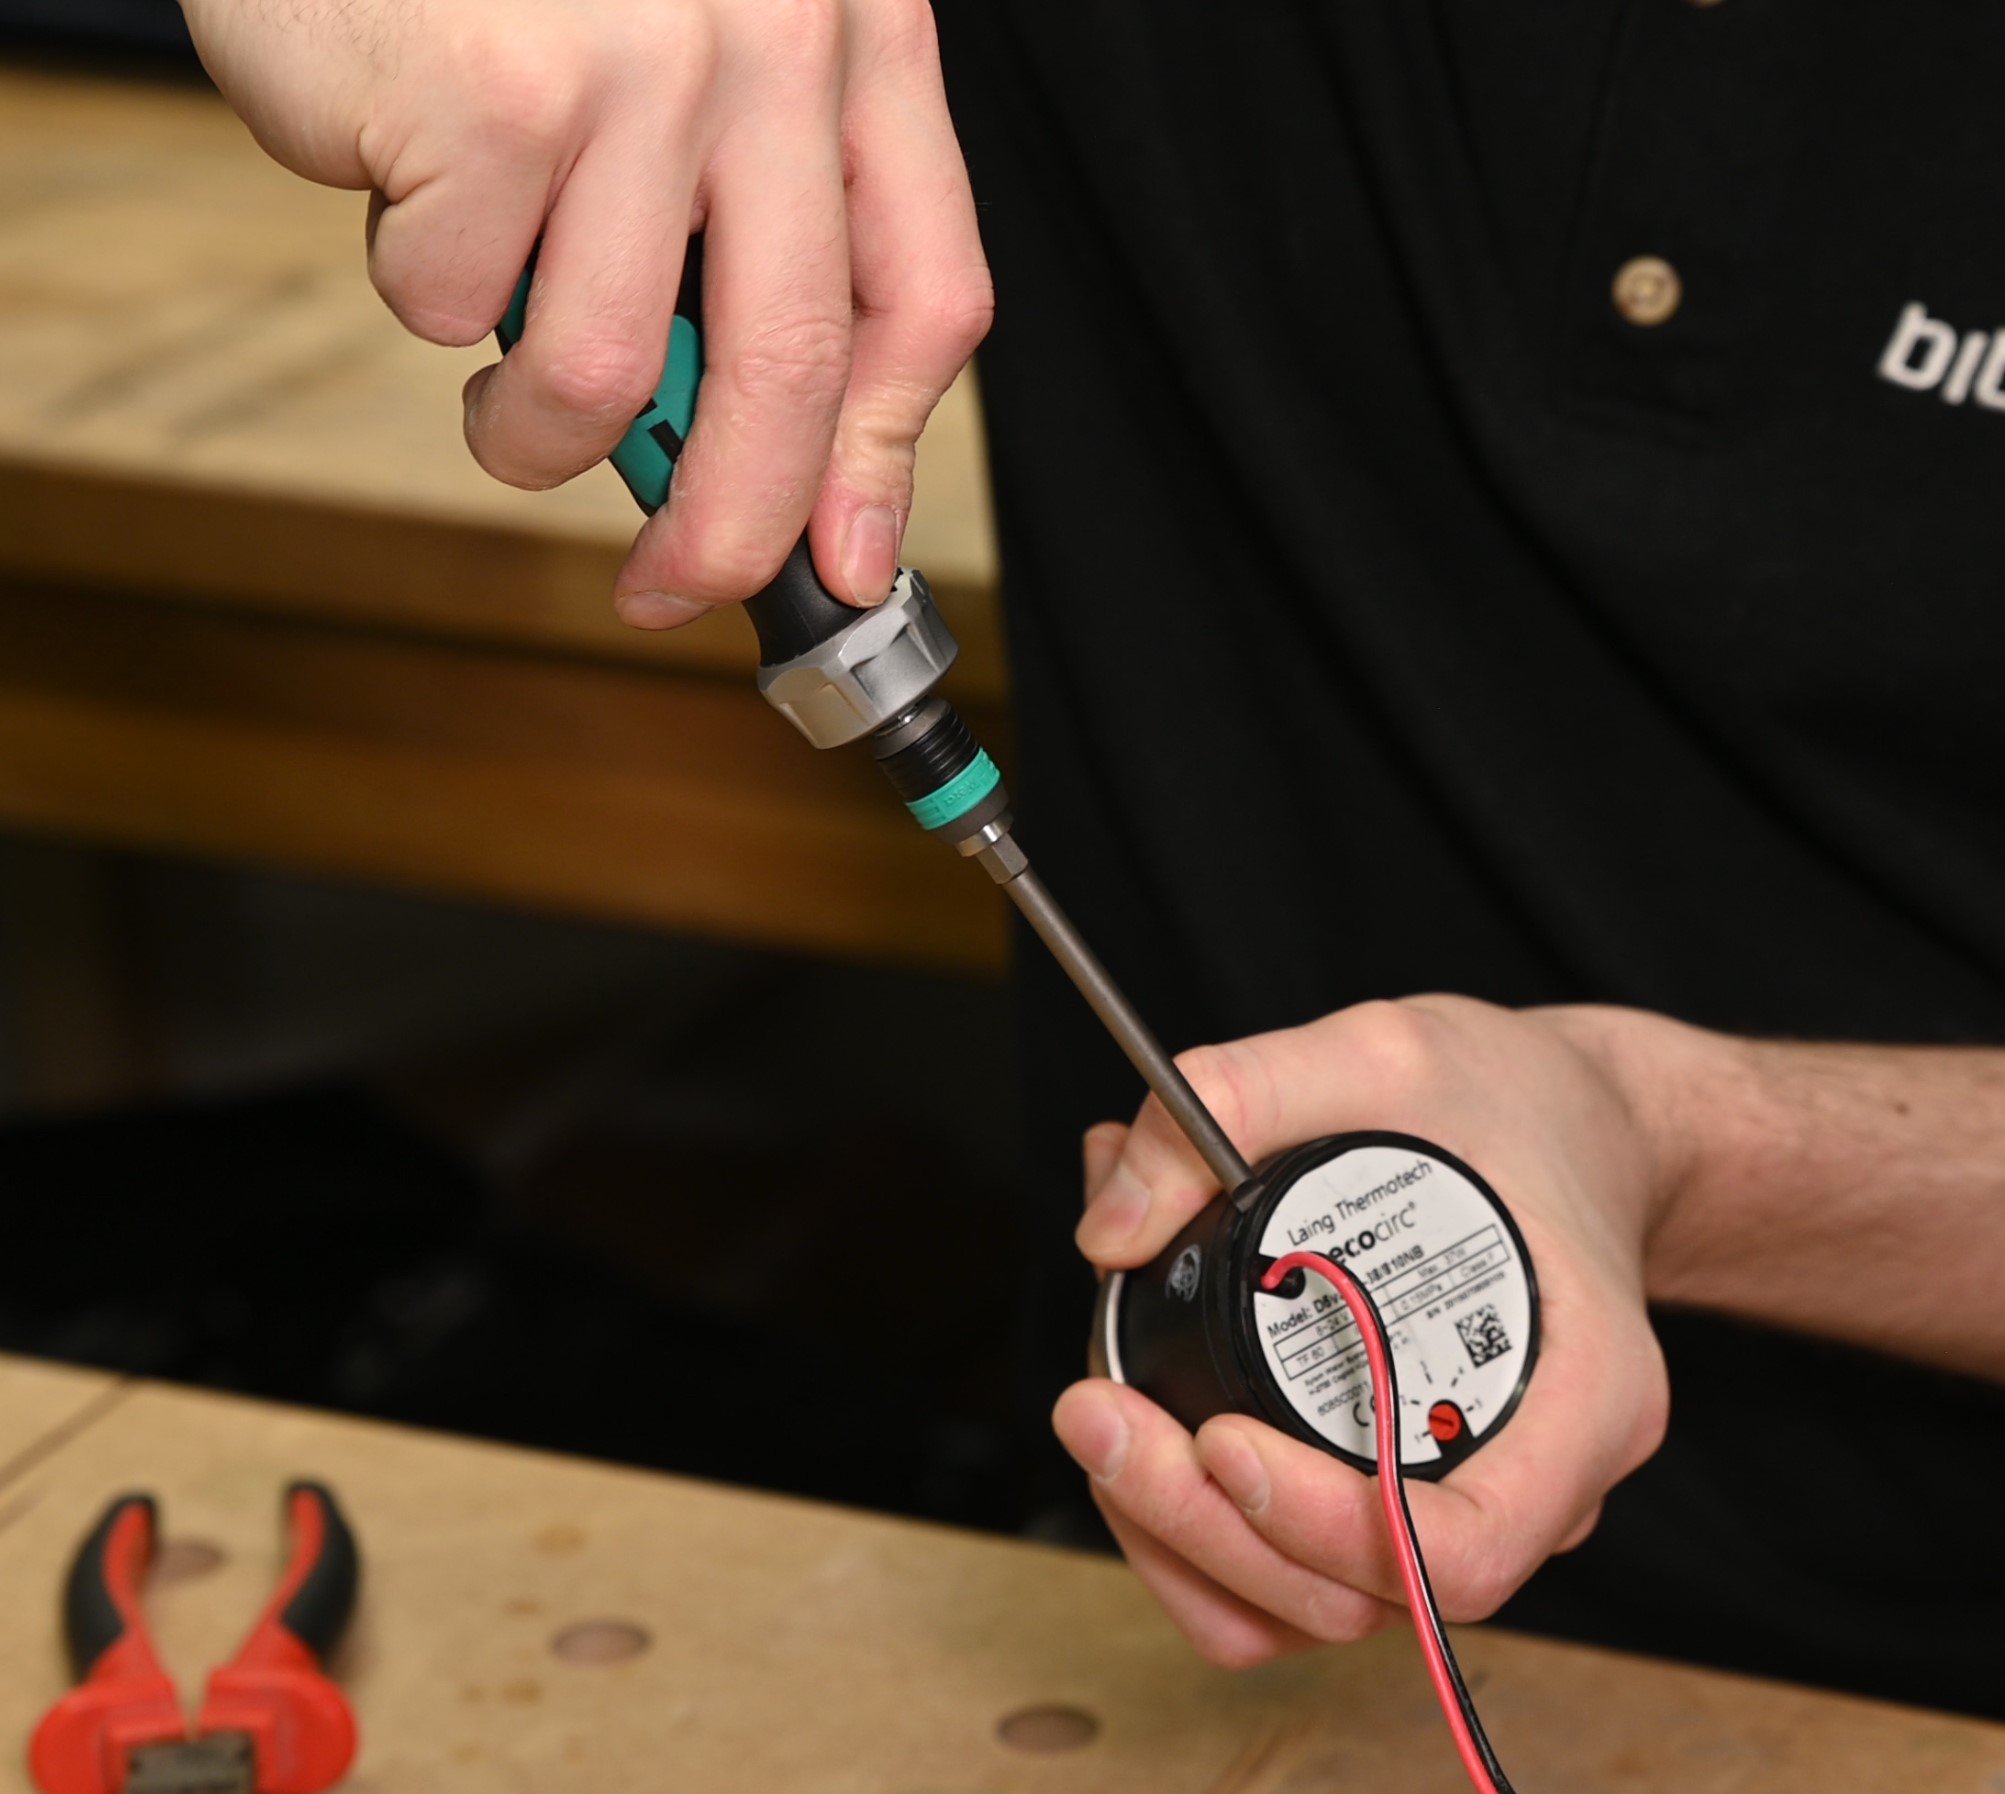
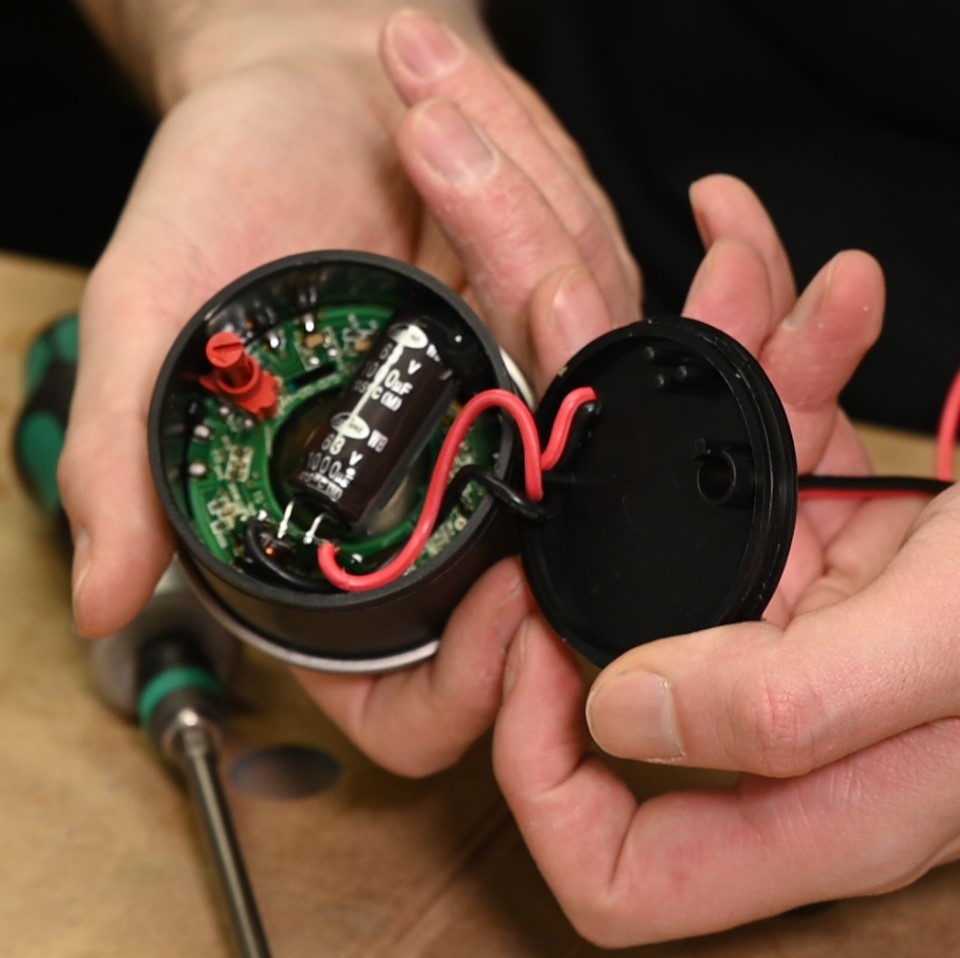
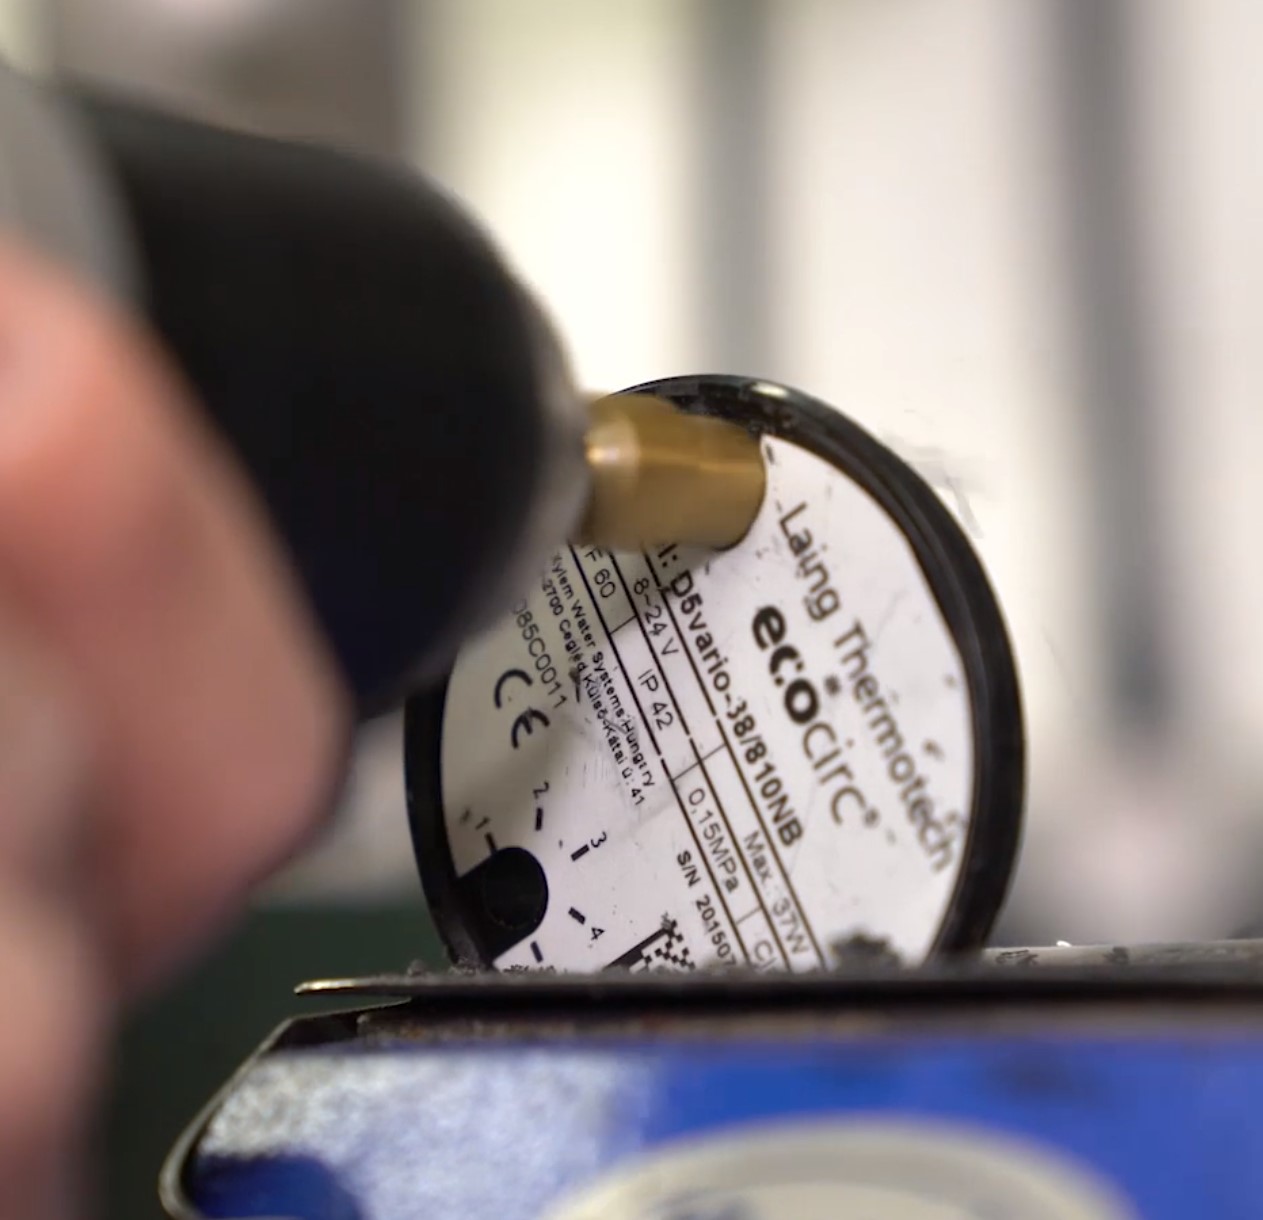
With the wires out of the connector housing, it's time to open up our pump. Take your flat tool/screwdriver and gently pry around the edge of the pump; you'll see there is a small ridge there where the tool can gain purchase. The back of the pump should come off without much difficulty; it's only snapped into place. You'll want to unhook any wires from the staying pins inside then slide the back along the wires to separate it from the unit. If you have a D5 Vario, just be careful of your speed dial, as that's held in place by the back, and it can fall out if you tilt the pump a lot. You can just put it back in place later, but it'll be no good if it falls out unexpectedly and rolls under something, never to be seen again.
Sleeving the cables will increase their diameter, meaning the hole for the wire won't be large enough. We need to increase this; I found 6mm tends to do the trick for Vario pumps; you may wish to go larger if you have PWM wires too that you're sleeving. By far the easiest way I've tried for this is using a stepped drill. Simply hold the back firmly (clamping to a surface helps a lot here) and drill using the previous hole as the starting point. The stepped drill should cut easily through the plastic and leave you with a neat opening. If you don't have a stepped drill, a regular bit also works, but I found that because the plastic is so soft, it can get caught on the bits and warp a bit leaving a not-so-perfect finish.

It's now time to sleeve the cables. If you previously cut your connector off, be sure to re-crimp the pins! Measure out your sleeve and cut to size, remembering to melt the edges slightly to prevent the sleeve from unravelling. Slide over the wire and pull tight along it's length; you want to make sure that the sleeved section is long enough to reach into the housing, remember, and this should be fairly easy to double check since the original wires will be kinked a little from the internal pins on the pump back.
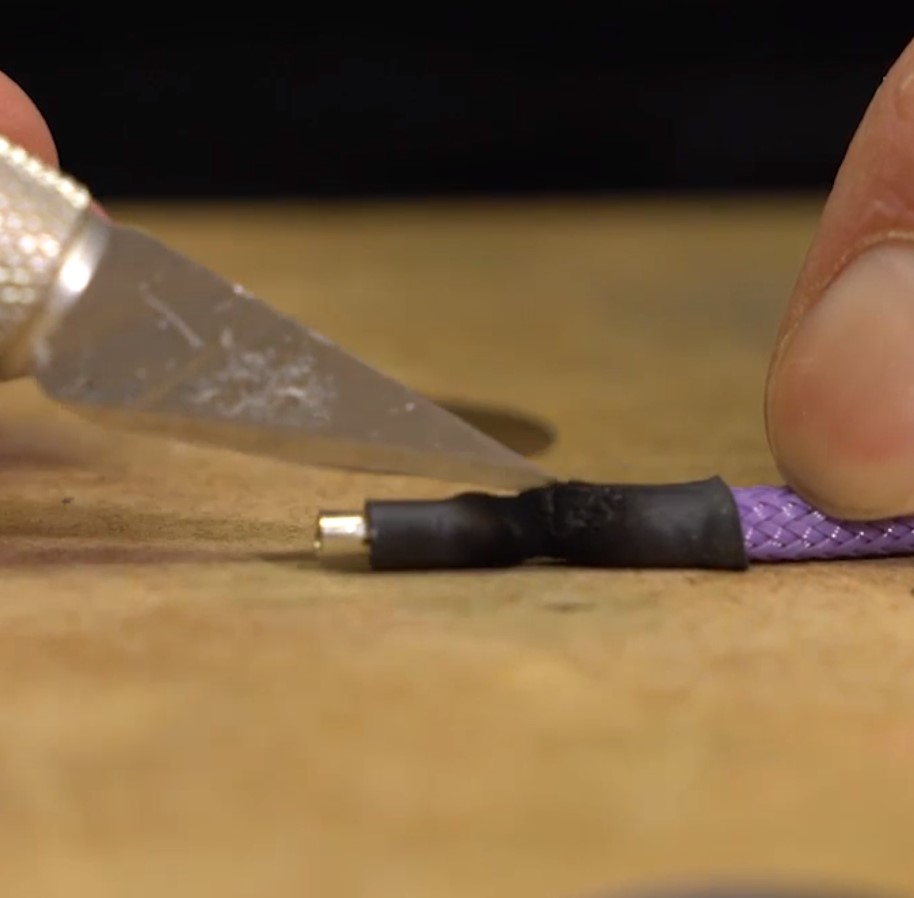
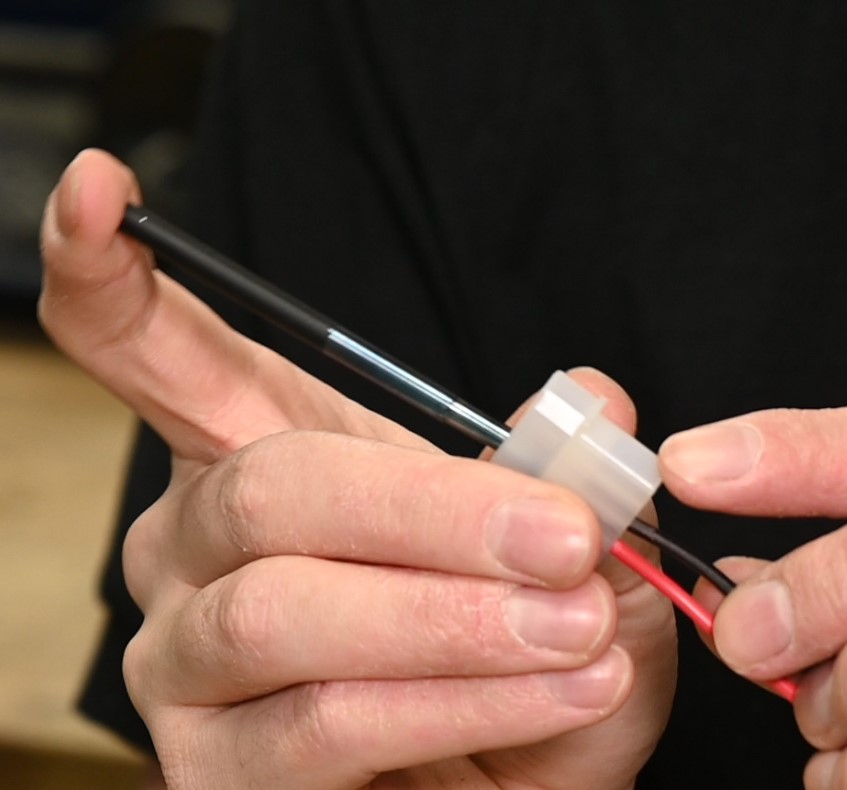
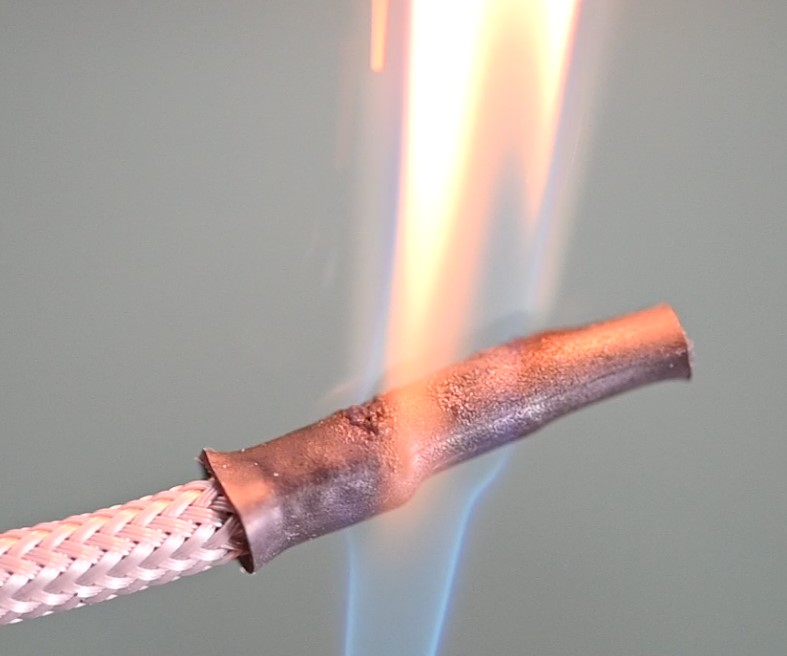
Following the 'heatshrinkless' sleeving method, place some heatshrink on the ends of the wire by the pins, then slightly burn with the lighter. By burning the heatshrink, it constricts but also melts the sleeve underneath, leaving a well-formed cone of melted plastic just behind the pin, this provides ample support for the sleeving material when you pull on it. You can either rip the heatshrink off the end with some pliers or slice it and peel off. I've definitely become a fan of the slicing method recently, as it means you can remove the heatshrink when it's cool, which tends to leave a really pretty melted cone. It's also not really much slower; if doing a big cable like a 24-pin, you can heatshrink all the wires in one go, then remove the shrink in one go without swapping tools and so on, like a small production chain.
Pull the sleeving tight, then optionally you can apply a little heatshrink at the base by the pump (don't use the lighter for this, the flame is too hot!). I tend not to bother, as I've found the pump back does a good job of holding everything in place, but it's up to you. Simply slide the back of the pump over the wires, clip in place and then place the wires back into the connector. I used this opportunity to swap from a translucent one to a black plastic variety.
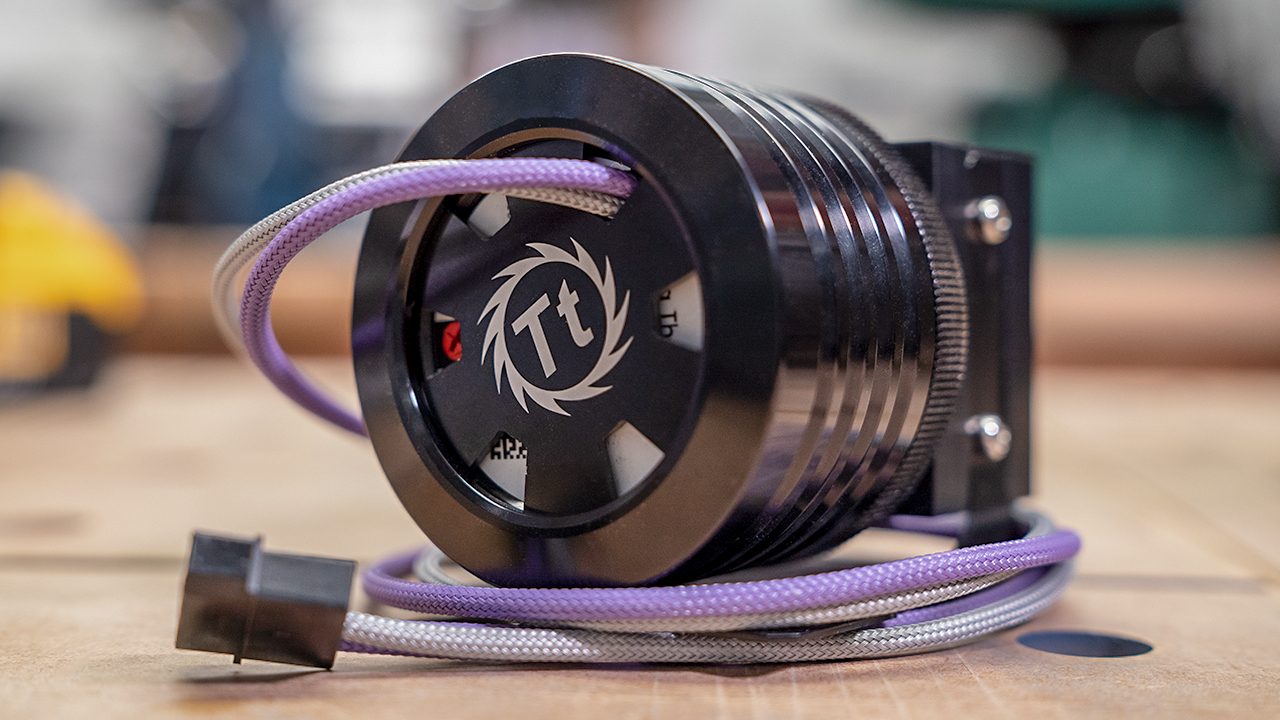
And there you have it! A pump that's now sleeved to match your theme, with the cables running all the way into the housing itself.
RELATED ARTICLES


MSI MPG Velox 100R Chassis Review
October 14 2021 | 15:04

Want to comment? Please log in.