Water-Cooling with Hardline Tubing Guide: PETG and Acrylic
January 26, 2018 | 18:30
Companies: #alphacool #thermaltake
Become a Pro Bender
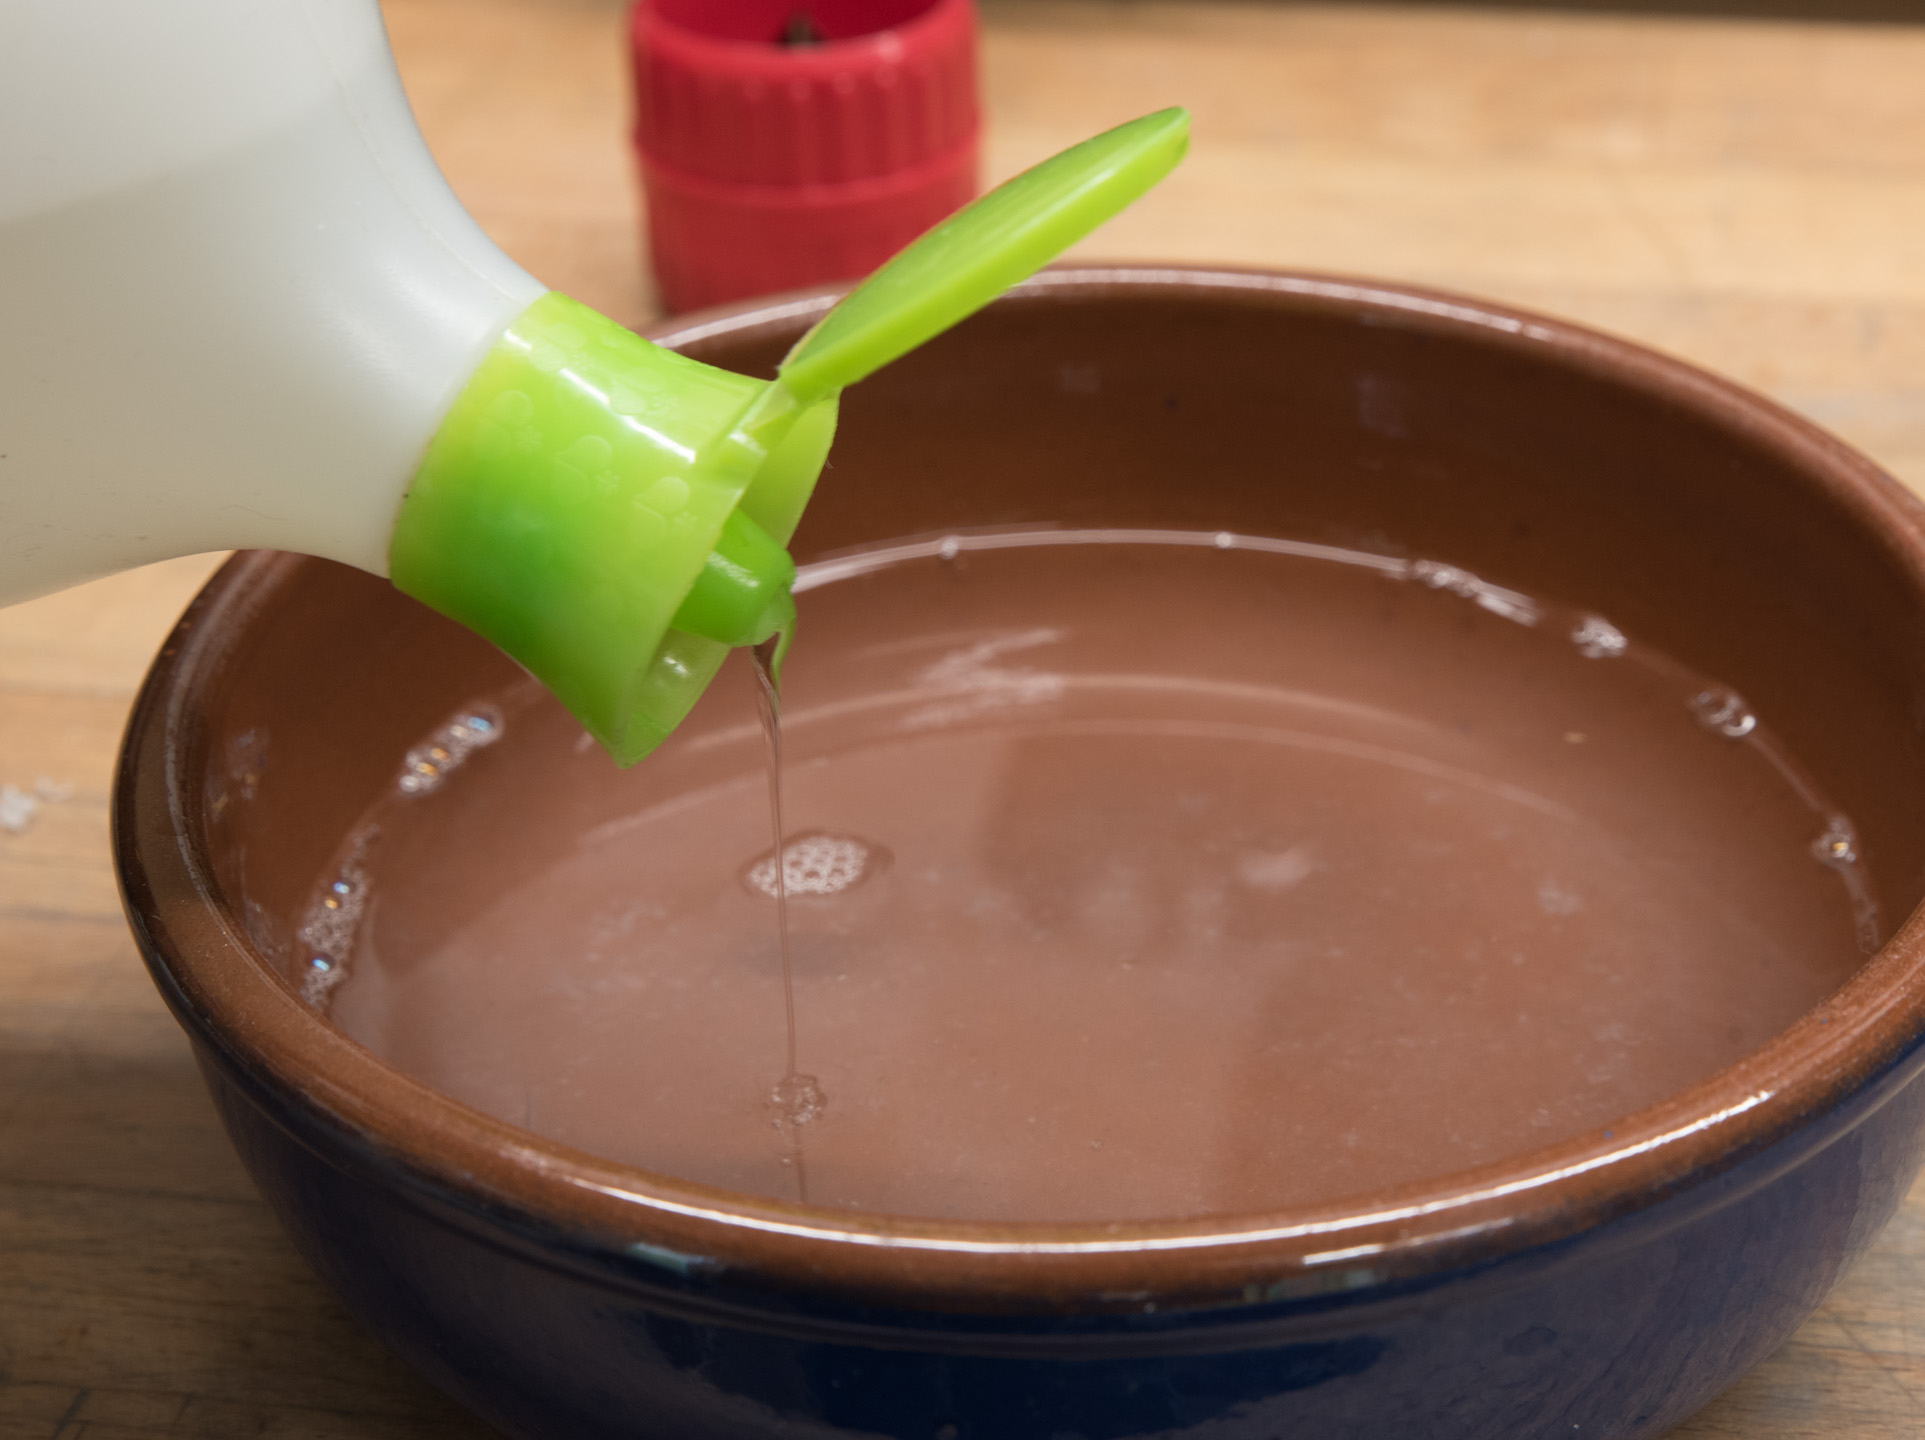
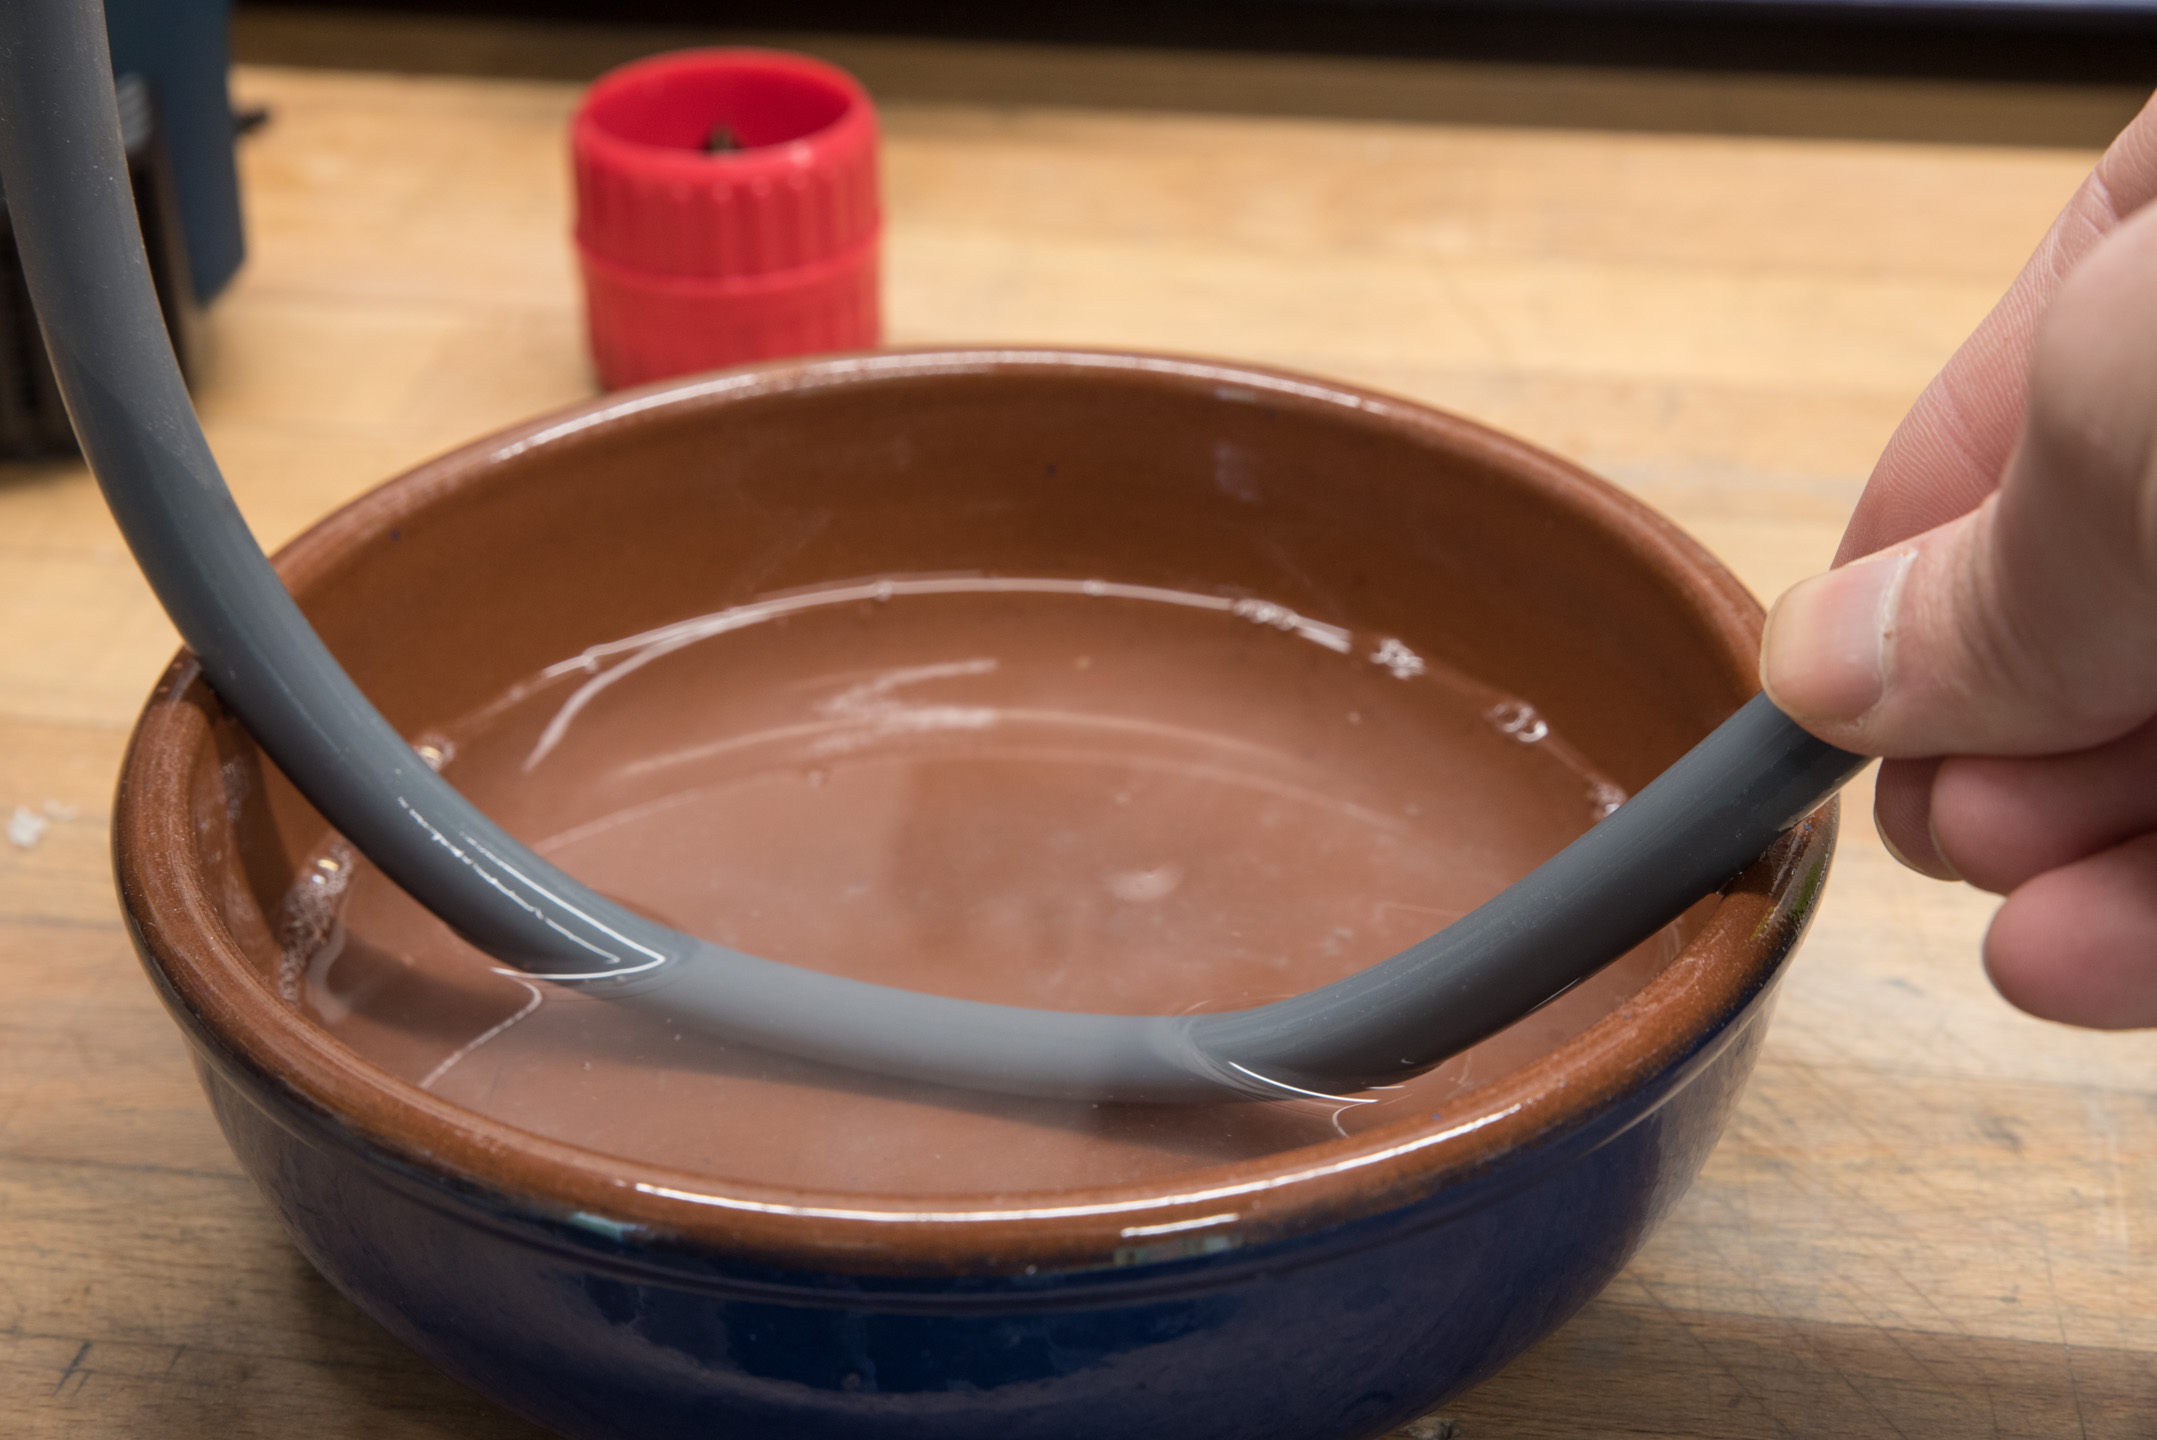
We've got a prepared length of tube, so now let's have a look at how to do the actual bends. This involves heating the tubing until it's reached its glass-transition temperature. First up, though, is inserting the silicon bending cord. This piece of equipment is 100 percent vital to the process, as it stops the tube from collapsing. You need to use one rated the same size as the internal diameter of your tubing. From experience, I fully recommend lubing that thing up, because once inside the tube it can be a pain to remove, especially if you have more than one bend in a run. The simplest way to do this is with some water and a bit of dish soap; I like to keep a dish full of water nearby for this reason.
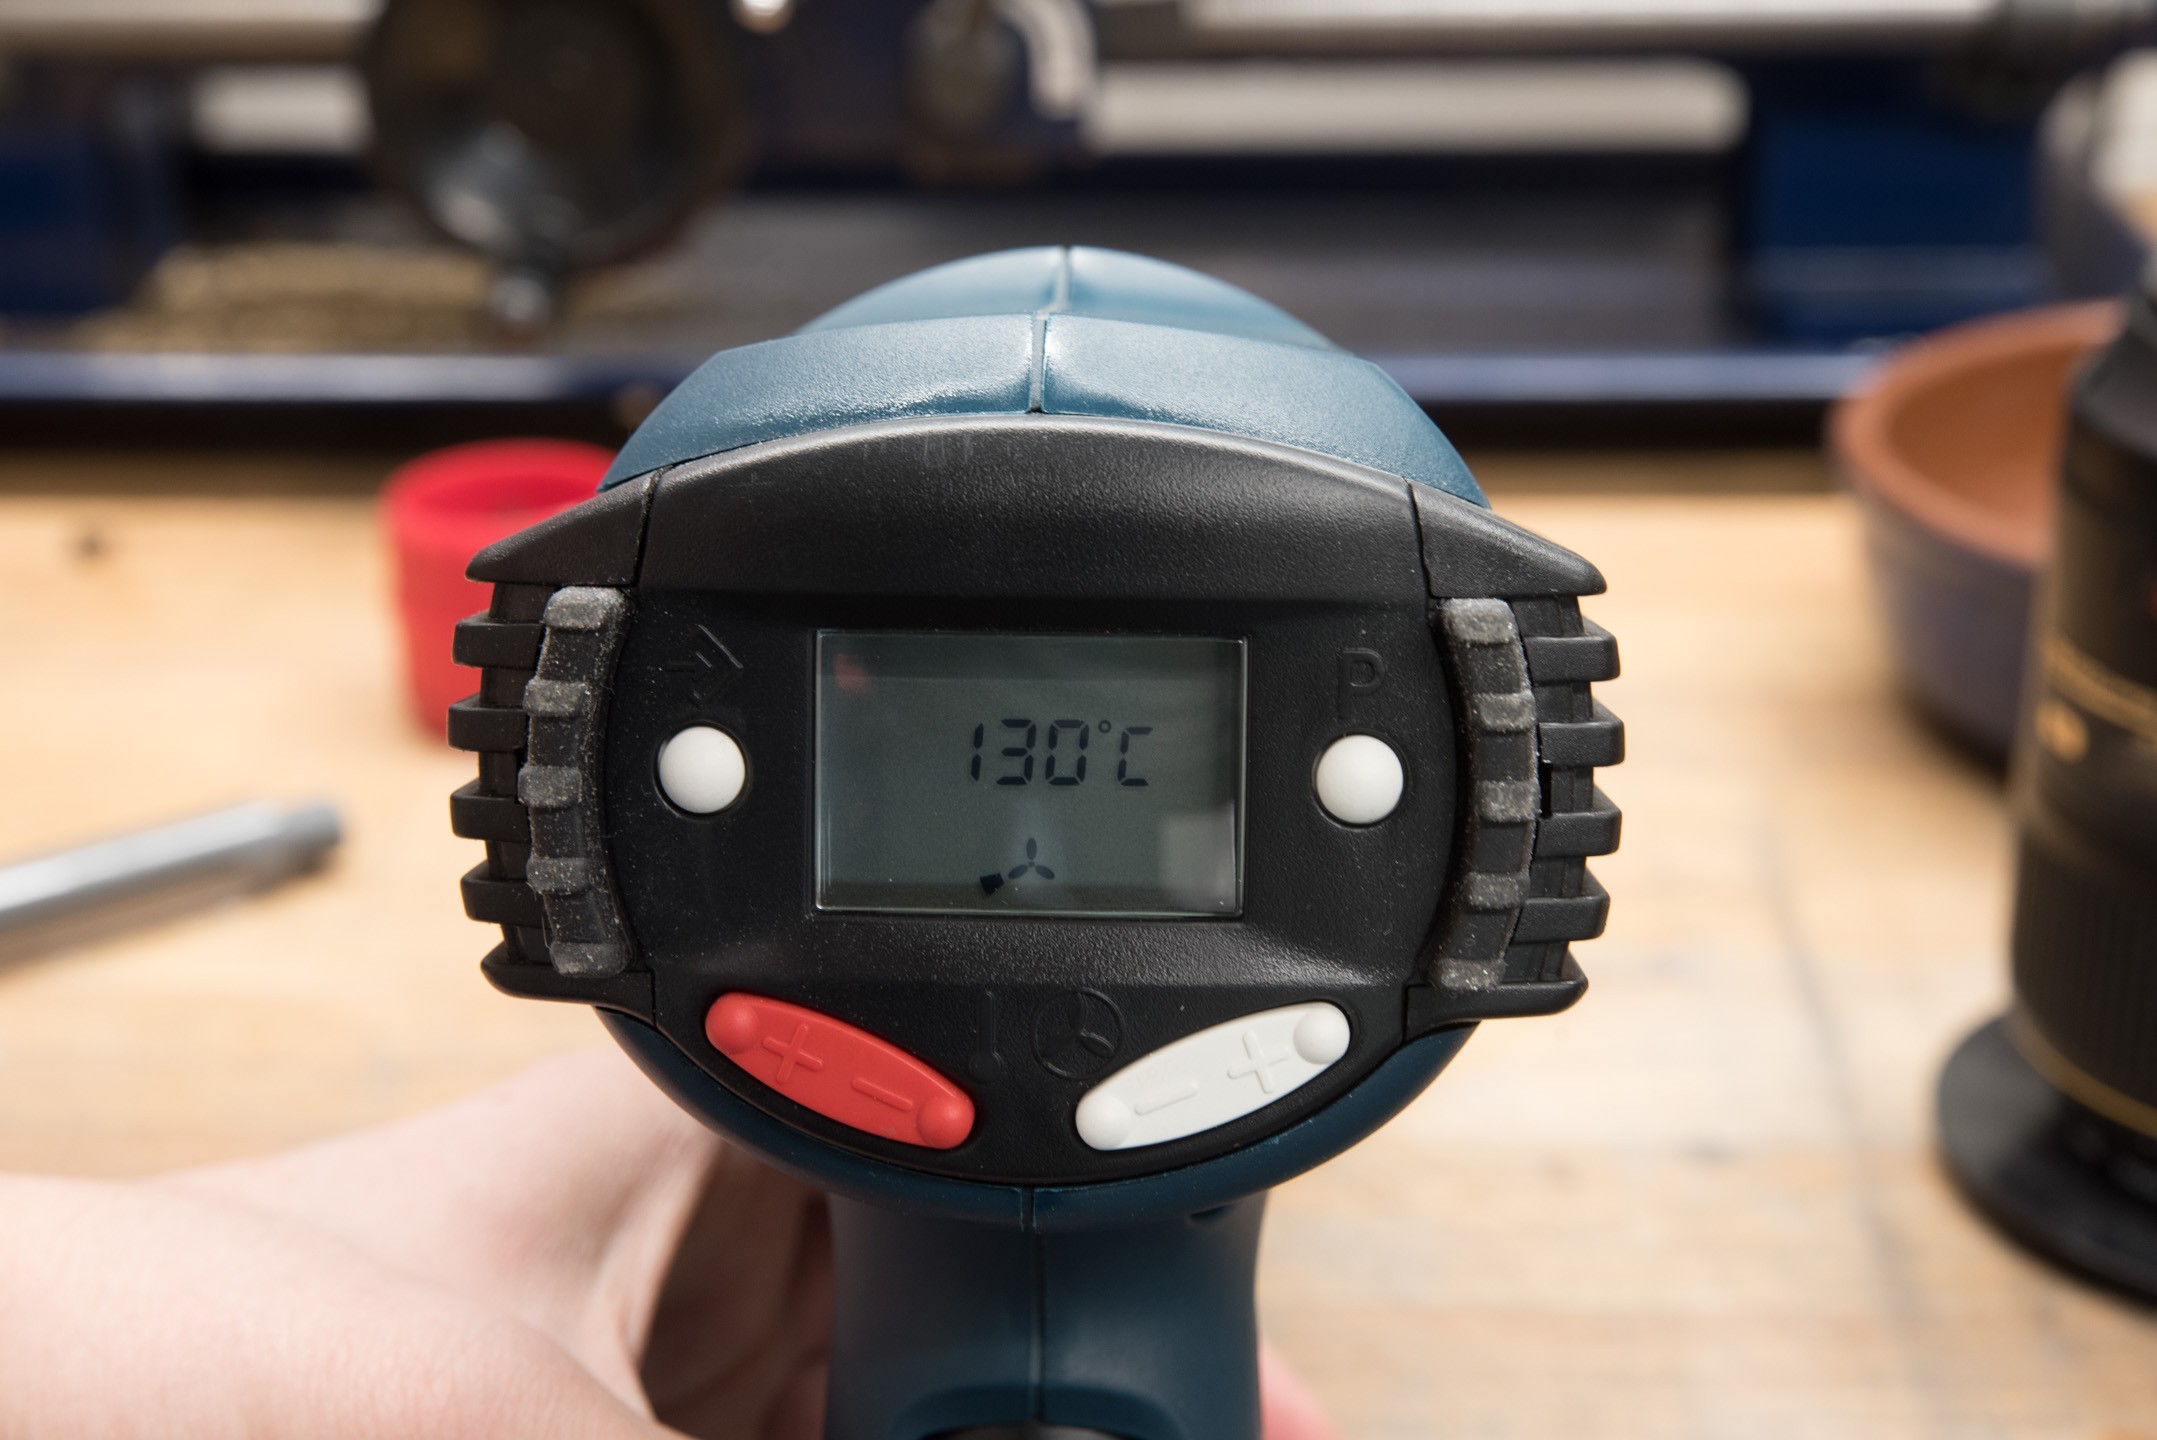
Push the insert into the tube, and we're ready to start heating. If your heat gun has temperature control, set it to between 130-150°C (or a low/medium setting); if it doesn't then you're just going to have to be quite diligent. I like to work with this temperature, as it's close to the glass point, which means you can heat with less of a worry of overdoing it - I'll show you later what happens if you overheat the tubing! If you're looking to grab a new heat gun, be sure to have a look at our Toolbox Guide! Place the heat gun on your surface, facing up, and then hold the tube over the nozzle, about 3-5cm above. It's important to heat the tubing evenly, so rotate it and also move it back and forth so that the heat doesn't concentrate in one small patch.
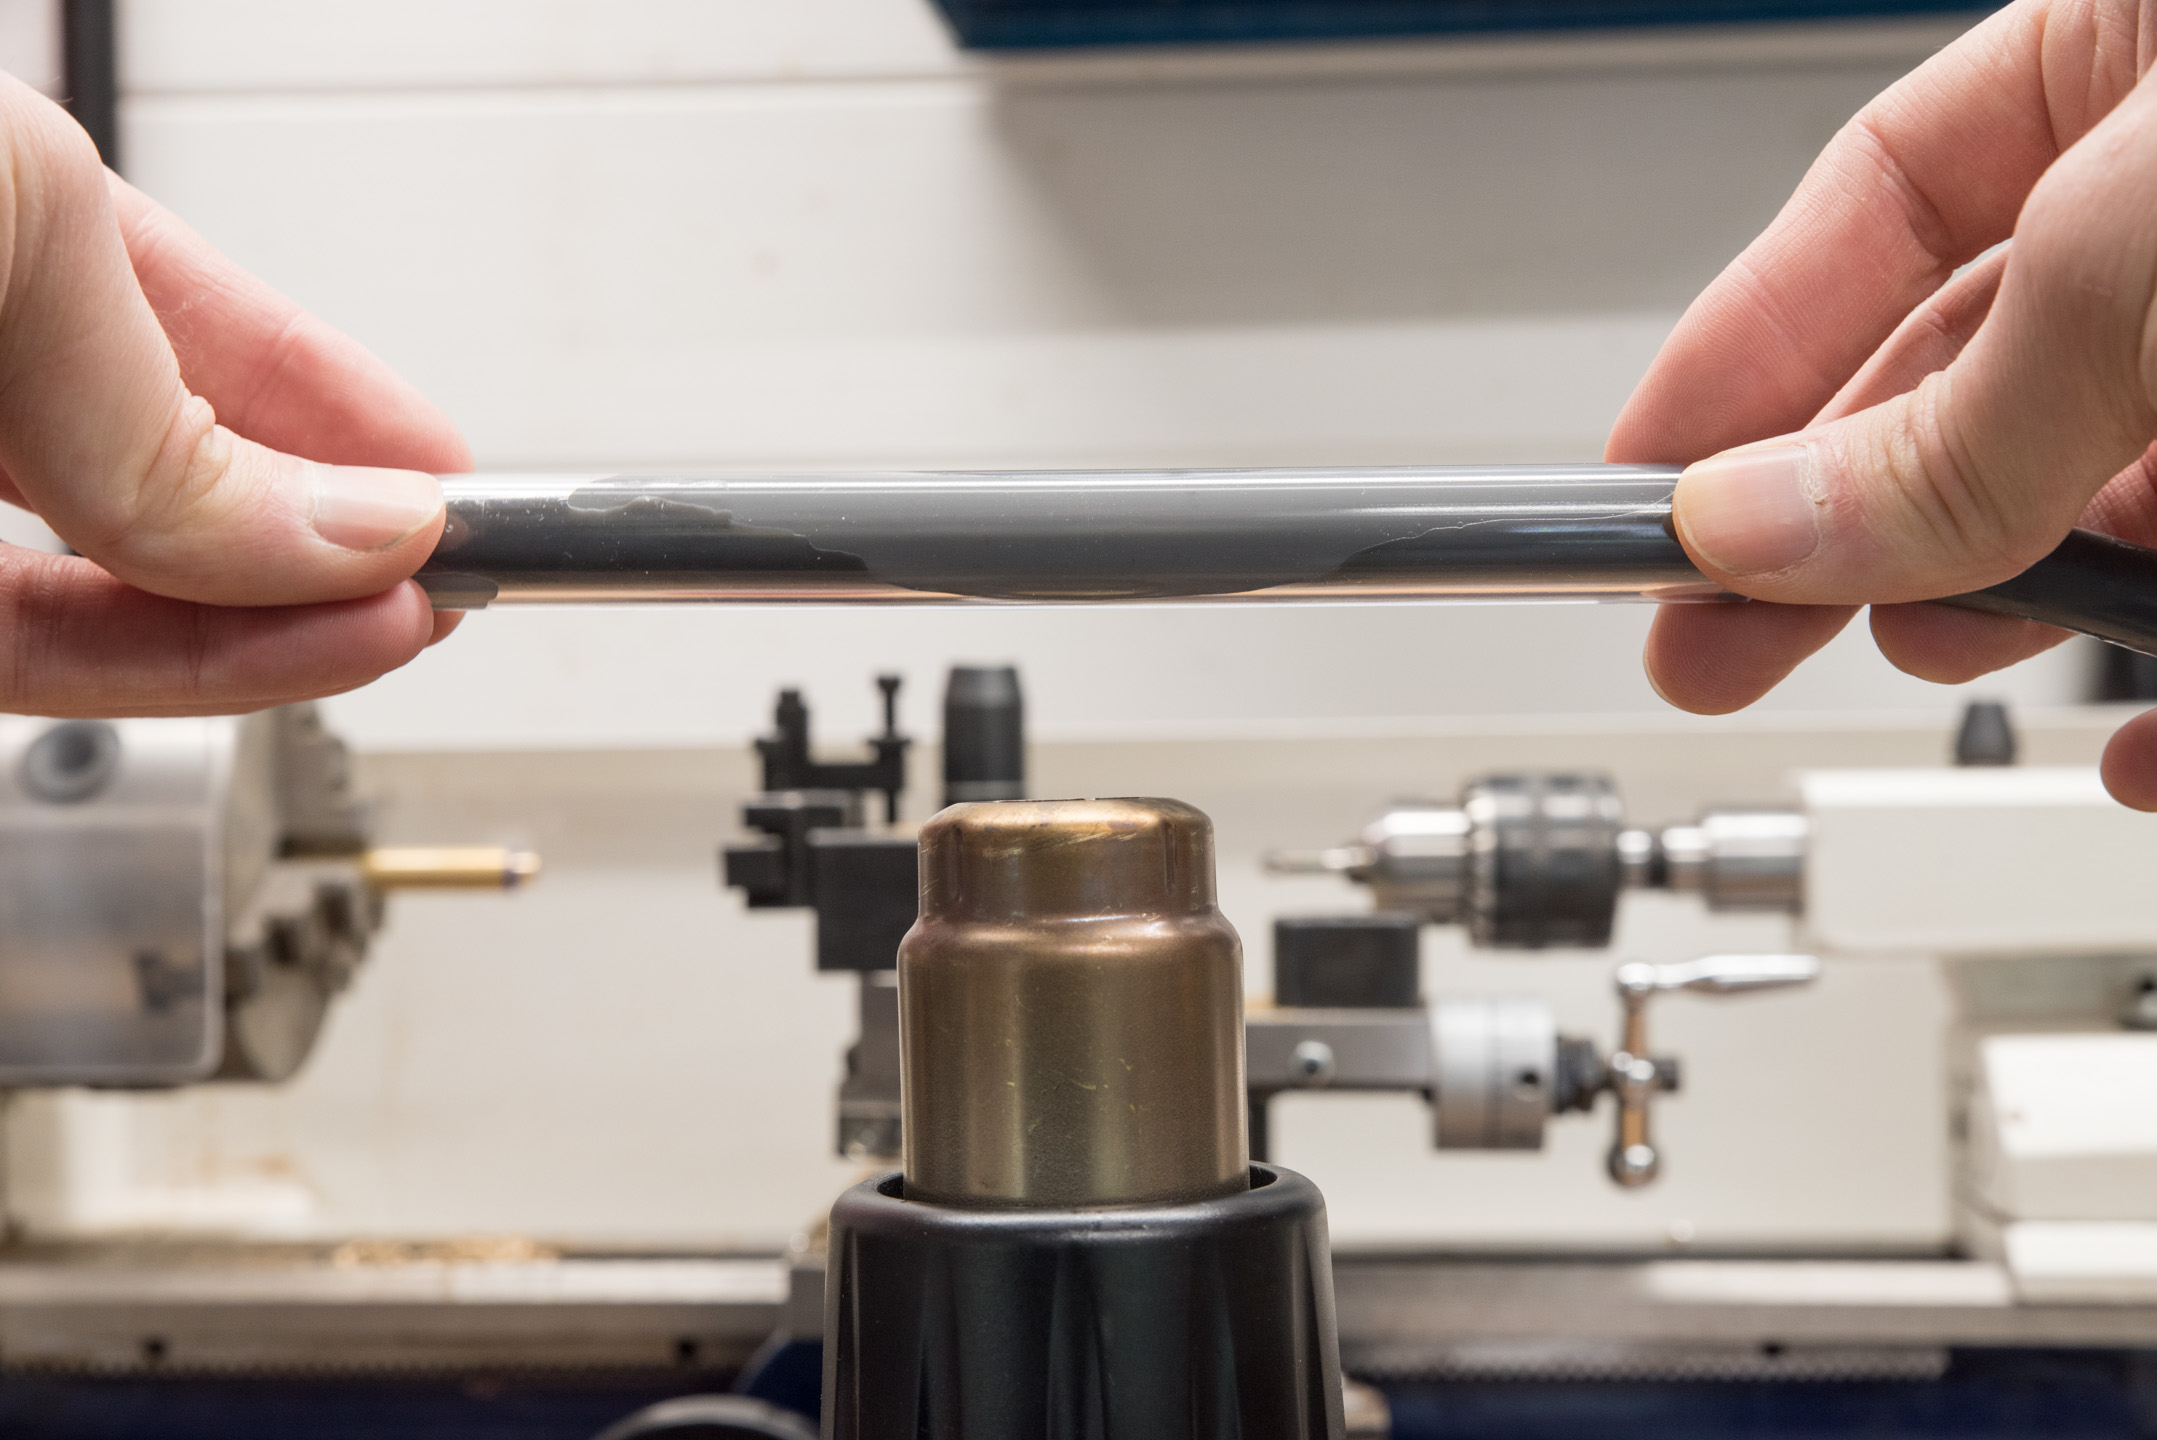
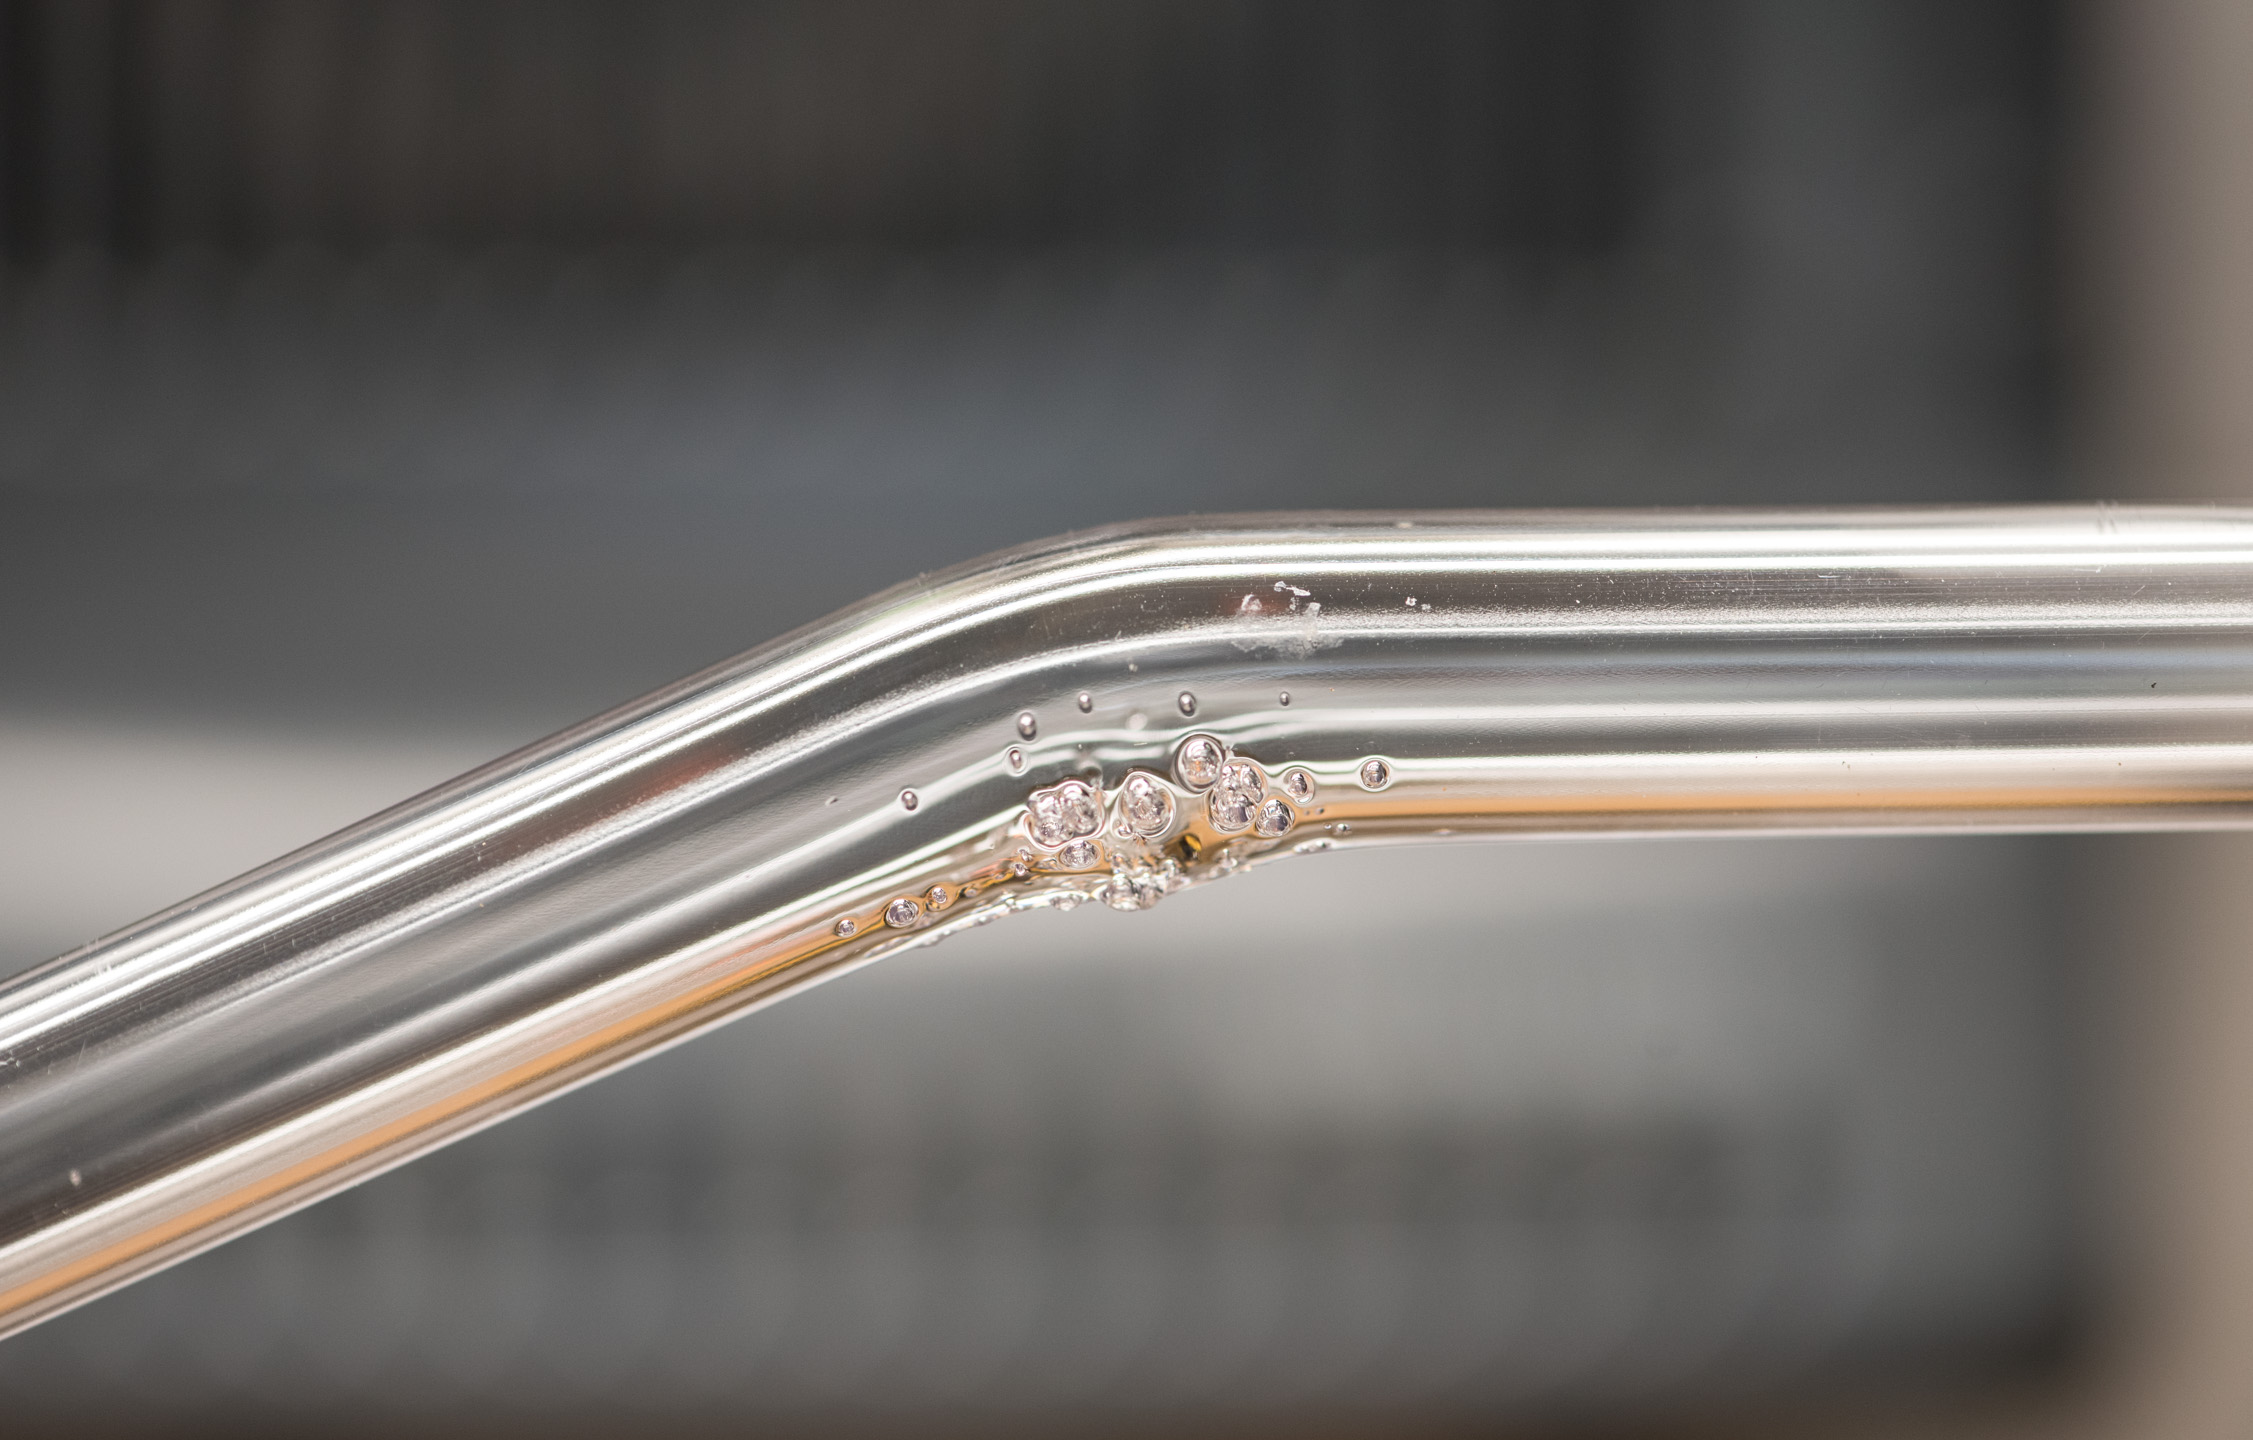
Keep heating until you see very small bubbles beginning to flow from the water around the insert. The tube will start to feel a bit bendy also. This point can sometimes take a bit of practice, especially if working at higher temperatures, as it can arrive pretty fast. If you're going with free-hand bends, remove the tube from the heat and slowly position it into the shape you require. It will remain hot and flexible for a while, so you can either hold still or splash with a little water to cool it faster (it's perfectly safe). Once the tube has cooled you can safely remove the insert, et voilà: You have a formed piece of hardline tube.
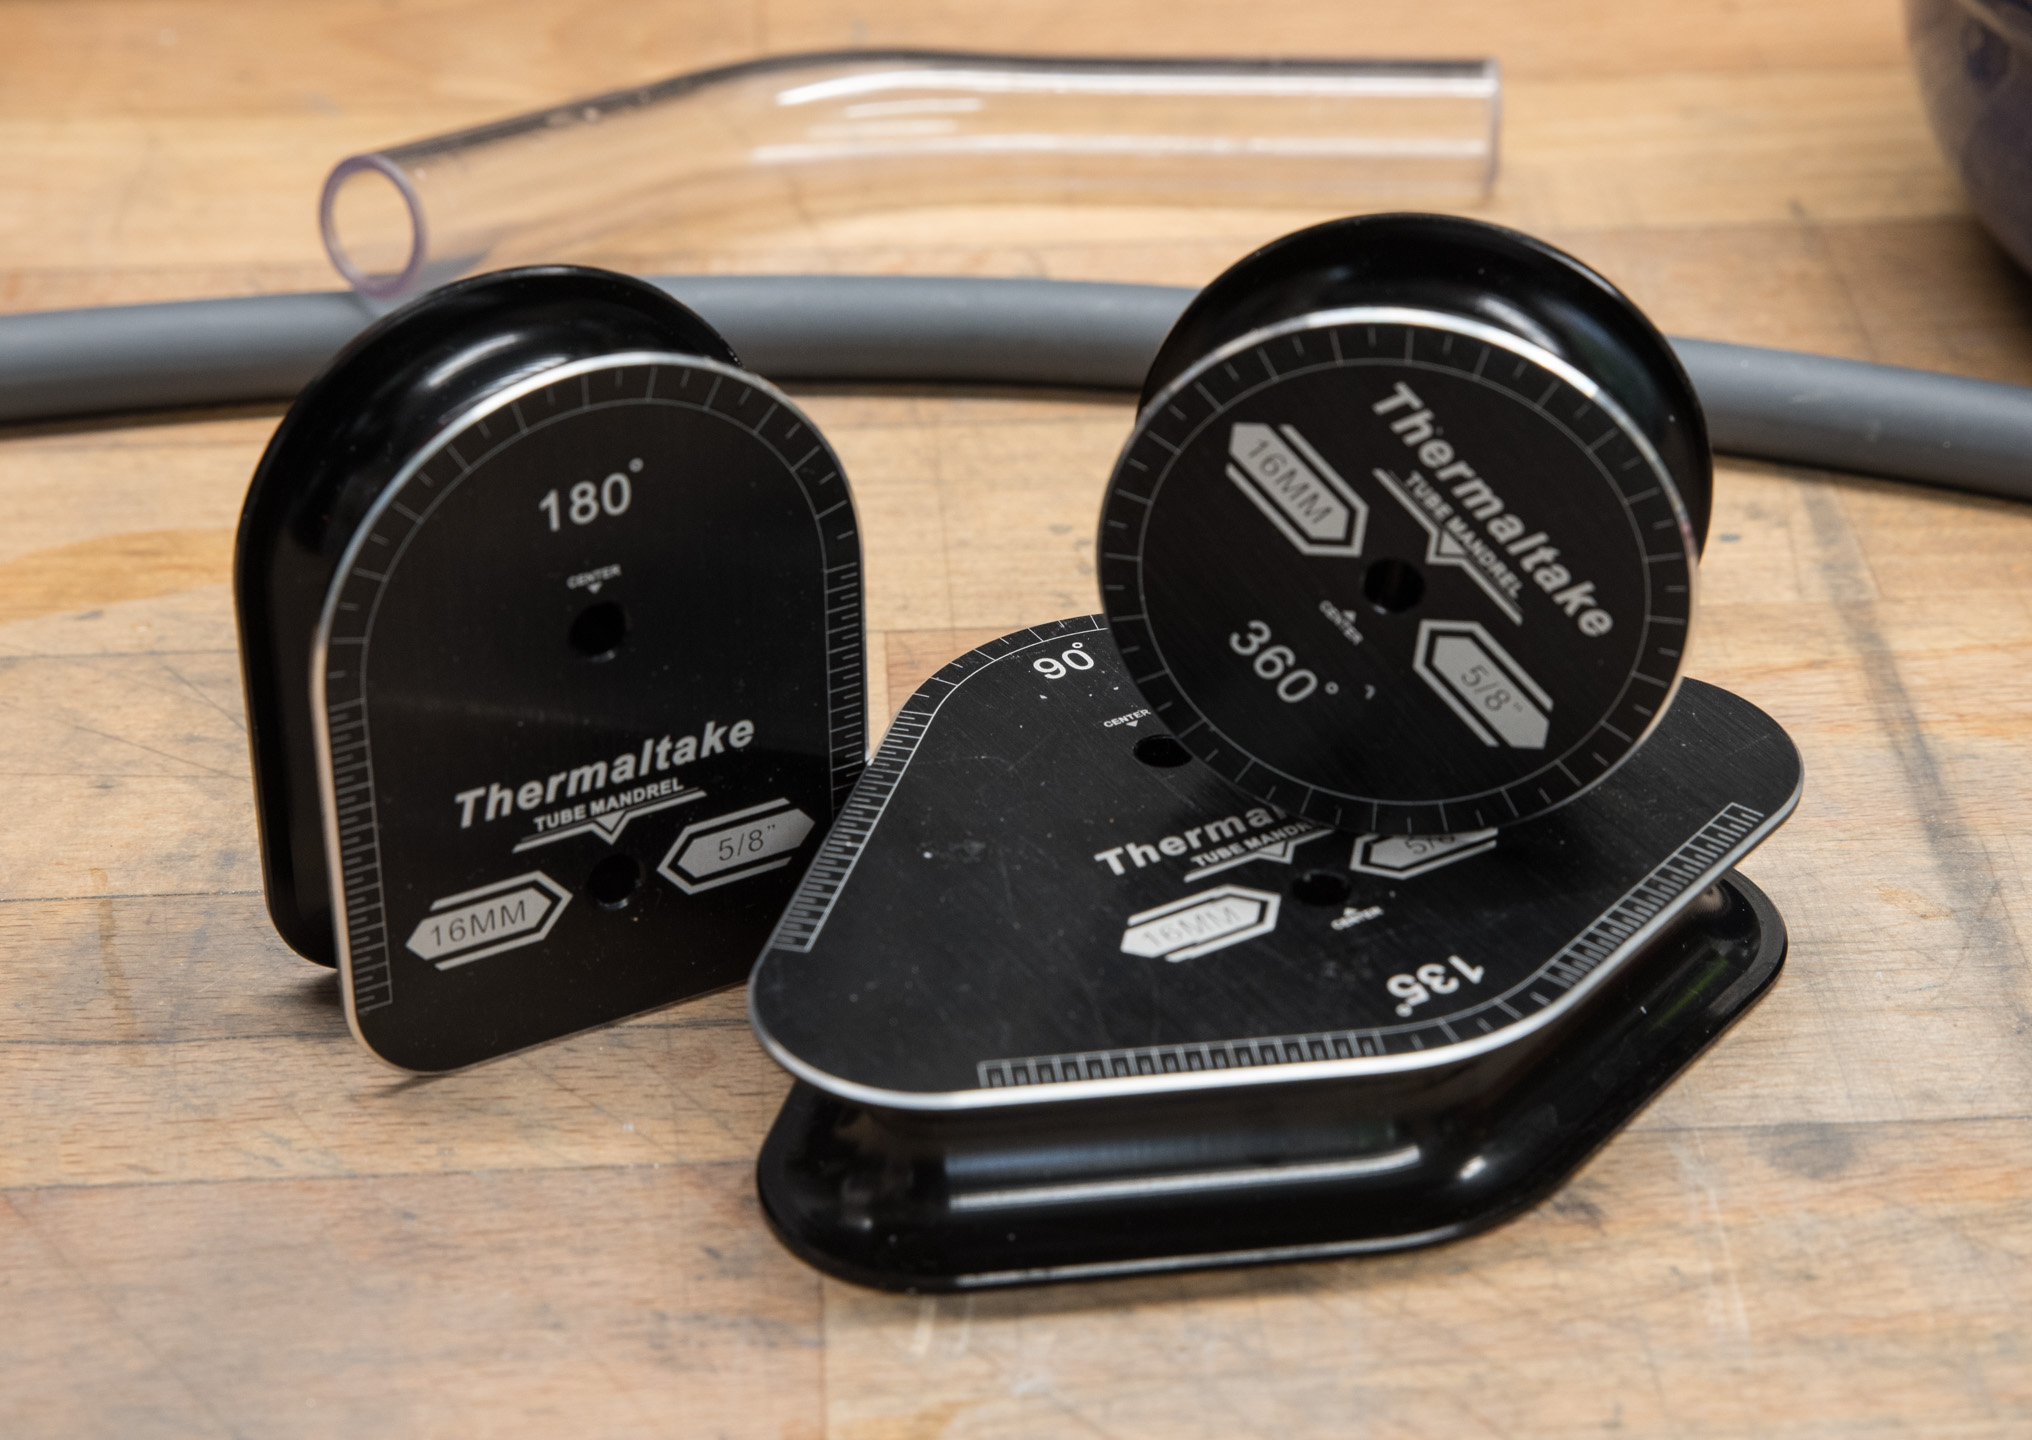
Bending Mandrels and Kits
Whilst not essential (when we started using acrylic tubes these kits didn't exist), bending mandrels can make the process of producing accurate bends much easier. They're particularly helpful if trying to do multiple 90 degree bends with a consistent radius, something not easy to do freehand. A number of kits exist, ranging from simple setups with a few mandrels, a cutter, chamfer tool, and a silicon insert, all the way to the frankly ludicrous Alphacool Eiskoffer with its 3D bending jigs and numerous accessories.
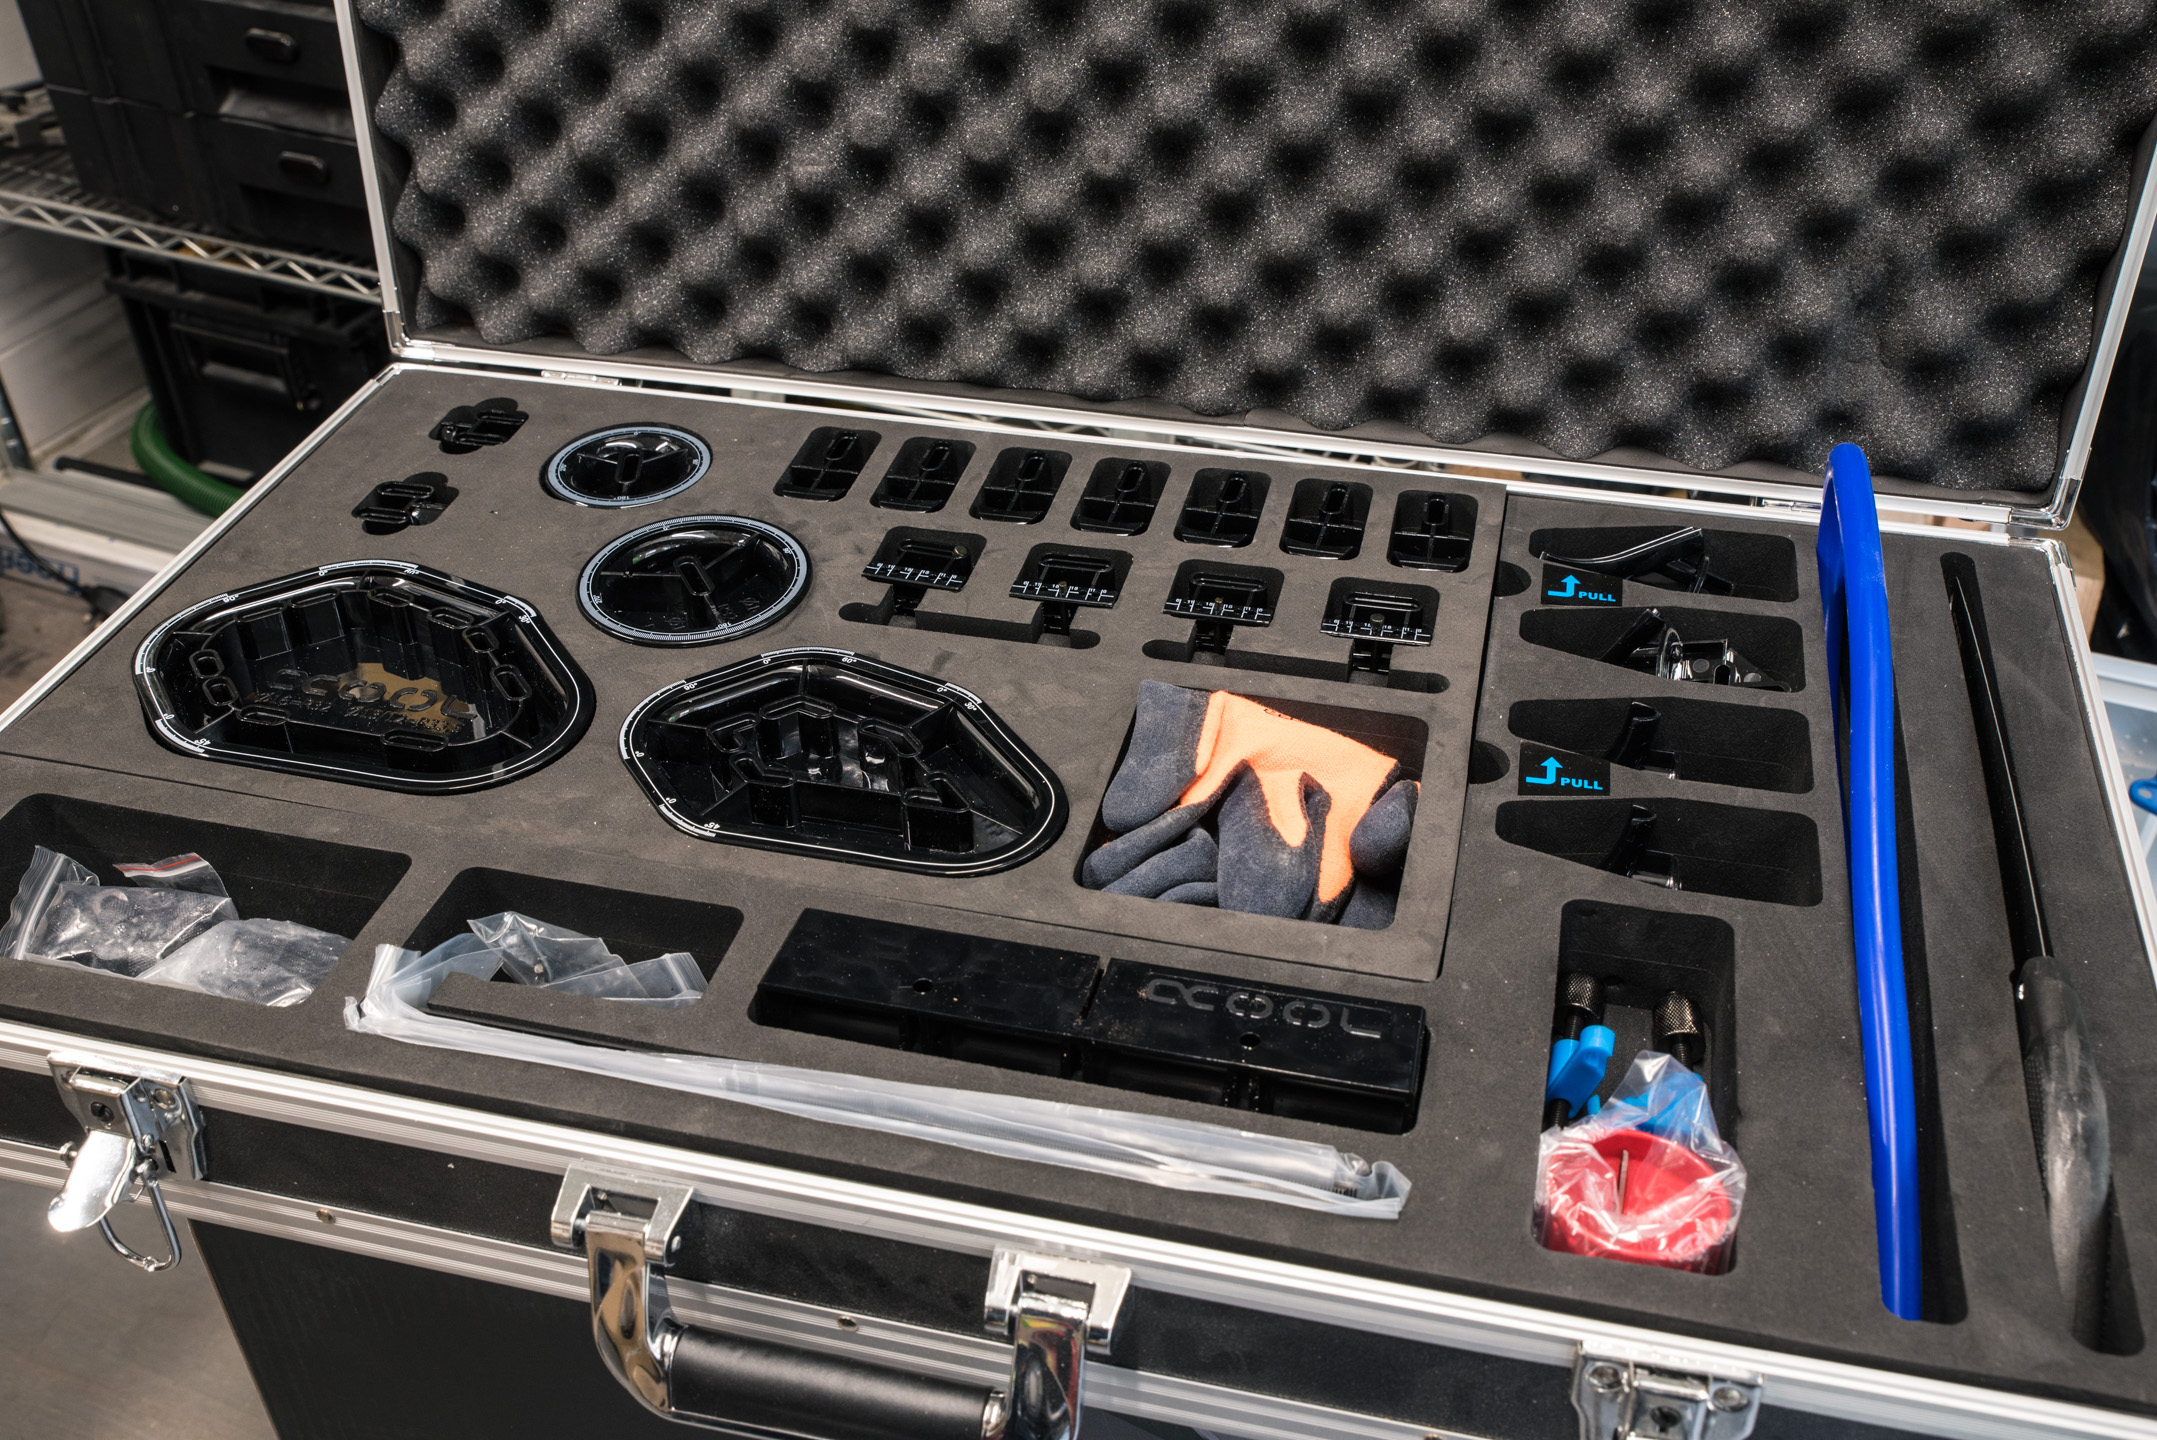
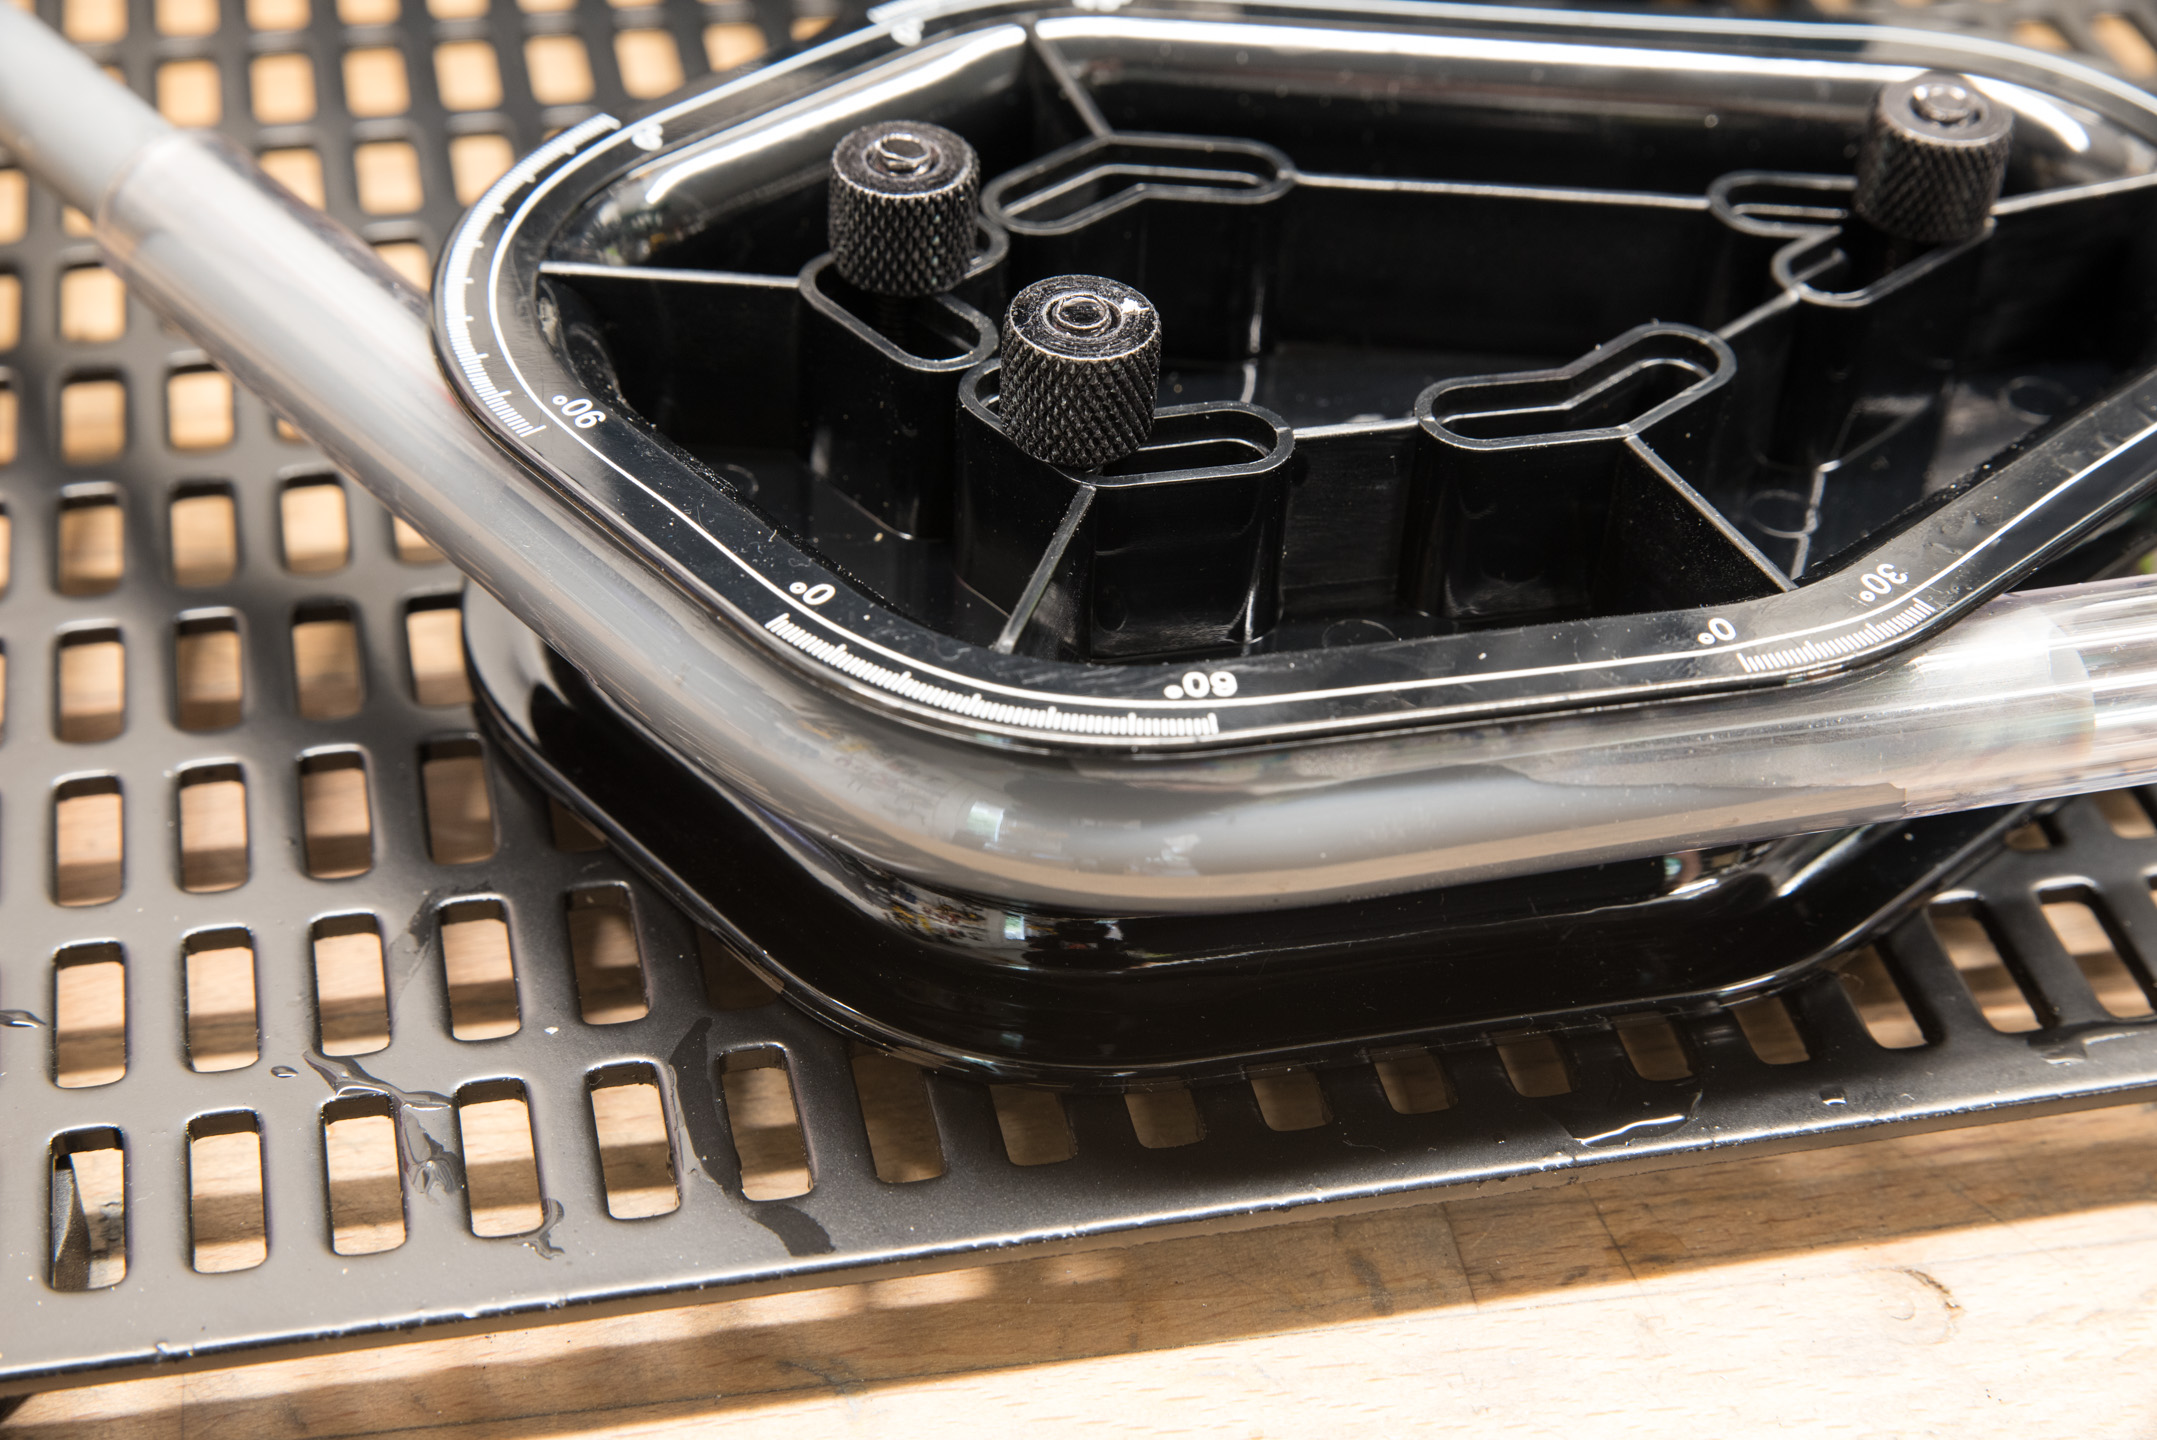
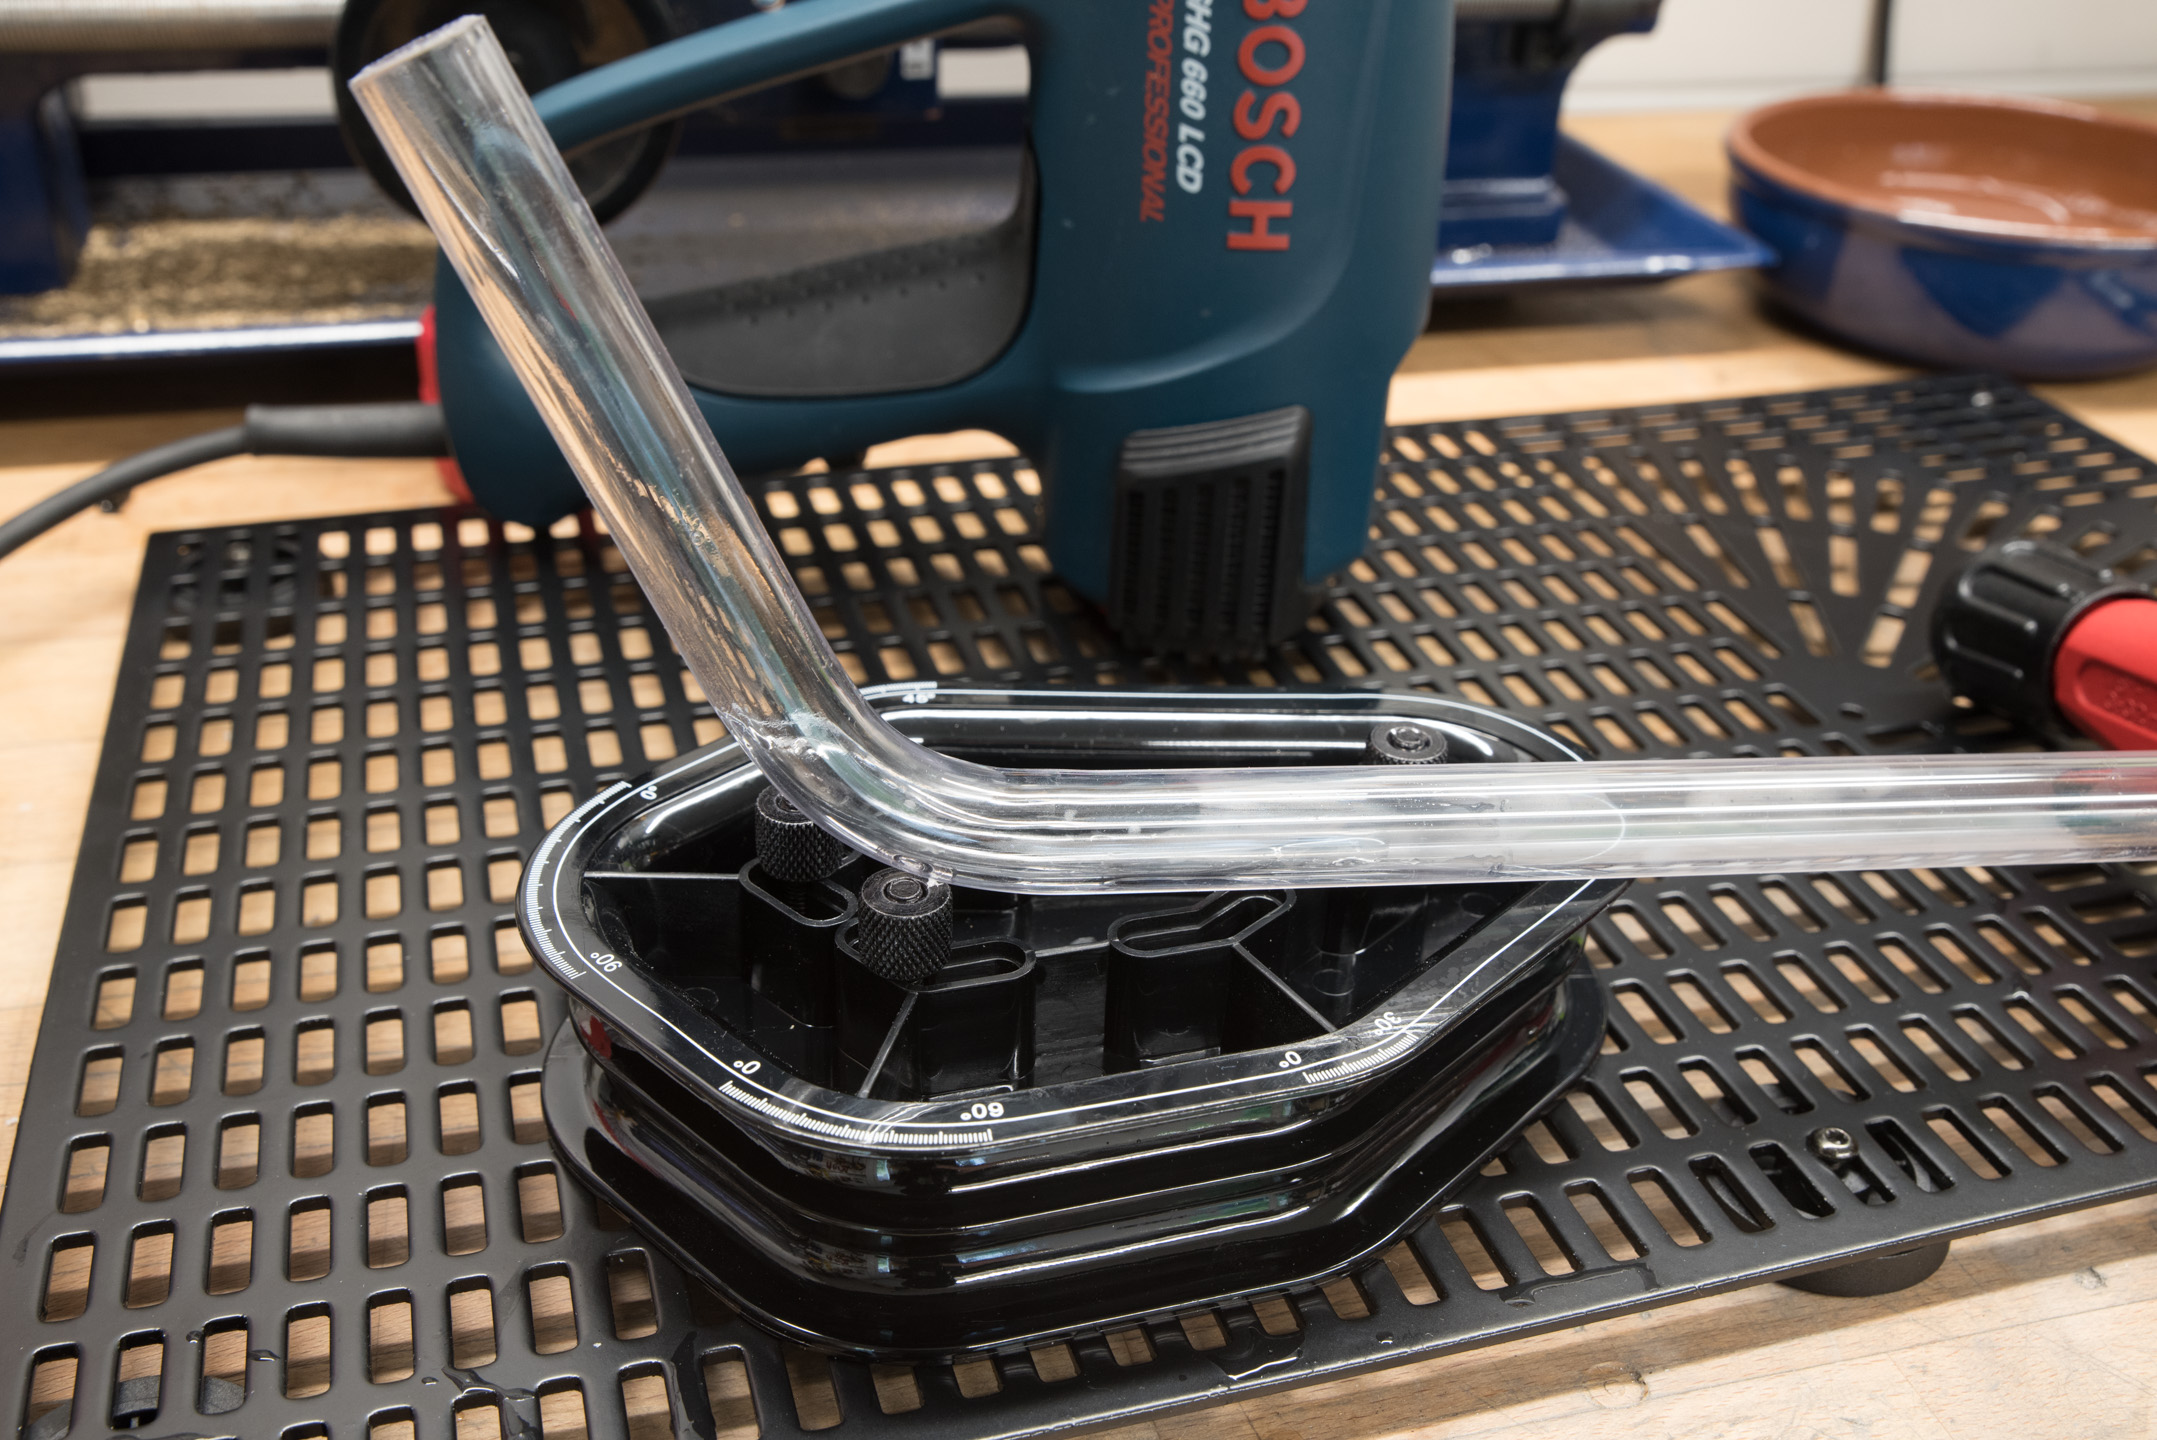
To use the mandrels, it's very simple. As with freehand, heat the tube until flexible, but this time instead of bending manually, carefully bend it around the mandrel of choice and hold it there until cooled and firm. It goes without saying that you should use a mandrel designed for your tubing size; using the wrong one can be either less effective or damage the curve of the bend. Likewise, it helps to secure the mandrels to the surface for this, although it's not essential. For the photos I used the Eiskoffer, as it has a handy metal grid included for this purpose.
Heated to Destruction!
I mentioned earlier that I would show what happens when you overheat the tube. Well, here you go.
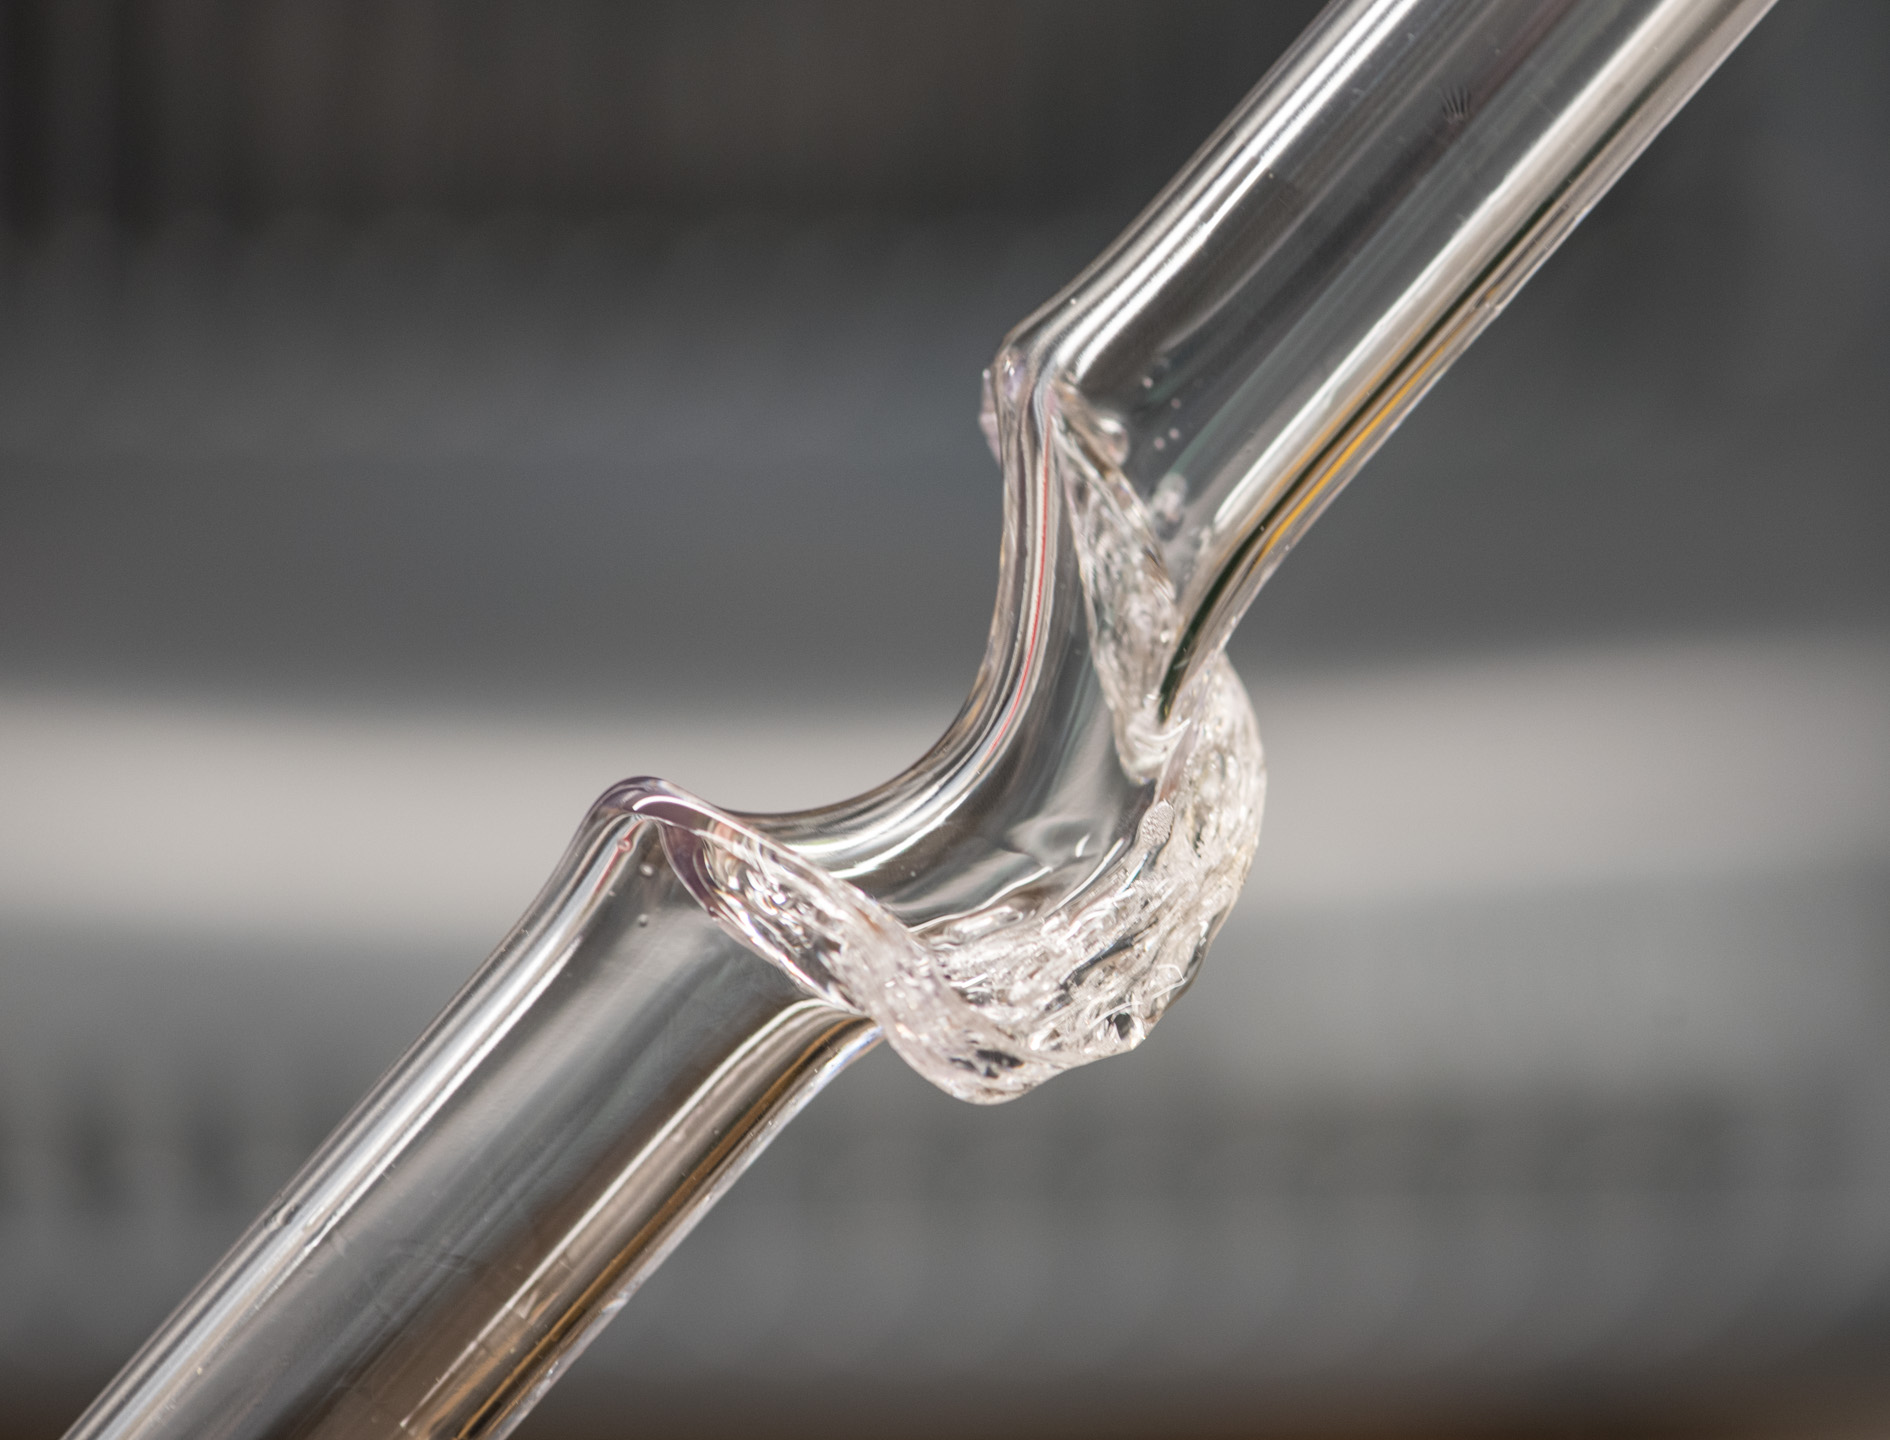
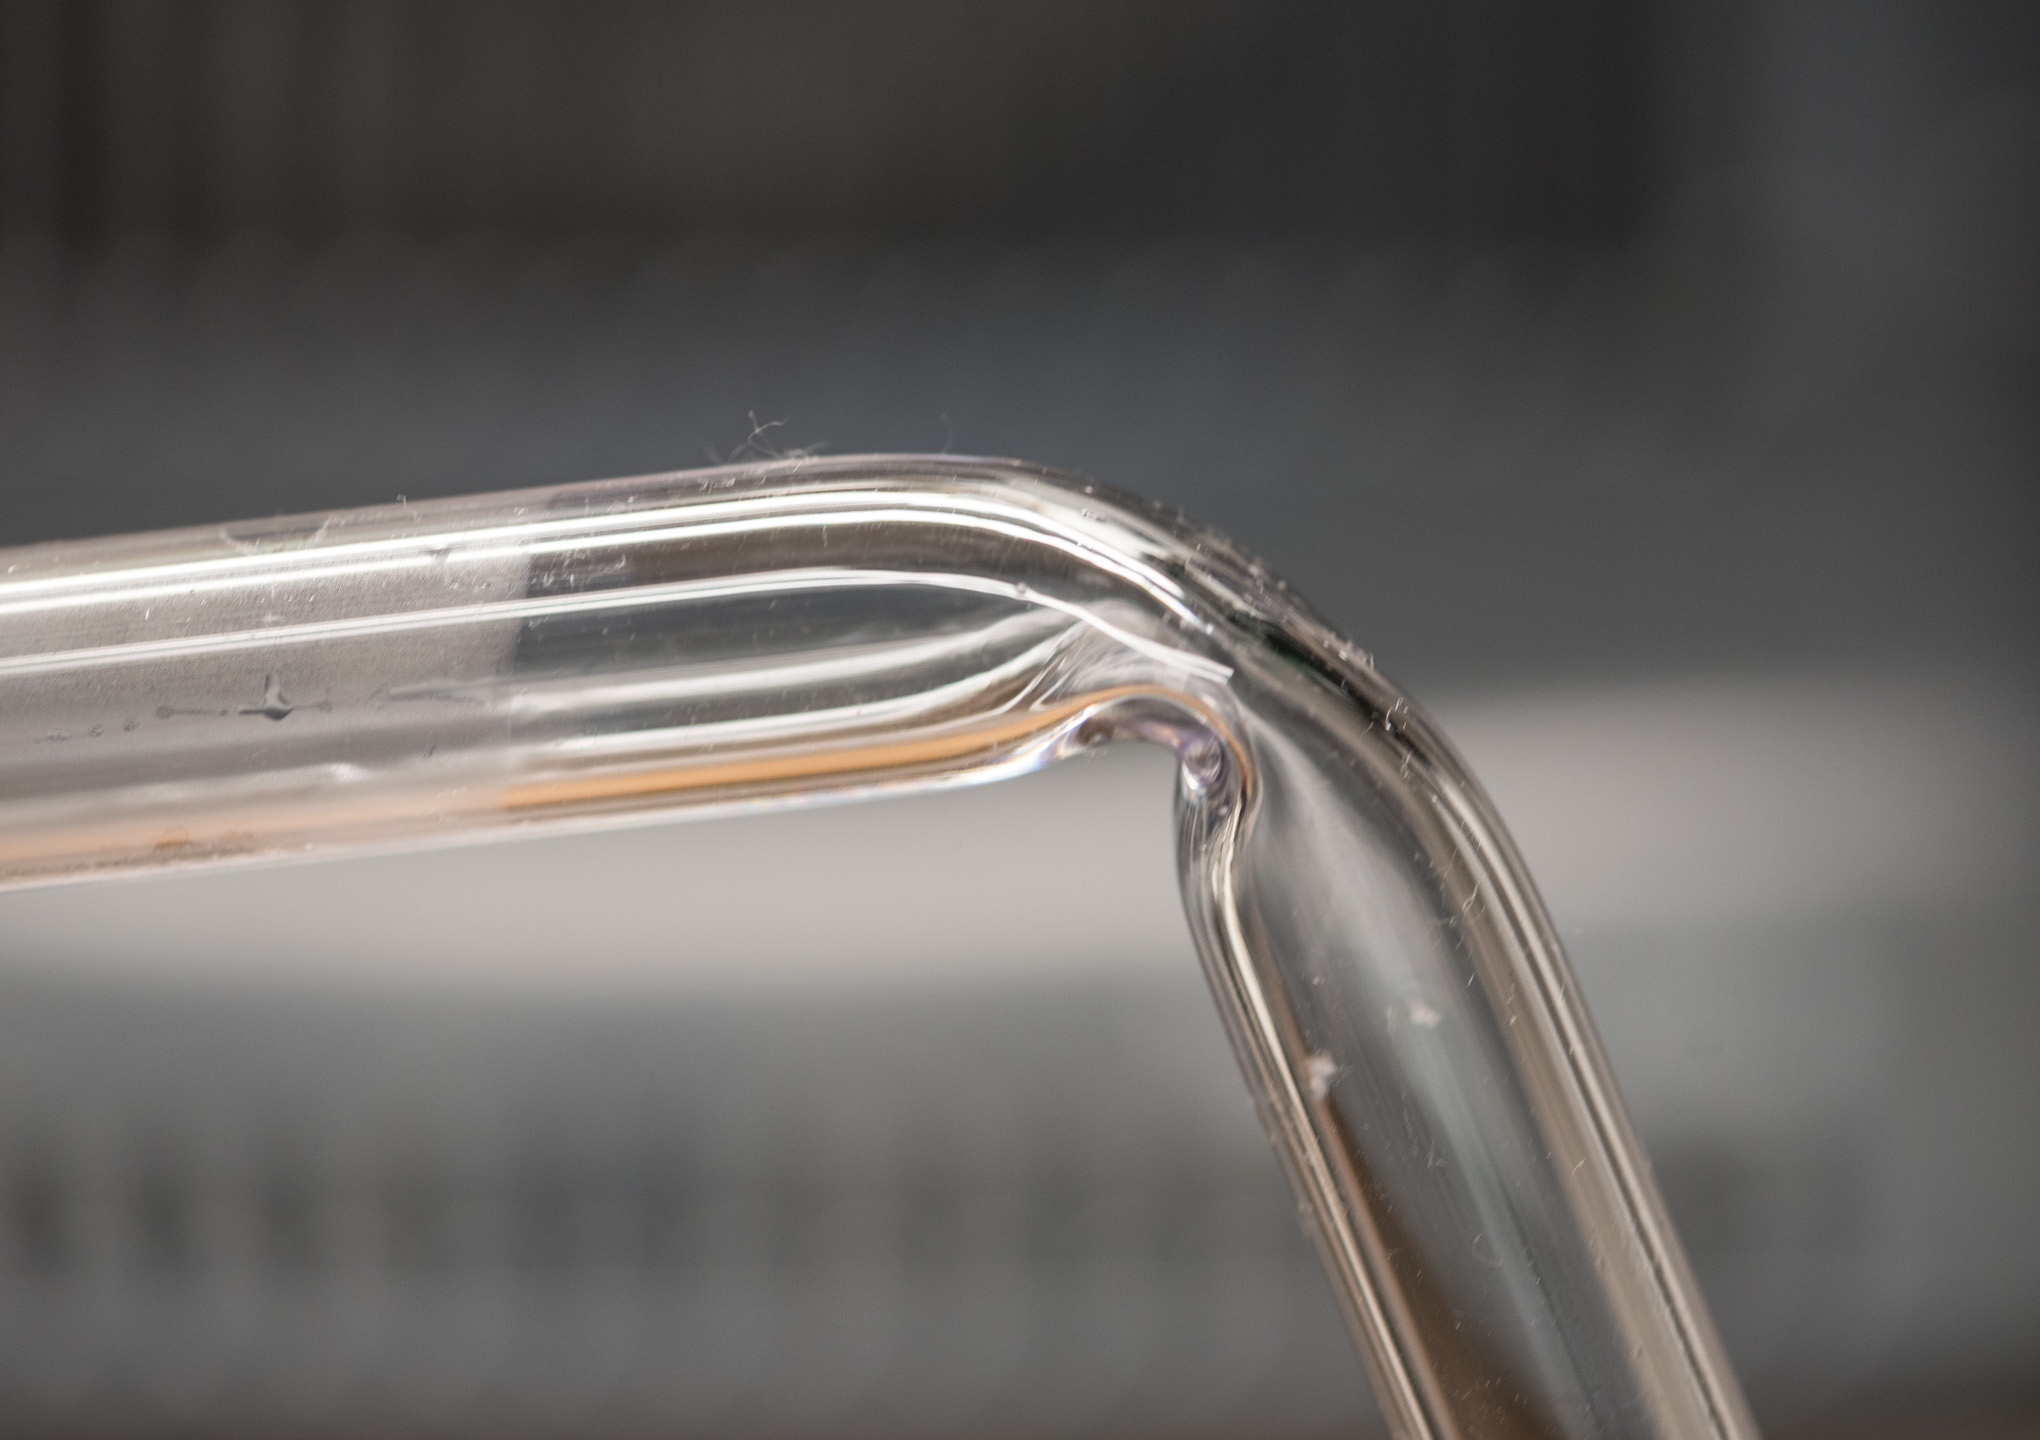
As you can see, these are pretty catastrophic failures above, but I did have to set the heat gun to 600°C to get such drastic results quickly. However, these two following failures below are much more common. If you mildly overheat the tube, you'll be in the territory for kinking tubes, as some areas will be much softer than others and give way. The left picture was with the silicon insert, while the right one shows what happens if you try to bend the tubing without using an insert of any sort.

RELATED ARTICLES


MSI MPG Velox 100R Chassis Review
October 14 2021 | 15:04

Want to comment? Please log in.