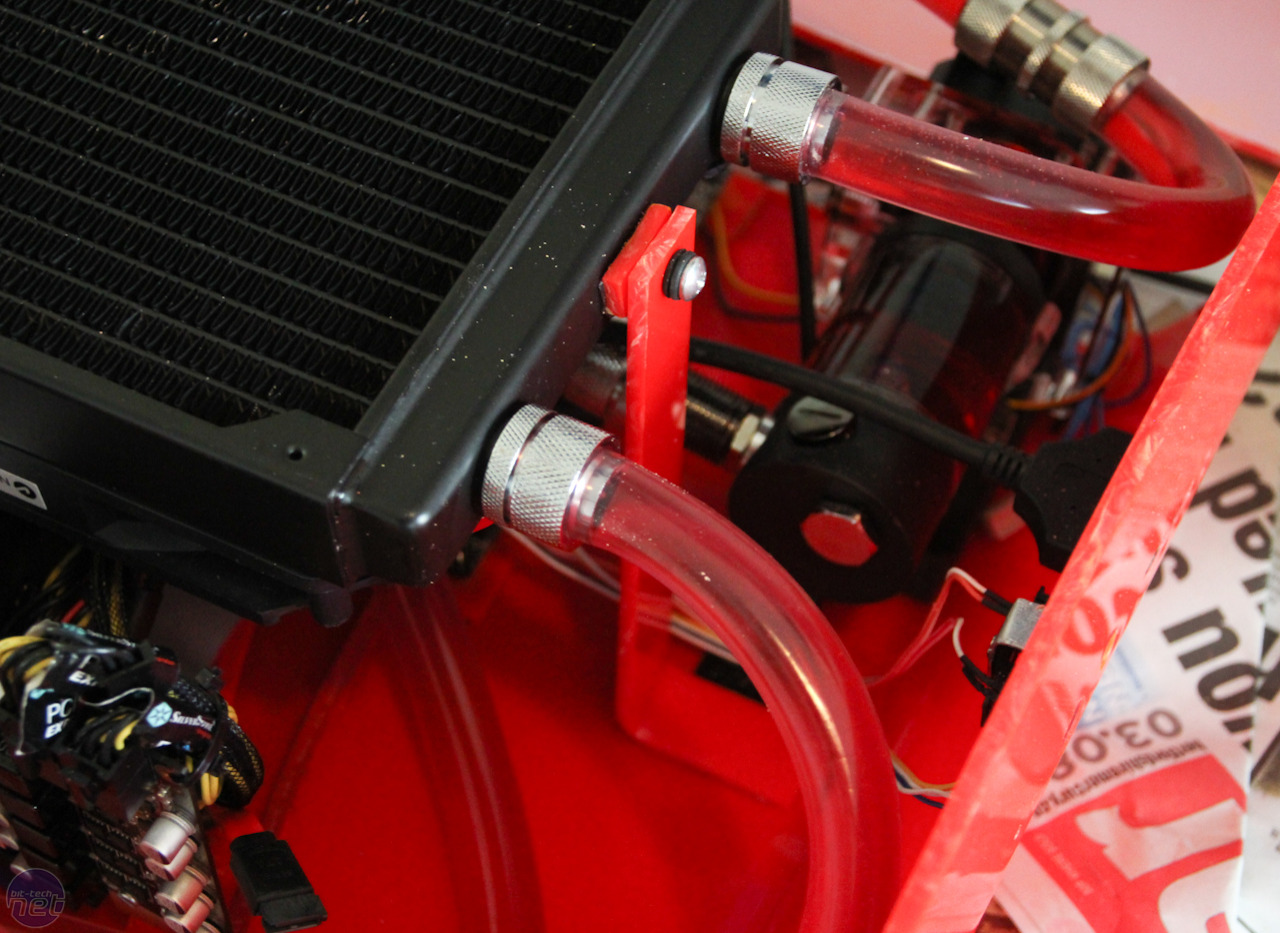
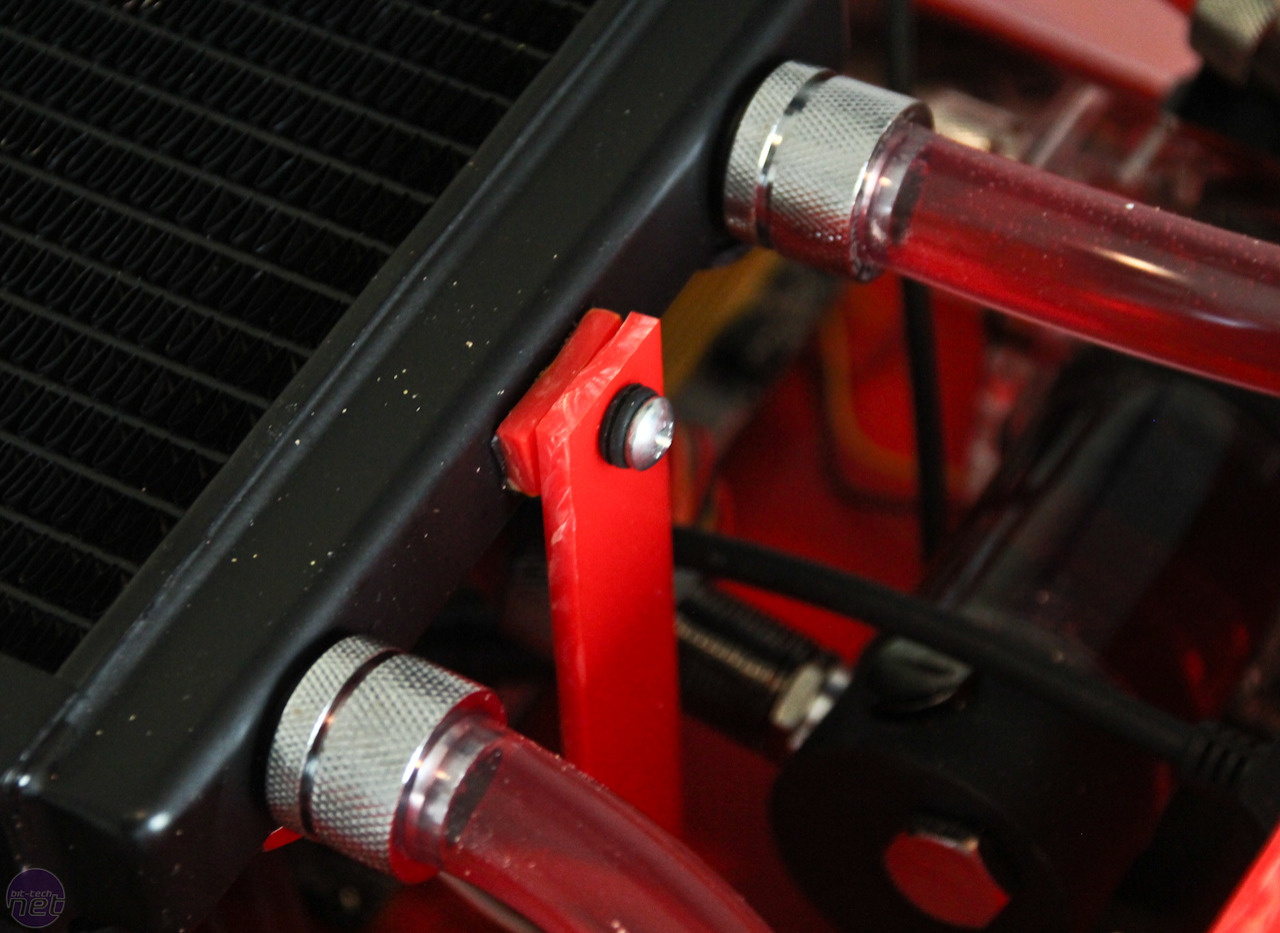
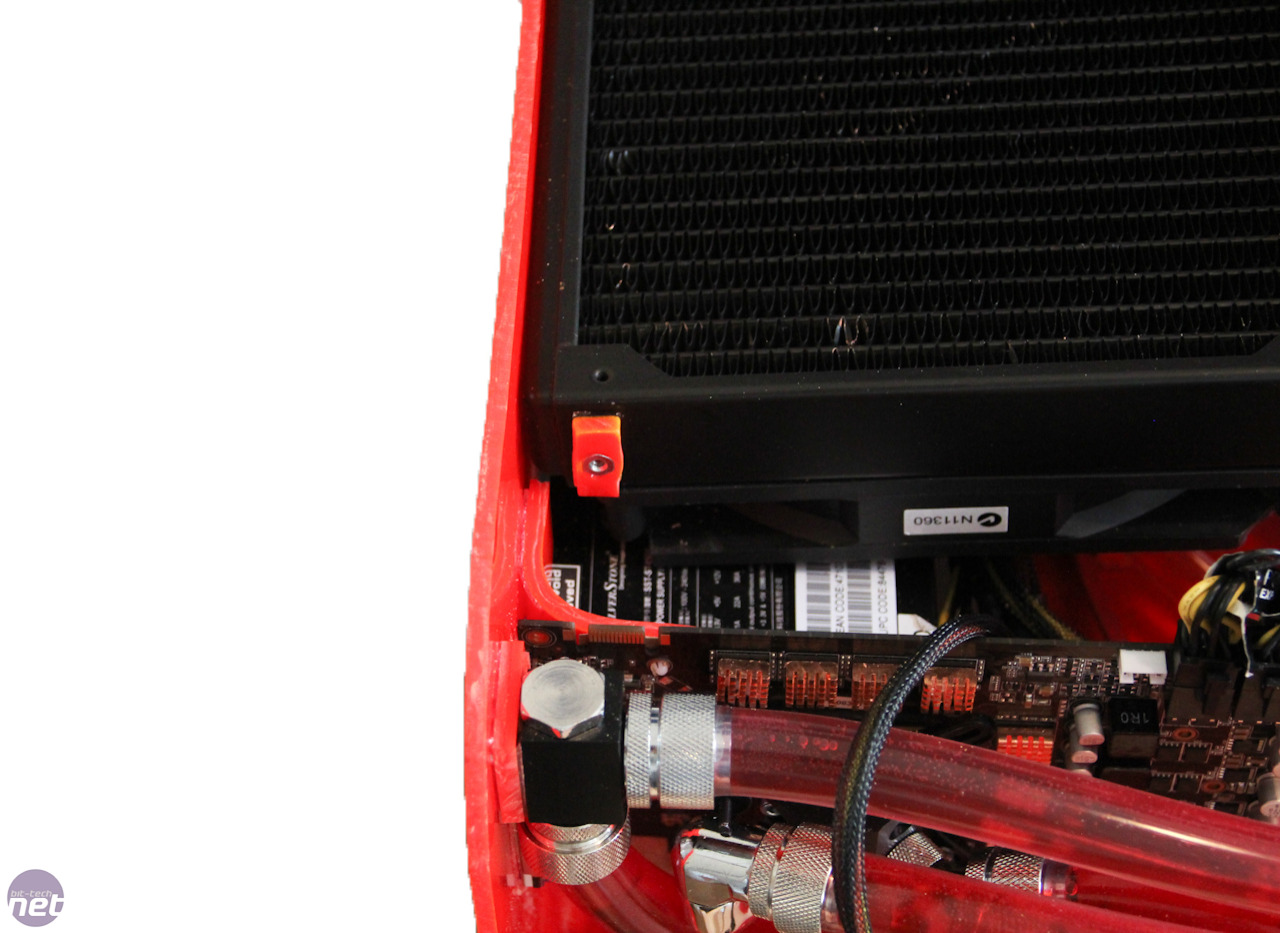
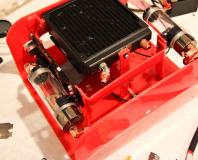
Mounting the radiator
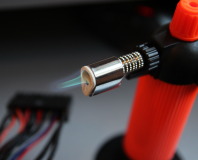
A simple 'L' section of acrylic is all that was needed - to bend it to shape we used out trusty heat gun again and actually found a window sill worked just as well as a custom bending jig for such a small piece of acrylic. The tiles also helped to cool the acrylic quickly too.
Click to enlarge
We then used 3M mounting tape to secure the support to the base of the case and the screws we used are actually standard Lian Li drive bay mounting screws which you can buy from KustomPCs but any nut and screw combination will work. To add a bit of rigidity to all the mounts we applied a small amount of epoxy glue to the edges - the 3M mounting tape is incredibly strong but it can still flex a little under load.
Click to enlarge
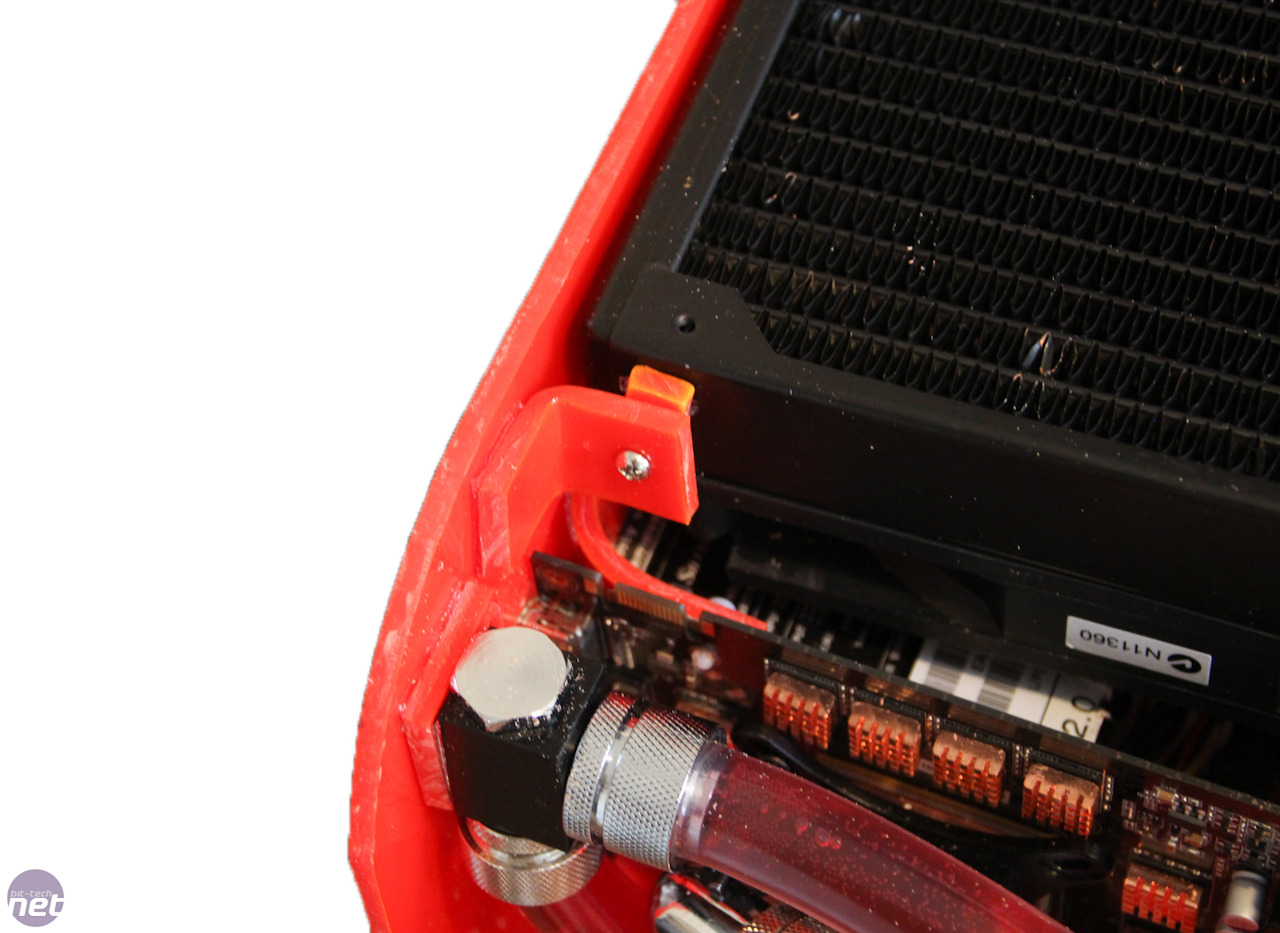
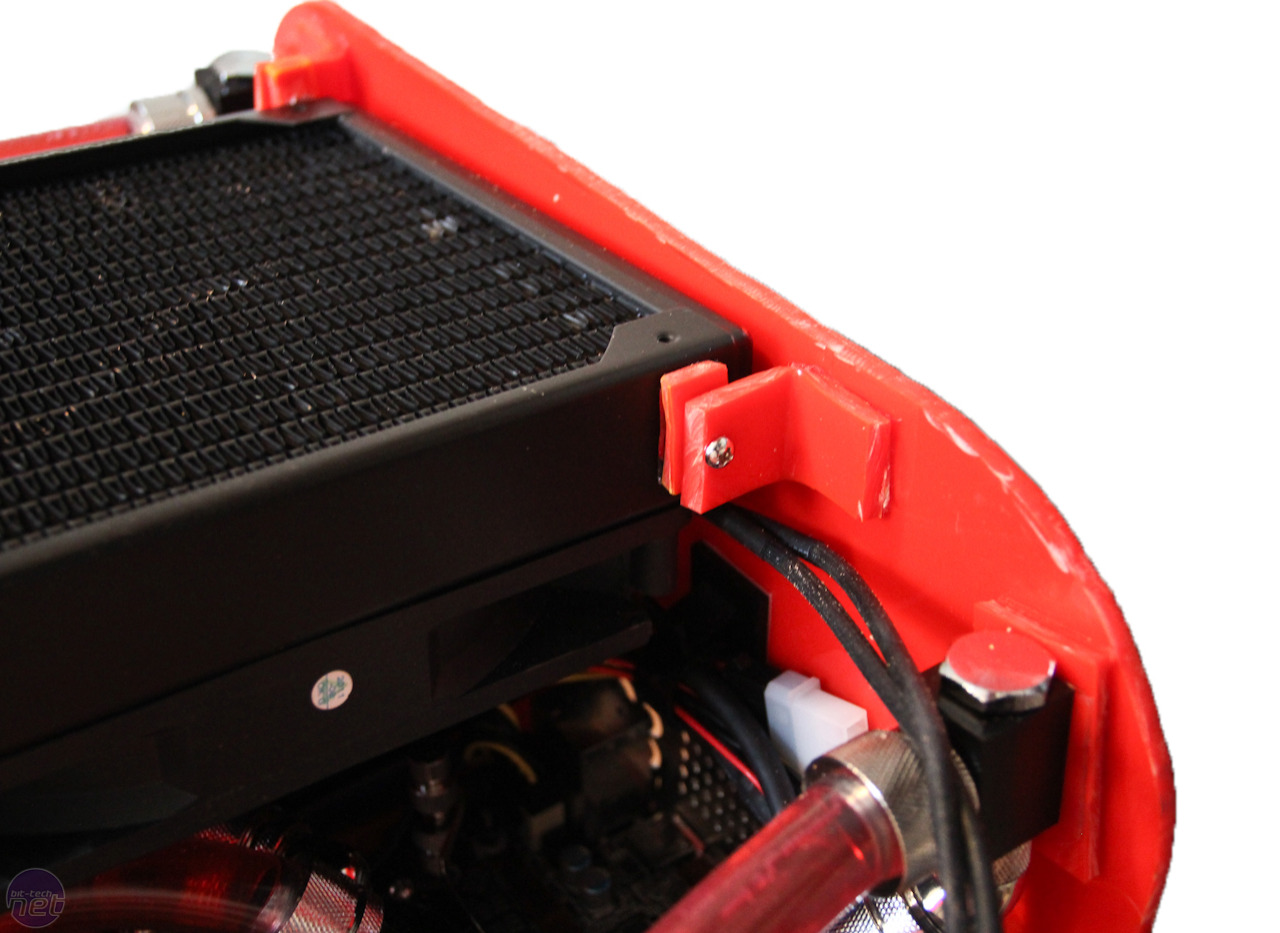
Above you can see the front radiator mount secured in place and below are the two side mounts that work in the same way, except they're secured to the rear of the case. By elongating the screw holes in the mounts, we're able to fine-tune the position of the radiator as and when we've made the roof of the case.
Click to enlarge
This will mean the radiator can sit as close as possible to the roof section, but also we'll be able to drop it down a bit if our measurements are little out and it ends up fouling the roof in any way.
Click to enlarge
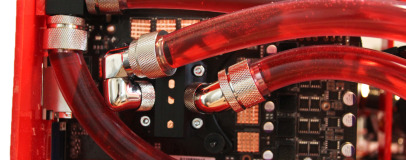
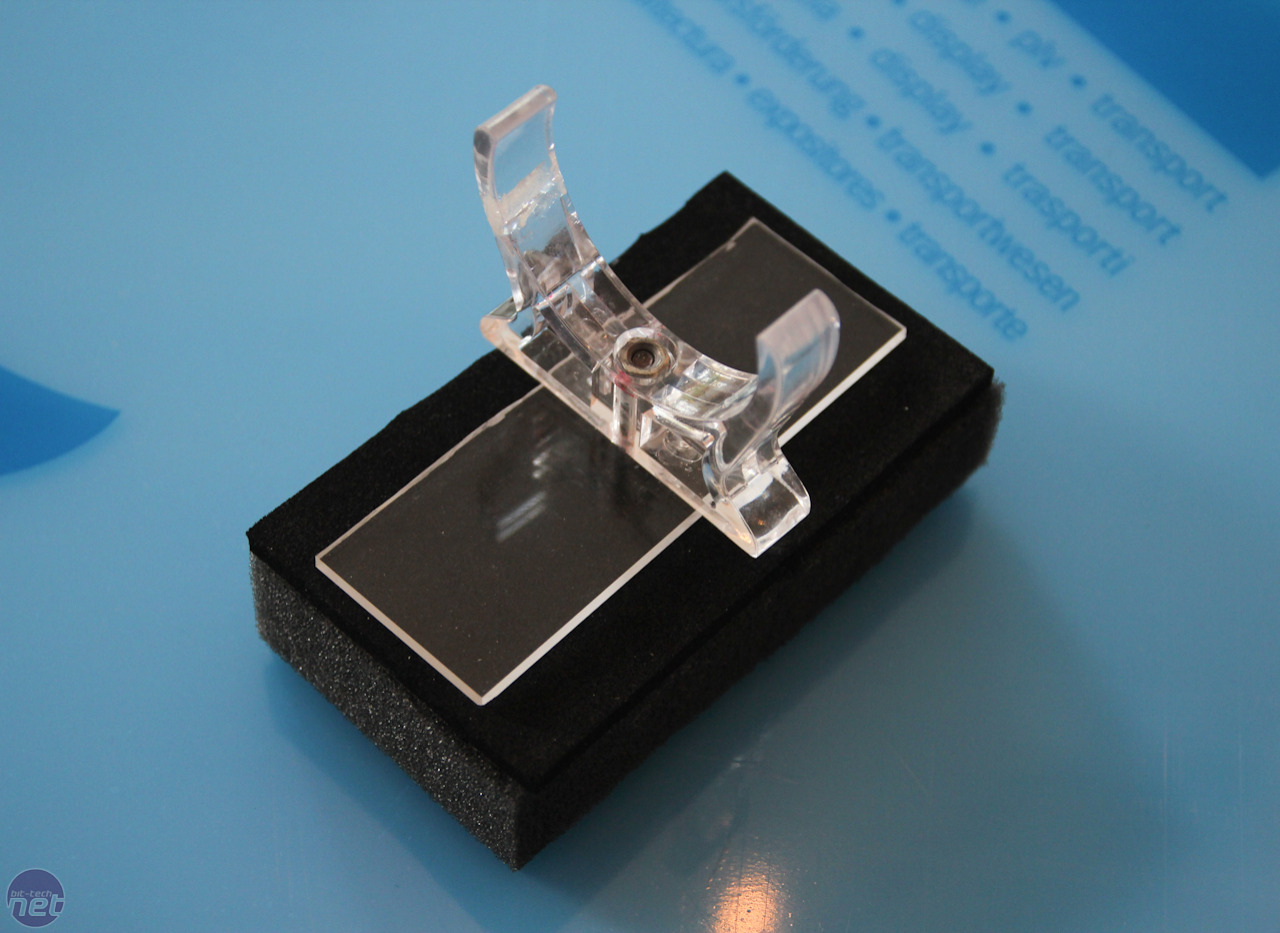
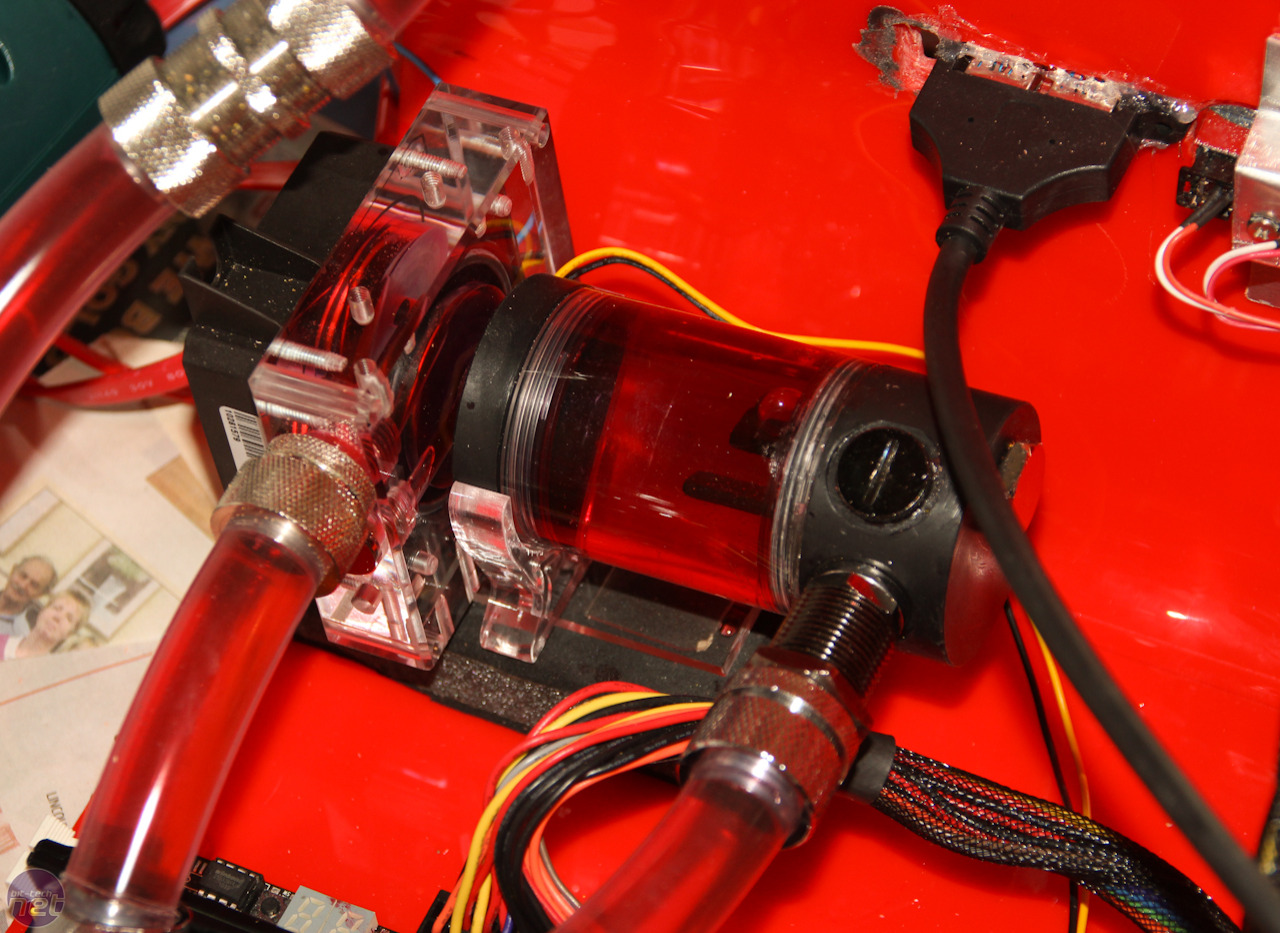
We've never been fans of bolting pumps straight to cases, or indeed using any form of pump/bay reservoir combination. We've found they cause significant amounts of vibration that can often lead to noise. We're using the old-school method here - just a piece of neoprene-packed mounting foam with a modified EK reservoir mount. Another reason for this was restricted positioning in the case due to lack of space. The mount allowed us to place the pump in just the right position.
RELATED ARTICLES


MSI MPG Velox 100R Chassis Review
October 14 2021 | 15:04

Want to comment? Please log in.