Water-Cooling with Hardline Tubing Guide: Borosilicate Glass
February 14, 2018 | 13:30
Companies: #alphacool #bit-tech
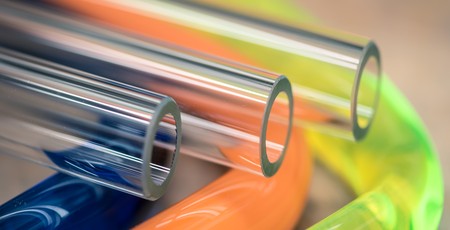
Welcome to the third part of our guide to using hardline tubing! We're following on from the Acrylic and PETG and Brass and Carbon guides with what is commonly seen as the pinnacle for clear tubing: borosilicate glass.
But, why??
Glass is a game of trade-offs, and whether you think it's worth the hassle of using it really comes down to preference, but here's a quick rundown of the merits:
- Extremely stain-resistant
- Scratch-resistant
- Maximum optical clarity
- Highest coolant compatibility
- Level 99 bragging rights
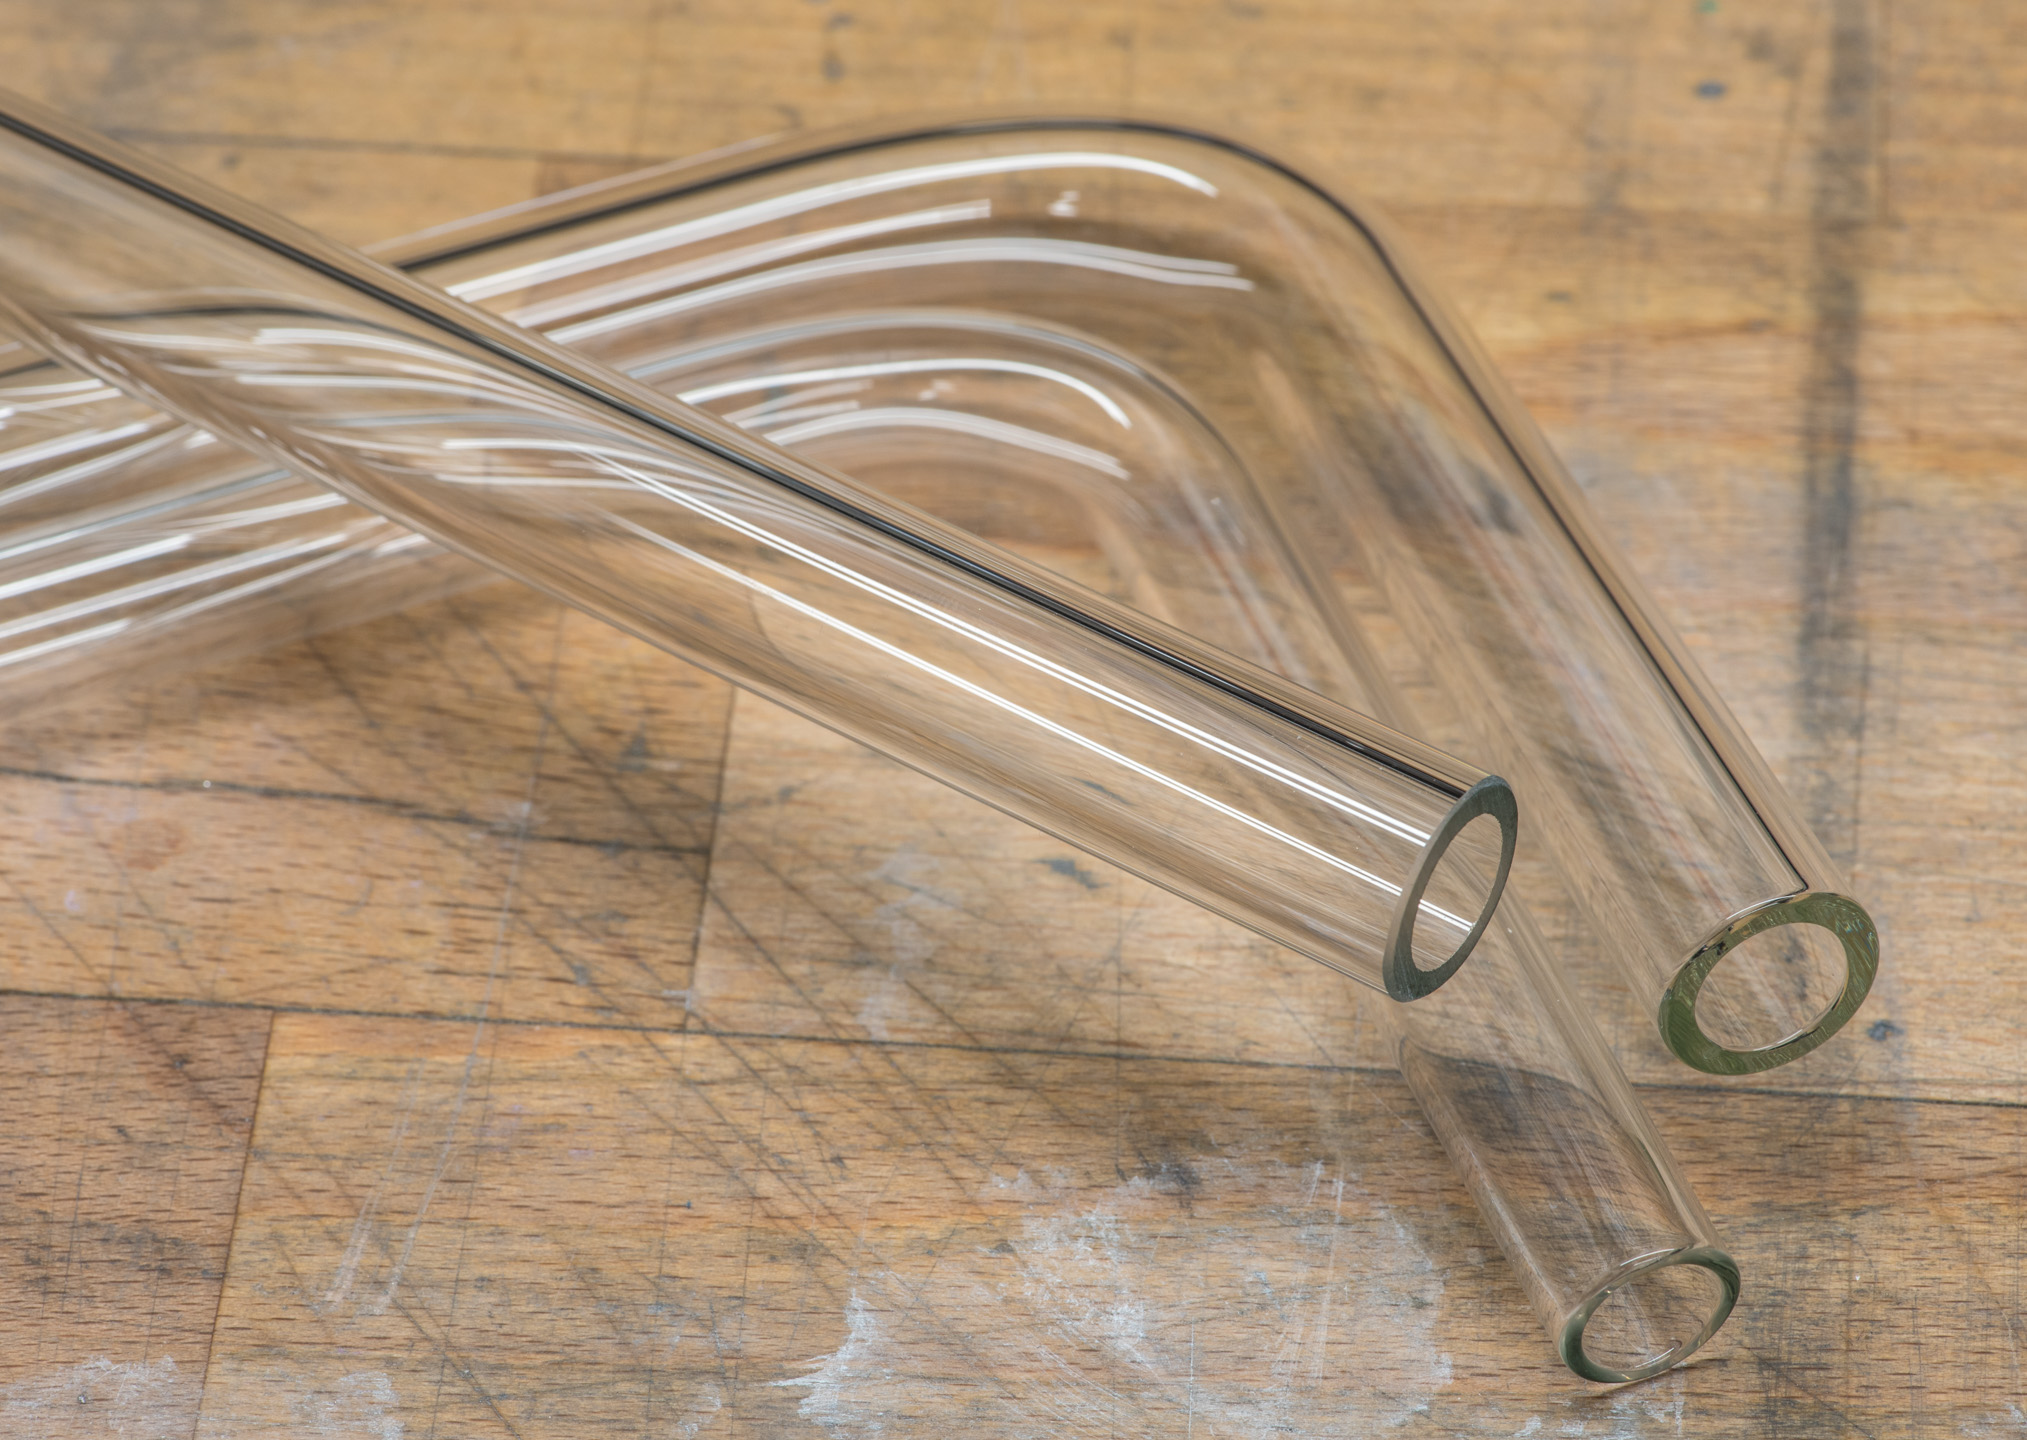
It's hard to describe the look of glass tubing in a water-cooling system, but in general you're going to see crisp lighting reflections, and if you're using a coloured coolant it will be very vibrant. One handy feature of glass is that it won't stain, nor will it react with any of the more extreme-performance coolants out there, which can have issues with PETG, for instance. Borosilicate glass also has the advantage of being significantly more resistant to thermal shock than most other glass varieties, which lends well to its use in lab equipment and cookware, but it's a also handy feature for cooling loops where thermal stress isn't so desirable either.
Glass is a lot harder to bend than plastic or metal tubes, however. You can do it at home with basic equipment, such as a standard blowtorch or a gas hob, but it's exceedingly challenging with 16mm OD thanks to thick walls. As such, it's a very good thing that you can buy pre-bent sections, similar to brass tubing. In this guide, I'll be using Alphacool's 16mm HardTube, which also comes in 13mm.
Plan Ahead
Proper planning is essential for most hardline loops to begin with, but glass is significantly more challenging in this regard. I would actually suggest constructing a test loop using a simpler tubing such as PETG, and then you can use those tubes as measurement guides for the glass. You must take care with the tubing runs that you go for also, as glass has little to no give in it, so trying to install it between tightly packed components is not a good idea. Remember to take into account that most rigid compression fittings on the market have a 'socket' into which you insert the tubes.
Another important point is that glass is heavy and very smooth. This is important, as fittings won't be able to get quite as tight a friction fit around the outside of the tubes. If you have a long run that hangs off a fitting, it's very possible that it could slide out over time, especially with vibrations and/or fluid inside. Fittings either with deeper sockets to them or longer internal collars can provide more support to this kind of tubing and prevent unfortunate sagging.
What Equipment Do I Need?
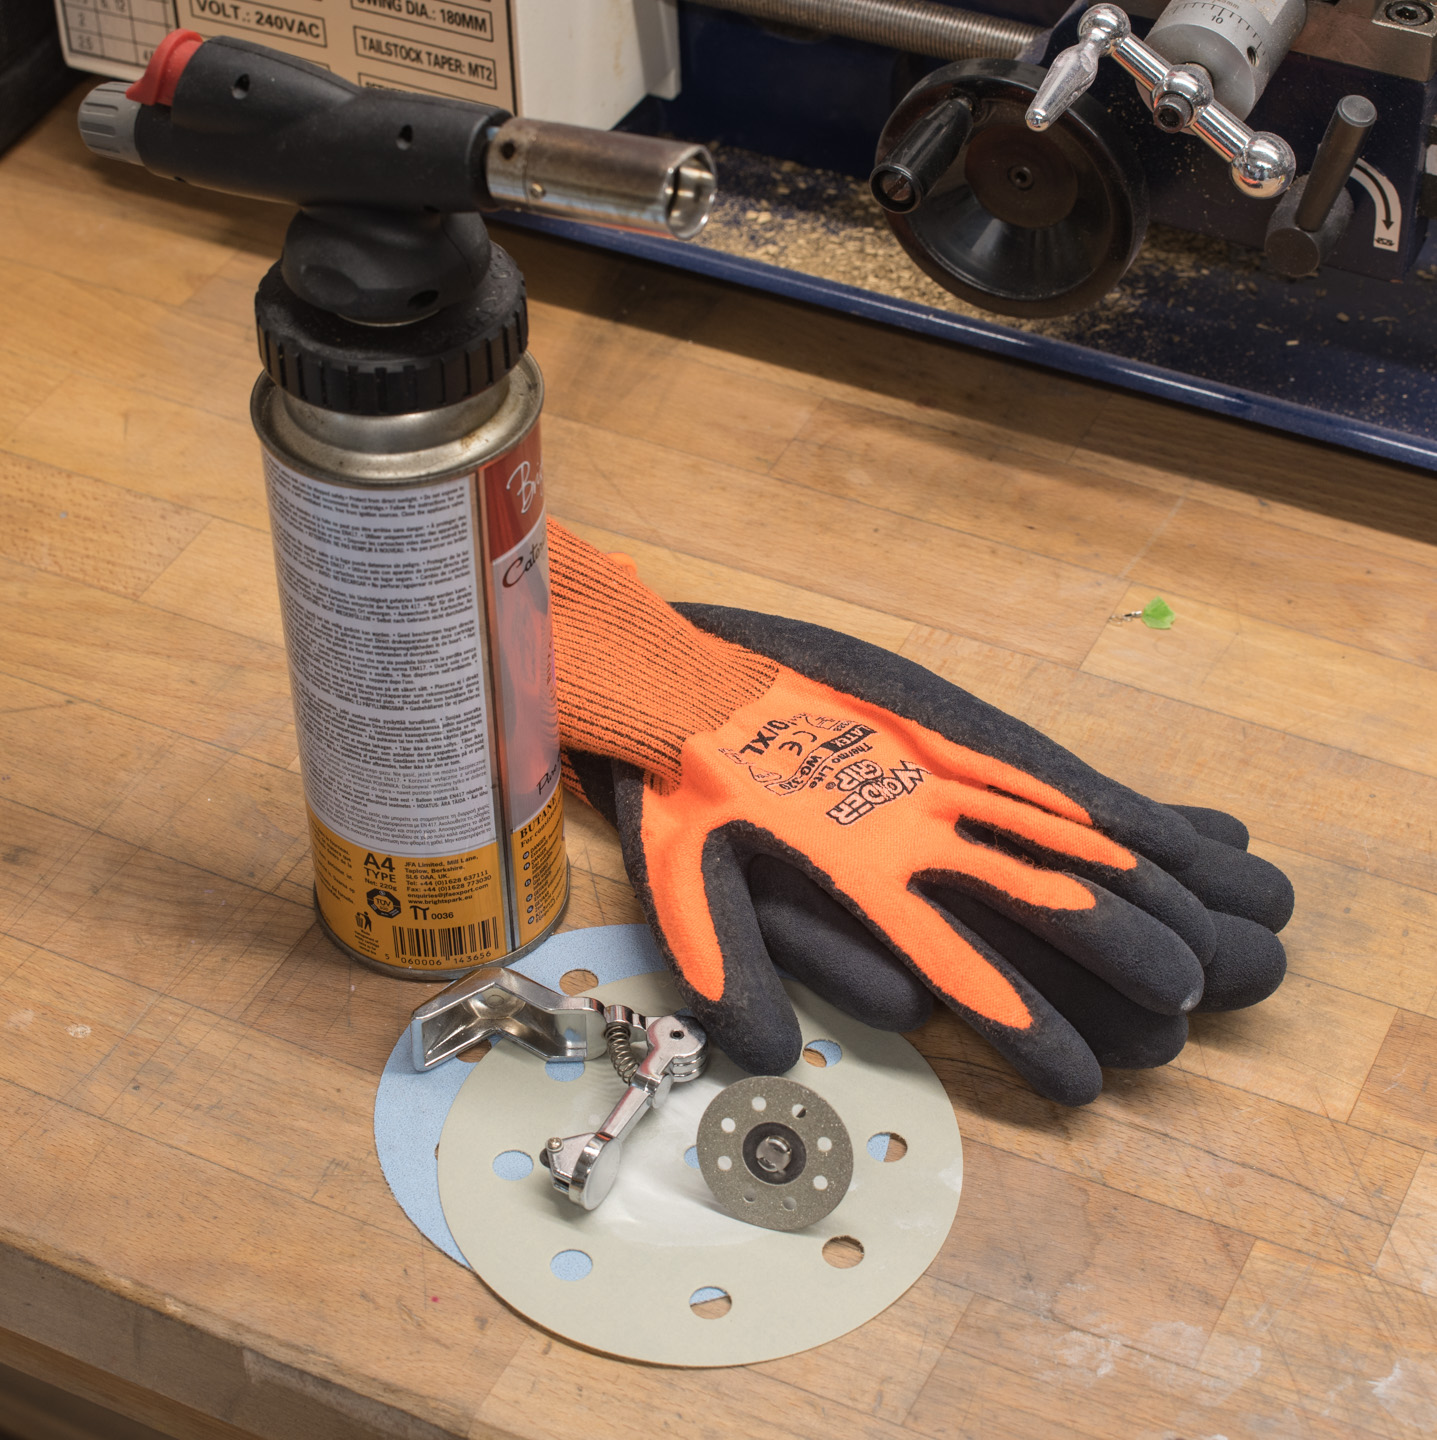
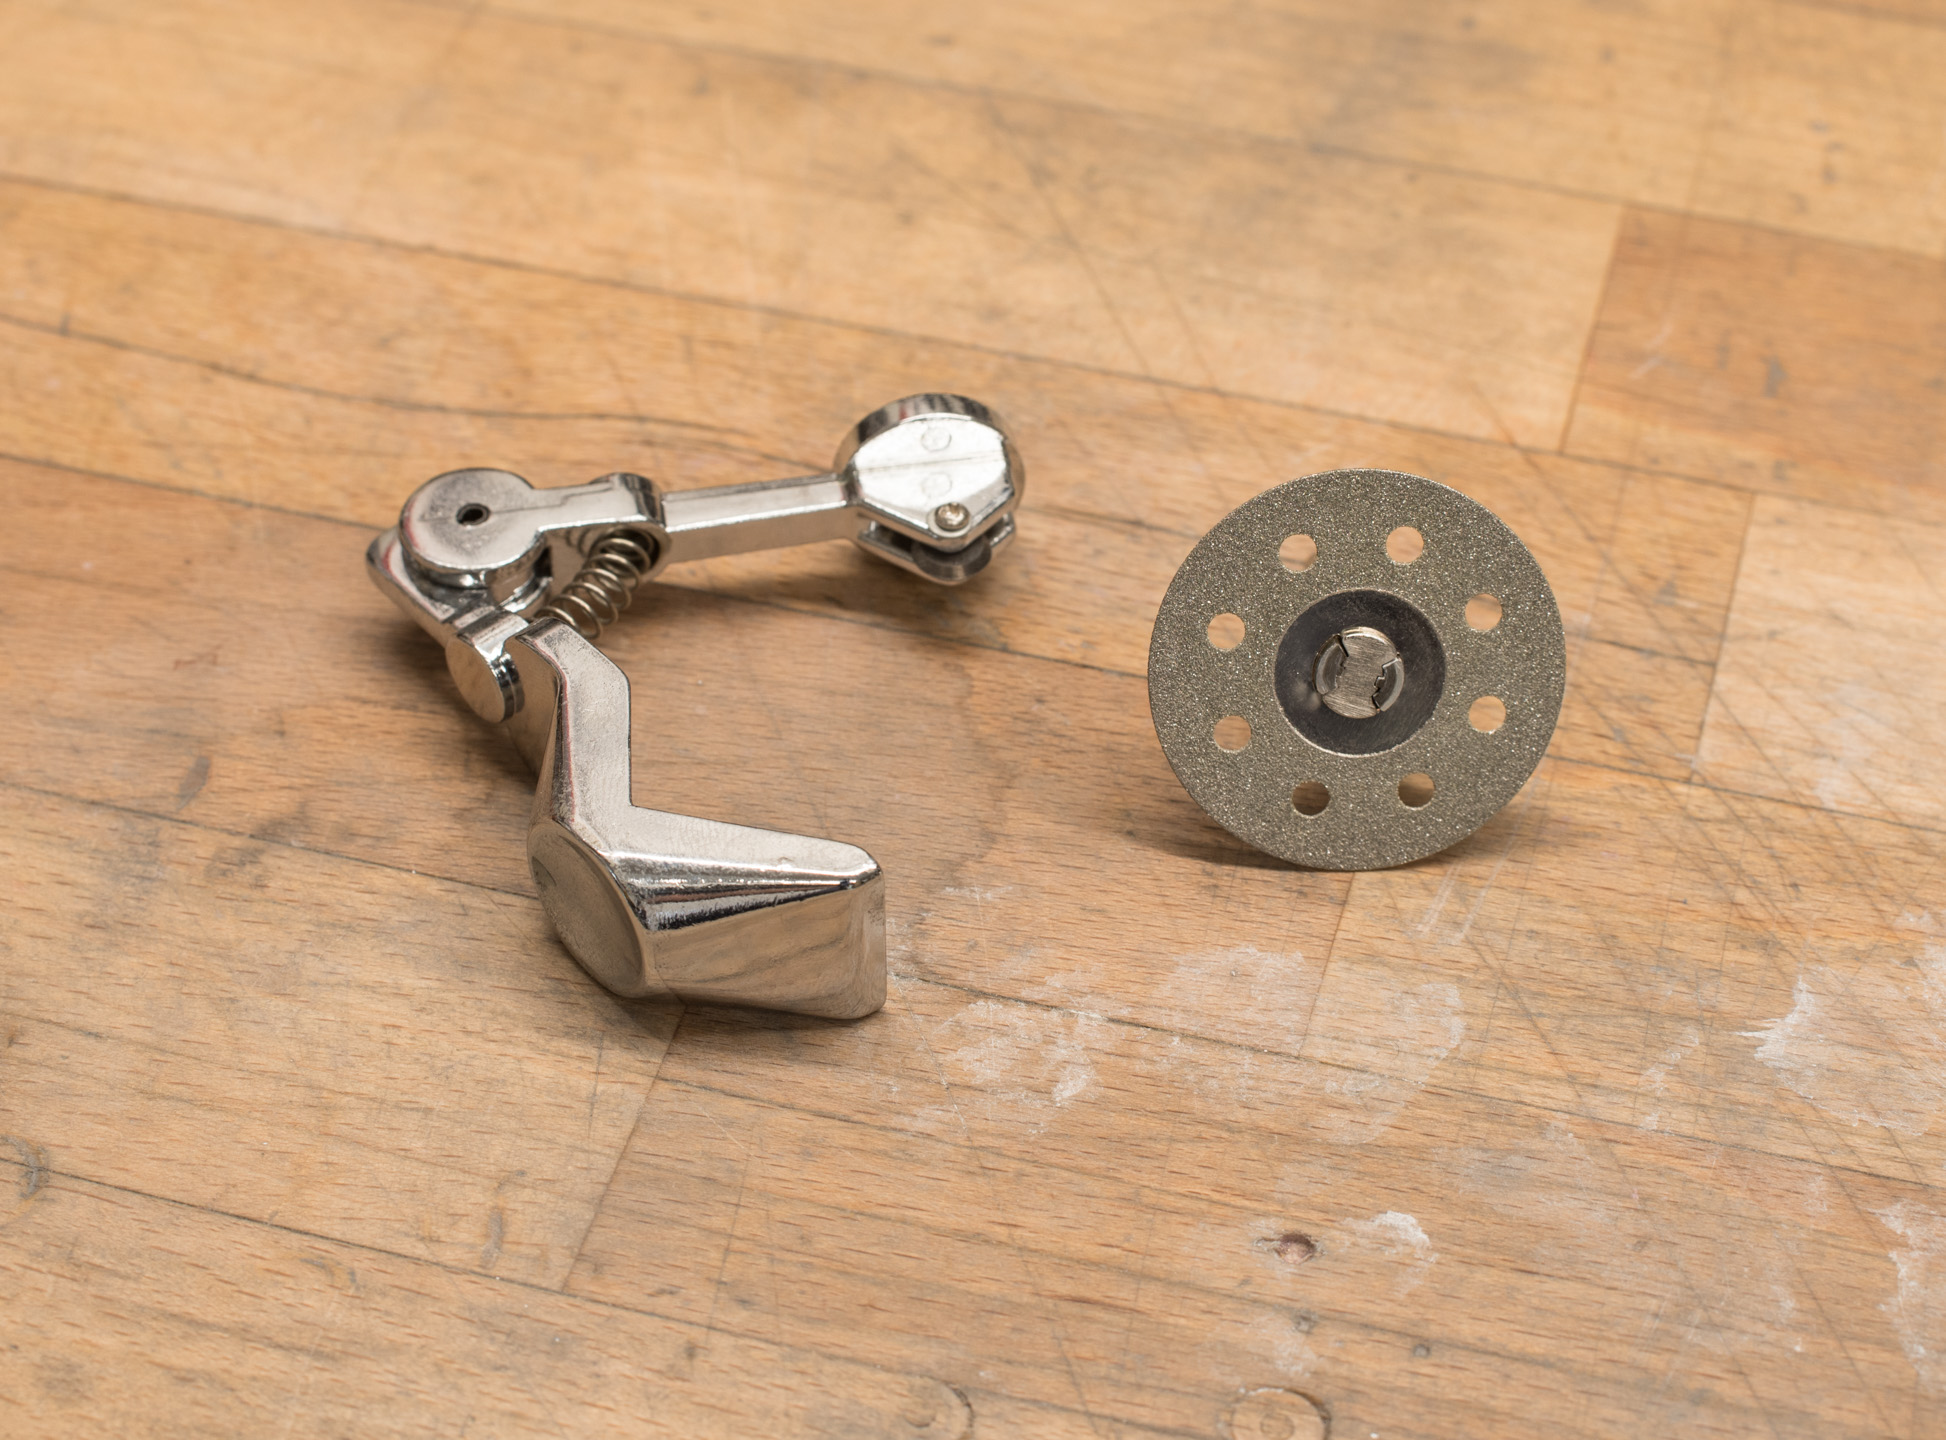
Surprisingly, glass is fairly easy going on the equipment side, but you do need some rather specific kit. Chiefly you will need a method of cutting the tube, such as a diamond cutting disk for a Dremel or other rotary tool, or a 'score and snap' style tube cutter. Additionally, you will need some sandpaper for smoothing the ends; I use 180- and 500-grit papers for this purpose. I would also recommend a blowtorch and some heat-resistant gloves so that we can flame-polish the ends of the tubes later.

MSI MPG Velox 100R Chassis Review
October 14 2021 | 15:04




Want to comment? Please log in.