Overclocking
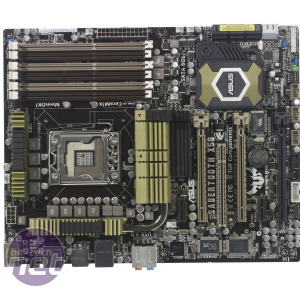
We weren’t sure what to expect when overclocking the Sabertooth as while it shouts about how tough and hardy it is, it doesn’t have any of the normal on-board overclocking features that would denote a board as an overclocking powerhouse. It doesn’t have any on-board power and reset switches for example, which we found frustrating when playing with the board on our test bench.The BIOS allayed our fears a little though, as it was everything we’ve come to expect from an Asus BIOS - well laid out and easy to use. The ability to be able to type in absolute values instead of having to increase voltages and bus speeds in increments was also a boon.
Once we were familiar with the BIOS we turned our attention to overclocking the board. The claims as to how durable and stable the Sabertooth is was akin to a red rag to a bull - we obviously had to have a good go at breaking it.
We started gently by trying to find the highest QPI frequency of which the board was capable. Not surprisingly, the Sabertooth hit a maximum QPI frequency of 220MHz, which is what we’ve seen from the best X58 motherboards. This is obviously the maximum that the chipset can handle with air cooling, regardless of which board it’s housed in.
We then ramped the CPU multiplier back up to 22x and dropped the QPI to 200MHz, giving our test processor a frequency of 4.4GHz. This is the maximum frequency of the chip when air-cooled and required a vcore of 1.387V, a CPU PLL of 1.98V and a QPI/DRAM voltage of 1.381V. We also sent 1.2V through the chipset and Southbridge for good measure.
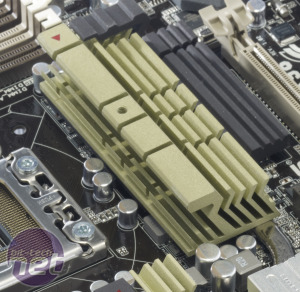
The Sabertooth proved rock solid at these settings and was happy to sit for hours under full load without flaking out. We did need to direct a 120mm fan at the chipset heatsink though, as with most X58 boards, as it got pretty toasty when overclocked and stressed.

MSI MPG Velox 100R Chassis Review
October 14 2021 | 15:04


Want to comment? Please log in.