
LEGO Super Star Destroyer - Box One
The first thing to say about the kit is that it’s huge; the box caused quite a commotion while it was perched on the end of our desk, with lots of people coming over to give it a poke and a shake. Once the initial childlike awe of seeing the size of the box kit had died down, the first question that most people asked was how much on earth does that cost? Well, there isn’t really any easy way to cut it - the kit costs a whopping £350. This isn’t cheap in anyone’s money, but we can see how LEGO have arrived at this price.You do, for example, get an awful lot of model for your money. The kit has over 3,100 pieces and, at 1.25m when fully built, is the longest that LEGO have ever sold. It also tips the scales at just under eight pounds and comes with its own data plaque and display stand - made from LEGO, naturally.
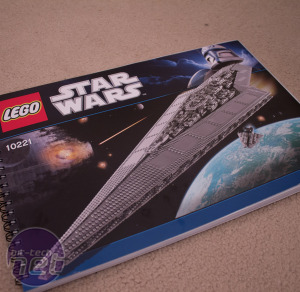
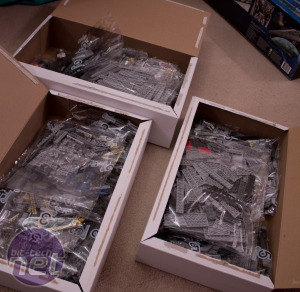
Unboxing the kit also rams home the scale of the task you’ve just pledged to undertake - normal LEGO kits are sorted into numbered bags but this is sorted into numbered boxes which are then themselves split down in to bags. Then there is the instruction manual, or the instruction tome as it became known. Ring bound and A3 in size it alone comes to 228 pages. What had we got ourselves into?
Box One
To LEGO’s credit, you do get to do one of the most fun parts of the build first; making the five Star Wars characters that come with the kit. This is useful as if you have children (or, as in our case, an ill girlfriend doing a good impression of a child) helping you with the build, it gives them something to play with. Darth Vader was doing unmentionable things to Admiral Piett with his lightsaber within about 60 seconds of us putting the figures together.That being done, we set about putting stage one of the build together; how long can it take we thought, there was three of us working on it after all - may hands make light work, right?
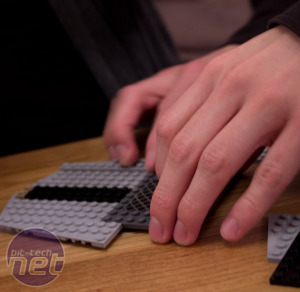
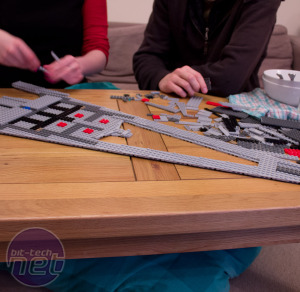
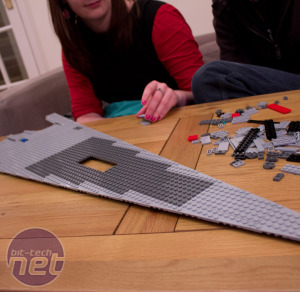
Well…sort of. It sounds silly but the initial stages of the build are some of the most difficult, because you’re making the base for the whole thing. This means that once you’re five or ten stages in, you’re working with a very large slab of Lego upon which everything else will be built.
This isn’t difficult in and of itself, but spotting where you’re meant to put the pieces for any individual stage is like a particularly cruel game of spot the difference - we often found all three of us sat there looking backwards and forwards between the instructions and the model trying to see if we’d done everything. The designers have done their best to help in this regard as most of the important spots where other pieces will attach are highlighted in bright colours, but you’re still left with an uneasy feeling that you’ve probably forgotten something somewhere along the way.
This sense of unease wasn’t helped by the fact that once we’d reached the end of the first stage, we were left with a number of small, but significant looking pieces left over. ‘Uh-oh, where were these meant to go?’ we all asked as one. After two hours hard building, it wasn’t a question we wanted to answer then and there, so we headed to bed and left stage two of the build for another day.

MSI MPG Velox 100R Chassis Review
October 14 2021 | 15:04



Want to comment? Please log in.