bit-tech Mod: Be Quiet! Build: Stripping and Spraying
After what seems like an age, I can get back to working on the Be Quiet! mod!! I have been rather busy during the time between Part One of this build log and this part. I popped over to Germany to visit Be Quiet! HQ with fellow modder Tim 'Hukkel' Warning. As with most modders, we have been friends for a long time. We don't see each other often, and I think he got a little excited to see me; he couldn't keep his hands off me!

Click to enlarge
It was a really fun trip, and getting an insight into how Be Quiet! tests all its PSUs and coolers was pretty awesome. Unfortunately, I didn't take my camera, but maybe in the future, we can do another tour.
Anyway, let's get on with the build.
Click to enlarge
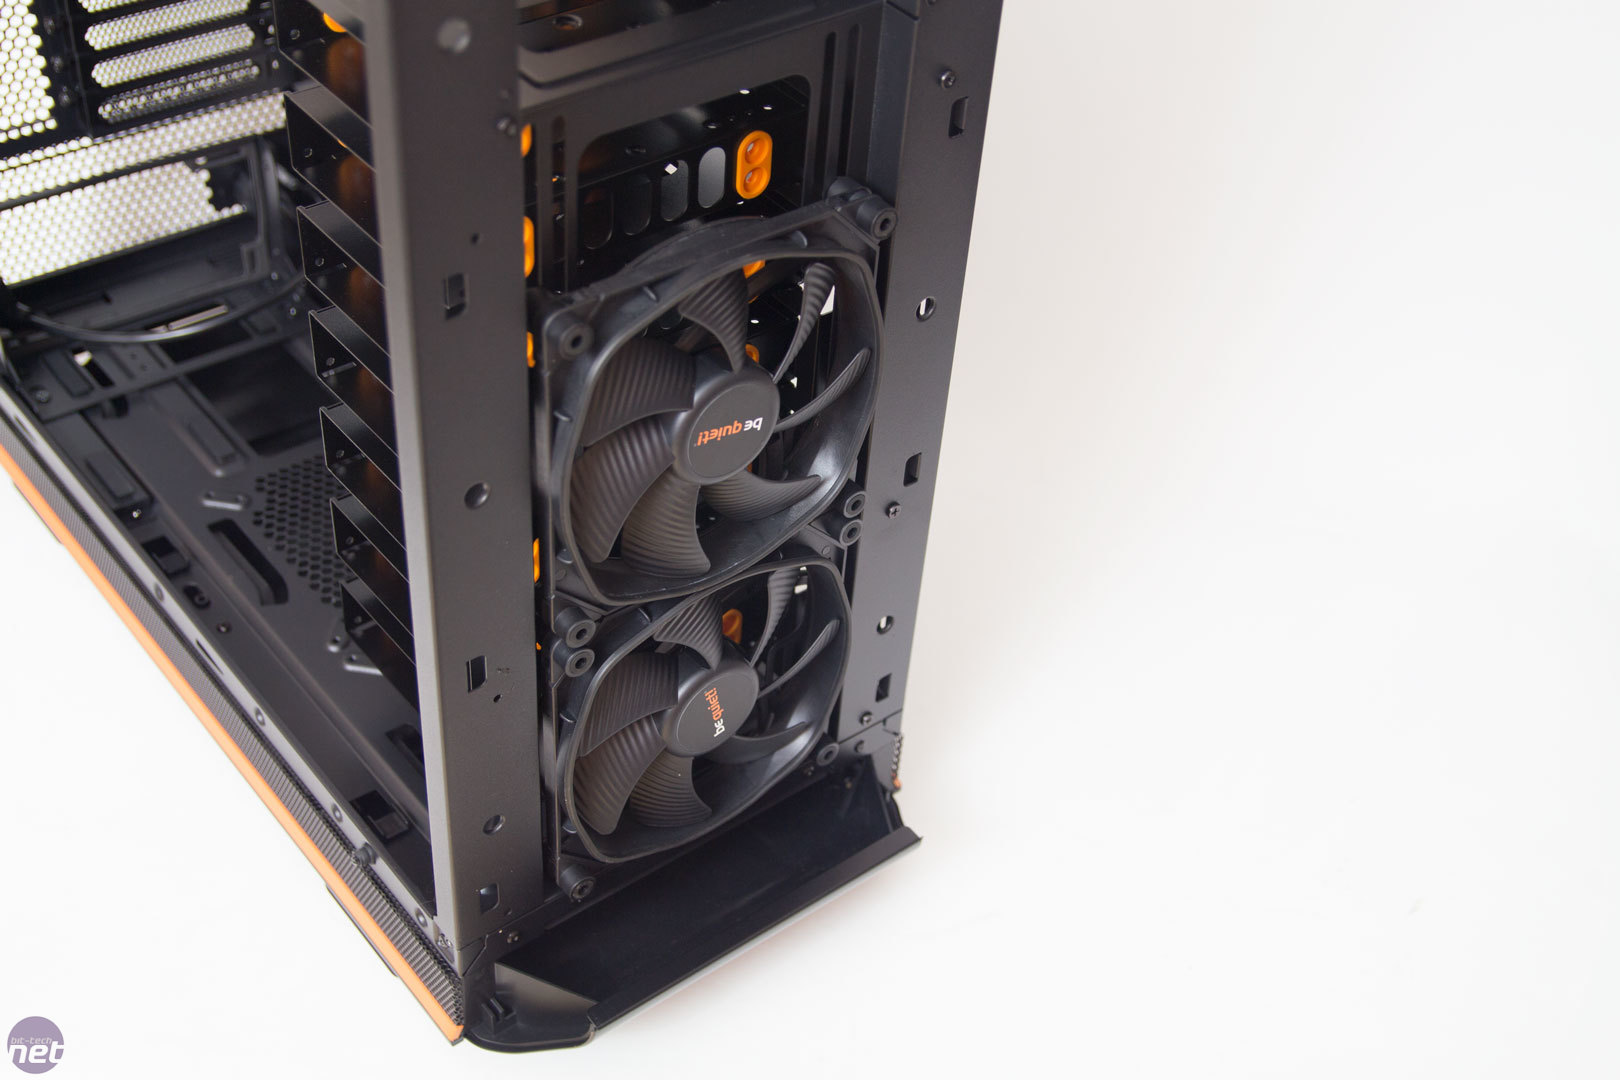
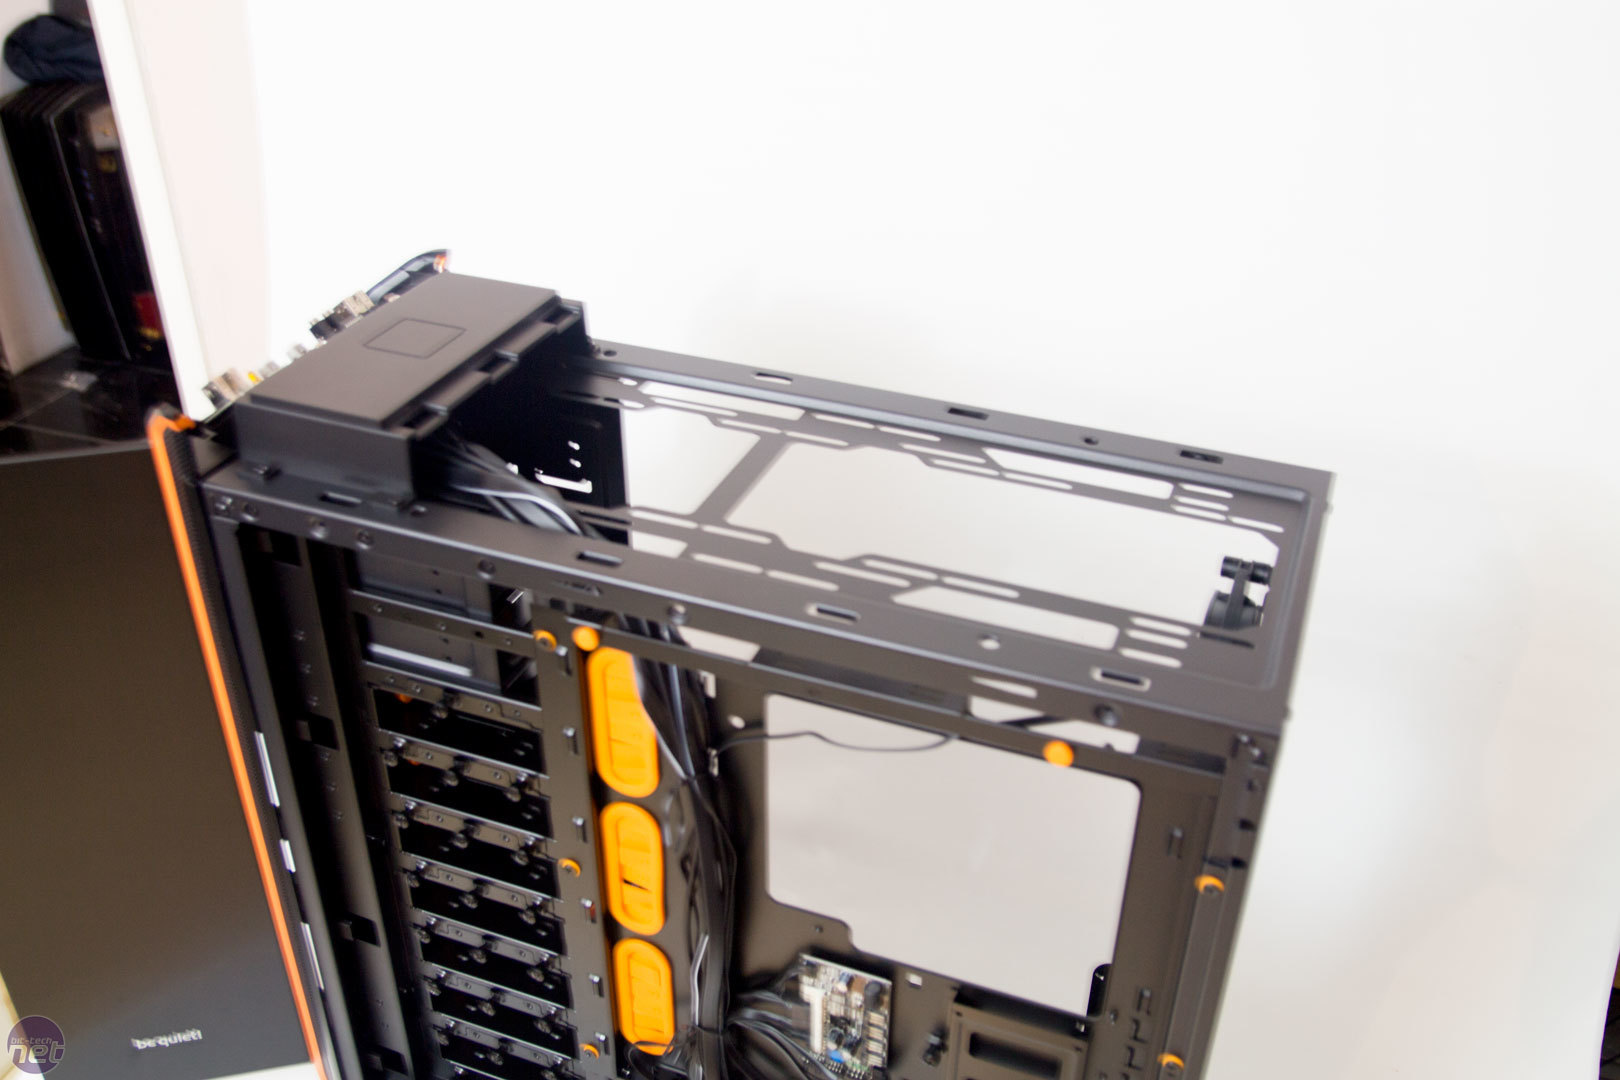
As always, to start with, I stripped the case down to the bare minimum. The Be Quiet! Dark Base Pro 900 comes apart really easily; in fact, it has been made so that you can spin the motherboard tray around to change the orientation of the motherboard.
Click to enlarge
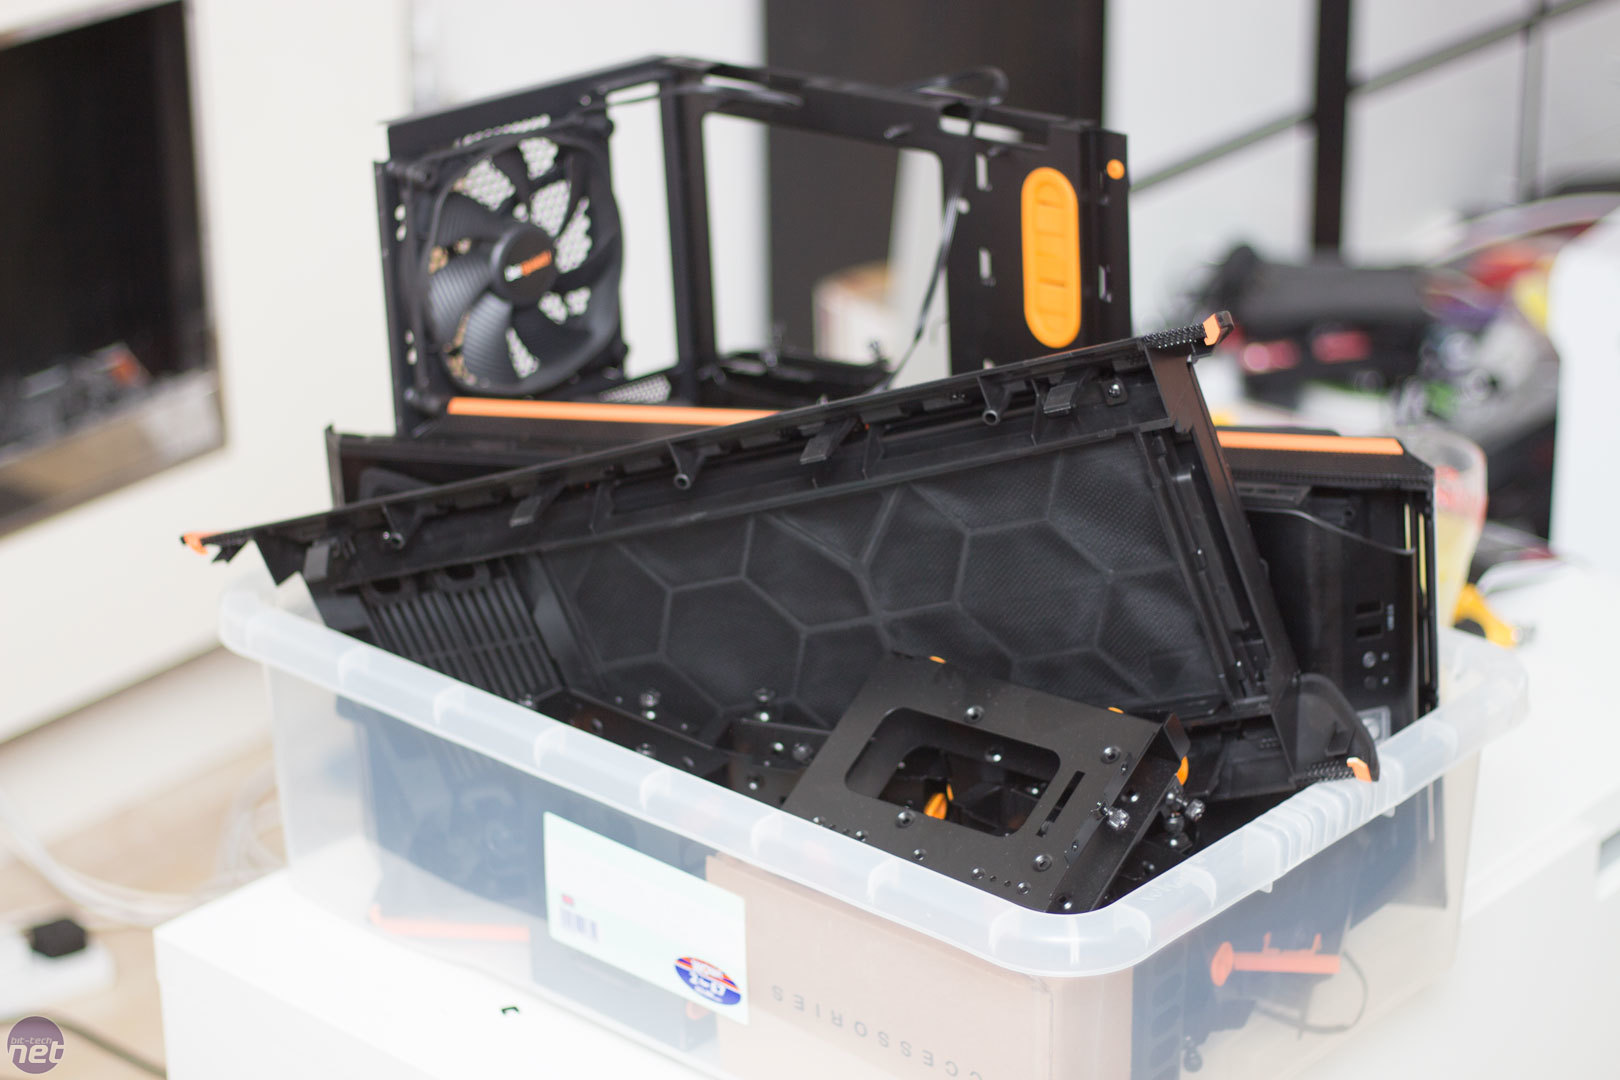
You know you have done a good job of dismantling a case when you can fit it into a tray. As I generally have multiple builds going at the same time, this is one of the ways I ensure that I keep everything together.
Click to enlarge
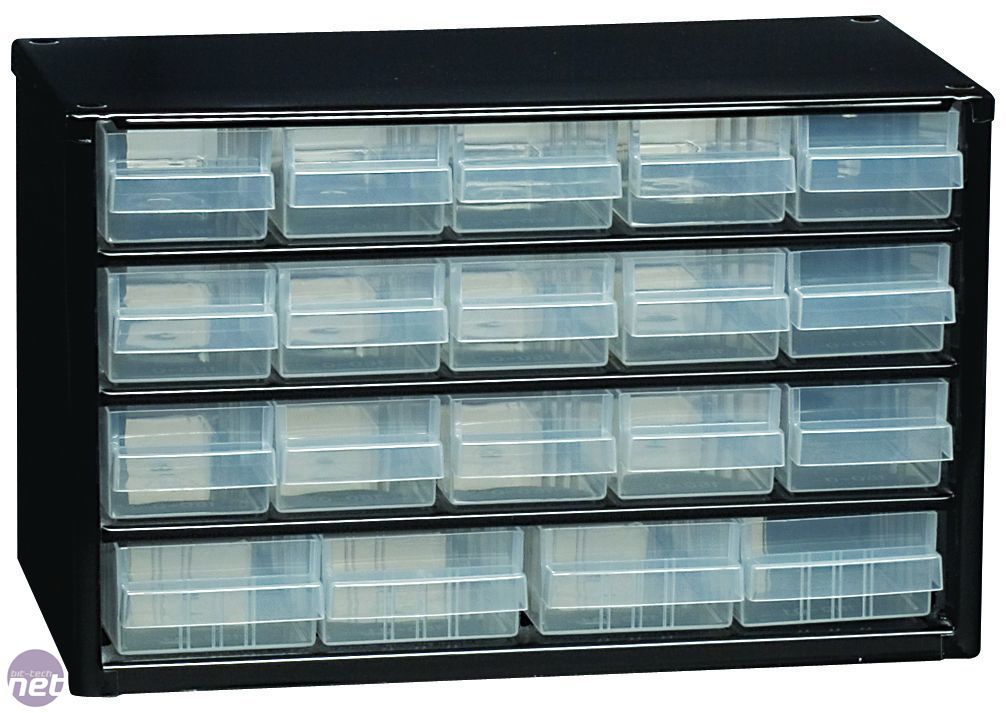
Another tip if you work on a lot of builds at a time is to get some kind of organiser like this. It doesn't have to be expensive or as big, but it helps you ensure all of the screws for each build are separated. You can also label them to ensure you know exactly what is for each build.


Click to enlarge
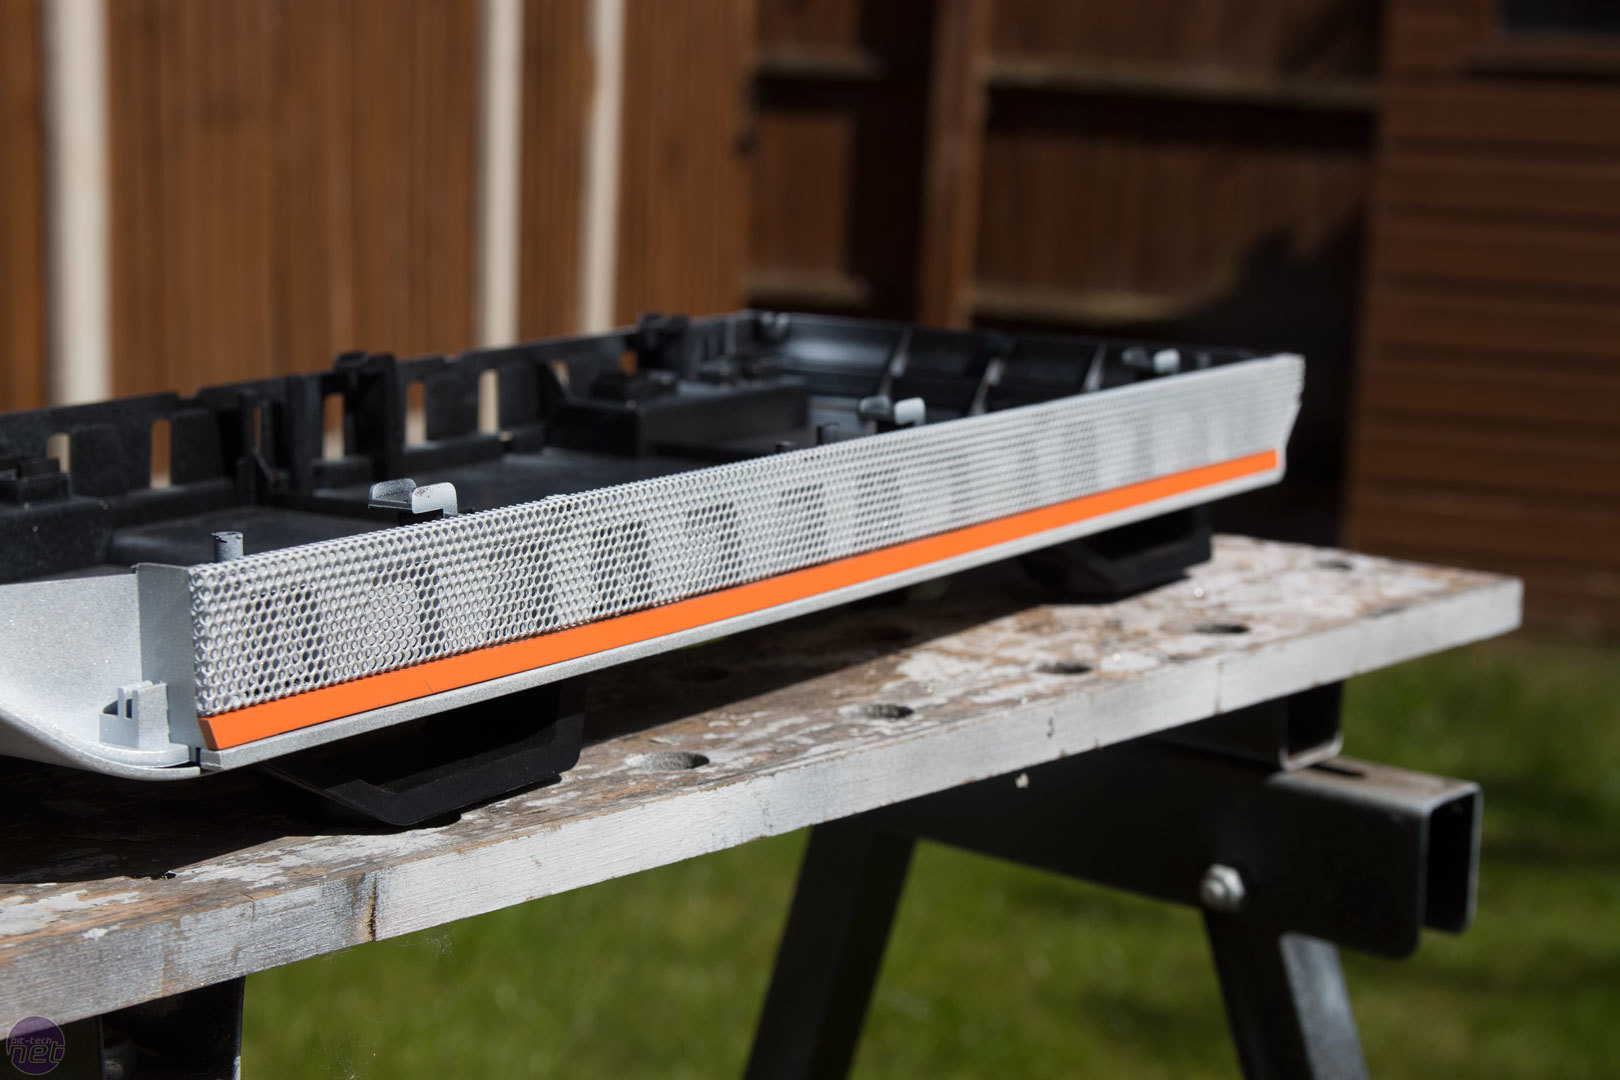
The next job after dismantling the case was to strip it even further to get all of the little details off such as the mesh grill and the orange trim.To do this ,you simply undo the multiple mesh tabs that hold everything together. Make sure you are careful; although the mesh is pretty strong, bending it too much or too often will make it snap.

Click to enlarge
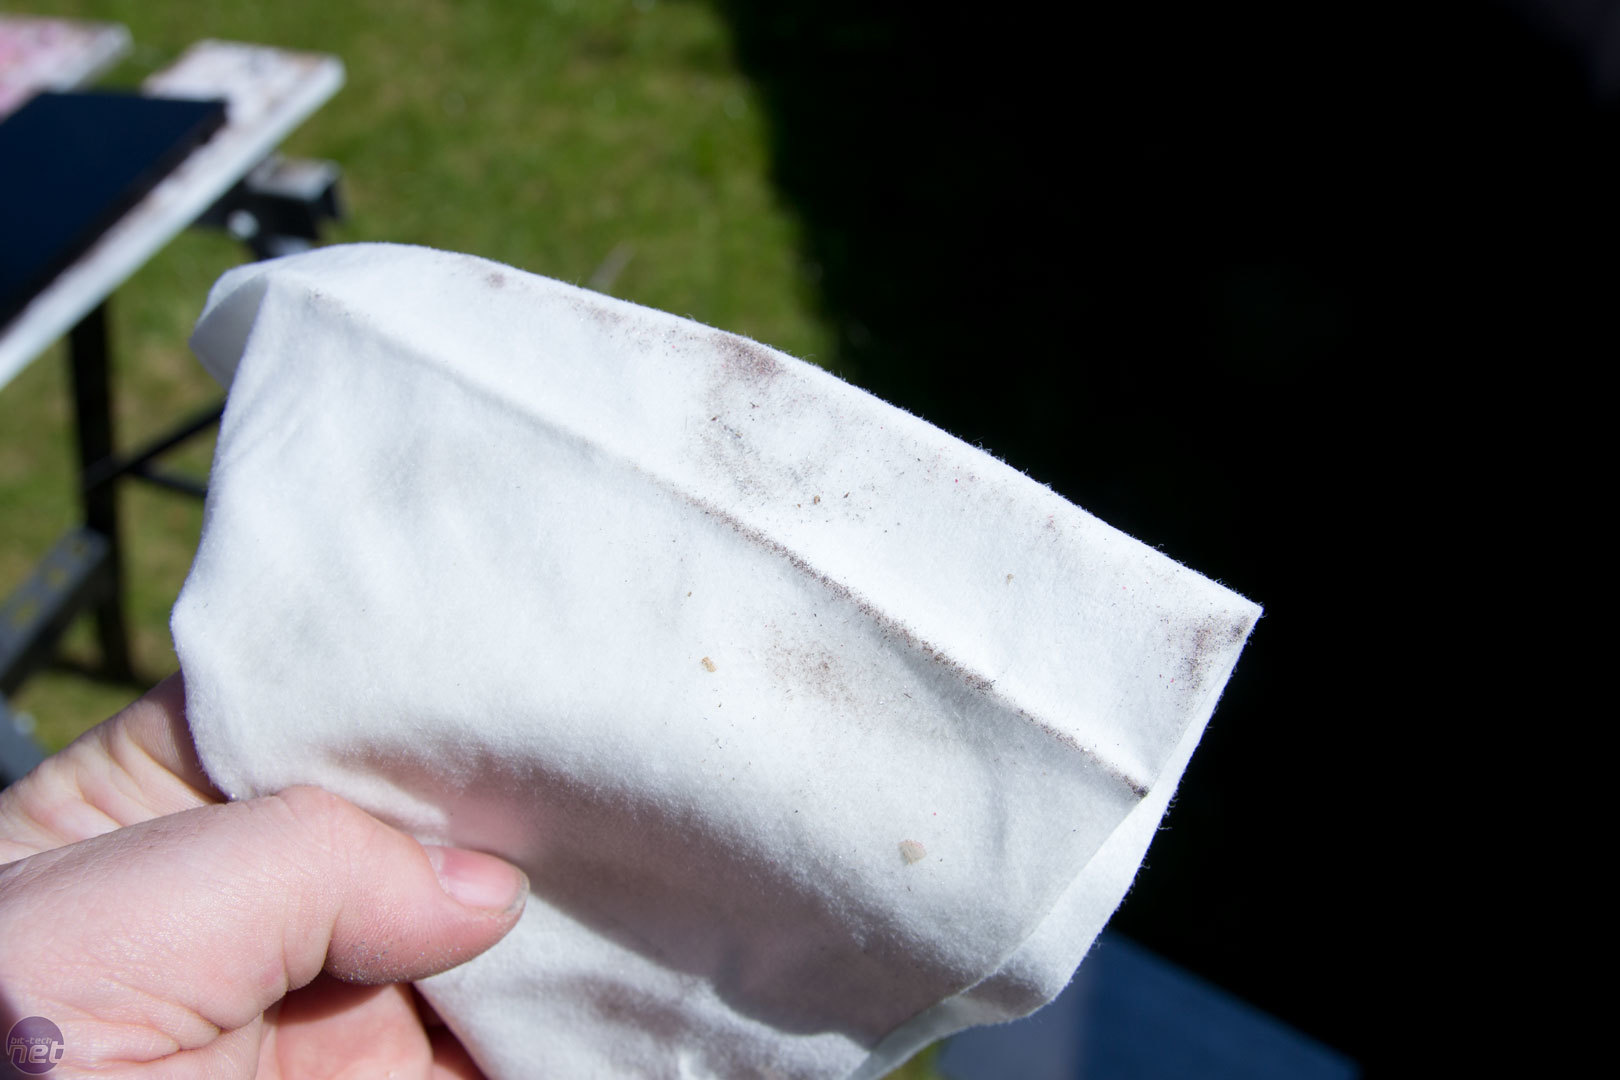
Once you have stripped everything, ensure that you give everything a wipe down, as even when it is brand new out of the box there is grease and dirt on the case from manufacturing, and cleaning this off will help the painting process. I also give the panels a quick rub with fine-grit sand paper if they are particularly shiny; this helps the paint to stick.

Click to enlarge
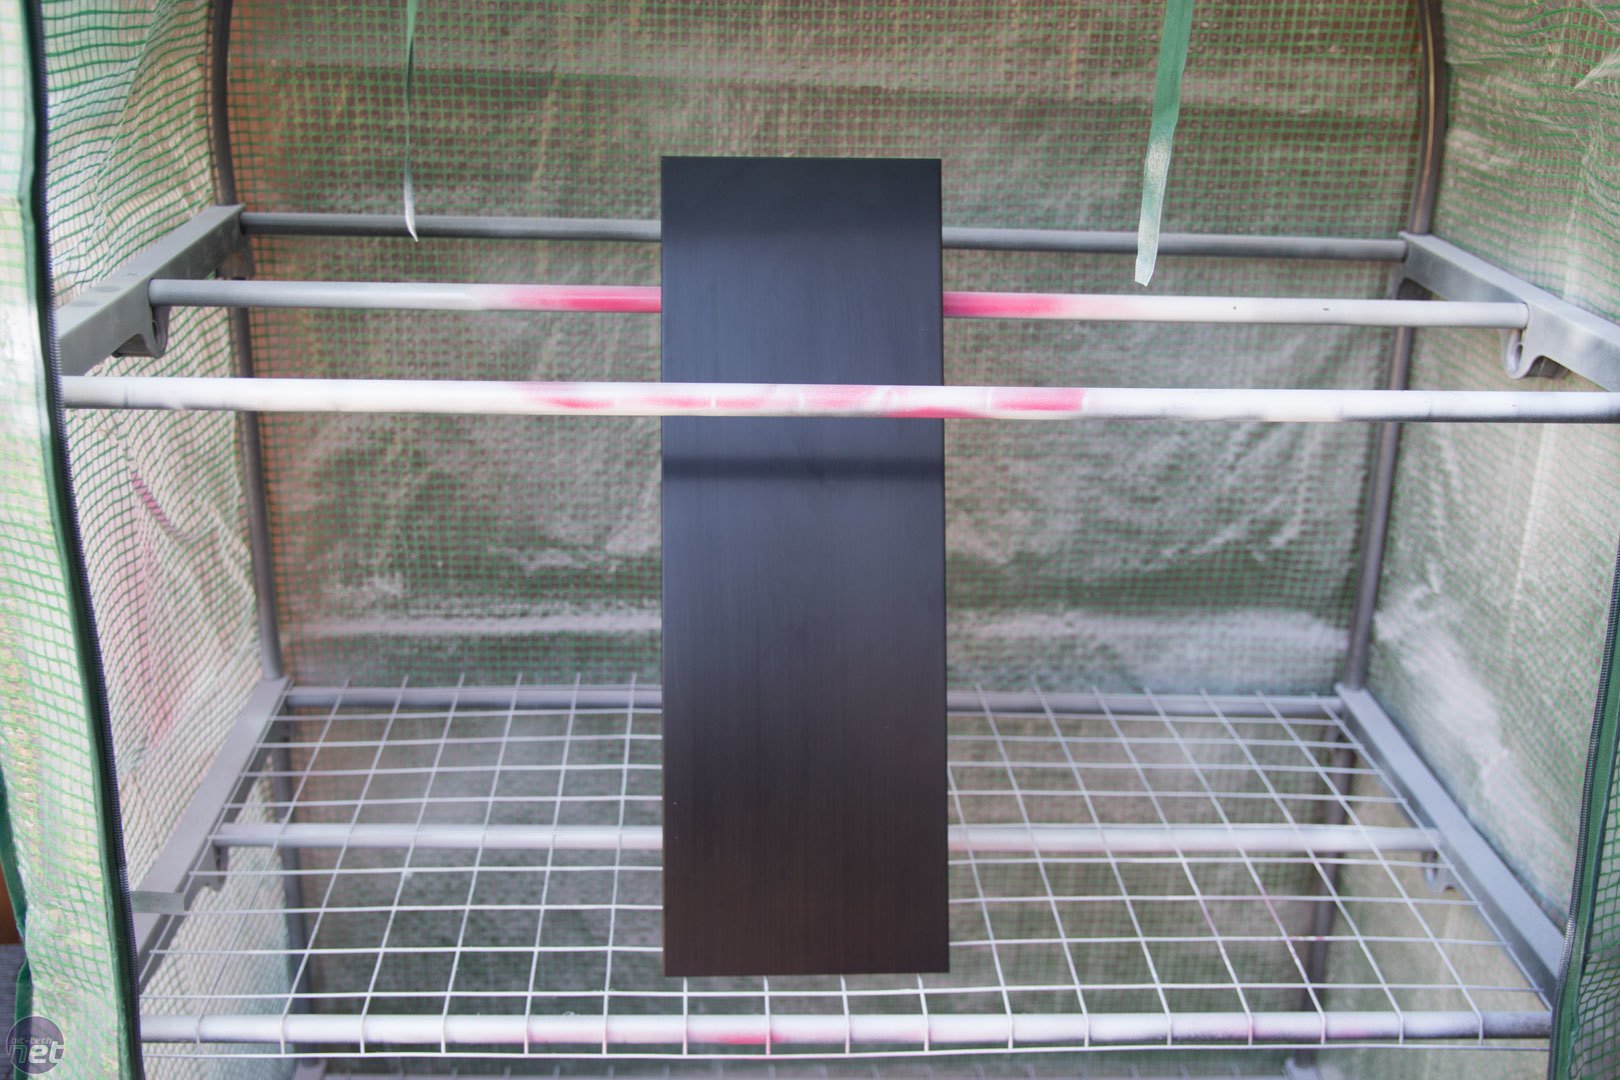
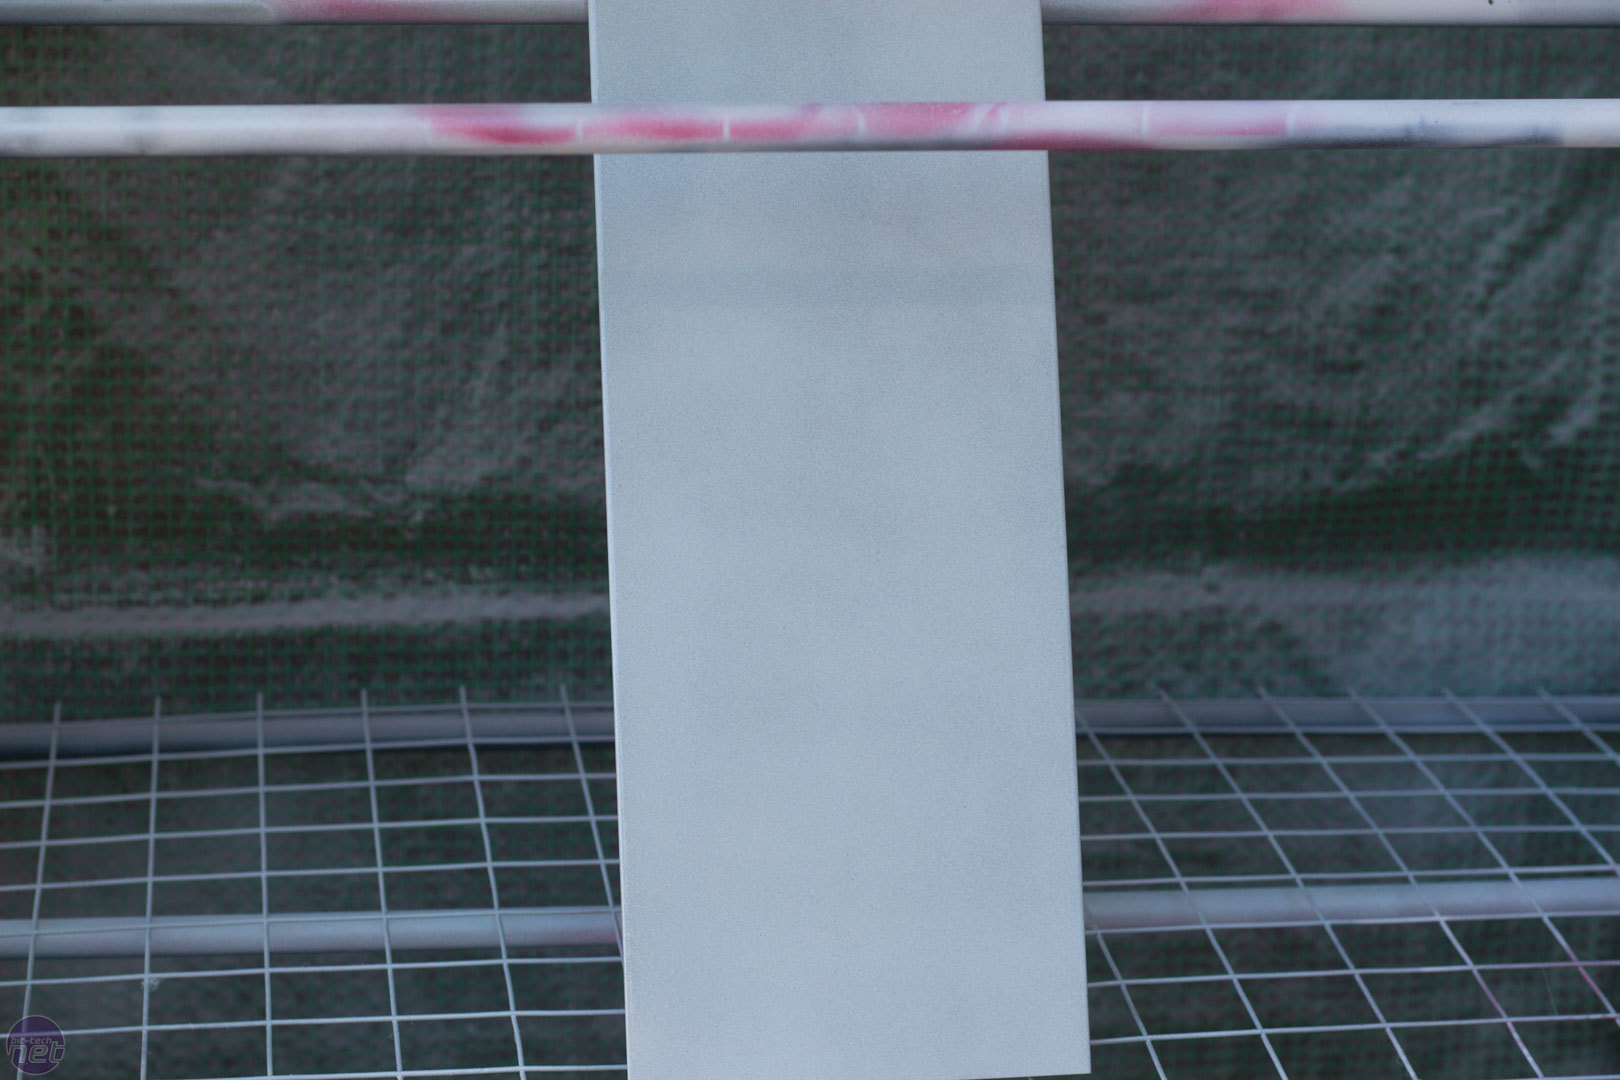
When painting, it's always better to hang larger panels, if possible, but I don't have anywhere to spray whilst hanging. This is the downside to modding at home in my small house: I am limited as to where I can spray. I don't have a workshop as such, and I have to make do. My makeshift spraying booth does well, though, and as long as when each coat is dry you spin the panel around, you can get good results. First I hit each panel with a coat of primer.

Click to enlarge
In between each coat of paint, I gave it a quick rub with some 2500-grit dipped in warm water with a drop of washing up liquid in. This allows the sandpaper to glide over the paint nicely and removes any imperfections in the paint. After sanding, wipe it over to remove any washing up liquid and to dry it off before giving it another coat of paint.

Click to enlarge
If you want full coverage, make sure you also rotate the parts around so you are not always spraying from one direction. This is particularly important with items such as mesh as you can get some rather strange results if you do spray from one side only.
Click to enlarge
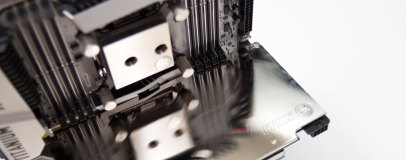
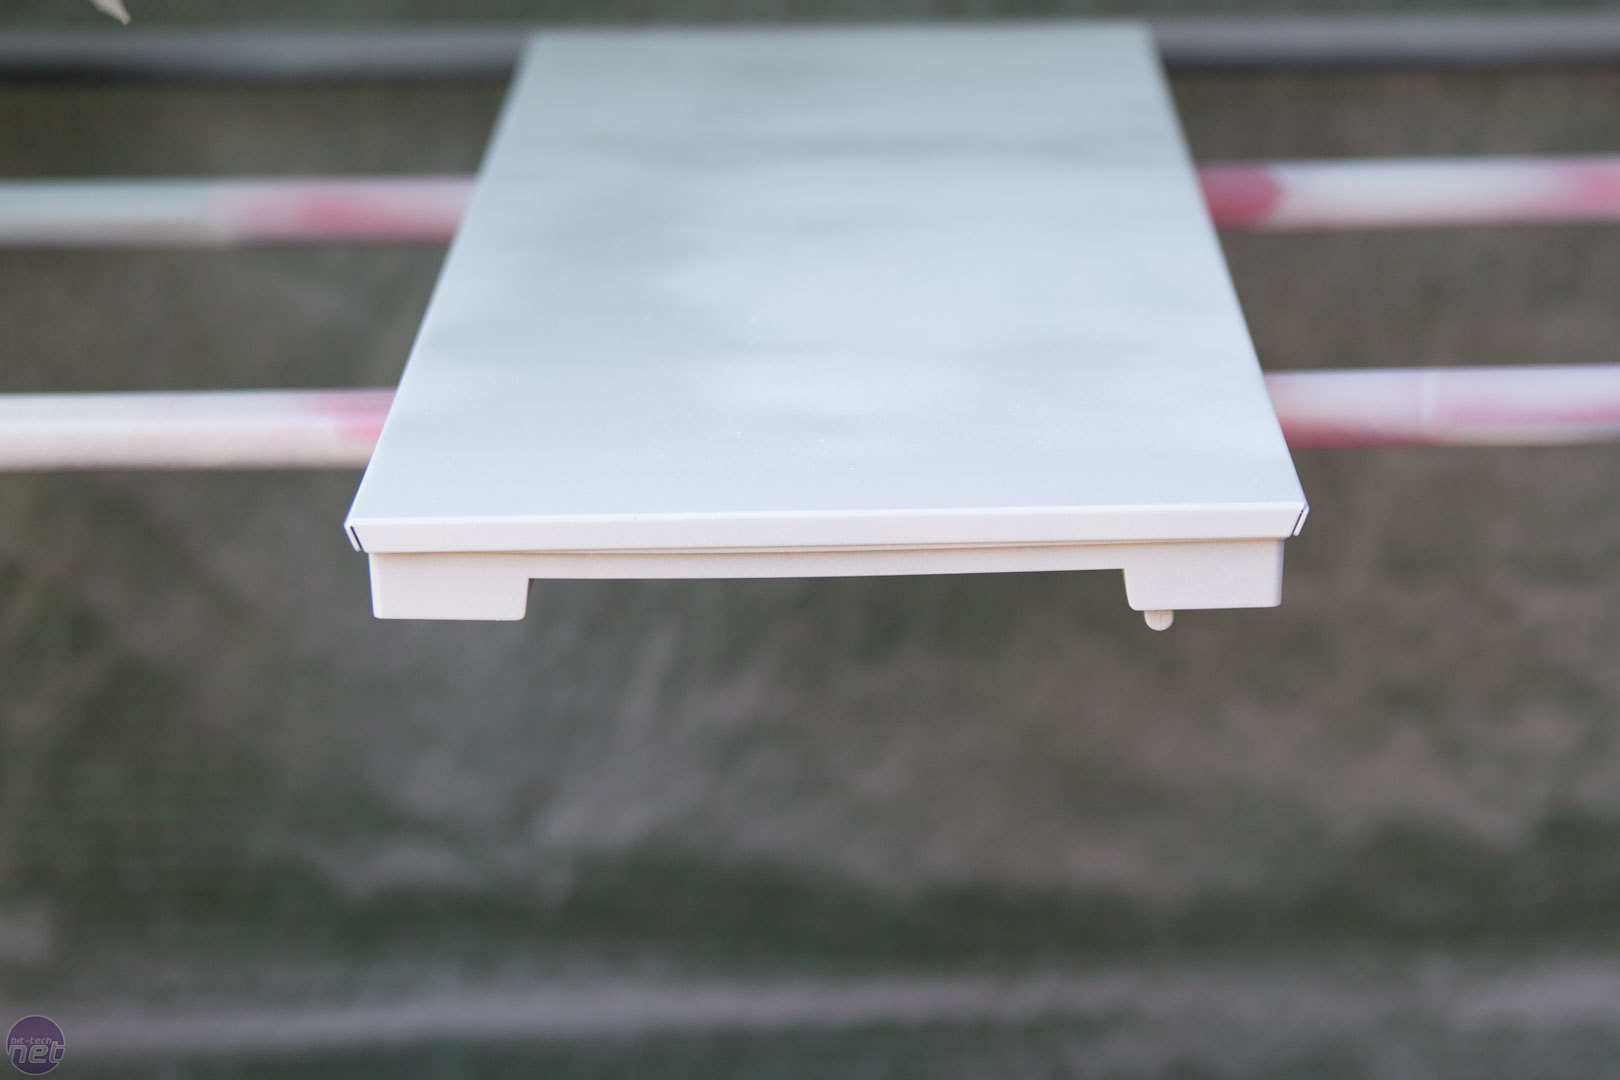
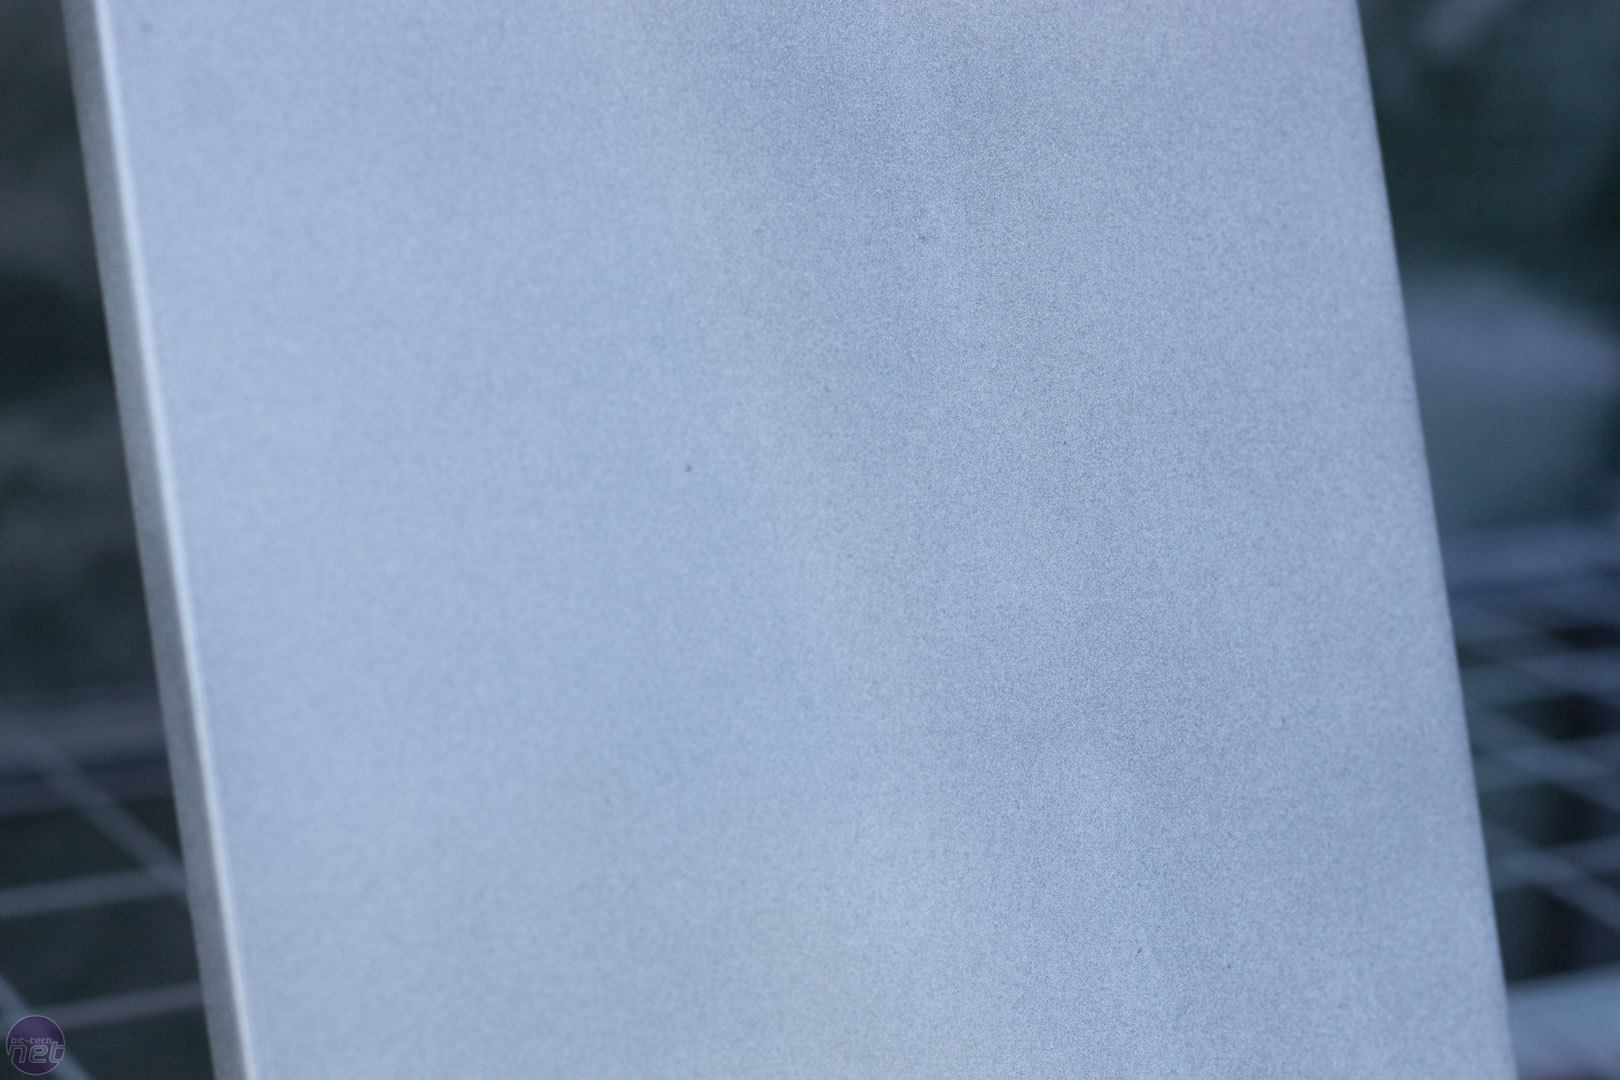
Next I sprayed it with the silver paint. I wish I could do the build then spray it at the end like I would usually try to do, but because I didn't have a clear plan on what I wanted to do, I needed to get things that I was sure of done first. This silver spray paint has a nice glitter effect to it, a little like the MSI X99 Titanium motherboard. It really is one of the most fragile paints I have ever used though.
Click to enlarge
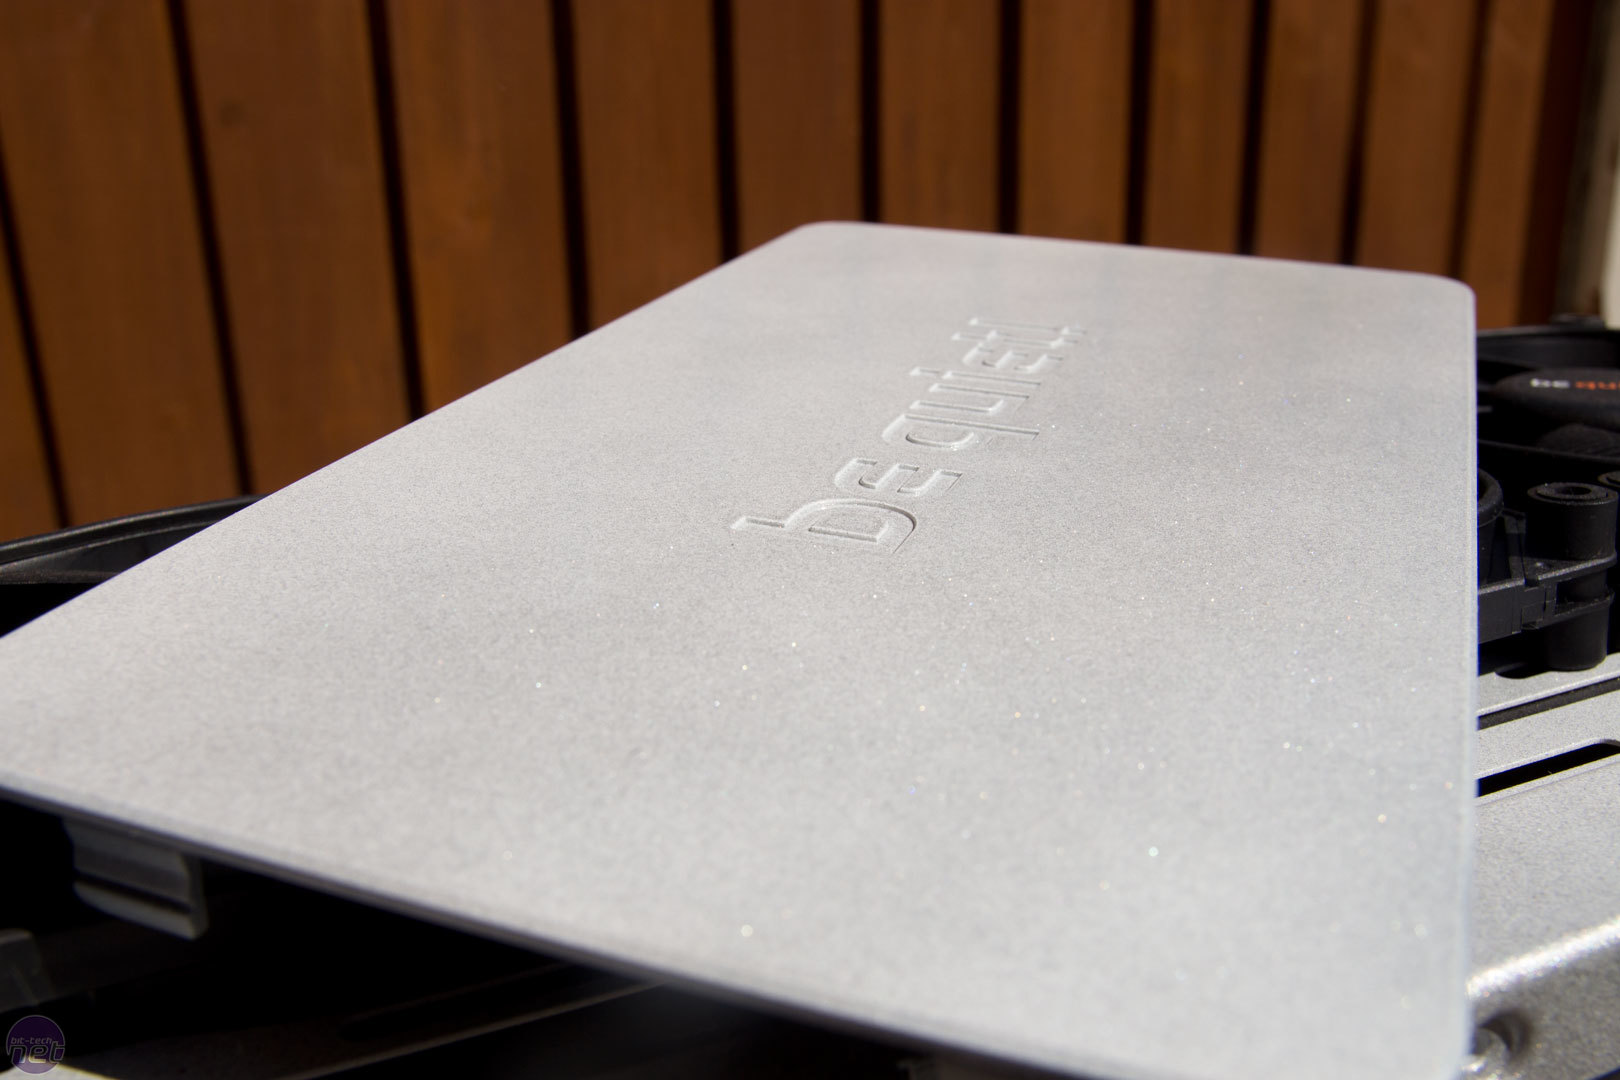
After all the spraying, I put a few coats of clear lacquer on it to strengthen the paint and give it a nice finish. Even with this, this paint is one of the most volatile I have ever used, and it seems you can scratch and crack it just by sneezing on it, but alas, I will have to solve those problems at a later date. I will probably end up having to strip the parts that are really scratched and redo this whole process, and that's the issue with painting first.
It does look pretty, though, when it's fresh.
Click to enlarge
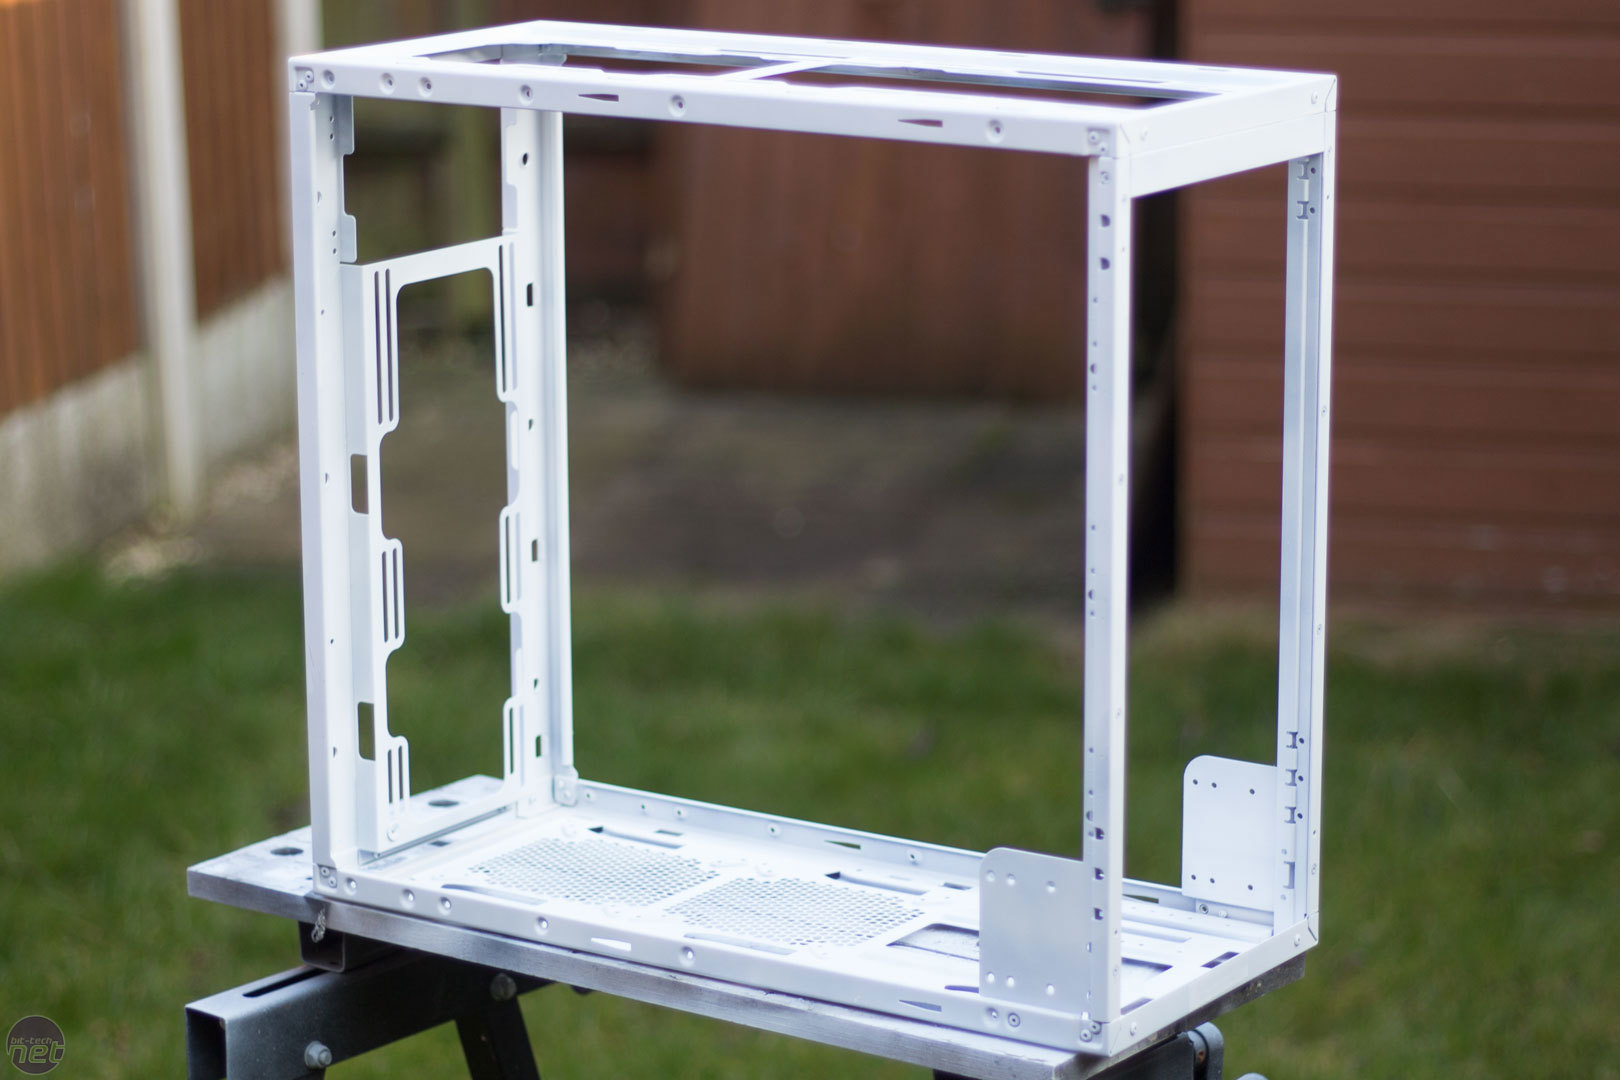
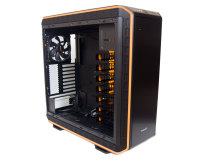
After spraying everything, it was time to put everything that was needed together back as it was, but this time I would be flipping the motherboard tray.
Click to enlarge
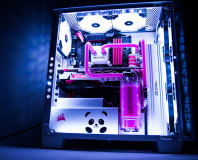
When putting things back together, you can really see how the colours contrast. I think this could be rather pretty!


MSI MPG Velox 100R Chassis Review
October 14 2021 | 15:04

Want to comment? Please log in.