
Learning How to use EL Wire
So, Rob told me that using EL wire or EL strips is really easy! You do have to make sure you get good quality stuff, though. He has been buying it for ages and has settled on a UK company called EL Wirecraft, AKA El Wire & Tape. After seeing some of the cheaper eBay purchases he has made in the past and the difference in quality, I can see why he has chosen these guys.Basically, when using EL wire, you need the wire, a power source, and an inverter. There are a few things to remember when using EL wire though. Too much power for a short strip of EL wire will burn it out fast, and too little power will make it dim. It takes a little time to find the sweet spot.
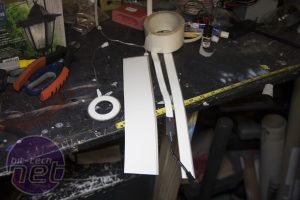
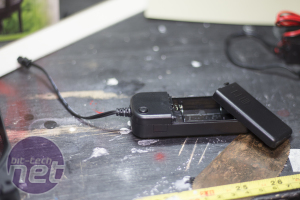
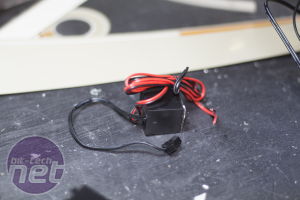
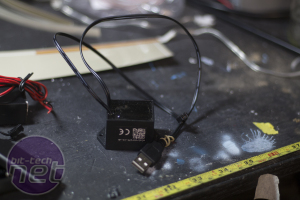
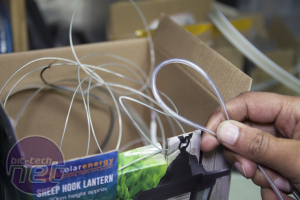
These are some different types of EL wire or tape. You can get it in all shapes and sizes, and it all works the same. There are three main power sources you can use with EL wire: battery power, 12V, and USB.
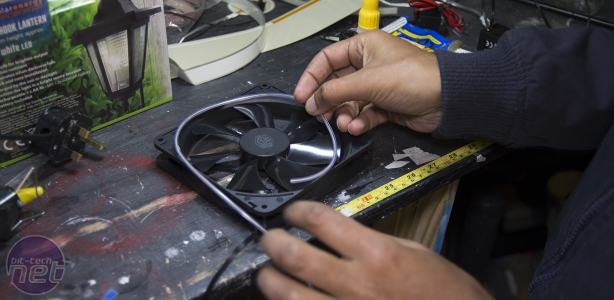
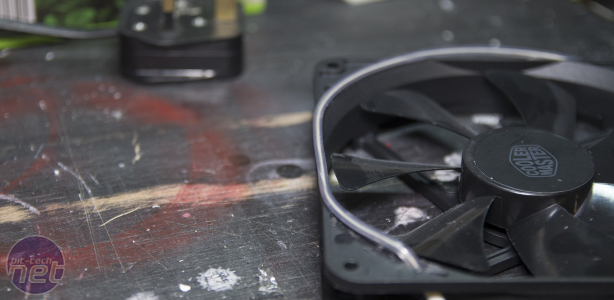
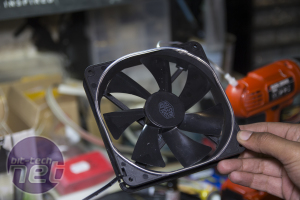
Once you have your selected wire, you find something you want to make glow. Rob had a fan lying around so thought he would show me using that. The first job is to figure out where you want the EL wire to go. You just physically measure where you want the wire and ensure that it will be able to stay there without interfering with anything.
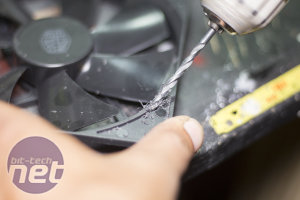
Next, you drill a hole whence the wire can protrude, and this means it will be hidden from sight when the fan is installed. Putting the drill sideways will create channels to allow the wire to fit snugly.
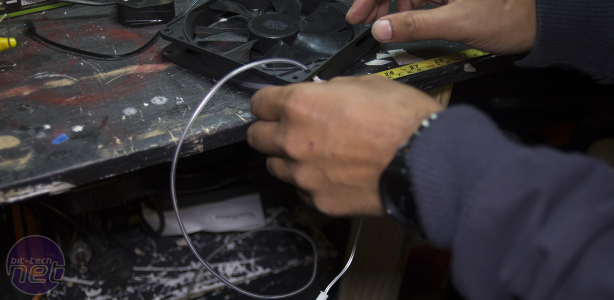
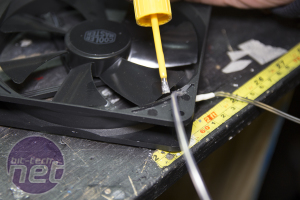
Once the hole is drilled, you can thread the EL wire through it so that the connector is hidden away.
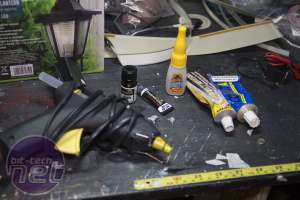
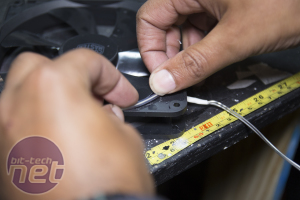
Glueing EL wire down can be a little bit tricky. There are many different materials you can use it with, and some glues simply won't hold on certain materials. Rob has compiled a small collection of glue to ensure he will always have something to stick his EL wire down with. You have to have a steady hand here, but basically you just put glue down anywhere you want the wire.
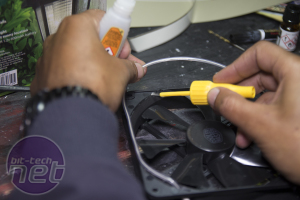
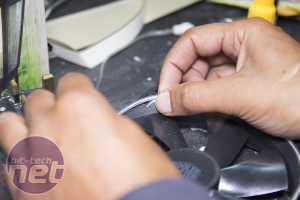
Hold the EL wire onto the glue until you know it has stuck and then continue to the next small section. You will soon know if the glue you are using will stick or not. If it doesn't stick, clean away the glue you used and try something different.
These fans are not a perfect circle, but that is fine, EL wire can be trained to go where you would like it.
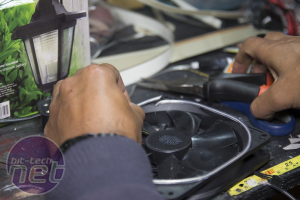
Once you have gone the whole way around the item you wish to put the wire on, measure where you need to cut and then snip it with some sharp pliers or scissors. If you cut the wire at an angle, it looks more like a continuous wire.
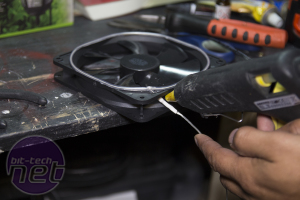
After the wire has been done, you can use a glue gun to hold the wire on the other side of the hole in place. This will ensure no stress or strain is put onto the EL wire, and it reduces the chances of it being tugged off whilst you are building your system.
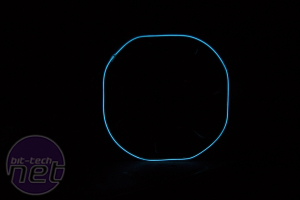
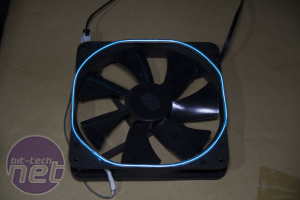
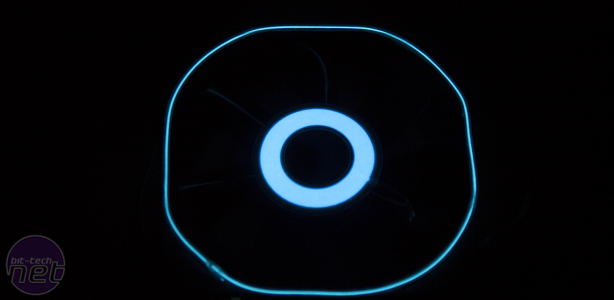
The next job is to test it! As you can see, we used a blue EL wire, the same stuff Rob used in his Tron projects.
You can also get circular EL panels that we used to put in the middle of the fan, just to show it off a little bit.
There are a few ways in which you can actually modify the EL wire. Due to the sleeving surrounding the wire, you can only bend it a certain amount. You can, however, strip off this cover and create a thinner wire. This wire will have a thinner light, but you will be able to put it around sharper angles.
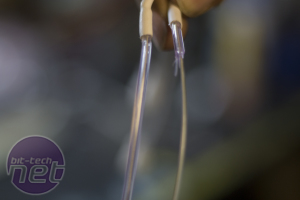
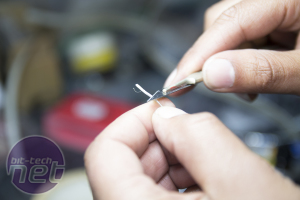
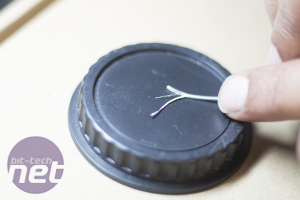
You can also solder the EL wire. This is a little bit trickier, but basically you strip the second layer of sleeving off, giving you two separate wires. One is very, very fine, and you may damage it, so be careful! Once you have done this, you scrape off all of the coatings on the wires so that you have two naked bare wires. You can solder directly to these to create your own custom lengths.
Now we know a little more about EL wire, let's have a look around Rob's workshop - on to page four!

MSI MPG Velox 100R Chassis Review
October 14 2021 | 15:04



Want to comment? Please log in.