We are back with Part Two of the build log for Alex 'MarzBar' Brooks' build. We are forever looking to make our website read better, and no doubt you will have seen the little 'Mini Mod' tutorials that have popped up over the last month or so. These are done so we can reduce the size of these articles while still giving you all the information. They are also a lot easier to find if you should ever wish to follow one of the guides.
So, let's get stuck in.
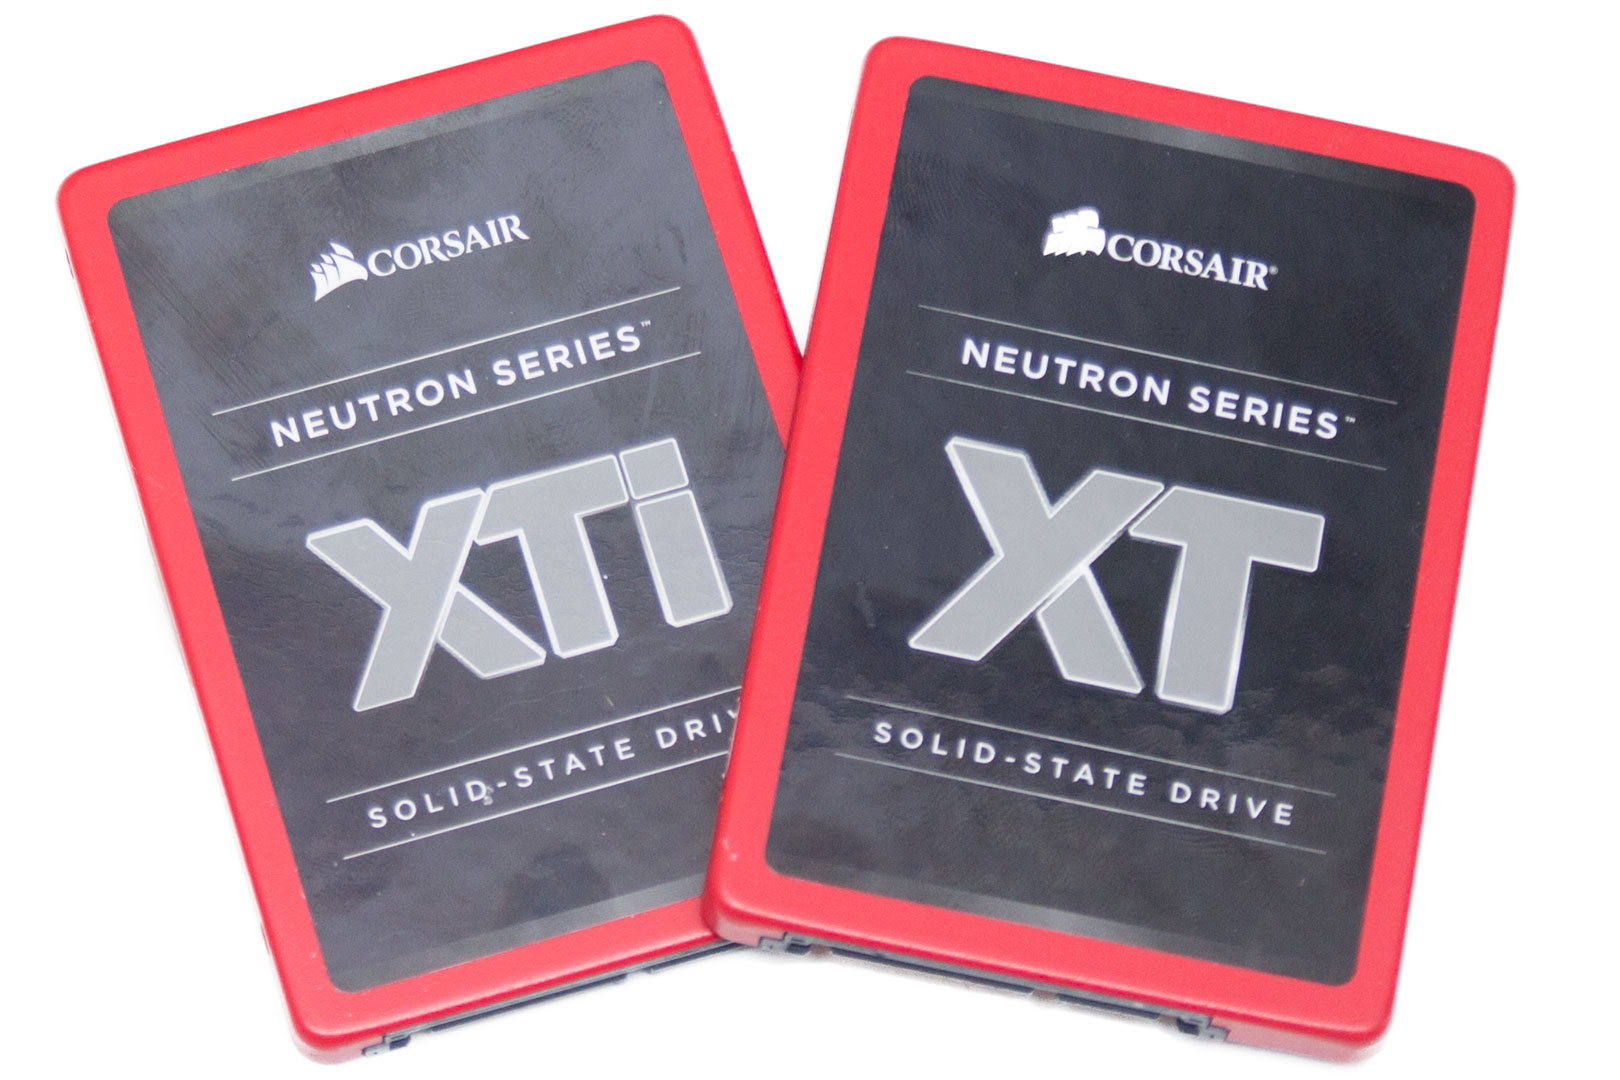
For the SSDs, I wanted to make them personalised for Alex Brooks. He has two MarzBar logos, and this one fits the SSDs perfectly. I also didn't want to take away the Corsair branding as without it, it looked a little bit plain.
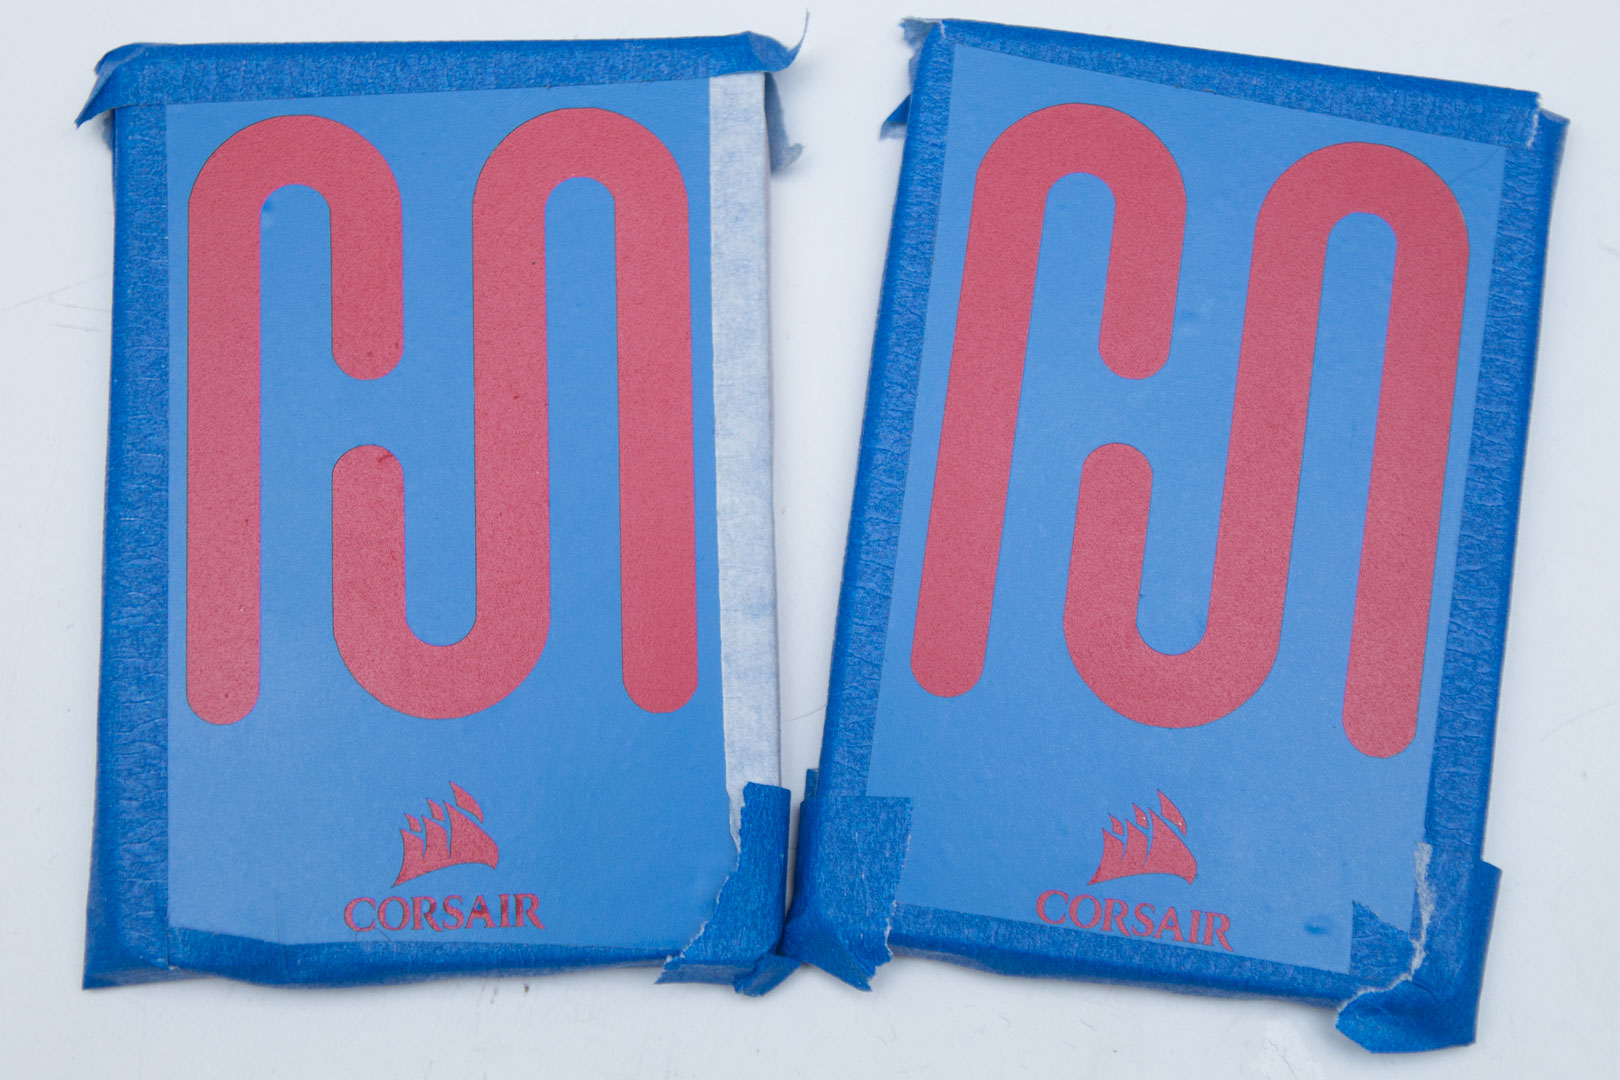
Out of all the SSD modding methods that we showed off in our
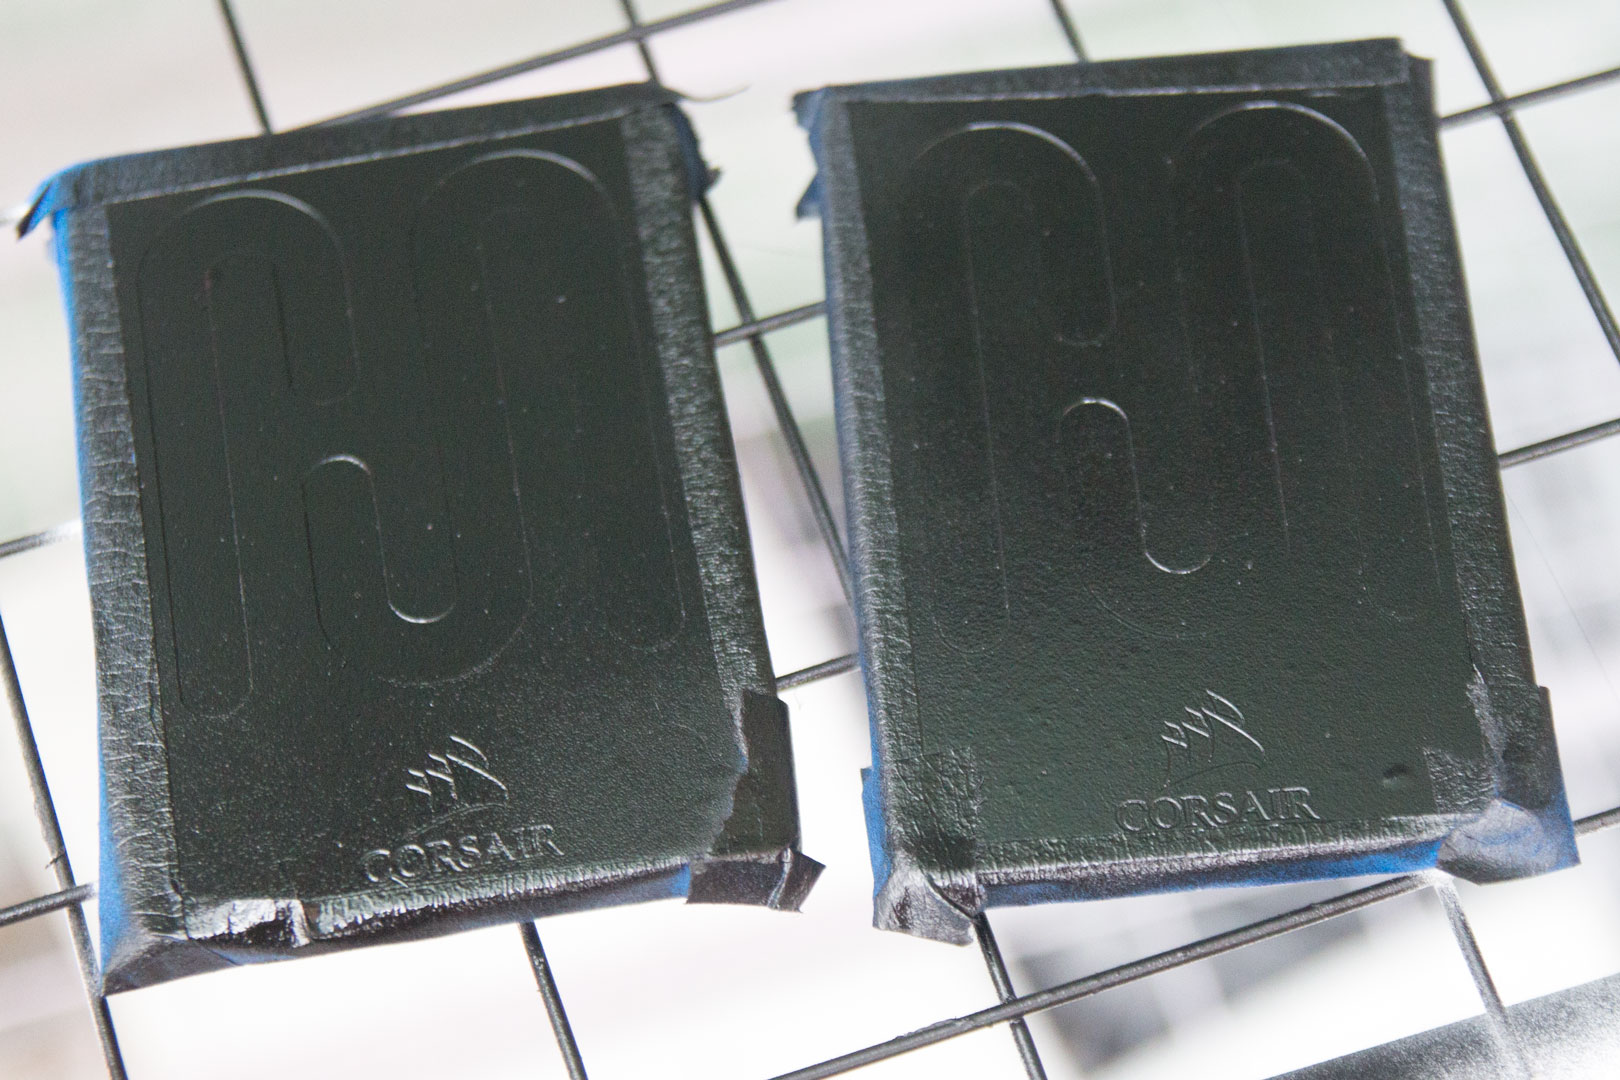
SSD modding guide, I decided to go with a simple spray paint mod. It was my favourite mod out of them all, and it works really well. I did have to tidy the edges up a little, as the paint looked quite dusty, but I just waited until it dried and gave it a quick wipe with a slightly damp cloth.
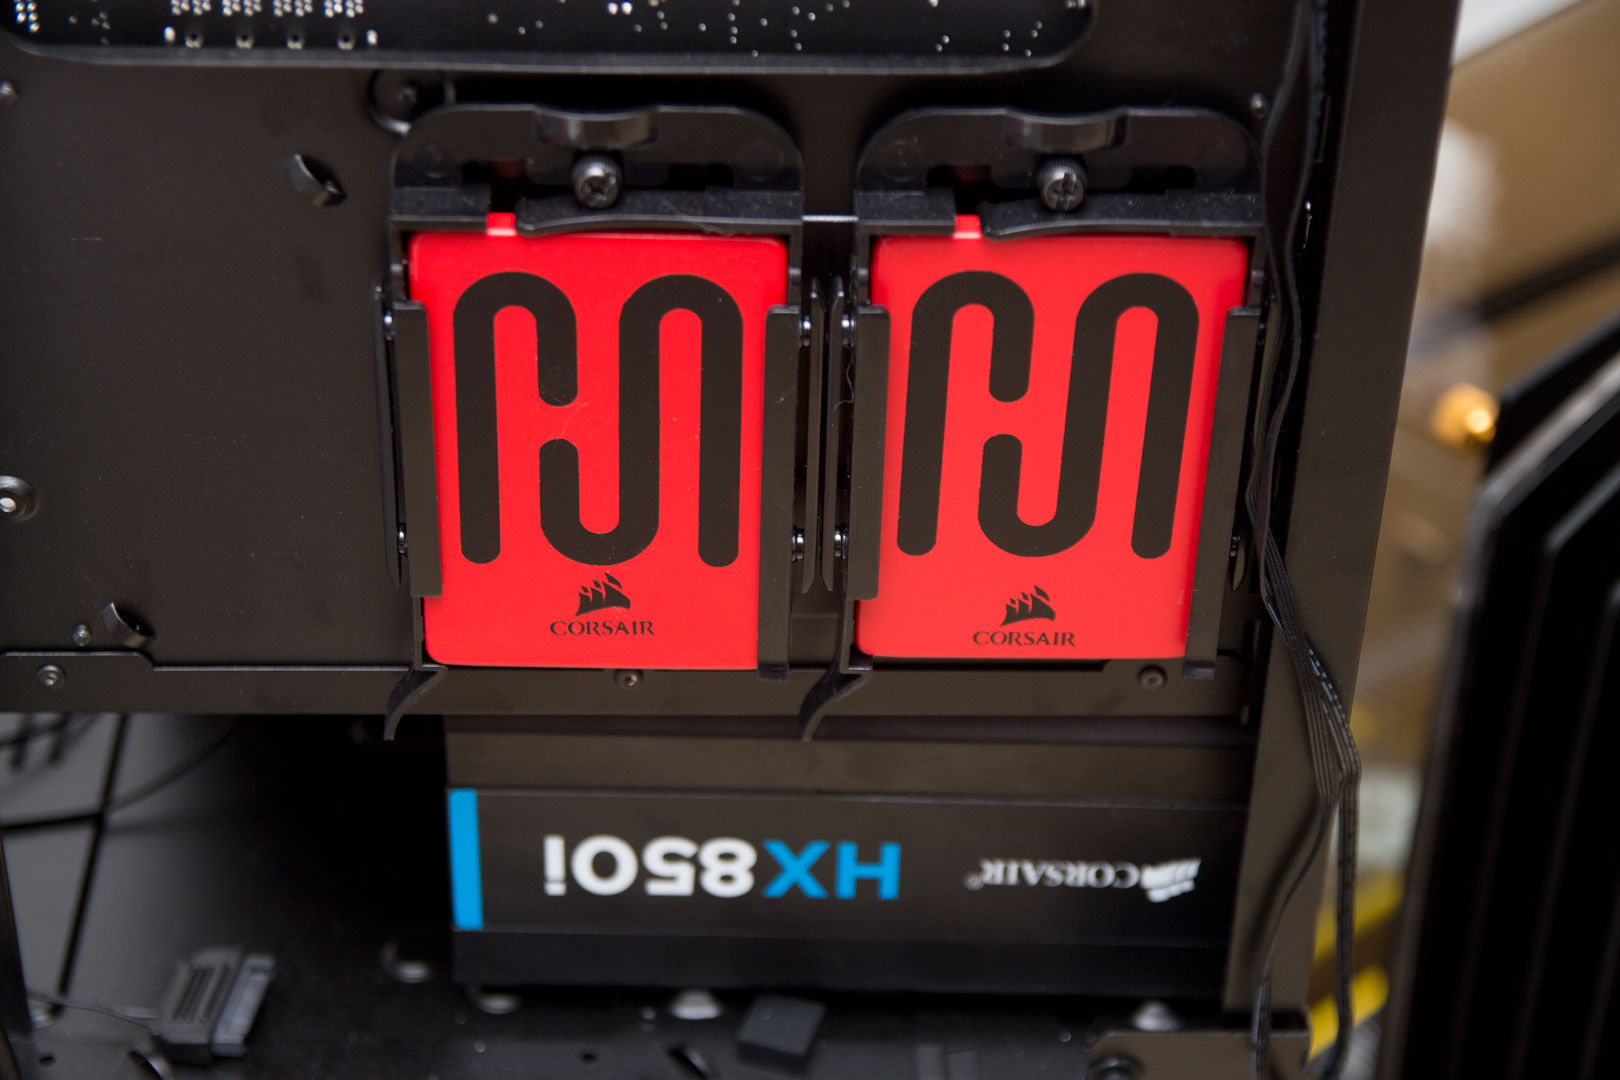
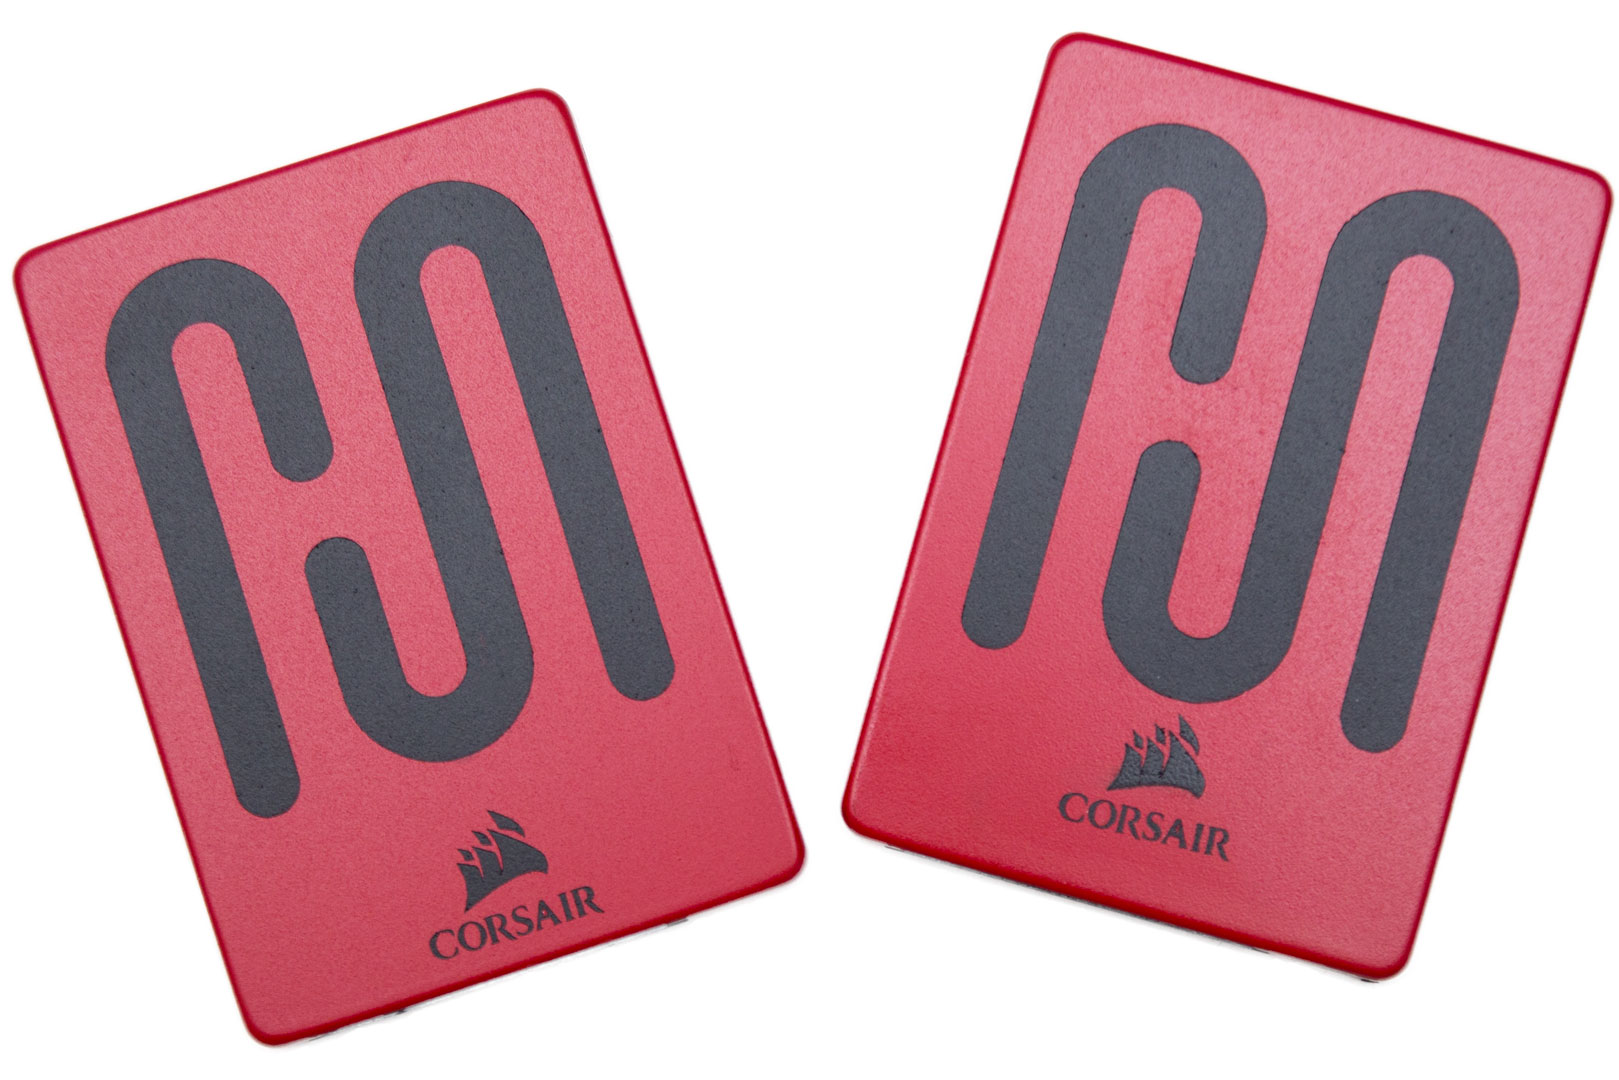
This is what they look like in the SSD brackets - rather tasty; I think Alex will really like them!
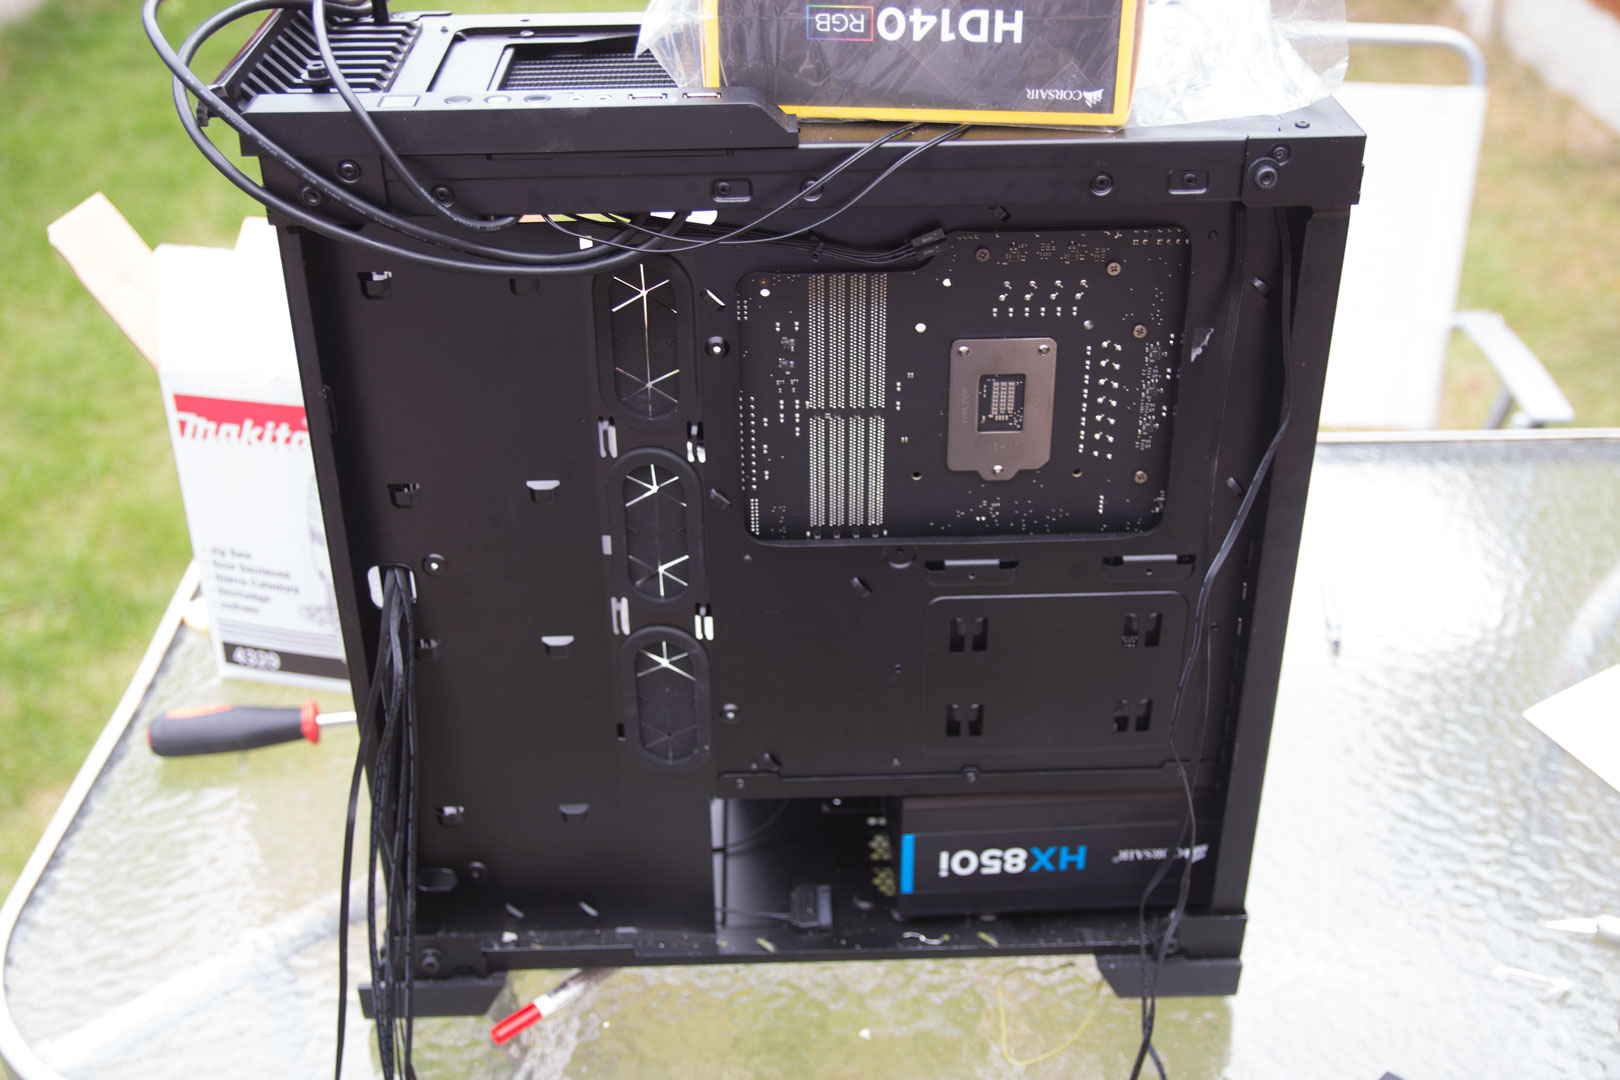
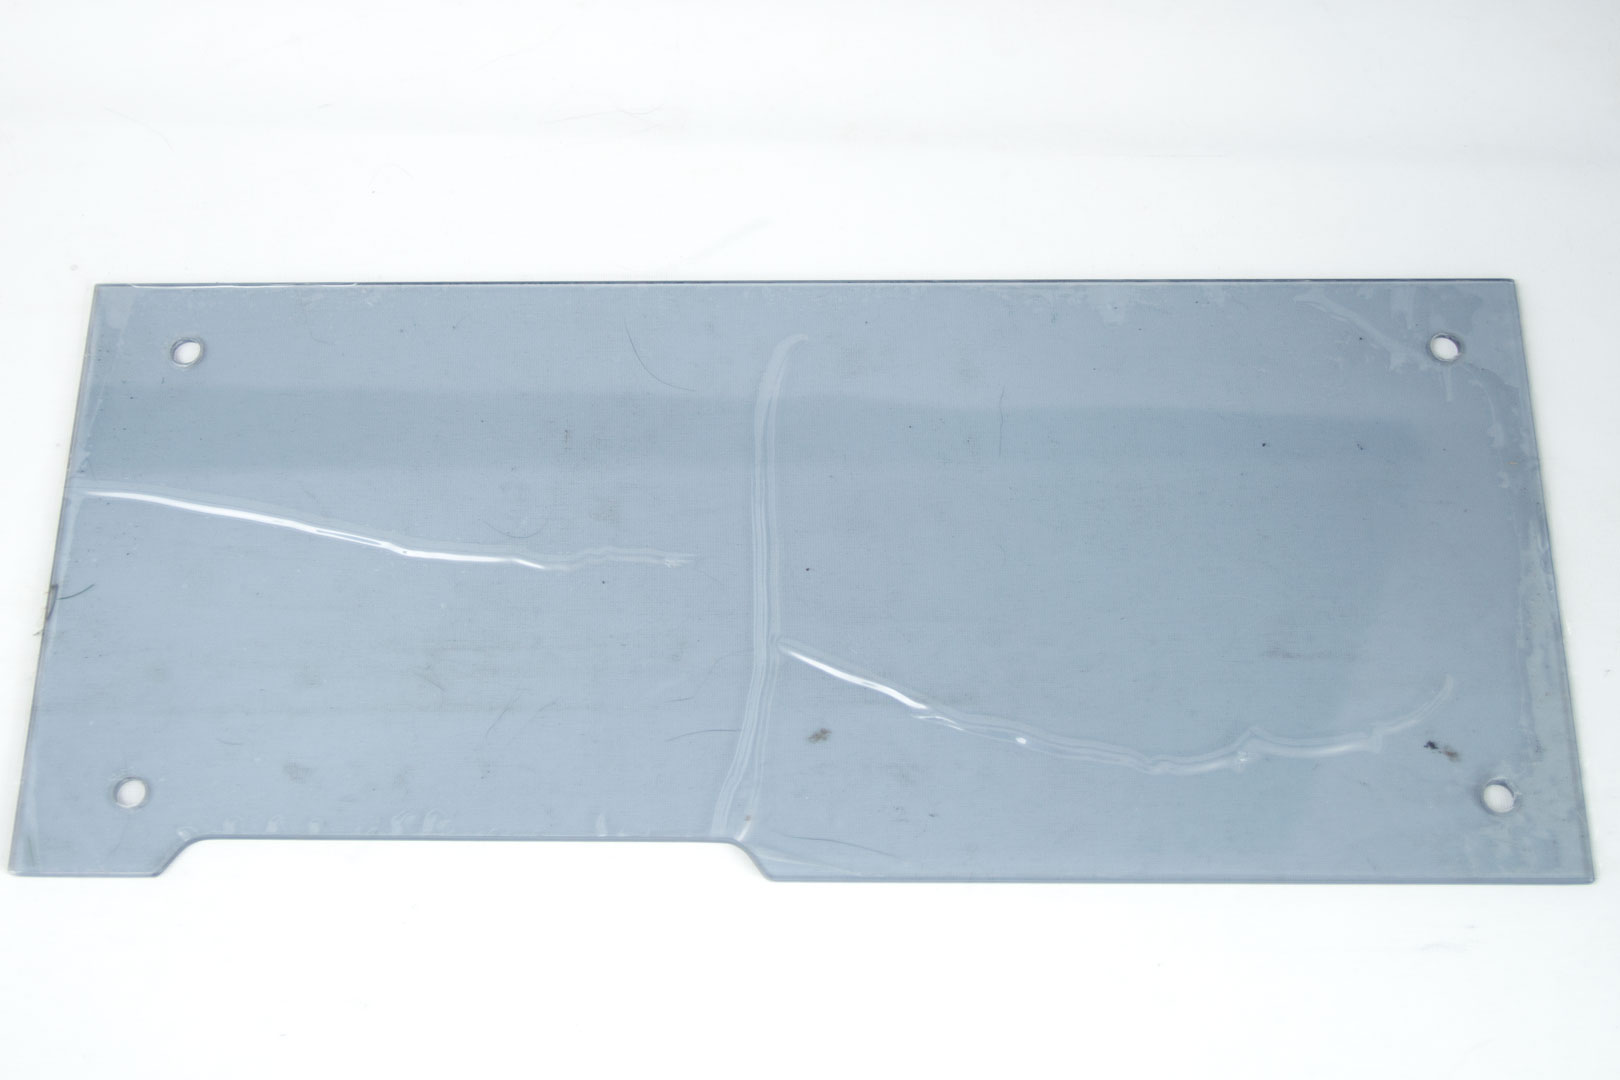
While playing with the SSDs, I realised there were going to be some cables that I just wouldn't be able to sleeve (without desoldering the USB hub), and sleeving the wires would just bring more attention to the silly connectors (looking at you, USB 3.0!). So, I decided to cheat a little and make a plate to hide the wires I wouldn't be sleeving.
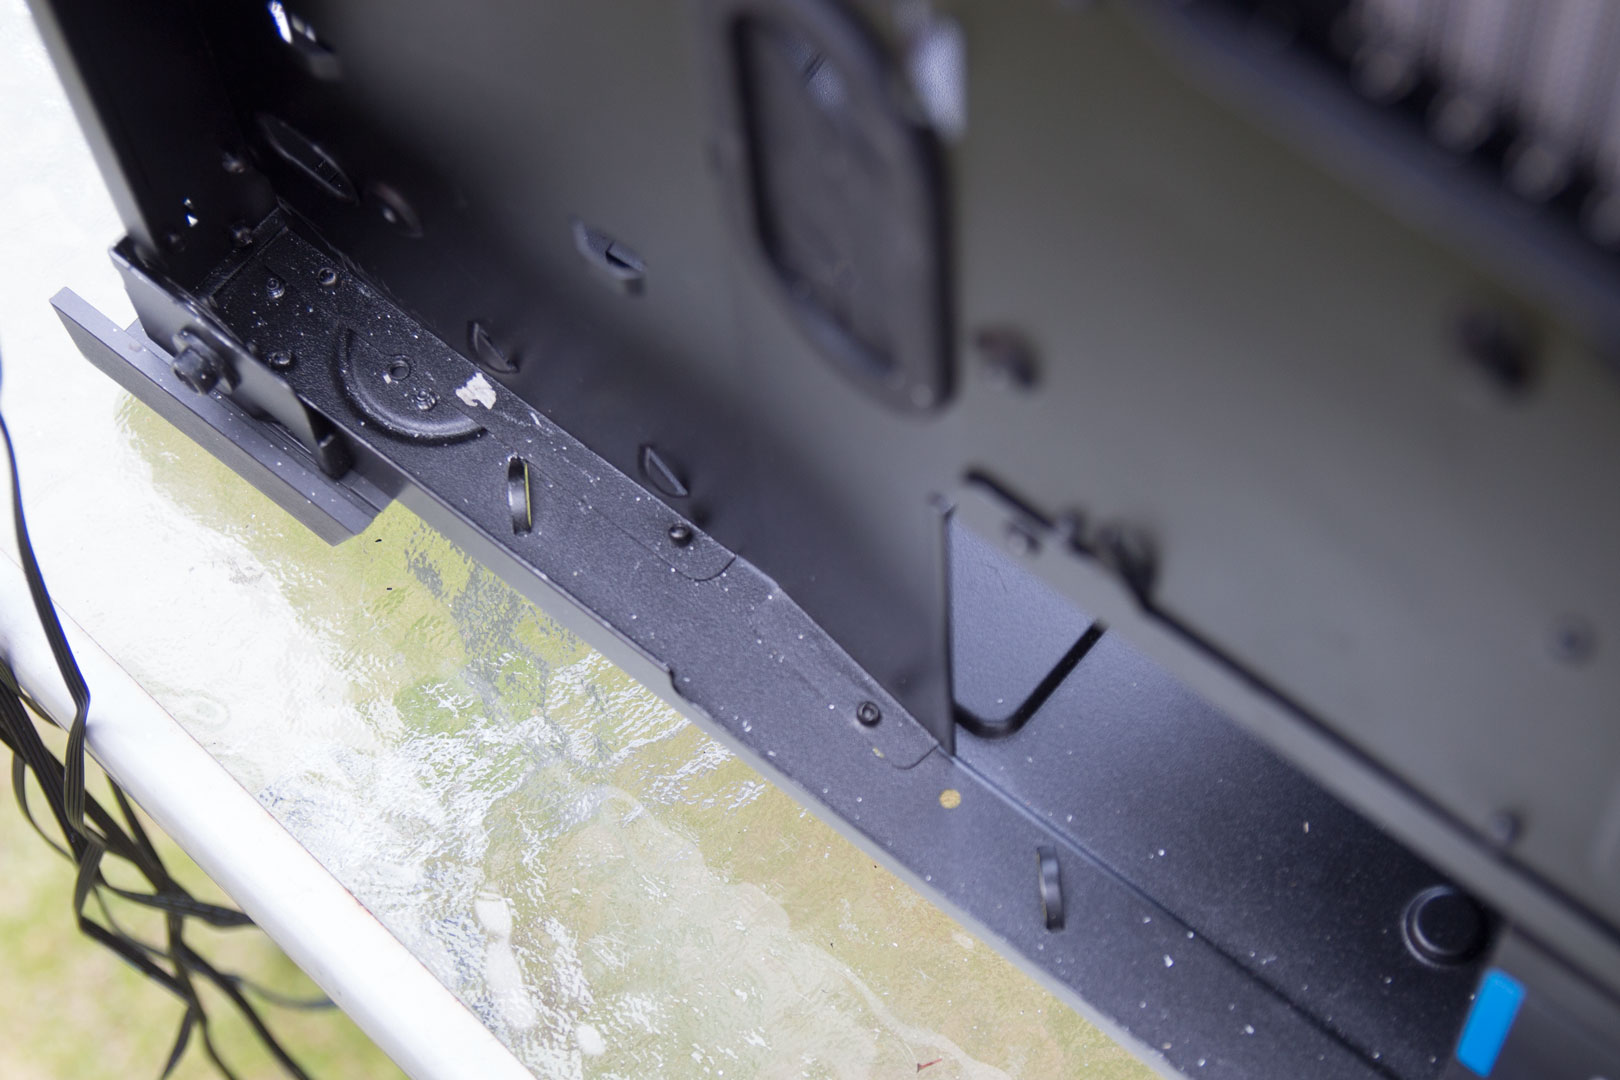
The only issue with this idea was that the motherboard tray has a few bends in it, so any attempt to make a flat panel would look silly.
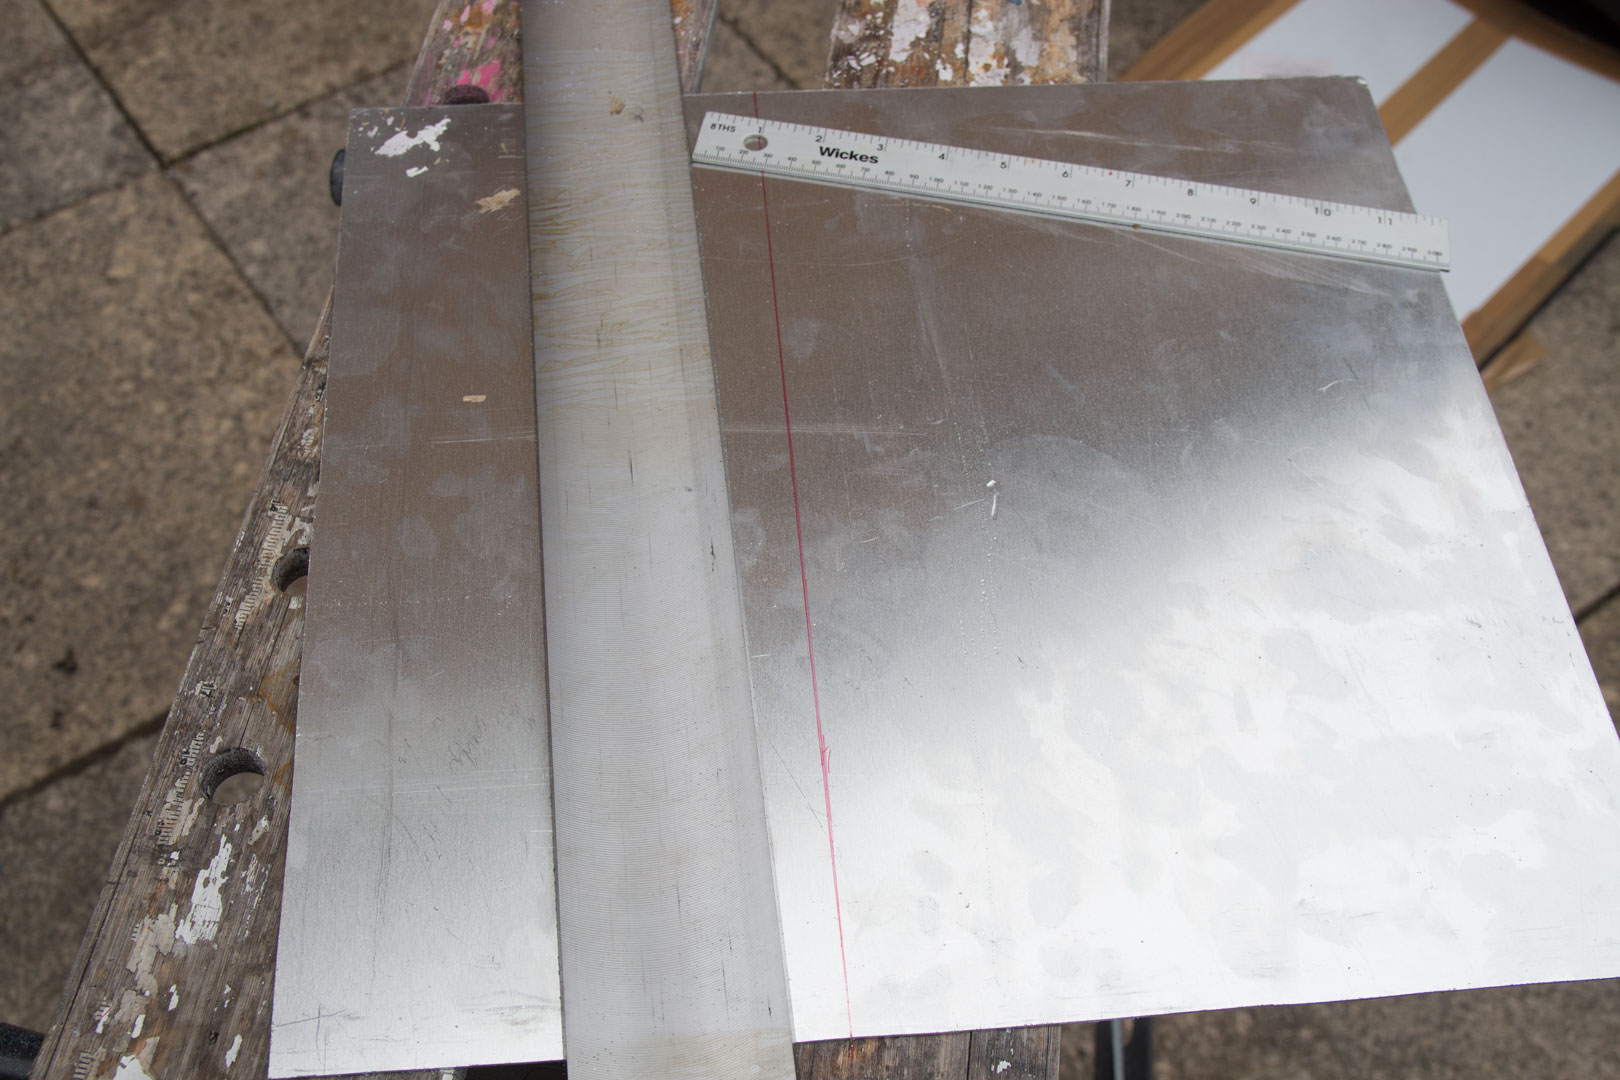
I measured up some 1.5 mm aluminium and decided that I would follow the bend that Corsair had already made.
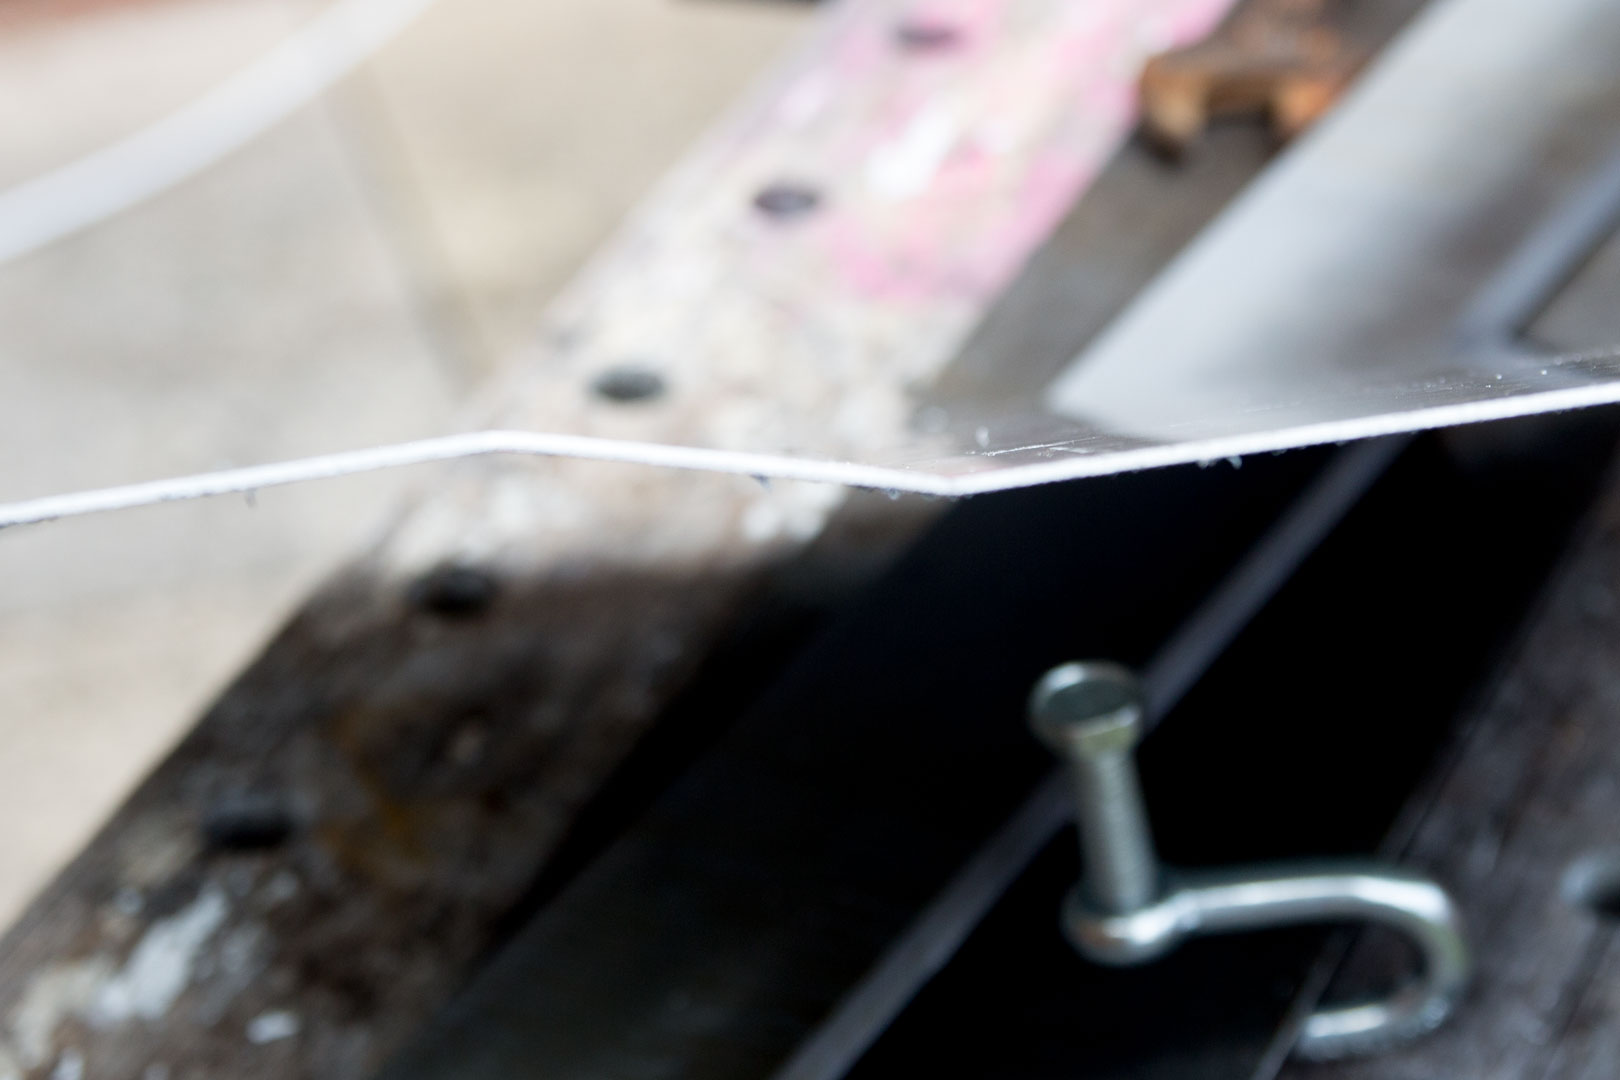
I used a cheap bending break to make the bends in the metal. It was only around £60, and it works great for the thin sheets of metal that I often use. It would be a lot easier if I could bolt it to a large workbench though!
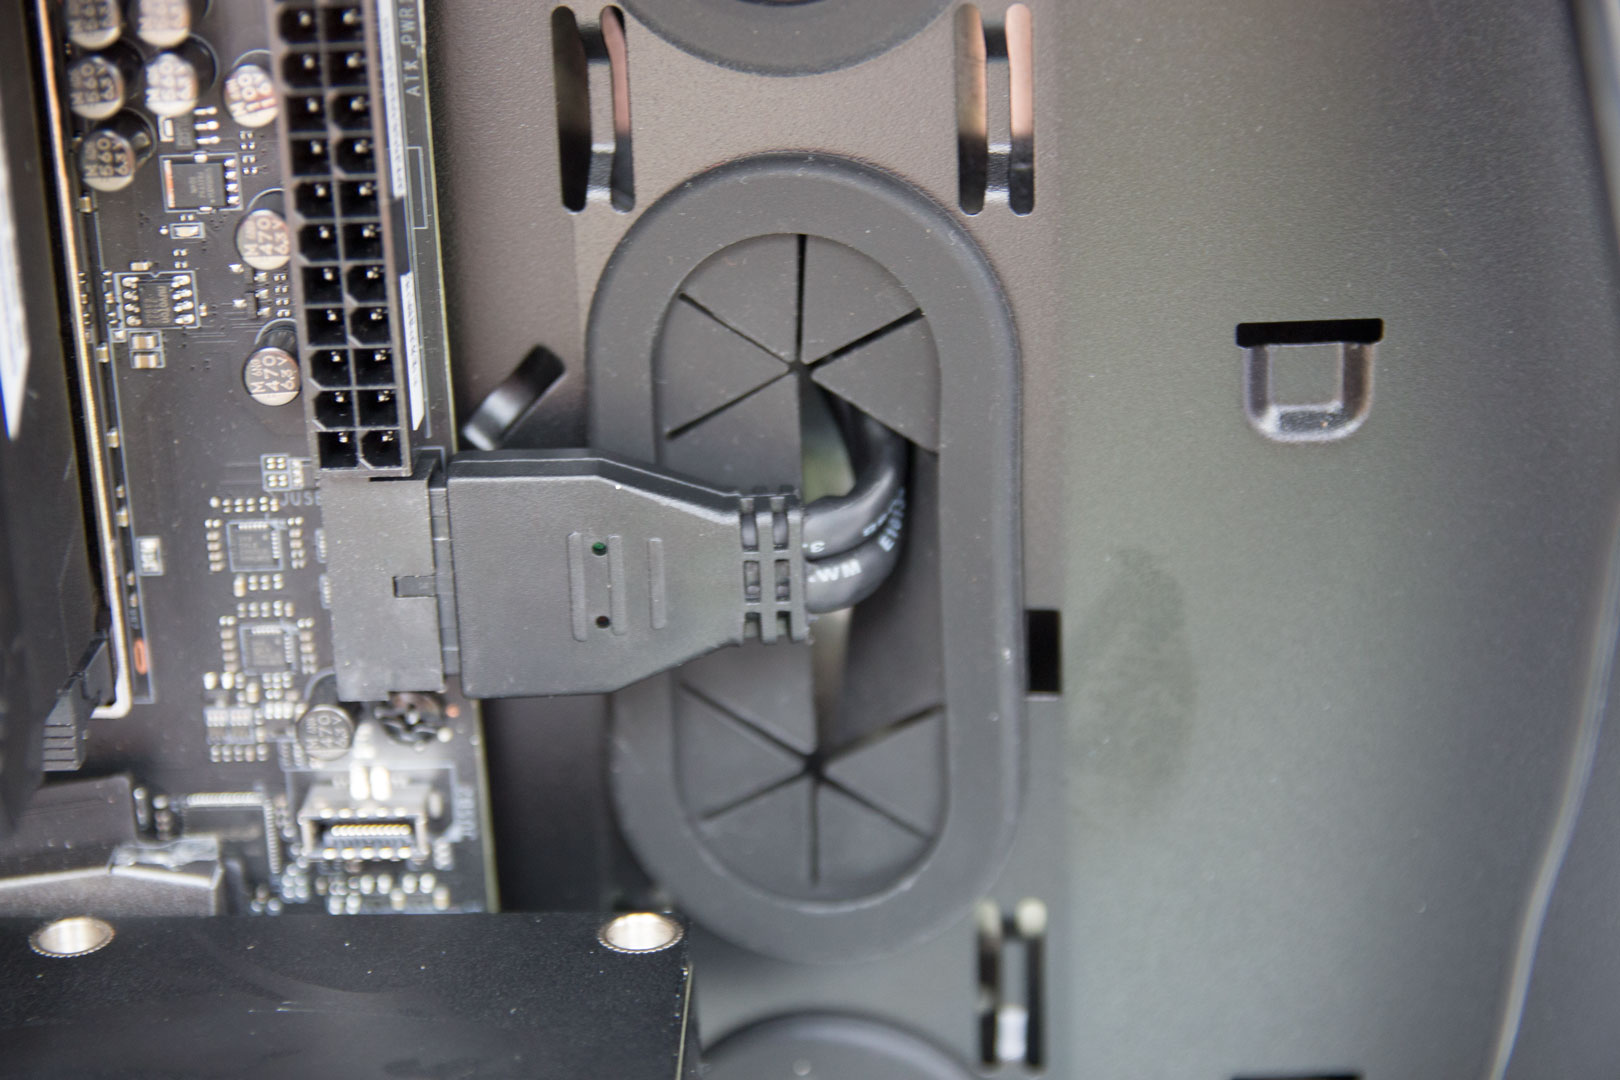
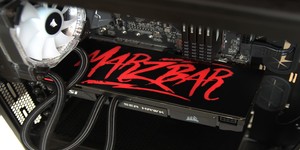
Done! Now, the horrible USB 3.0 wire is hidden. If I pull the panel back out of the way, you can see how ugly the wires were before.
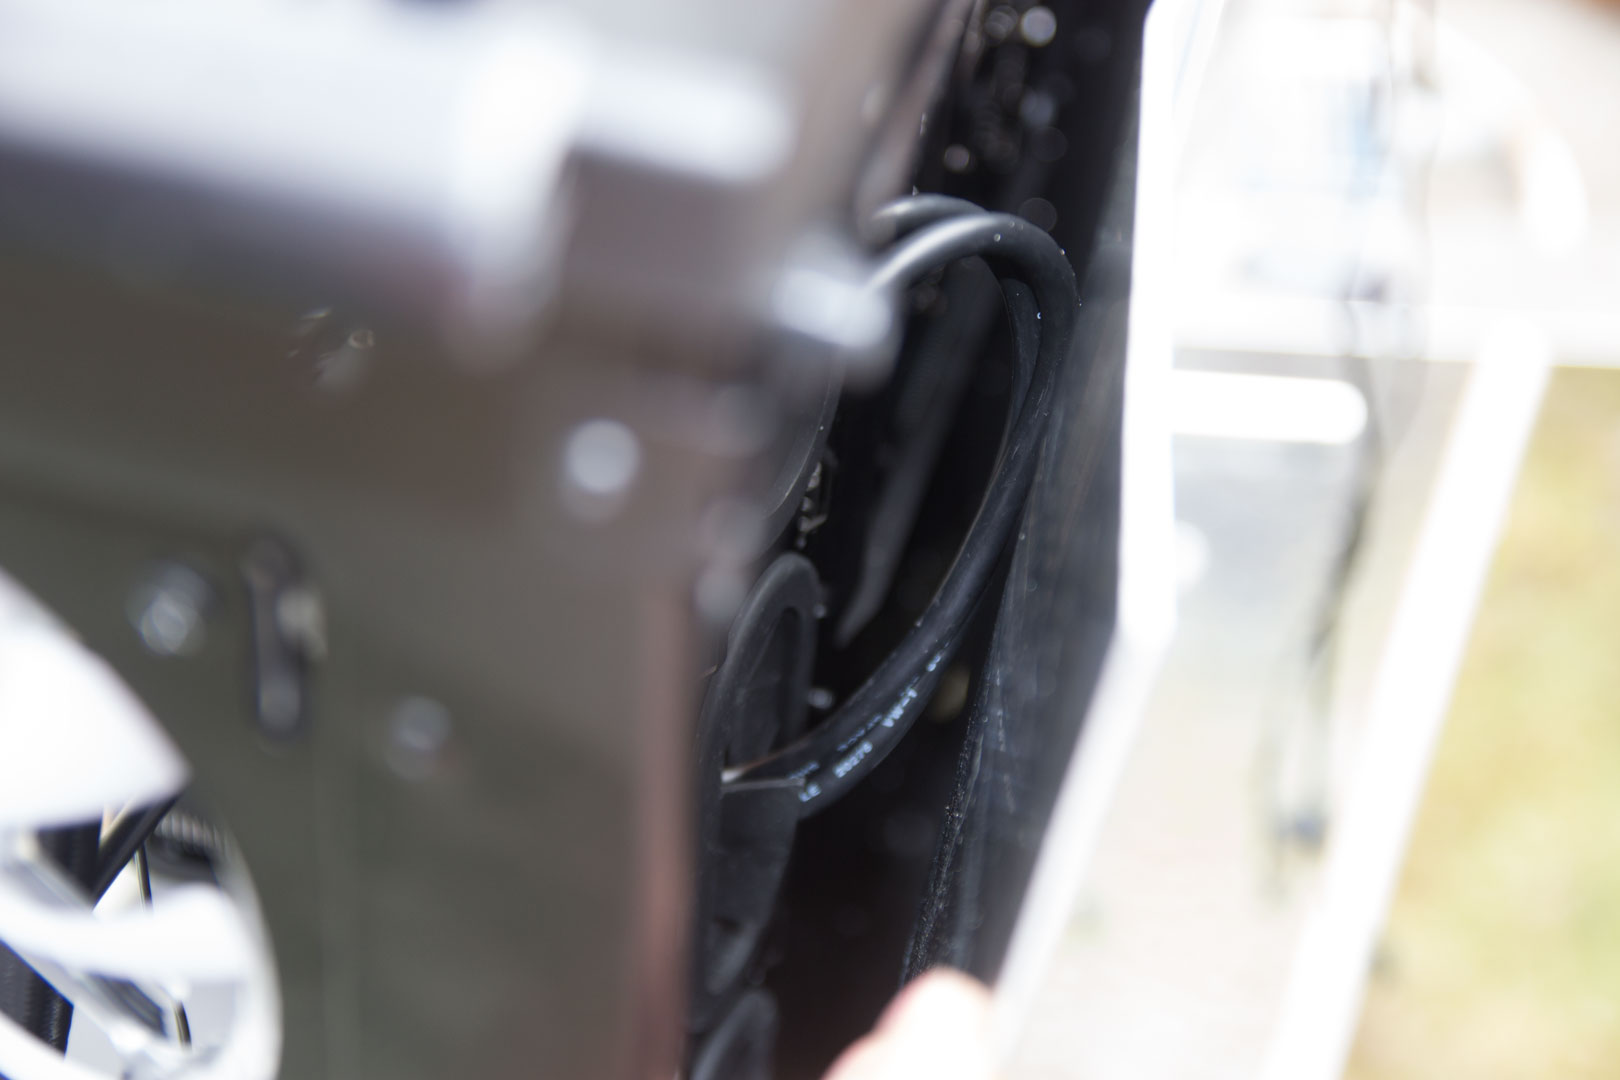
My panel follows the curve perfectly, I will need to attach it to the motherboard tray properly, but I will tap some holes and just use some screws. This will stop it rattling completely and also make it so that it can be removed easily. I also need to make some cutouts for wires, the SSDs, and so on.
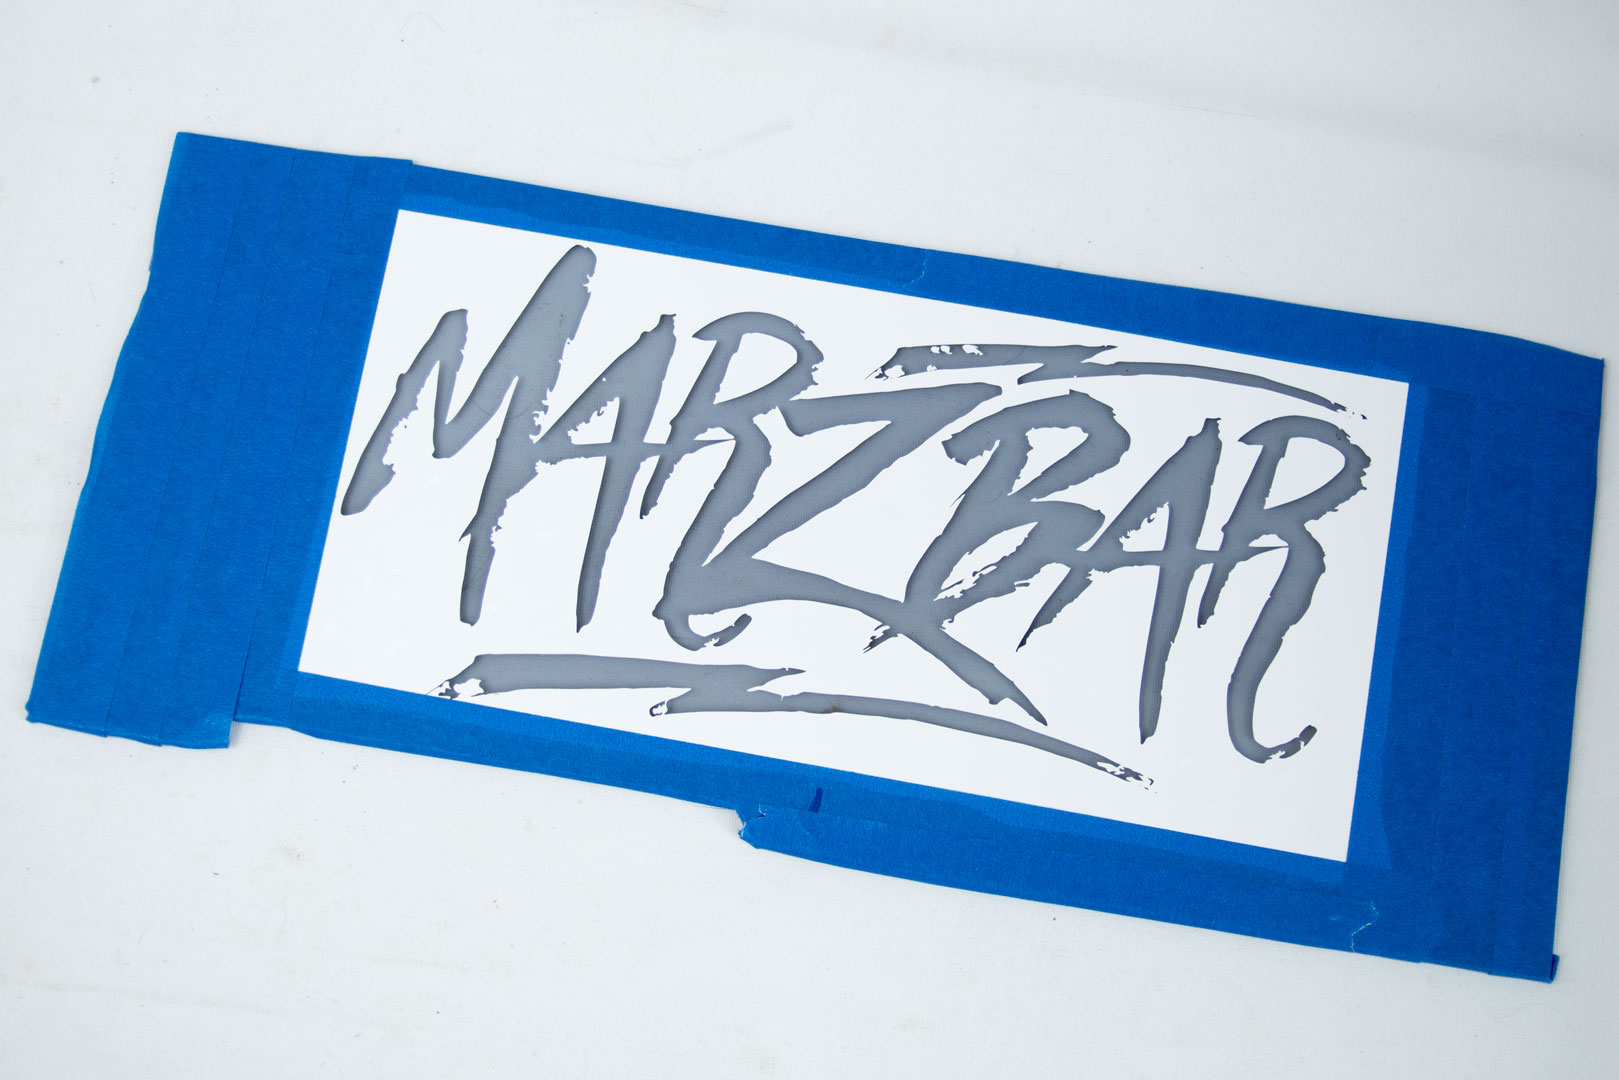
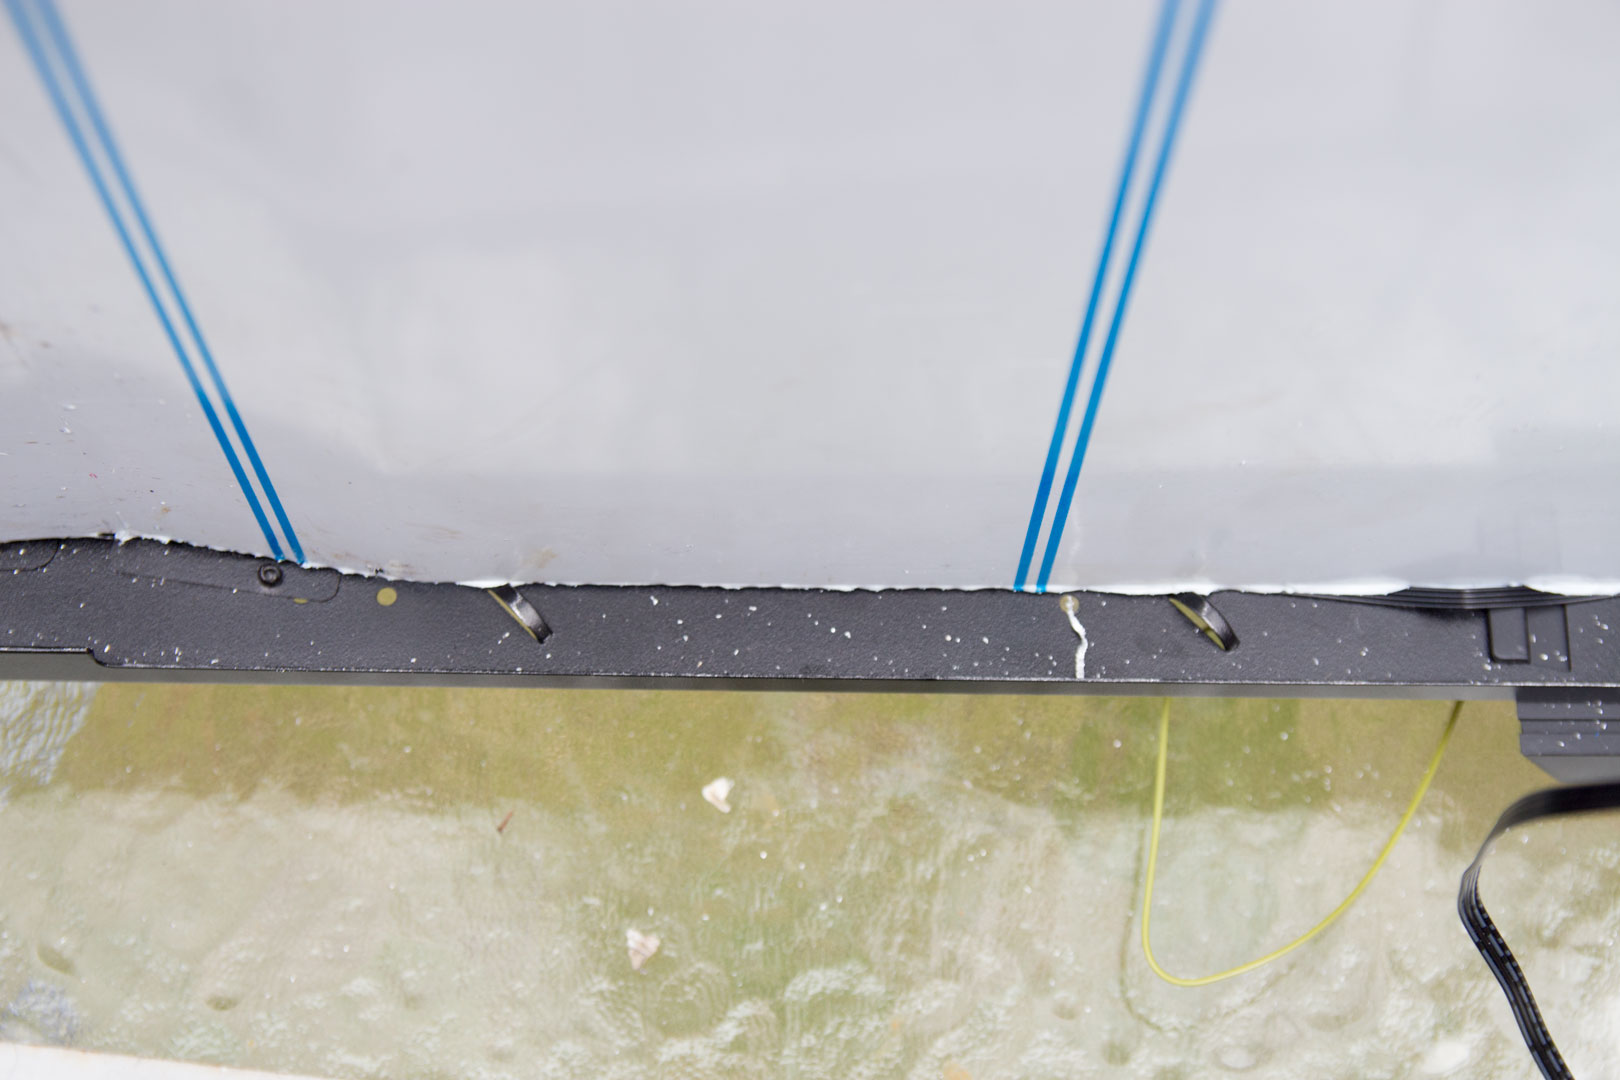
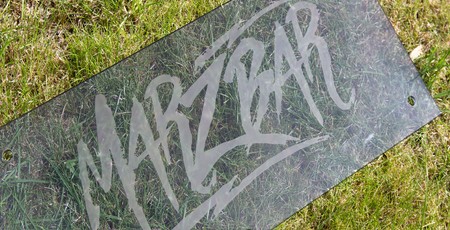
Finally, as the Corsair Crystal Series 570X has a lot of glass panels, I decided to use our
glass etching guide and incorporate MarzBar's second logo. This one fits perfectly onto the top panel.
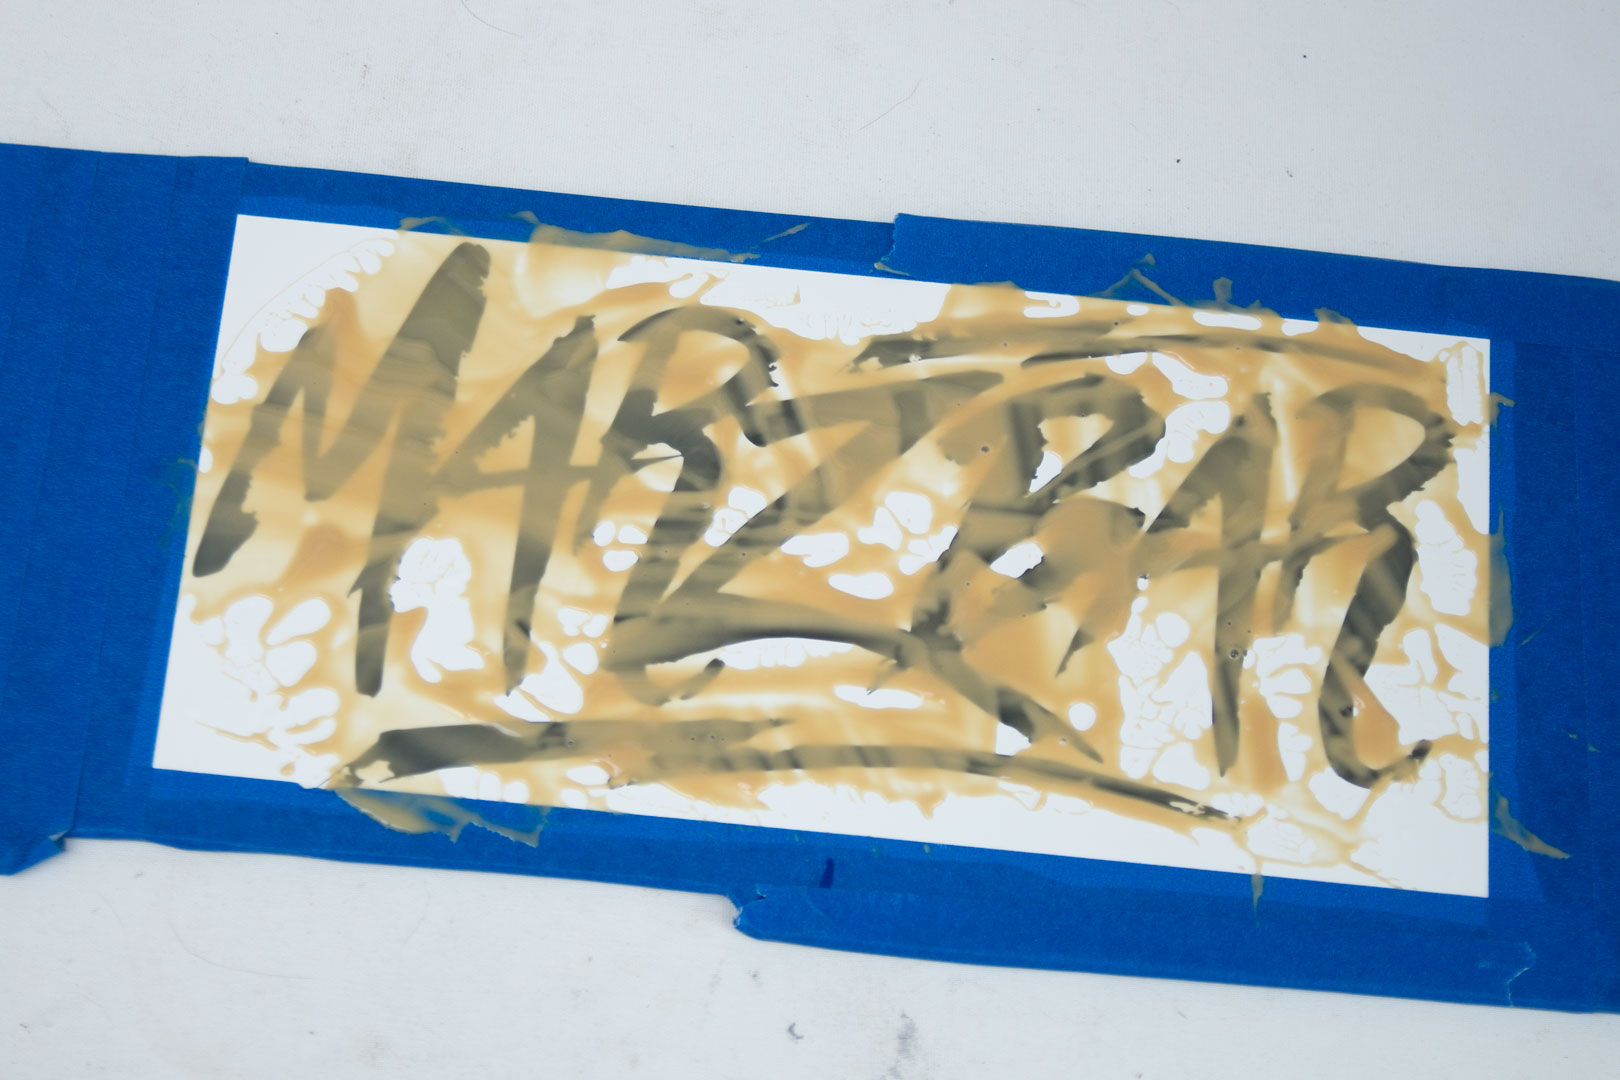
Remember, the glass etching paste is reusable, so just throw it on. I tried to make it as even as possible, but with a larger picture, it was a bit harder to do.
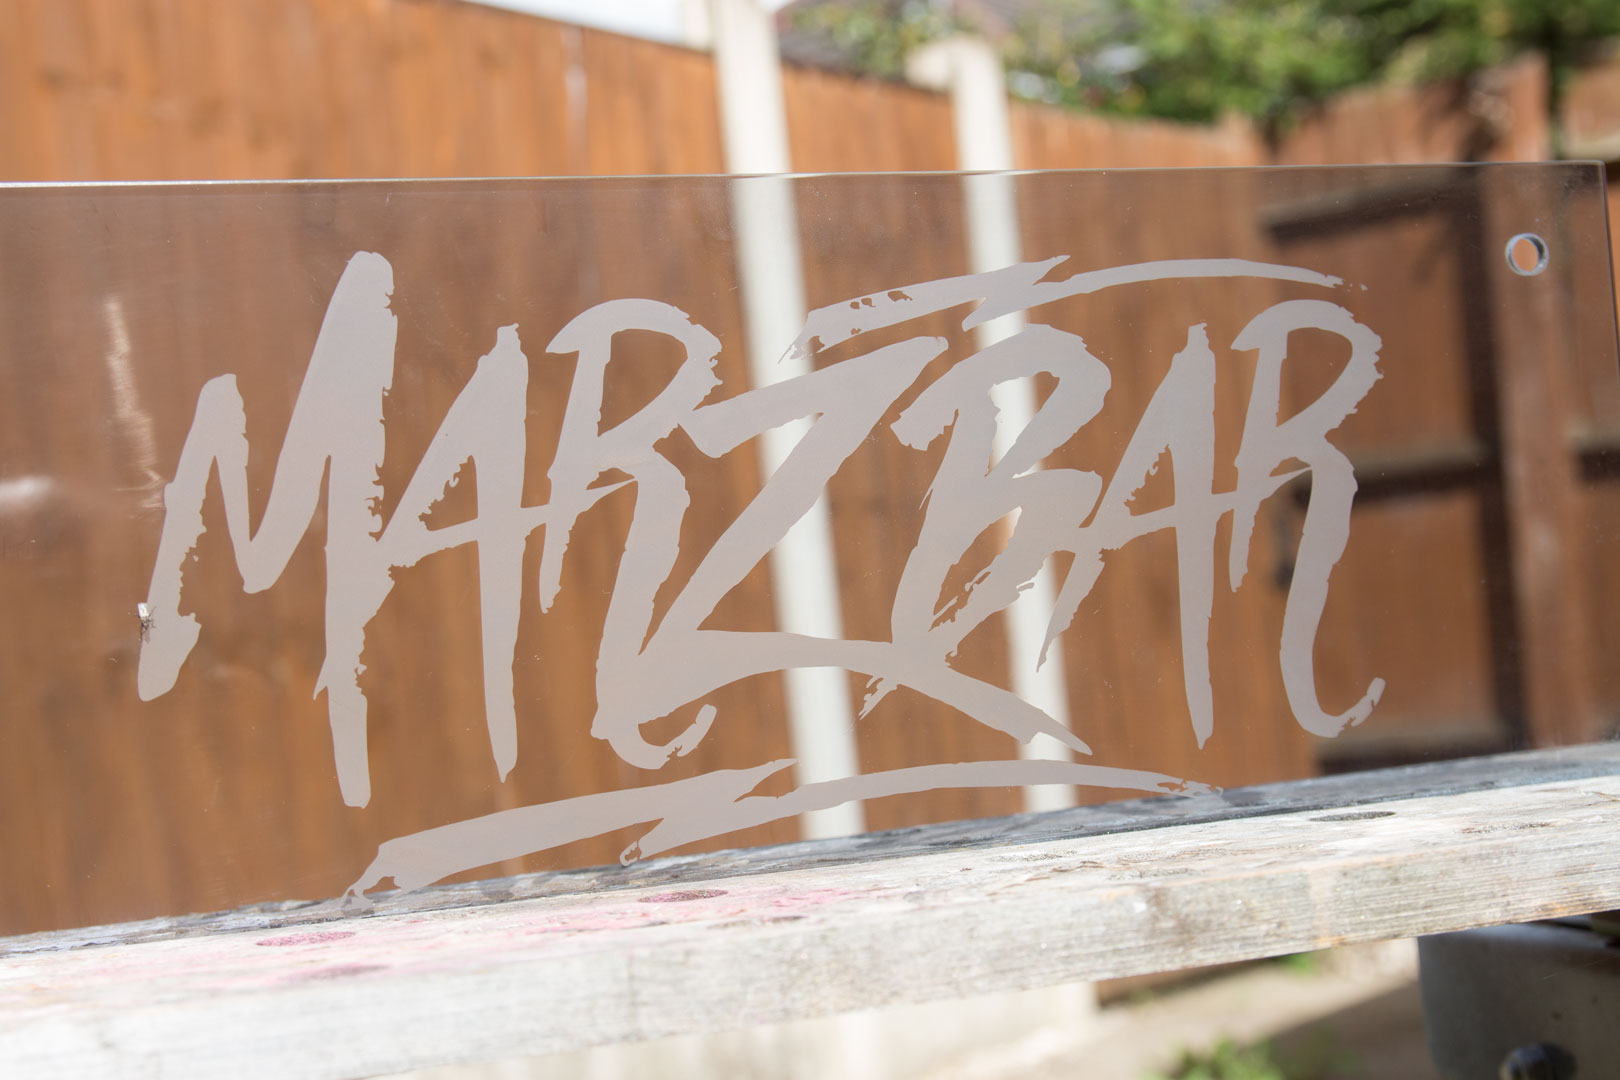
The end result is great, though; I am super happy at how this glass etching turns out. Even the fly agrees on the letter M!
So, that's it for this update. You may notice there are no cables sleeved on any of the pictures, even though I have started them! That is because I want to save them until I do the final update, and any pictures of them will give the game away.
We are going to be unveiling this PC to Alex 'MarzBar' Brooks at Insomnia 61 next month, so if you are there, pop over to the Corsair stand and say hi to me!


Want to comment? Please log in.