Looking under the hood
Now that we have the basic program installed, it's time to actually understand what it's doing. After all, Crossover is not really an emulator, nor is it a Virtualization solution like VMware or Parallels. It sits somewhere in between not running Windows at all and running a full copy inside of a virtual computer.Crossover Games (and the underlying Wine installation) is actually much like an API – it takes the procedure calls from the machine instructions given by the program and "translates" them from Windows language to Mac language before they get executed. It's almost like an API for the APIs – translating things like DirectX commands into OpenGL the same way DirectX translates commands for the hardware.
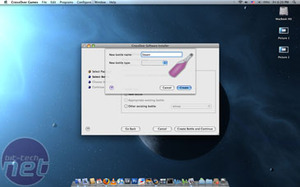
To do this, Crossover uses Wine's "Bottle" approach, which it doesn't really go into great detail on – so, I'll spend a minute with you on it. Rather than create a whole virtual partition that is "formatted" and installed with an entire OS (and thus wasting a ton of space), Crossover uses a little "bottle" to hold just the program you install in it and that program's specific needs. So, if one program needs the .NET Framework 1.1, Crossover will automatically install it for you in that bottle.
The good news is, each of these bottles takes around a whopping 50 megabytes (yep, that's it) above your software install. That means you're not really wasting space on a whole Windows installation just to run a game or two. You can have as many or as few bottles as you'd like – Codeweavers recommends that you install each piece of software in its own bottle just to avoid accidentally screwing up one thing by installing another. With such little overhead between bottles, this isn't a bad idea, though I've yet to actually experience a crash. It certainly does make uninstalling easier, which I'll get into in a bit.
Each bottle has its own "C:\" drive, which is fully accessible in your GUI or CLI. If you'd like to quickly locate it, you can click on "Configure -> Manage Bottles -> Advanced" and you'll see an option to open the drive. This way, you can manually add patches, no-CD fixes and edit game configuration files. It’s incredibly easy, and incredibly handy.
Installing games
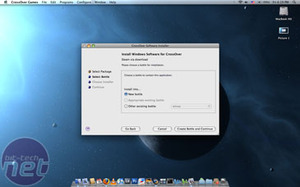
Now that we have an idea of how bottles work, let's get started actually creating and filing one. Installing games is not quite as simple as installing the base software, but it's close.To start off, there are two types of installations in Crossover Games – Supported and Unsupported. Supported games are the ones that are guaranteed to work pretty much flawlessly, like Half Life 2 or Battlefield 2. For these, you can just choose the install from the basic menu and follow the on-screen prompts. For Steam games or things like Guild Wars, I highly recommend just downloading the installer from online – it will ensure you have the latest version.
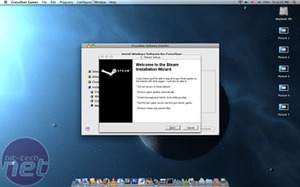
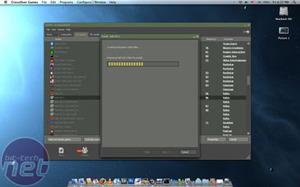
Steam's install couldn't be simpler, and it's what many people will use this for right out of the gate. It grabs the download from the website, asks you for a couple quick install instructions, and gets to work. Installation of the full Steam package and Half-life 2 by download took me a bit under an hour, most of that being spent in download time from the Steam network.
From my understanding, the guys at Valve helped Codeweavers get the products compatible, and it shows. Installation is no harder than on Windows and all of the normal Steam functions are operational. You can browse games, download new games and updates and play single- or multi-player with no headaches at all.

MSI MPG Velox 100R Chassis Review
October 14 2021 | 15:04


Want to comment? Please log in.