Graphics, PhysX
So, graphics wise, how does GRAW 2 compete with the previous game?Well, to be brutal about it, there isn’t much of a difference and the game still looks like something from two or three years ago. What’s worse, the game doesn’t offer a lot of options to improve it through.
Still, we did our best with what we’ve been given and so below we’ve got a breakdown of the most important graphics settings so that you can get an idea of what type of performance you can get out of the system.
For our part, we ran the game under Windows Vista with our usual gaming system; 2GB RAM, an Nvidia GeForce 8800 GTS, and a Dual Core 4800+ processor. We also found that GRAW 2 takes advantage of the Ageia PhysX card, so we plopped one of those in for good measure. Without the PhysX card in the extra ‘Ageia Island’ level is unavailable.
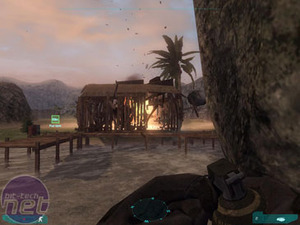
After the tutorial, the Ageia Island was the first level we tried. It basically involves the player, acting solo, trekking across a number of small islands and trying to blow up various things, which is where the physics come in.
Even when blowing up fuel supplies on the Ageia-customised level still doesn’t really show off any dramatic physics though and the amount of debris being thrown about still wasn’t much more interesting than a melon cannon in Garry's Mod and the framerate occasionally stuttered a bit too. It may well be that there’s something interesting and complex going on with the technical side of the physics – sorry, PhysX – but in gameplay terms it didn’t really offer up anything we haven’t seen before and since the game doesn’t really involve throwing around dozens of grenades, we doubt there’ll ever be a chance to show off the PhysX side of GRAW 2.
Still, there are a few gameplay changing additions, namely the way that fences and wooden structures break when shot, which directly affects how players find cover and even metal fences can be blown apart by destroying the metal supports.
The Ageia Island level also features some cloth physics which are nice to look at and fun to play with for a few minutes, but again the flaw is that they are never really made integral to the gameplay or level design.
Anti-aliasing
Anti-aliasing, or AA, is the method the game uses to smooth out bumps which appear around the edge of game objects, commonly referred to as ‘jaggies’. AA is one of the most important settings to toggle as it can have a substantial effect on both performance and the overall look of the game.GRAW 2 comes with only two settings for AA; Off and Edge Smoothing. It’s called edge smoothing here because, due to the use of multiple render targets in the games engine to achieve effects like nightvision, the GRAW engine isn’t actually capable of performing anti-aliasing. Instead, it has to use some technical trickery to perform such edge smoothing.
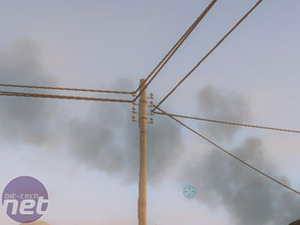
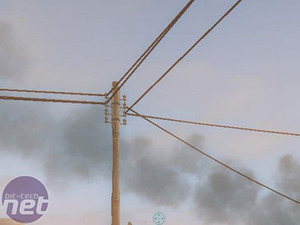
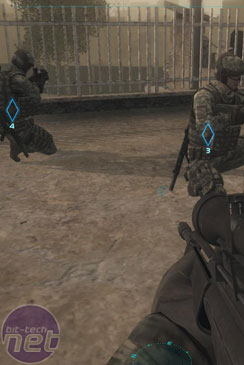
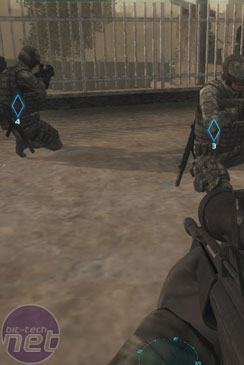
Still, we’ve got screenshots of both below, so check them out.
Only having two settings to choose from on a major title like GRAW 2 doesn’t really bode well for the graphical quality. The screenshots above don’t really show a stark difference between AA settings, but in-game the difference is just about noticeable to casual glances. It’s by no means a dramatic difference, so you could make an argument either way on whether to turn it on or off. The choice is up to you really, but given that the game doesn’t really look any better than a game from 2000, it makes sense to turn it on if you can and make the most of what you’ve got.
Texture Detail
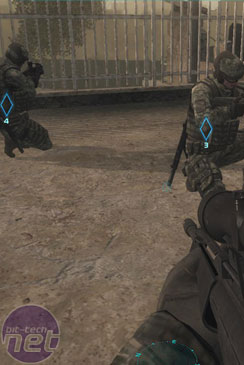
Texture detail controls the overall detail of the textures in the game, obviously. This effects the general look of the game and so the higher the setting, the better the game is going to look, both up-close and in regards to distant objects.GRAW 2 comes with three settings for texture detail; high, medium and low. Check out the comparisons below.
Trust us, after hours of flicking between the settings it is just about possible to spot a difference between the textures on some of the areas of the above screenshots, but in reality the difference here is minimal. The differences we could spot related to a slight blurring on the lower settings on the close-up ground textures. It’s not a massive difference, but since the game doesn’t exactly bowl us over looks wise then you may as well push it up until you hear your FPS creak to a halt.

MSI MPG Velox 100R Chassis Review
October 14 2021 | 15:04





Want to comment? Please log in.