There actually weren’t a lot of settings to adjust in the PC version of Spider-Man 3, which is probably why it struggled to look any good at all. It doesn’t matter though, as we shall always endeavour to show just what gamers can expect to get out of the game with their machines.
First up is the anti-aliasing effects.
Spider-Man 3 comes with three available settings for anti-aliasing; off, 2x and 4x. Obviously, 4x is what any gamer should aim for here as it’ll provide a smoother experience. Of course, we remember a time when the world was full of hand drawn sprites, but in modern gaming even the classic adventure games make use of 3D images and special effects.
Pushing the dial up to 4x anti-aliasing doesn’t make a massively noticeable difference over 2xAA in game. Again, if you can do it then you probably should just so you can squeeze the most out of the engine. If you look closely at the screenshots then you can see the improvement, but it’s not massive enough to sacrifice any FPS for.
First up is the anti-aliasing effects.
Anti-aliasing
Anti-aliasing can be one of the most important graphical tweaks in a fast moving game. What it does it essentially smooth over the rough edges of in-game polygons so that they give a softer and less jagged appearance. Objects like powerlines and chain-link fences can be notoriously hard to render smoothly.Spider-Man 3 comes with three available settings for anti-aliasing; off, 2x and 4x. Obviously, 4x is what any gamer should aim for here as it’ll provide a smoother experience. Of course, we remember a time when the world was full of hand drawn sprites, but in modern gaming even the classic adventure games make use of 3D images and special effects.
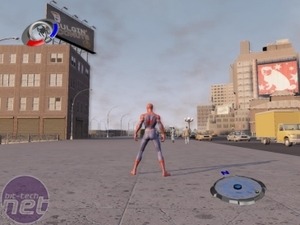
Off / 2x AA
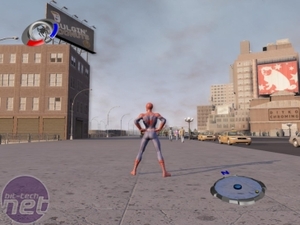
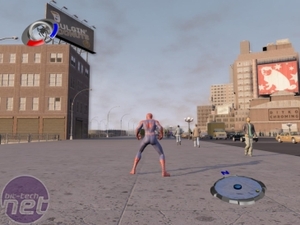
Anti-aliasing can make a slightly noticeable difference at the lower levels, as you can see by looking at the line of buildings on the right. It’s not a massive improvement going in the screenshots, but trust us that when Spider-Man is whizzing from one building to another and the camera is going crazy all around him then even having 2x anti-aliasing is an advantage if your computer can handle it.2x AA / 4x AA
Pushing the dial up to 4x anti-aliasing doesn’t make a massively noticeable difference over 2xAA in game. Again, if you can do it then you probably should just so you can squeeze the most out of the engine. If you look closely at the screenshots then you can see the improvement, but it’s not massive enough to sacrifice any FPS for.

MSI MPG Velox 100R Chassis Review
October 14 2021 | 15:04


Want to comment? Please log in.