
How Motherboards are Made
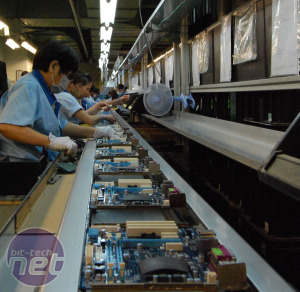
Once the motherboards have been moved to the factory's manual insertion floor, they're unpacked and placed on a conveyor belt that forms the next stage of the production line. It’s here that lines of workers place most of the large components that turn the half-naked PCBs into what you’d recognise as a motherboard.Many components, including the 24-pin ATX connector, 3-pin fan headers and PCI-E and DRAM slots are placed by hand in a carefully orchestrated dance of fingers and plastic. Typically, each worker will be responsible for only a single component, with PCB diagrams above their seat showing exactly where their component should fit.
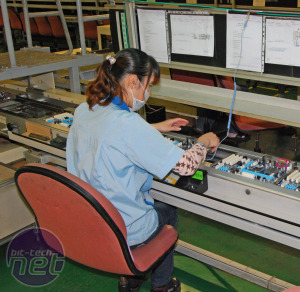
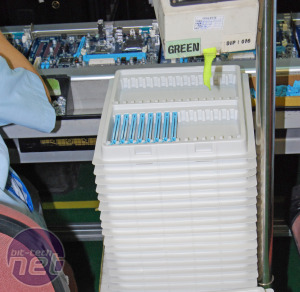
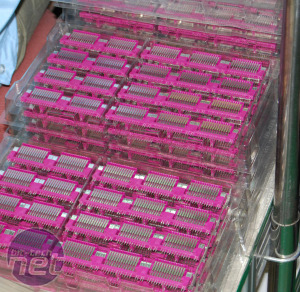
Each worker is responsible for a different component. On the right is a massive stack of PCI-E slots
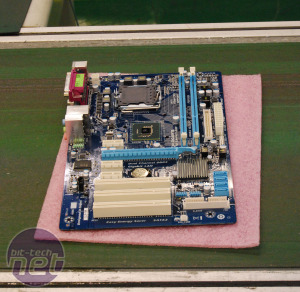
Once the motherboards have had all their components placed, except the heatsinks, they get rolled from the manual insertion line into a wave soldering machine. At this point, the bottom of the motherboards are coated with a thin film of solder mask which, like the solder paste before it, is applied in an intricate pattern via a stencil.
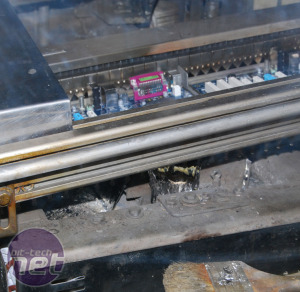
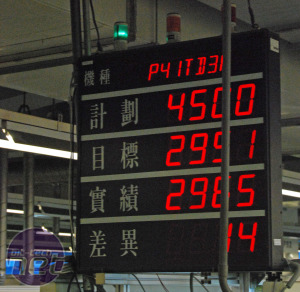
A motherboard is passes through the wave soldering machine - each board that goes through gets counted and added to the plant's total production tally
The boards then move up a wire conveyor belt with heating elements beneath it, which gently heat the underside of the board to prepare it for accepting the solder. Solder is then applied to the underside of the motherboard via a continuous liquid solder waterfall (hence the name wave soldering), which just kisses the underside of the board, leaving solder where there are gaps in the solder mask. As you can tell, this method requires a large pool of continuously molten solder to be pumped, and it was mesmerising to stand and watch the glossy, metallic waterfall of solder ebb and flow as the motherboards moved over it.
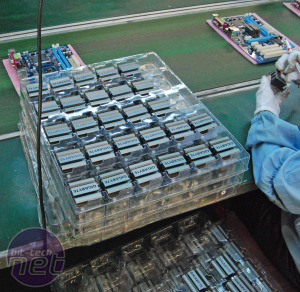
At this point, the motherboards are essentially functional. All that's needed is for the heatsinks to be attached and for the base of the motherboards to be buffed with a stiff rotary brush. This process both removes excess solder flash and cleans off the layer of solder mask too.

MSI MPG Velox 100R Chassis Review
October 14 2021 | 15:04



Want to comment? Please log in.