
Customizing the Front
In order to emulate the Orac look and feel, I decided to fabricate some plates for the front of the system. Instead of green like Pete used, I decided to go UV blue. I needed to duplicate the laser cut holes for 120mm fan and Bulgin switches, which is no easy task - unless, of course, you know a few tricks.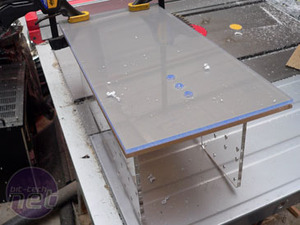
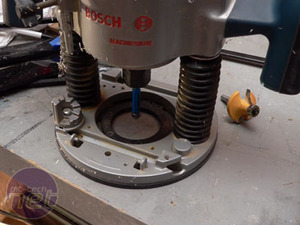
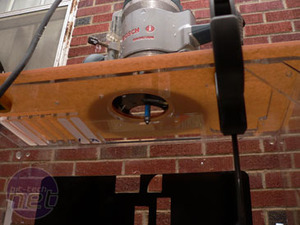
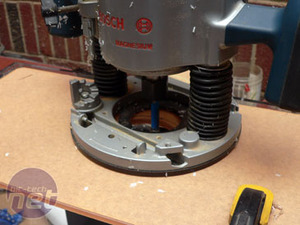
First, I cut a panel on the tablesaw to be the same size as the front bezel. I then clamped my new piece to the original bezel, which will act as a template. Next up, I drilled starter holes in each cut I needed to transfer to my new blue front plate. Finally, it was on to the router to make the final cuts - I installed my 1/4" flute bit, which has a bearing on the end of it. This bearing will run along the laser cut parts below, guiding the router bit without damaging the original bezel.
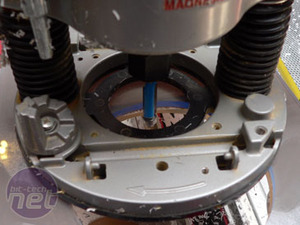
Here you can see it in action - the bit follows the edges cut by laser at C3 perfectly, leaving us with a nearly identical copy. The great thing about this technique is that the smooth edge that the router leaves on the acrylic is pretty close to the one a laser creates (unlike jigsaw, tablesaw and dremel blades, which are usually very rough in comparison).
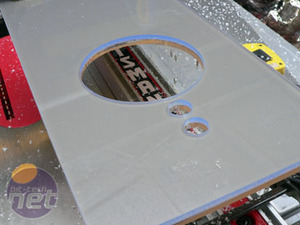
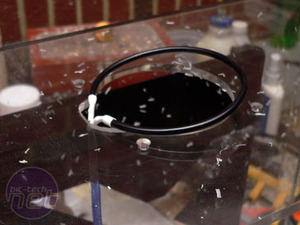
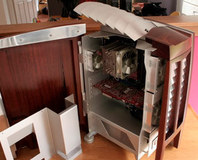
Then, I used the router trick again to duplicate the fan hole on the top of the case. I had been envisioning a layered top that glows, but I had this problem with cold cathodes being visible. Choosing a completely clear case doesn’t help things, so I had to be “creative".
RELATED ARTICLES


MSI MPG Velox 100R Chassis Review
October 14 2021 | 15:04

Want to comment? Please log in.