
Getting there

With the cuts done, I reinstalled my blue bezel piece on the front. I also took the liberty of installing the video screen. It was a simple matter of bending the mounting tabs on the screen assembly by 90 degrees, then drilling holes in the drive rack to fasten it to the chassis.
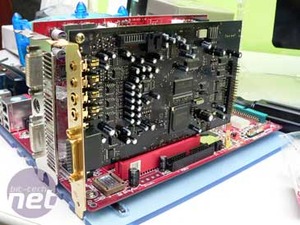
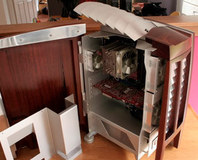
Next, it was time to start installing some hardware. I mounted the motherboard onto a custom blue UV motherboard tray I made. C3 normally provides a clear tray, but that just wouldn’t do at all, would it? After that, I finally took the new Creative beauty out of the box and got to see it for the first time.
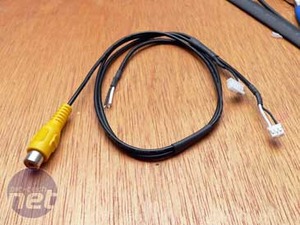
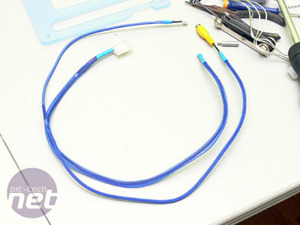
I needed to customize the video cable for the screen, which included an RCA video cable and a power cable for 12VDC. I added a molex connector and sleeved everything.
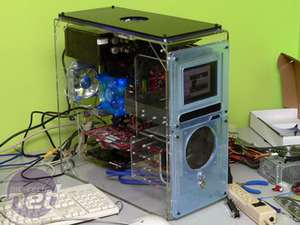
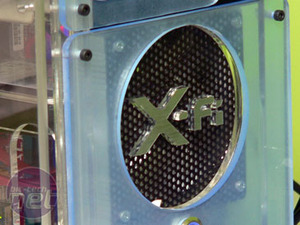
Initial install and testing - the video screen works! The last cosmetic addition was a small logo to the front fan grill that mirrors the large one on the motherboard side panel.
RELATED ARTICLES


MSI MPG Velox 100R Chassis Review
October 14 2021 | 15:04

Want to comment? Please log in.