

Speaker's Corner
The “amplifier’s” speaker baffle was made from smoked acrylic sheet so that the case's internal lighting could be seen, and not to mention making the X-Fi card visible from the outside.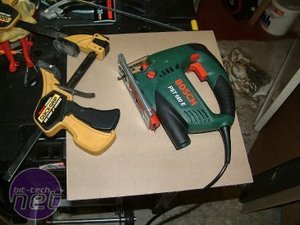
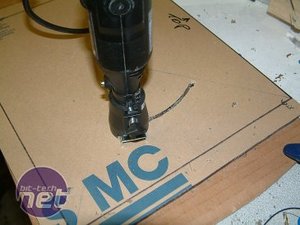
Using a variable-speed jigsaw fitted with an acrylic cutting blade, the baffle was cut to size. The “Speaker” opening was then cut out using a Dremel fitted to a circle cutter.


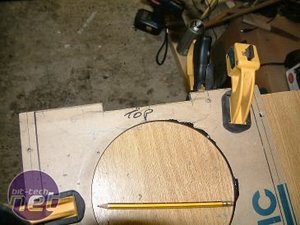
Here are a few shots showing the circle being cut. The jagged edge in the second picture is just where the cutter snagged and ripped the paper protecting the acrylic. Fortunately, the acrylic was undamaged.
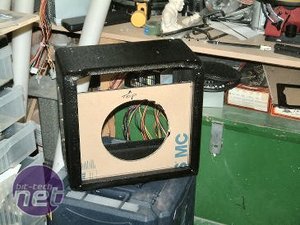
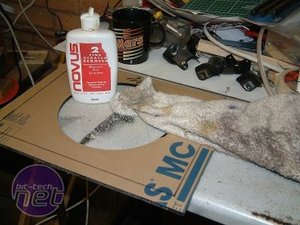
After a test fitting, the speaker hole was polished to a glass-like finish using a plastic polish.
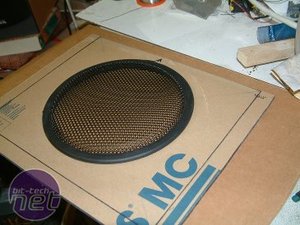
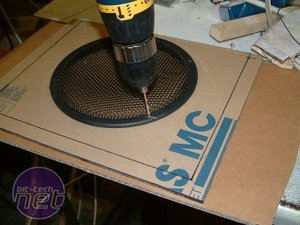
With the polishing complete, the next step was to sort out the speaker grill. The grill was bought from Maplin. The grill was positioned in place and four holes were drilled through it and the acrylic baffle to accept securing screws.
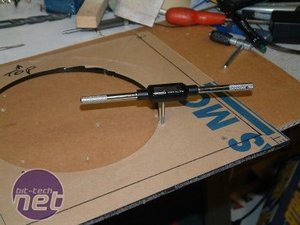
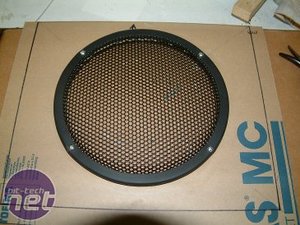
The holes in the baffle were then threaded and the grill was screwed in place for a test fit.
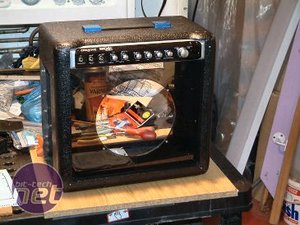
The speaker grill was removed so a rectangular cut-out could be made for the CD drive tray that was to sit underneath the I/O module. The cutout was made with the jigsaw and the edges were polished smooth. The acrylic protective paper was removed and the finished baffle was test fitted into the amplifier case along with the I/O module. The baffle is held in place by four screws inside the case.
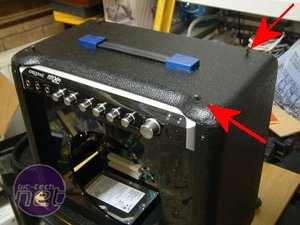
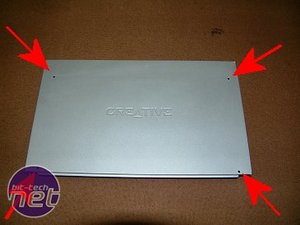
In case you were wondering how the I/O module is held in place, here is how: it is secured from above with four largish self-tapping bolts that pass through holes in the top of the case and screw in to holes in the top of the module. The module casing is thick enough for a very solid purchase by the screws.
Drive, drive, drive…

MSI MPG Velox 100R Chassis Review
October 14 2021 | 15:04


Want to comment? Please log in.