
Optical Drive Mounting
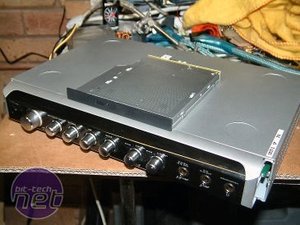
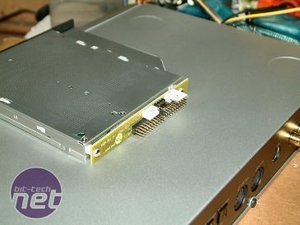
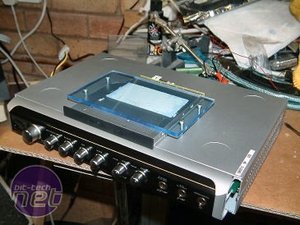
The next step was to fit the CD/DVD drive underneath the I/O module so that it lined up with the cutout in the front baffle. The drive is a slimline notebook-style model. An adapter was fitted to the back of the drive so it would accept standard IDE and power cables.

Strong double-sided sticky tape, the kind used to stick down carpet, was fitted to the top of the drive. With the I/O module in place, I was going to offer up the drive from behind and inside the case so I could align it exactly with the cutout. Once in position, a good press onto the I/O module and the drive would be affixed in place.
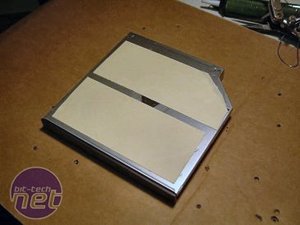
Of course, I was not going to rely on the tape alone to retain the drive - bear in mind that this unit was going to travel the world as a demo PC for Creative. I used a piece of UV-reactive acrylic to fashion a supporting bracket. First, the acrylic was cut to size and marked out.
The acrylic was then retained in place using four screws sandwiching the drive to the I/O module. To ensure that the drive would not be pushed backwards with use, another piece of double-sided tape was used between the drive and acrylic.
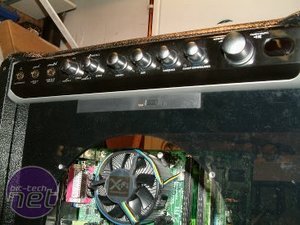
The second picture shows the drive in place underneath the I/O module.
Walk into the light…
RELATED ARTICLES


MSI MPG Velox 100R Chassis Review
October 14 2021 | 15:04

Want to comment? Please log in.