

Wiring Up
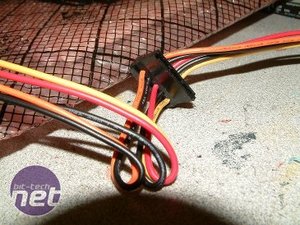
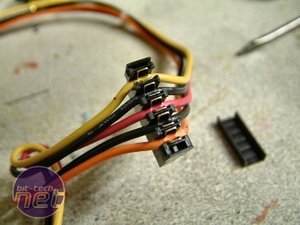
The Zalman PSU had a single cable with two connectors for SATA drives - since I only needed one connection I decided to cut off the second connector. I also took the opportunity to shorten the length of cable to the first connector to make things neater inside the case. Luckily, the connector was of the insulation displacement kind, similar to that used on telephone connector (but a bit bigger).
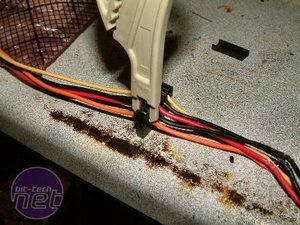
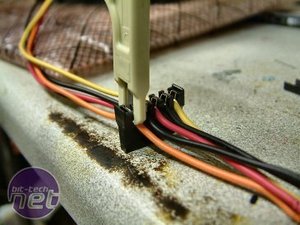
The connector was moved to the right position and the wires re-connected using an insulation displacement tool. With this done, the wires to the second connector were cut leaving just the first power connector.
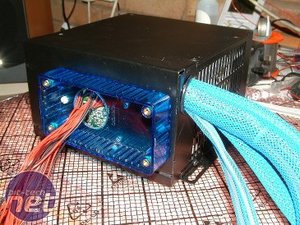
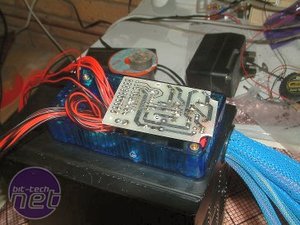
The PSU was re-assembled and the LED wires threaded through in to the box. Now begins the laborious task of cutting, stripping and soldering all the wires to the control board.
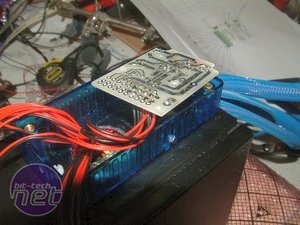
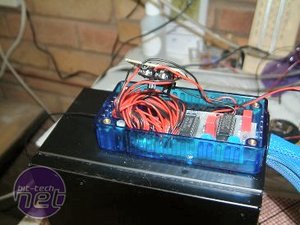
Eventually all the wires were soldered to the control board as well as to the little LED flasher board. The lid was screwed on and the lighting tested.
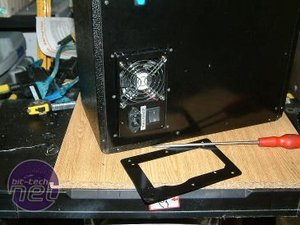
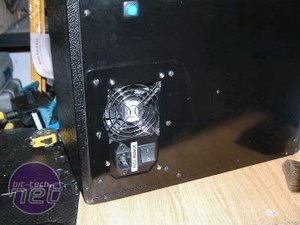
The PSU was slipped into its cut-out on the back panel and fixed in place using the mounting plate I had made.
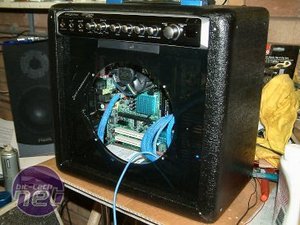
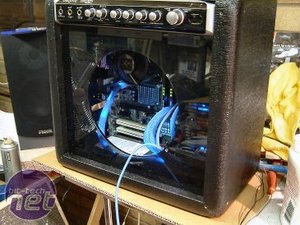
The sheathed cables were plugged in and the system was powered up. If you look closely at the second picture, you can just make out the travelling light in one of the cables. A long exposure was used to take the picture so it appears as several lights.
Time for the branding iron…

MSI MPG Velox 100R Chassis Review
October 14 2021 | 15:04


Want to comment? Please log in.