

Legs Akimbo
With the logo badge good to go, a 5mm hole was drilled through the speaker baffle to accept the UV LED. As always, great care was taken to position the hole in exactly the right place. I really did not want to have to strip the system down to remedy a mistake at this late stage.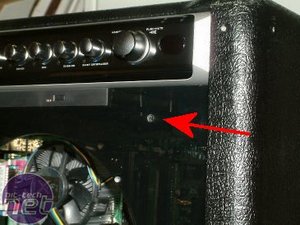
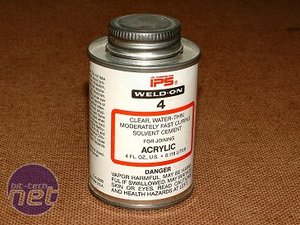
Time to glue the logo in place. To do this I used a few drops of “Weld-On 4” Acrylic adhesive applied with a very fine artist's brush. This stuff flows like water and, when applied correctly, dries perfectly clear leaving an invisible join.
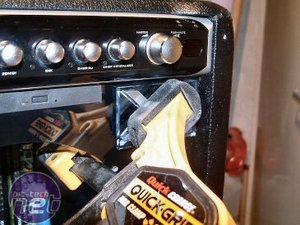
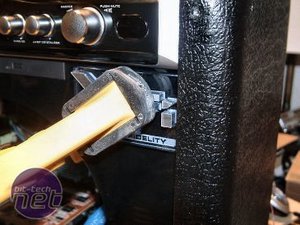
The logo was clamped in place whilst the adhesive cured.
Time to make a couple more badges. These were laser etched UV reactive acrylic “Sound Blaster” badges. One was to go on the back of the case whilst the other would be lit up inside the amplifier.
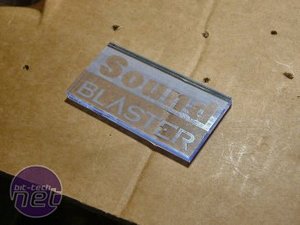
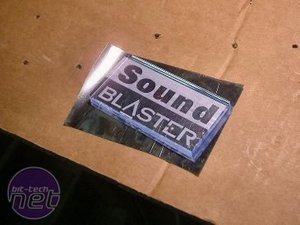
The badges were backed using silver auto window tint. This would give the badges a nice reflective backing.
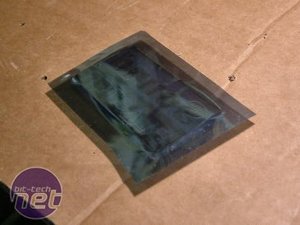
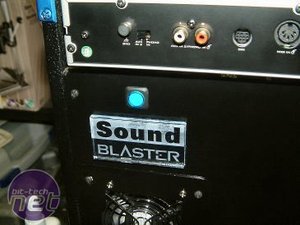
The tint was applied, then trimmed to size with a scalpel blade and finally secured in place using double-sided sticky tape. The blue button you see below switches the lighting animation inside the case on and off. This was a feature requested by Creative.
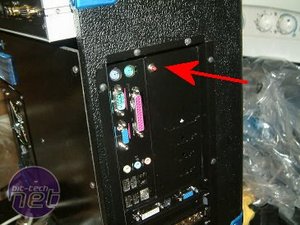
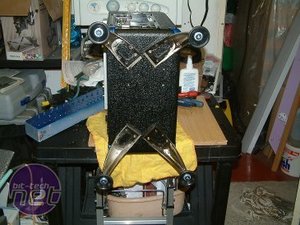
The tiny little red button below is the system’s power button. Now the case had been practically finished, it was time to fit the legs. These are brushed steel legs bought from a local hardware store and held in place with wood screws. The second picture below shows the case on its side with legs akimbo.

MSI MPG Velox 100R Chassis Review
October 14 2021 | 15:04


Want to comment? Please log in.